Archiv der Kategorie: Tutorials

Unveiling the Enhanced BlackSnailPatterns #0416 „Norfolk Jacket“ Sewing Pattern – Part 4 – Step (17) – (22) 

Part 1, Part 2, Part 3

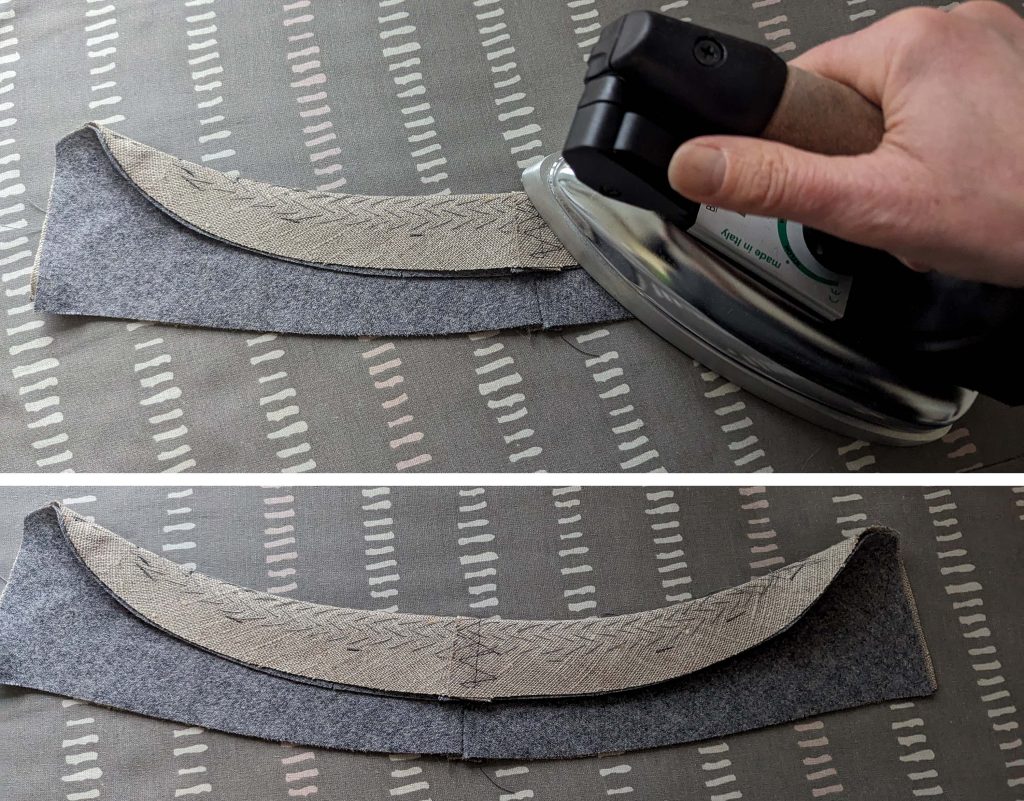
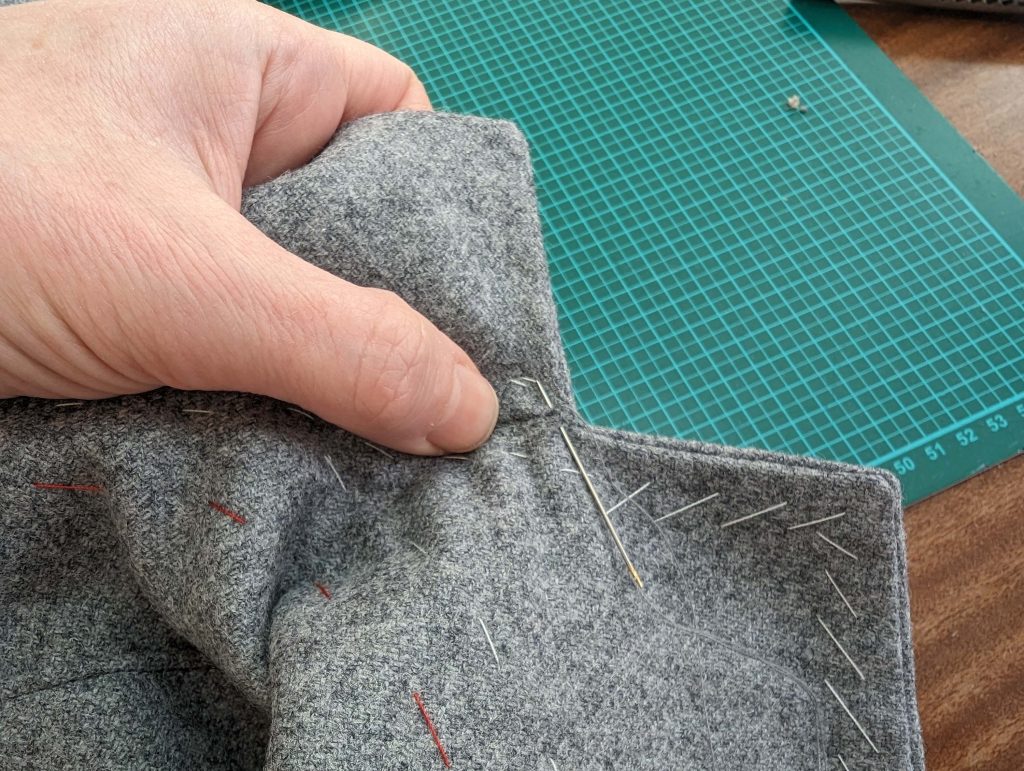
(17) Richte die under Kragen pieces, right sides together and sew along the center back. Trim back the seam allowances and press open. Place the canvas on top of the wrong side of the collar. I made my canvas from two pieces, better would be one as described in the instructions. Mark the seam and roll lines on the canvas. Start pad stitching in longitudinal rows below the roll line. Continue above, as shown while shaping the collar over your hand´s edge. Press the under collar, stretching the top and bottom edge while pressing. Fold and press along the roll line.
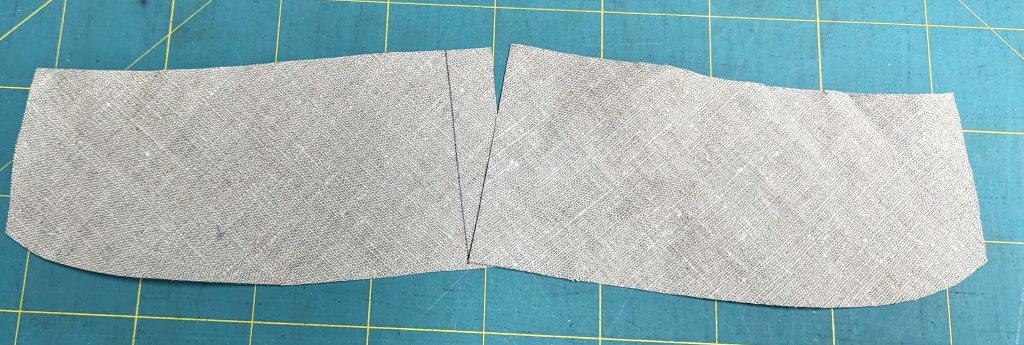
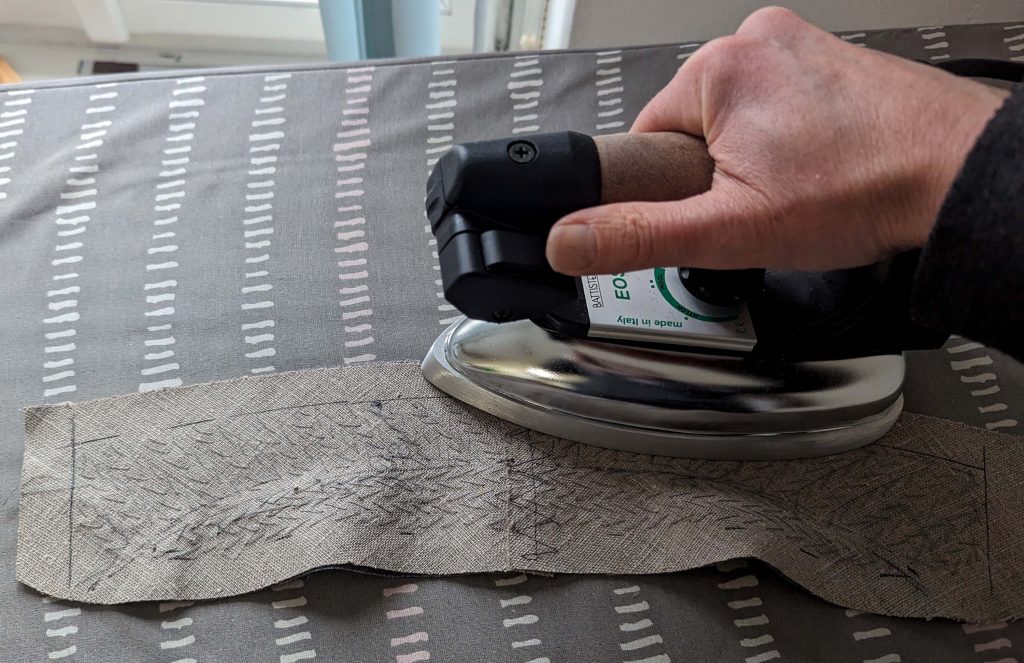
Trim back the canvas slightly behind the seamline, turn in the seam allowance along the bottom edge, and press, baste in place, and mark the collar notch.

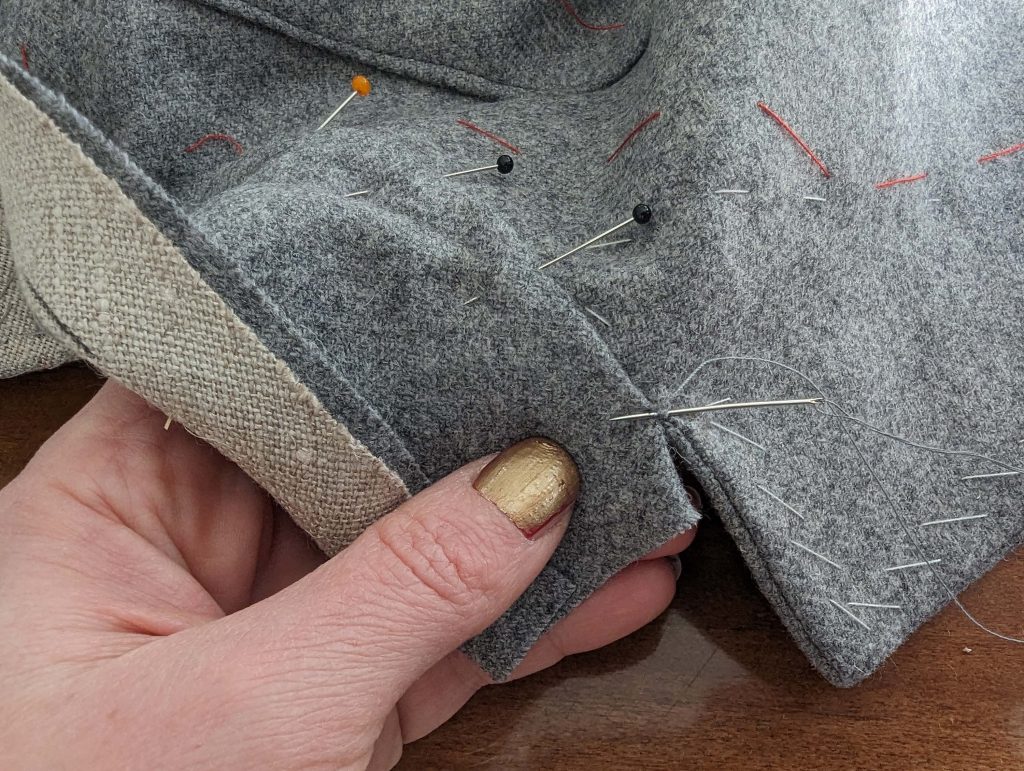
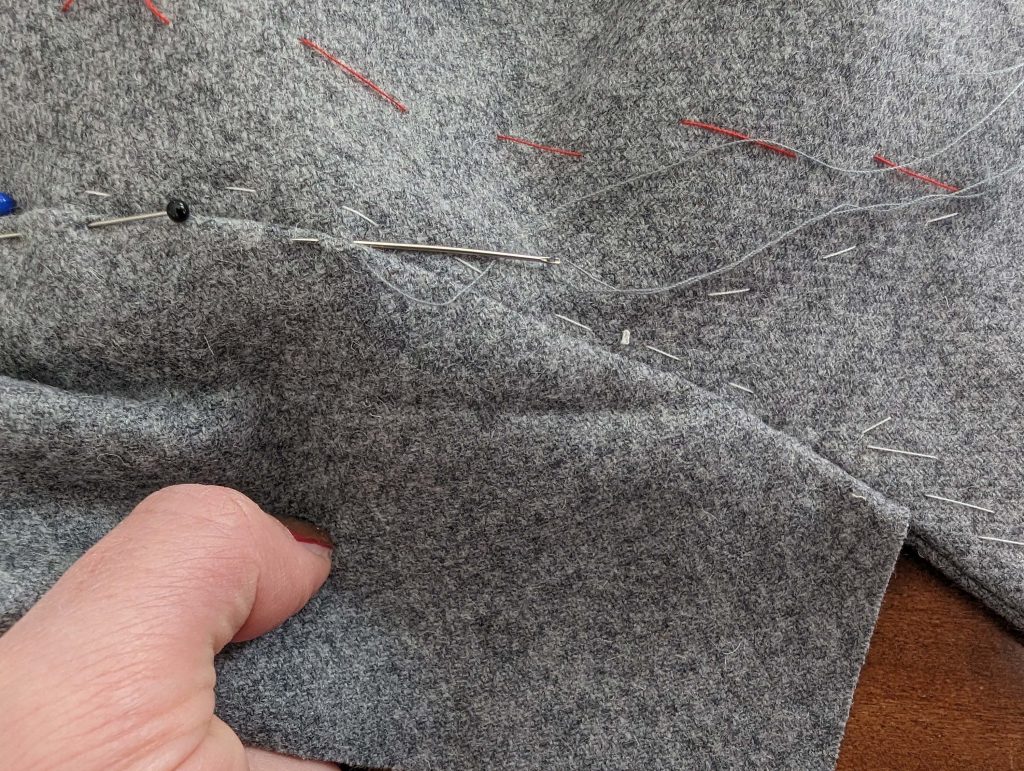
Pin the undercollar to the jacket along the neckline, matching seams and collar notches and easing in the excess width. Baste in place, and fell stitch the collar to the jacket, starting and ending exactly at the collar notch.
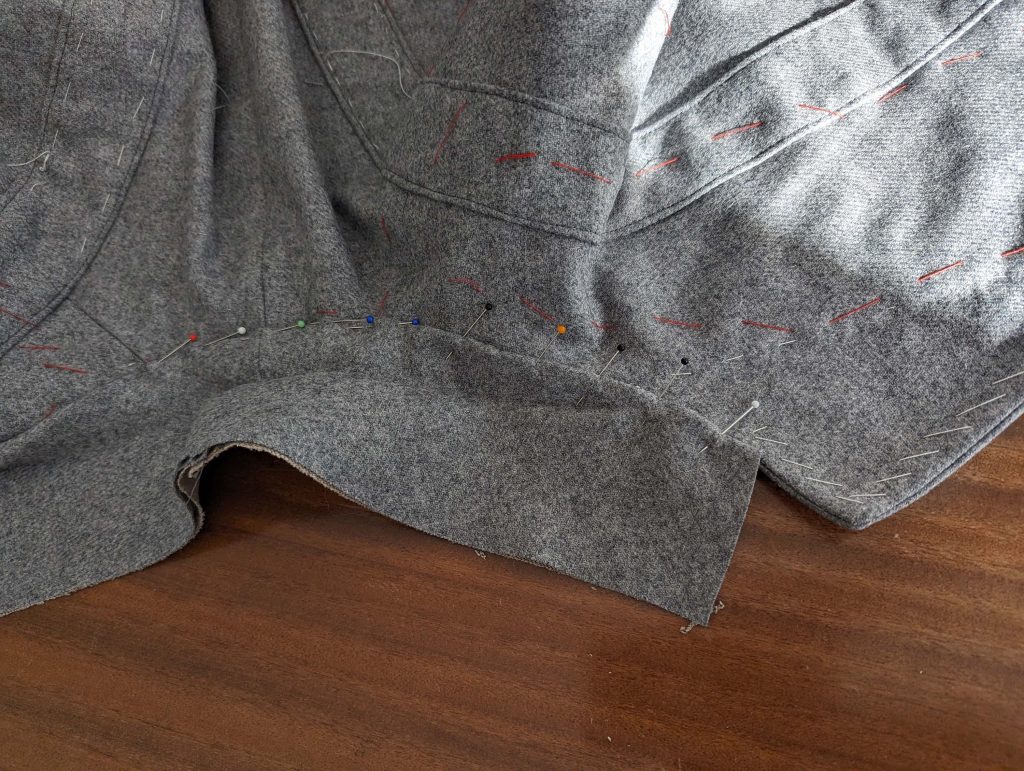
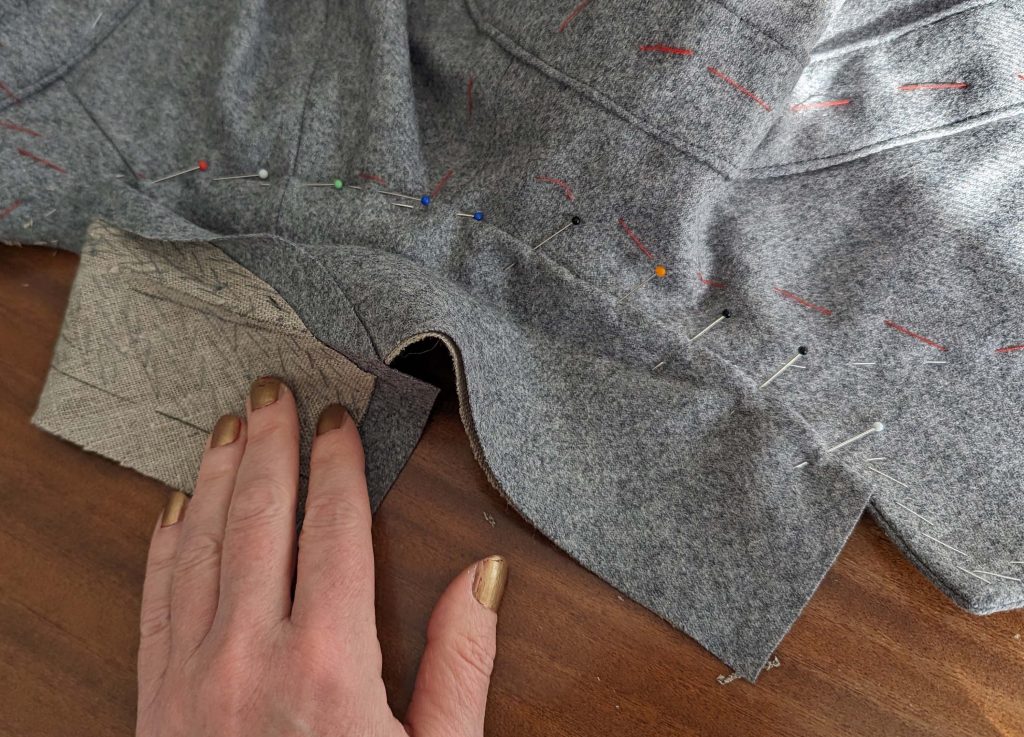
Place the jacket on the table with the wrong side up and catch stitch the seam allowances of the Halsausschnitt to the collar canvas, clip and trim back the seam allowances if necessary to lay flat.
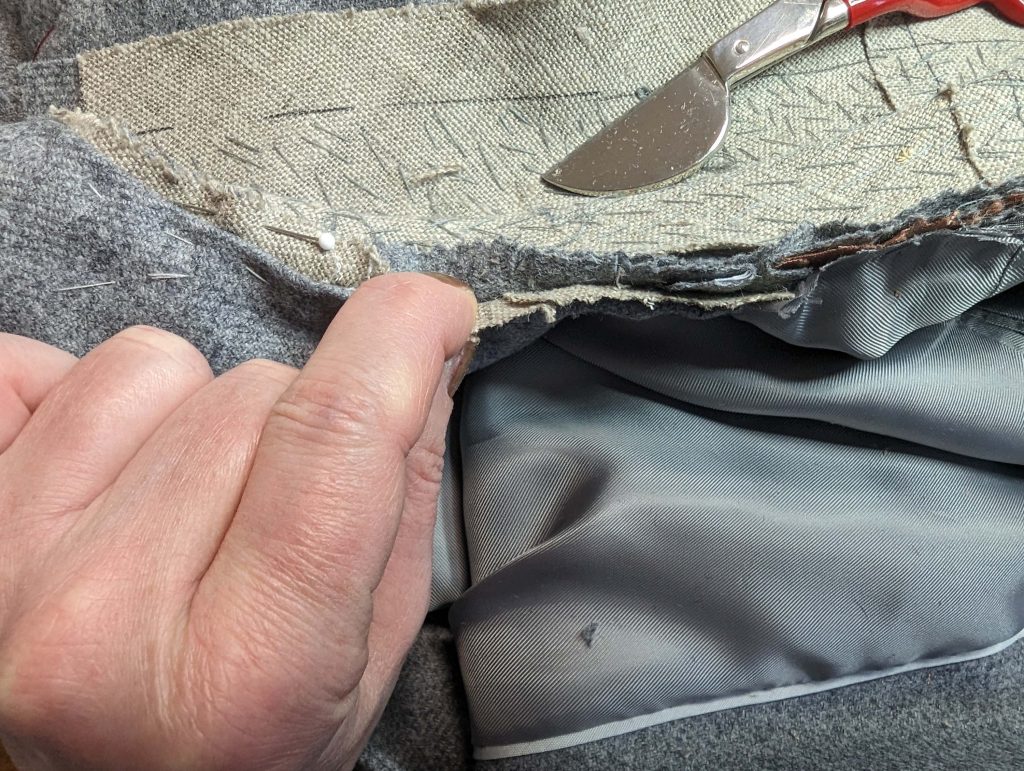
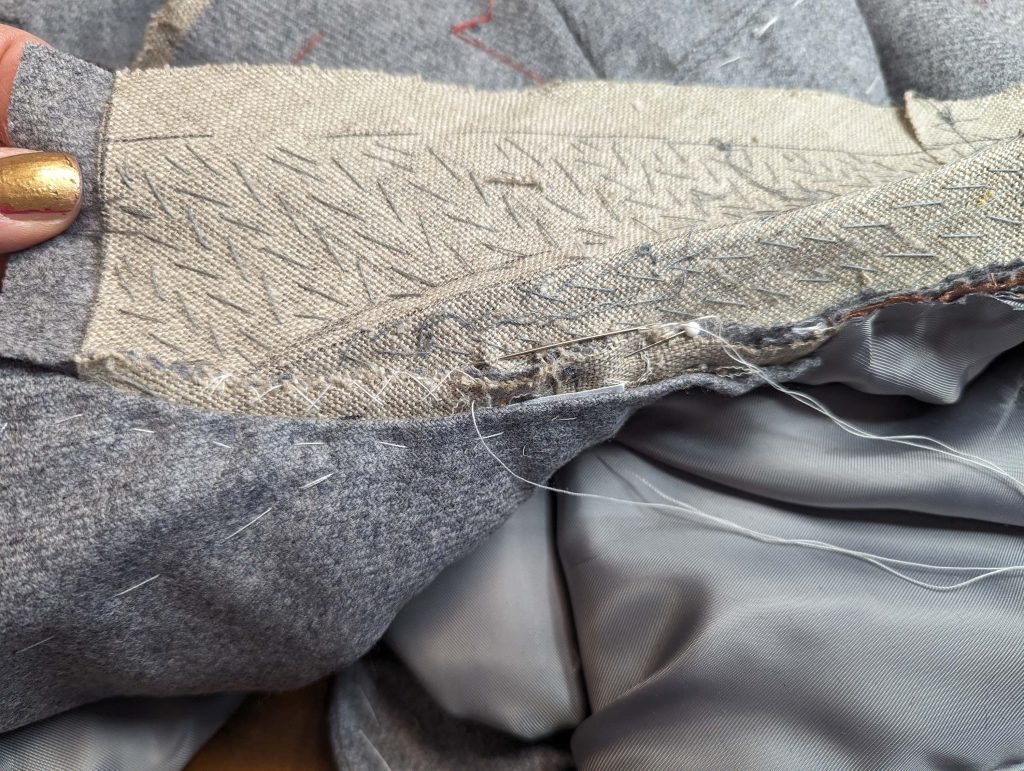
Nimm das top Kragen and stretch it along the top edge, giving that edge a bit of a curved shape. Let it cool down before you line up the top collar with the under collar, right sides together. The turn of cloth had been taken into account when patterning, just take care, that the undercollar was stretched as well and cut on the bias. So, you´d maybe need a bit more ease, simulating the rounding of the neck, and turning down the points while pinning. I needed some more width than given in the original pattern piece.

With the undercollar up, sew from collar notch to collar notch, without catching the seam allowances. Reduce the stitch length at the corners and sew a second time with the top collar up, correcting any uneven stitches.
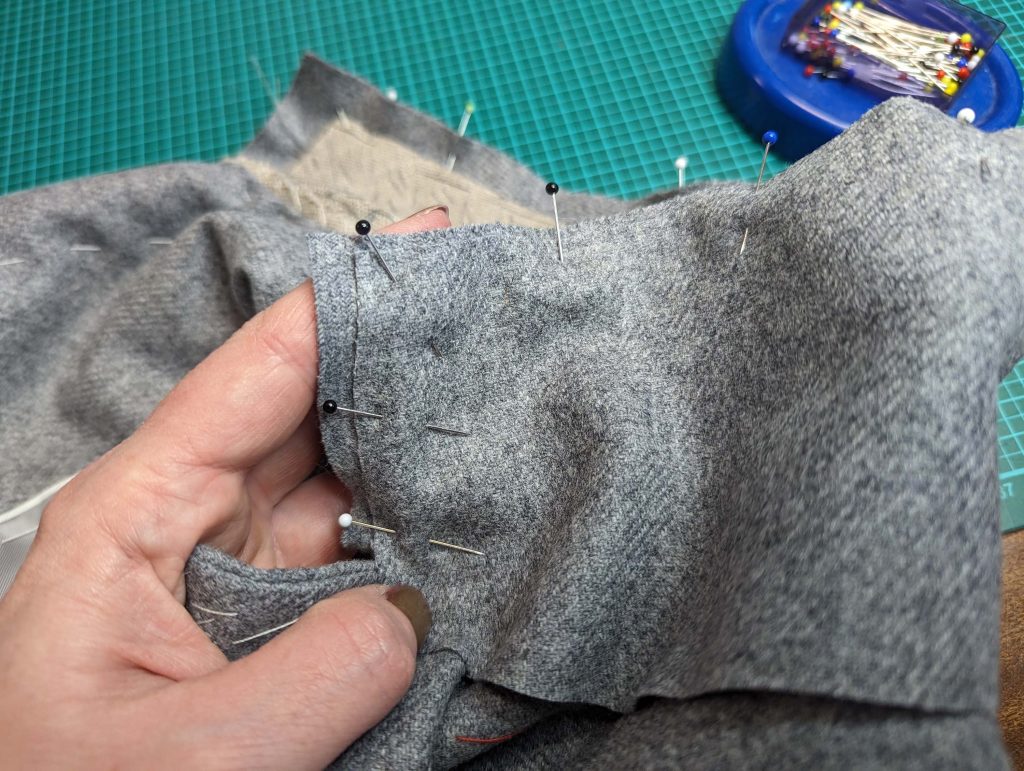
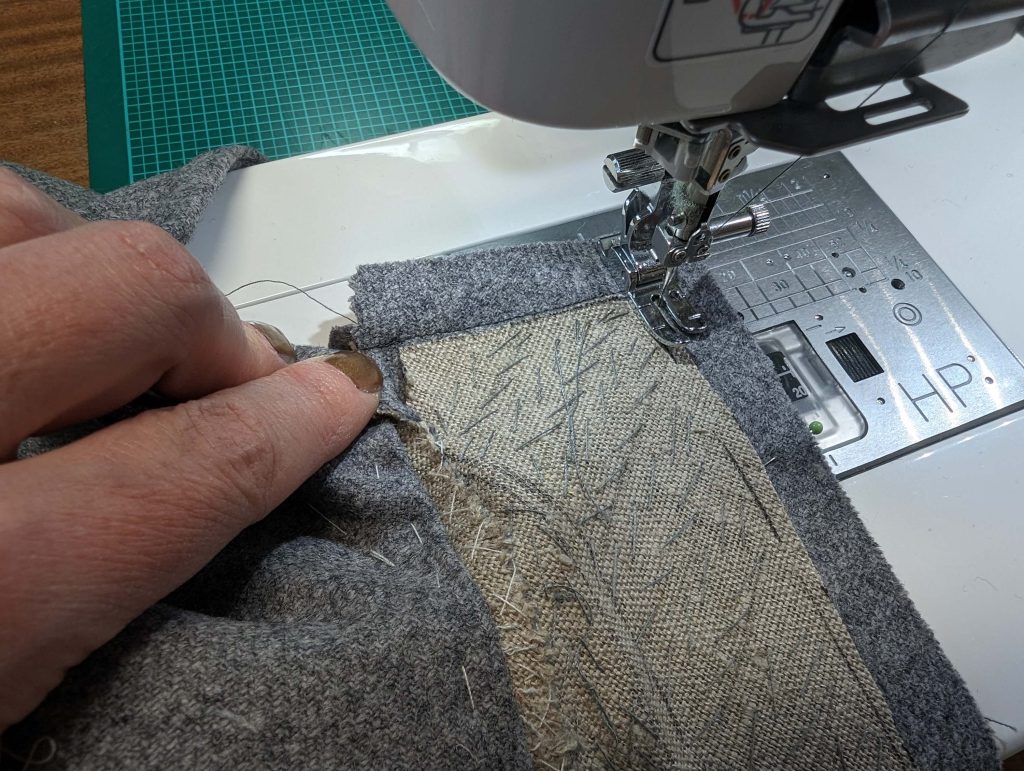
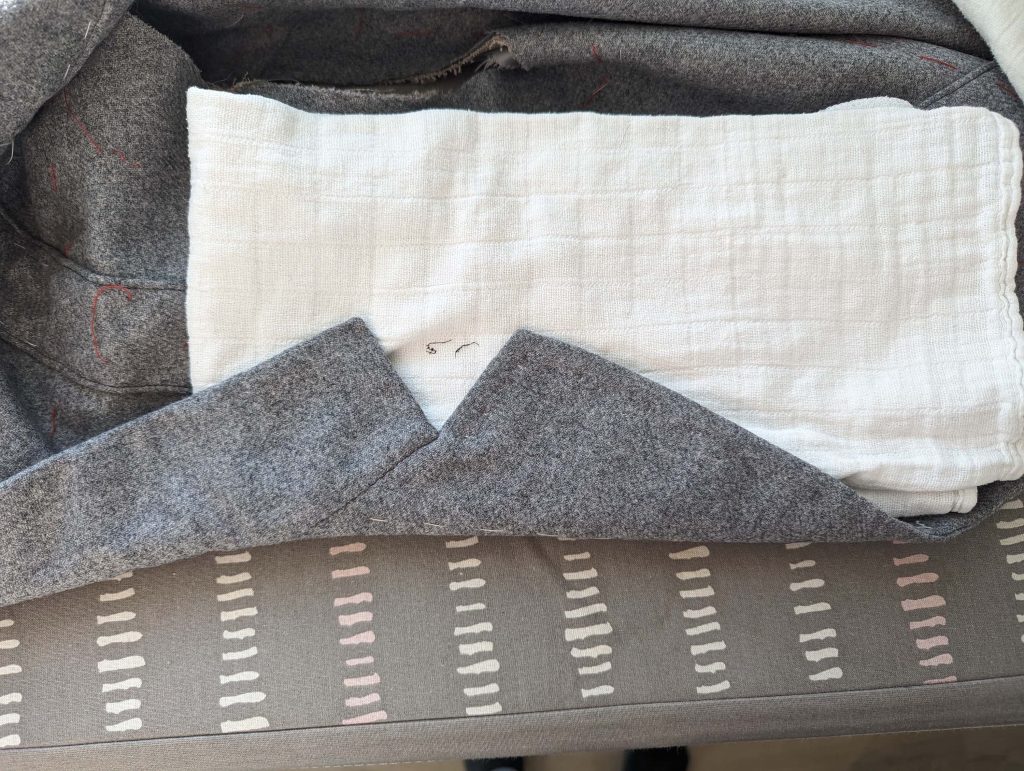
Trim back the seam allowances to ¼” (7mm), and notch only the seam allowance of the under collar at the collar notch. Fold the seam allowances towards the canvas and catch stitch to the canvas in the same way as you did at the lapel. Turn the right way out and press, rolling the seam slightly out of sight toward the garment’s wrong side. Baste along the edges to hold in place.
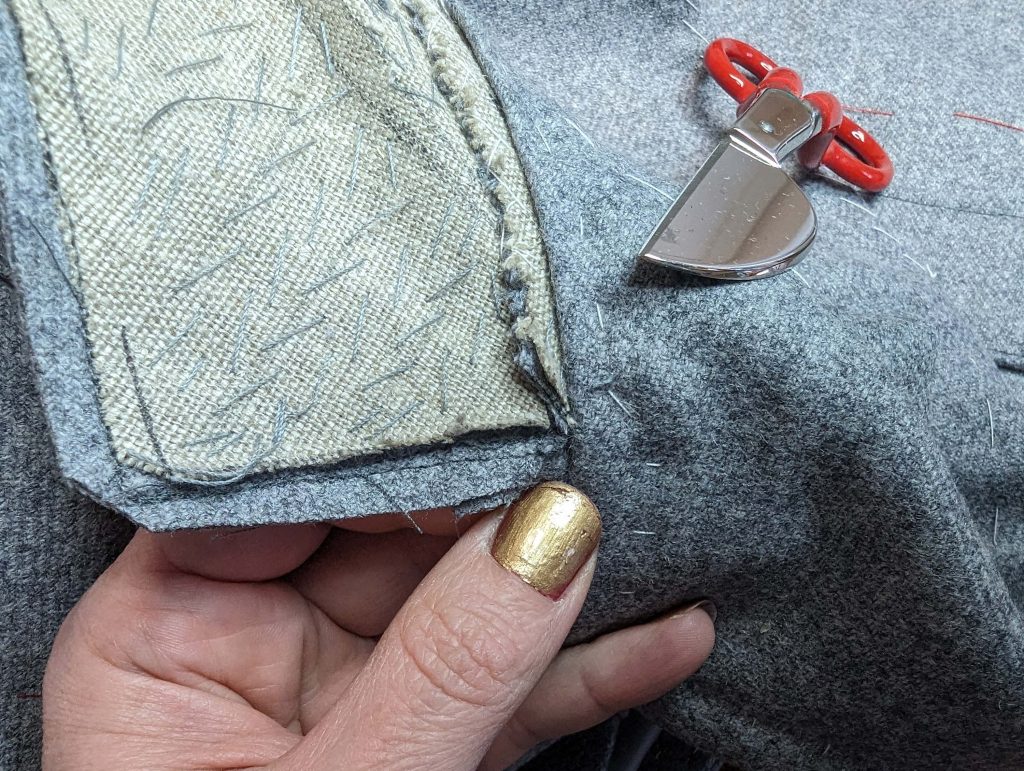
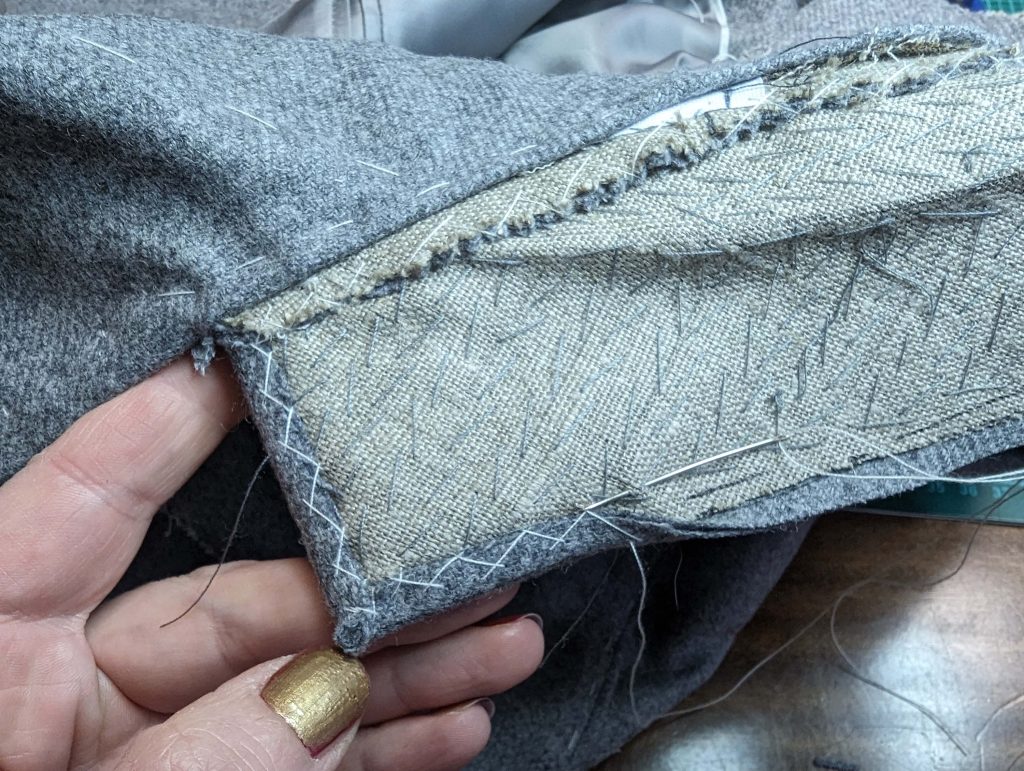
While simulating the curve of the neck and the width needed for the turn of cloth at the roll line, baste along the roll line. Turn in the seam allowance along the bottom edge, and trim back to about 3/8” (1cm), baste in place. Sew the crotchet seam (between the collar and facing) with an invisible ladder stitch. At the back portion of the neckline, stitch down the collar with a felling stitch.
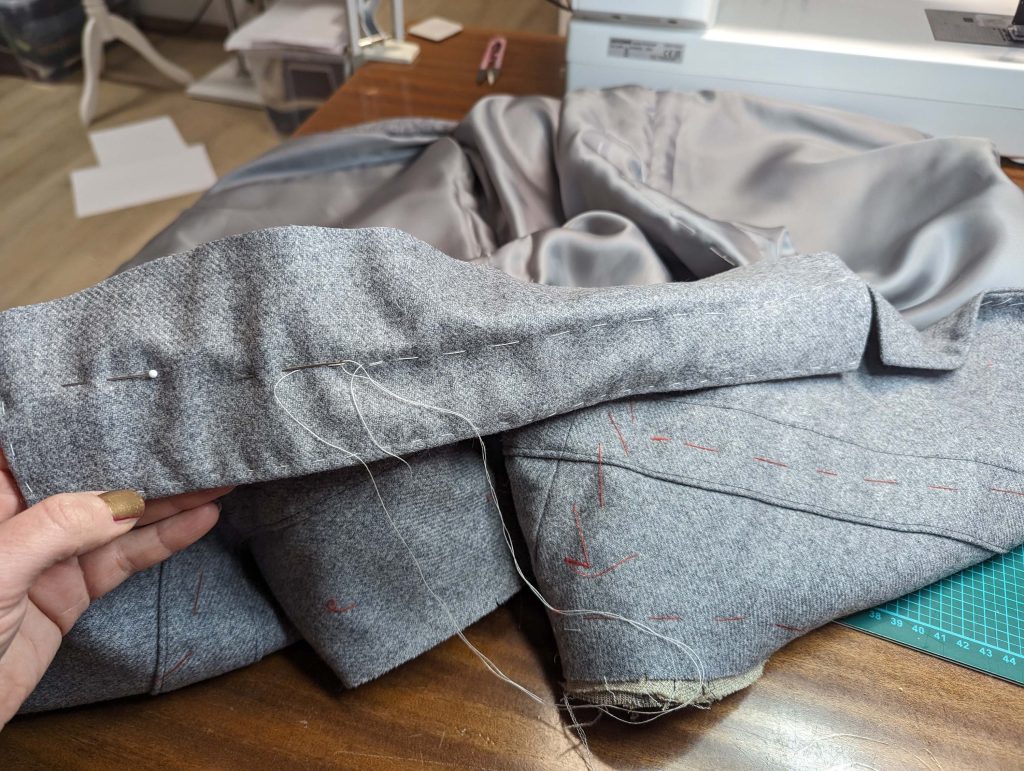
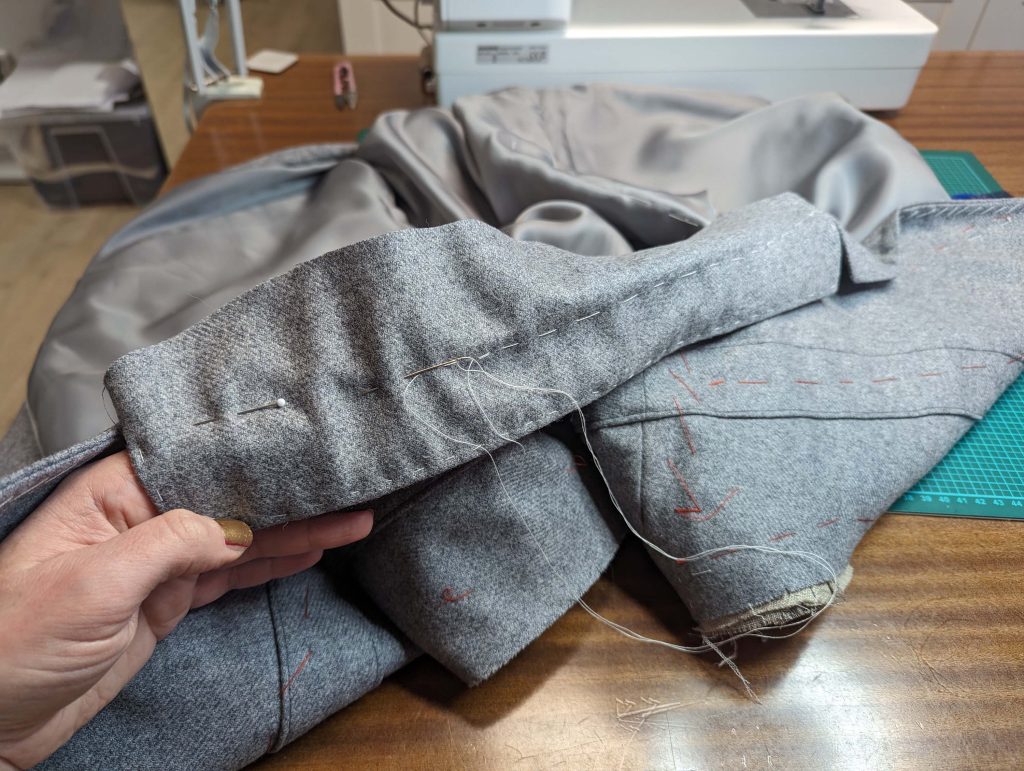
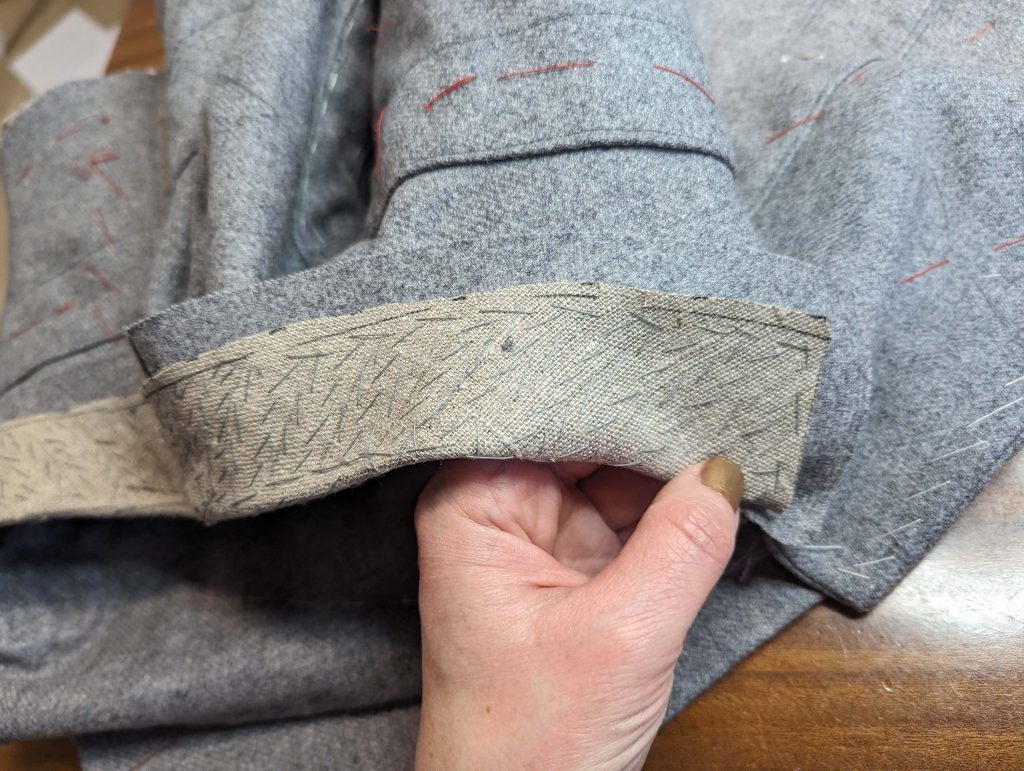
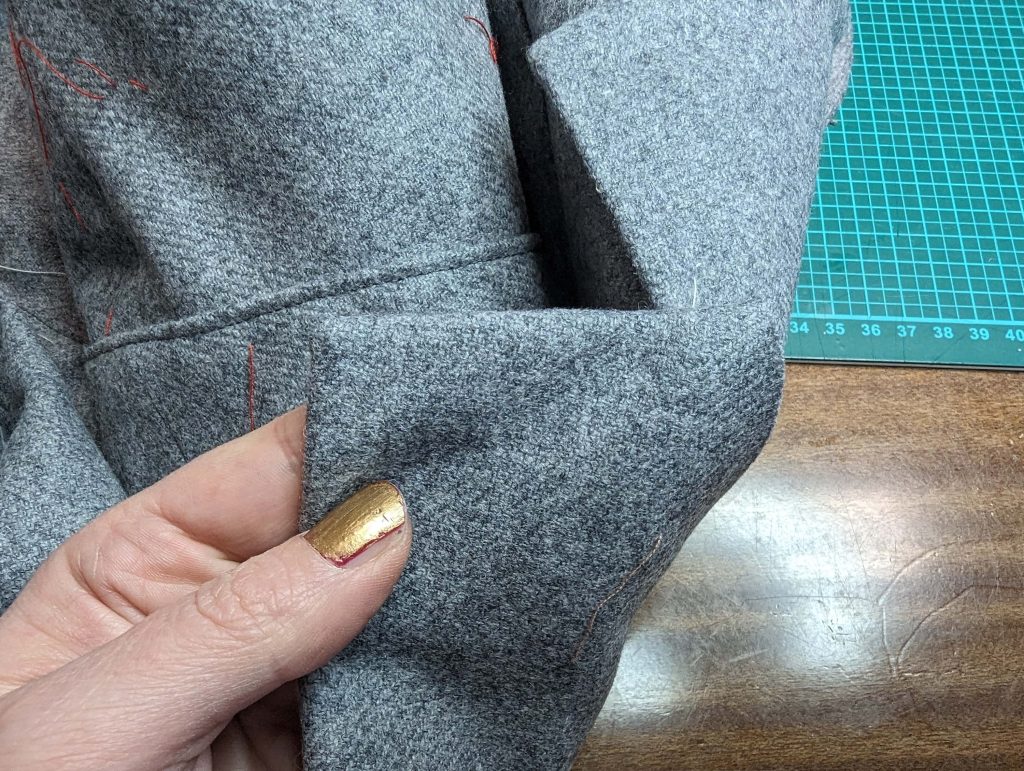
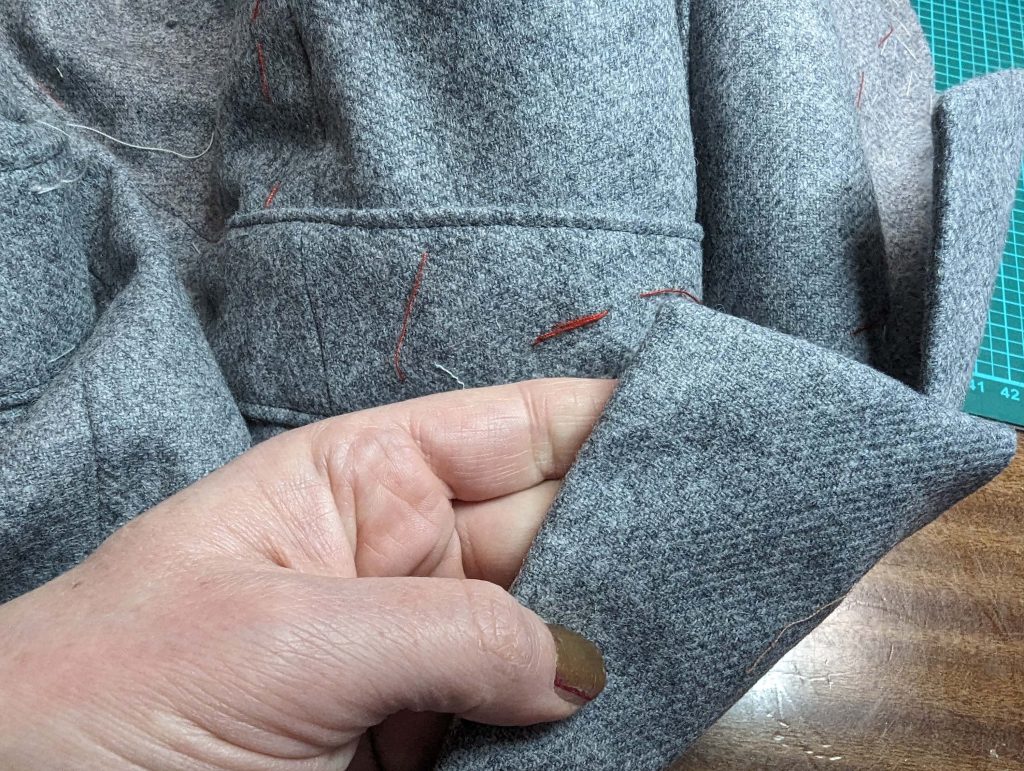
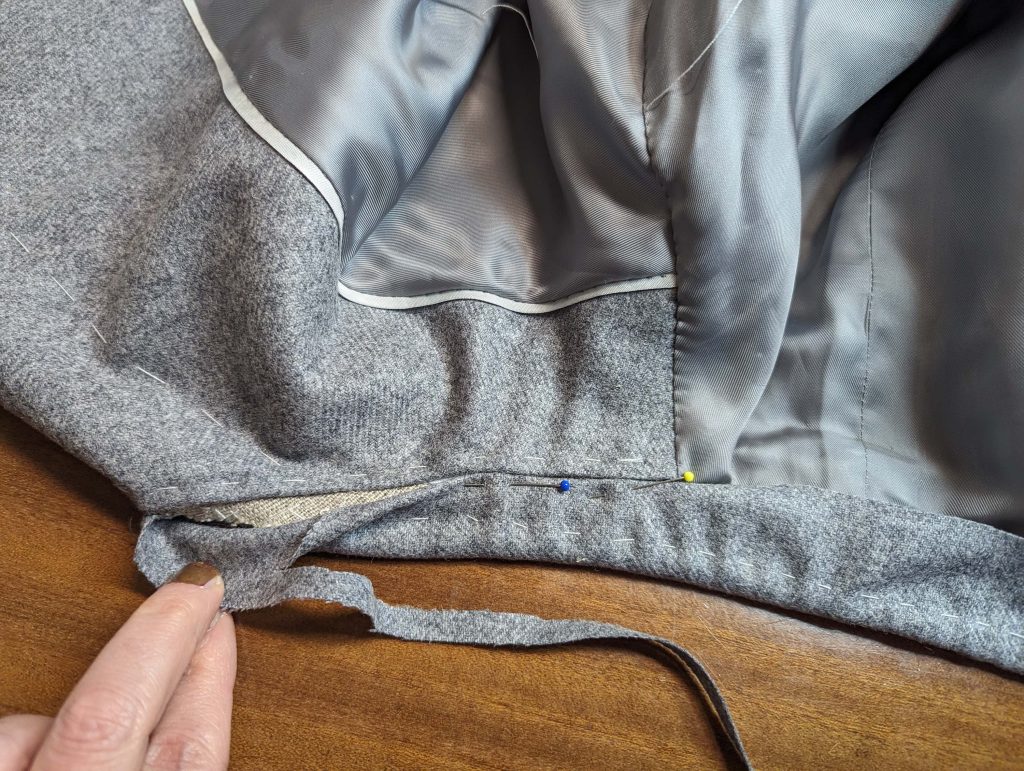
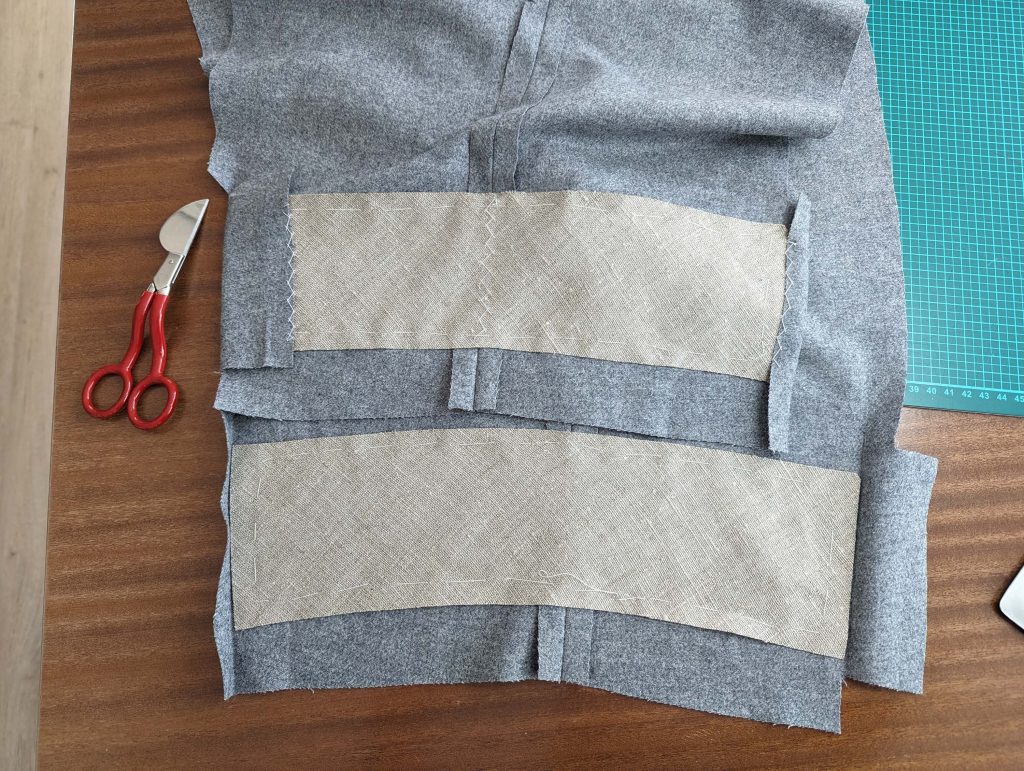
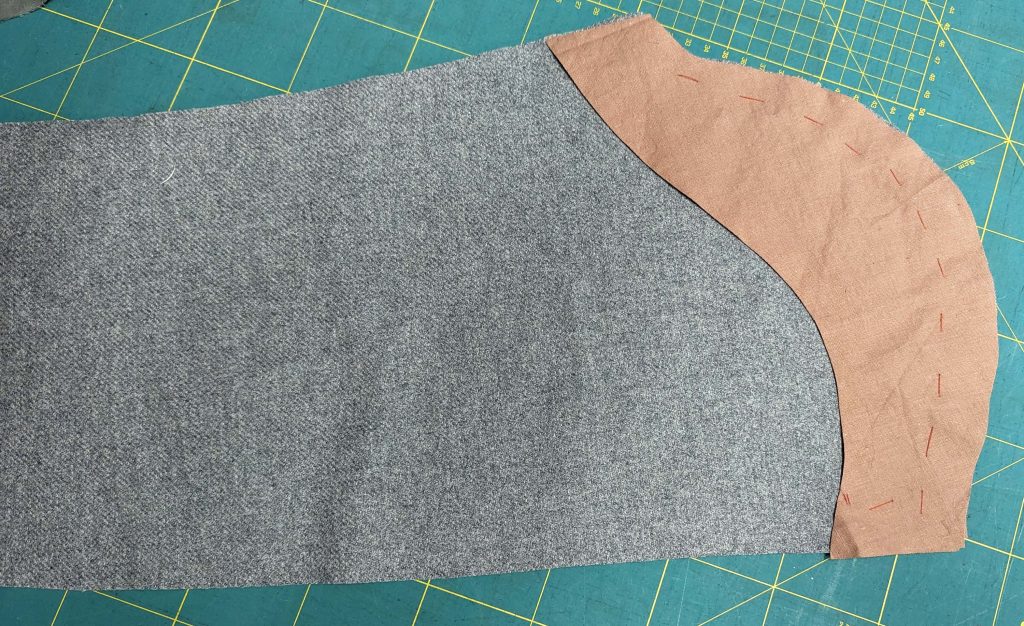
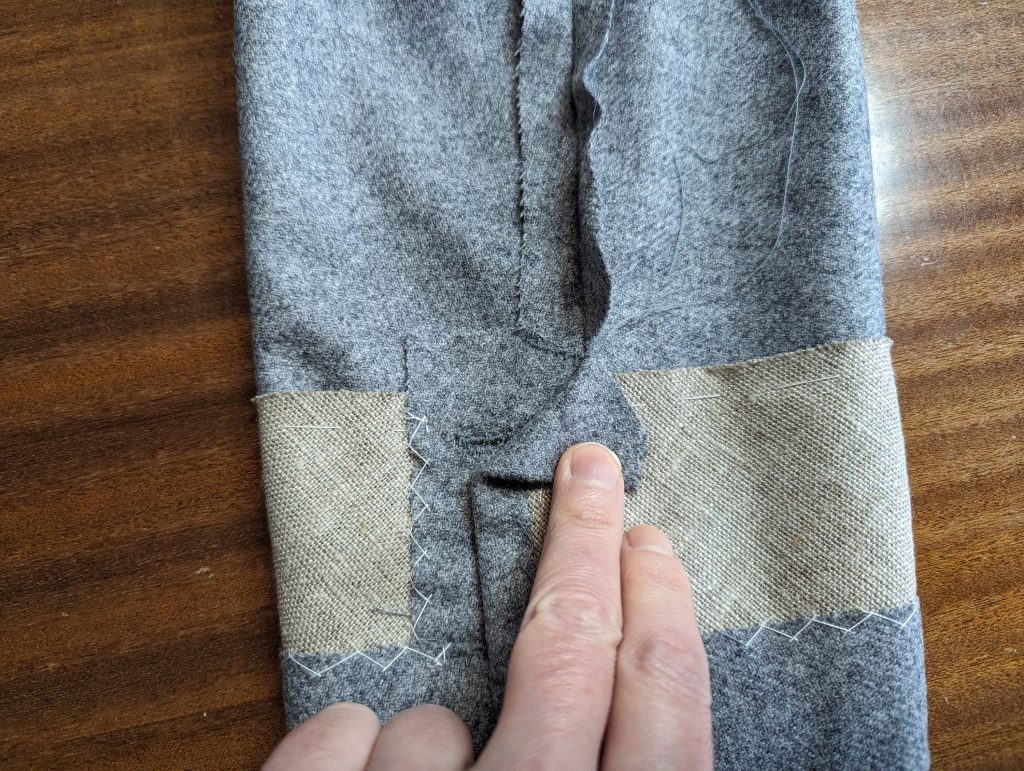
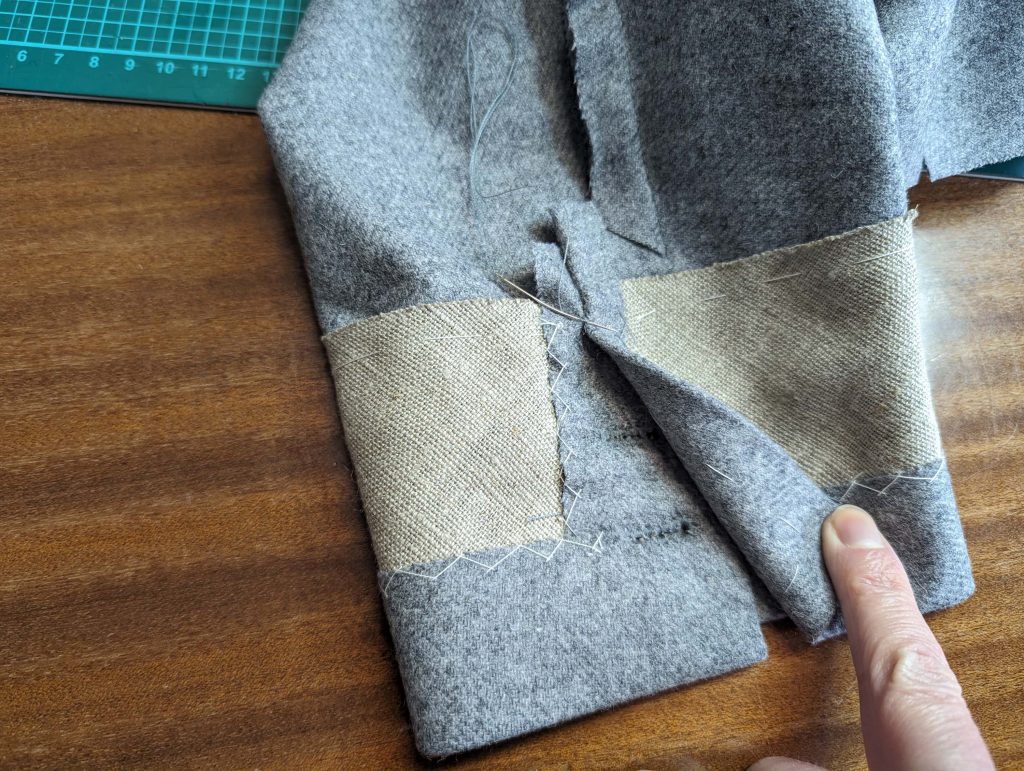
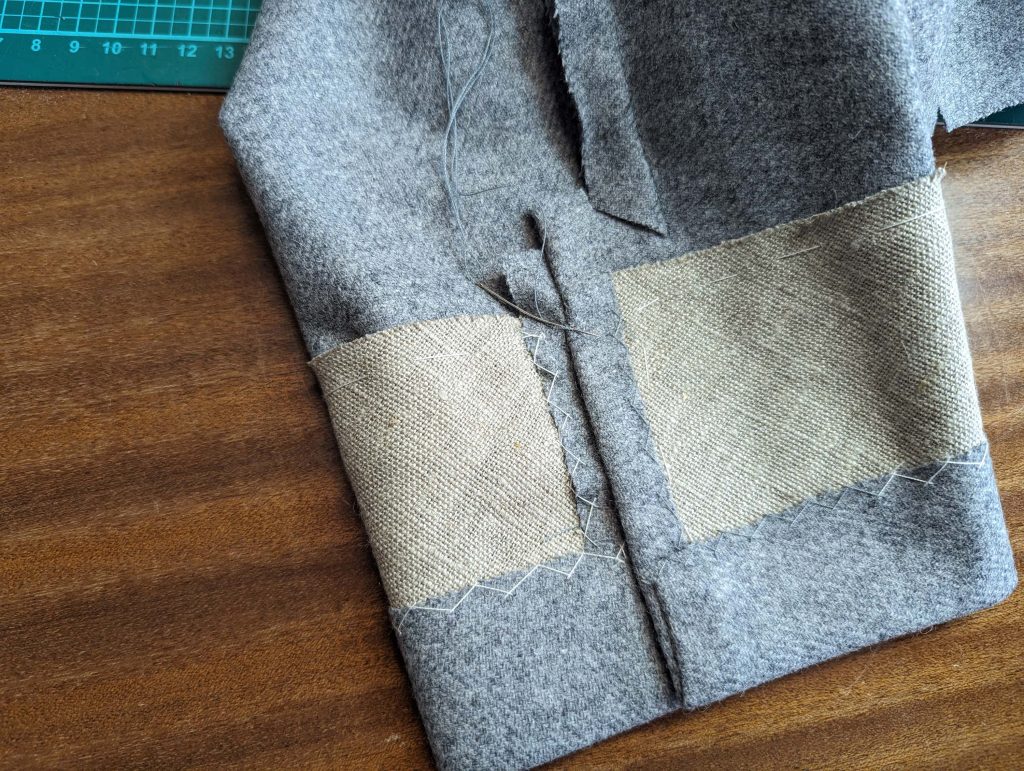
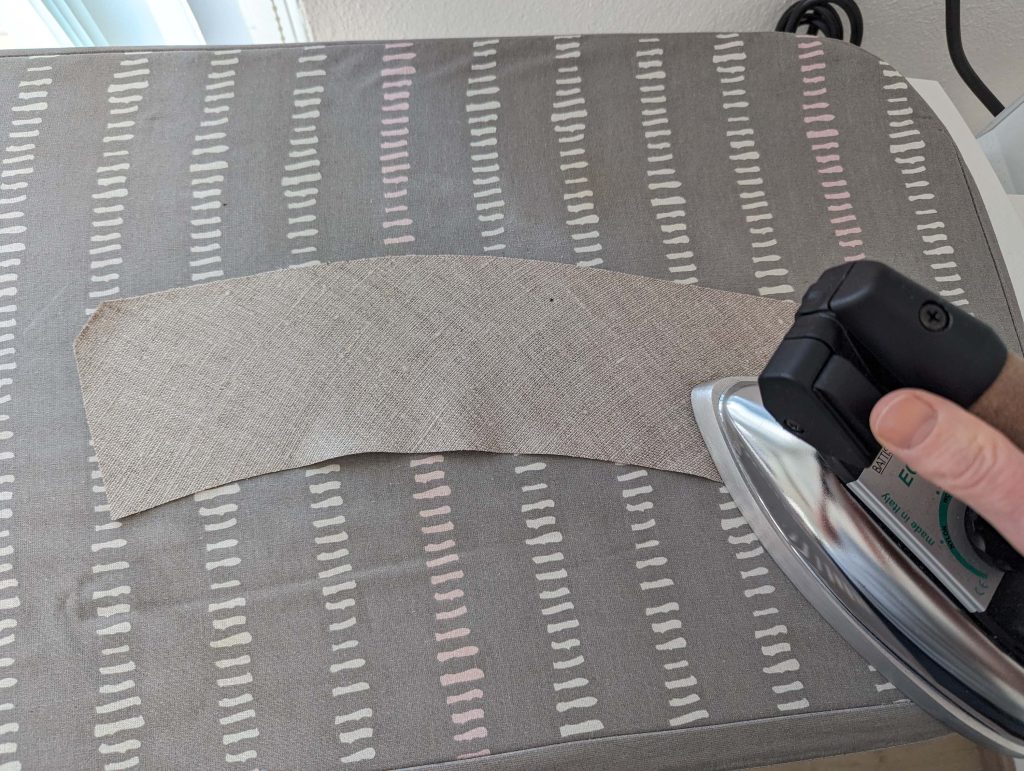
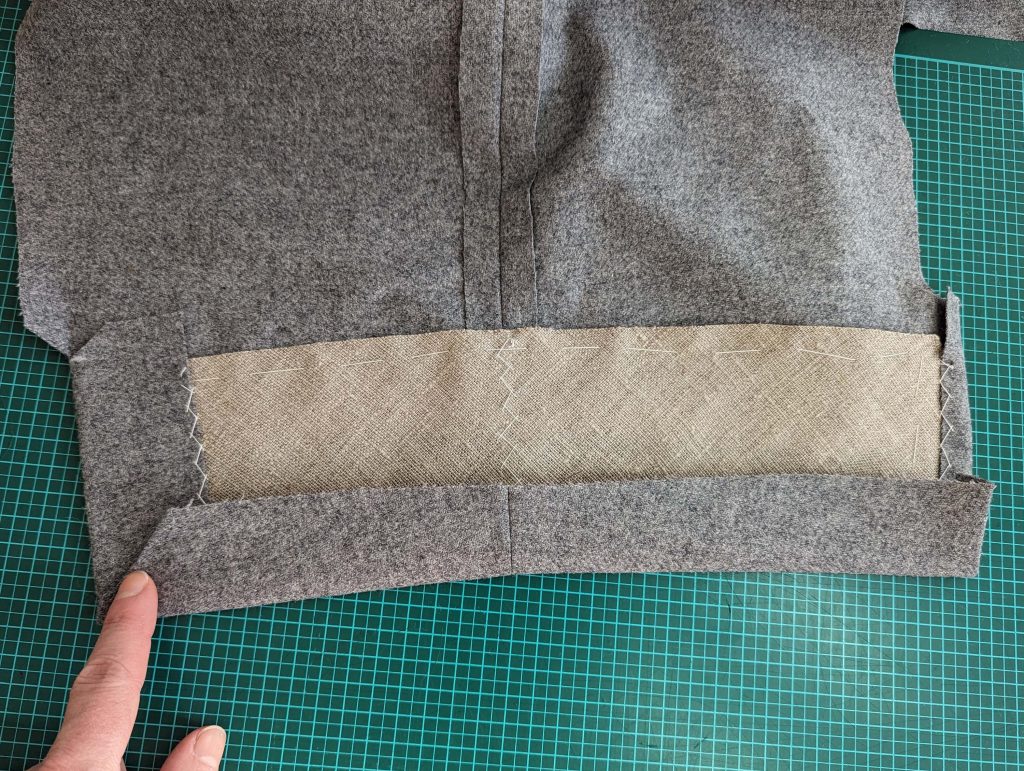
(18) Sew the front Ärmel seam and press open the seam allowances. Take the 4” (10cm) wide strap from the canvas, cut on the bias, and press it into a curved shape. Line up with the hemline of the sleeve, baste in place. Catch stitch to the seam allowance of the sleeve seam. Notch the seam allowance of the top sleeve at mark (8) and turn in the vent facing, fell stitch to the canvas. Turn in the seam allowance of the placket and fell stitch to the canvas. Optionally, interface the sleeve head with a piece of cotton.
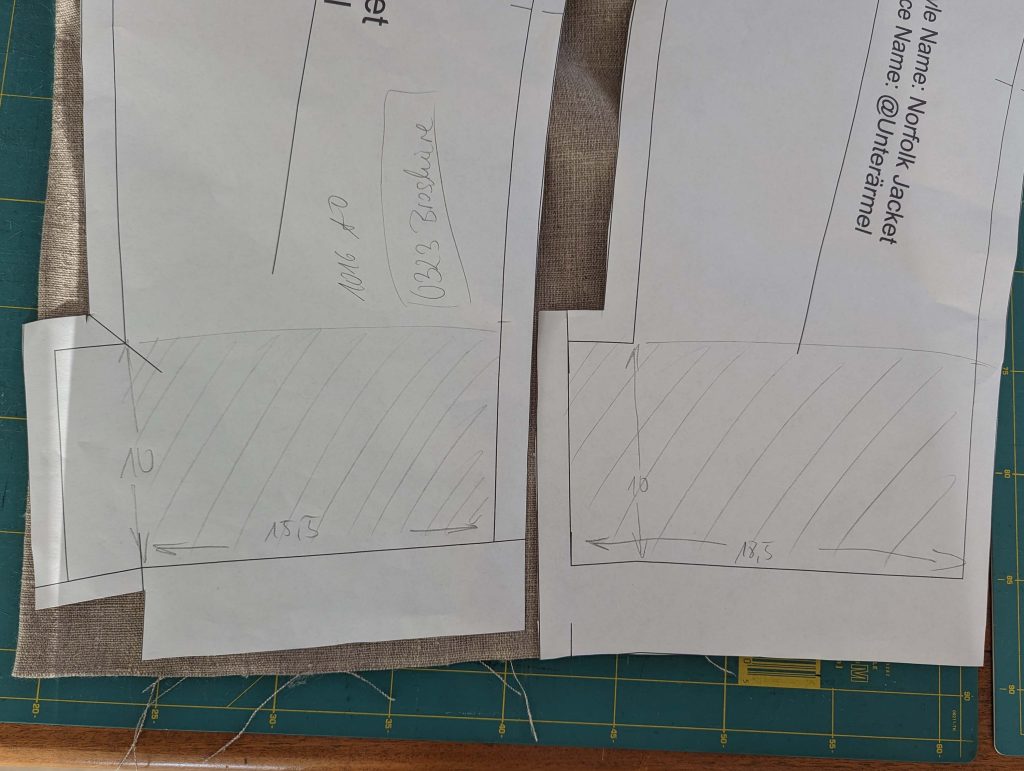
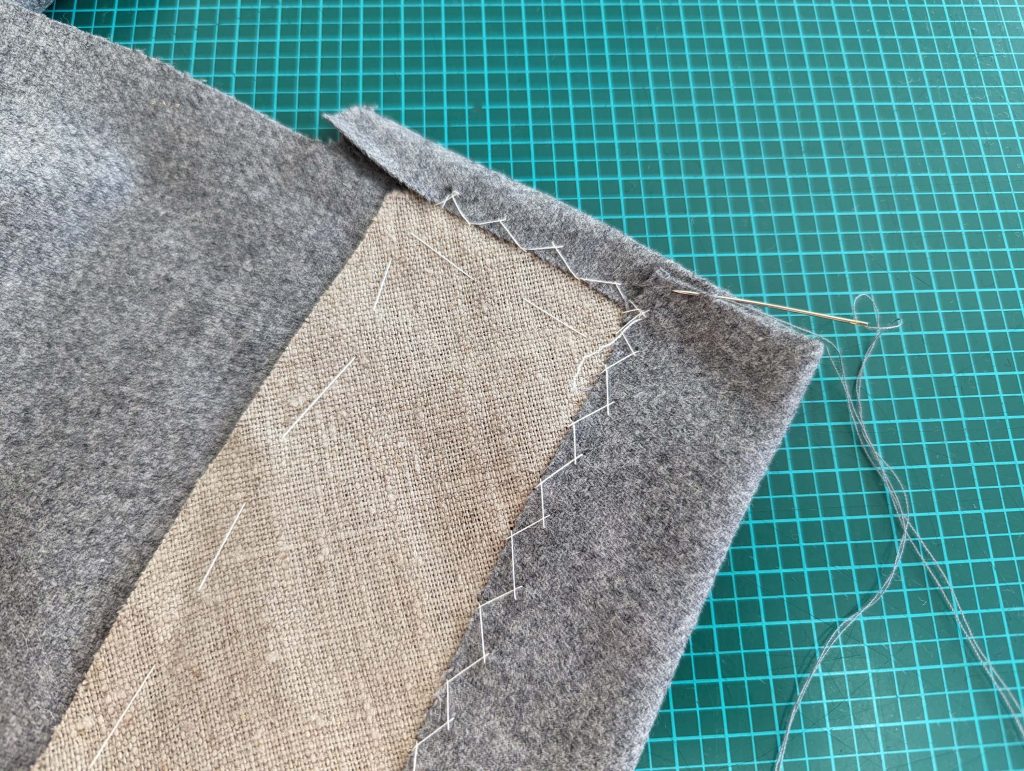
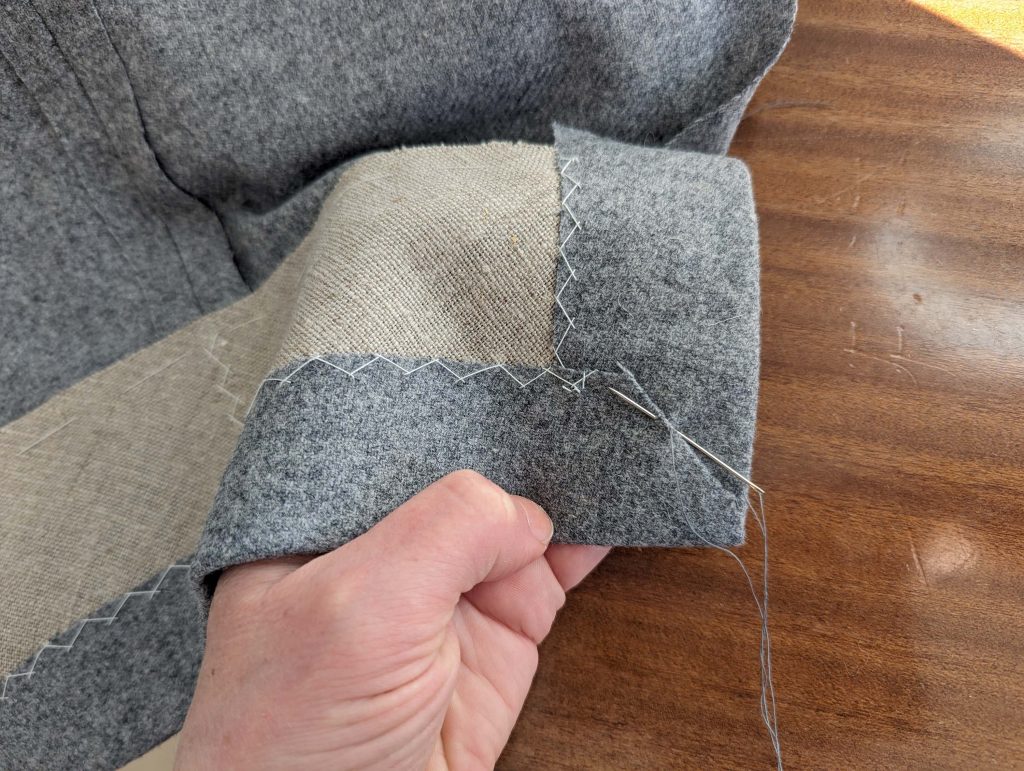
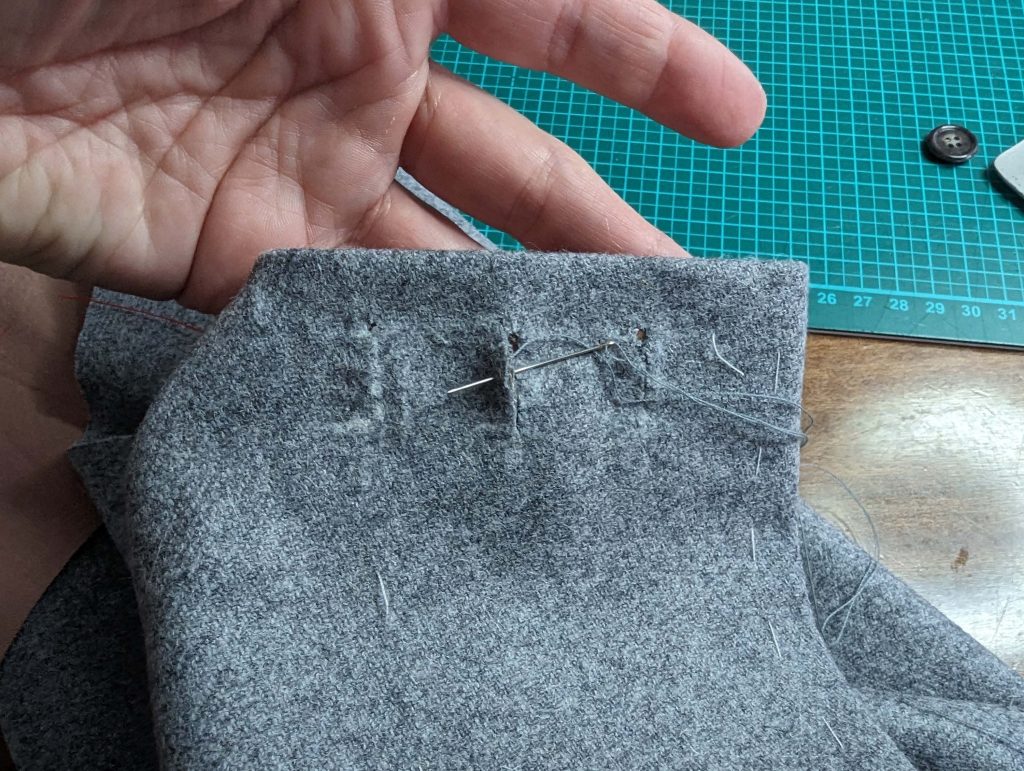
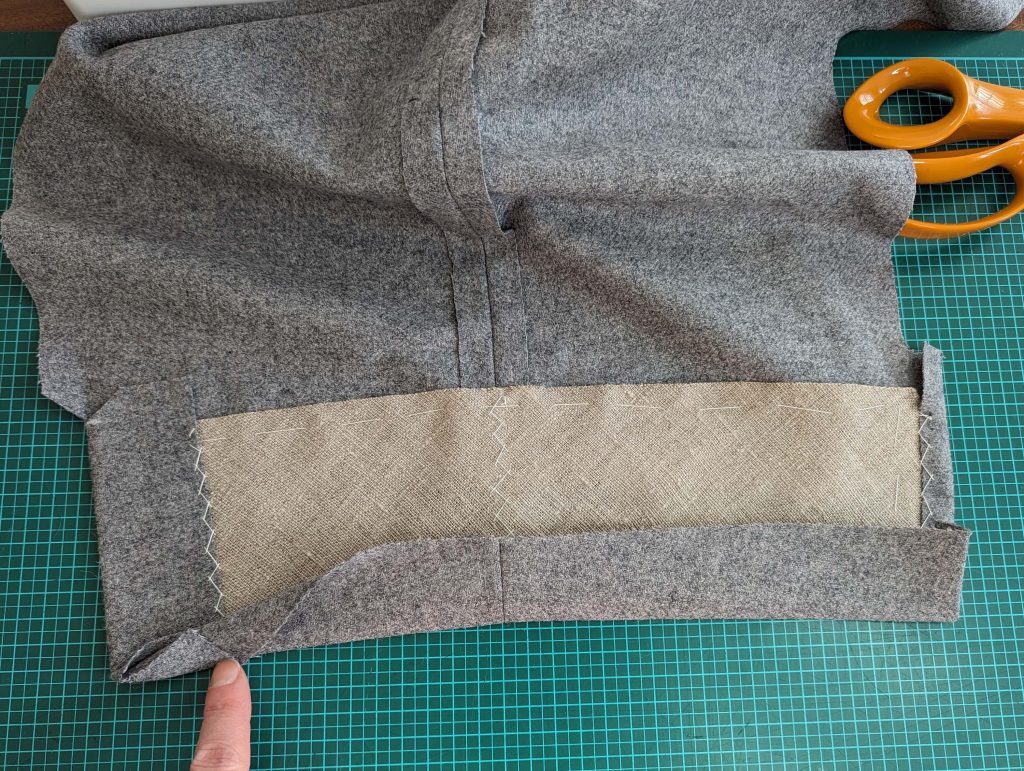
Turn in the hem allowance, stretch the edge, turn in the corner and catch stitch to the canvas, fell stitch along the short edges. Finally, press the hem, and sew the button-holes.
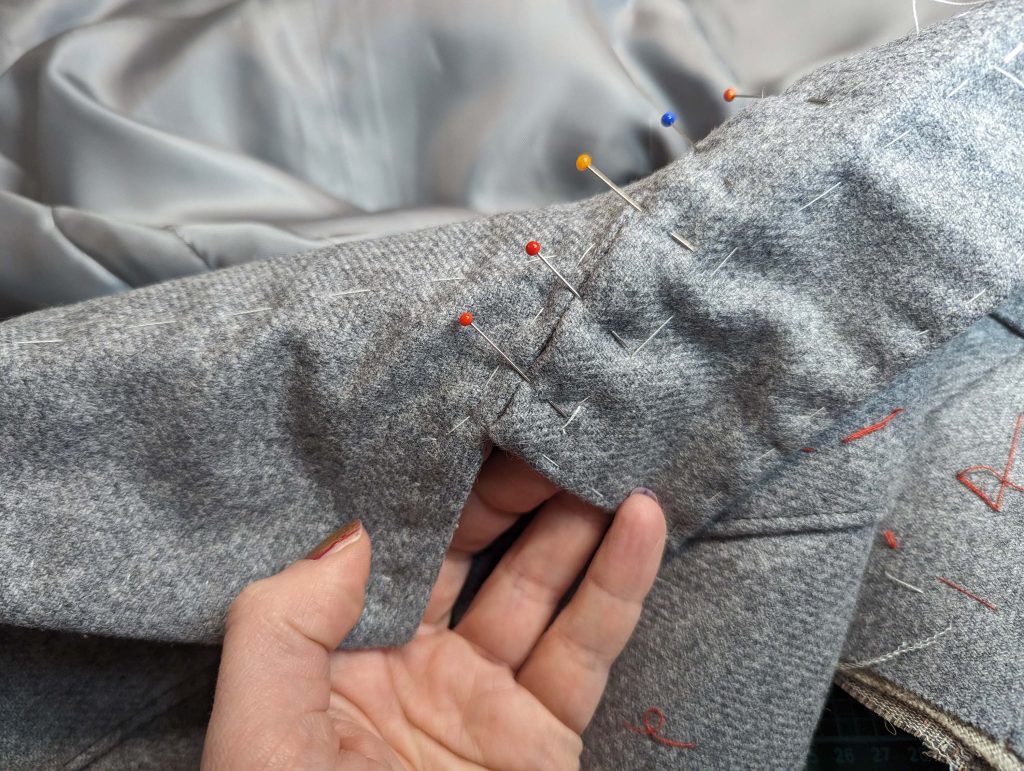
Sew the back sleeve seam, taking great care, that your vent edges are the same length. Notch the seam allowance of the under sleeve at mark (6) and press open the seam allowances of the back sleeve seam. Sew the top edge of the placket to the vent facing, and leave the sleeve turned the wrong side out.
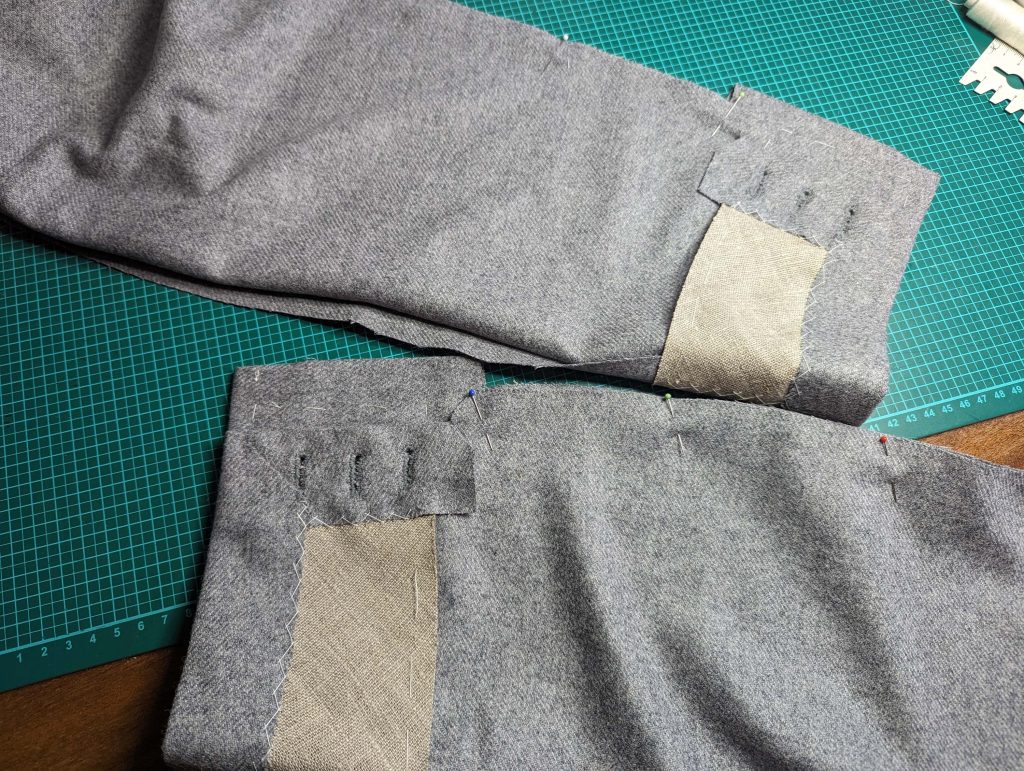
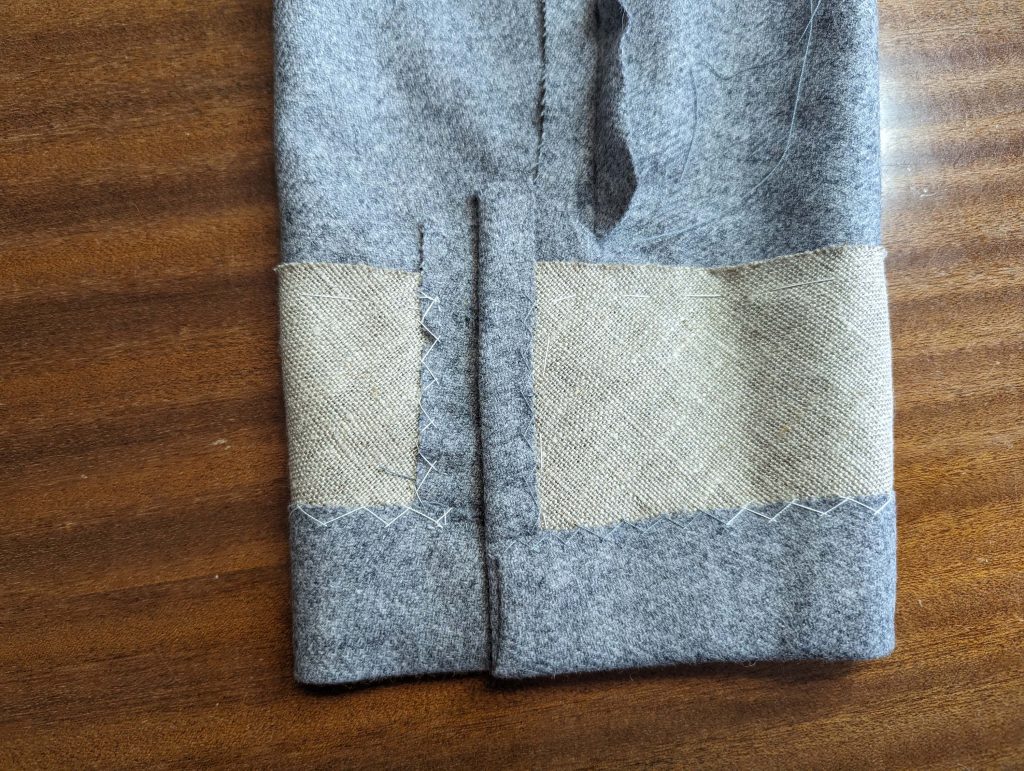
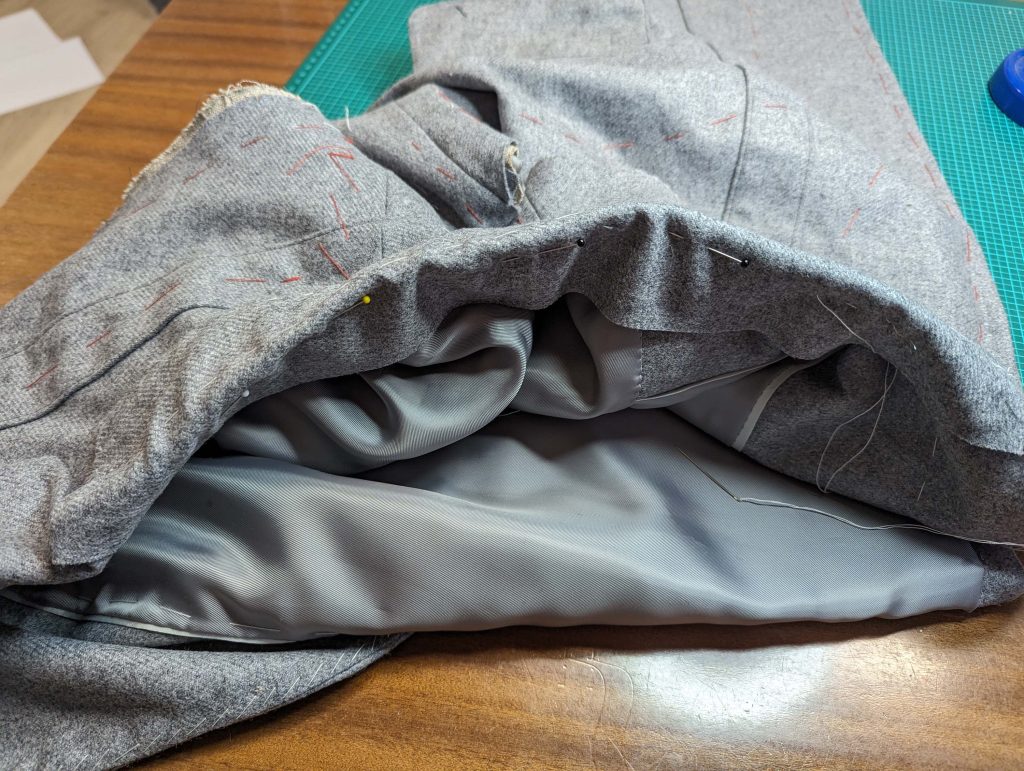
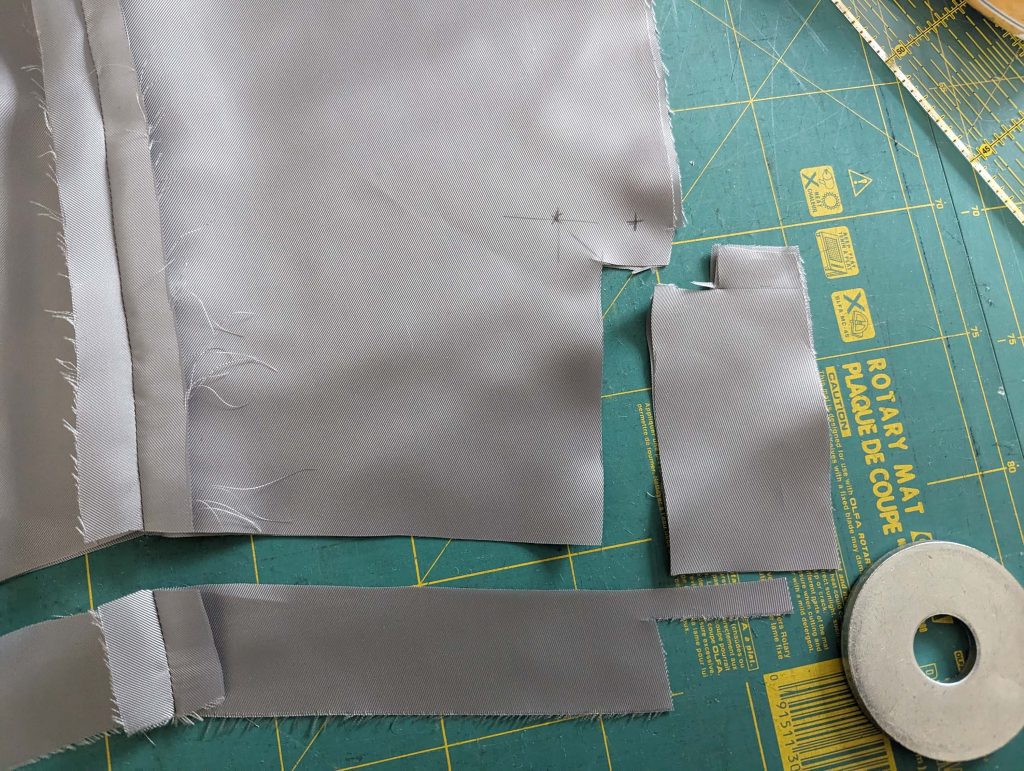
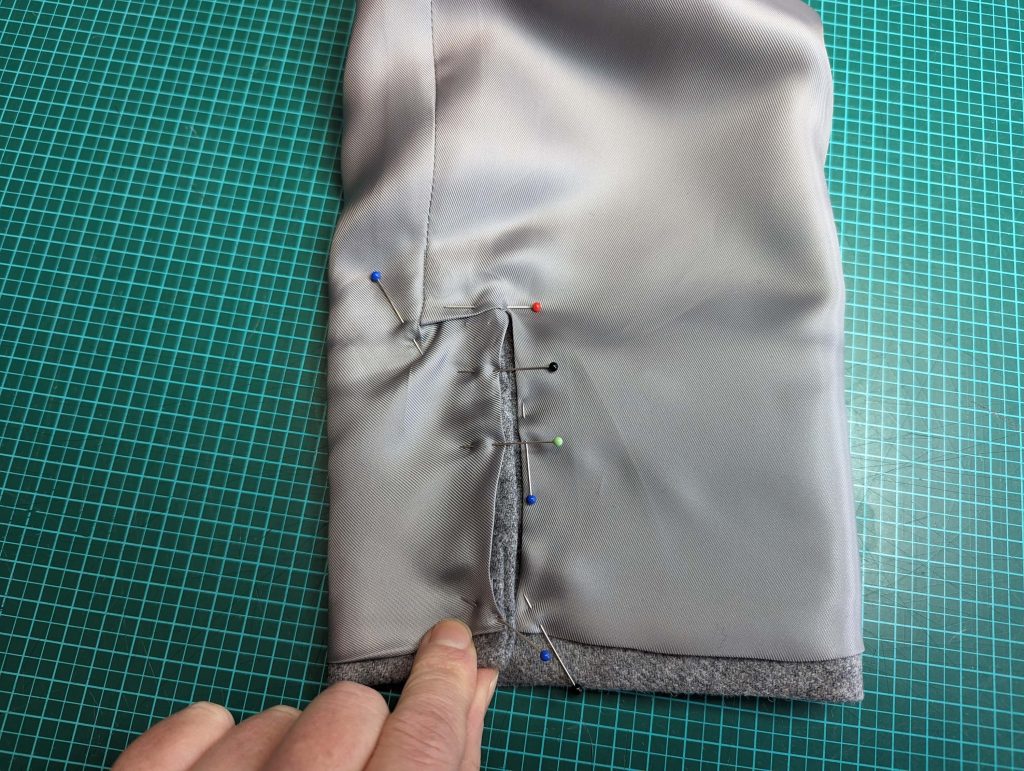
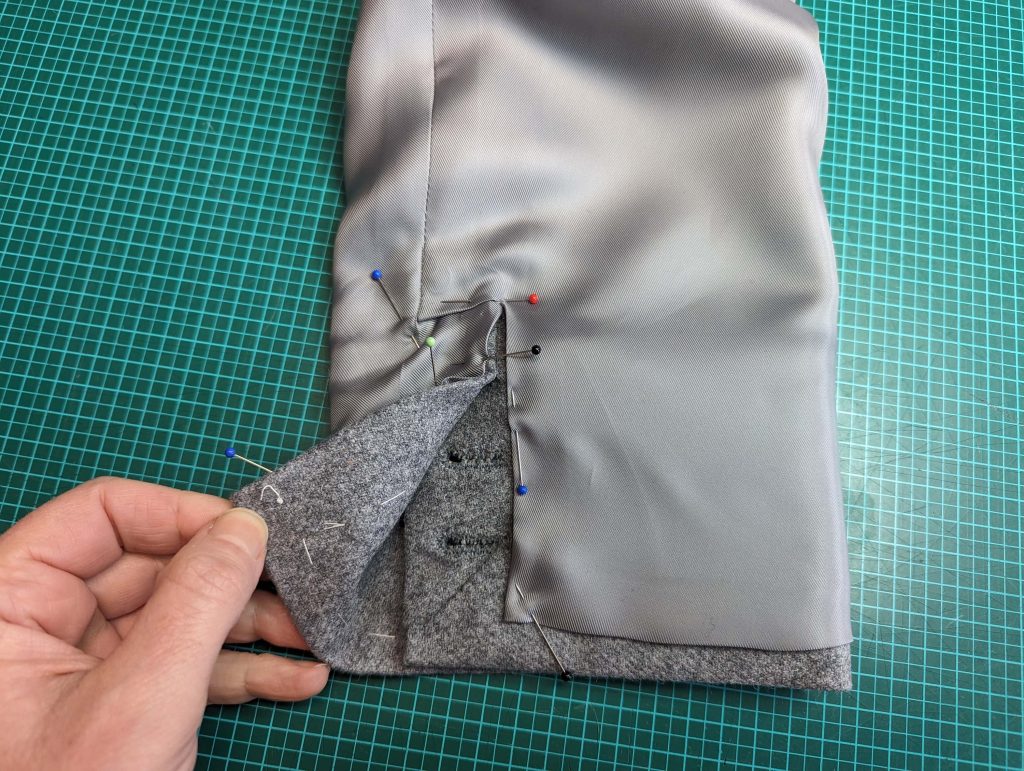
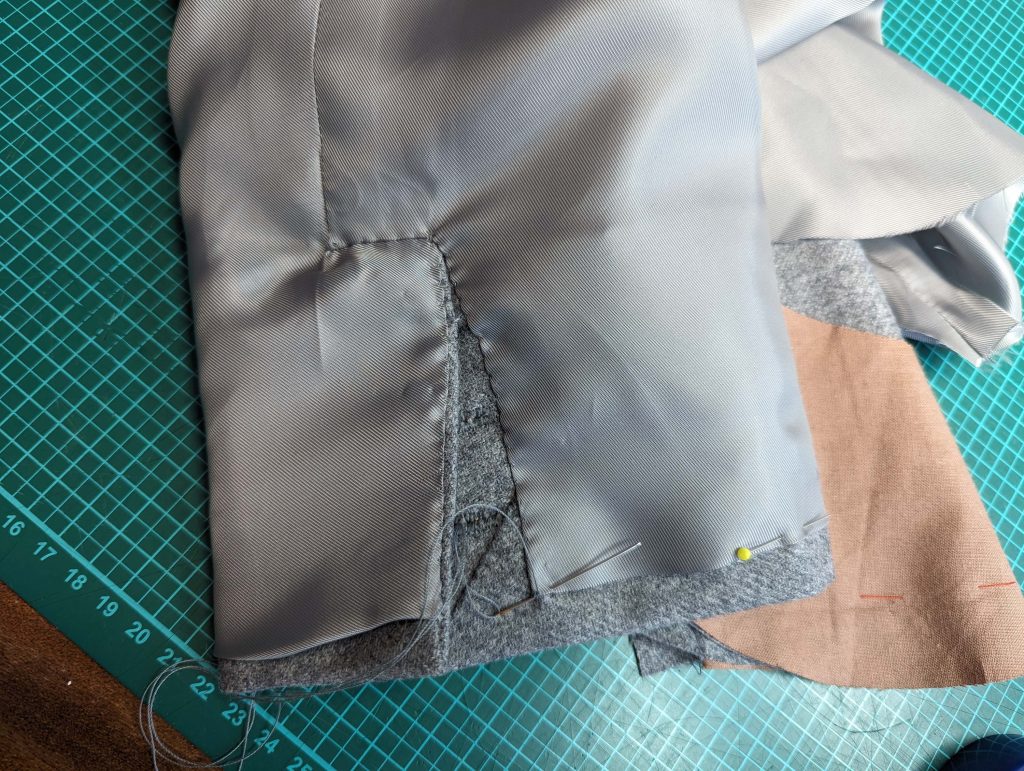
Cut the sleeve lining as described on page 3 of the instructions. Sew the sleeve lining, leaving open the vent (stop at mark (6)). Turn in a seam allowance of 5/8” (1,5cm) along the hem. Turn the lining with the right side out. Pull over the sleeve from fashion fabric, wrong sides together, and match up all seams. Turn in seam allowances to fit the vent, and notch the lining at the corner. Fell stitch in place. Turn the sleeve with the right side out and pull down the lining a bit out of the way while inserting the sleeve.
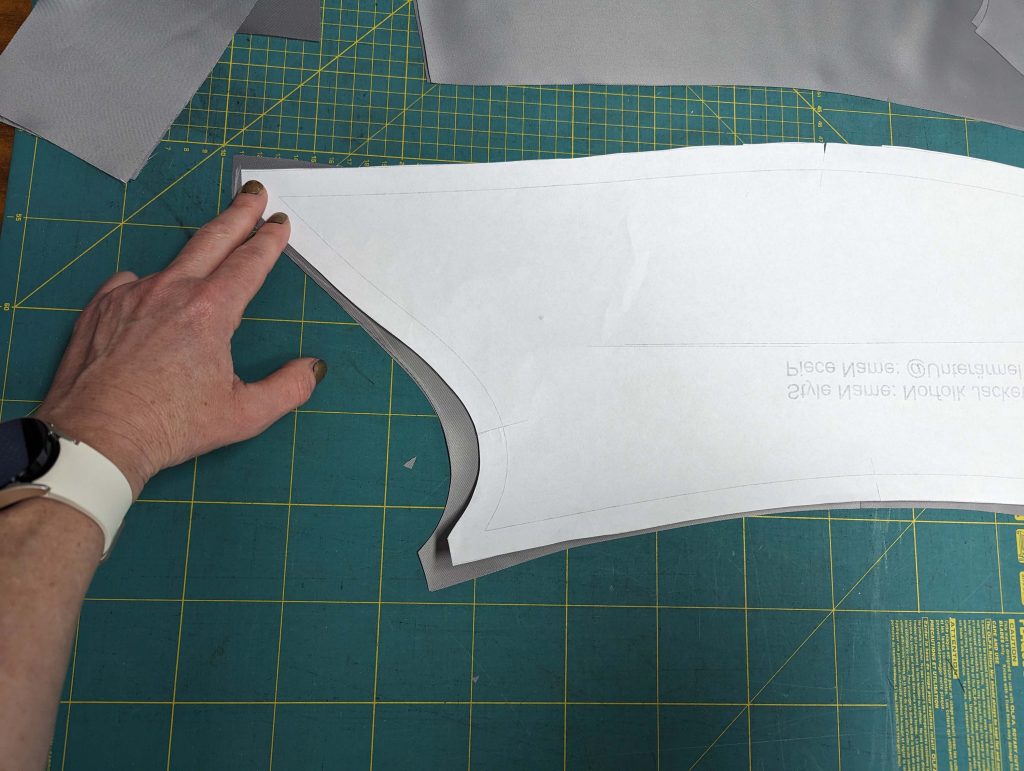
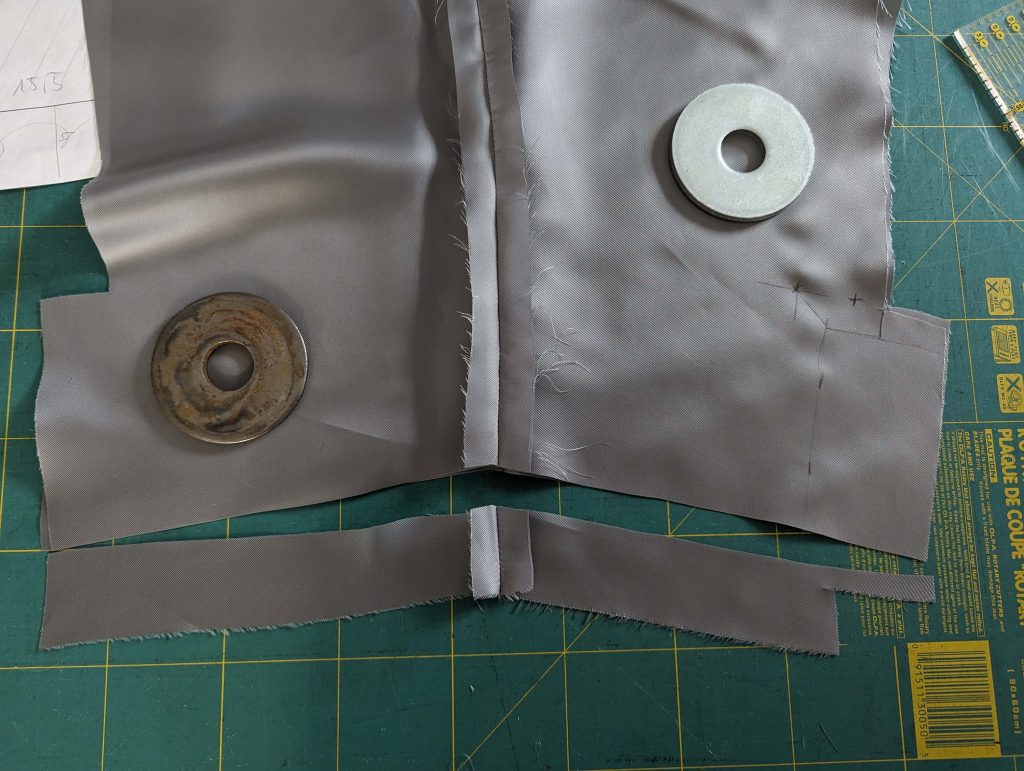
Before inserting the sleeve, check the right position of the shoulder pad and baste in place along the back edge.
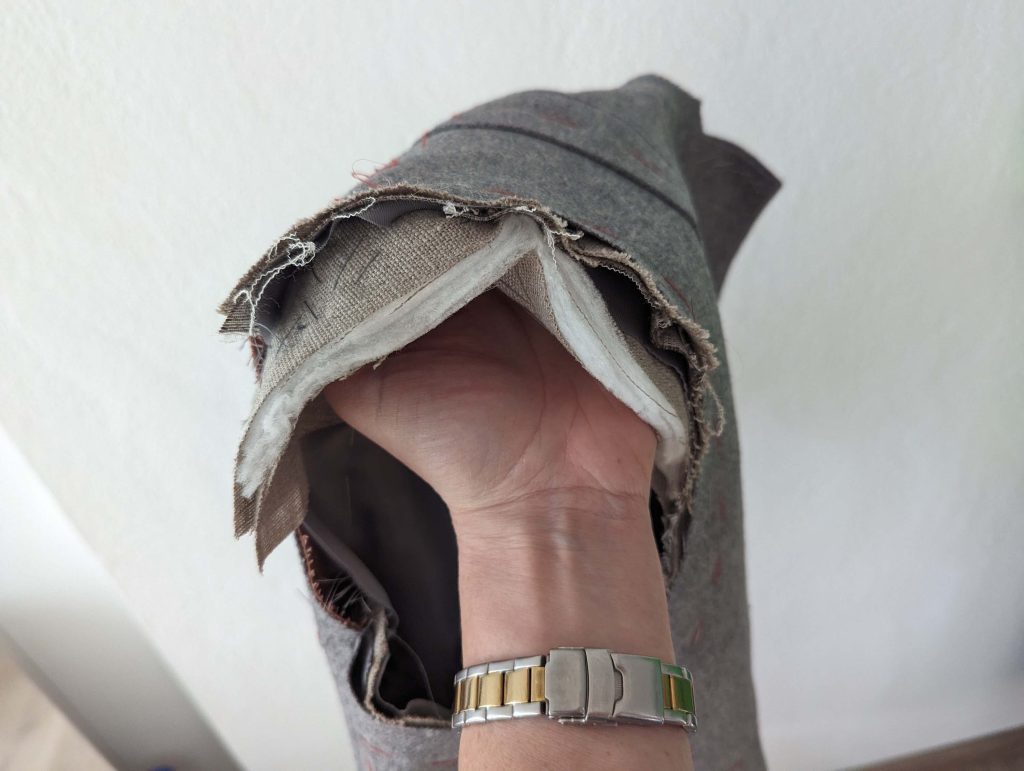
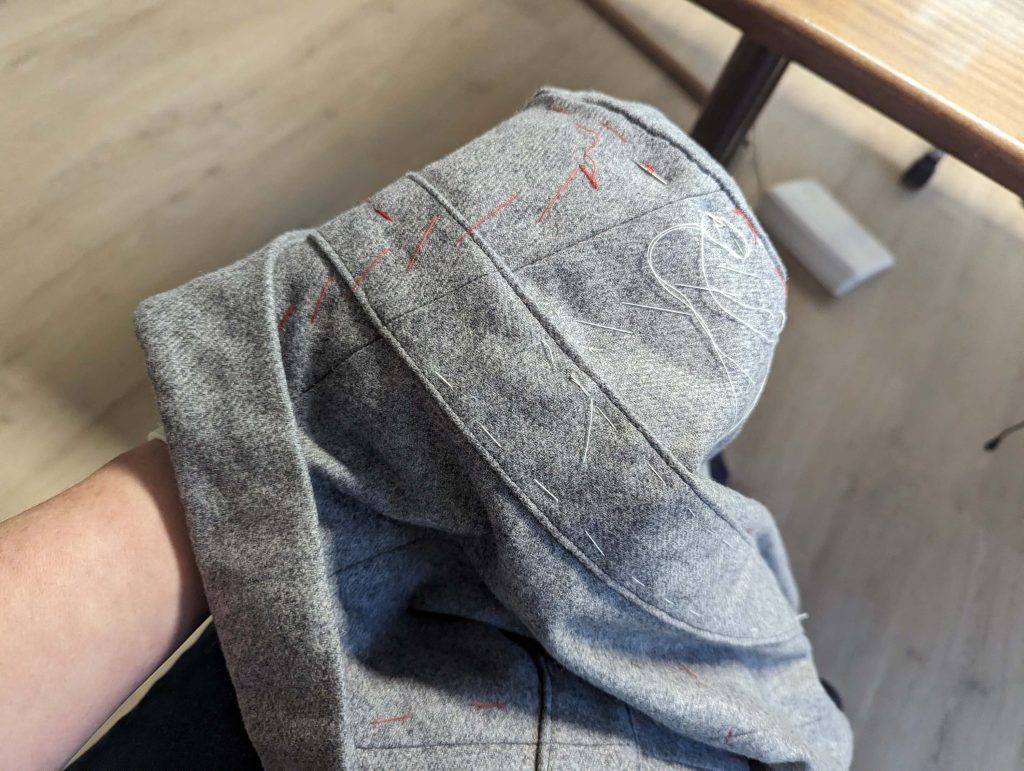
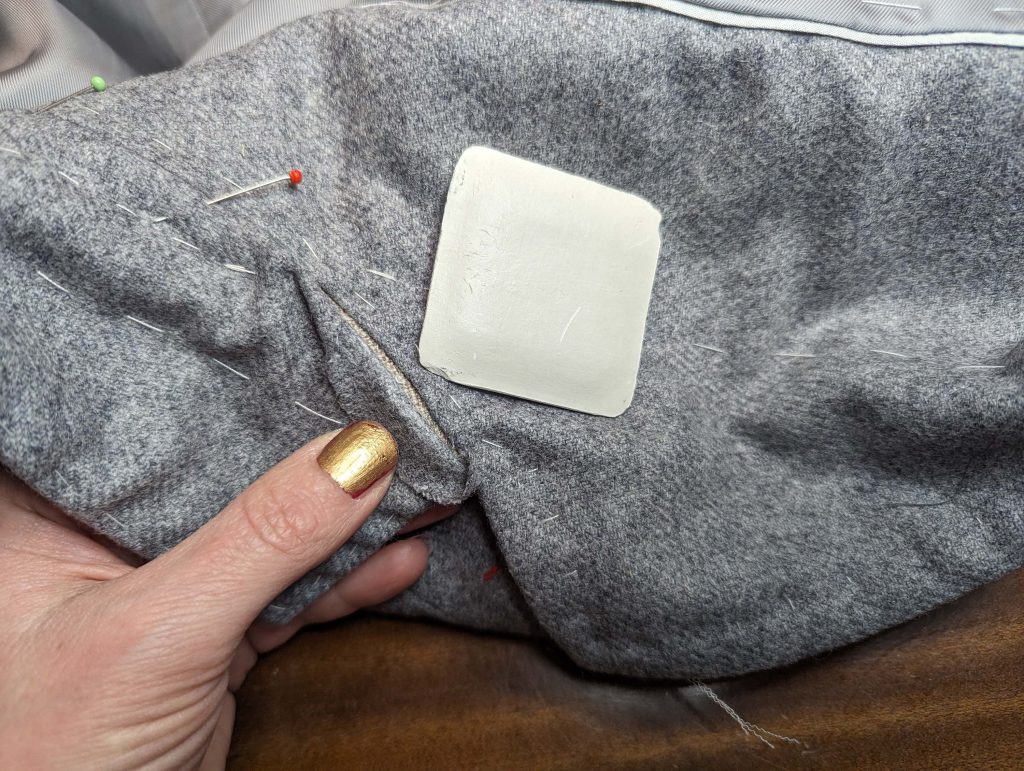
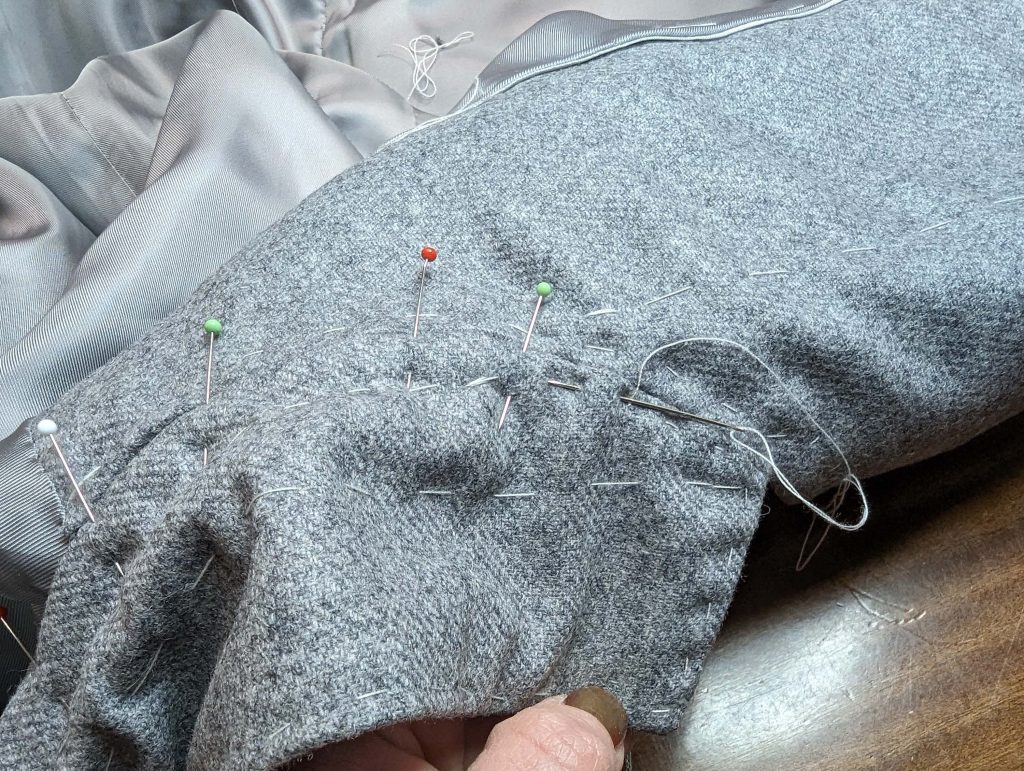
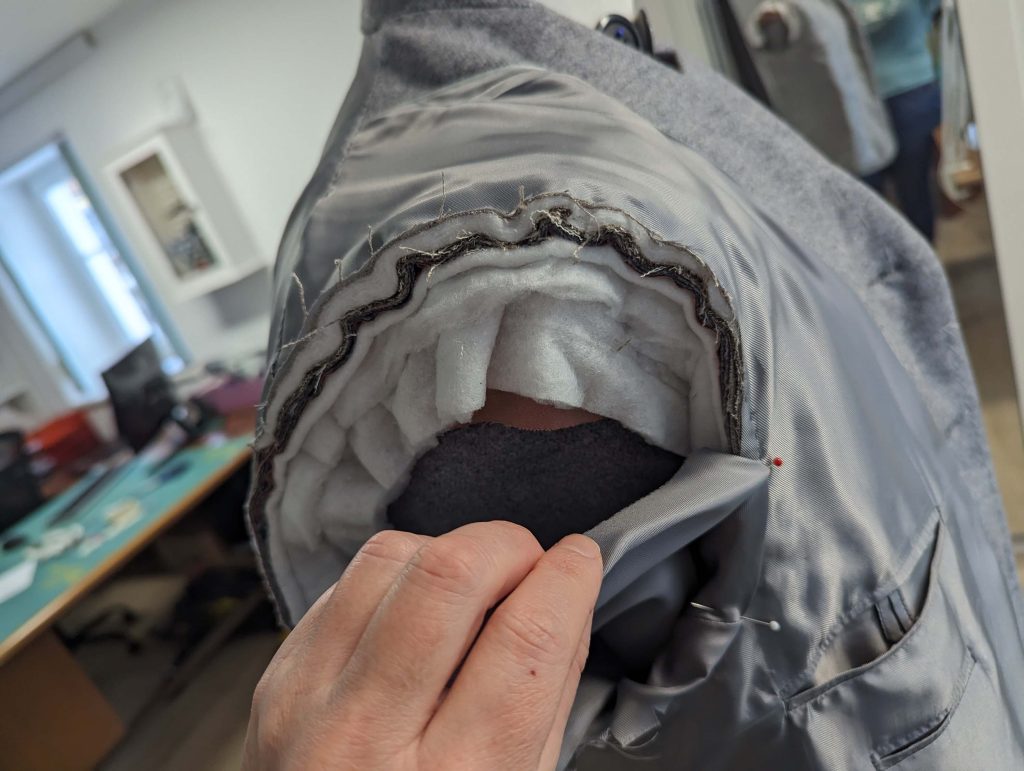
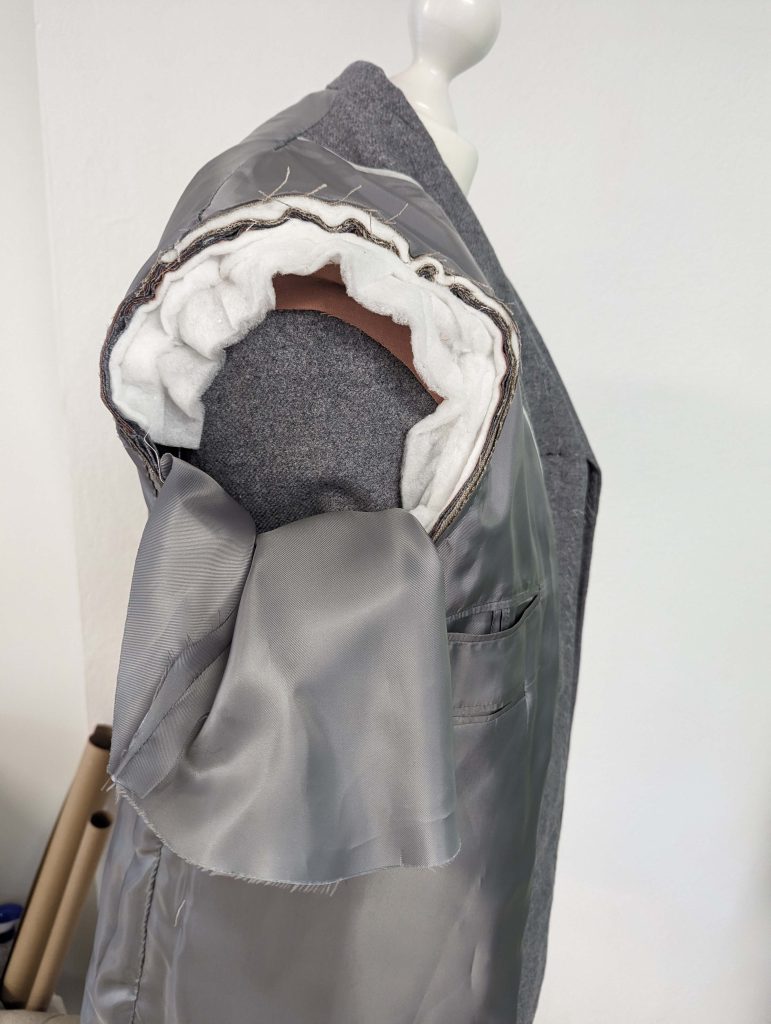
Pin the sleeve into the armhole, right sides together, matching all marks. Start at the front sleeve seam, follow the armpit to the back sleeve seam, and continue along the sleeve head. Pull the threads to ease in the excess fabric. First baste, then sew (I decided to stitch with the sewing machine – worked well) the sleeve to the fashion fabric only, folding the canvas and the shoulder pad to the side.
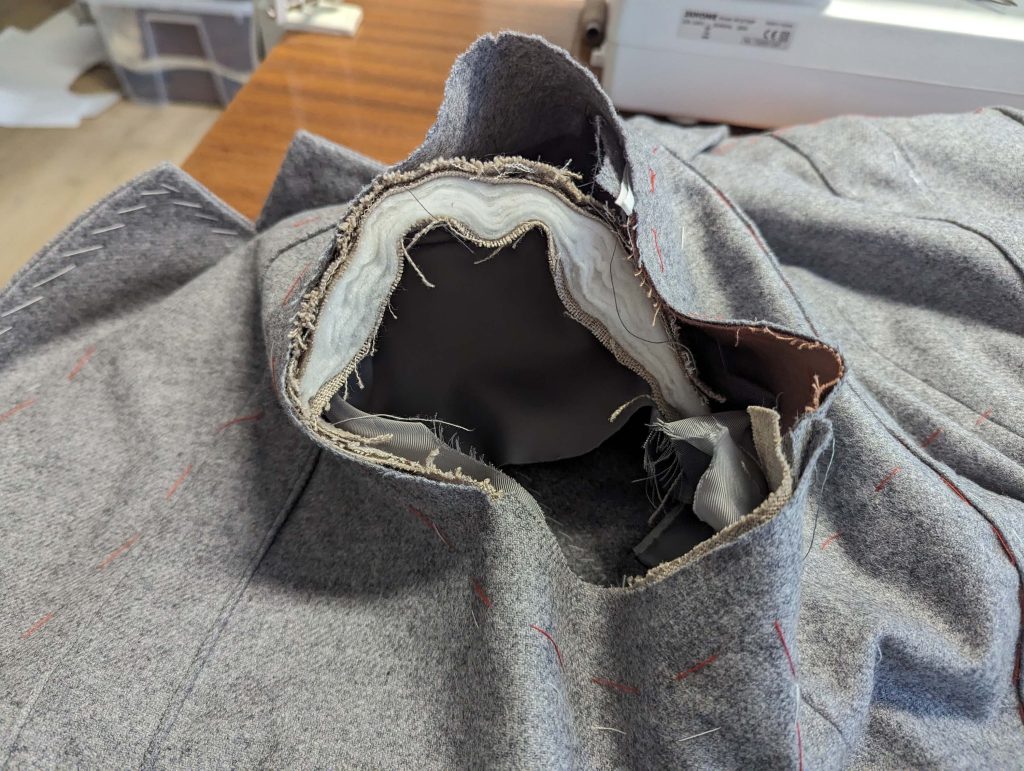
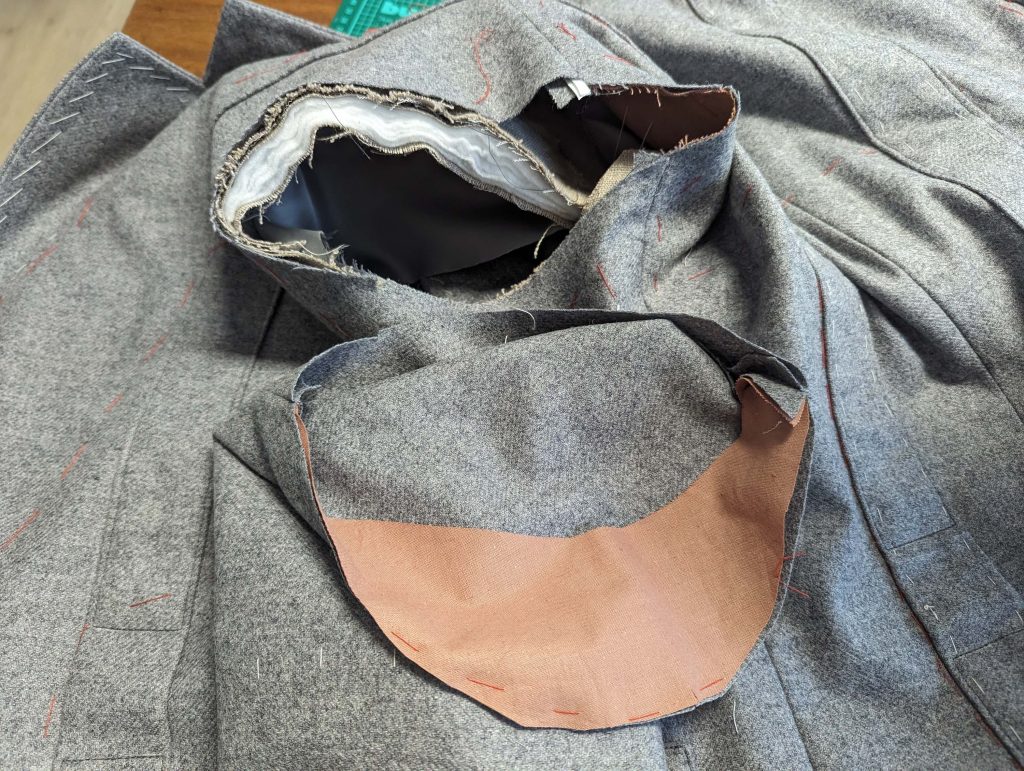
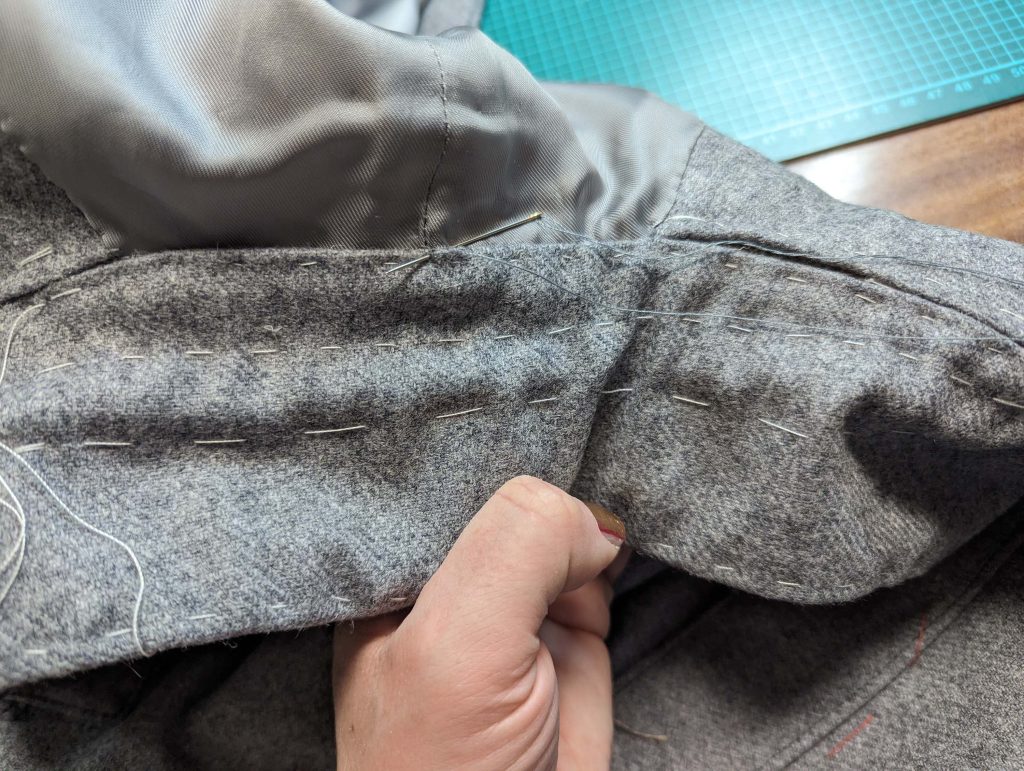
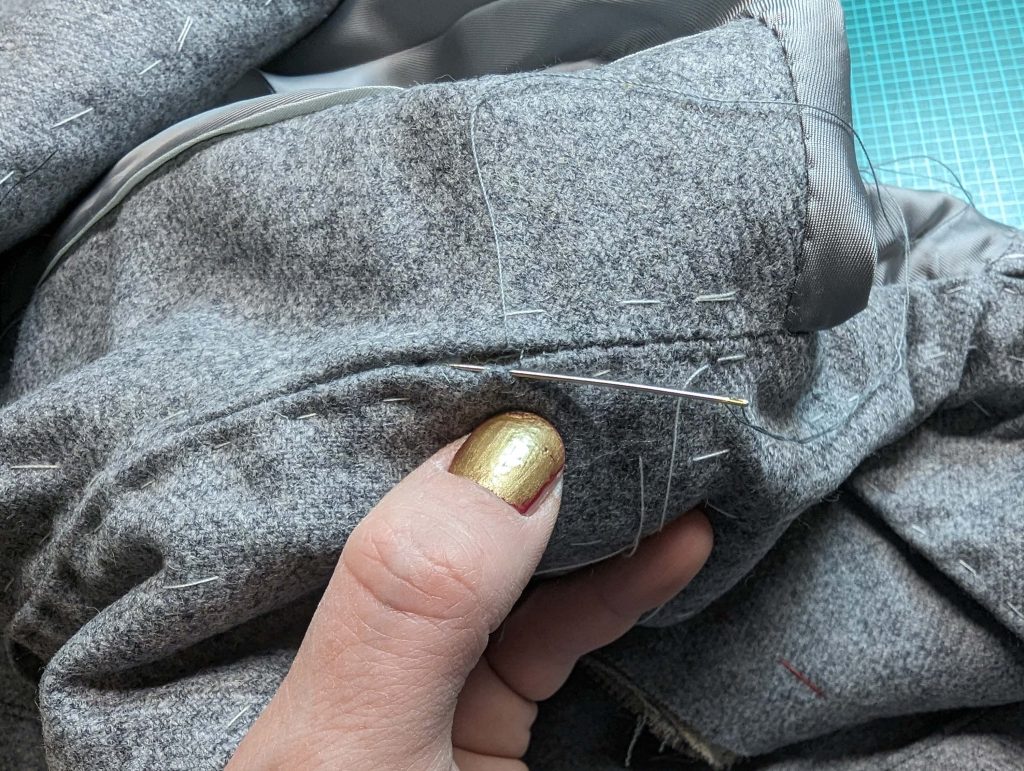
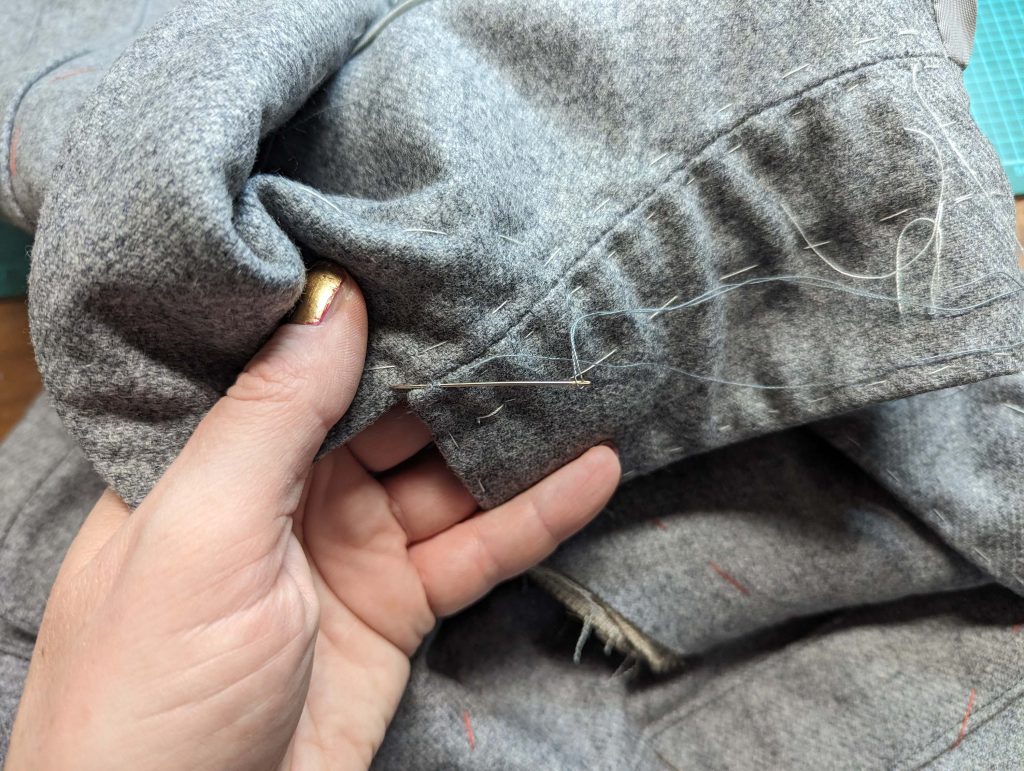
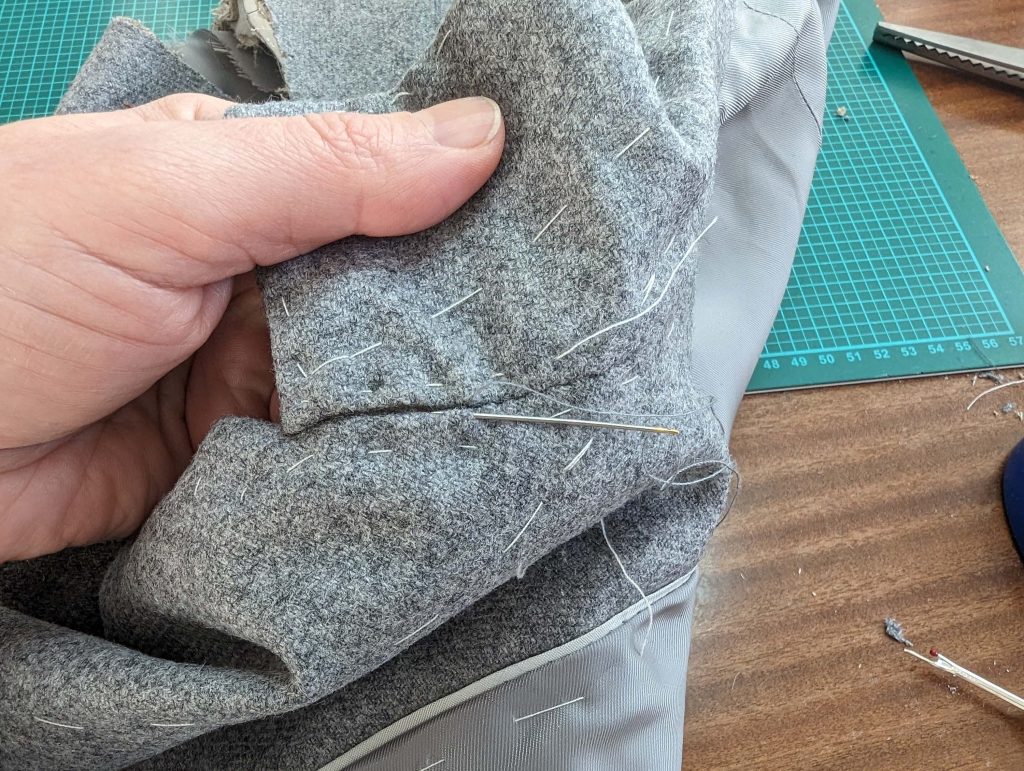
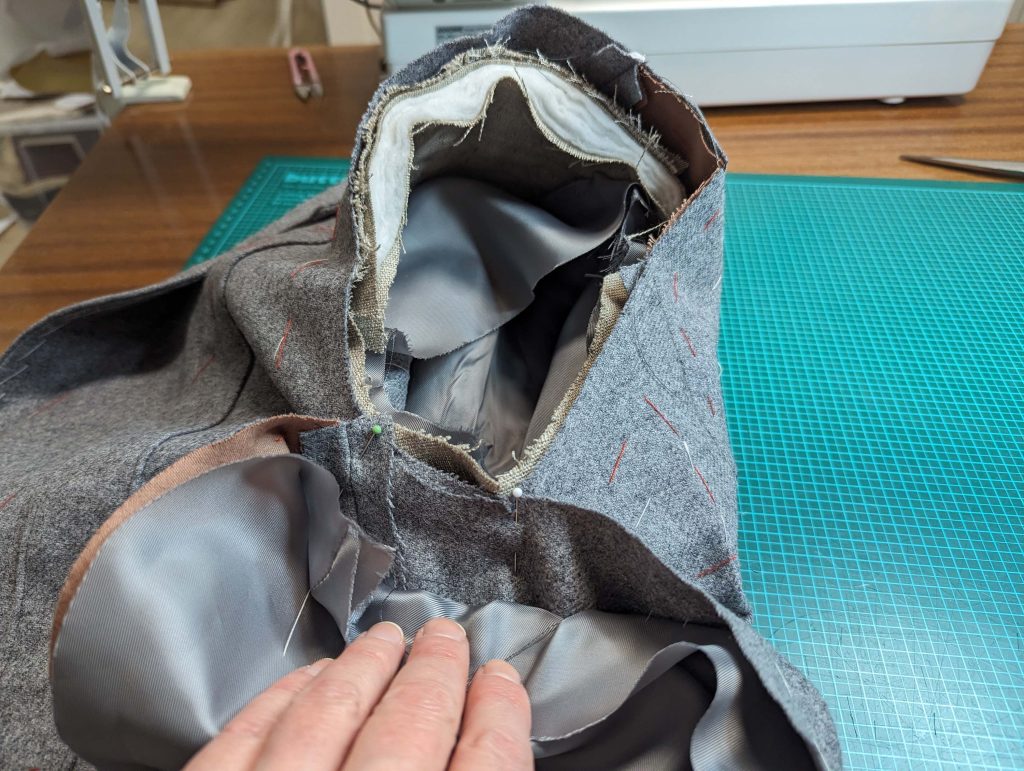
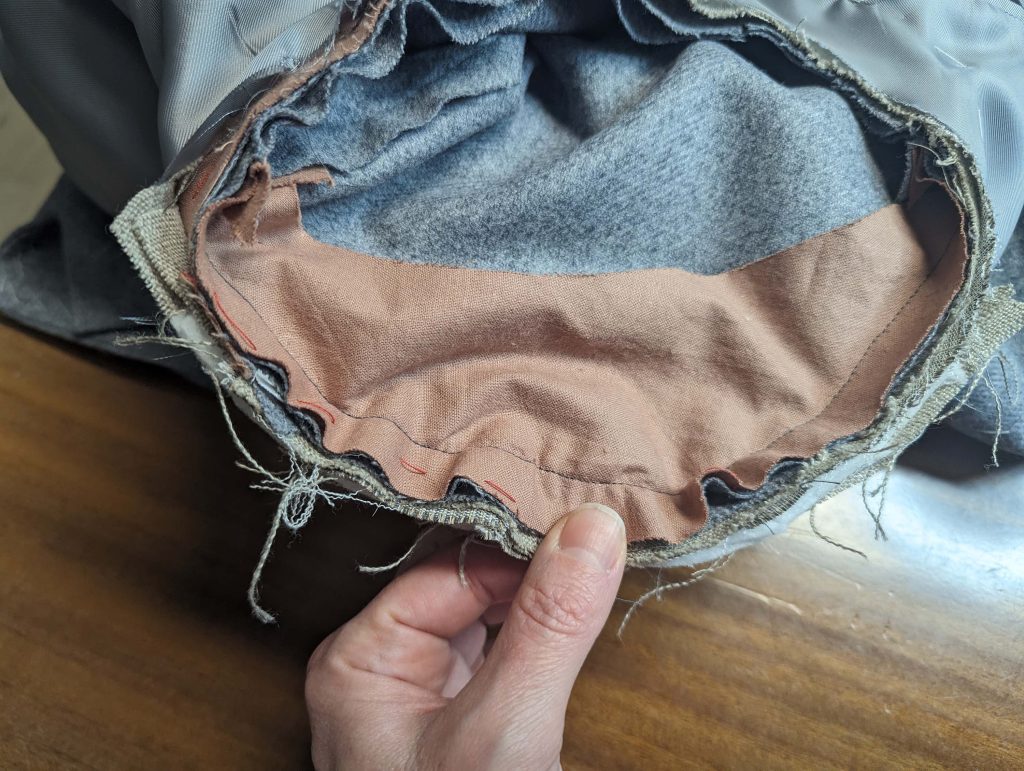
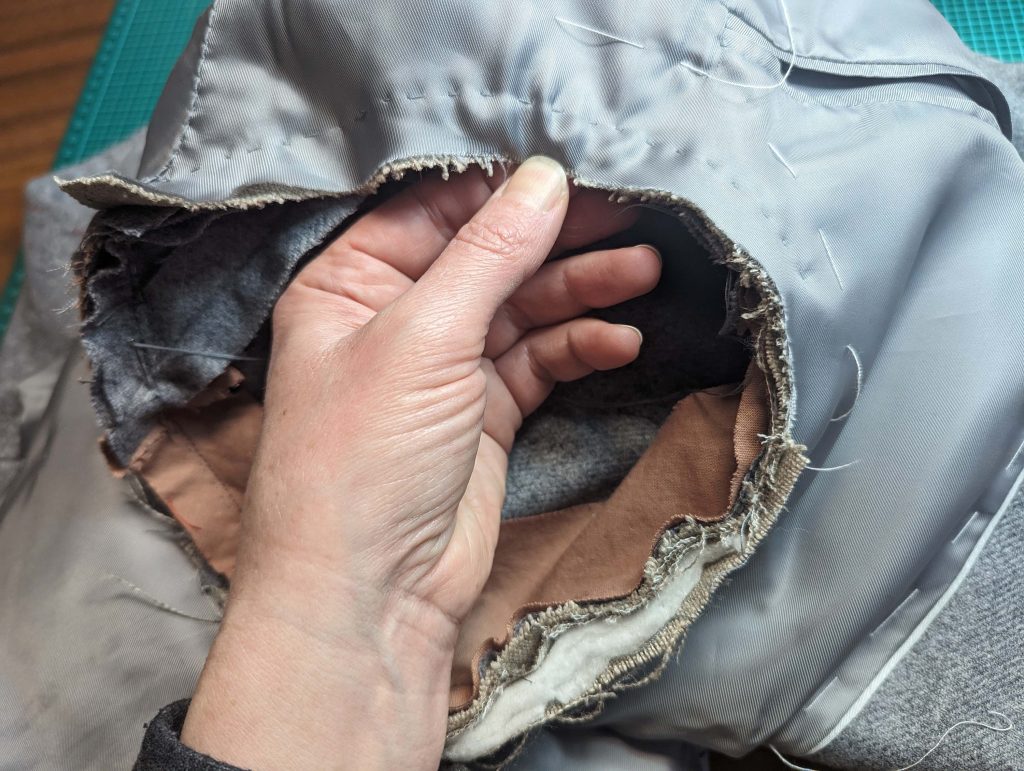
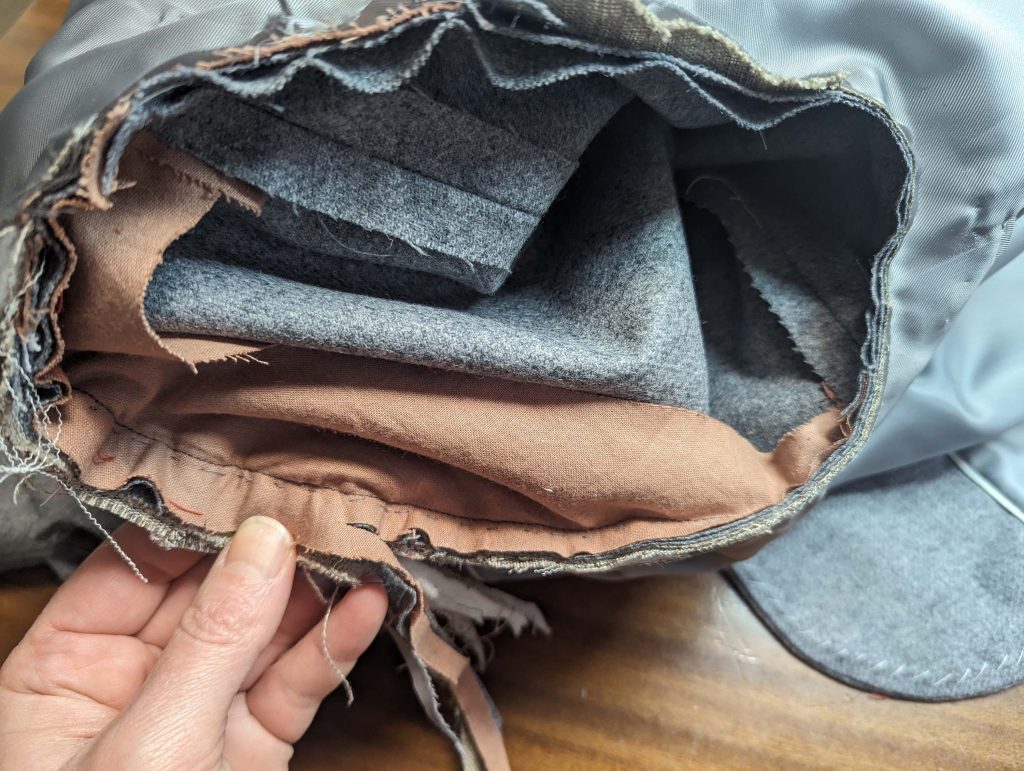
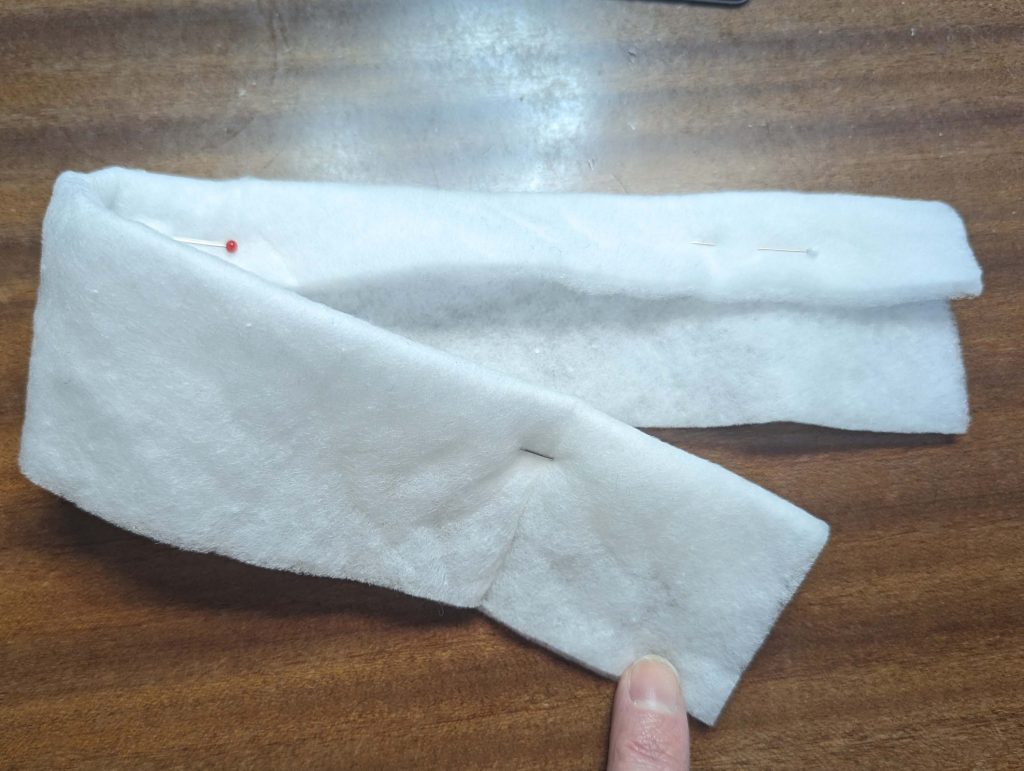
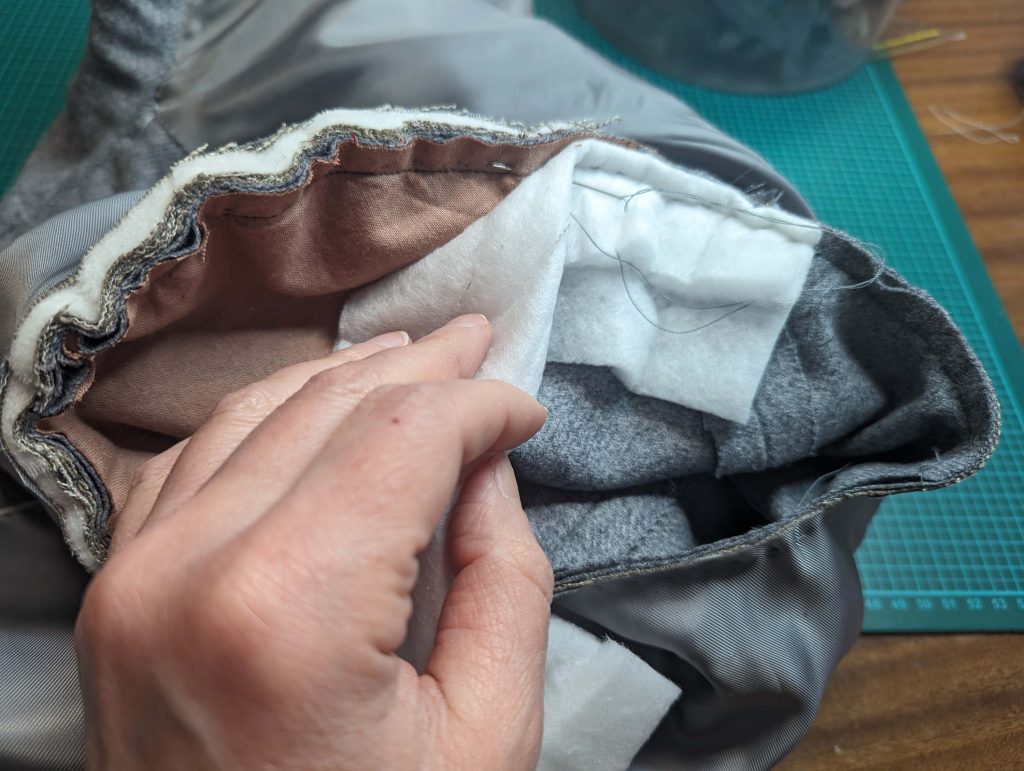
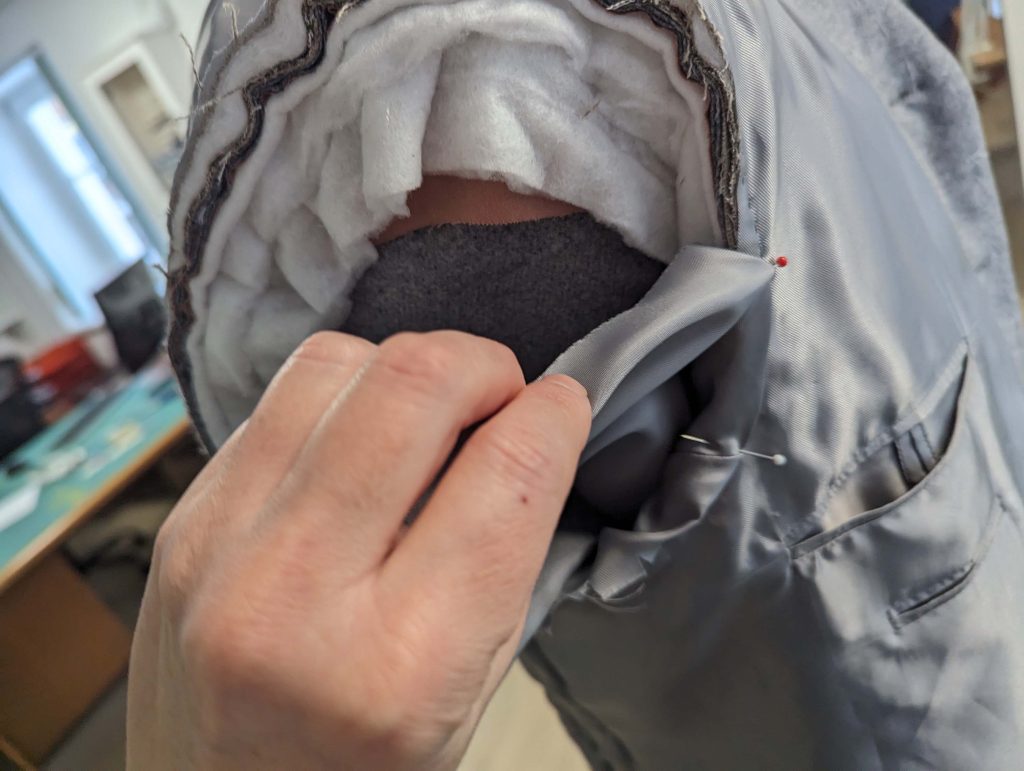
Next, baste together all layers (fashion fabric, canvas, shoulder pad, and the lining) right beside the sleeve seam inside the seam allowance. Trim back the seam allowance to 3/8” (1cm). Take a strip of padding (about 3”x15” (8x40cm)), turn in about 1/3 along one long edge, and line up with the seam allowance along the sleeve head, baste to the seam allowance.
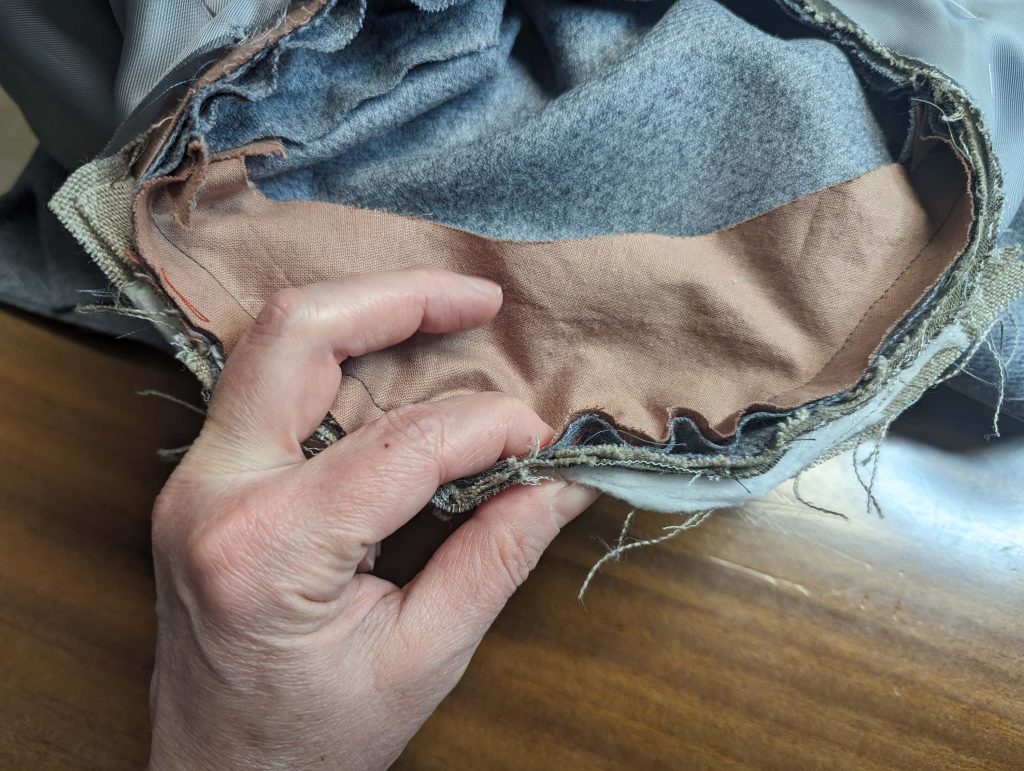
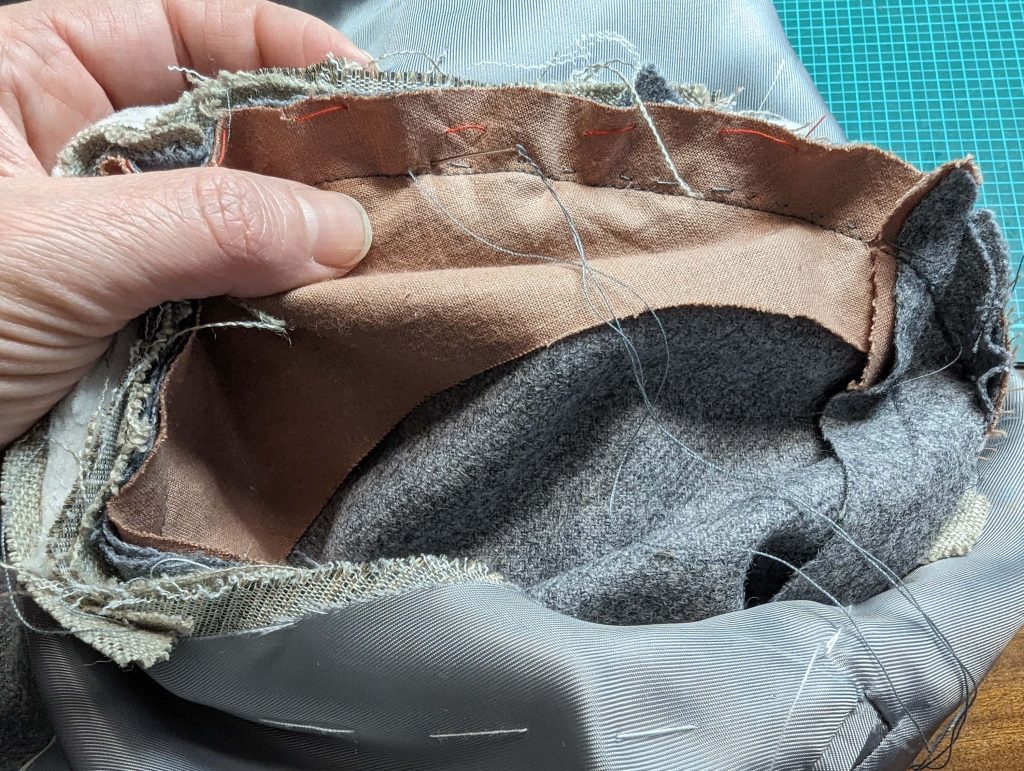
Is this strip of padding important? Yes it is, look at the difference it makes!
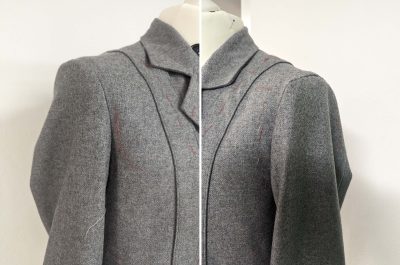
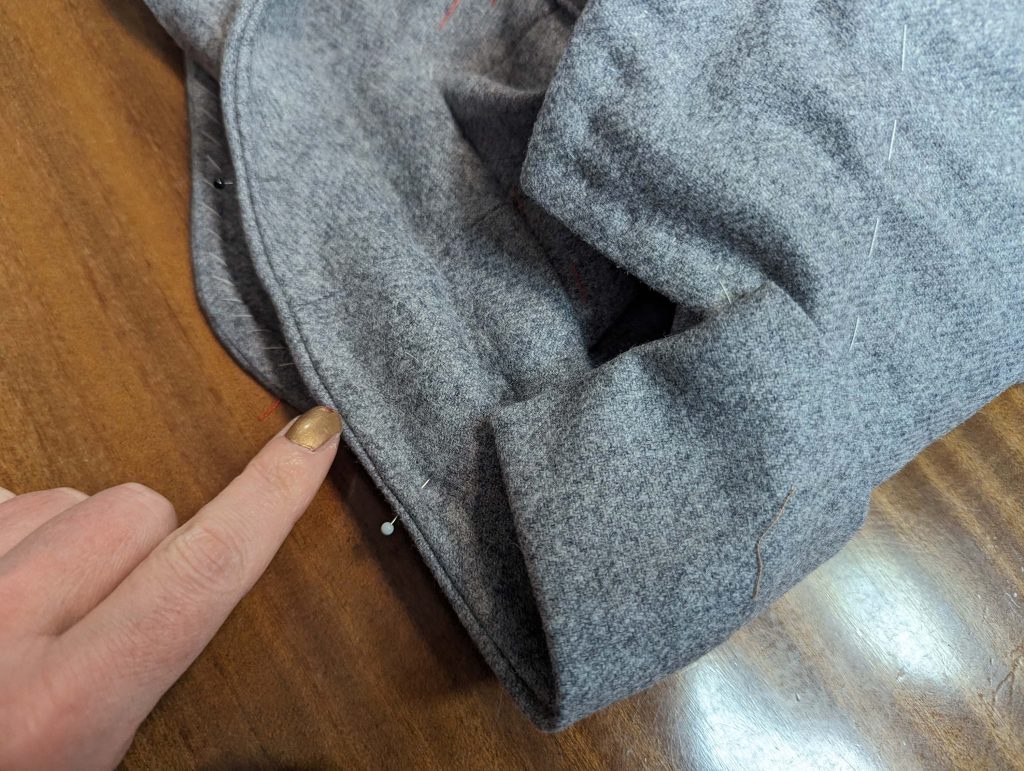
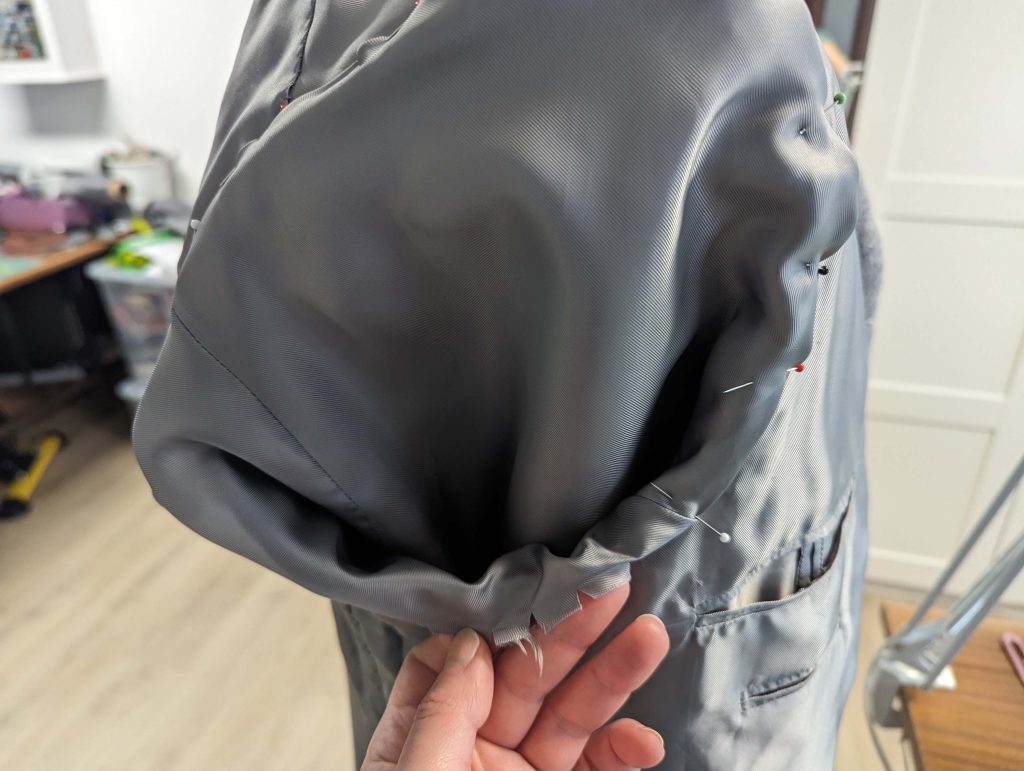
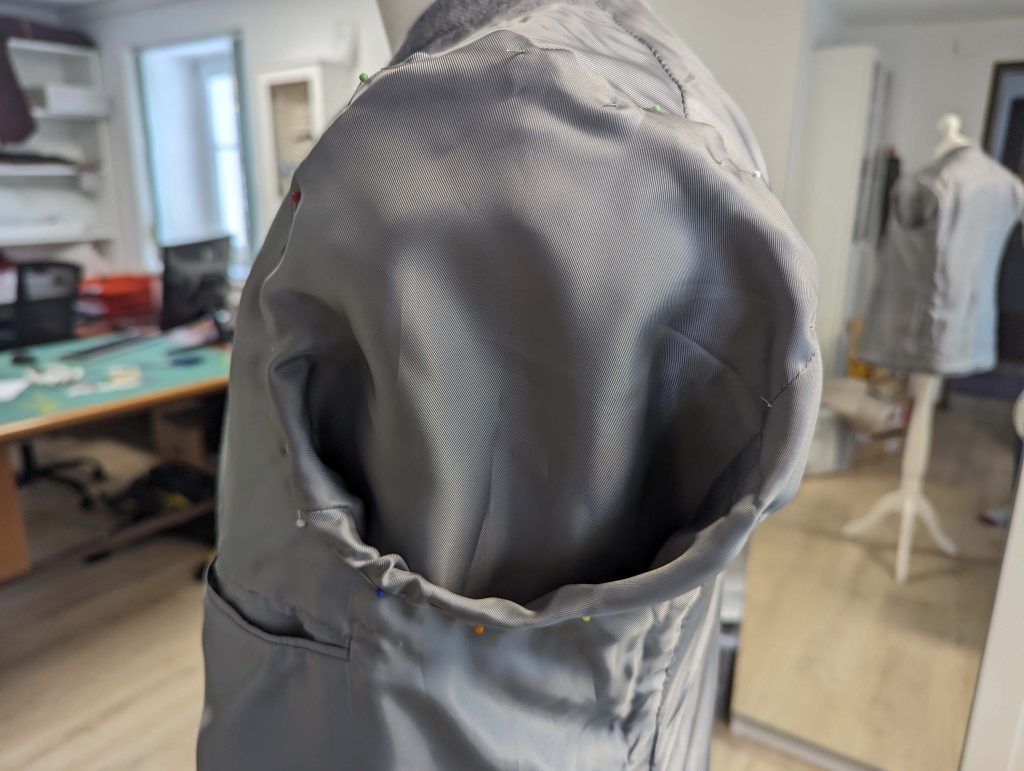
Pull the sleeve lining through the armhole and turn in the seam allowance. Line up with the armhole seam, covering the raw edges of the armhole, and fell stitch in place. Lay the excess width of the sleeve head into small folds if necessary.
(20) Flatline one of the Gürtel pieces and line up the strips, right sides together. Sew, leaving an opening, reduce the stitch length at the corners, and design the tips as desired, squared, pointed, or rounded. Trim back the seam allowances, and turn the right way out, press. Sew the opening with invisible stitches and edgestitch the belt as desired.

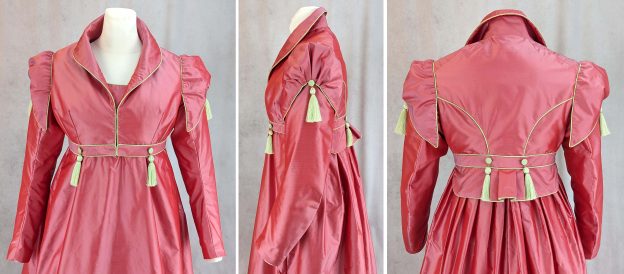
Die Eleganz setzt sich fort : Der Regency Spencer inspiriert von einer TV-Serie – Schnittmuster #0323"

Das Schnittmuster wird bald erhältlich sein...

In our journey through the world of historical fashion, we’ve uncovered the enchanting allure of Regency dresses. However, the story doesn’t end there. To complete your transformation into a character from a Jane Austen novel or the grand ballrooms of Bridgerton, we introduce a perfect companion piece – a Regency Spencer Jacket. This exquisite garment, like the dress, has been meticulously recreated with a historical nod, making it the ideal addition to your Regency-inspired ensemble.

Just as we ventured into the realm of the Empire dress, it’s time to explore the creation of this captivating Spencer Jacket. Following the same commitment to historical techniques and style, this piece embraces the authenticity of the Regency era while adding a modern twist. Whether you’re a seasoned seamstress or a budding costume enthusiast, this blog post will guide you through crafting this elegant jacket with step-by-step instructions and detailed images. So, as we delve deeper into the world of Regency fashion, prepare to embark on another sewing adventure, one that promises to bring the grandeur of Bridgerton and the Regency era to life in your wardrobe.

The time of the Empire/ Regency lasted from 1795 to 1820 and can be divided roughly into three subcategories of fashion styles.

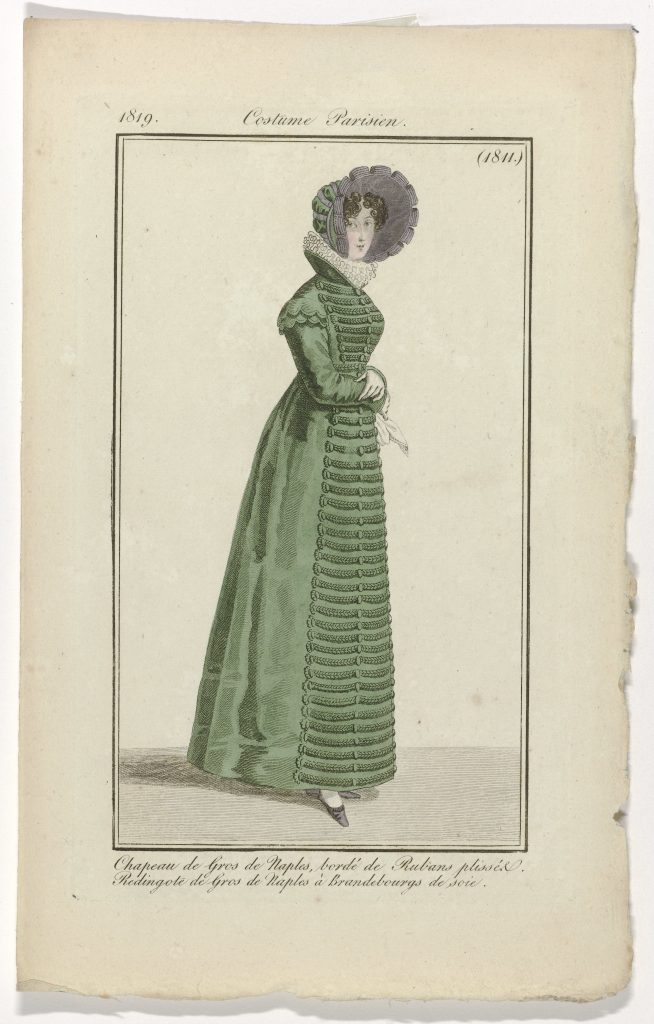
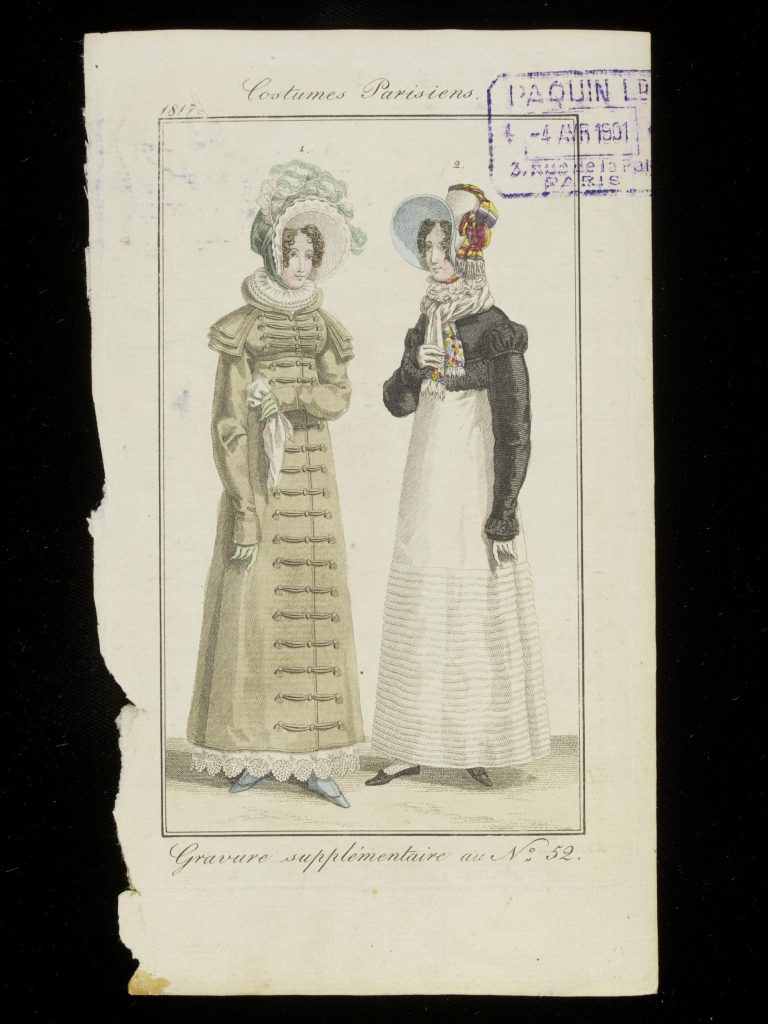
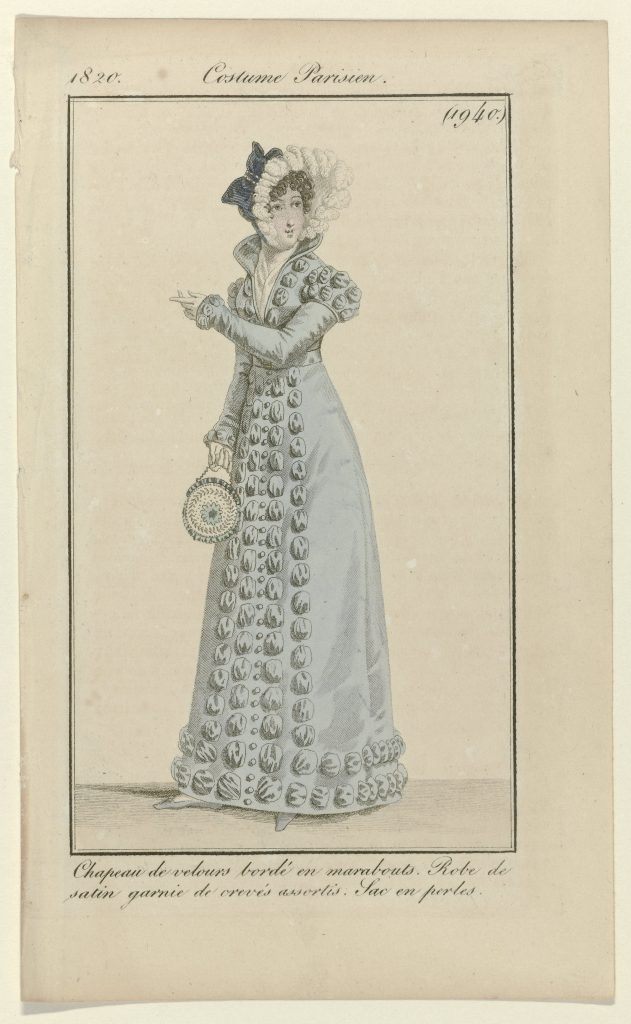
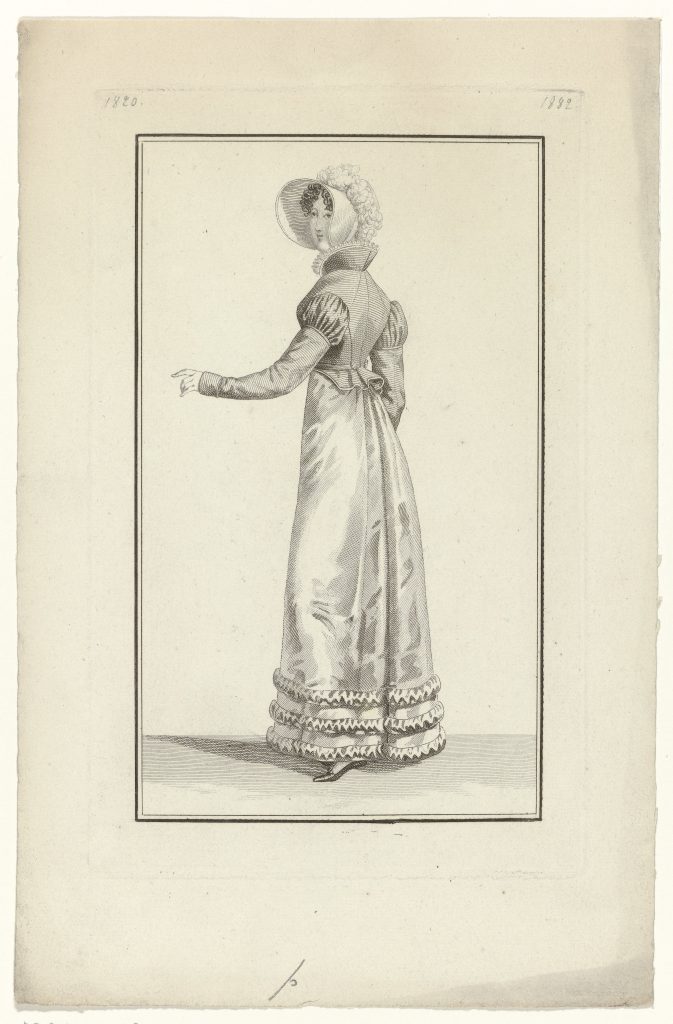
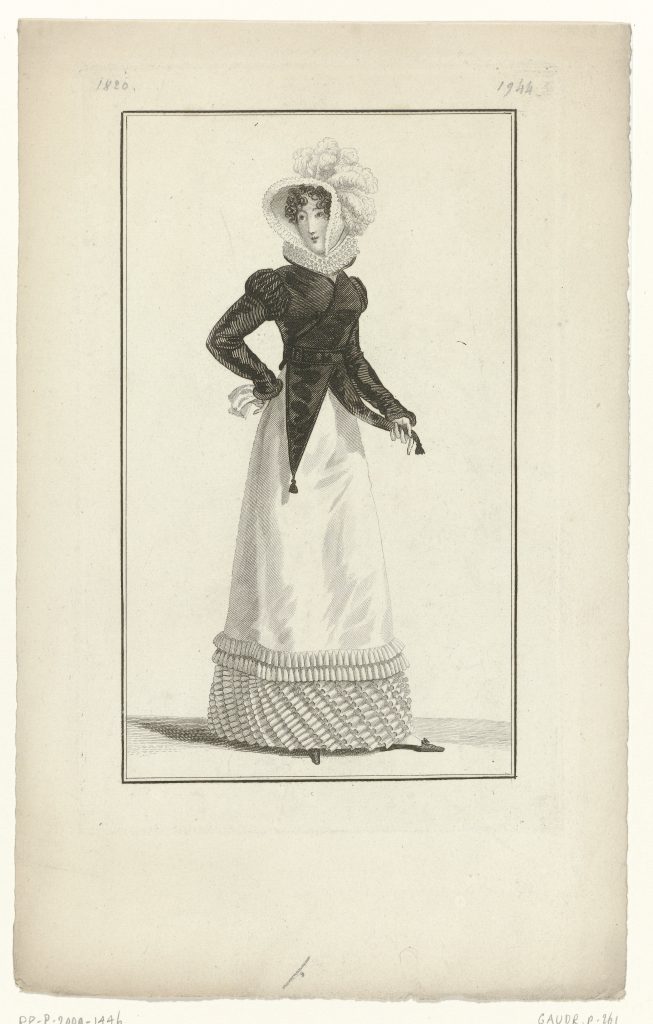
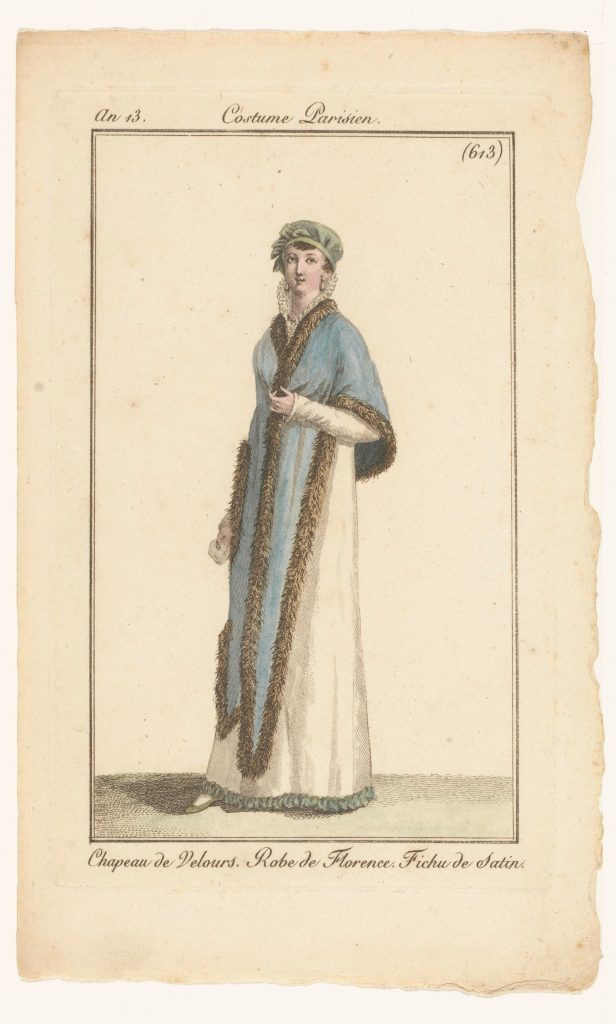
Contrary to persistent fashion misconceptions, such as the ‘muslin disease,’ numerous period fashion illustrations depict an array of coats, jackets, and overdresses in a spectrum of colors and diverse materials, including silk, fabric, velvet, and fur.

A redingote, derived from the English ‘riding coat,’ is a full-length coat crafted from woolen fabric. Redingotes were frequently embellished with braids, imitating the style of hussar military jackets.

A pelisse, on the other hand, is a lightweight coat or overdress that ranges from calf-length to floor-length.

A spencer, a shorter jacket, could feature a peplum or not, depending on the design.

Additionally, individuals of the era often opted for colored pashmina shawls and tunics.

It’s worth noting that these terms were not consistently used in fashion publications of the time and have evolved over the years.

https://www.rijksmuseum.nl/en/search?q=Journal%20des%20Dames%20et%20des%20Modes%20&v=&s=&ondisplay=False&ii=0&p=1

Weiterlesen

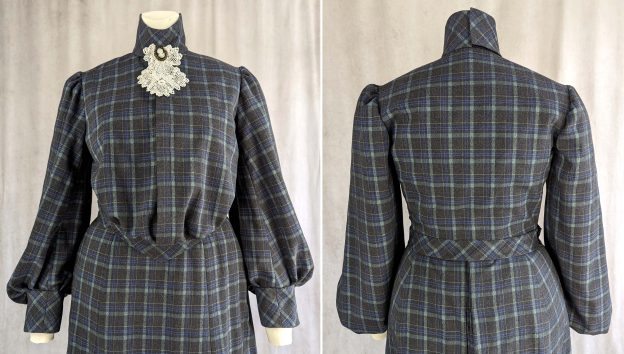
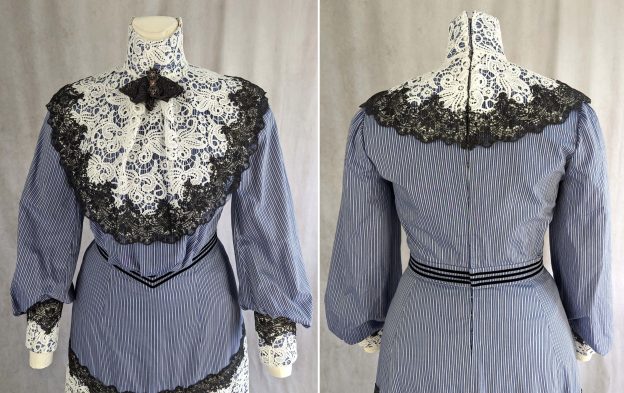
1016 Das neue edwardianische Oberteil - Ansicht B Oberteil mit Frontverschluss

Fahren wir fort; mit dem vorne zu schließenden Oberteil, da es von Natur aus einfacher zu tragen und an- und auszuziehen ist. Lediglich ein edwardianisches Mieder erfordert aufgrund seiner Konstruktionstechnik einen raffinierten mehrschichtigen Verschluss.

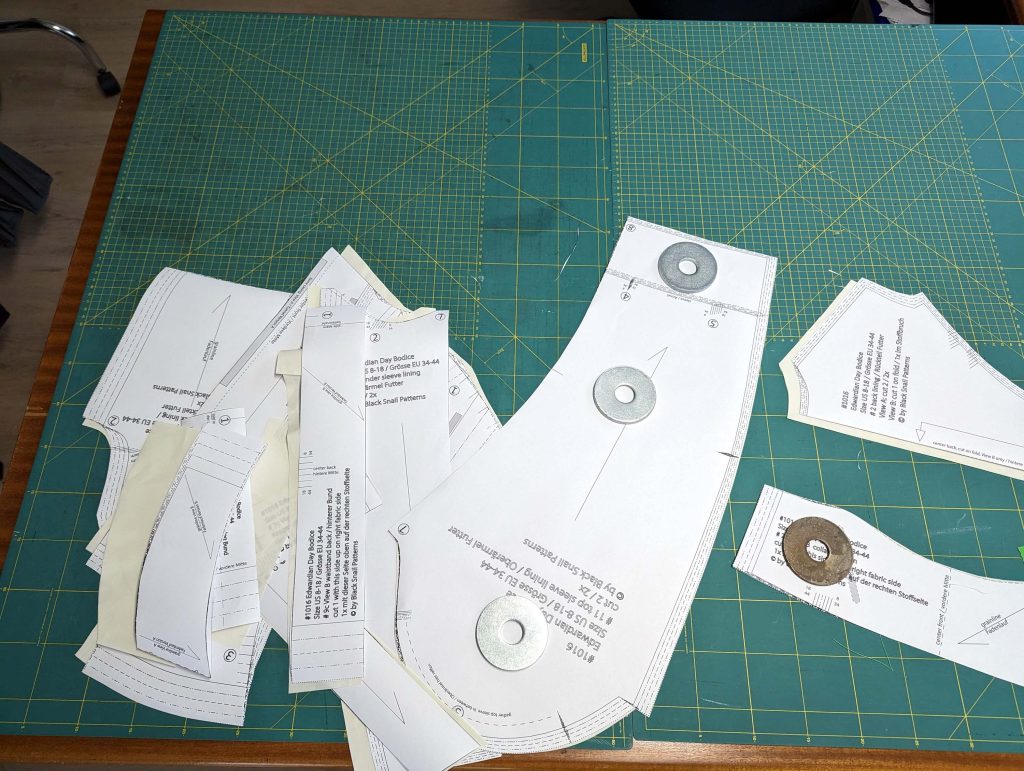
(1) Gleiches hier, mache ein Probeteil und übertrage alle Änderungen auf das Schnittmuster. Schneide alle Teile aus Oberstoff und Futter, wie auf de Zuschnittdiagram für den Vorderverschluss angegeben, alle Markierungen exakt übertragen.

(2) Nimm das Vordertteil aus Futterund richte den Vorderteilbelegrechts auf rechts, entlang der vorderen Mitte am Futtervorderteil aus. Nähe die Vorderkante ab, schneide die Rückseite ab und steppe die Nahtzugaben unter. Die Nahtzugabe des Besatzes entlang der losen Kante einschlagen. Falte auf der rechten Seite den Besatz und die vordere linke Seite zusammen und nähe den Besatz entlang der losen Kante fest. Auf der linken Seite den Beleg zuerst auf rechts falten, die Nahtzugaben der Vorderkante zum Beleg falten und von der Vorderkante bis zum Ende des Beleges nähen . Schneide die Nahtzugabe am Ende der Naht ab und wende sie auf die richtige Seite. Nähe die lose Kante des Belege fest. Die Abnäher nähen und zur Seitennaht bügeln, dabei die Stichlänge an der Stelle verkürzen.

Weiterlesen

1016 Das neue edwardianische Oberteil - Ansicht A Rückenverschluss

The original design, named the Turtleneck Dress, pattern #0916, contained the skirt and the blouse. I think it gave the impression to be too complicated to be sewn easily. The fact was that few people were interested in that pattern, although it offered a lot. For some years I was thinking of just dividing the pattern into skirt and top, but I wanted to add something extra and new, especially since the skirt seemed too simple and the back closure of the top was not suitable to be dressed alone. So time flies and at some point, the ideas come by themselves.

Das neue Schnittmuster #0916 liefert einen Rock in zwei verschiedenen Variationen und das Oberteil, jetzt #1016 hat eine extra Option für einen Verschluss an der Vorderseite.

Lasst uns mit dem nähen anfangen! Hol dir das Schnittmuster hier in meinem Shop.

Zuerst starte ich mit dem Original Oberteil, welches im Rücken geschlossen wird. Ansicht A zeigt das Titelbild. Ich entschuldige mich euch ältere Bilder zu zeigen vom Nähprozess als ich das Kleid 2015/2016 genäht habe. Vielleicht mache ich bald ein Remake des rückseitig schließenden Oberteils, aber da mir wie immer die Zeit davonläuft …

Weiterlesen

1116 Edwardianischer Gürtel

Um 1901 änderte sich die Mode mit der Erfindung des geraden Korsetts und es entstand eine neue Silhouette. Sie drückten den Körper in ein Hohlkreuz oder eine S-Krümmung, wodurch Brust und Hüfte betont wurden. Die Illustrationen des Künstlers Charles Dana Gibson haben den idealen Look verewigt und sind noch heute zu sehen.

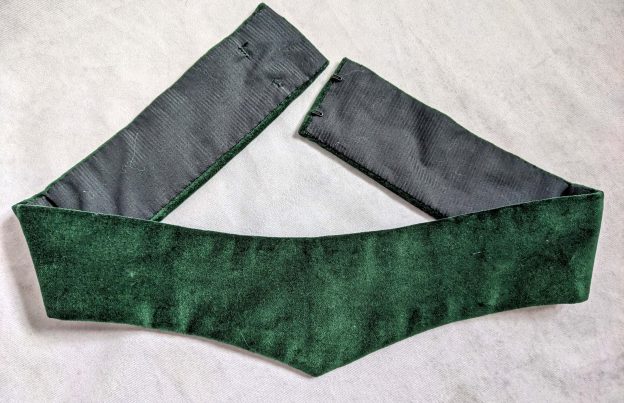
Die S-förmige Form wurde oft durch breite Gürtel betont. Das Gürtelmuster liegt dem neuen Schnittmuster #1116 bei und kann hier heruntergeladen werden:

Dies ist eine weitere bebilderte Anleitung zur Ergänzung meines Schnittmusters. Das Gürtelmuster ist kostenlos in meinem Webshop erhältlich: klick

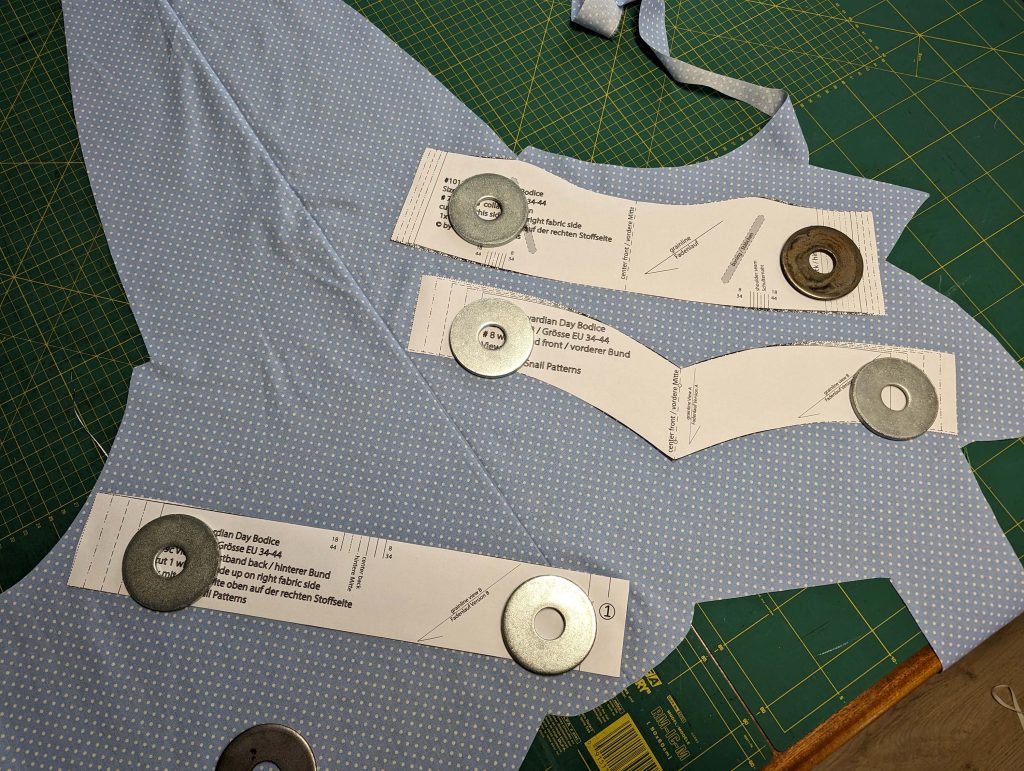
(1) Nimm das Gürtel teile aus Oberstoff, Einlage und Futter (gleicher Stoff) und schneide die Knopfleiste nur auf der linken Seite (2cm) ab.

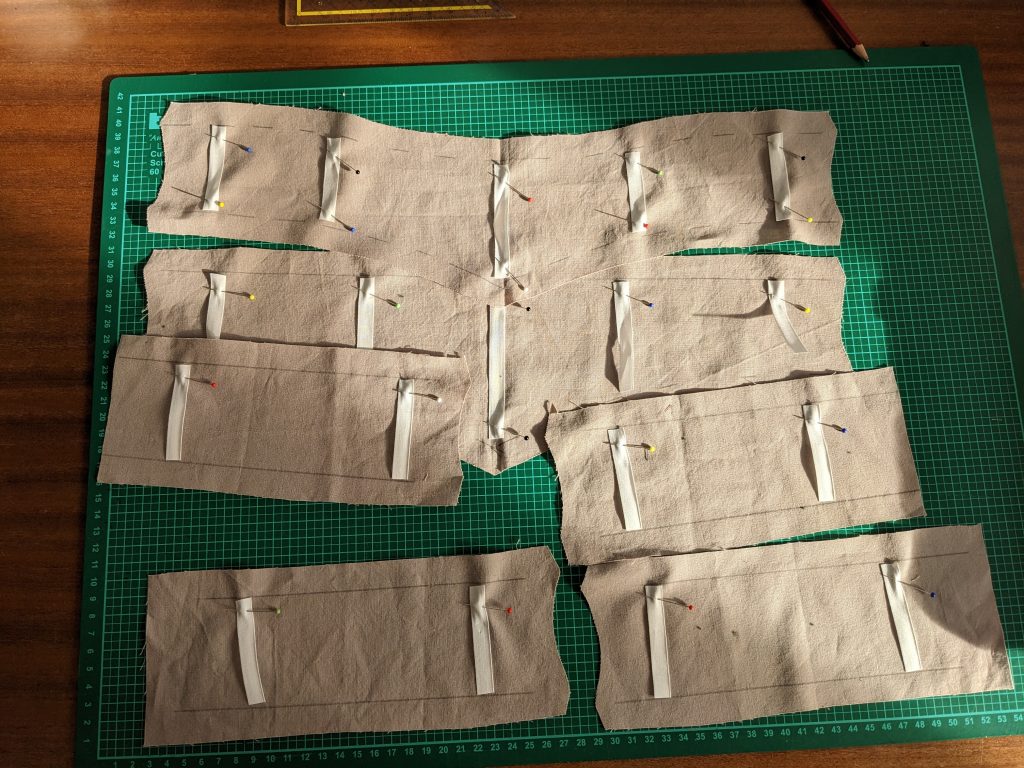
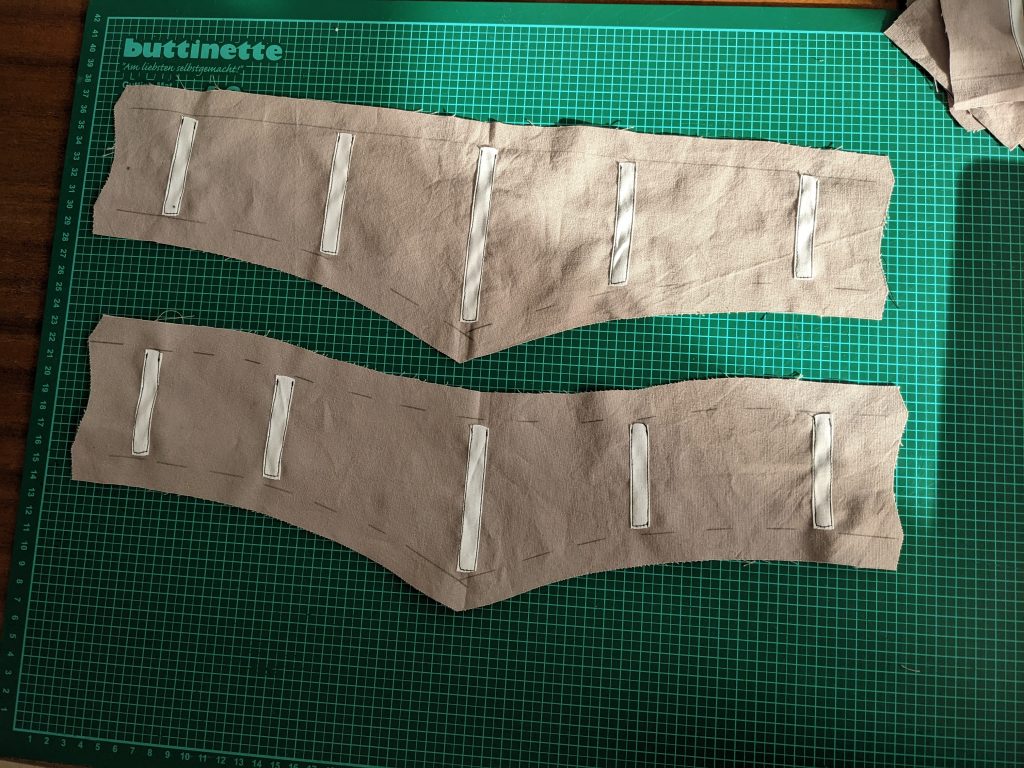
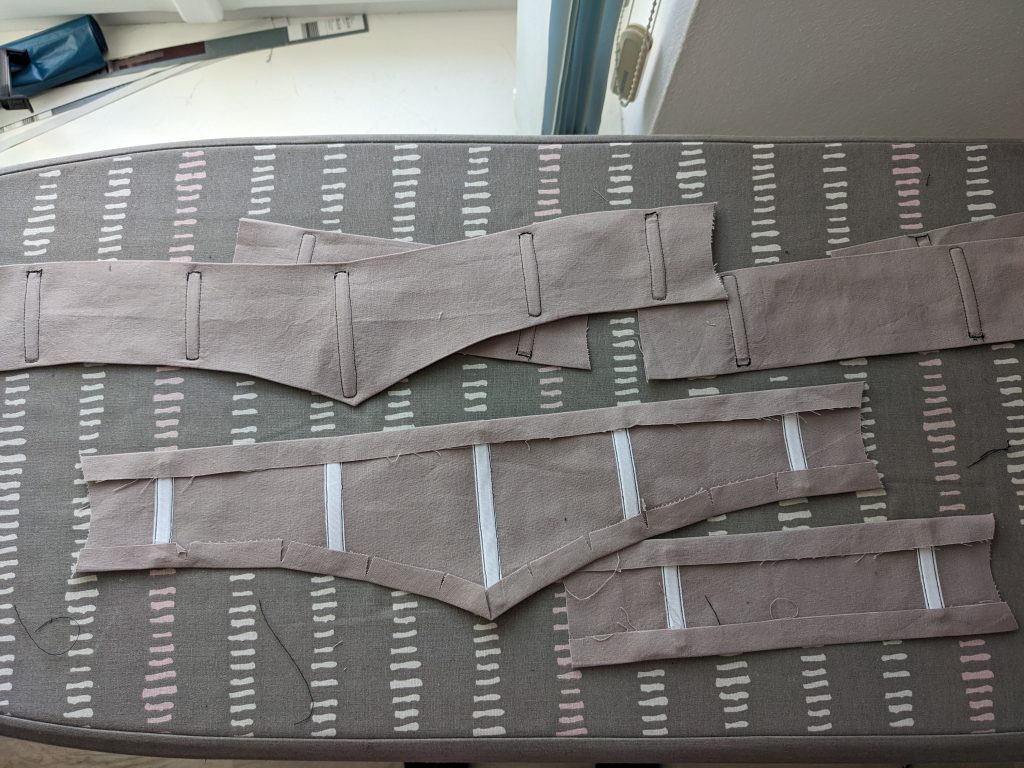
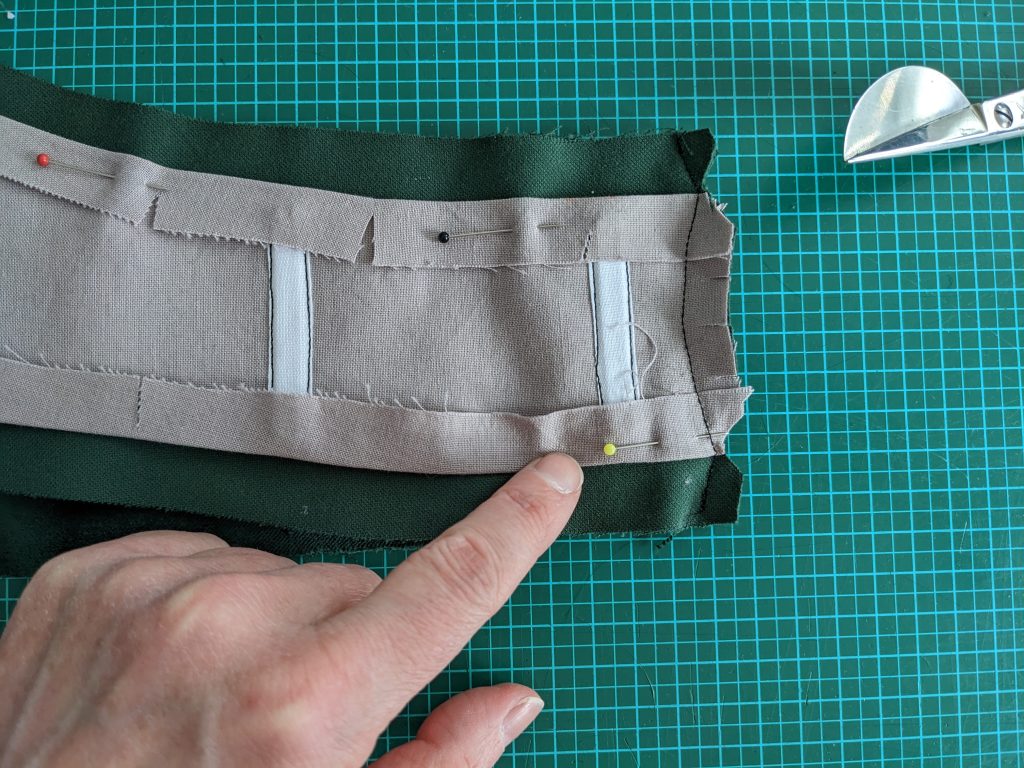
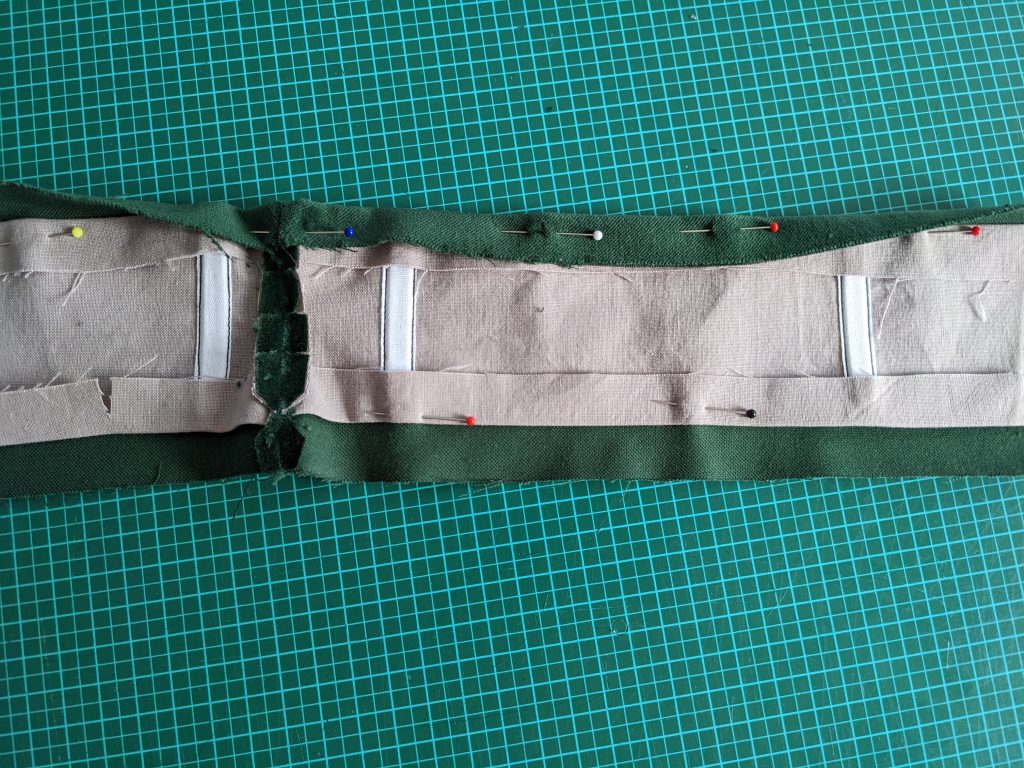
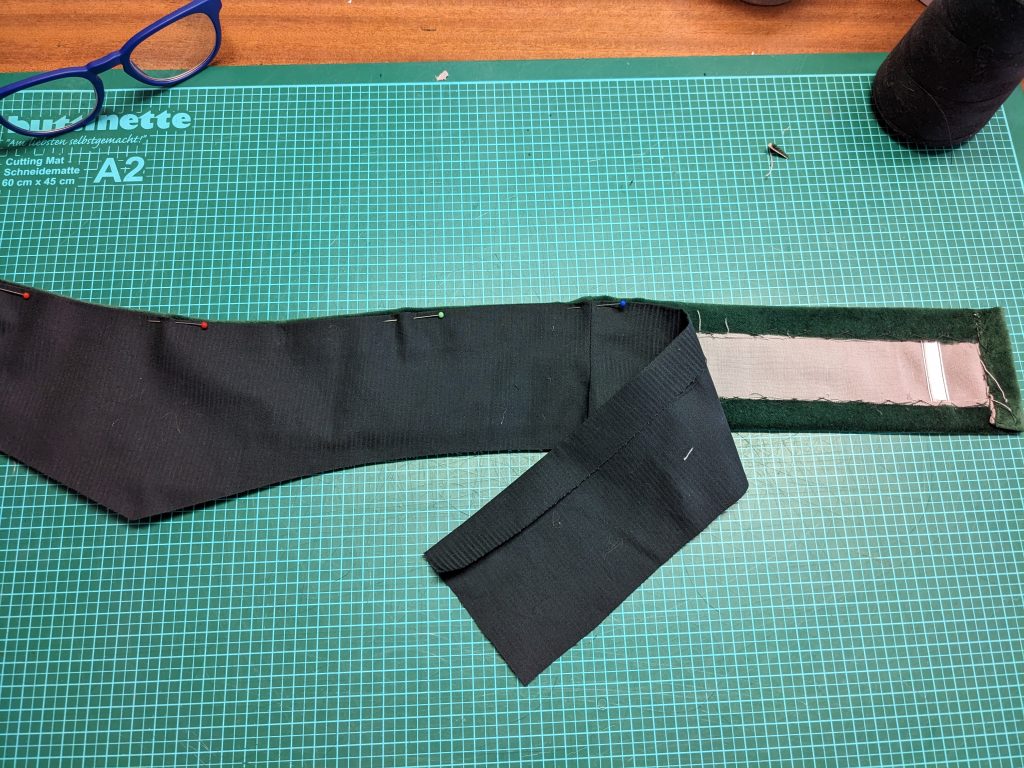
(2) Nimm die Teile für die Einlage und markiere die Nahtlinie. Schneide Stoffstreifen ab, die doppelt so breit sind wie die Stäbe, plus 5 mm Abstand für die Stäbchenhüllen.. Drehe die Kanten auf die gleiche Weise ein, wie du das Schrägband vorbereiten würdest. Alternativ kannst du e ein beliebiges schmales Klebeband aus deinem Vorrat verwenden. Nähe die Hüllen an der rechten Seite der Einlage an die im Schnittmuster angegebenen Stellen an. Die Breite der Hülle sollte so schmal sein, dass sich der Stab im Tunnel nicht verdrehen kann. Lege die Stäbe ein und verschließe die Hüllen sorgfältig. Die Nahtzugaben der Einlage auf die rechte Seite drehen und bügeln. An den Rundungen befestigen, damit es flach liegt. Ich beschloss, die beiden Gürtel gerade und mit tiefer Taille zu machen.

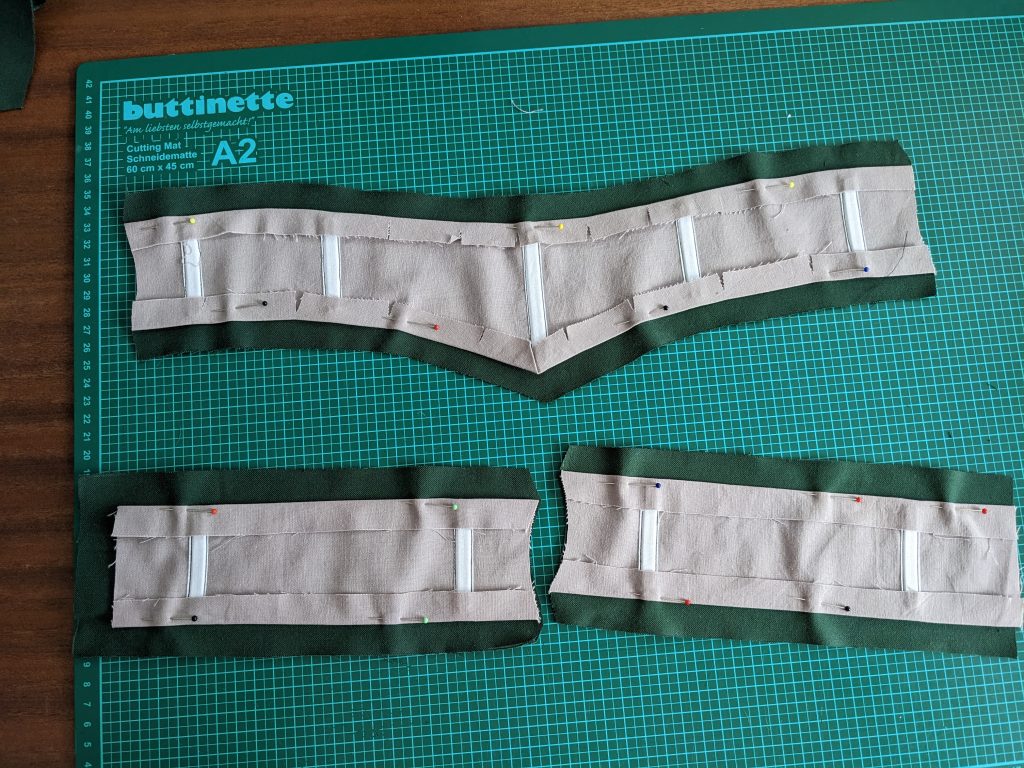
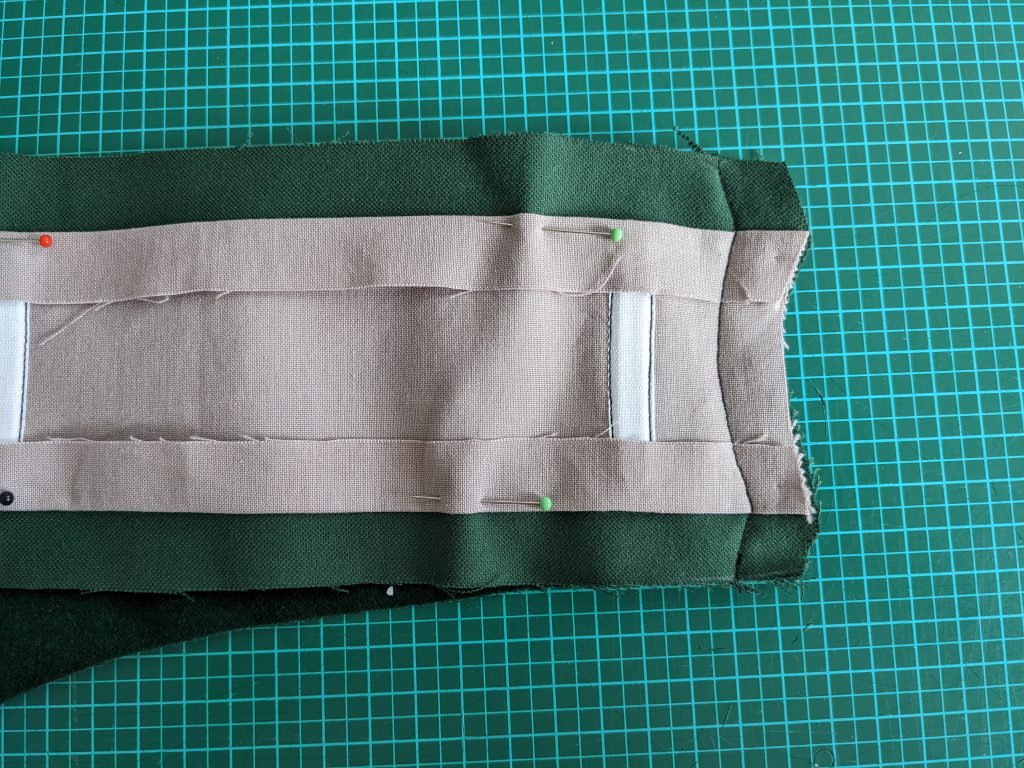
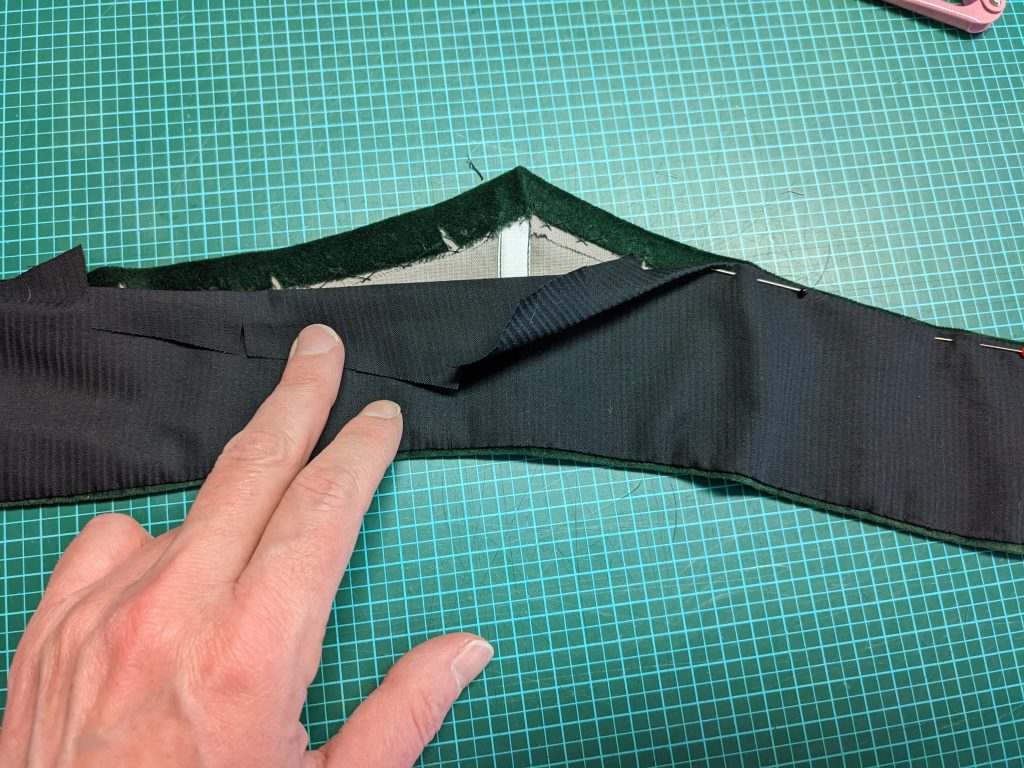
(3) Richte die Einlage mit den Gürtelstücken aus dem Oberstoff links auf links aus und hefte sie fest. Die Seitennähte rechts auf rechts zusammennähen. Den Rücken zurückschneiden, die Nahtzugaben wie abgebildet einschneiden und aufbügeln.

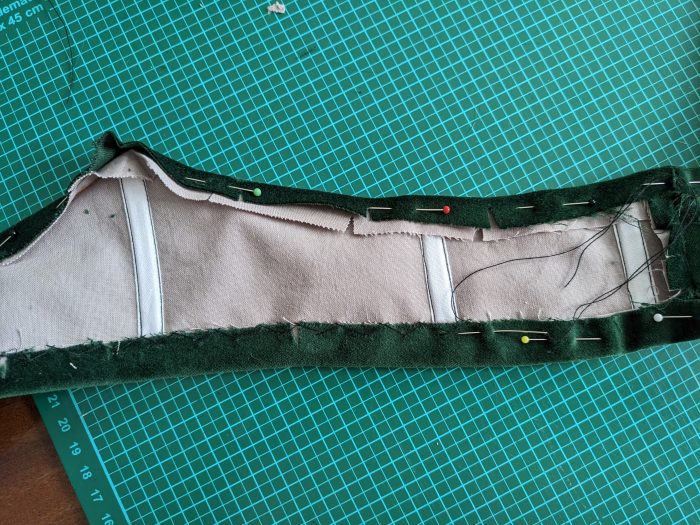
(4) Schlage die Nahtzugaben des Gürtels aus dem Oberstoffes um die Einlage herum und nähe diese fest.

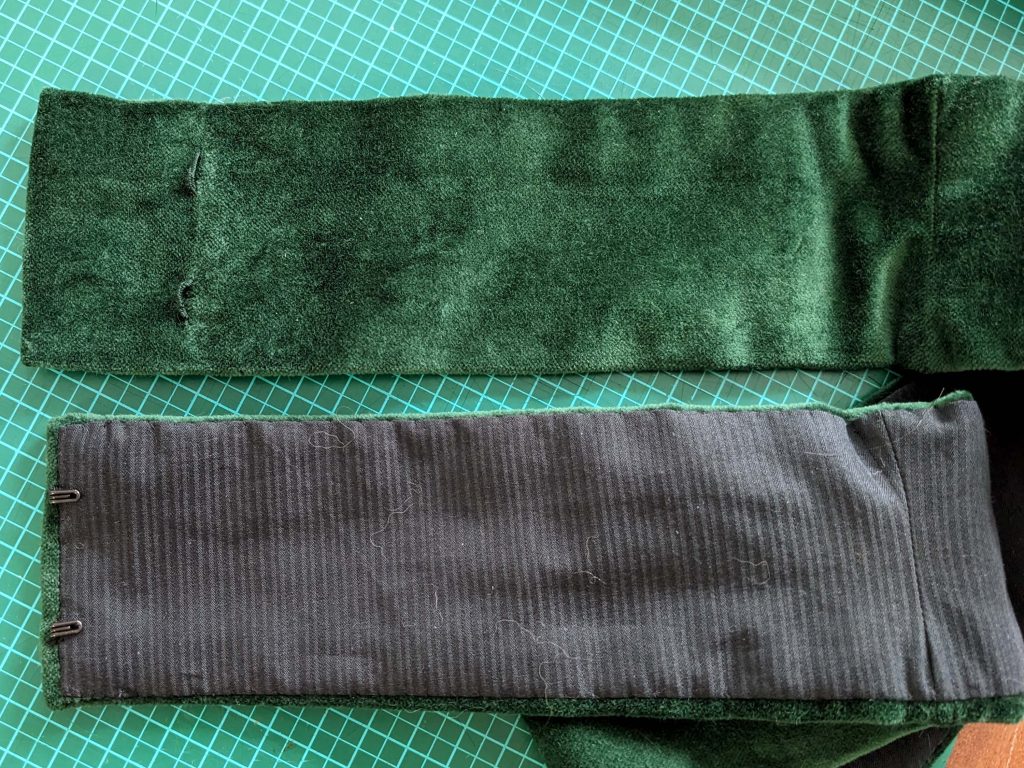
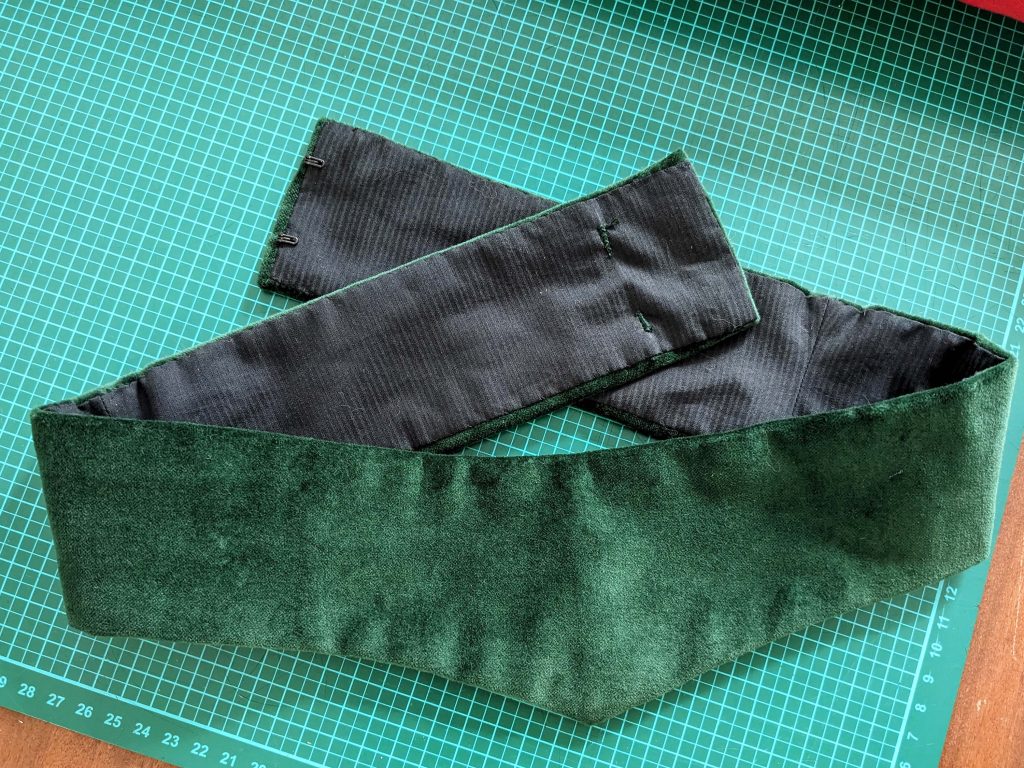
(5) Nimm das Futternähe die Seitennähte und schneide die Nahtzugaben wie beim Gürtel zurück, bügeln es . Lege rundherum eine Nahtzugabe von 2cm ein und schneide es an den Rundungen ab, damit es flach liegt. Richte das Futter mit den falschen Seiten aufeinander am Gürtel aus, sodass die Kante des Oberstoffes etwa 2 mm über das Futter hinausragt. Nähe das Futter fest an den Gürtel, ohne dass auf der rechten Stoffseite Stiche sichtbar sind.

(6) Nähe Hacken an die rechte Hinterkante und an der linken hinteren Mitte Fadenriegel statt Metallösen.