Archiv der Kategorie: 0418 1830´s Frock Coat

#0418 – The 1830´s Frock Coat – Part 1 – first considerations and point (1) to (4)

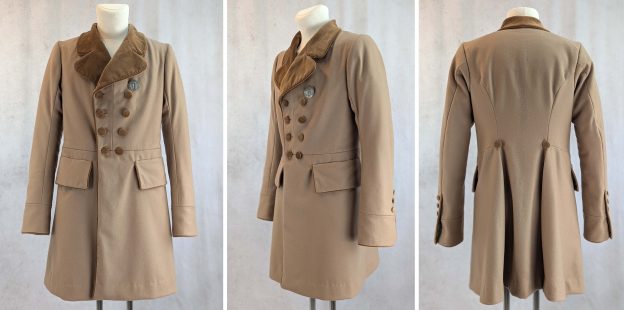
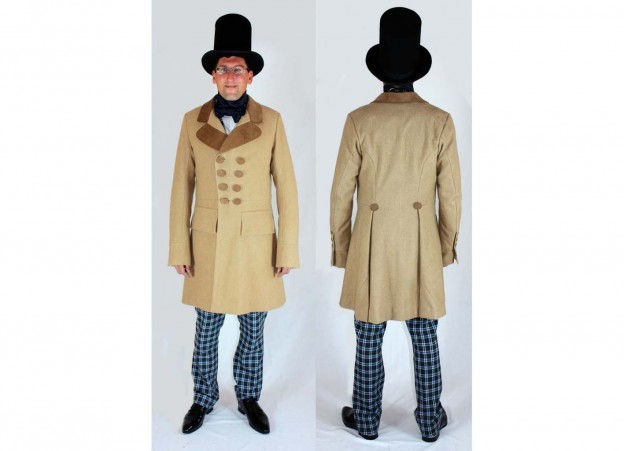
Hi there! Roti from Black Snail Patterns here. I’m thrilled to announce that we’re giving our popular 1830s Frock Coat sewing pattern a major upgrade. This classic garment has long been a favorite among historical costume enthusiasts, and now we’re making it even better.

We’ve listened to your feedback and enhanced the pattern with clearer, more detailed instructions. This is not a beginner sewing pattern. However, we tried to explain tailoring terminology in a way that, with sufficient motivation and enthusiasm, everyone could understand.

Get the completely updated pattern here:

In this post, I’ll walk you through the updates we’re making:

  • Expanded step-by-step instructions
  • New troubleshooting tips for common challenges
  • Additional pictures for complex construction steps and period-accurate piped edges.

These improvements will help you achieve stunning results, whether you’re creating a historically accurate costume or adapting the Frock Coat for a contemporary twist.

Join me as we explore the refined details of this 19th-century classic and uncover the techniques that bring it to life. Let’s make historical sewing not just accessible, but truly enjoyable for everyone. Ready to dive in? Stay tuned as we delve into the fascinating details of this classic garment and the techniques used in its construction.


Weiterlesen

#0418 – The 1830´s Frock Coat – Part 2 – point (5) to (9) 

Part 1 – point (1) to (4)

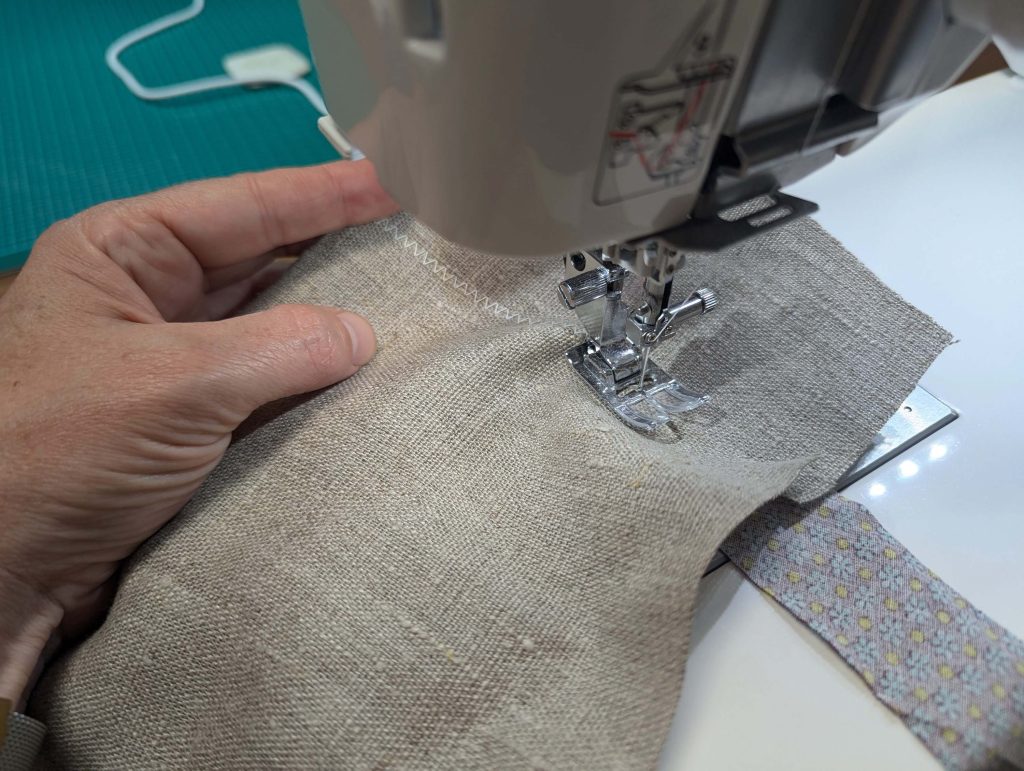
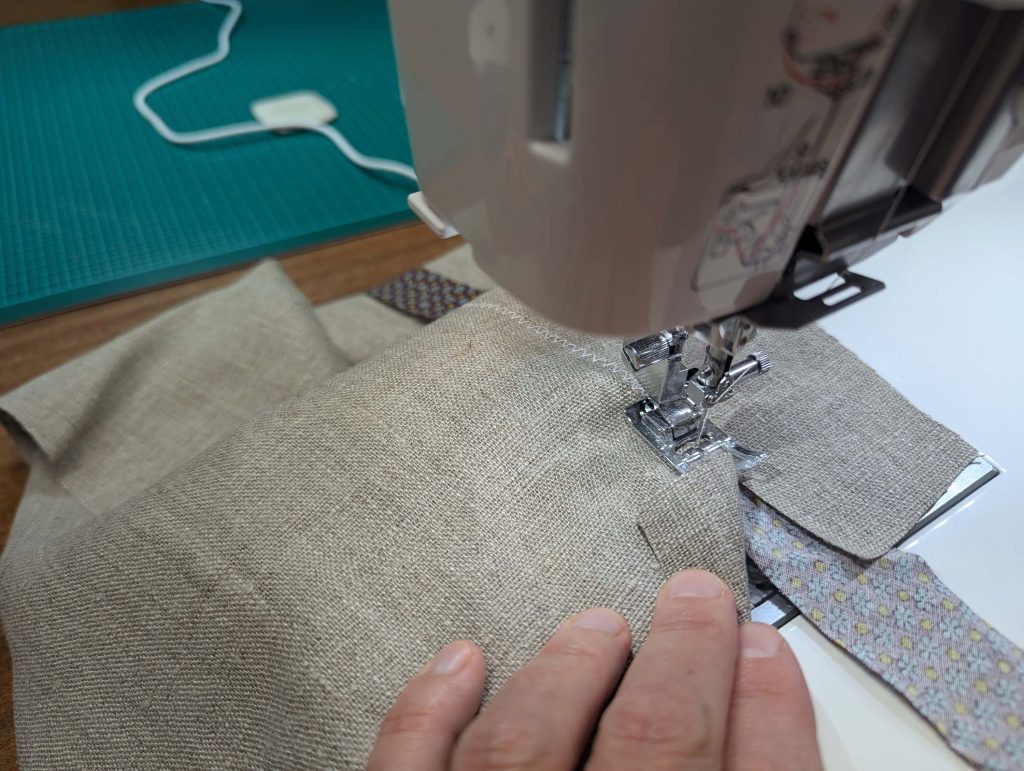
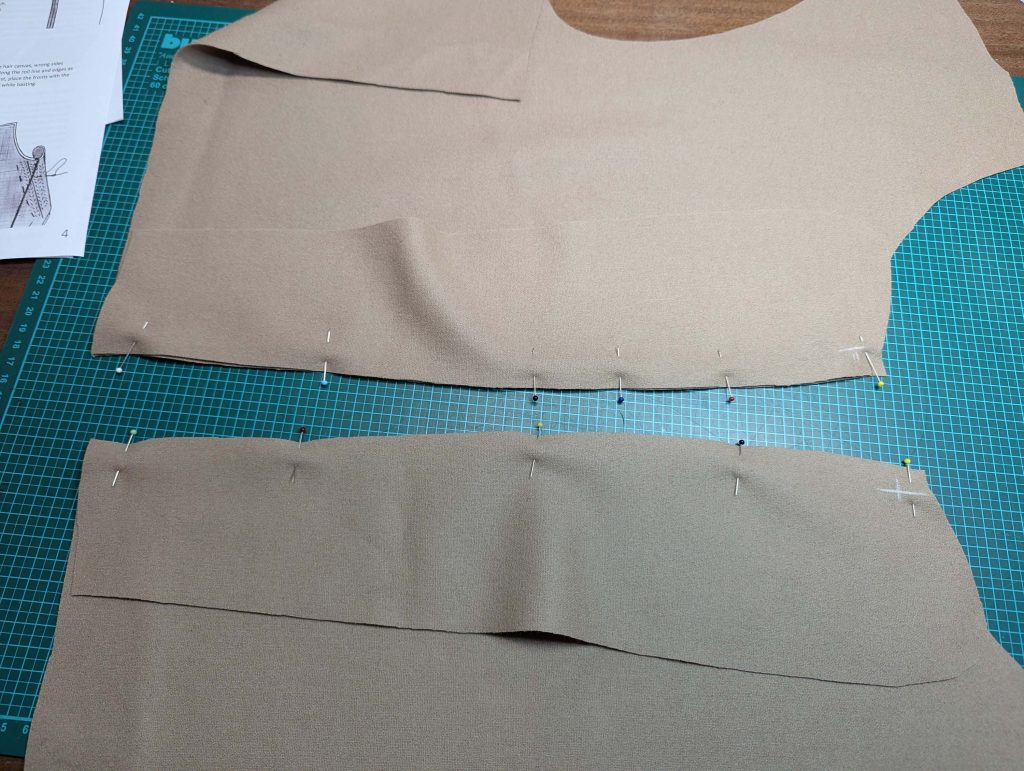
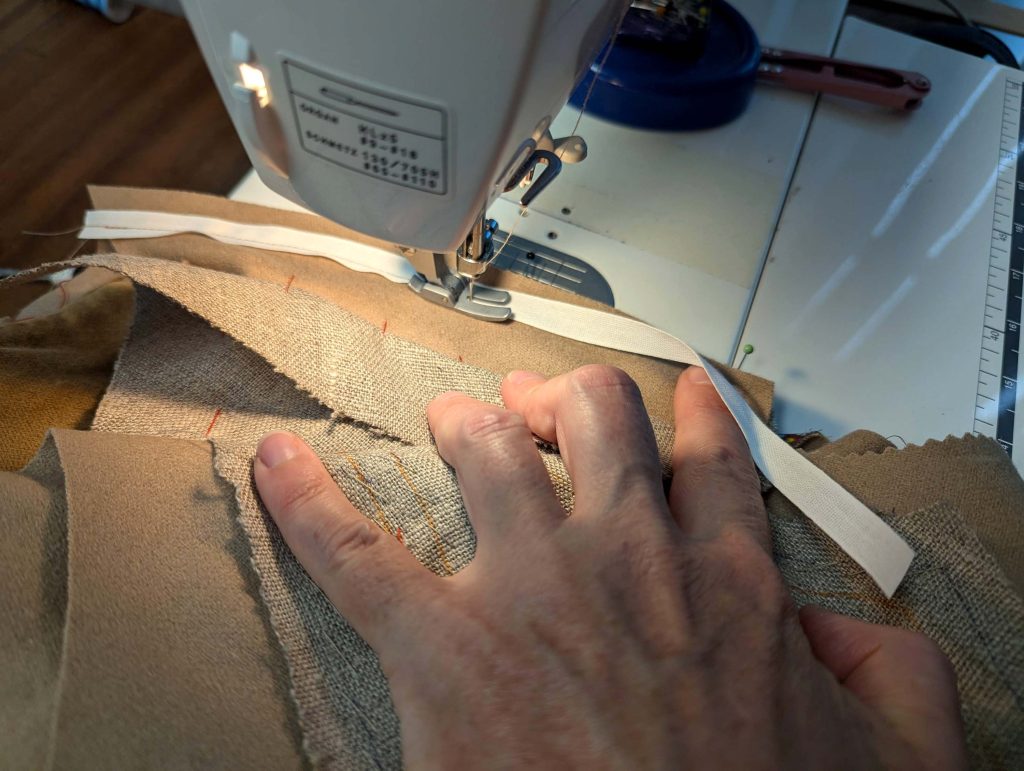
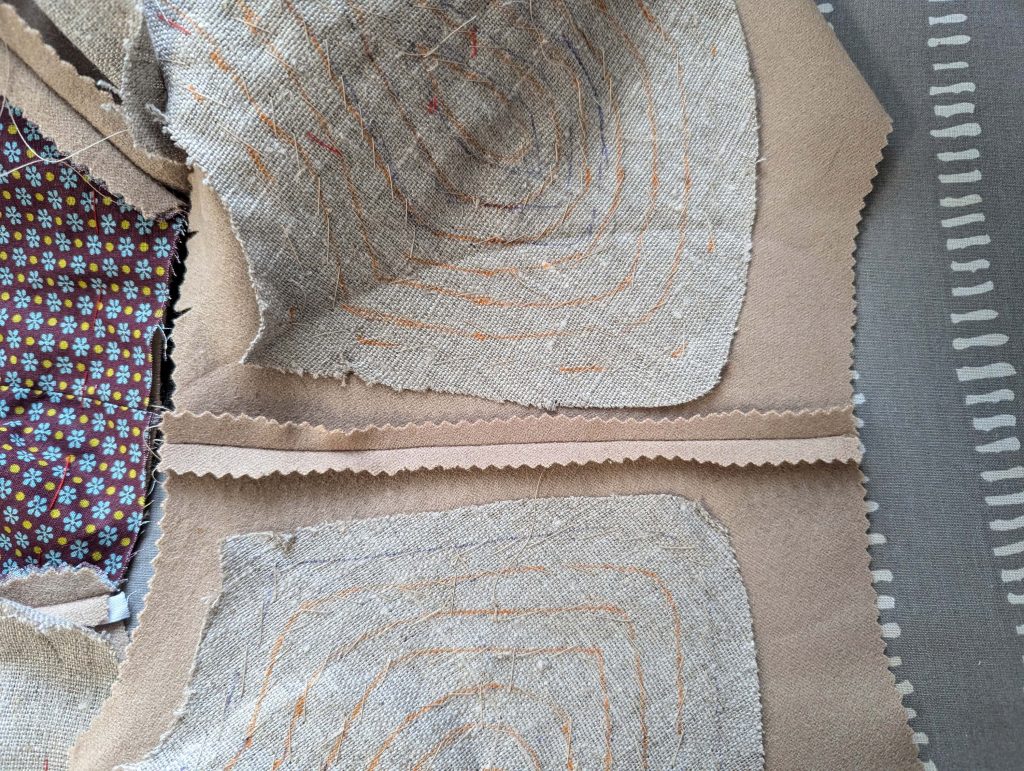
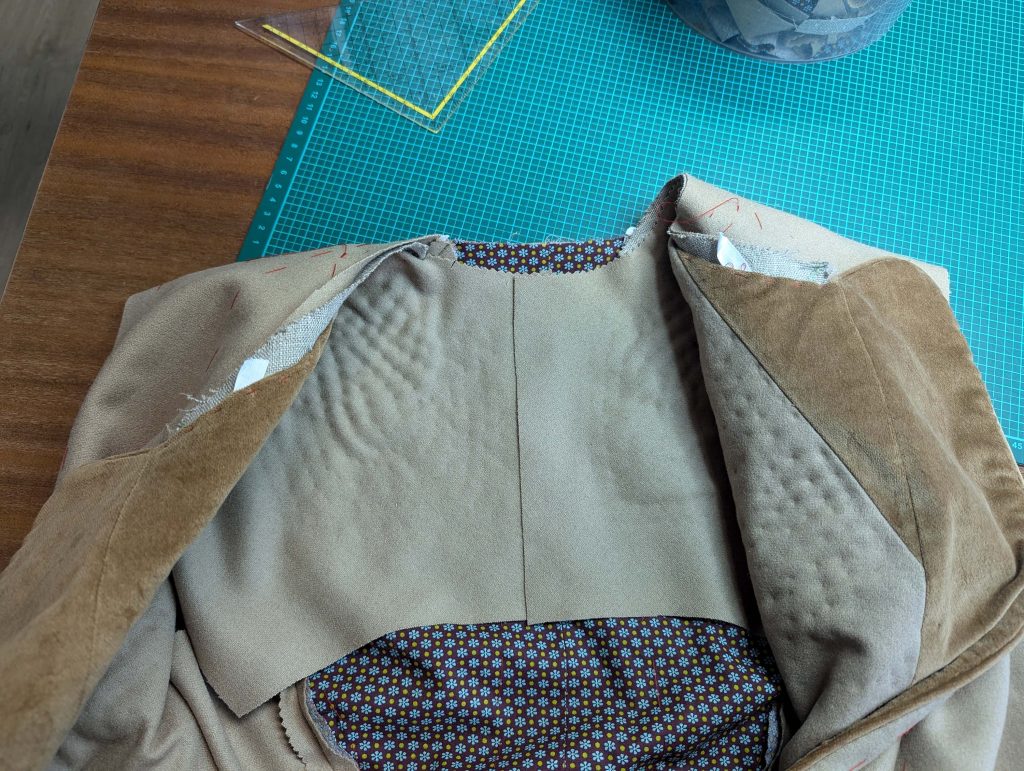
(5) Time to prepare the fronts: Take the canvas of the Vordertteil und Revers, and trim back the seam allowances along the abutting edges, to sew together the pieces edge to edge, using a zig-zag stitch. Stop sewing exactly at the collar notch (x). Underlay the seam with a strip of bias tape (cotton). This method reinforces the joint and helps distribute stress across the garment.

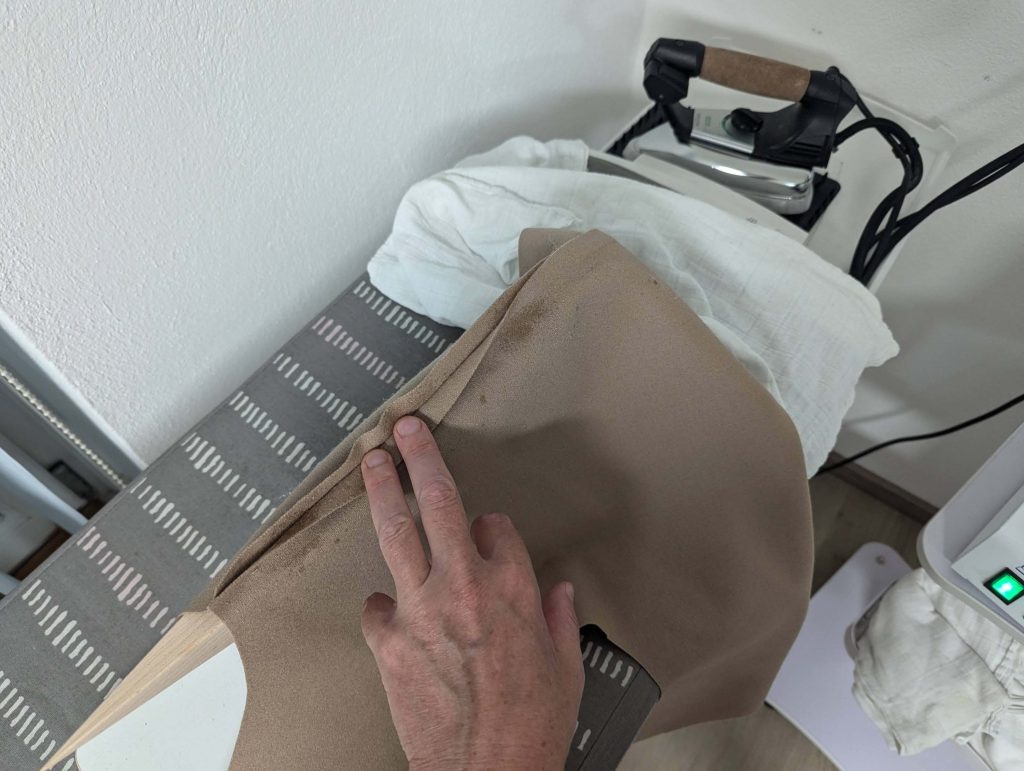
Nimm das Vorderteile from the fashion fabric and stretch the shoulder. Sew the lapel to the front, right sides together, and stop sewing exactly at the collar notch (x). Press open the seam allowances, and trim back the seam allowances at the collar notch.

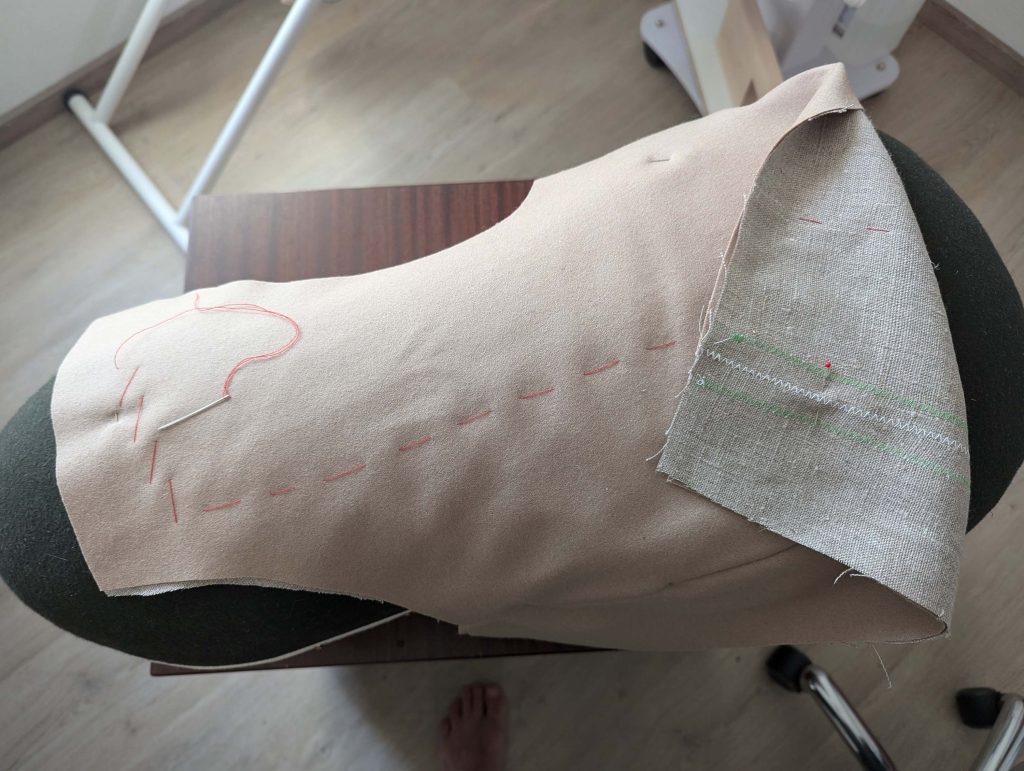
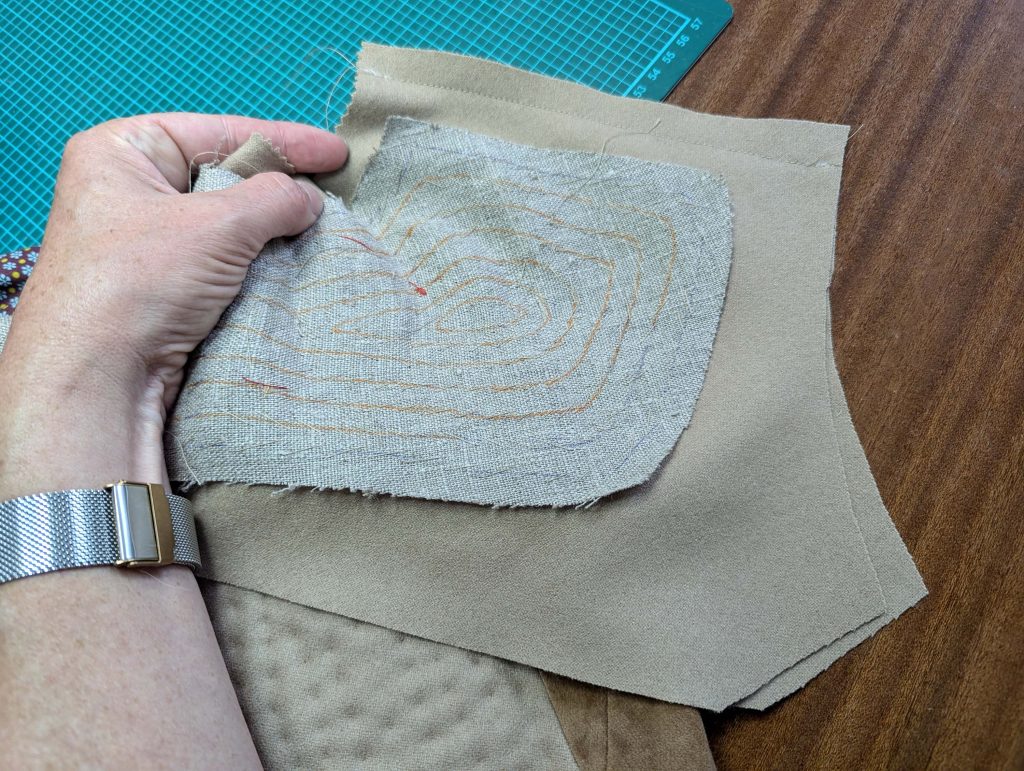
Hefte die vordere Einlage auf die linke Seite des Vordertteil, lining up the edges. Start stitching centered down the front and continue along the front edge, following the roll line until reaching the shoulder. Give the front some ease while basting by stretching the chest slightly and simulating the body with a tailor’s ham or a pillow. Lastly, baste along the armhole and the side seam. Baste about 2” (5cm) from all edges. 

Weiterlesen

#0418 – The 1830´s Frock Coat – Part 3 – point (10) to (18) 

Part 1 – point (1) to (4)

Part 2 – point (5) to (9)

(10) Näh das Schulternaht, right sides together, easing in the extra width of the back. Fold the front-facing and front canvas to the side while sewing. Press open the seam allowances and place the front canvas on top.

Let´s move over to some other tricky details with velvet and piping!

Mark the stitching line along the Halsausschnitt, and baste together the layers (canvas and front) inside the seam allowance, right beside the stitching line. Trim back to 3/8” (1cm). Smooth out the Vorderteilbeleg over the shoulder seam towards the center back and mark the center back. Line up the front facings along that line, right sides together, and sew. Trim back the seam allowances and press open. That was the easy part.

Weiterlesen

Ein 1830er Herren Gehrock Teil 3

Teil 1 

Teil 2 

Die Manschetten sind hier auch etwas anders verarbeitet, jedoch ähnlich.
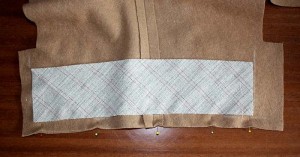
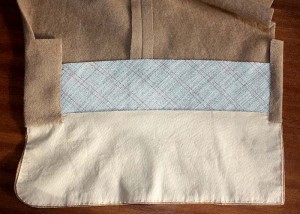
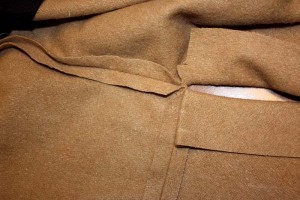
Erst einmal wird aber der Ärmel entlang der vorderen Ärmelnaht zusammengenäht und Einlage eingeheftet, in der Anleitung reicht die Einlage bis an die Kante. Rechts auf Rechts ist die Manschette angesteckt, die hier offenkantig verarbeitet wurde, da der Stoff sehr dick ist.

IMG_4433

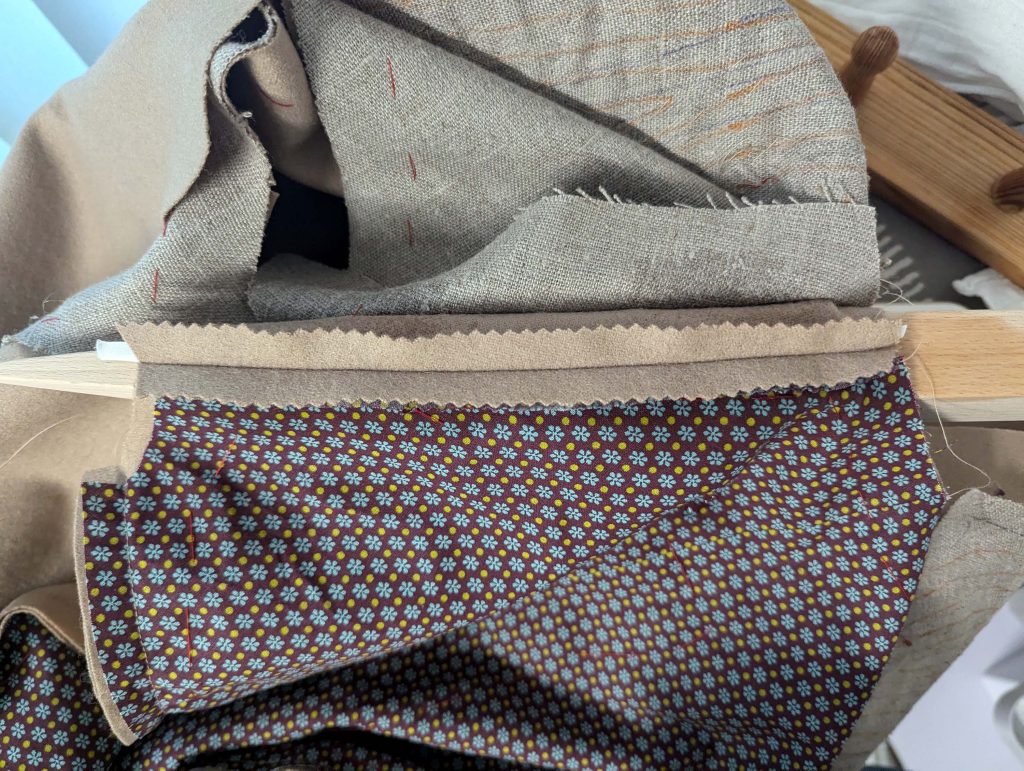
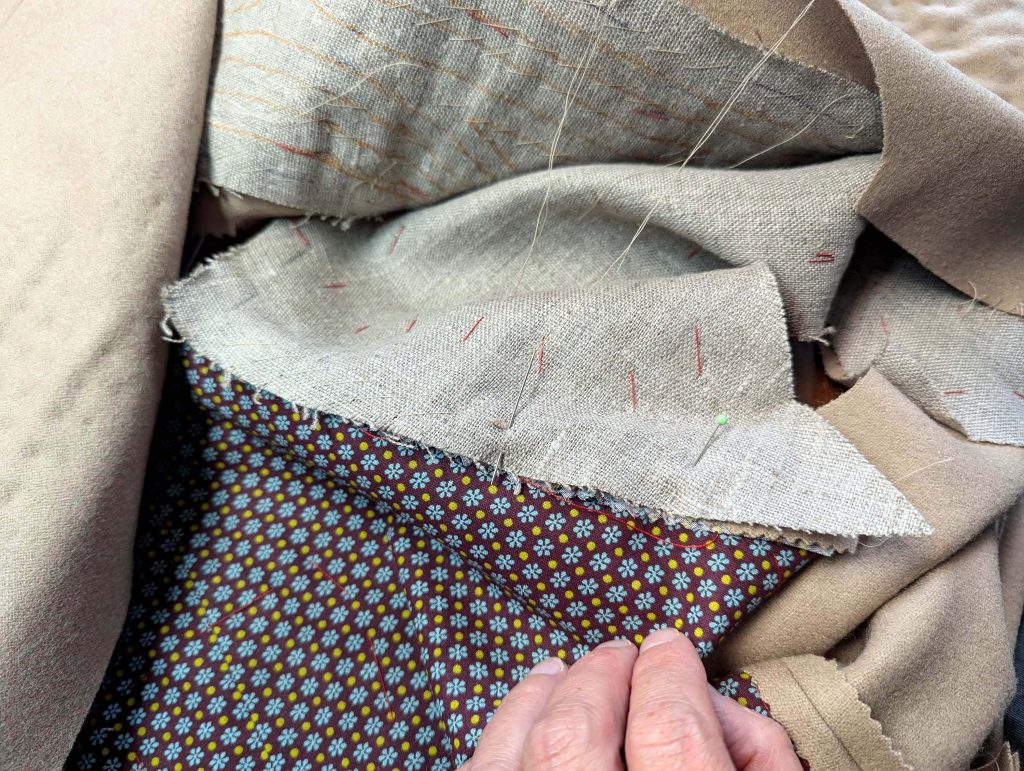
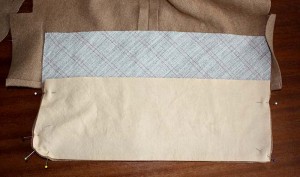
Hier sieht man die angenähte Manschette. Da der Stoff so dick ist, wollte ich sie nicht doppelt nehmen, daher habe ich am Futterstoff die Nahtzugabe eingeschlagen und dann mit kleinen Stichen, die auch auf der rechten Seite zu sehen sind, angenäht. Besser als auf den Fotos wäre gewesen, zuerst den Schlitzbeleg (links) und die Nahtzugabe (rechts) an die Einlage zu hexen, dann erst das Futter darüber legen.IMG_4434IMG_4437

Weiterlesen