Schlagwort-Archive: Tailcoat

#0418 – The 1830´s Frock Coat – Part 1 – first considerations and point (1) to (4)

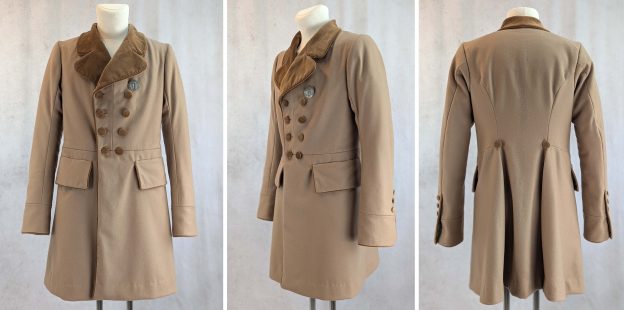
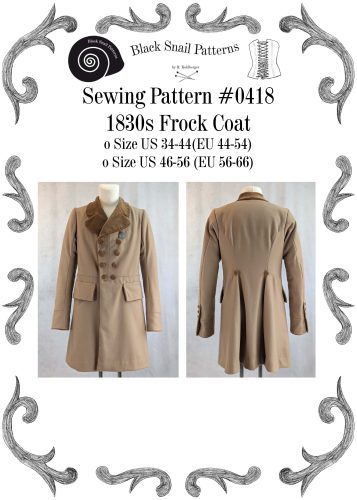
Hi there! Roti from Black Snail Patterns here. I’m thrilled to announce that we’re giving our popular 1830s Frock Coat sewing pattern a major upgrade. This classic garment has long been a favorite among historical costume enthusiasts, and now we’re making it even better.

We’ve listened to your feedback and enhanced the pattern with clearer, more detailed instructions. This is not a beginner sewing pattern. However, we tried to explain tailoring terminology in a way that, with sufficient motivation and enthusiasm, everyone could understand.

Get the completely updated pattern here:

In this post, I’ll walk you through the updates we’re making:

  • Expanded step-by-step instructions
  • New troubleshooting tips for common challenges
  • Additional pictures for complex construction steps and period-accurate piped edges.

These improvements will help you achieve stunning results, whether you’re creating a historically accurate costume or adapting the Frock Coat for a contemporary twist.

Join me as we explore the refined details of this 19th-century classic and uncover the techniques that bring it to life. Let’s make historical sewing not just accessible, but truly enjoyable for everyone. Ready to dive in? Stay tuned as we delve into the fascinating details of this classic garment and the techniques used in its construction.


Weiterlesen

#0418 – The 1830´s Frock Coat – Part 2 – point (5) to (9) 

Part 1 – point (1) to (4)

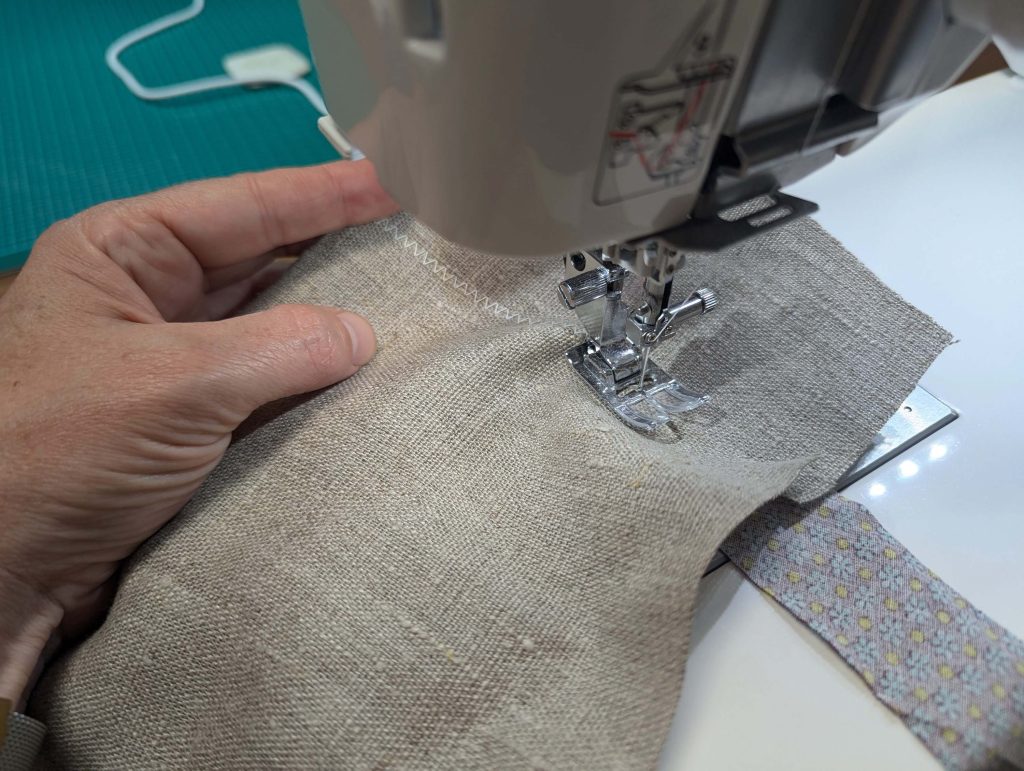
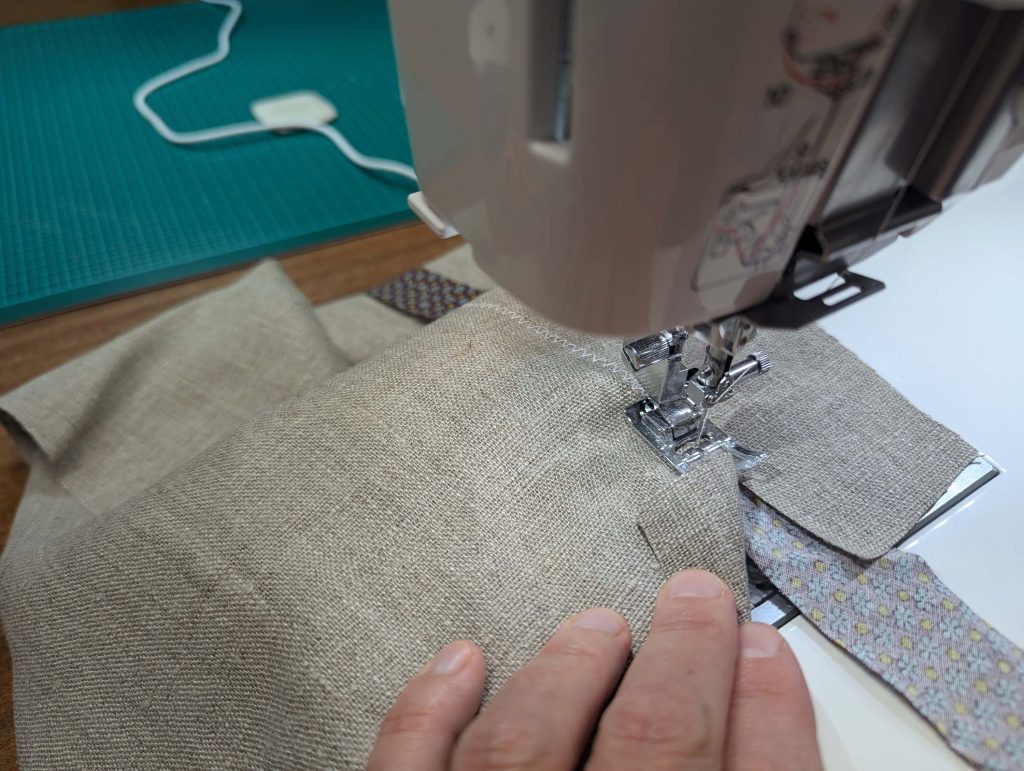
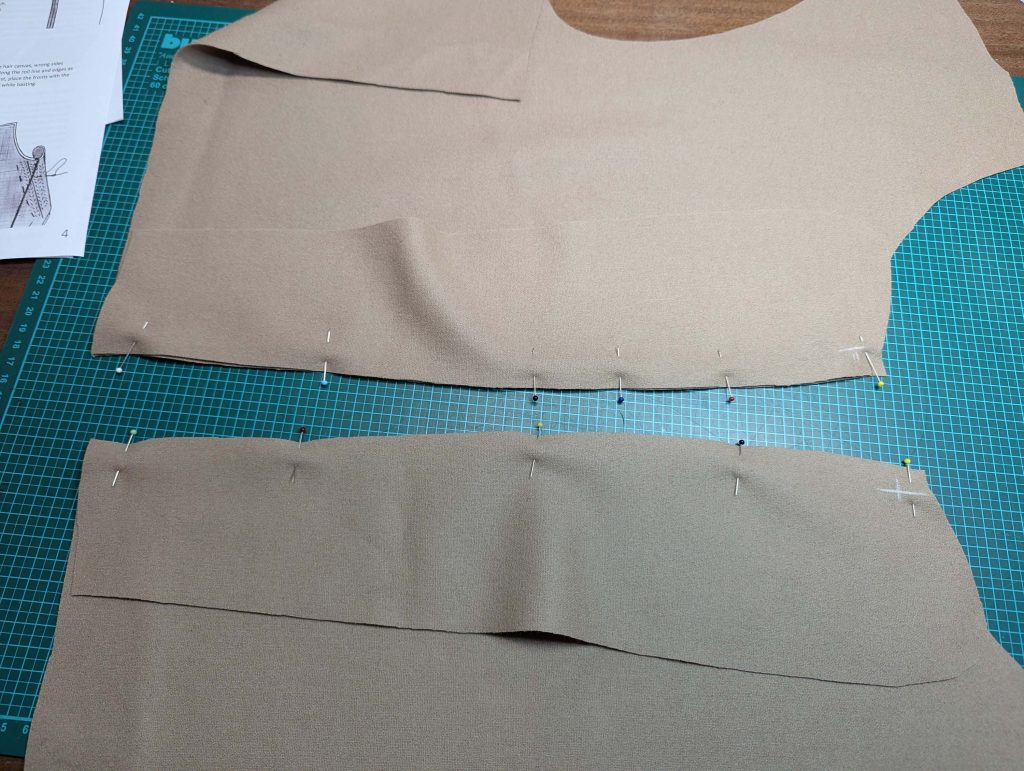
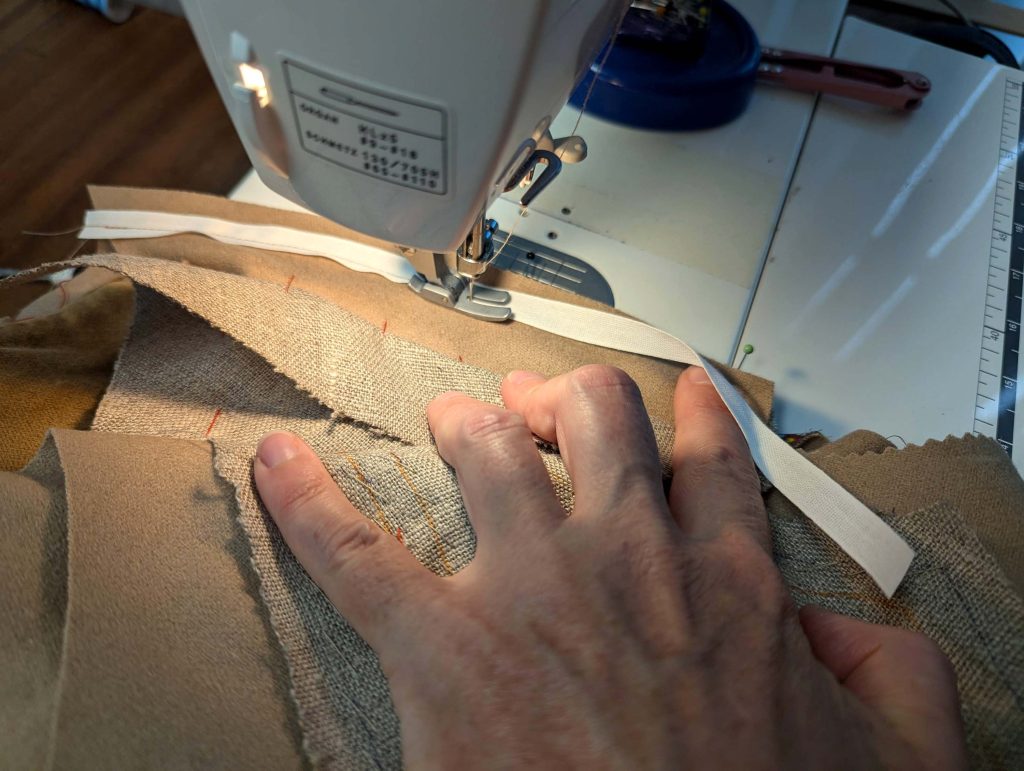
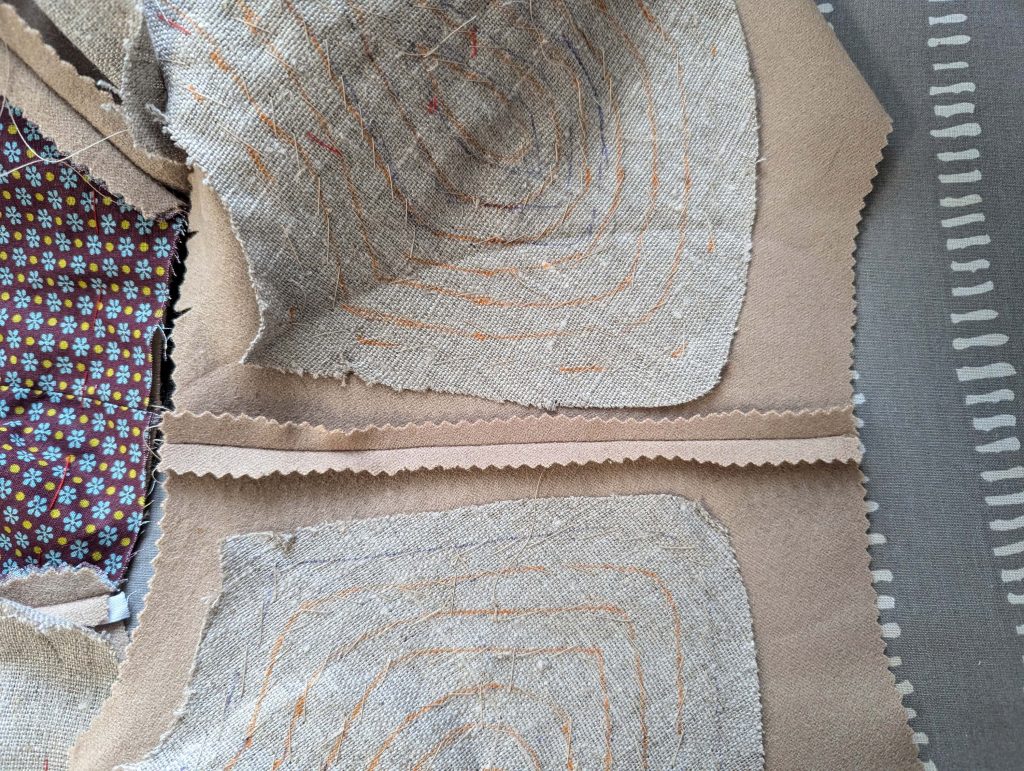
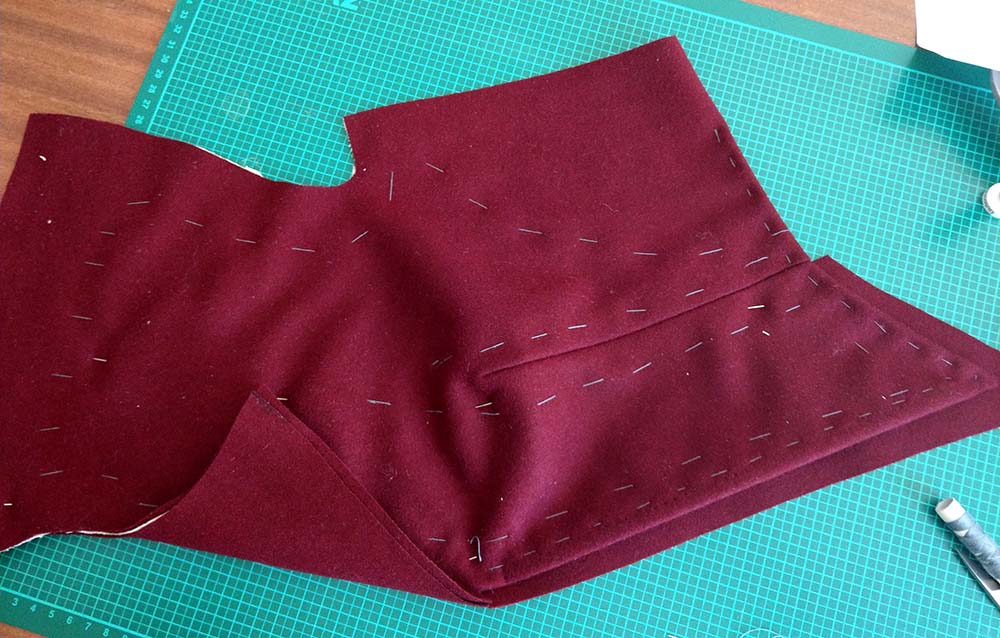
(5) Time to prepare the fronts: Take the canvas of the Vordertteil und Revers, and trim back the seam allowances along the abutting edges, to sew together the pieces edge to edge, using a zig-zag stitch. Stop sewing exactly at the collar notch (x). Underlay the seam with a strip of bias tape (cotton). This method reinforces the joint and helps distribute stress across the garment.

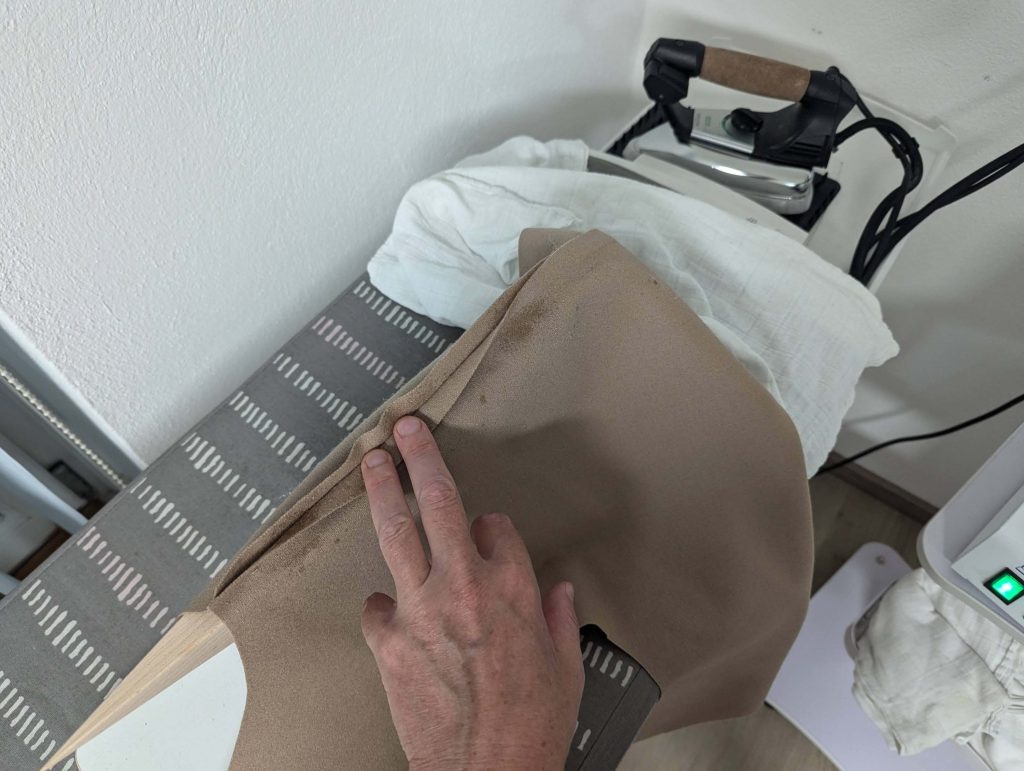
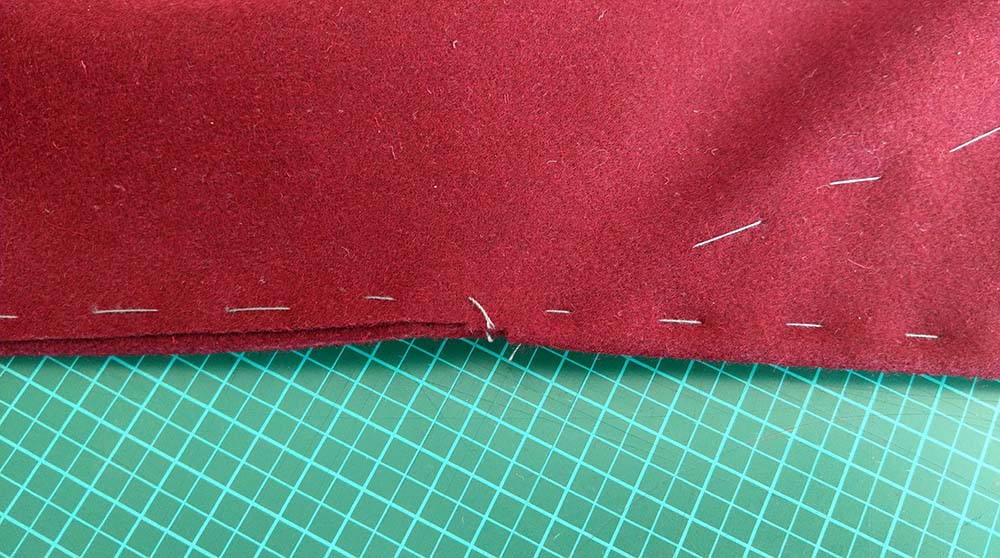
Nimm das Vorderteile from the fashion fabric and stretch the shoulder. Sew the lapel to the front, right sides together, and stop sewing exactly at the collar notch (x). Press open the seam allowances, and trim back the seam allowances at the collar notch.

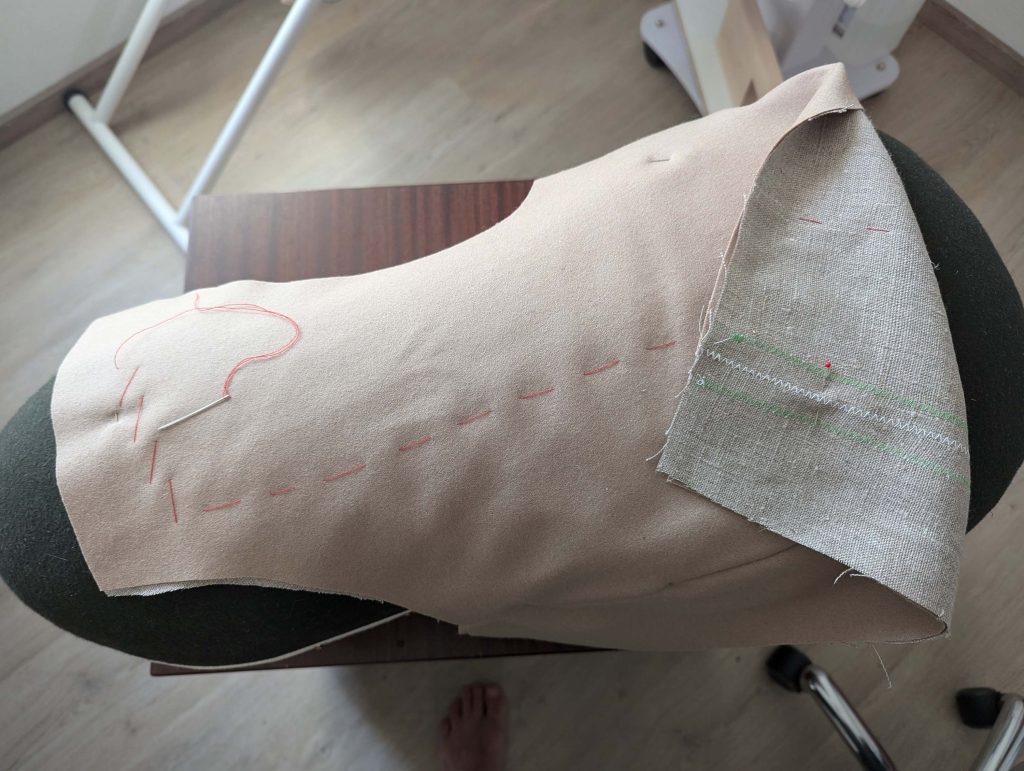
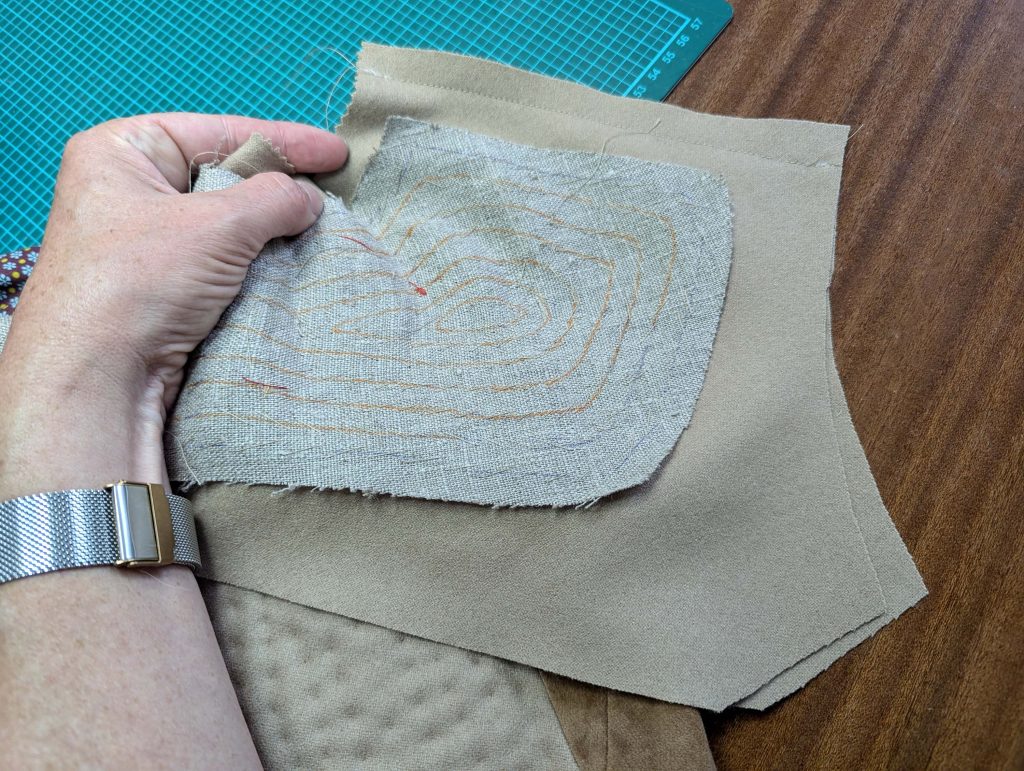
Hefte die vordere Einlage auf die linke Seite des Vordertteil, lining up the edges. Start stitching centered down the front and continue along the front edge, following the roll line until reaching the shoulder. Give the front some ease while basting by stretching the chest slightly and simulating the body with a tailor’s ham or a pillow. Lastly, baste along the armhole and the side seam. Baste about 2” (5cm) from all edges. 

Weiterlesen

#0418 – The 1830´s Frock Coat – Part 3 – point (10) to (18) 

Part 1 – point (1) to (4)

Part 2 – point (5) to (9)

(10) Näh das Schulternaht, right sides together, easing in the extra width of the back. Fold the front-facing and front canvas to the side while sewing. Press open the seam allowances and place the front canvas on top.

Let´s move over to some other tricky details with velvet and piping!

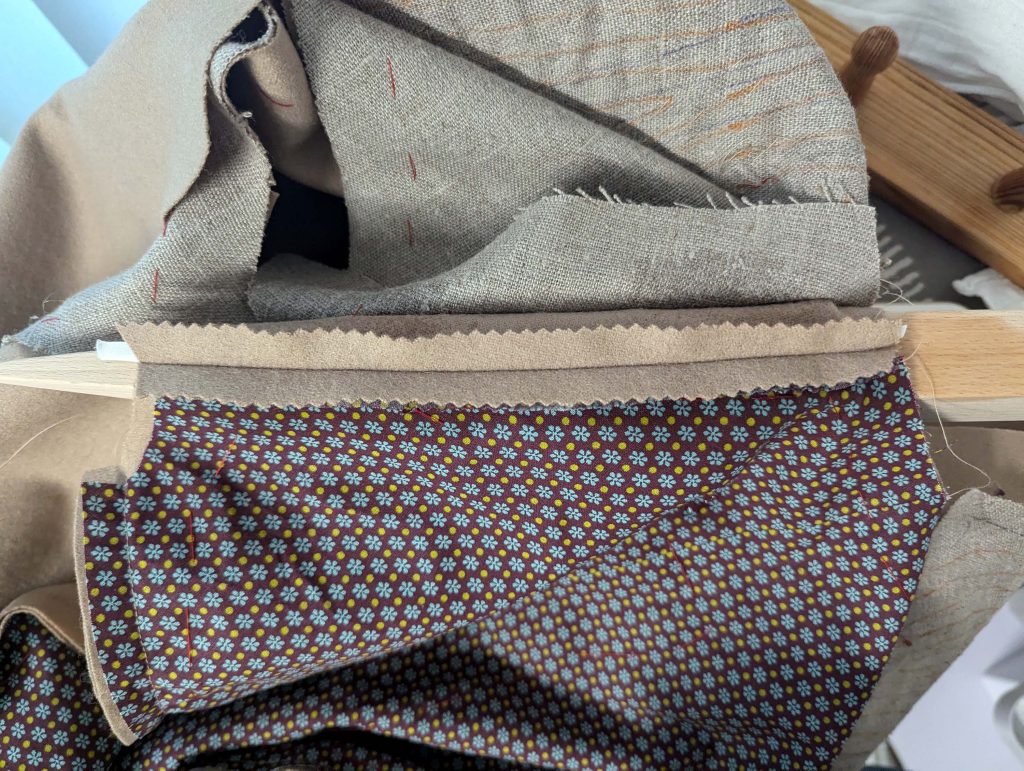
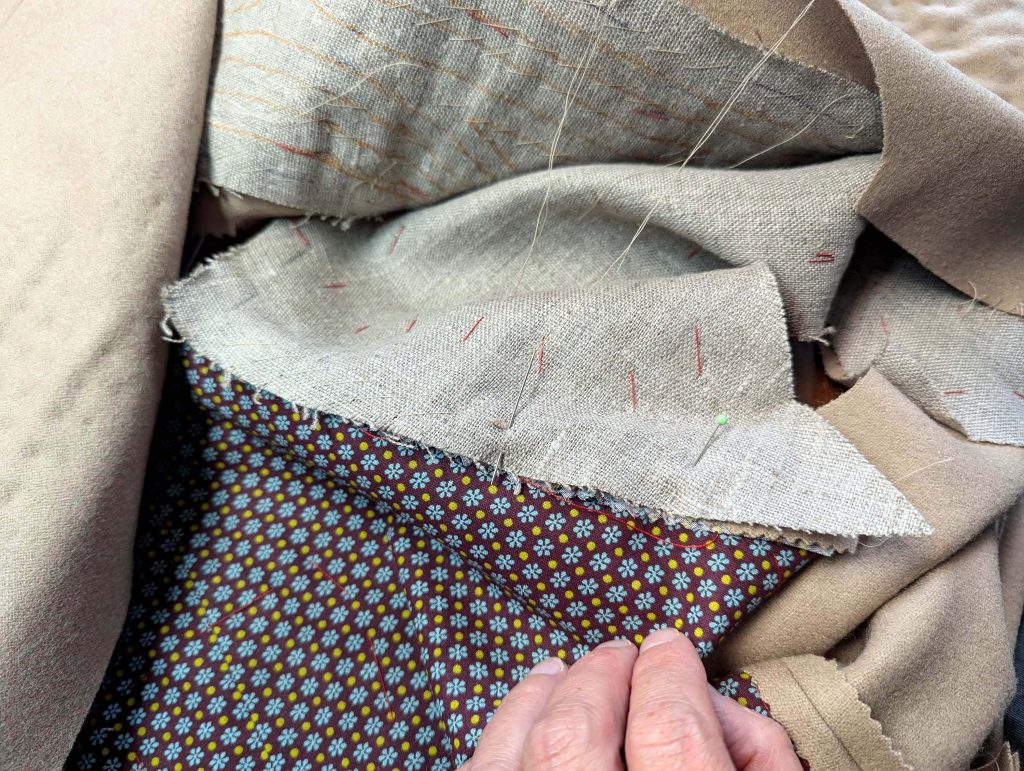
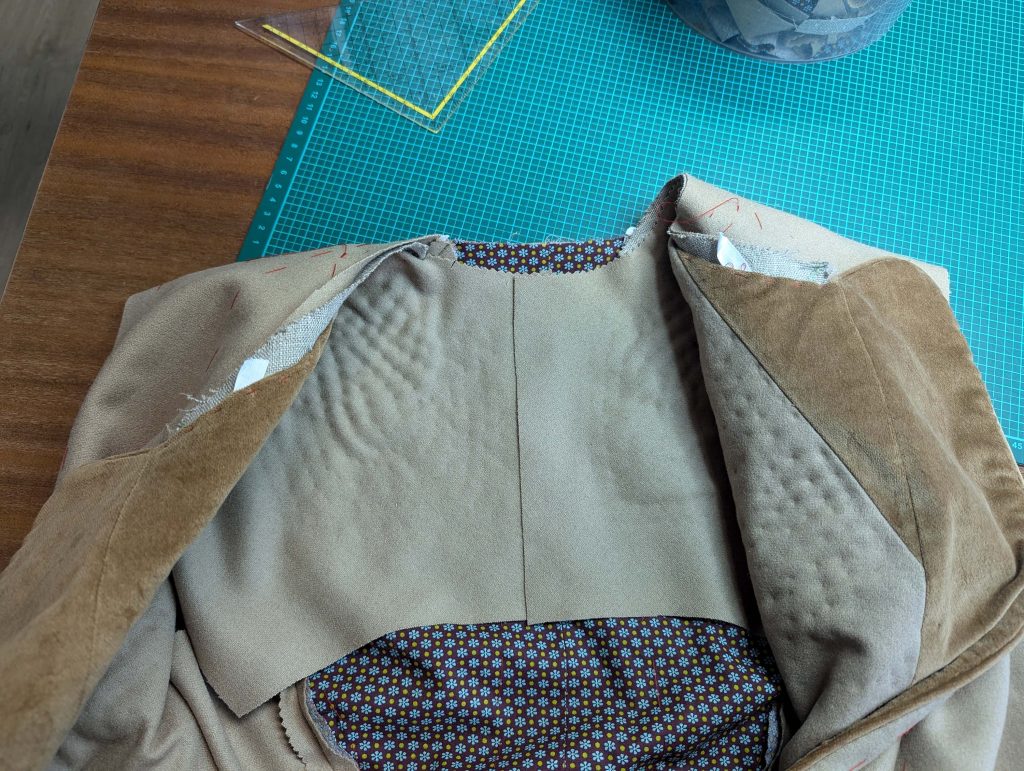
Mark the stitching line along the Halsausschnitt, and baste together the layers (canvas and front) inside the seam allowance, right beside the stitching line. Trim back to 3/8” (1cm). Smooth out the Vorderteilbeleg over the shoulder seam towards the center back and mark the center back. Line up the front facings along that line, right sides together, and sew. Trim back the seam allowances and press open. That was the easy part.

Weiterlesen

Herrenfrack um 1800 - Teil 1, Einstieg, Schritte (1) -(2)

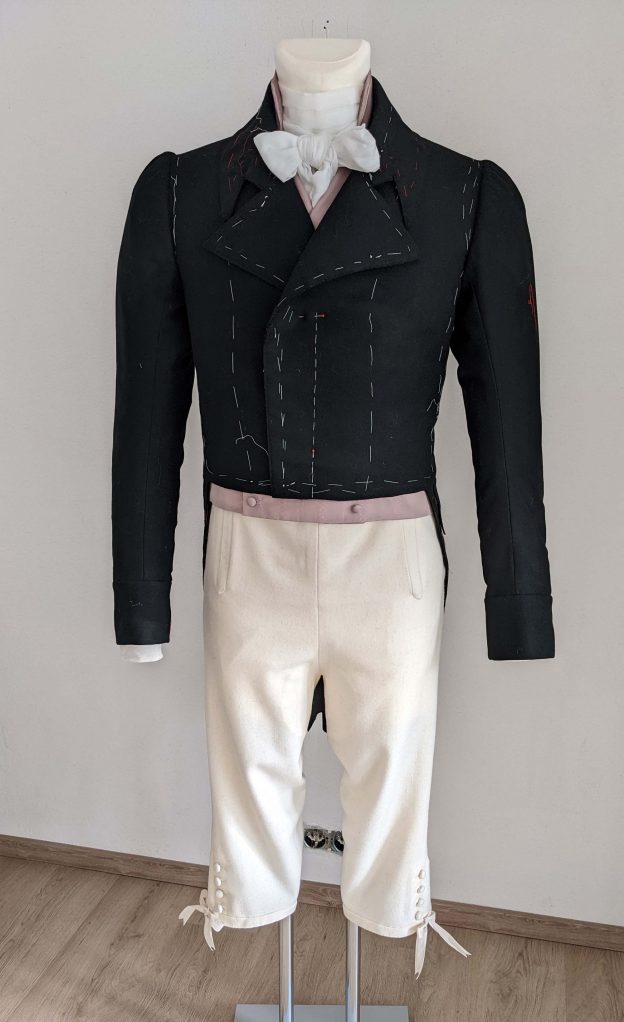
The last garment missing to complete our men´s wardrobe is the Tailcoat. Again, this blog post will supplement the sewing instructions for my pattern. The sewing techniques described in the instructions will follow the construction methods seen on extant garments as much as possible, with some extra information and pictures here.

Grab the sewing pattern here!

Bitte beachte, dass dies ein Handnähmuster ist, alle langen Nähte können maschinell genäht werden, aber viele Schritte können nur von Hand ausgeführt werden. Einige Schritte sind selbst für eine erfahrene Näherin ziemlich knifflig, manche Schritte sind im Vergleich zu modernen Nähtechniken ungewohnt.

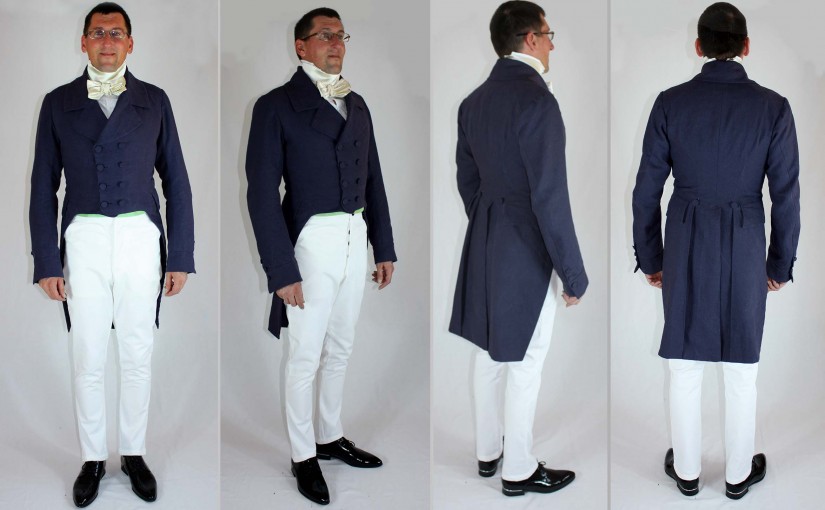
Ich zeige dir die Herstellung eines zweireihigen Fracks des frühen 19. Jahrhunderts mit vielen typischen Merkmalen dieser Zeit.th Der Körper hat nur drei Nähte, eine hintere Mittelnaht, zwei hintere Seitennähte, die weit nach hinten versetzt sind, und keine Taillennaht. Vorder- und Hinterteil sind entlang der hinteren Seitennaht zusammengenäht und zu einer nach hinten öffnenden Falte gefaltet. In diesen Falten verbirgt sich der Tascheneingriff. Der Rücken öffnet sich zu einem Schlitz unter der Taille. 

Die doppelreihigen Vorderenden befinden sich etwa 1 Zoll über der natürlichen Taille und zeigen die darunter liegende Weste. Brustpolster stützen die Vorderseite und es sind keine Schulterpolster angebracht. Die Ärmel sind ziemlich lang, reichen bis zum Daumengrundgelenk und enden mit einem Bündchen. Die gesamte zusätzliche Weite am Ärmelkopf wird vorne gerafft. Der Kragen ist mit der typischen M-Kerbe versehen. Der Körper ist mit poliertem Baumwollstoff gefüttert. Die vorderen Belege werden verlängert, um sich in der hinteren Mitte zu treffen.

Die Kanten von nicht ausfransenden Wollstoffen wie gefilzter Wolle bleiben unversäubert. Bei ausfransenden Stoffen empfehle ich, den Frack „moderner“ zu nähen.

Die erste Möglichkeit wäre, die obere und untere Lage falsch aneinander zu legen. Dann die Nahtzugaben umschlagen und alle Kanten mit einem Saumstich nähen, wie in diesem Blogpost von meinem Romantischen Frack beschrieben: https://patterns.bplaced.net/blog/1840s-tailcoat-part-4-1840er-tailcoat-teil-4/

Noch moderner ist die zweite Möglichkeit, Kragen und Revers rechts auf rechts zu nähen und dann, wie heutzutage üblich, die rechte Seite nach außen zu wenden: https://patterns.bplaced.net/blog/an-1830s-frock-coat-part-1-ein-1830er-gehrock-teil-1/

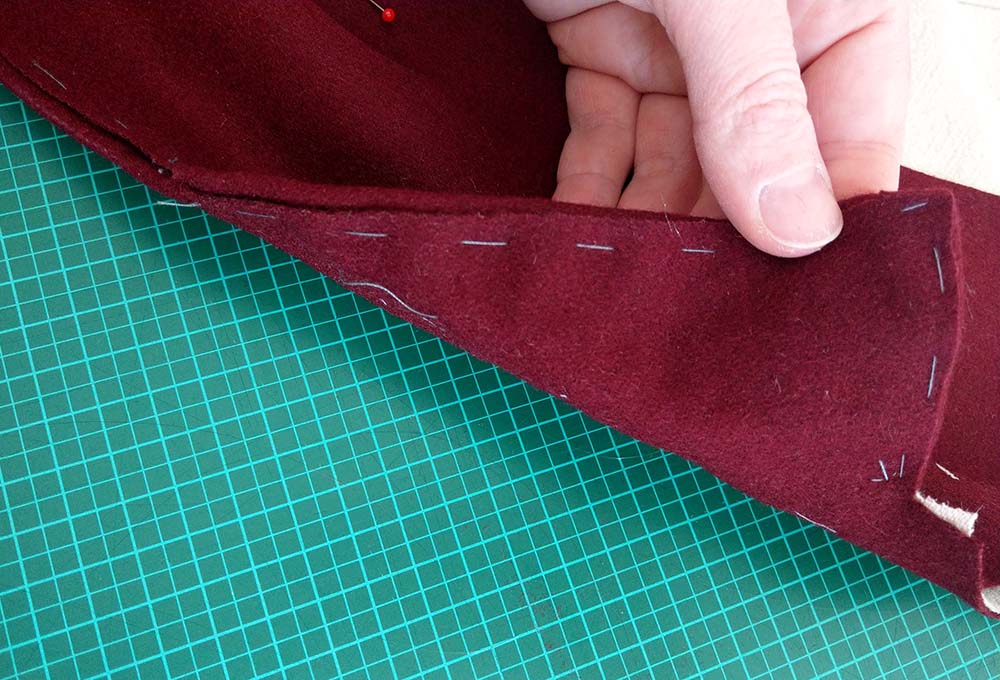
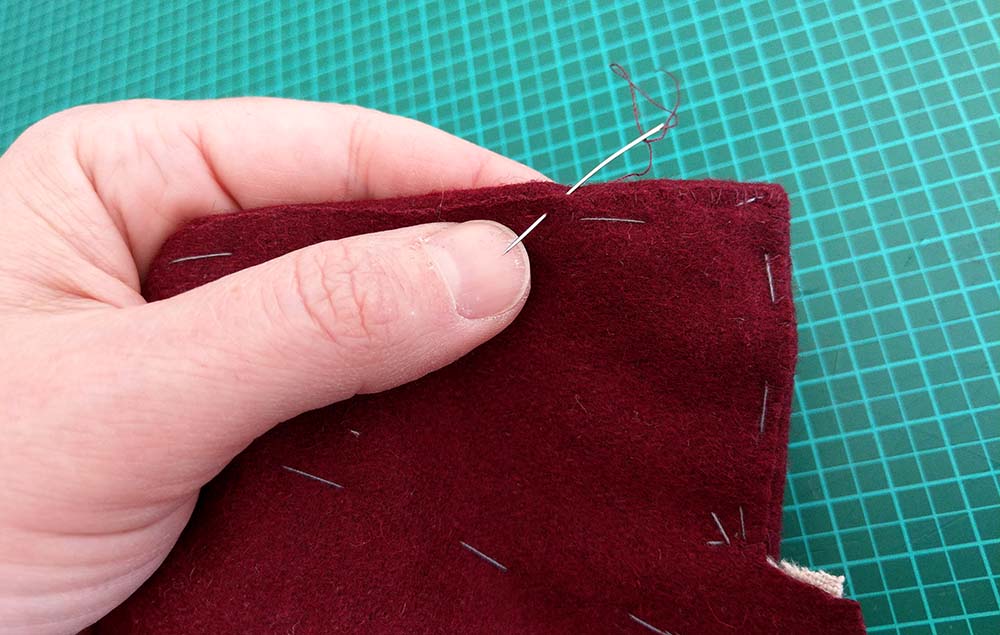
Eine dritte (für mäßig ausfransende Stoffe) wäre, unter die Nahtzugaben der oberen Schicht um zu schlagen, die Nahtzugabe der unteren Schicht bis zum Netz zurückzuschneiden und die untere Schicht mit dem Staffierstich zu nähen:

1840s Tailcoat Part 4

Collar and Sleeves 

Zur Vorbereitung habe ich alle Lagen entlang des Halsausschnittes zusammengeheftet. Das ist in dem Fall der Oberstoff, am Vorderteil die Einlage und am Rückteil das Baumwollfutter. Die Nahtzugaben des Belegs sind ja schon nach innen gefaltet und die Kante entlang der Nahtlinie festgeheftet. Der Kragen ist hier auch schon fertig vorbereitet, die Einlage mit einem Pikierstich aufgenäht, die Ober- und Unterkante mit Hilfe des Bügeleisens gedehnt und der Reversbruch eingebügelt.

IMG_4412 Weiterlesen