Kennt ihr das 1830er Kleid aus dem LACMA? Ich spreche von dem rosa Abendkleid mit den riesigen Ärmeln: 1830 Evening Dress 1830 Evening Dress
Auch auf Modekupfern sieht man Kleider mit Ärmeln dieser Art. Aber wie macht man sie? Die Bilder aus dem LACMA haben zwar eine wirklich hohe Auflösung, zeigen aber nicht alle nötigen Details.
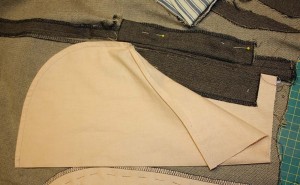
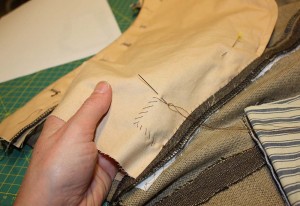
Schließlich fand ich diese beiden unscharfen Bilder: (1.) (2.) 1st 2nd
Nun hatte ich endlich die nötigen Infos!
The fabrics used to make the original dress are silk sateen and silk organza. This are informations from the museum homepage. I think a silk georgette was used, because the fabric is less transparent than organza would be.
I think the sleeves are made from sateen covered with georgette, I´m not sure if the skirt is made the same way. For the bodice stripes of fabric, cut on the bias, are mounted. First I thought they where mounted on a cotton bodice, like later dresses would be, but it seems that the lower part of the bodice is just made from georgette. Neckline and armhole are piped.
I decided to use a basic bodice made from glazed Cotton to mount the stripes. The pattern I took from my 1845 dress. The dress fits quite well so I didn´t had to made any alterations.
Ich habe mich für einen Satin in creme und bordeaux entschieden. Warum keinen Georgette? Weil ich etwas unter Zeitdruck stand das Kleid fertig zu bekommen. Es war daher nicht mehr möglich einen passenden Georgette zu finden!
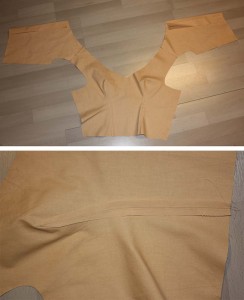
Los geht´s! Am Basisteil werden nur die Abnäher und die Schulternähte geschlossen. Für flachere Nähte werden die Abnäher aufgeschnitten und gebügelt. Die Belege an der hinteren Mitte einfalten und festnähen, links 2cm für den Untertritt berücksichtigen.
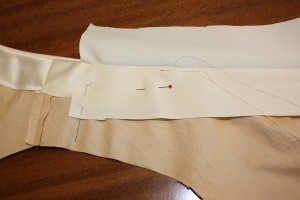
Wrong side up attach a 2″ wide facing around the neckline.
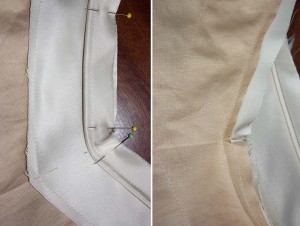
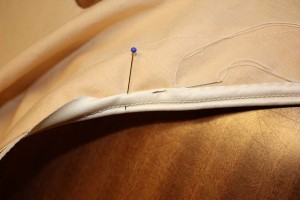
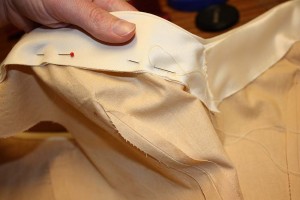
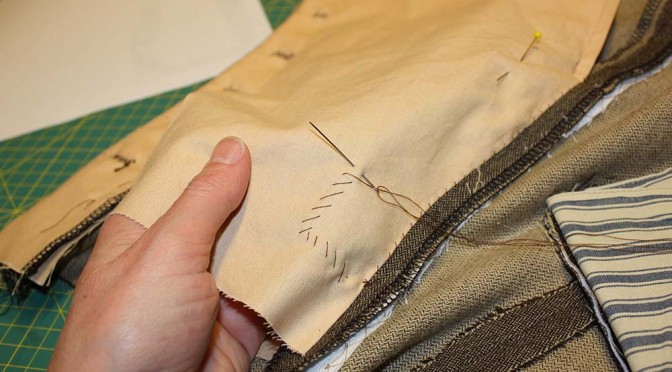
Sew your piping around the neckline. Trim the seam allowance of the bodice, the facing and the inner seam allowance of the piping. Nocht the seam allowances at the center front. Fold the upper seam allowance from the piping around and sew just to the cotton bodice. Fold over the facing at the back and stitch down.
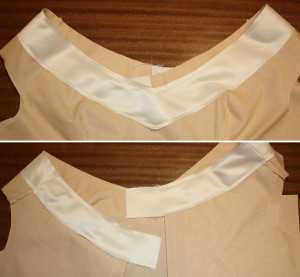
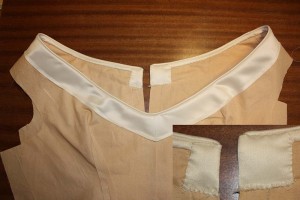
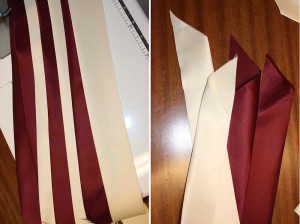
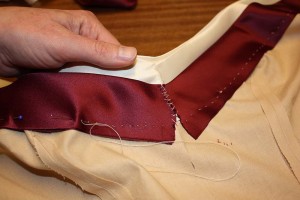
Prepared bias straps in ivoy and burgundy, folded lenghtwise, wrong sides togehter and pressed, width is now 5cm. The 2nd picture shows the straps pinned to the bodice to see how it looks like. Decided to make the straps 3cm at the shoulderand 2cm wide at the center front.
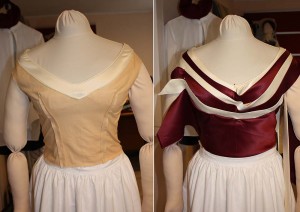
Der erste cremfarbene Streifen wird aufgefaltet und entlang des Halsausschnittes aufgenäht. Wie ihr sehen könnt ist der Schulterpunkt etwas nach vorne verschoben, zum höchsten Punkt der Schulter. Dann wird der Streifen entlang der Unterkante an das Basisteil genäht.
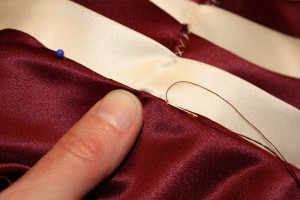
Der zweite bordeauxfarbene Streifen wird nur entlang der Unterkante an das Basisteil genäht, die Oberkante bleibt lose. Die Rundung für die Brust beachten, Stiche locker ausführen. An der vorderen Mitte die Streifen mit einigen Stichen fixieren.
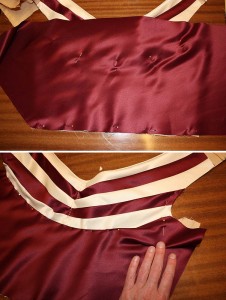
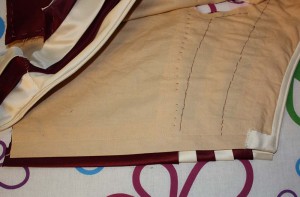
In der selben Art und Weise werden die übrigen Streifen angenäht. Das unterste Teil wird ebenfalls im schrägen Fadenlauf zugeschnitten, dann auf das Basisoberteil gesteckt. Der Umriß wird direkt am Stoff angezeichnet und 1cm Nahtzugabe entlang der Oberkante berücksichtigt. Ausschneiden, die Nahtzugabe entlang der Oberkante einschlagen und an den 5. Streifen nähen. Die übrigen Kanten werden and Basisteil geheftet.
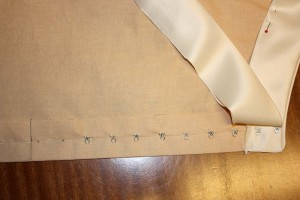
Am Rückteil werden die Streifen in gleicher Weise aufgenäht, an der Schulter sollten sie 1cm überlappen. Auf der linken hinteren Mitte (Untertritt 2cm) Augen zuerst aufnähen. Auf der rechten Seite mit den Streifen einen schmalen Übertritt formen. Entlang der rechten hinteren Mitte mit kleinen Stichen durch alle Lagen nähen.
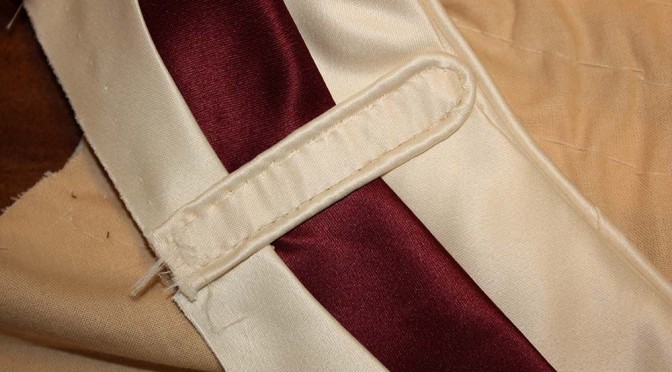
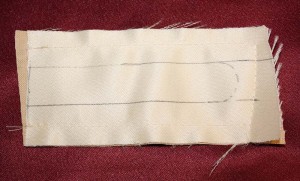
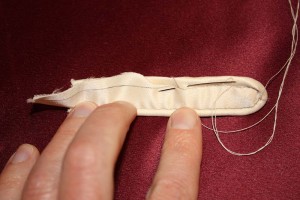
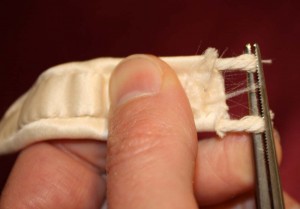
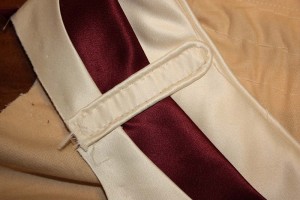
Nun werden 1cm breite paspelierte Epauletten genäht. Ich habe nicht wirklich eine Idee, wie man es besser machen könnte, als unten gezeigt. Bevor die Epauletten angenäht werden, die Paspelschnüre etwas herausziehen und die Nahtzugaben abschneiden, damit die Naht später nicht so dick wird. Die Epauletten werden an die höchste Stelle der Schulter genäht, so dass sie die unversäuberten Kanten der Streifen bedecken.
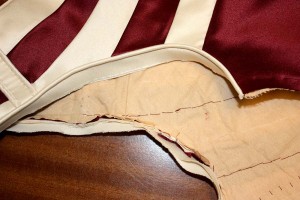
Bevor die Seitennähte geschlossen werden, wird ein Paspelband entlang des Armloch aufgenäht. Die Inneren Nahtzugaben zurückschneiden, die äußerste wird darüber gefaltet und wie am Halsausschnitt festgenäht.
Nächstes Mal kommen die Ärmel… Teil 2

