Archiv der Kategorie: General

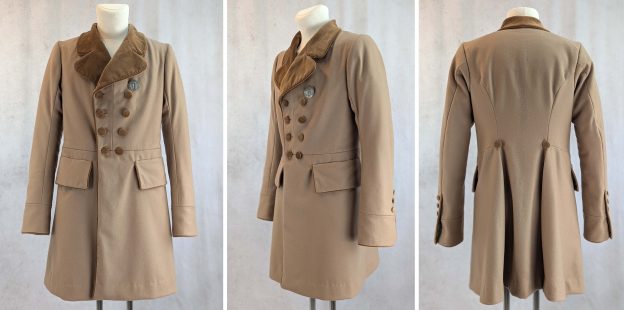
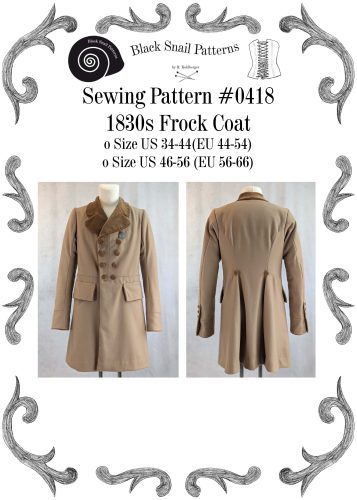
#0418 – The 1830´s Frock Coat – Part 1 – first considerations and point (1) to (4)

Hi there! Roti from Black Snail Patterns here. I’m thrilled to announce that we’re giving our popular 1830s Frock Coat sewing pattern a major upgrade. This classic garment has long been a favorite among historical costume enthusiasts, and now we’re making it even better.
We’ve listened to your feedback and enhanced the pattern with clearer, more detailed instructions. This is not a beginner sewing pattern. However, we tried to explain tailoring terminology in a way that, with sufficient motivation and enthusiasm, everyone could understand.

Get the completely updated pattern here:

In this post, I’ll walk you through the updates we’re making:

  • Expanded step-by-step instructions
  • New troubleshooting tips for common challenges
  • Additional pictures for complex construction steps and period-accurate piped edges.

These improvements will help you achieve stunning results, whether you’re creating a historically accurate costume or adapting the Frock Coat for a contemporary twist.

Join me as we explore the refined details of this 19th-century classic and uncover the techniques that bring it to life. Let’s make historical sewing not just accessible, but truly enjoyable for everyone. Ready to dive in? Stay tuned as we delve into the fascinating details of this classic garment and the techniques used in its construction.


Weiterlesen

#0418 – The 1830´s Frock Coat – Part 2 – point (5) to (9) 

Part 1 – point (1) to (4)

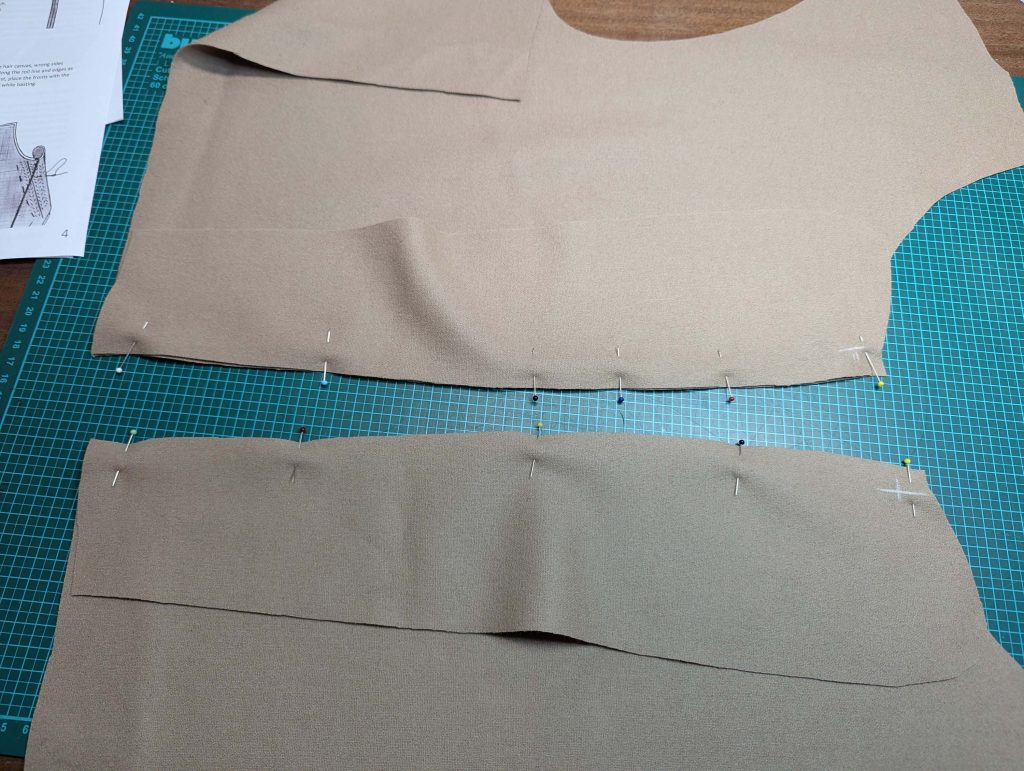
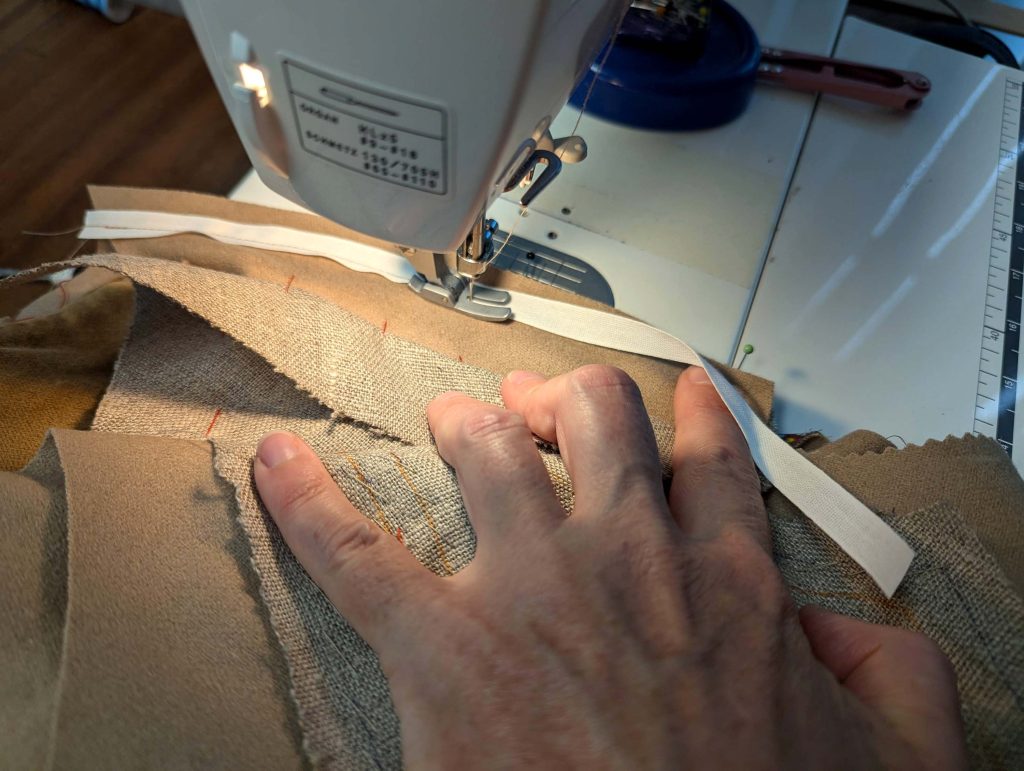
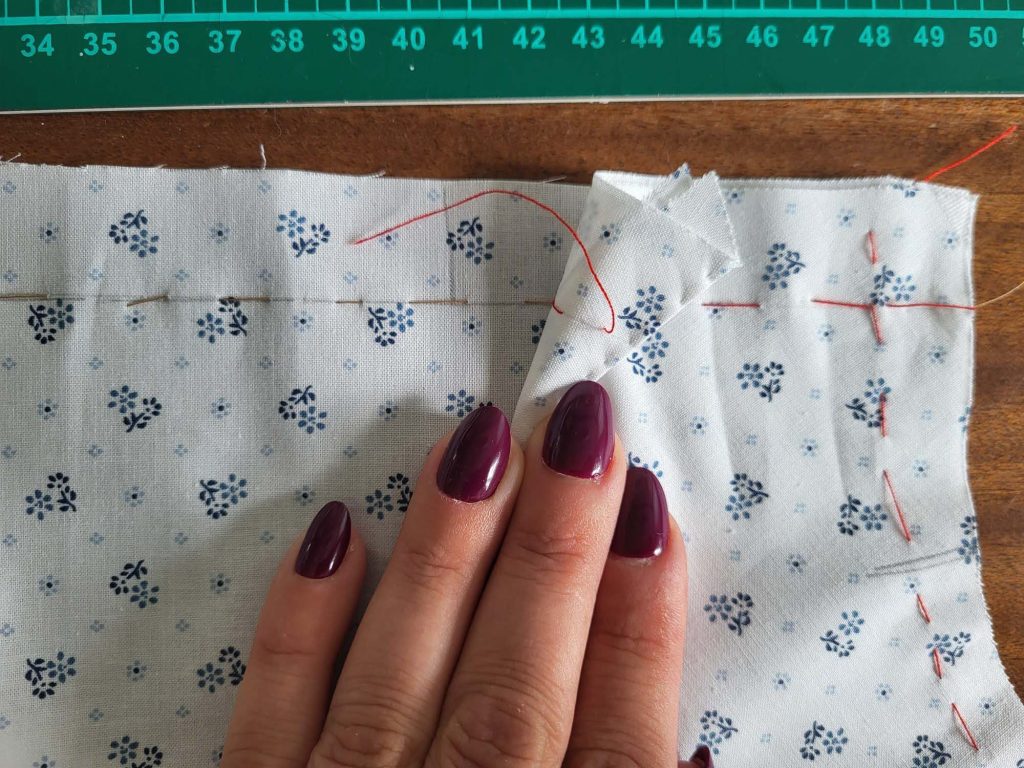
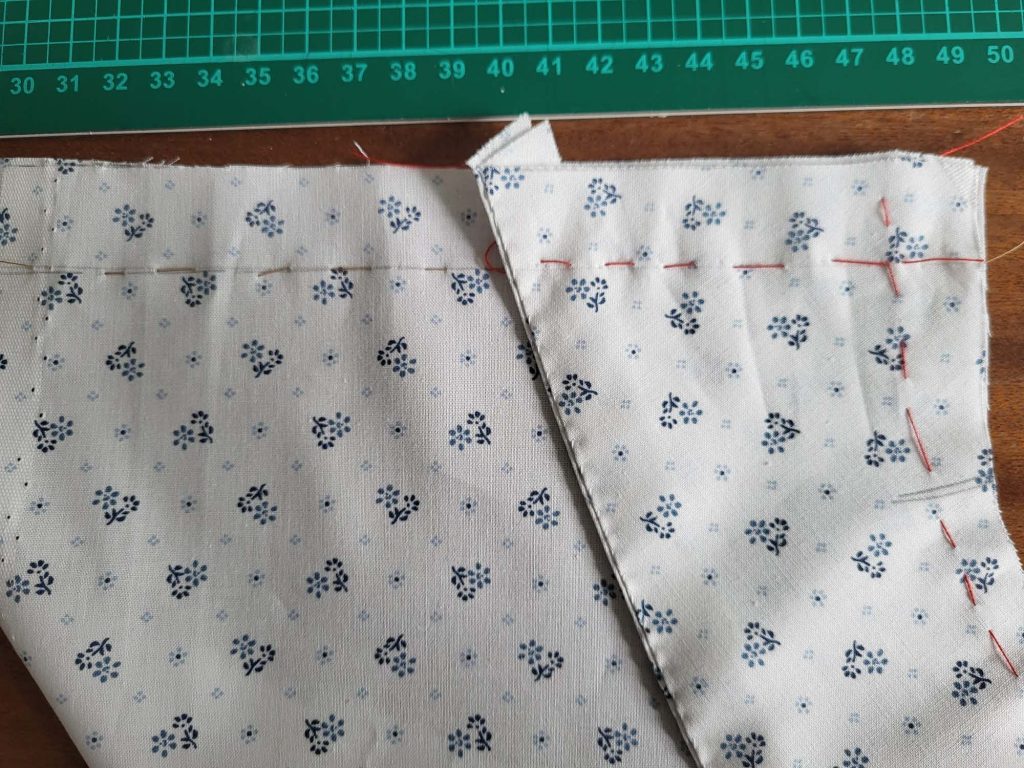
(5) Time to prepare the fronts: Take the canvas of the Vordertteil und Revers, and trim back the seam allowances along the abutting edges, to sew together the pieces edge to edge, using a zig-zag stitch. Stop sewing exactly at the collar notch (x). Underlay the seam with a strip of bias tape (cotton). This method reinforces the joint and helps distribute stress across the garment.

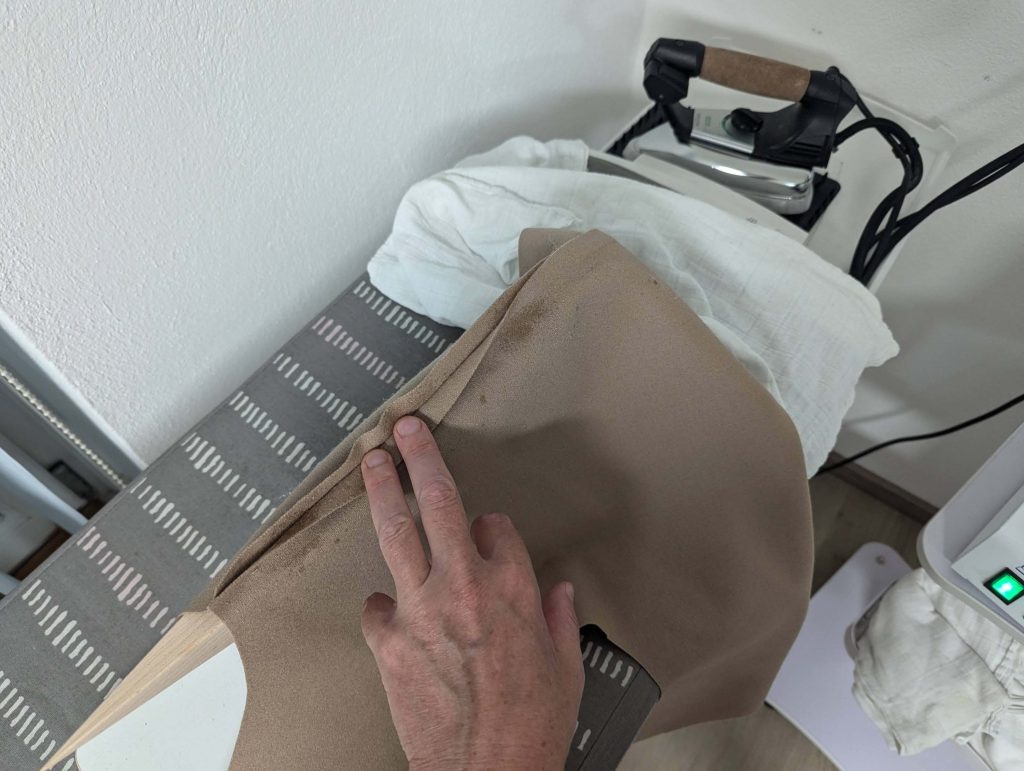
Nimm das Vorderteile from the fashion fabric and stretch the shoulder. Sew the lapel to the front, right sides together, and stop sewing exactly at the collar notch (x). Press open the seam allowances, and trim back the seam allowances at the collar notch.

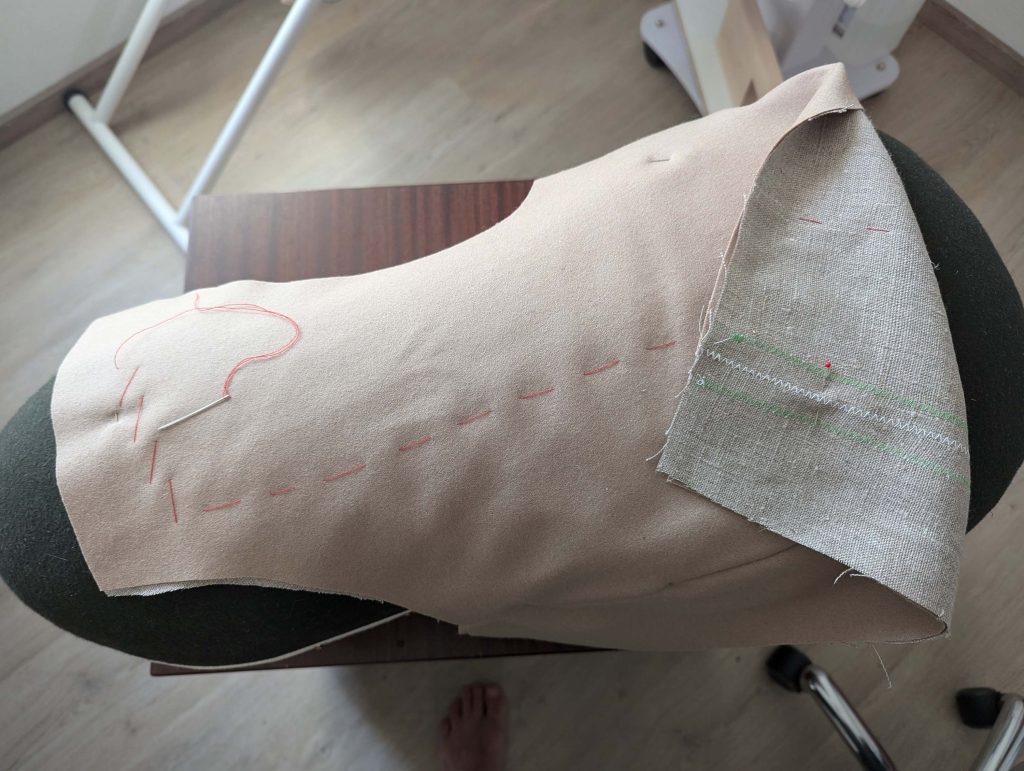
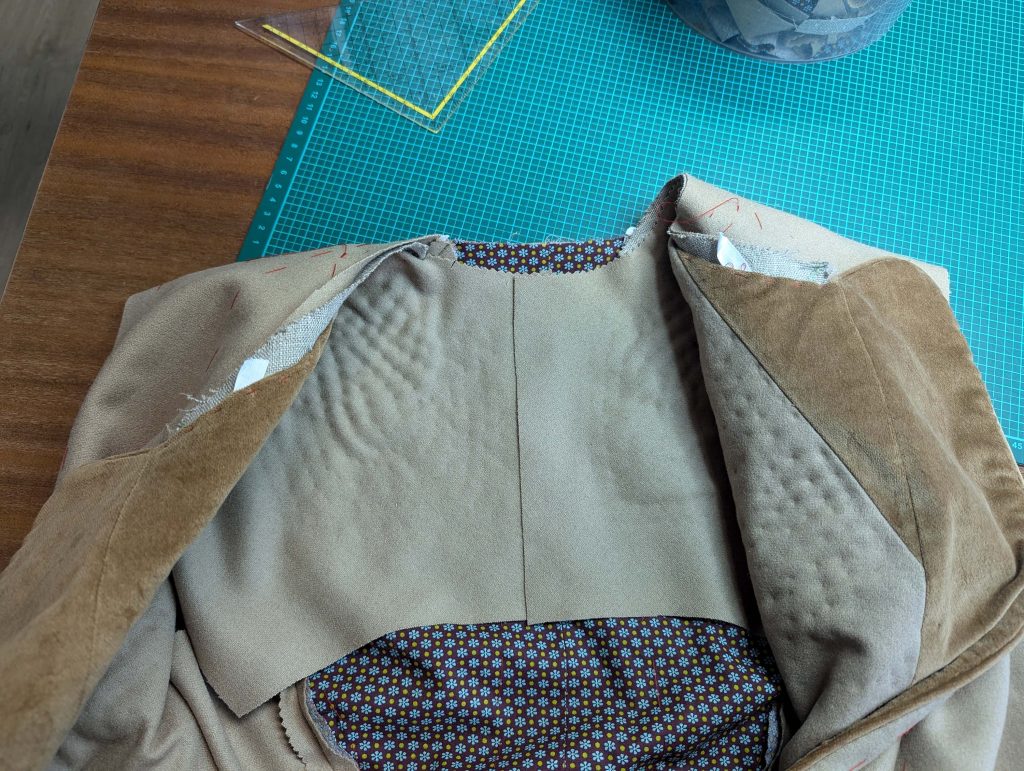
Hefte die vordere Einlage auf die linke Seite des Vordertteil, lining up the edges. Start stitching centered down the front and continue along the front edge, following the roll line until reaching the shoulder. Give the front some ease while basting by stretching the chest slightly and simulating the body with a tailor’s ham or a pillow. Lastly, baste along the armhole and the side seam. Baste about 2” (5cm) from all edges. 

Weiterlesen

#0418 – The 1830´s Frock Coat – Part 3 – point (10) to (18) 

Part 1 – point (1) to (4)

Part 2 – point (5) to (9)

(10) Näh das Schulternaht, right sides together, easing in the extra width of the back. Fold the front-facing and front canvas to the side while sewing. Press open the seam allowances and place the front canvas on top.

Let´s move over to some other tricky details with velvet and piping!

Mark the stitching line along the Halsausschnitt, and baste together the layers (canvas and front) inside the seam allowance, right beside the stitching line. Trim back to 3/8” (1cm). Smooth out the Vorderteilbeleg over the shoulder seam towards the center back and mark the center back. Line up the front facings along that line, right sides together, and sew. Trim back the seam allowances and press open. That was the easy part.

Weiterlesen

Black Snail´s first childrens pattern – a Regency girl´s dress!

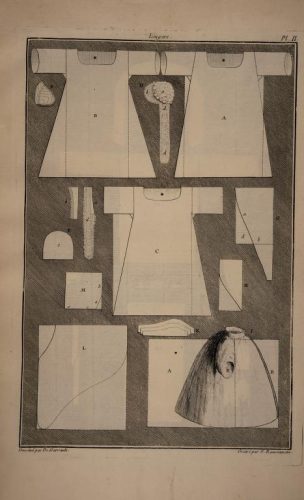
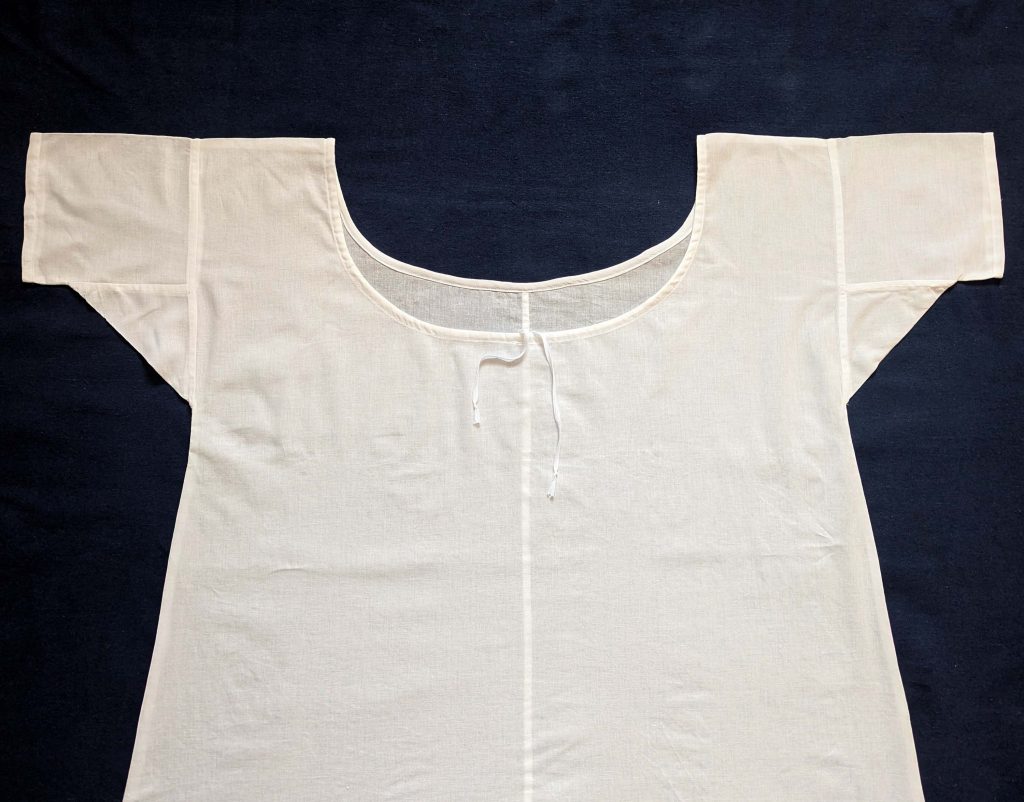
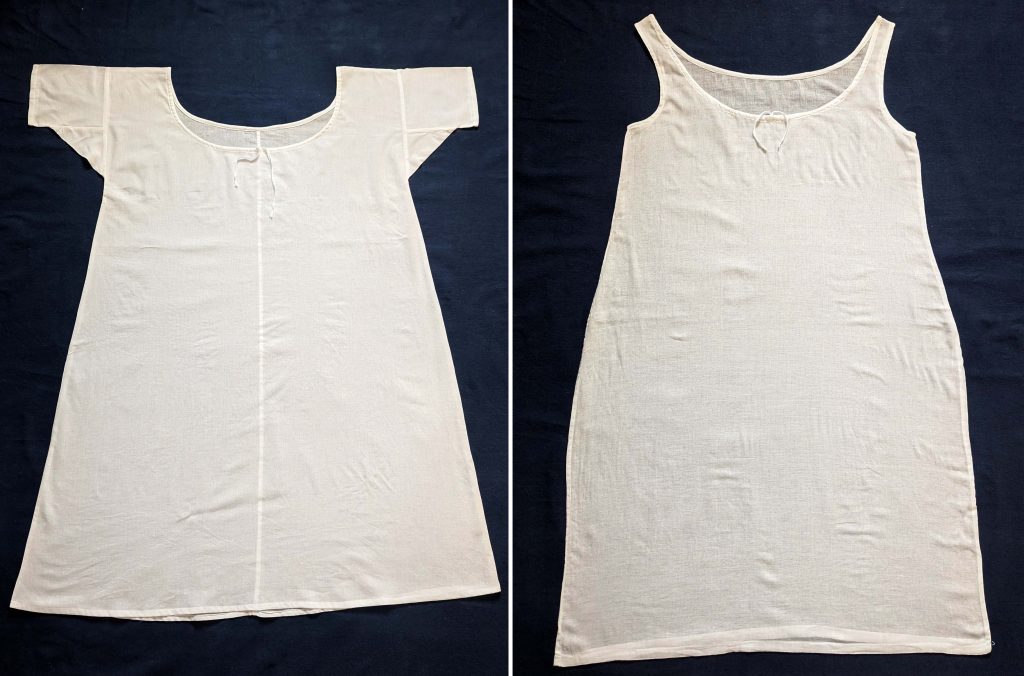
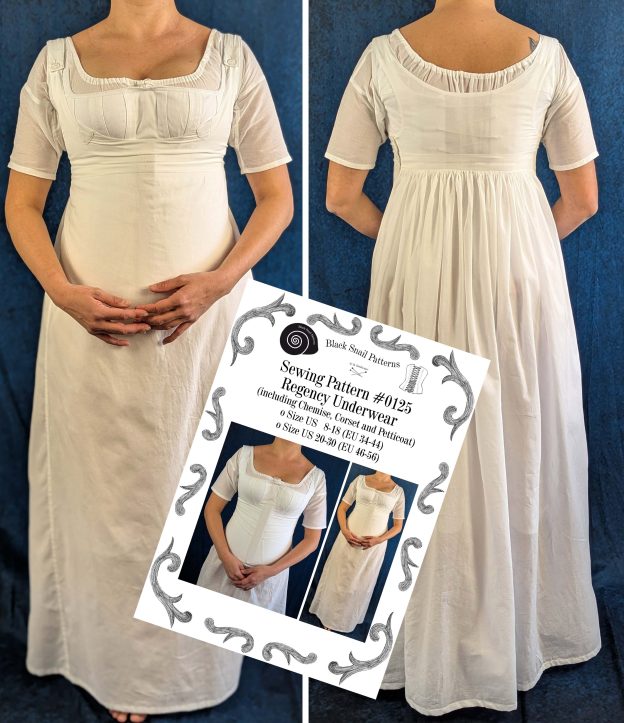
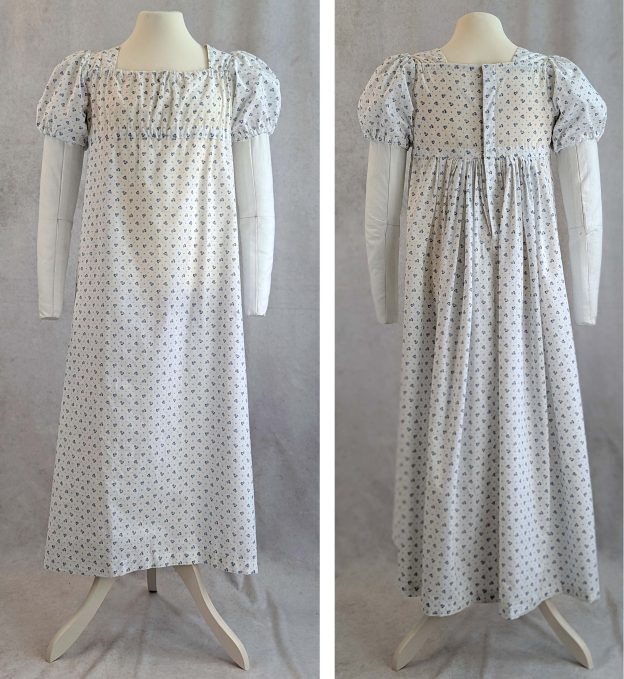
When Laura joined my team, she brought her passion for historical fashion and a unique perspective as a mother of two girls.  It seemed fitting that her first pattern project would be a lovely girls’ dress from the Regency era (1800-1810). Based on several surviving children’s garments from this period, this dress captures the essence of early 19th-century childhood fashion – comfortable, practical, and utterly delightful.

The Regency era marked a significant shift in how children were dressed. For the first time in history, children’s clothing was designed with their comfort and freedom of movement in mind, rather than simply miniaturizing adult fashions. Our pattern stays true to this revolutionary approach, featuring clever design elements like drawstrings and adjustable elements that allow the dress to “grow” with the child. This practical consideration was just as important to parents then as now.

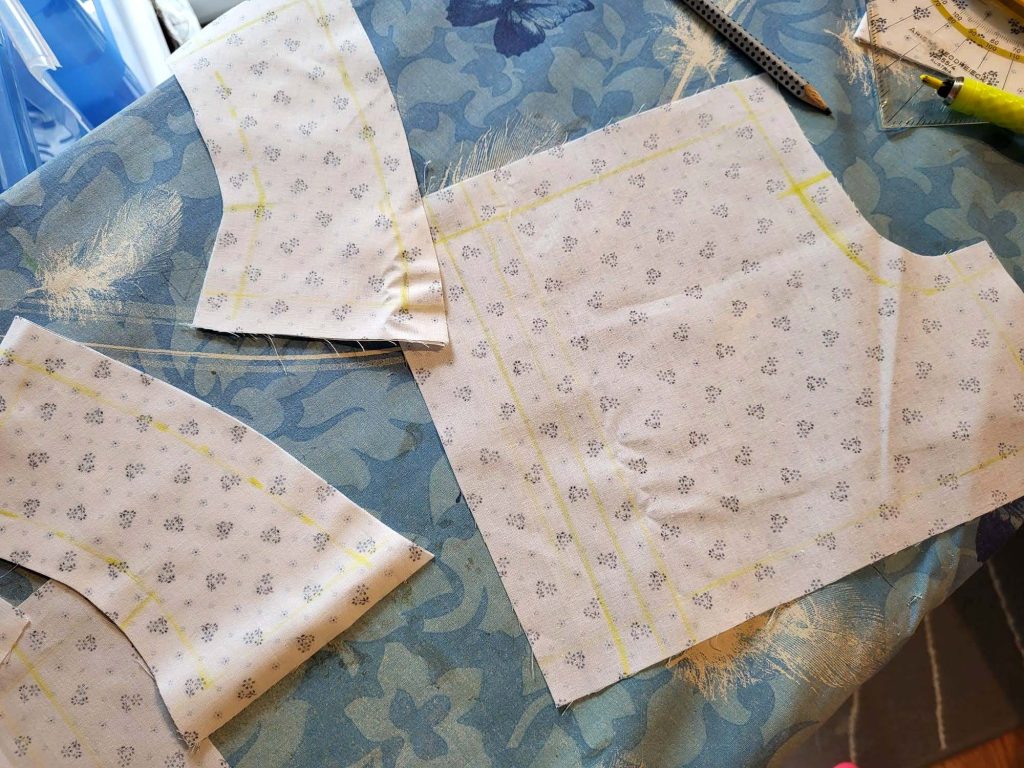
(1) After carefully cutting all your pattern pieces and transferring all markings, we’re ready to begin the sewing process. Before we dive in, remember: Always make a mock-up using inexpensive fabric first to check the fit, especially around the bodice area. Transfer any adjustments to your paper pattern before cutting into your final fabric.

Pro tip: If your fabric has a nice, even selvage, consider using it for the center back of the skirt – this clever detail saves you from having to finish those edges separately.

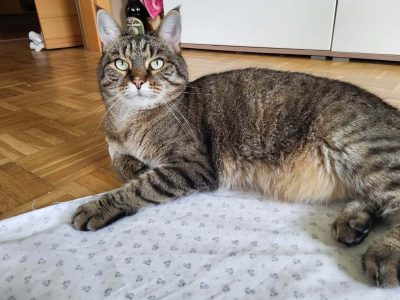
And speaking of Laura’s sewing process – she always gets plenty of “help” from her cats, who seem to think that pattern pieces make excellent napping spots and fabric layouts aren’t complete without a cat inspection! 

Now, let’s start sewing!

(2) At the center front of the front piece, sew a small buttonhole to the seam allowance, where indicated on the sewing pattern.

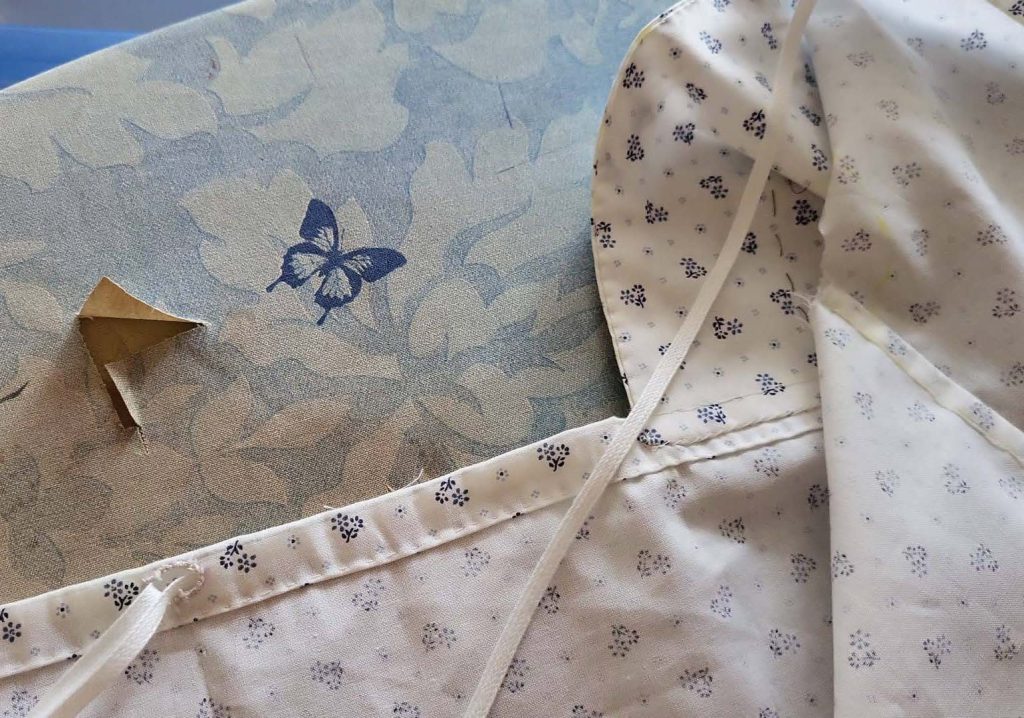
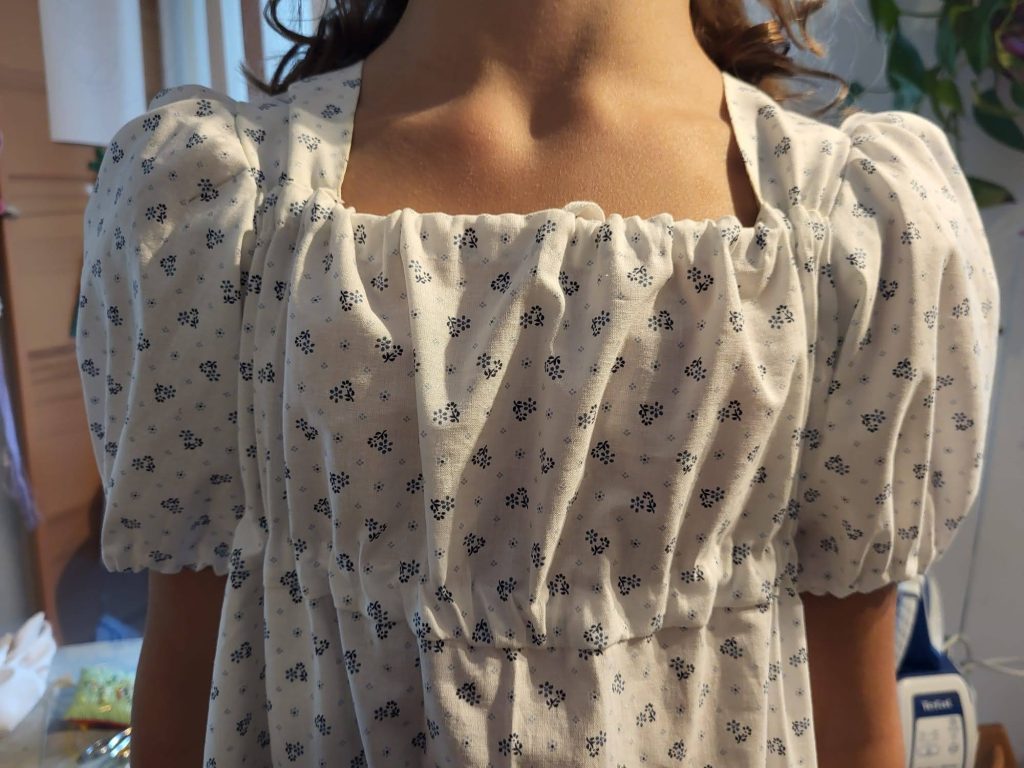
(3) Nimm das shoulder straps from fashion fabric and lining and turn in the seam allowance along the neckline (b), clip if needed. Line up the straps, wrong sides together. For the point à rabattre sous la main the edge of the fashion fabric should extend beyond the edge of the lining about 1/8” (2mm).

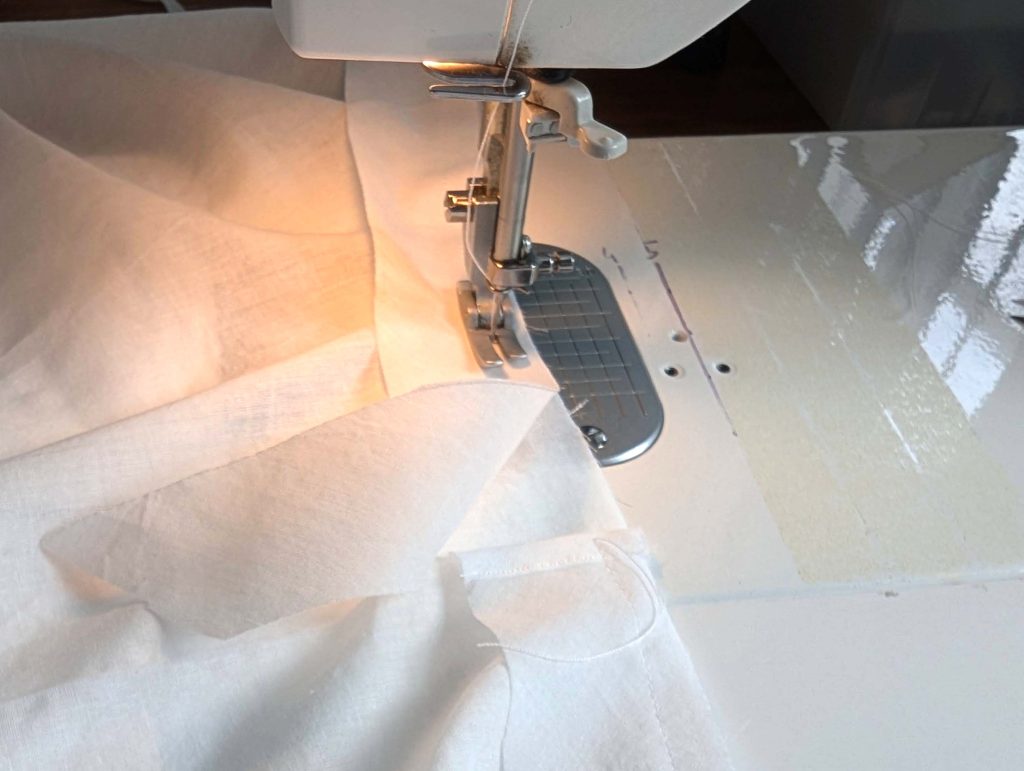
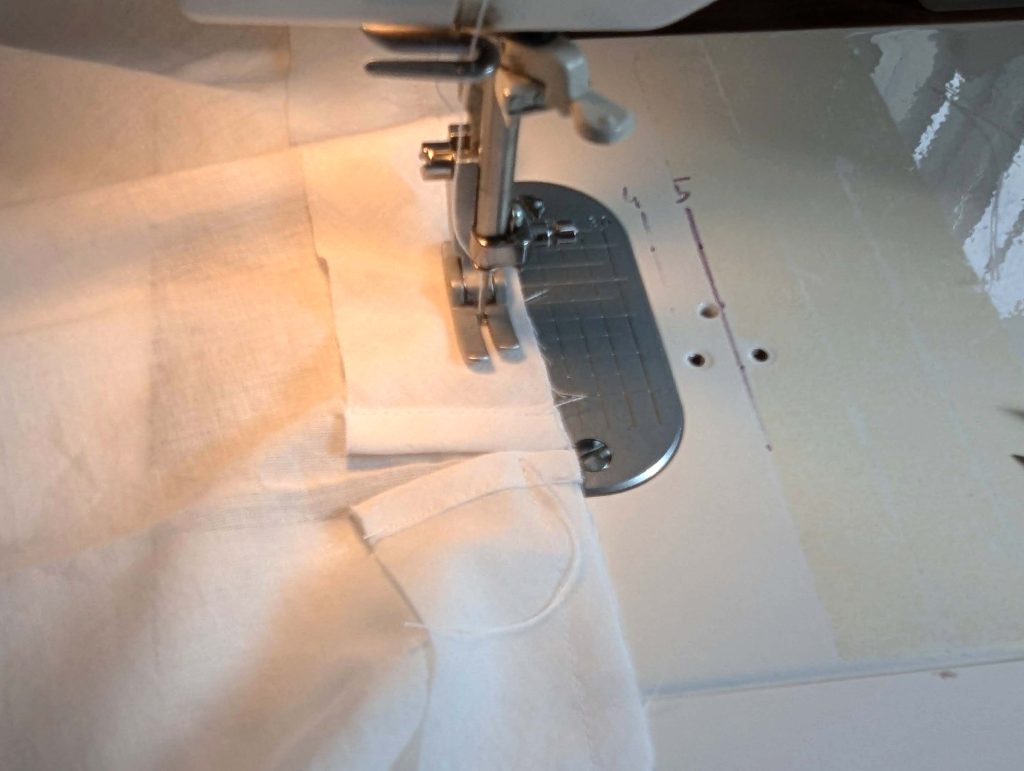
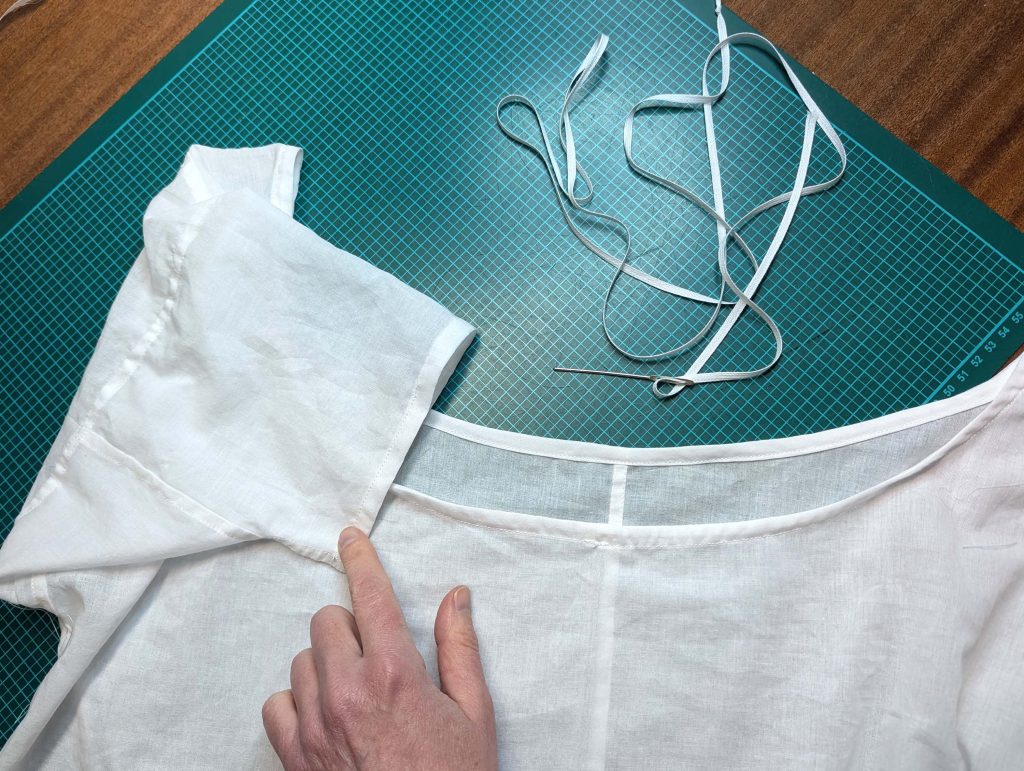
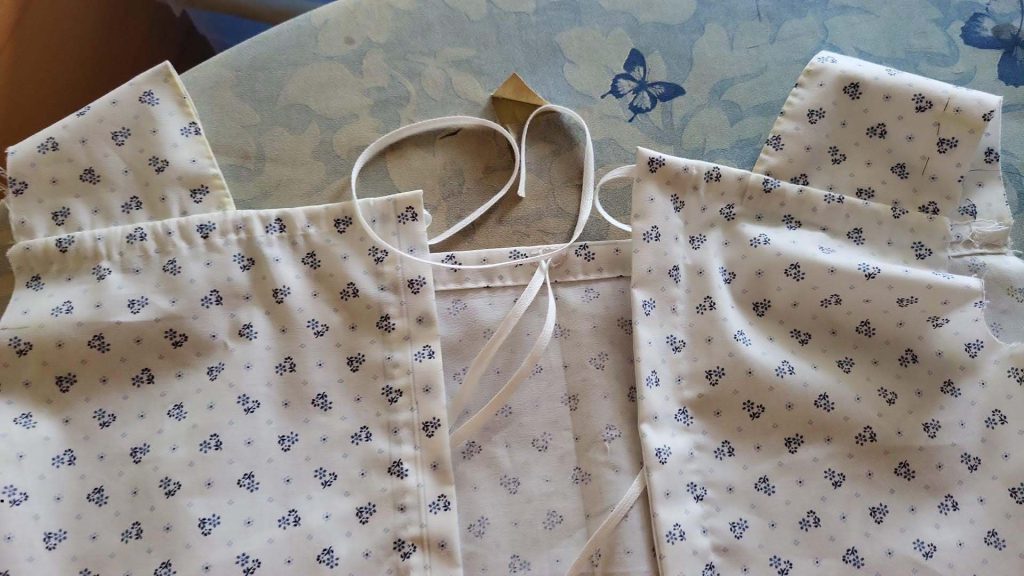
Sew the shoulder strap to the front, right sides together, respecting mark (5). Sew with a back stitch – take care of the 1 3/4” (2cm) seam allowance here. Double-turn in the seam allowance along the top edge of the front, 3/8” (1cm) each. Instead of equal folds, Laura took a slightly different approach here, she first made a narrow turn, followed by a wider. Instead of a fell stitch, she used a narrow running stitch. Because of this, she had to turn in the seam allowance of the strap on top of the tunnel. Just take care, that you can thread the tunnel with the drawstrings later. Thread the tunnels with narrow drawstrings, reaching from the side to the buttonhole. Let the drawstring extend beyond the sides about 3/8“ (1cm) and secure with some stitches.

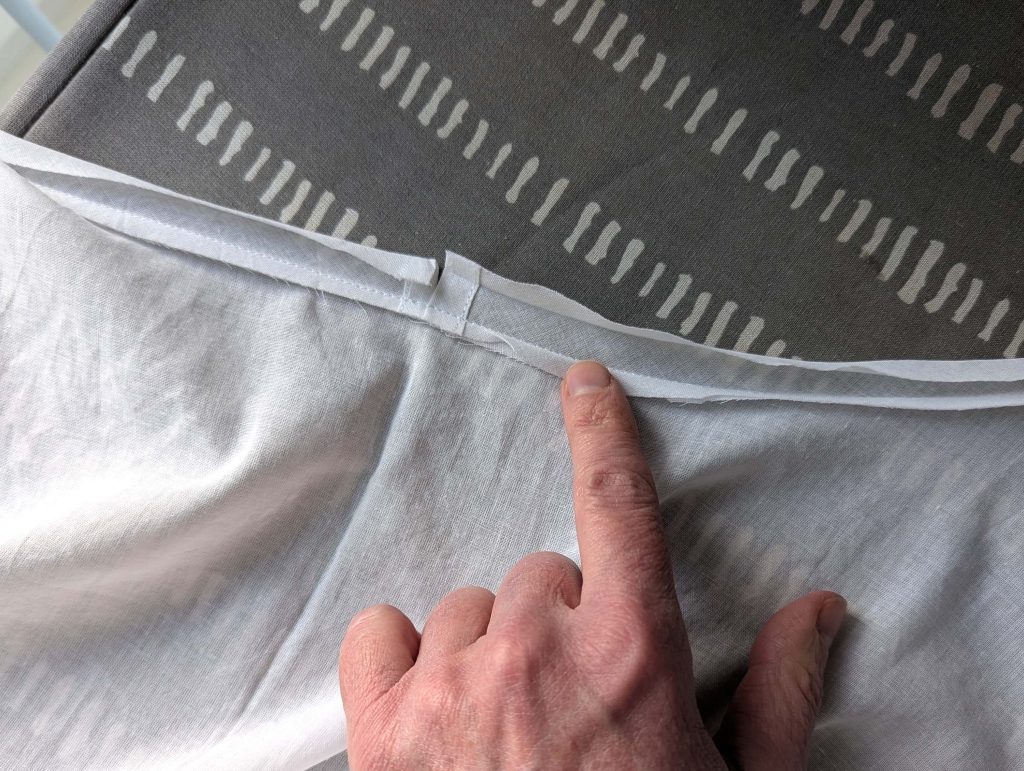
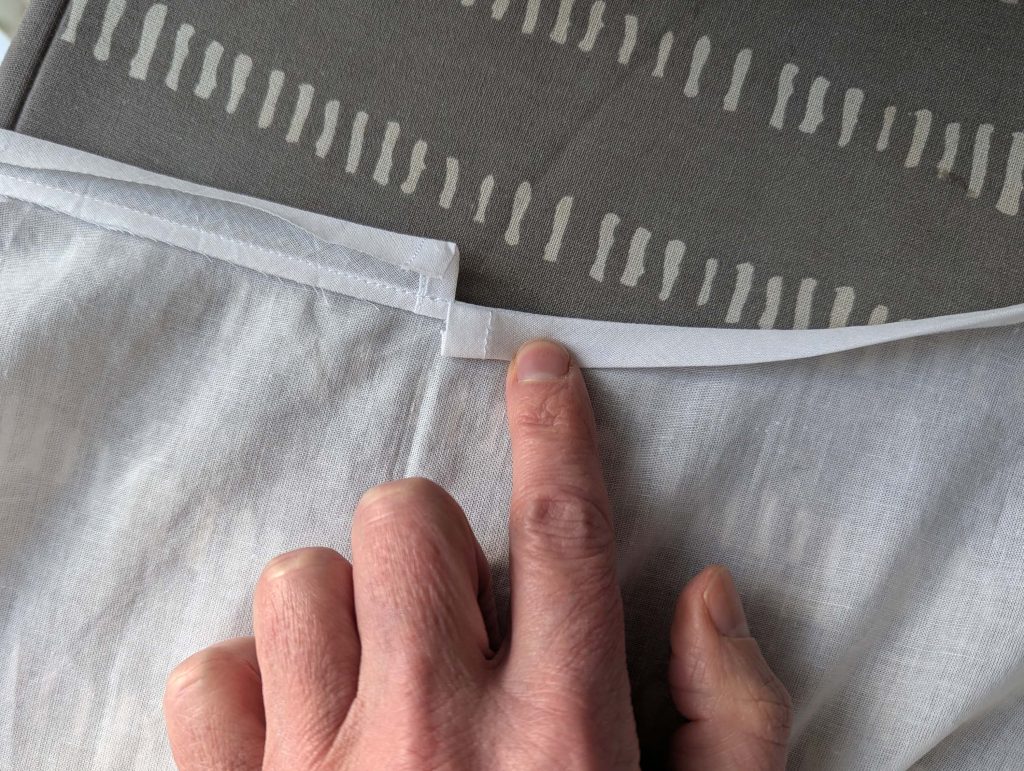
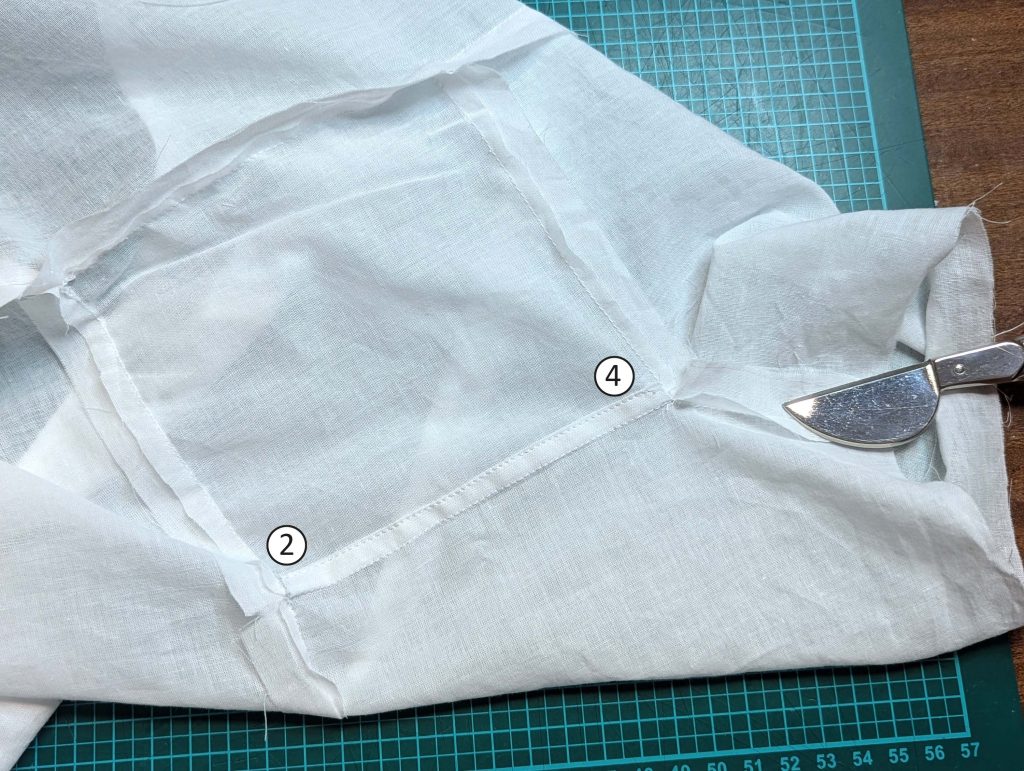
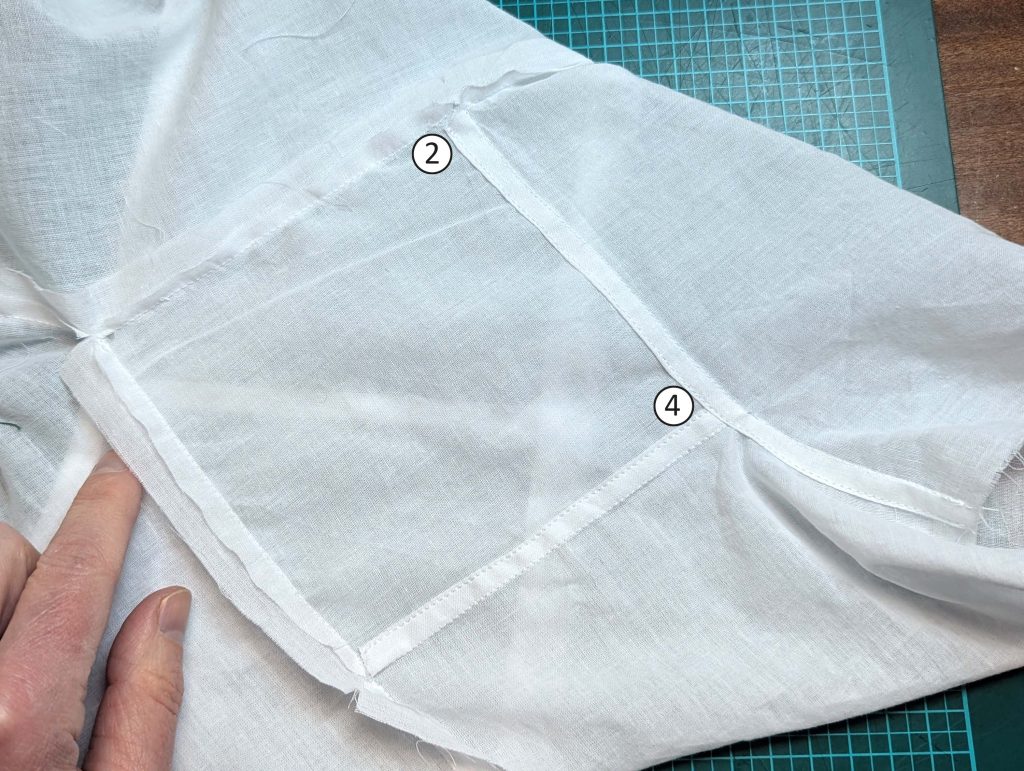
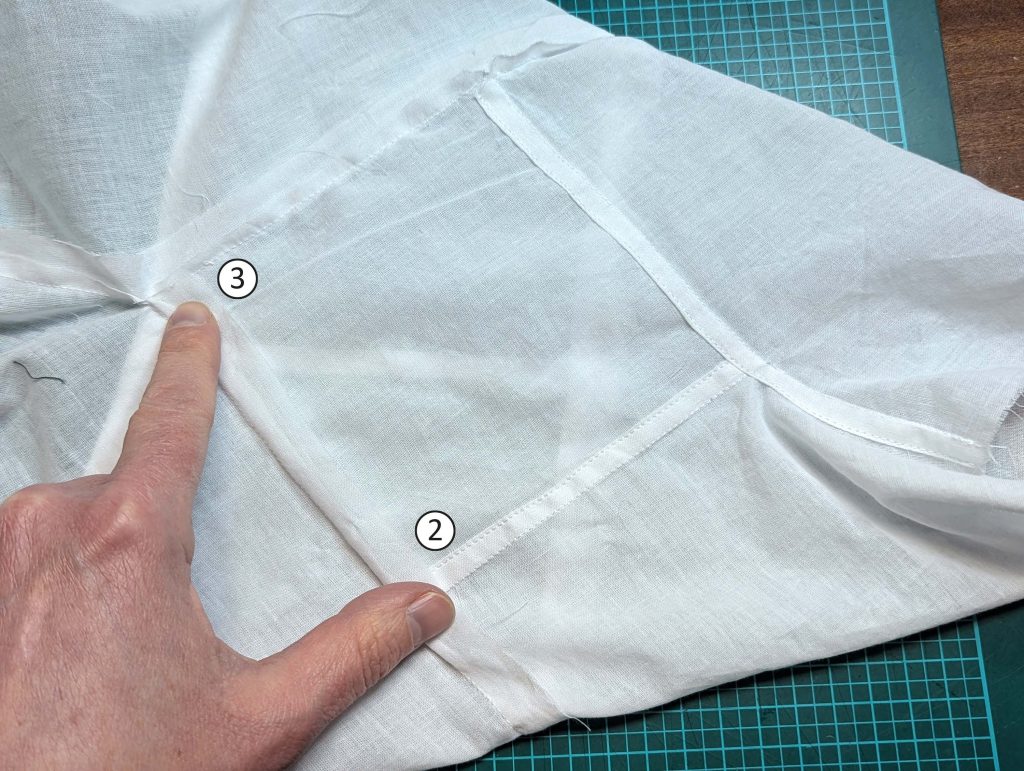
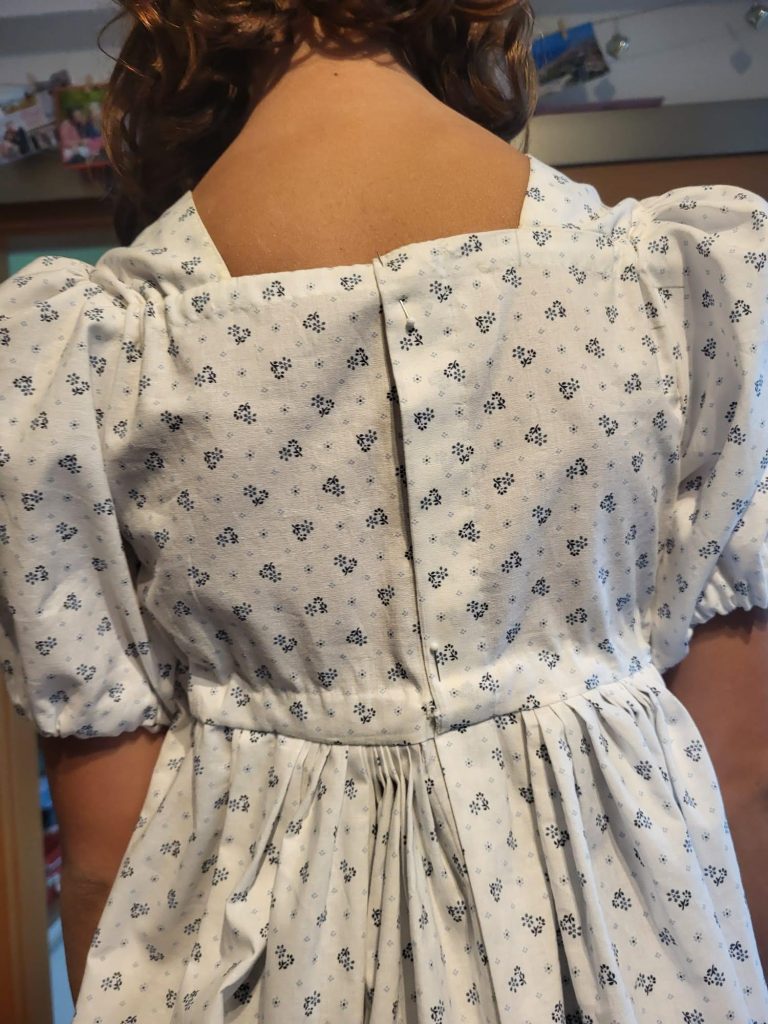
(4) And it´s the same procedure at the back! Here’s a clever detail that Laura came up with while developing this pattern: She discovered an elegant way to finish the back edges of the bodice where the drawstrings will be inserted. As a mom who knows the importance of sturdy construction in children’s clothing, she wanted to ensure these openings would hold up well to regular use and dressing. But see for yourself!

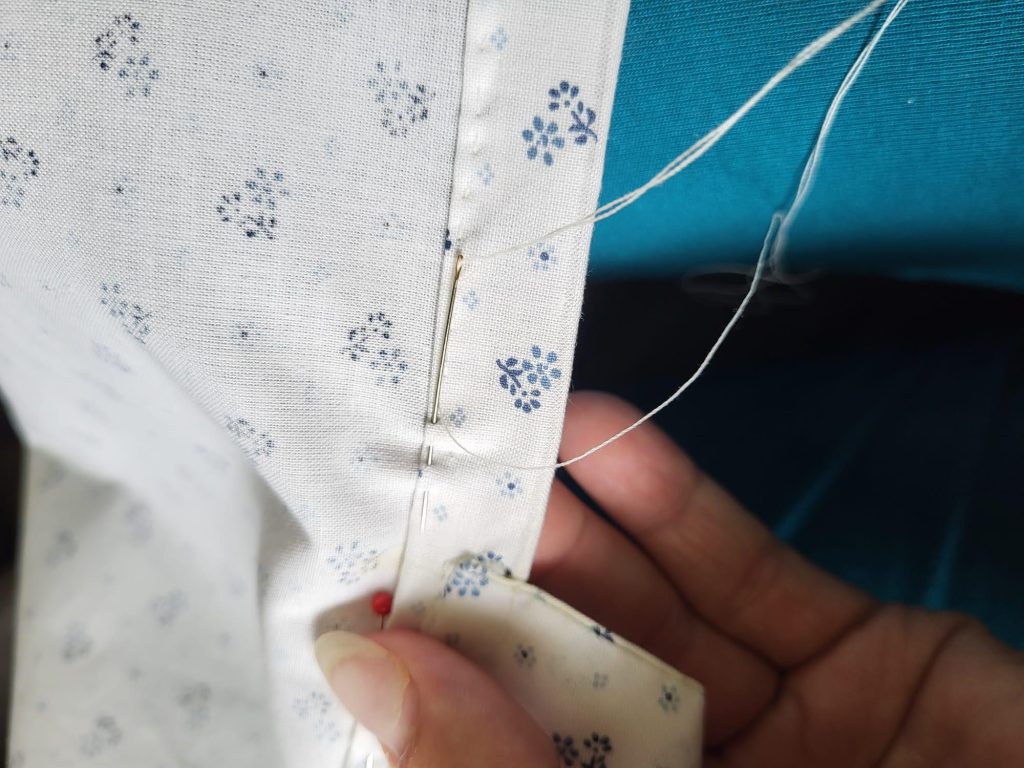
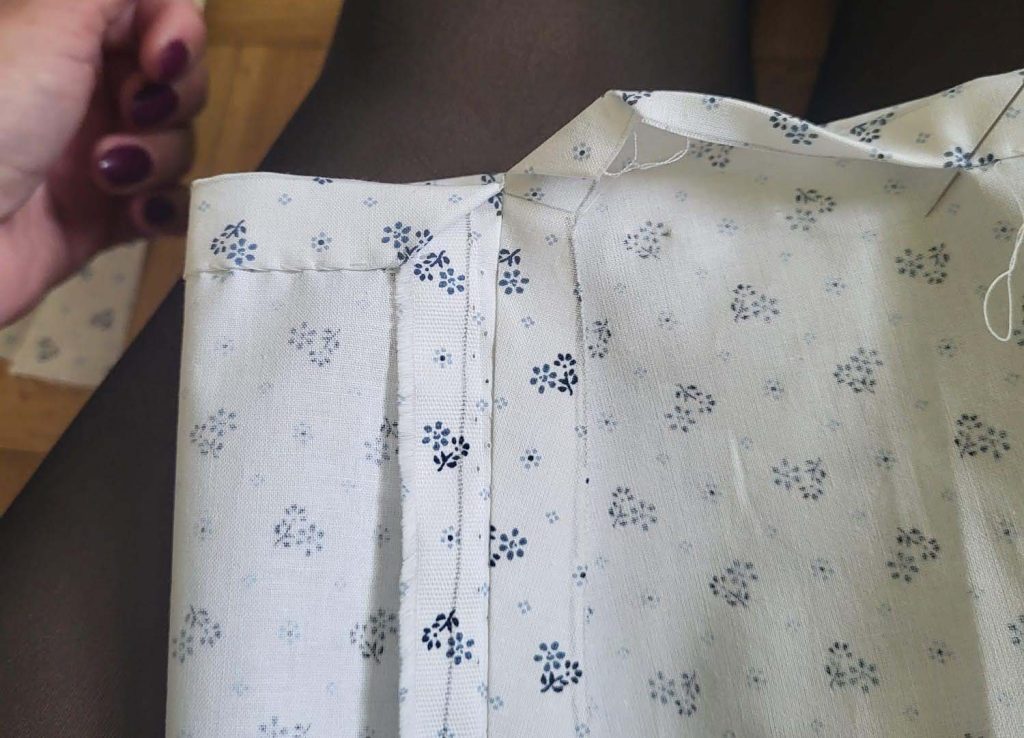
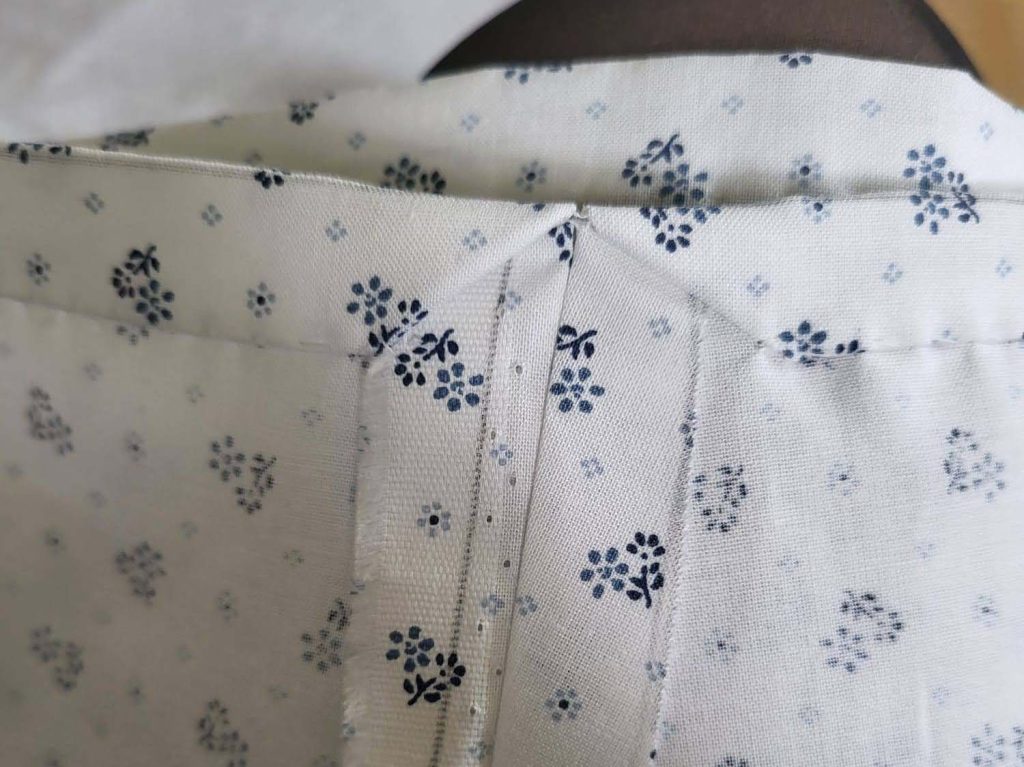
Left Side: Turn in a narrow seam allowance of about 3/8” (1cm) along the left back edge. Again, turn in along the center back, marked as line (2). Press and fell stitch in place (i)

Right side: Turn in a narrow seam allowance of about 3/8” (1cm) along the right back edge. Then, turn in again along line (1), press, and fell stitch in place, creating a narrow placket.

Turn in the upper corner, and then double-turn in the seam allowance along the top edge of the back in the same way as you did with the top edge of the front. Fell stitch in place and thread the tunnel with a drawstring, secure the tape with some stitches at the armhole.

(5) Näh das side seam, right sides together, press the seam allowances toward the front and neaten with a flat felled seam.

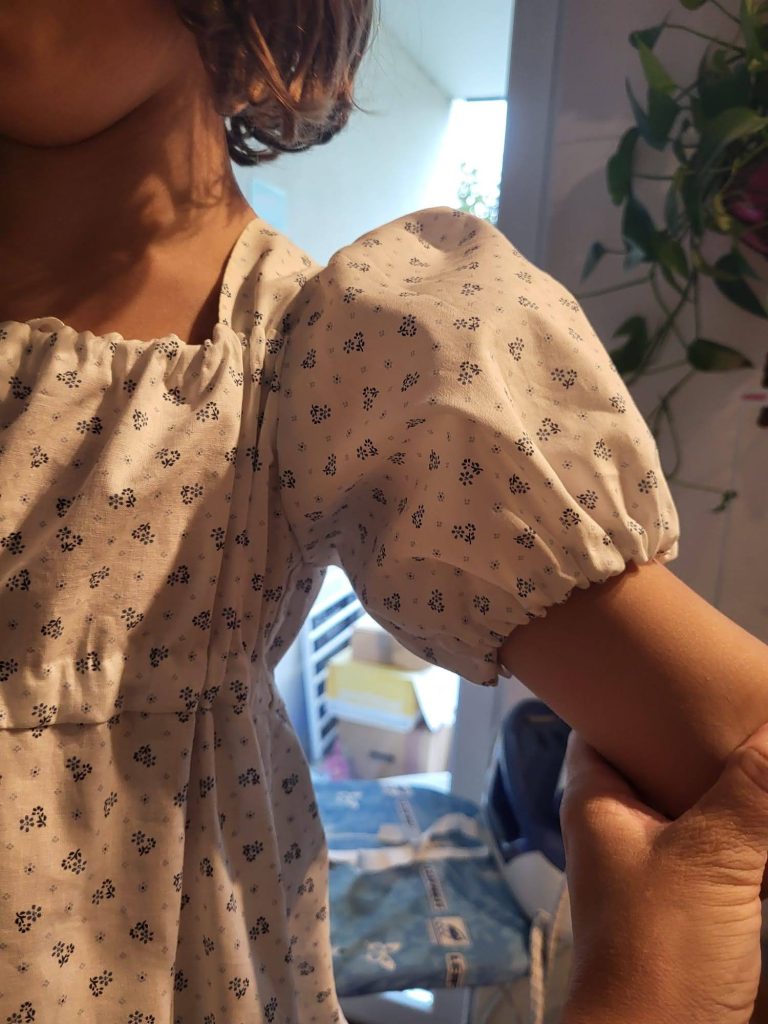
(6) Gather the sleeve head between marks (6) and (7) (m). Sew the sleeve seam, right sides together and neaten with a flat felled seam. At the bottom edge of the sleeve, turn under the seam allowance twice, 3/8” (1cm) each time, and fell stitch in place. Leavean opening of about ¾” (2cm) at the sleeve seam, creating a tunnel for a drawstring (o). 

Gather the sleeve head by pulling the gathering threads and spread the width evenly between marks (6) and (7). Sew the sleeve to the armhole, right sides together, respecting all marks .

Trim back the seam allowance to about 3/8” (1cm) and finish with overcasting stitches. Once again, secure the drawstrings of the top edges of the bodice.

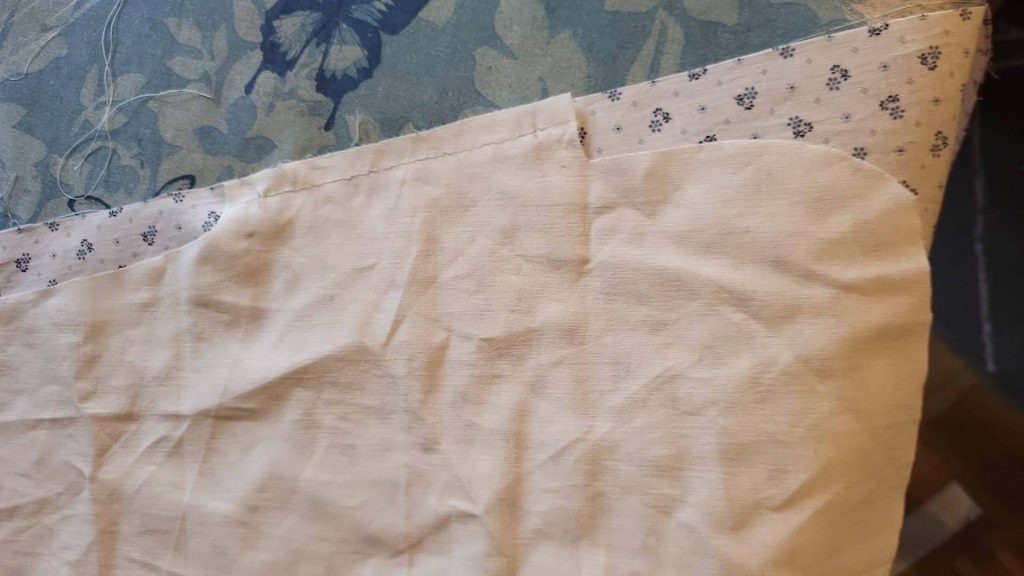
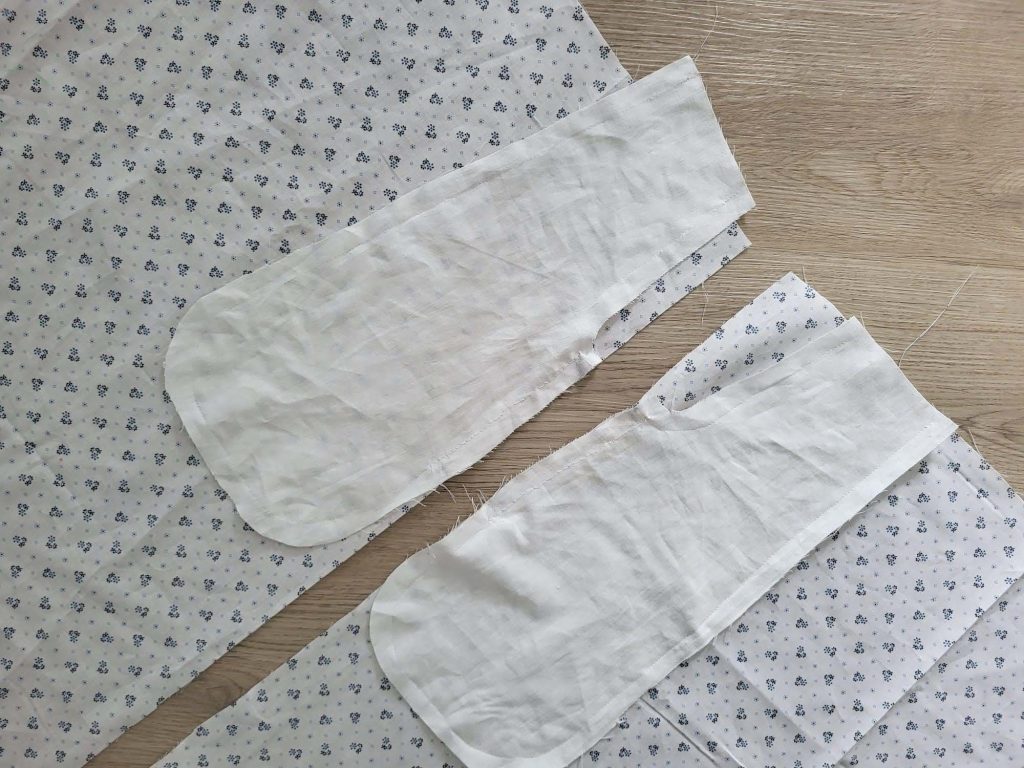
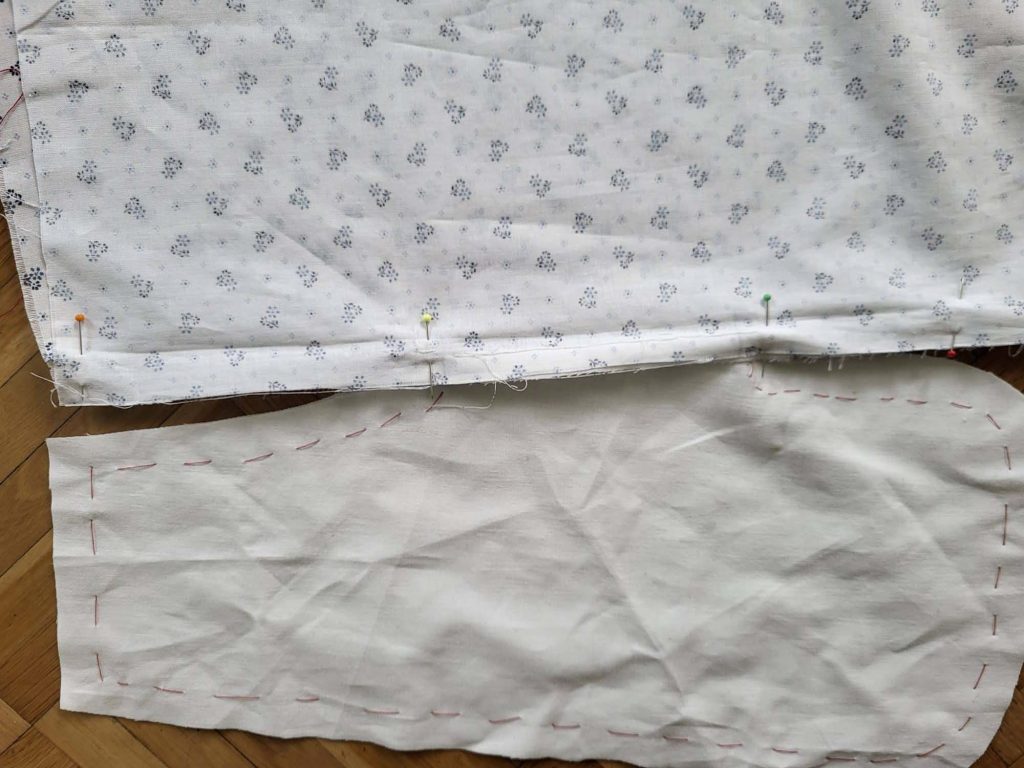
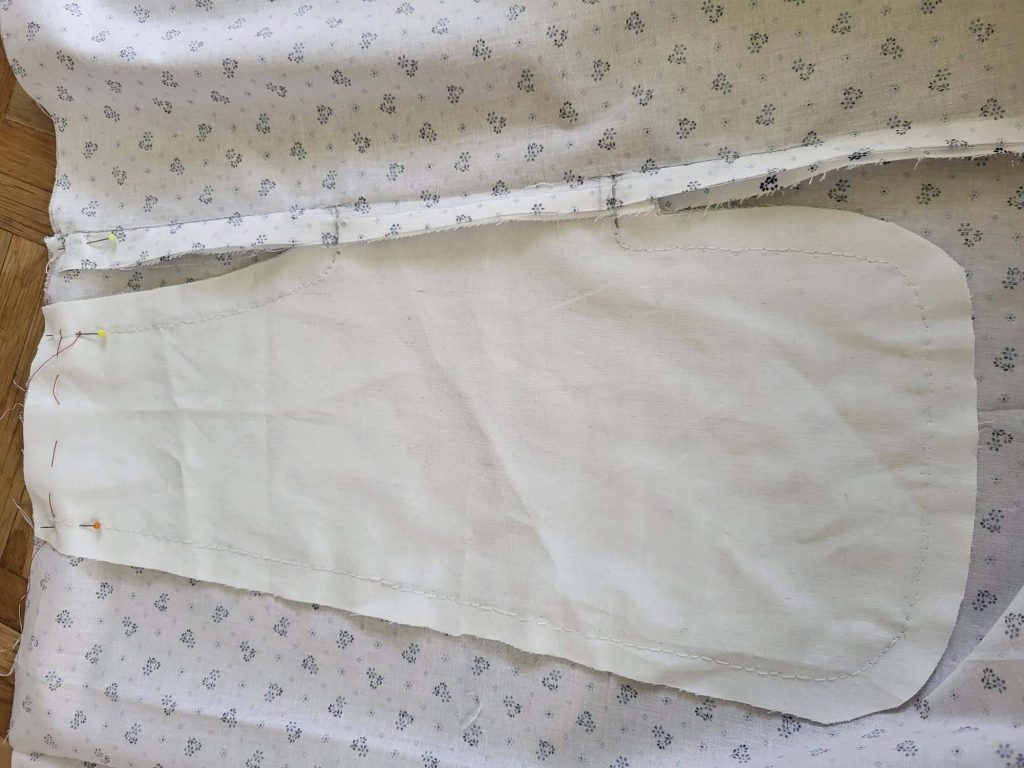
(7) Take the pockets and line up with the right edges of the front and back skirt, right sides together, respecting mark (9) and (10). Sew with a seam allowance of 3/8” (1cm), sew slightly beyond the markings.

Fold the pockets to the side. Line up the front skirt with the back skirt, right sides together, respecting the marks and sew with a seam allowance of 5/8” (1,5cm) along skirt and pocket. The procedure is the same as for a modern in-seam pocket. Press the seam allowances towards the front skirt and neaten with overcasting stitches. Smooth out the pocket towards the top edge of the front skirt and baste in place.

Sew the left side seam, right sides together, if wanted, make another pocket here. Press the seam allowances towards the front and neaten with overcasting stitches.

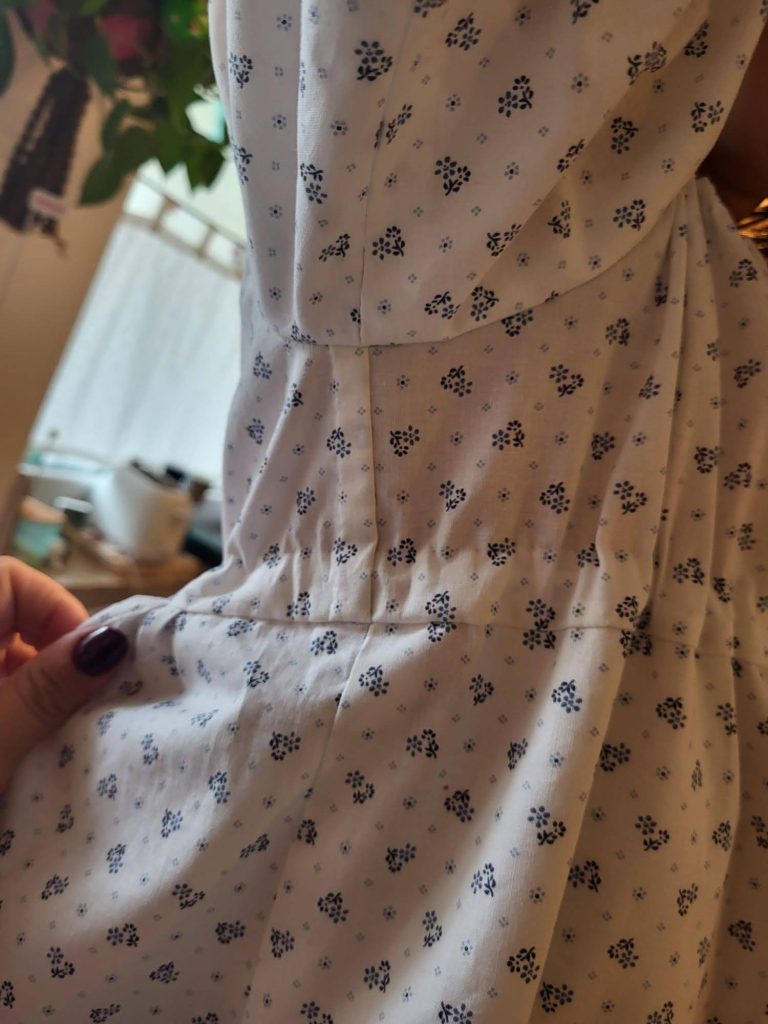
(8) Näh das center back seam of the Rock, right sides together, leaving the vent open. Press open the seam allowances and finish them if needed. Optionally, secure the vent with a prick stitch. Gather the back skirt along the top edge and spread the width evenly. Sew the skirt to the bodice, right sides together, respecting marks (11). Ease in the excess width of the front skirt. Press the seam allowances towards the bodice and trim back to 3/8” (1cm).

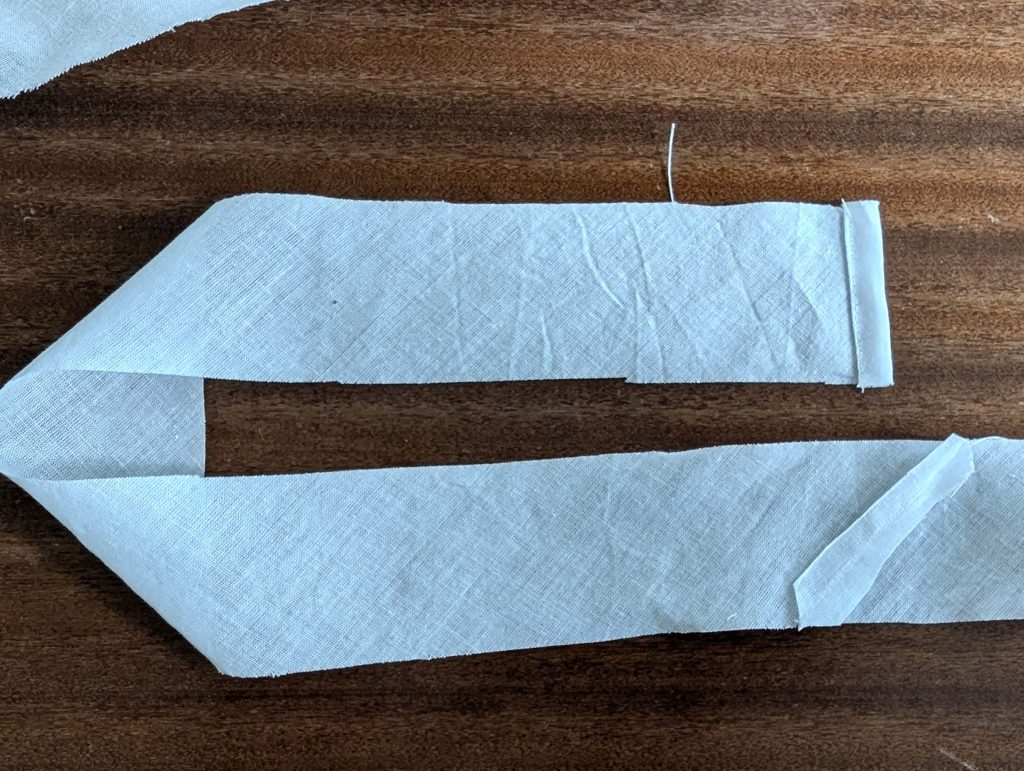
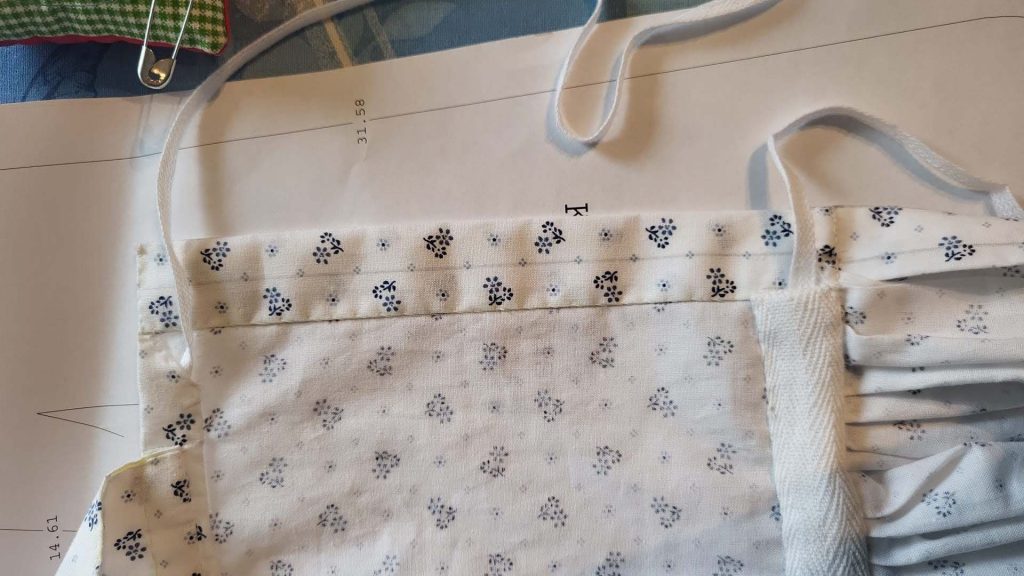
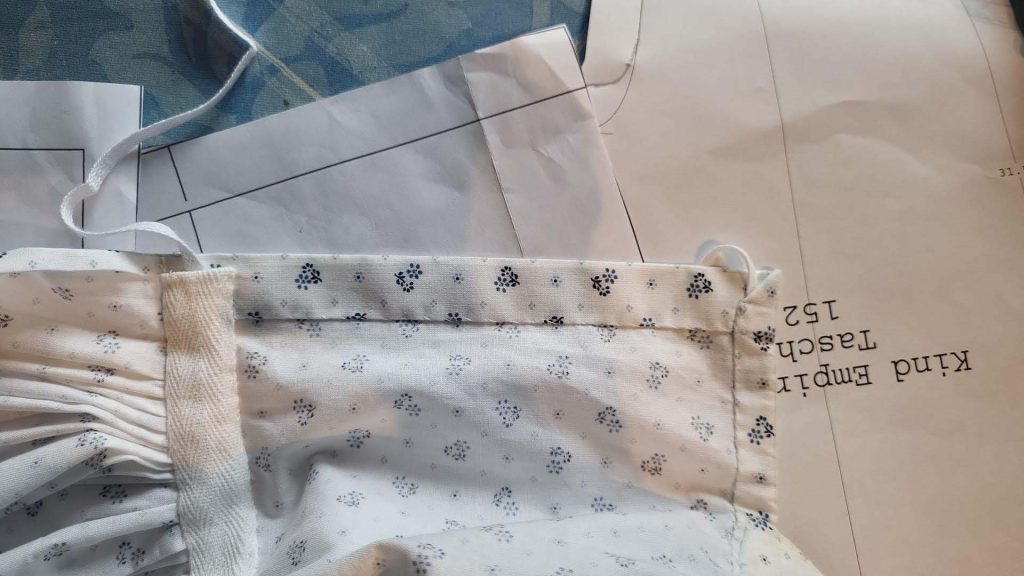
Take the bias binding, Laura used herringbone tape instead, and double-turn in narrow one of the short edges, and stitch in place. Starting at the right center back (see illustration), line up the bottom edge of the bias binding with the stitching line. At the left back, the bias binding reaches the edge. Trim back the bias binding accordingly, considering a matching seam allowance to double-turn in narrow as well. Fell stitch the bias binding to the dress along both long edges, forming a tunnel.  The upper stitching will be visible on the right side, so take care, making regular and tiny stitches.

Make a fitting, and determine the length of the skirt. Turn under the hem allowance twice and stitch in place.

Last steps: thread the tunnel at the sleeves and waist with drawstrings, a narrow one for the sleeve, and a wider one for the waist. If the dress gaps at the back, attach hooks along the right back edge and sew corresponding thread bars on the left side.

Laura’s daughter loves this comfy dress – and who can blame her? It’s become her favorite for reenactment events.

The Victorian Waistcoat – Sewing Pattern #0516 – Part 1 (Pockets) – Steps (1) and (2)

After the Norfolk jacket and the breeches, we’re now focusing on another essential garment in the men’s wardrobe: the waistcoat.

Similar to the patterns mentioned before, this one also originates from my early days as a pattern maker, marking my initial exploration into men’s tailoring in the 19th century. The waistcoat pattern represented my first endeavor in digital illustration, departing from my usual hand-sketching method. Despite the learning curve, it marked a significant milestone in my journey of pattern-making.

However, despite its age, a detailed blog post and sewing guide for the waistcoat was missing. That’s where this upcoming blog post comes in, especially focusing on the pockets. Join me as I delve into the nuances of constructing the waistcoat, offering practical insights and step-by-step instructions to help you bring this timeless garment to life.

Choosing the materials: A waistcoat, typically worn with trousers and a coat or jacket, evolved in material and style throughout the 19th century. At the start of the century, waistcoats were often crafted from contrasting materials. By the century’s end, they matched the trousers and jacket for informal occasions, forming a three-piece suit as we recognize today.

Similarly to modern practices, the back of the waistcoat was typically made from lighter materials. Polished cotton or fine twill/satin was commonly used for the back, straps, and lining.

Let´s dive into sewing, step by step as usual!

(1) As usual, start with dem Zuschnitt all the pieces from fashion fabric, interfacing, and lining, and carefully transfer all marks and notches, especially the little corner marks on the collar. The waistcoat is called collarless, but that´s not quite true, it´s kind of a shawl collar, just with a collar stand.


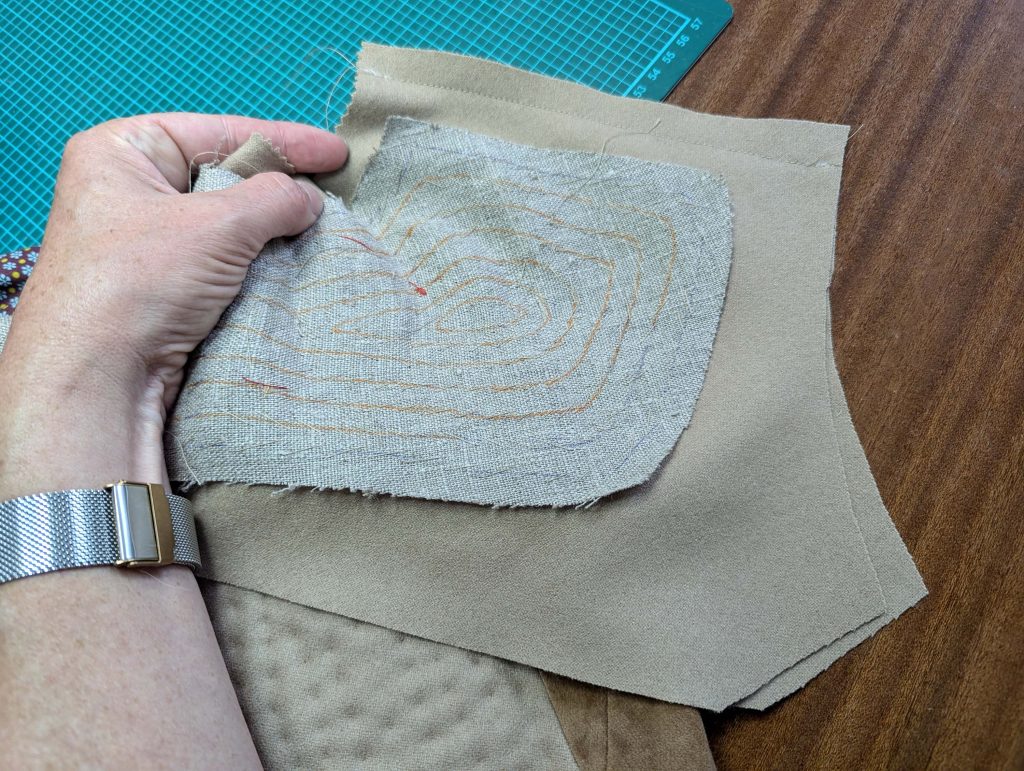
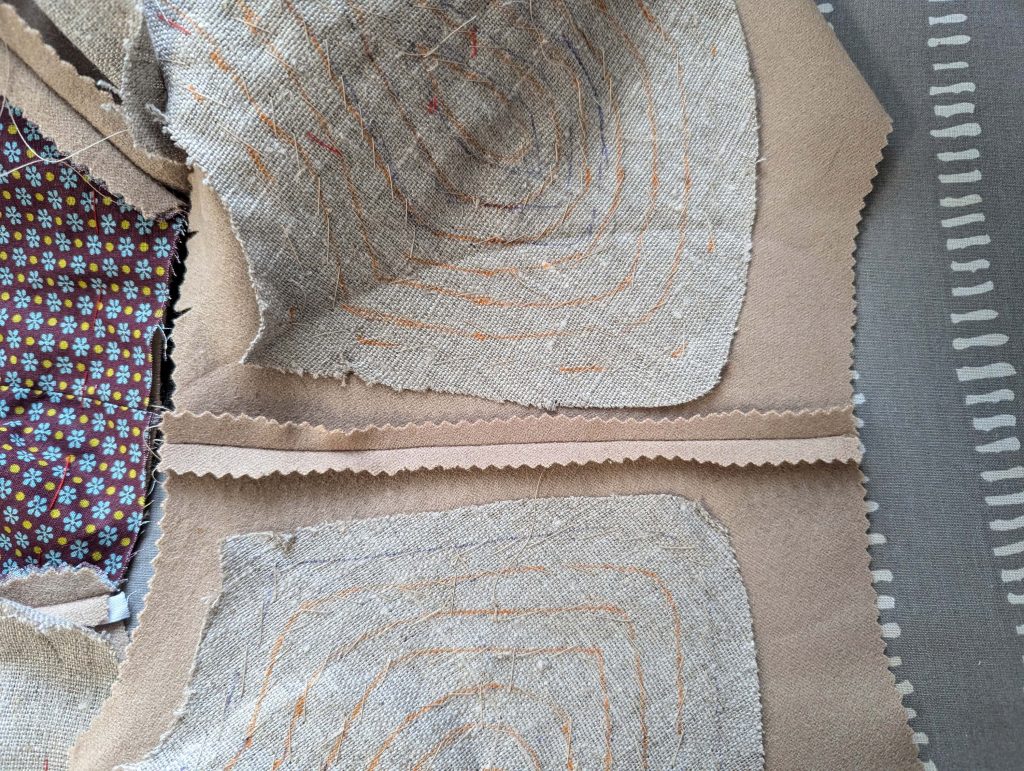
Now, let’s proceed straight to the intricacies of pocket sewing. I encountered some challenges with the 19th-century method, especially when working with thick wool fabric. The more angled breast pocket posed significant issues with bulk, therefore, I decided to change this pocket in the pattern to a less angled one. Also the pictures are not the waistcoat, to show you improved instructions, without all the mess I made with my first attempt on this wool fabric.

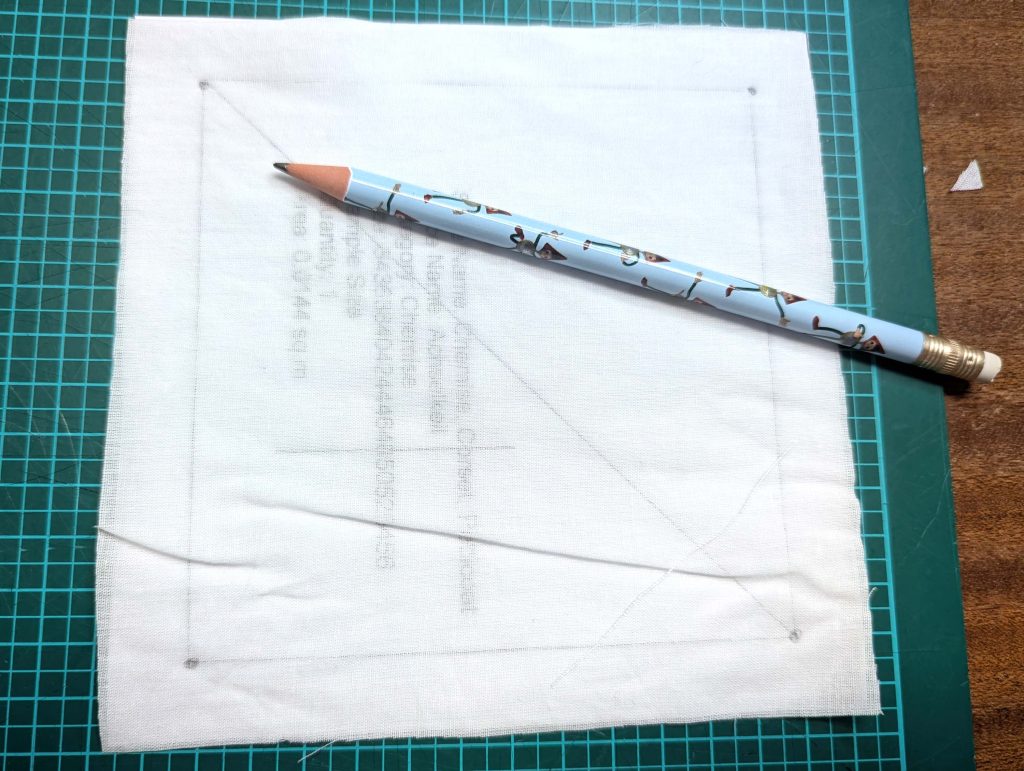
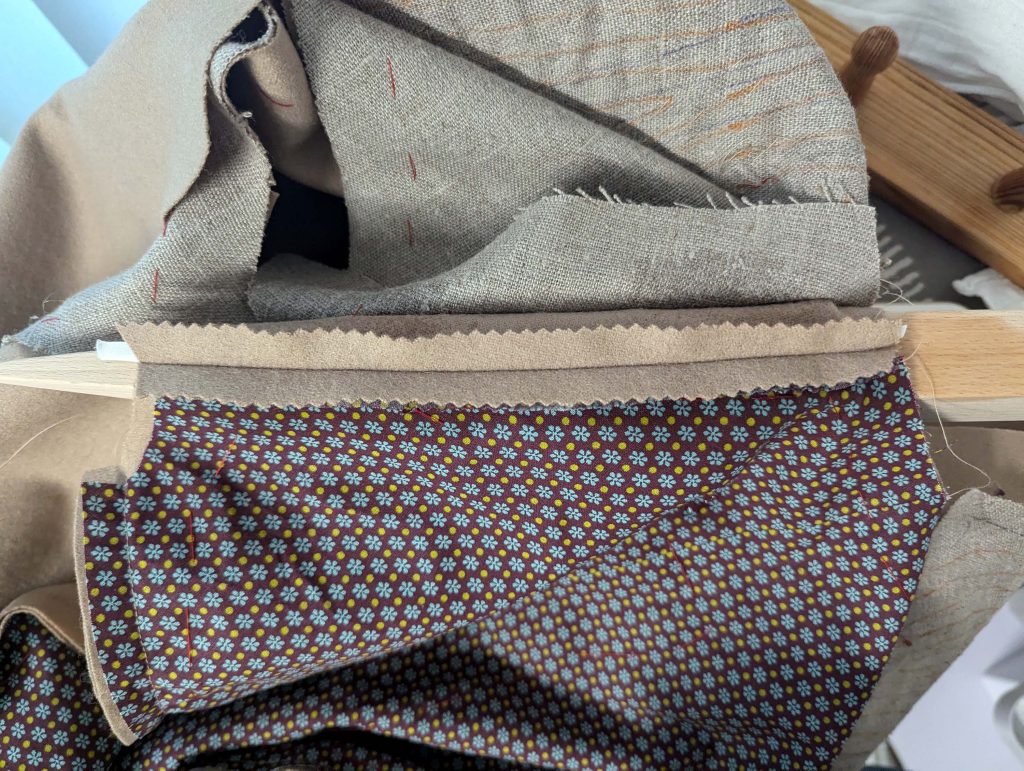
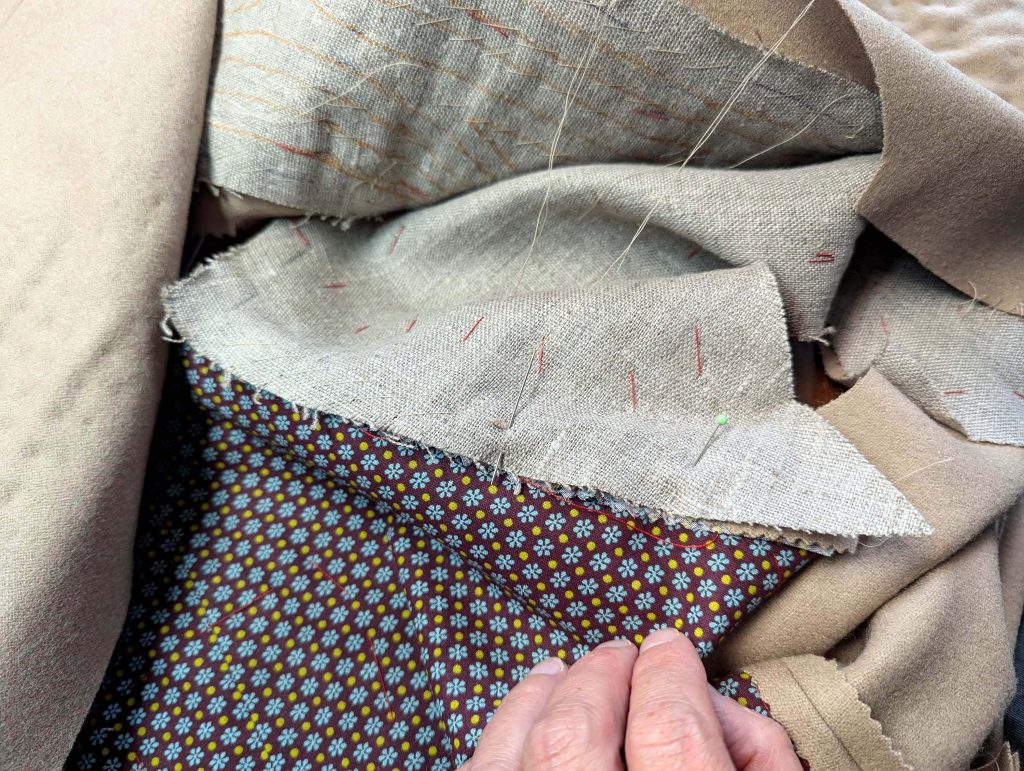
First, baste a piece of linen or cotton to the wrong side of the front, covering the pocket opening. Mark the pocket opening with a basting thread, clearly visible on the right side of the fabric.

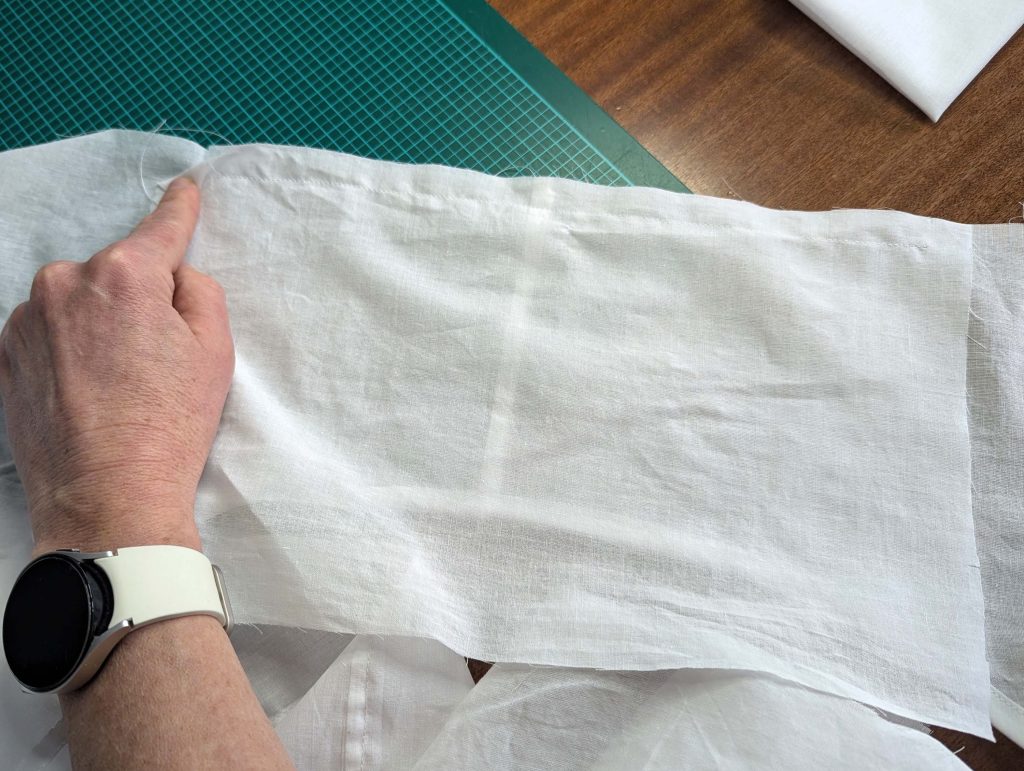
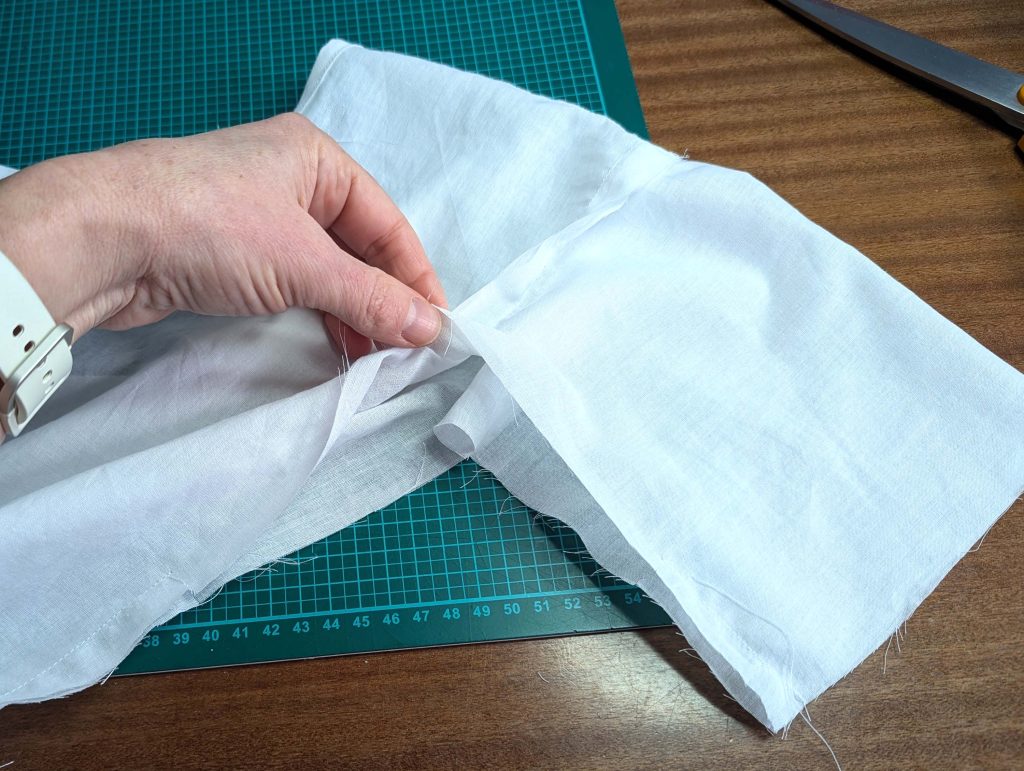
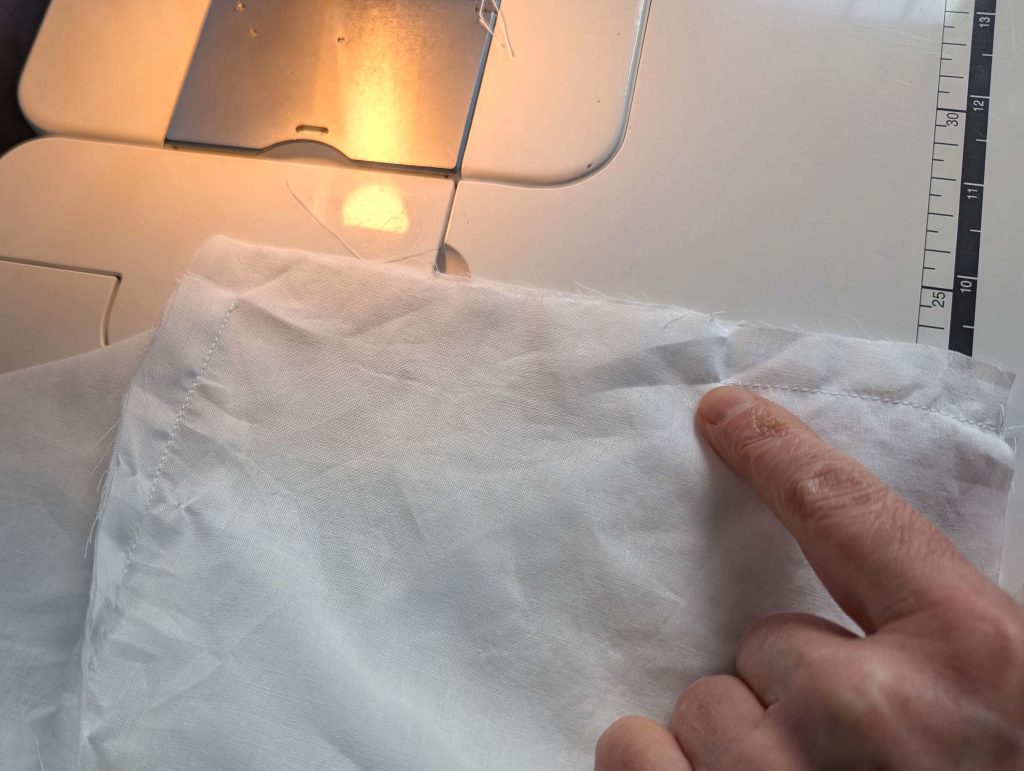
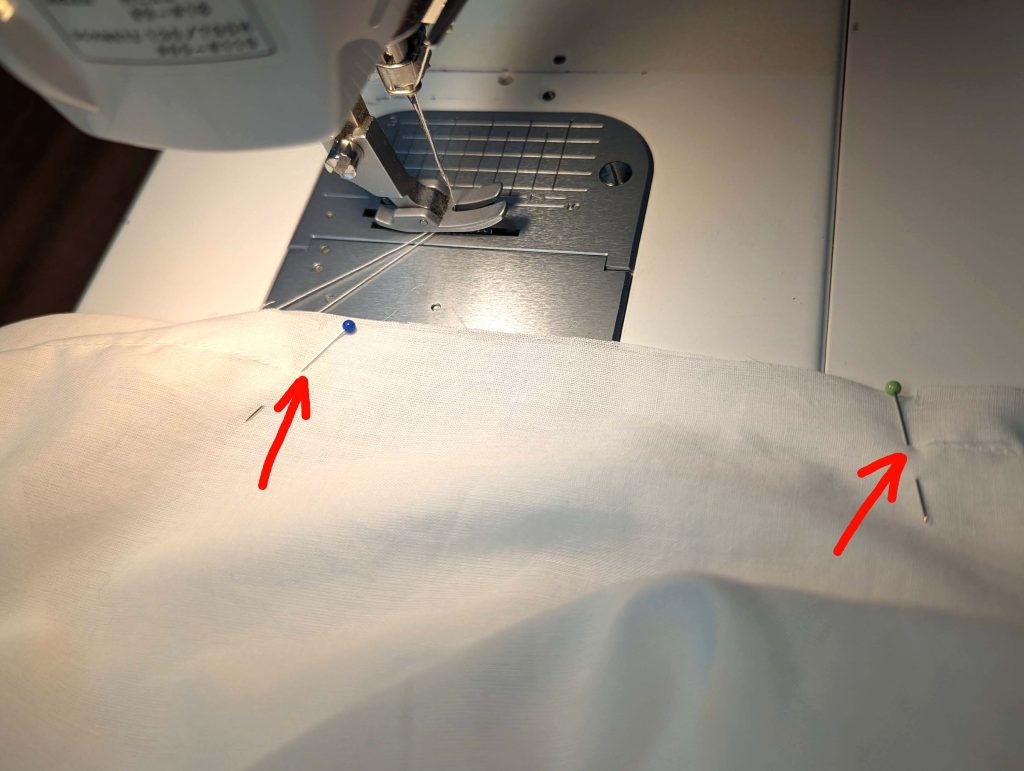
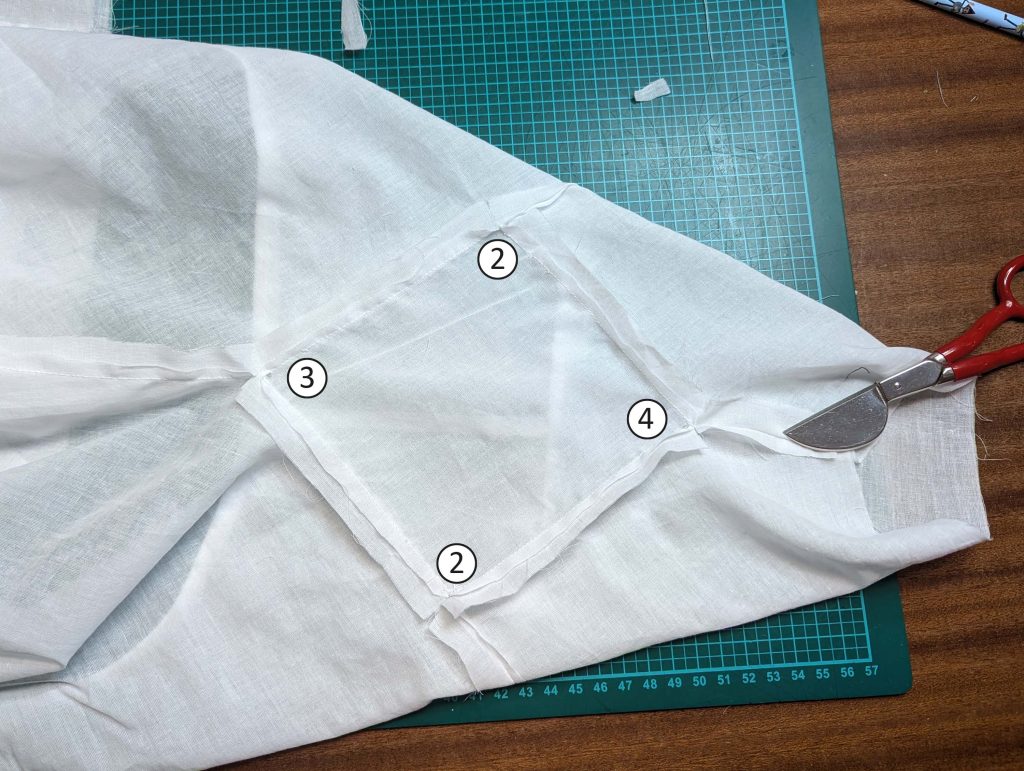
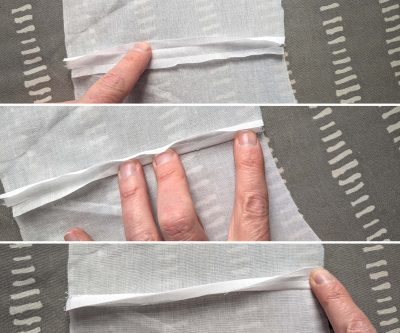
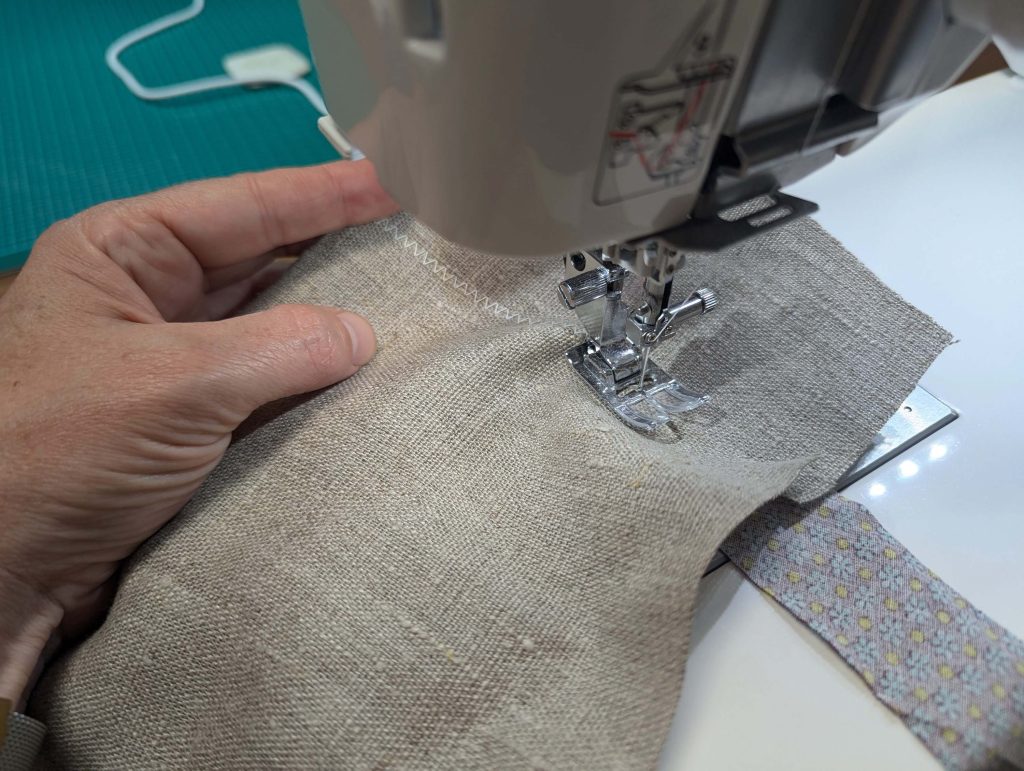
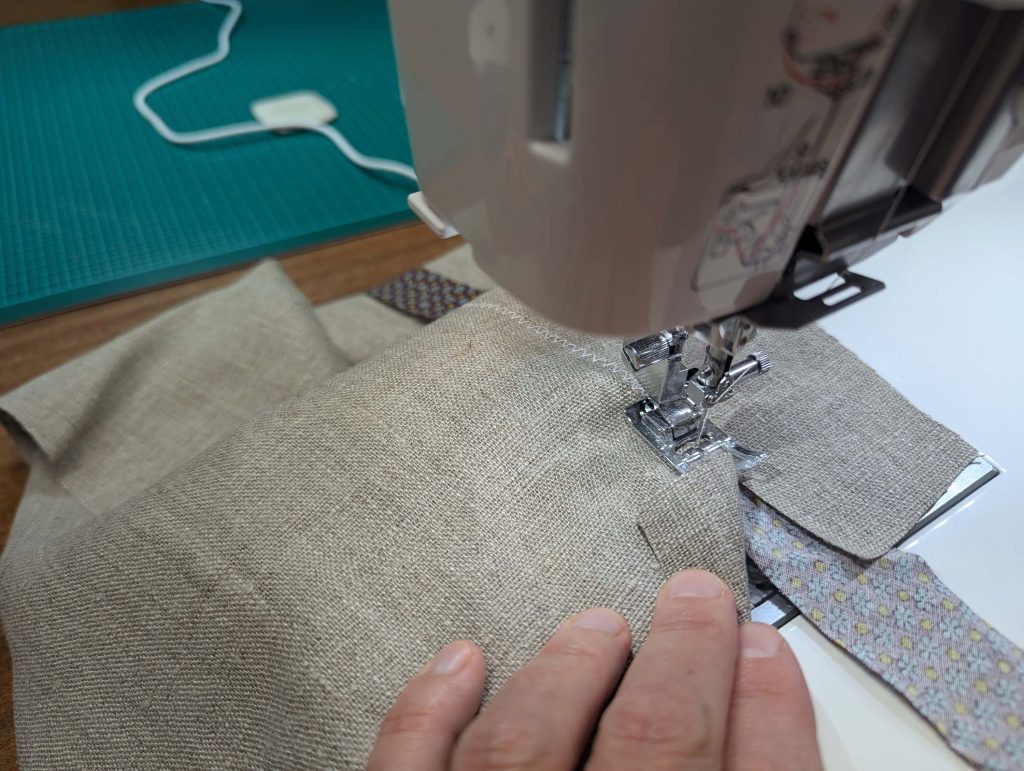
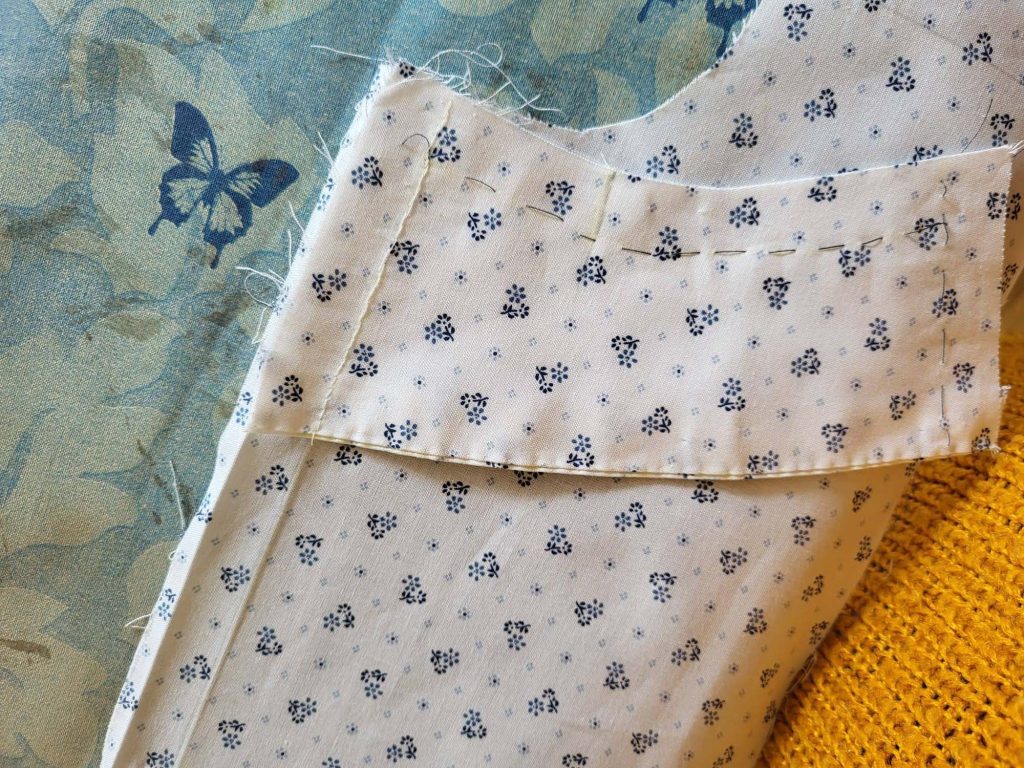
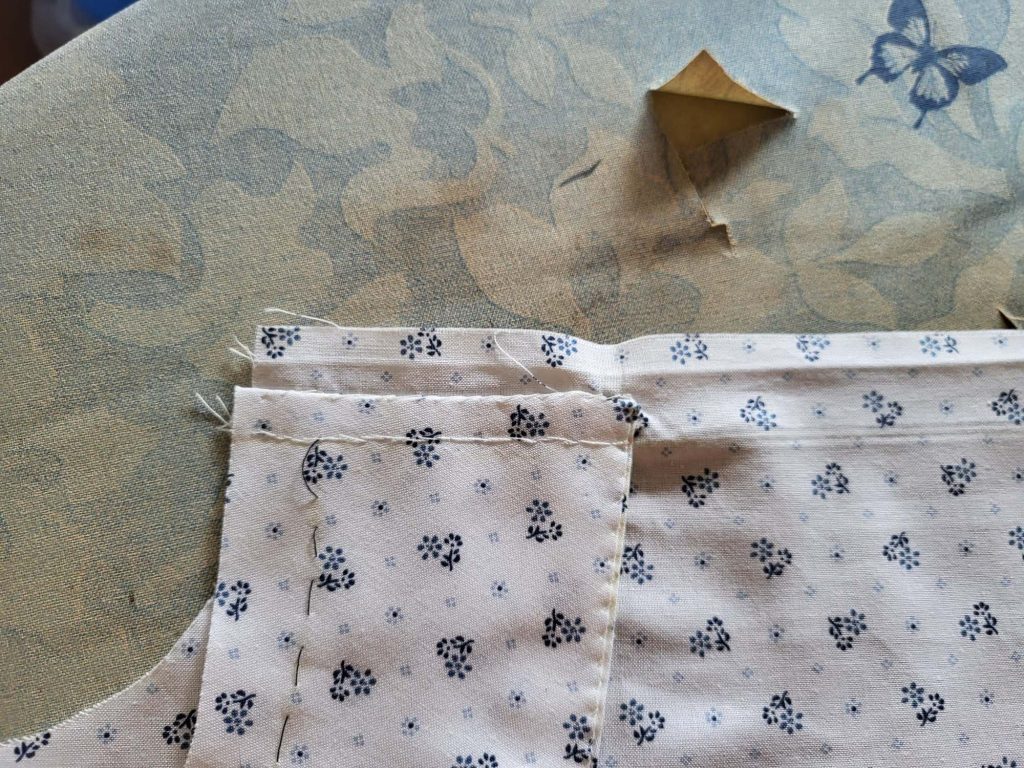
Fold the welt in half lengthwise, wrong sides together, and press. Reopen and mark the inside, as well as the half line. Sew the outer pocket bag to the inner half of the welt using a 1/4” (7mm) seam allowance, right sides together. Re-check before sewing, and stitch exactly between marks (x). Trim back the seam allowances as shown and press towards the pocket.

Weiterlesen