(10) Näh das Schulternaht, right sides together, easing in the extra width of the back. Fold the front-facing and front canvas to the side while sewing. Press open the seam allowances and place the front canvas on top.
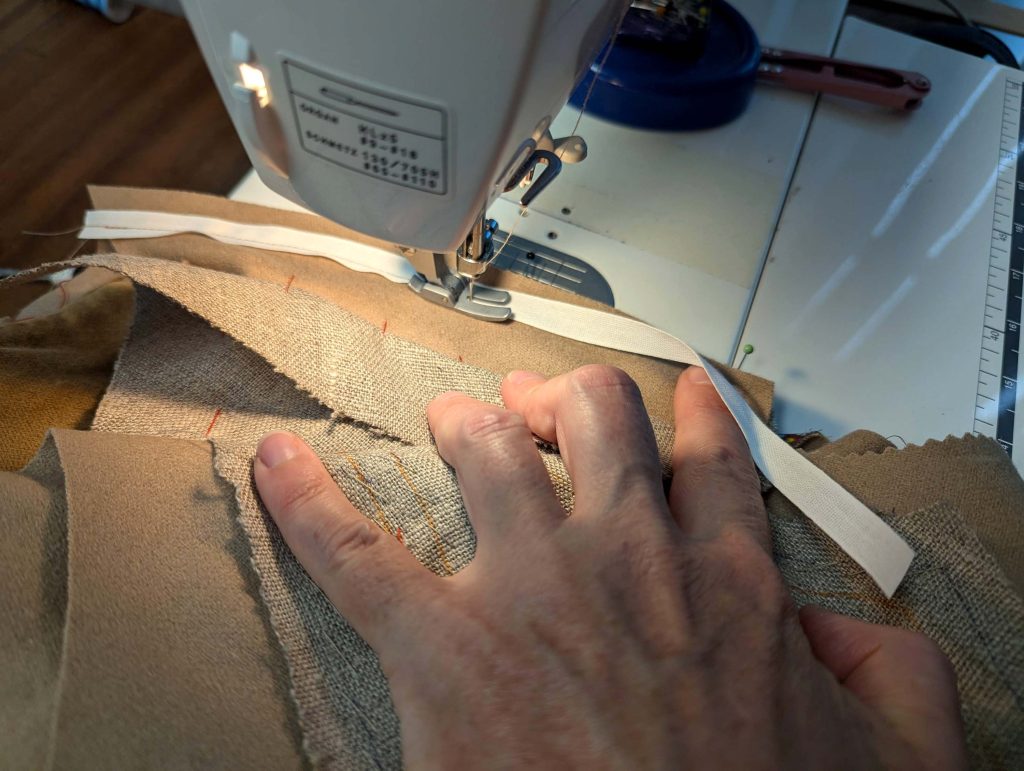
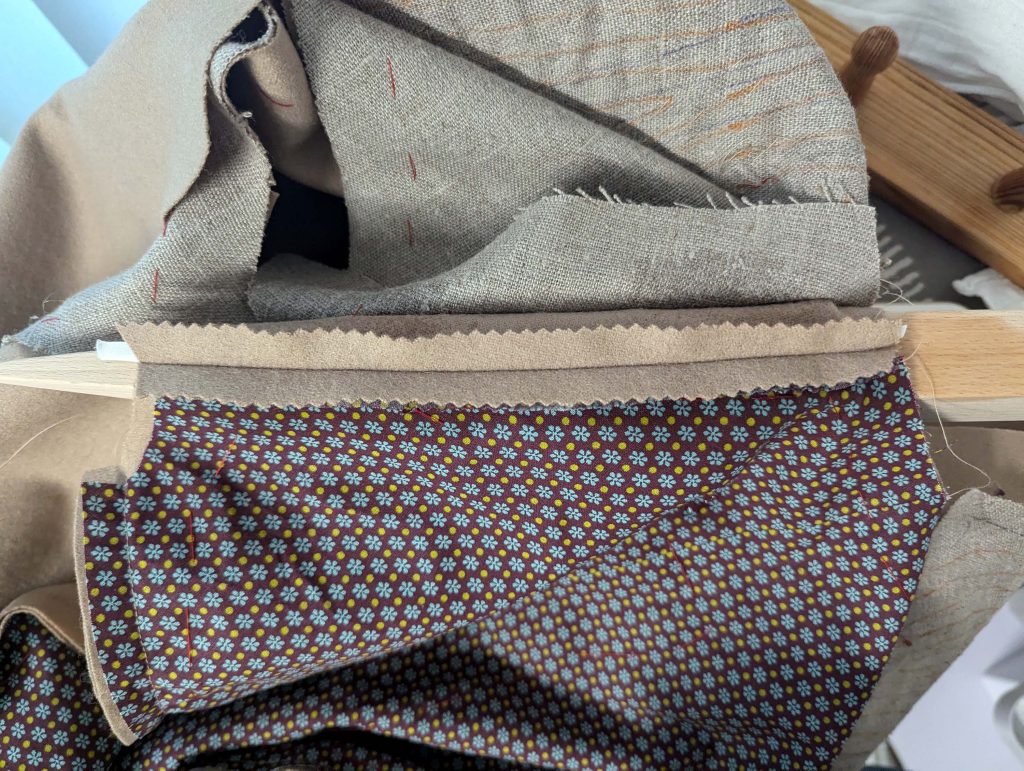
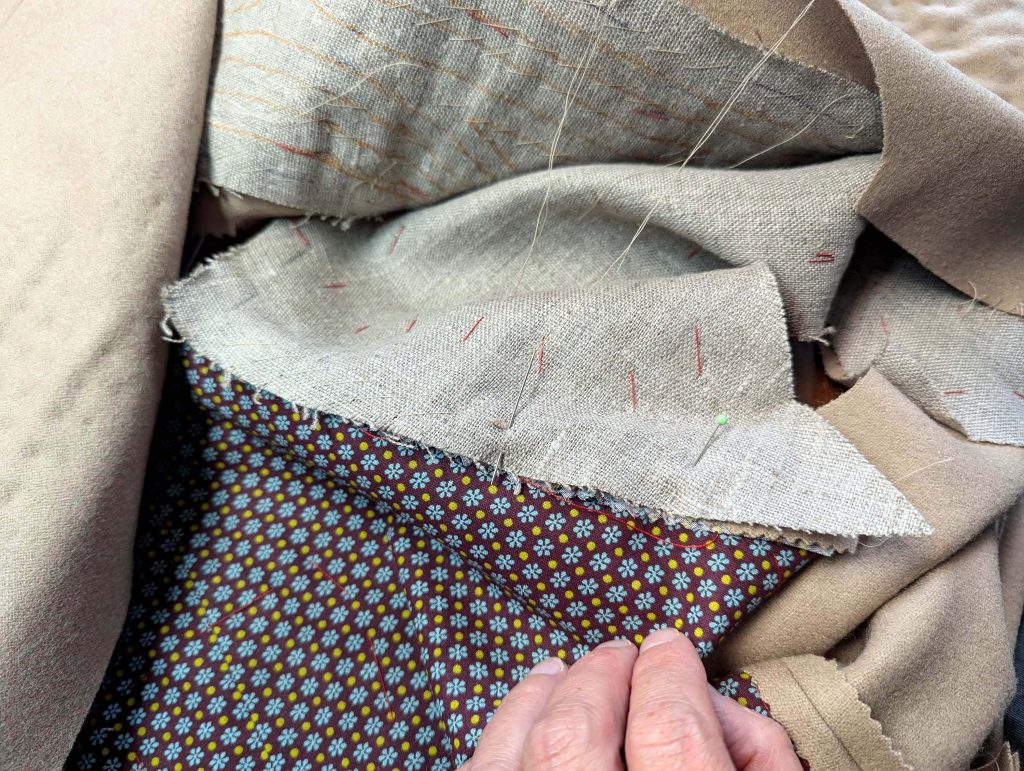
Let´s move over to some other tricky details with velvet and piping!
Mark the stitching line along the Halsausschnitt, and baste together the layers (canvas and front) inside the seam allowance, right beside the stitching line. Trim back to 3/8” (1cm). Smooth out the Vorderteilbeleg over the shoulder seam towards the center back and mark the center back. Line up the front facings along that line, right sides together, and sew. Trim back the seam allowances and press open. That was the easy part.
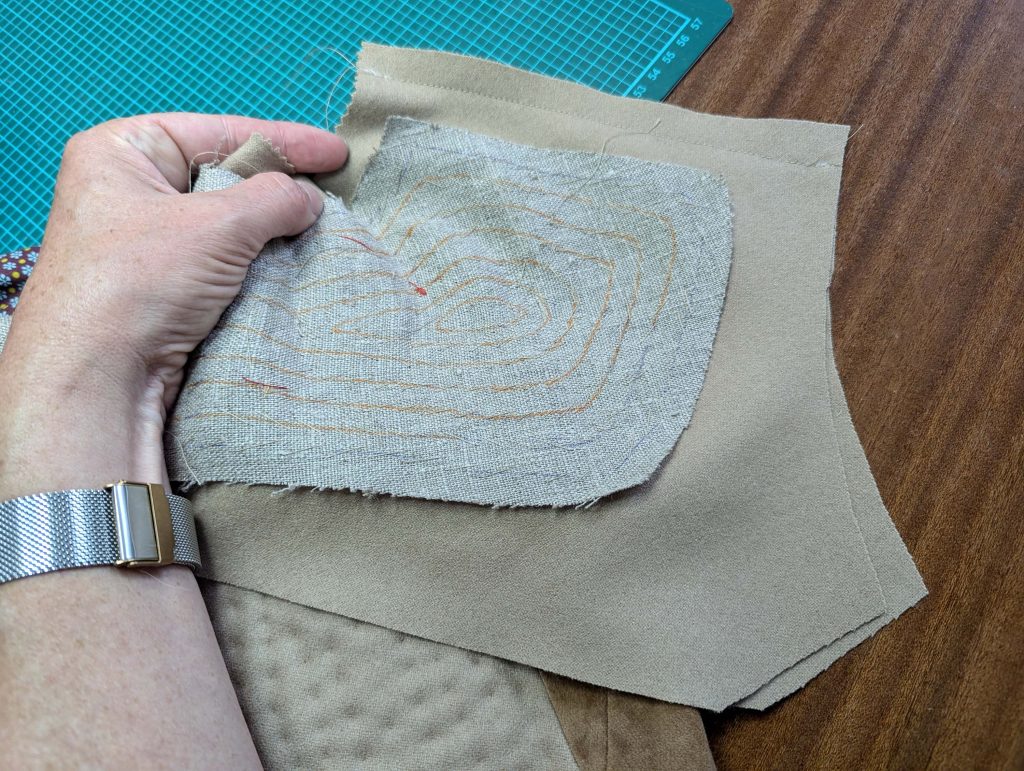
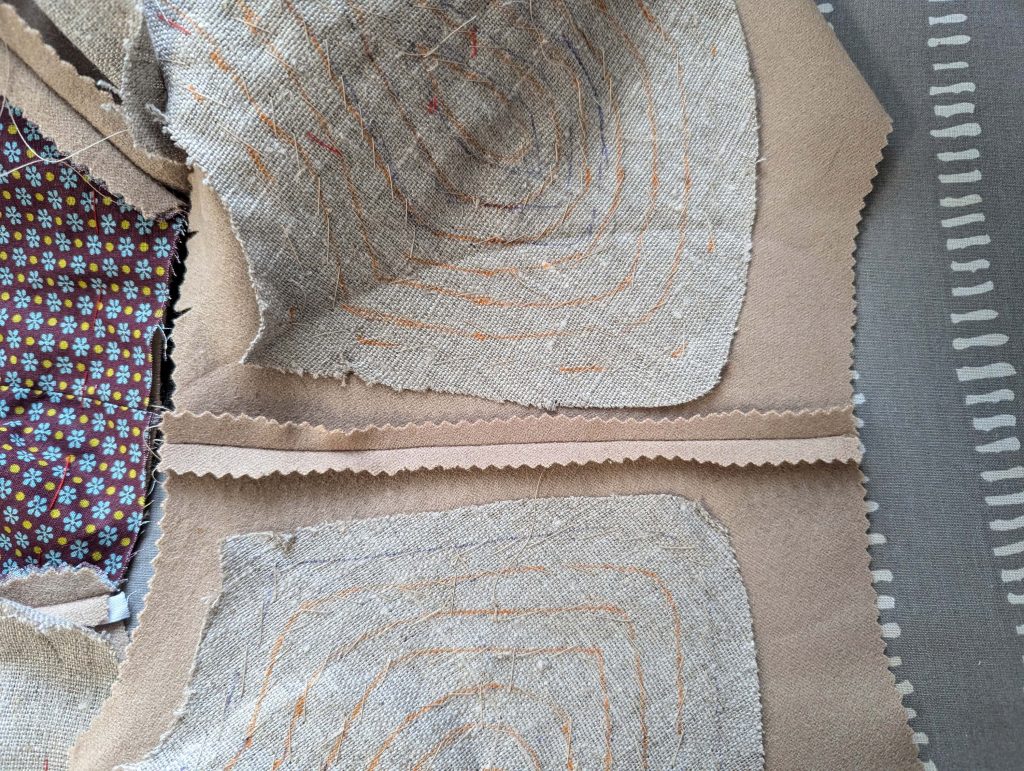
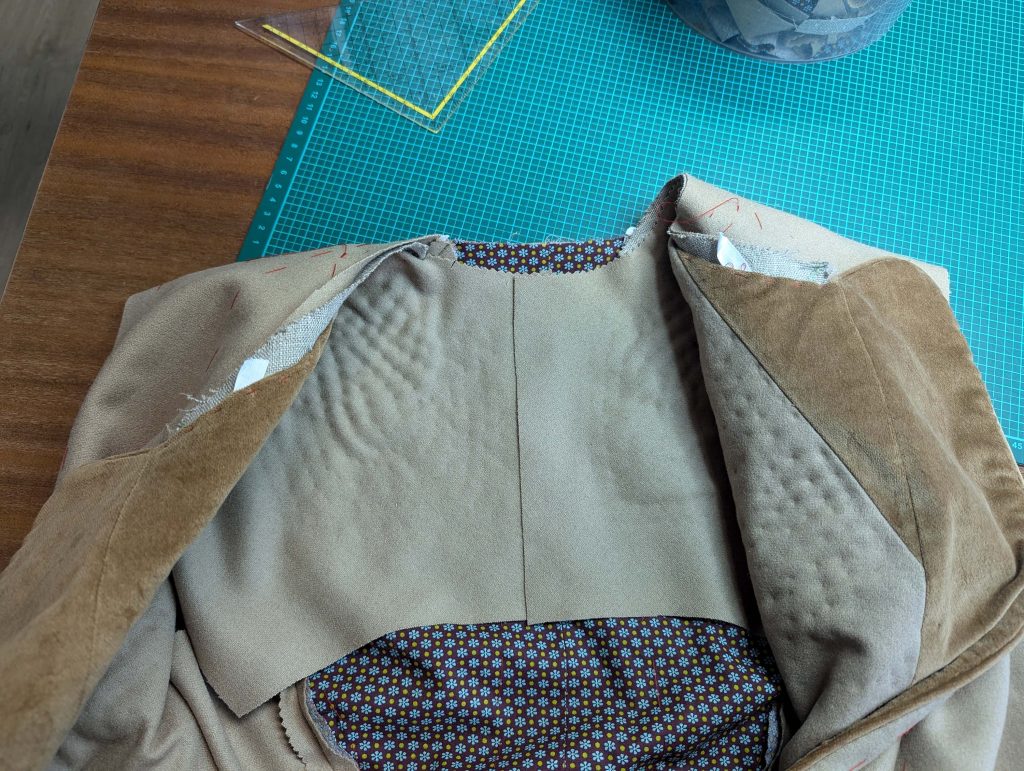
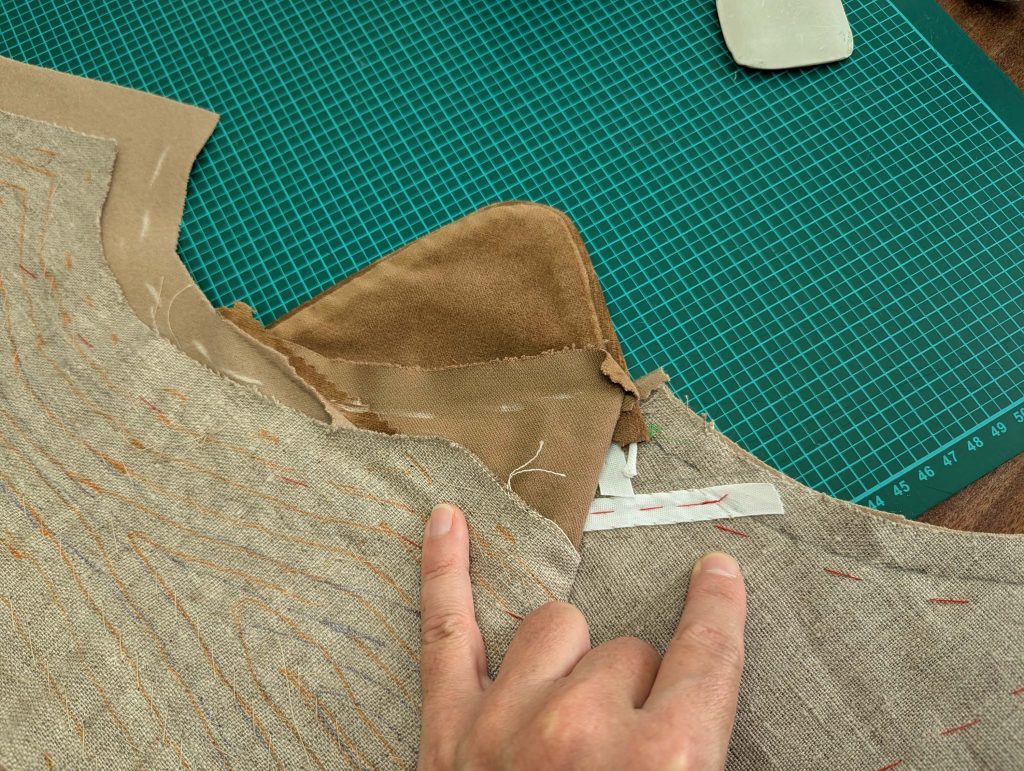
Turn in the seam allowances of the facing along the neckline, trim back, and clip if needed, especially at the collar notch. Line up with the stitching line, and baste in place. Now we are ready for the collar!
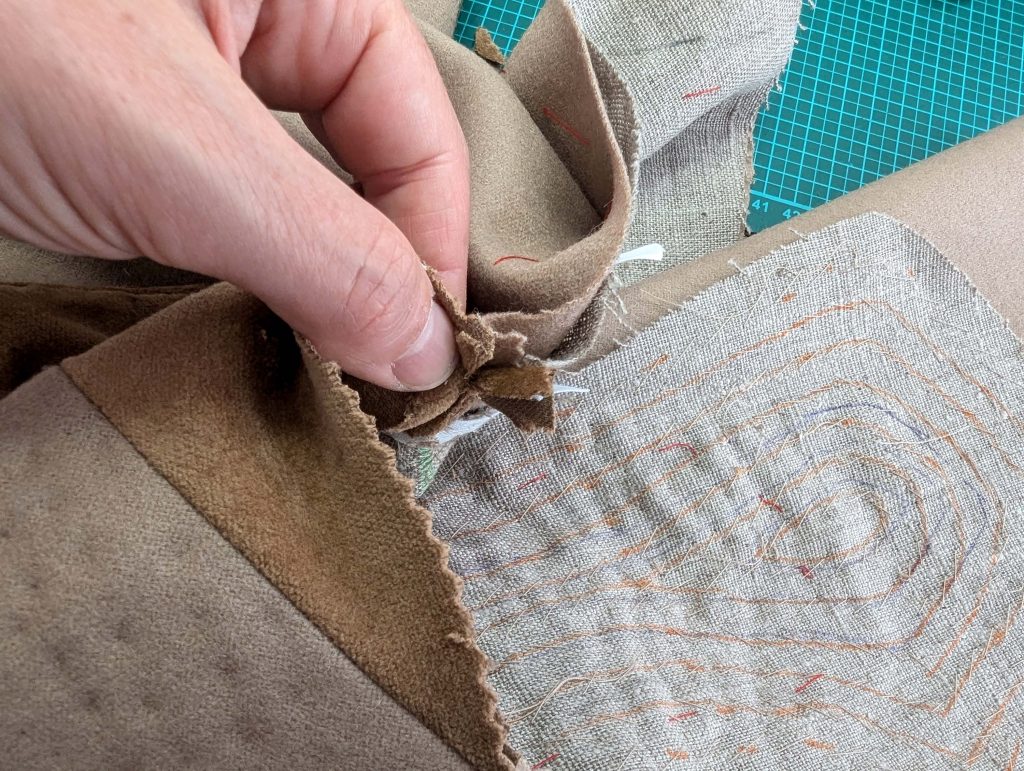
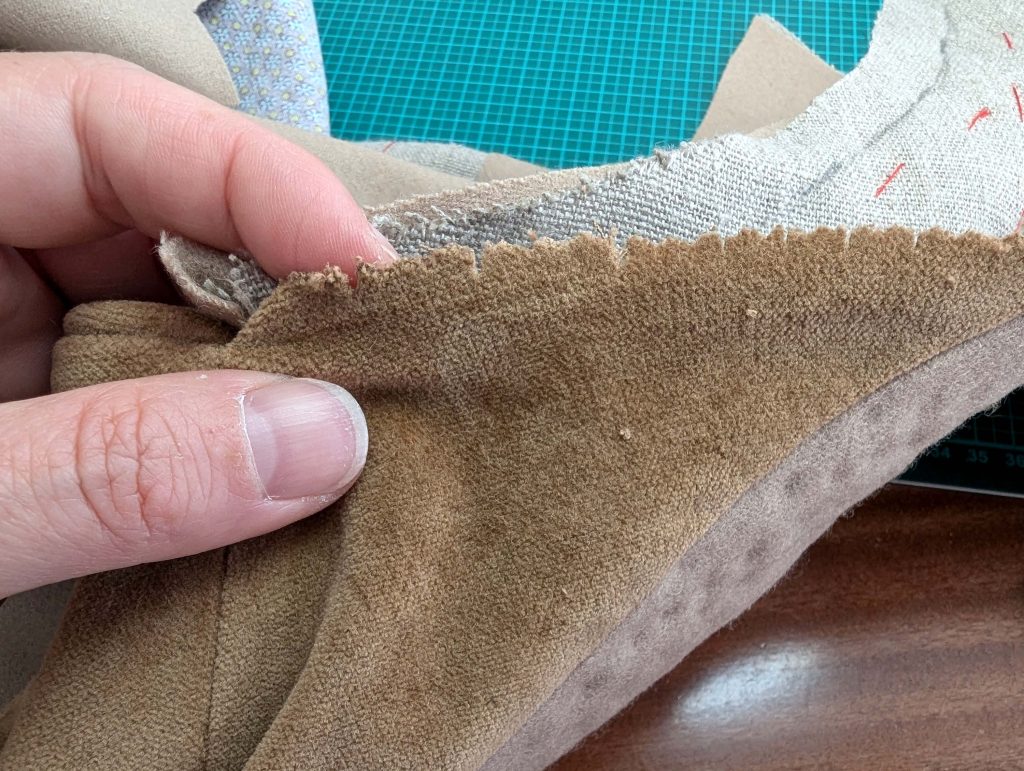
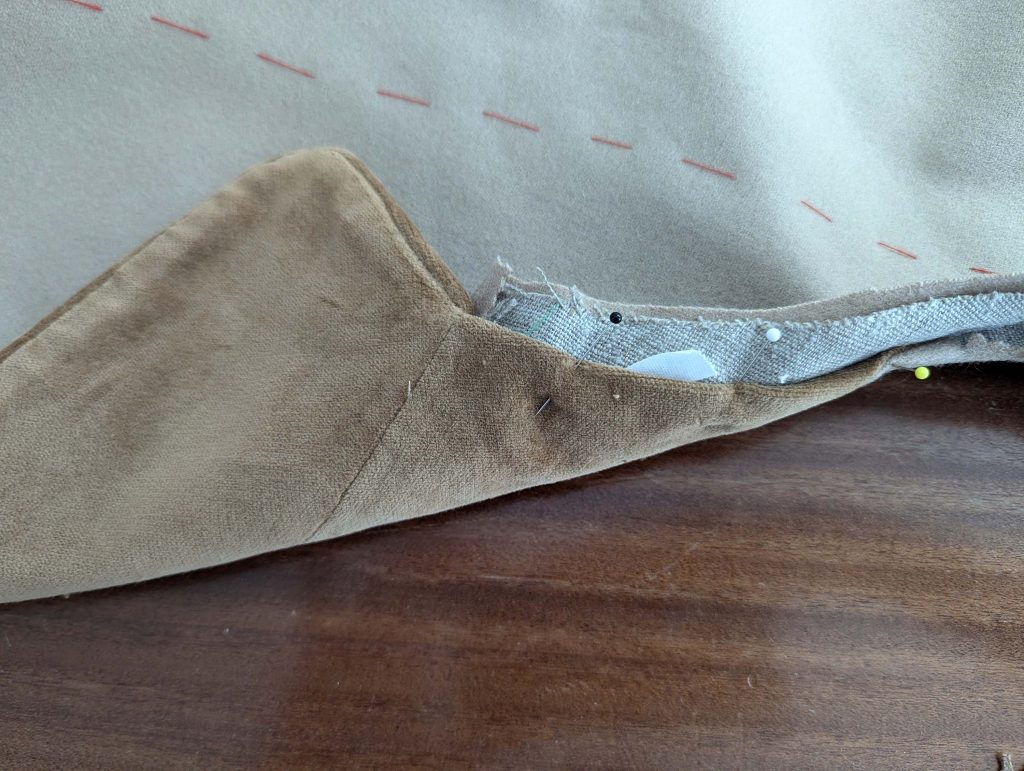
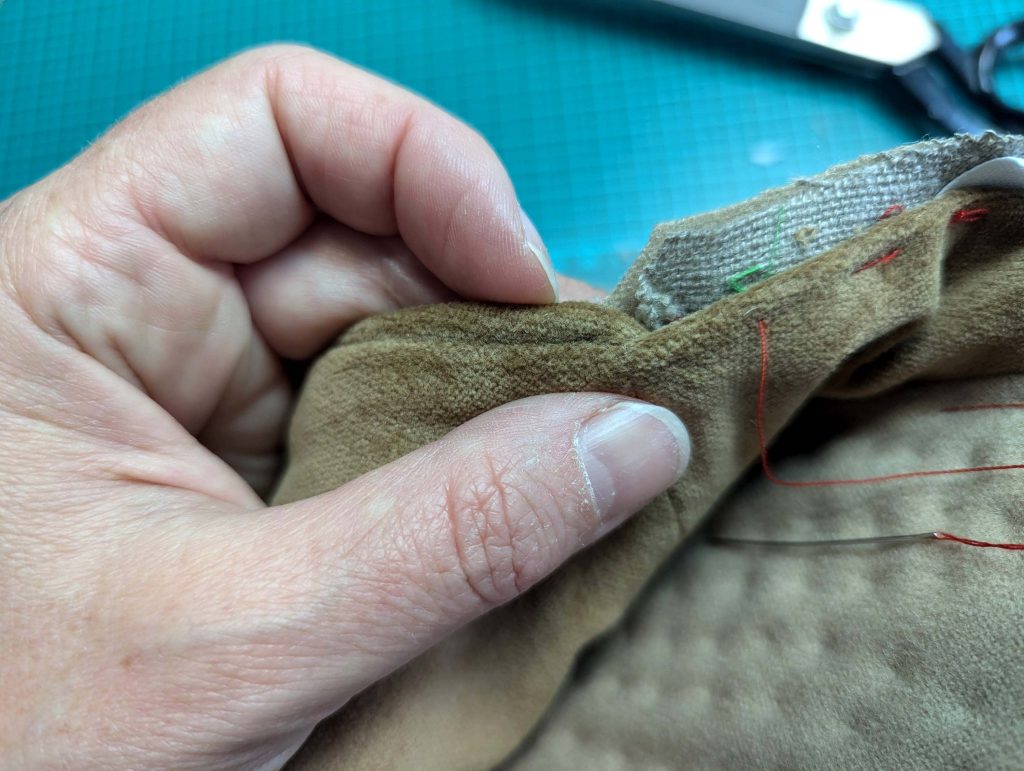
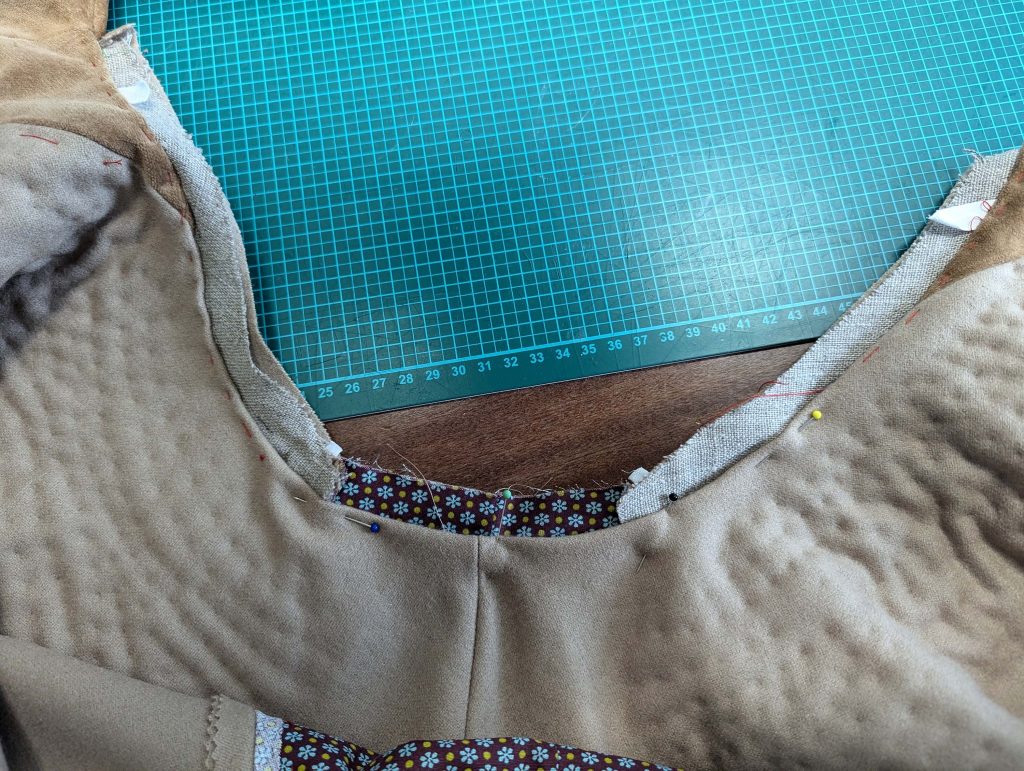
(11) To sew the side seamrichte die Rückteil an dem Vorderteil aus,, right sides together, easing in the excess width of the back between the marks (a). First, baste, then sew, stopping exactly at mark (3), without catching the seam allowances of the waist seam. Clip the seam allowance towards point (3), and press open. Trim back all excess seam allowance at point (3) to reduce bulk, and optionally, cut along the edges with pinking scissors.
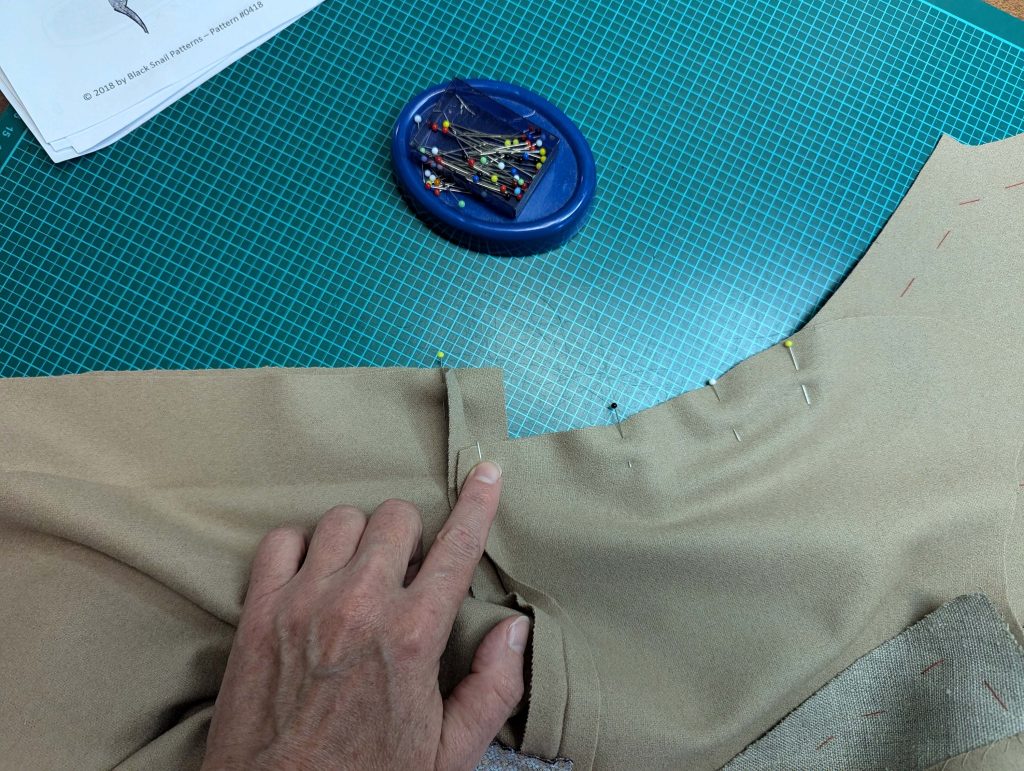
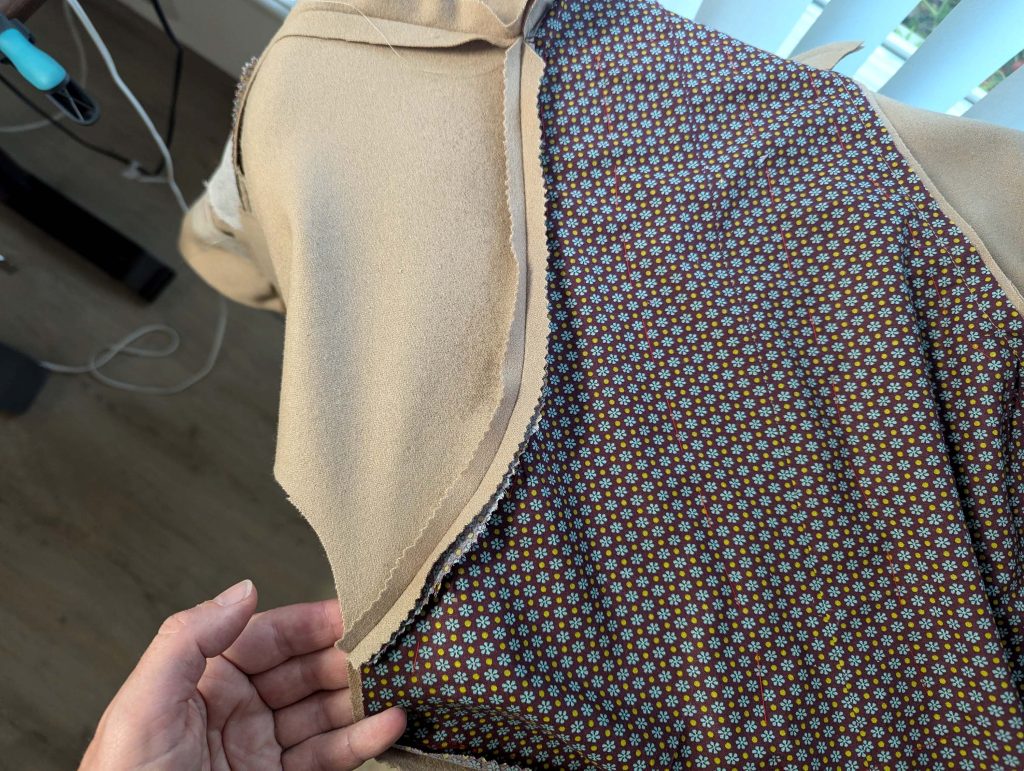
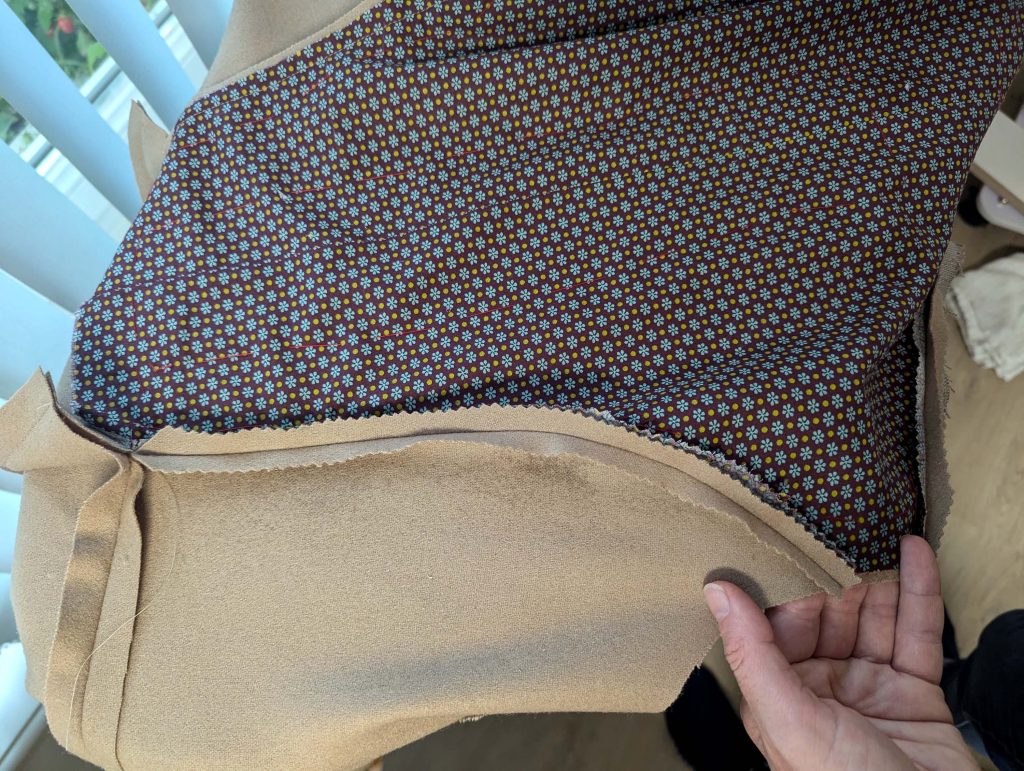
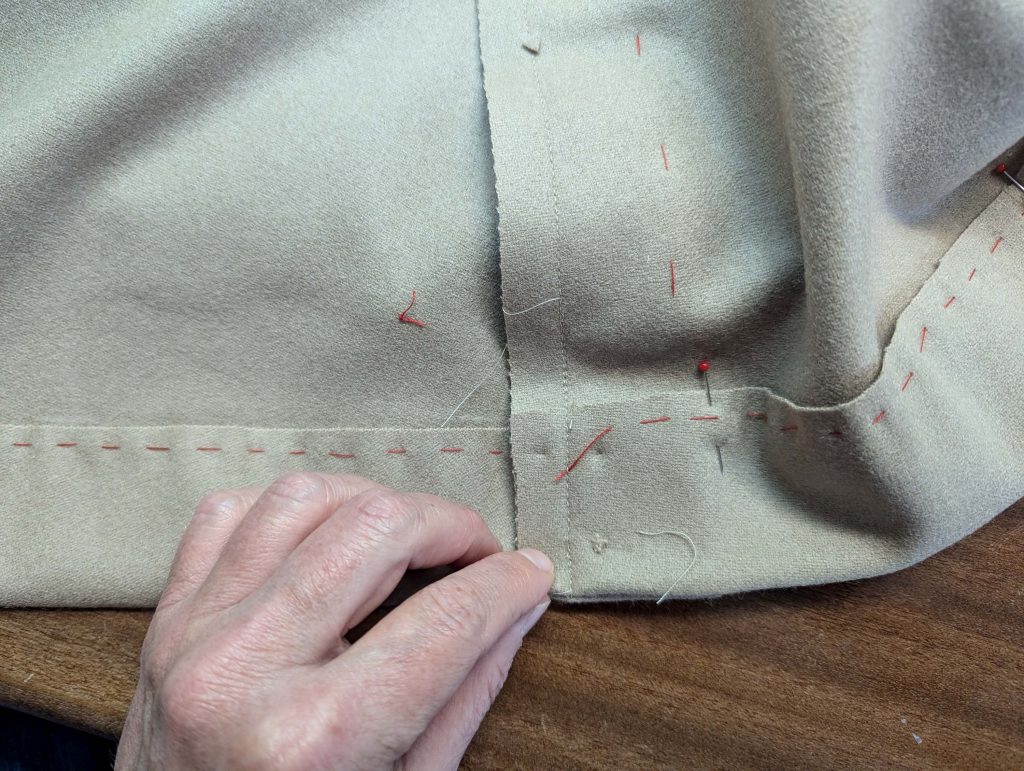
Line up the front and back skirt, right sides together. Before sewing, ease baste along the hem of the back skirt and turn in the des Rocks allowance, matching the front skirt.
Place the fold toward the front, smooth out, and press. Turn with the right side up and baste the fold in place to keep it in position during further construction steps. Sew the top edge of the fold to the seam allowances of the waist seam, without any stitches visible on the right fabric side. Catch stitch the des Rocks allowance to the skirt (front and back) with regular stitches, barely visible on the right fabric side.
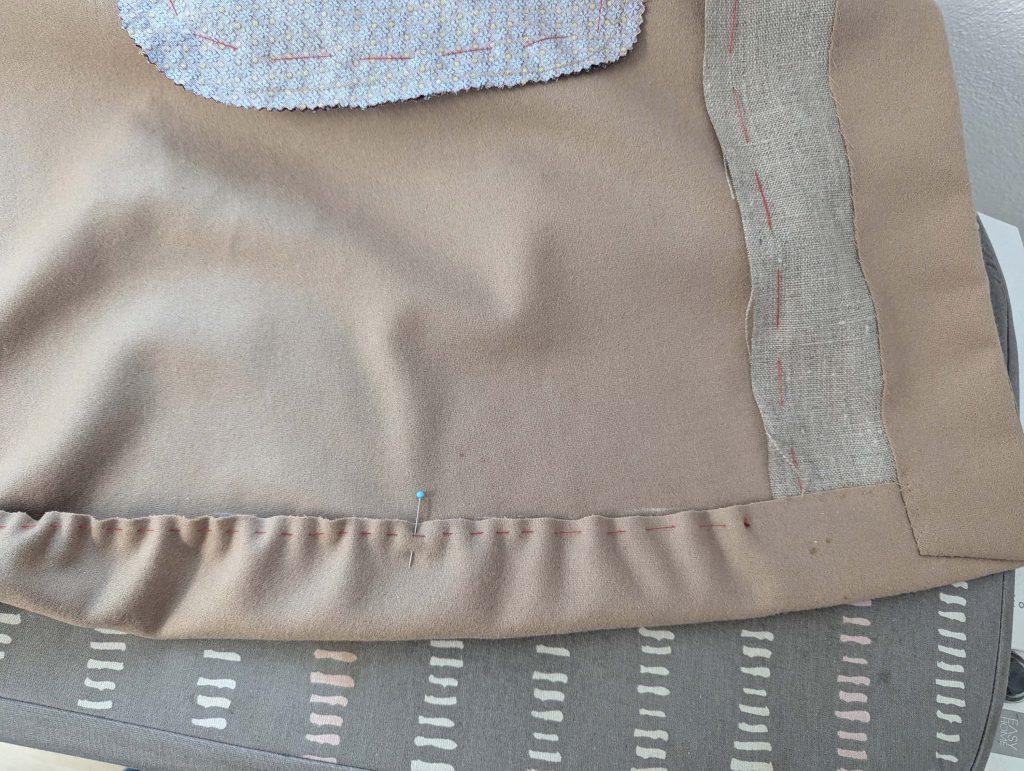
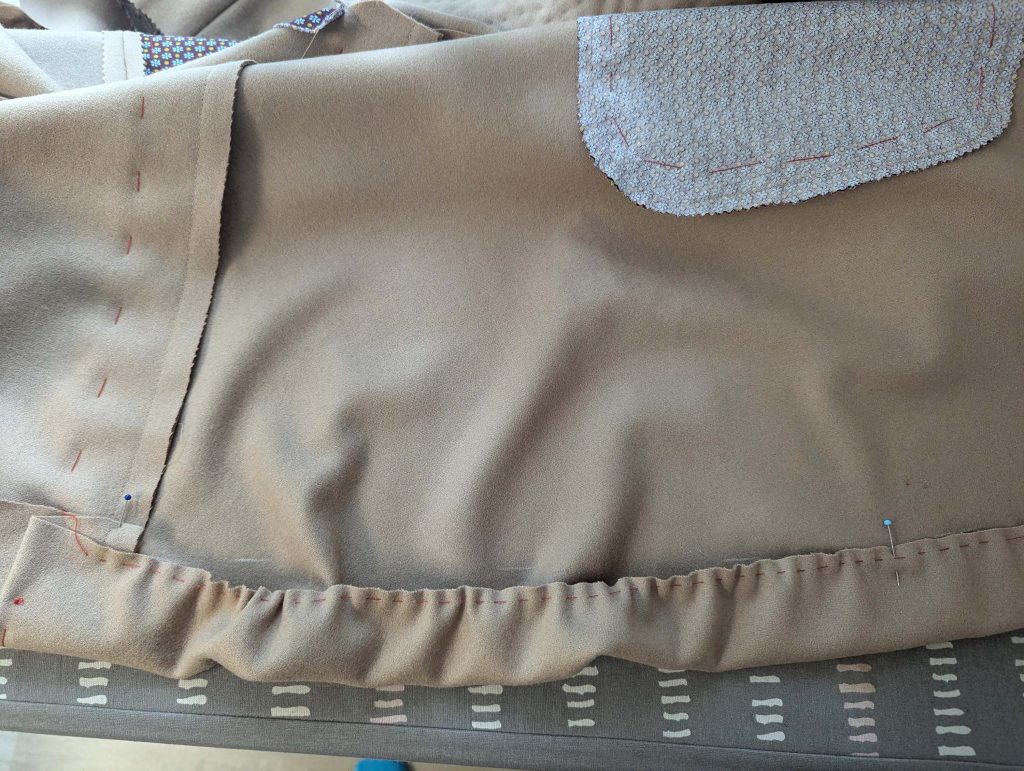
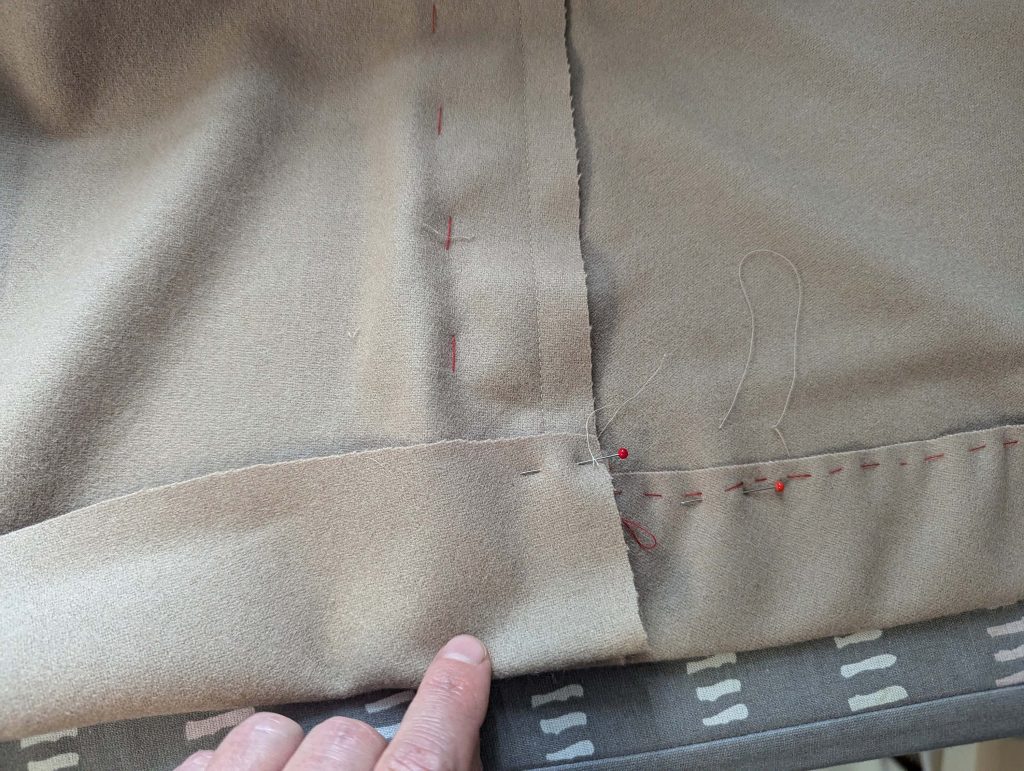
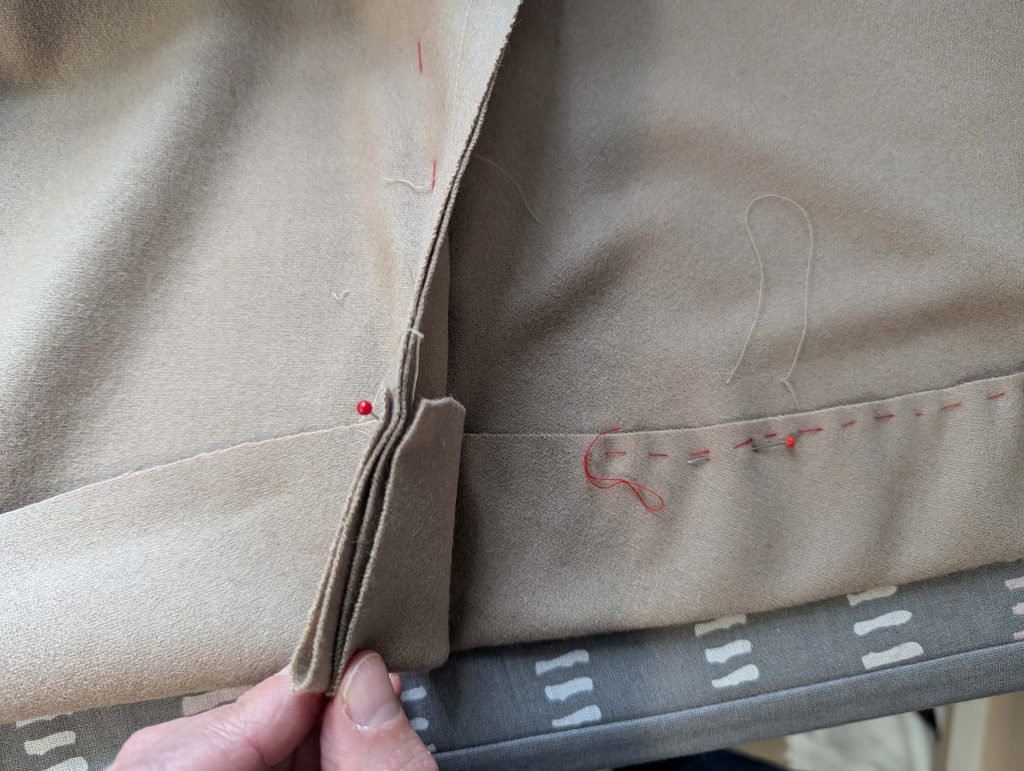

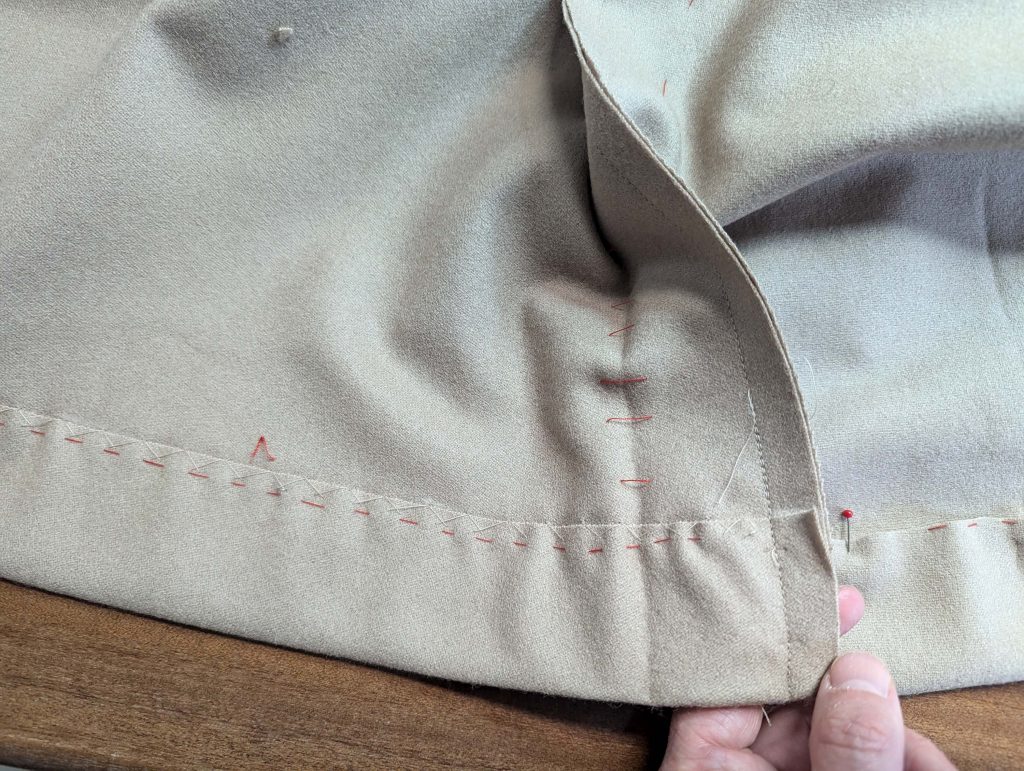
(12) Nimm das back skirt lining and ease baste along the hem, pull the threads to match the hem of the fashion fabric, and line up with the hem, right sides together (I made things a bit different, turning in the hem later). Sew the lining to the hem allowance with a seam allowance of about 3/8” (1cm), using a back stitch, and catching just the hem allowance (no stitches visible on the garment’s right side) . Fold the lining into the skirt, wrong sides together, lining up all edges. Intentionally, there will be some ease at the bottom. At the top edge, turn in the seam allowance and baste the lining in place. Along the side edges, sew the lining to the seam allowances of the fold.
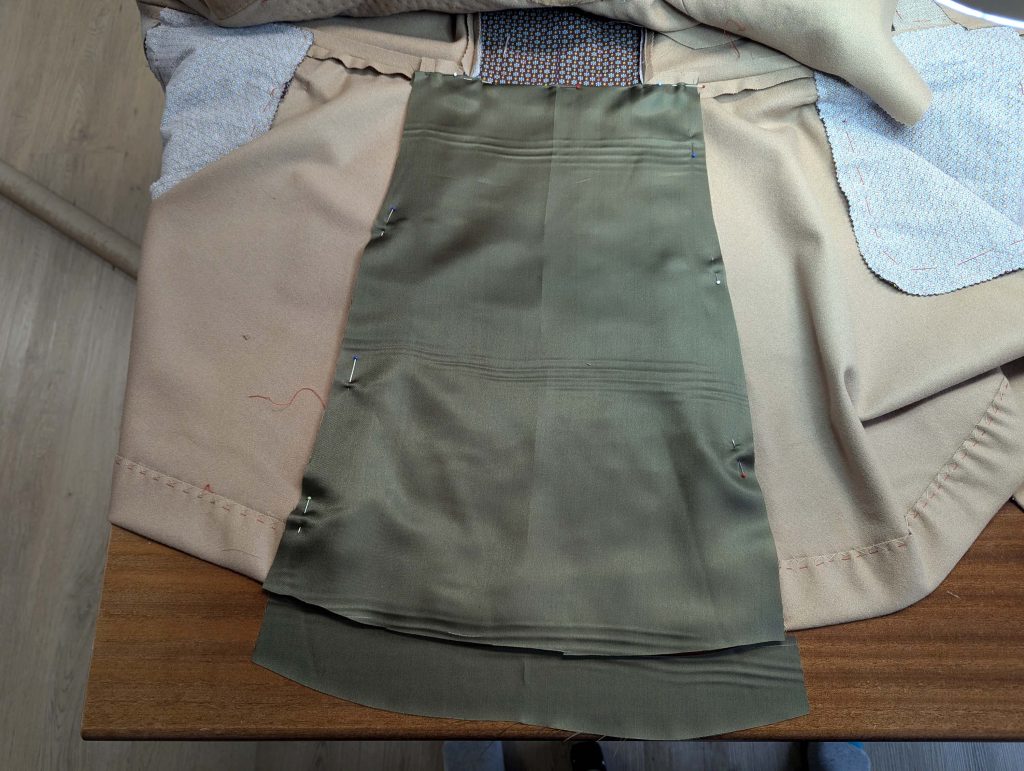
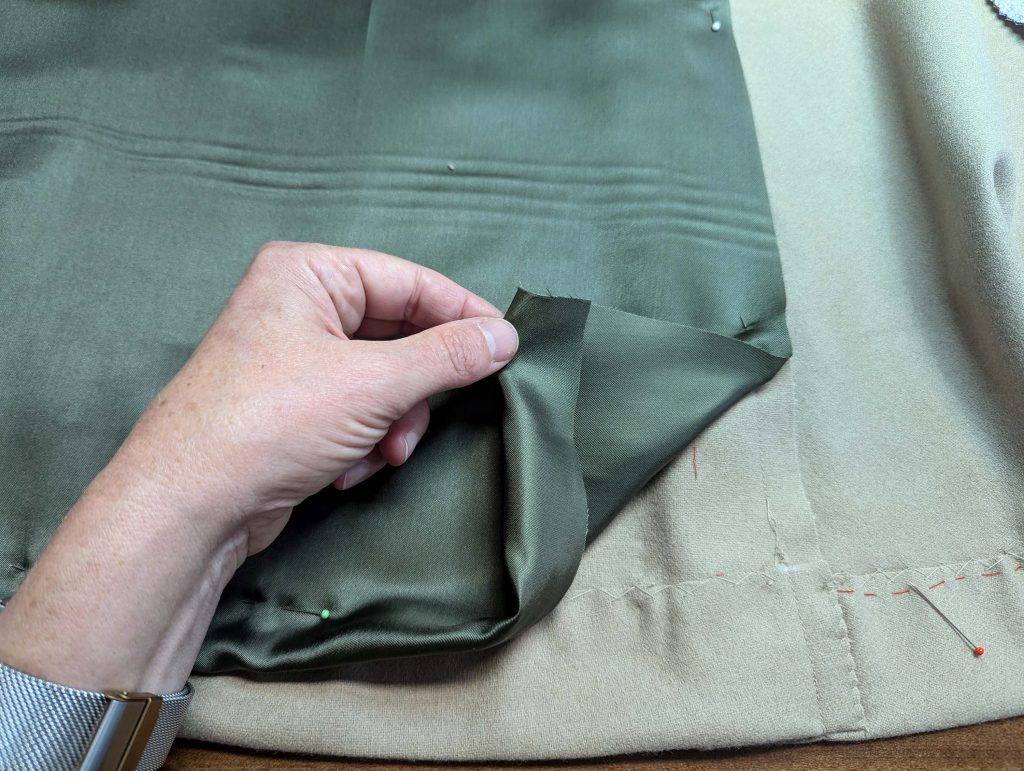
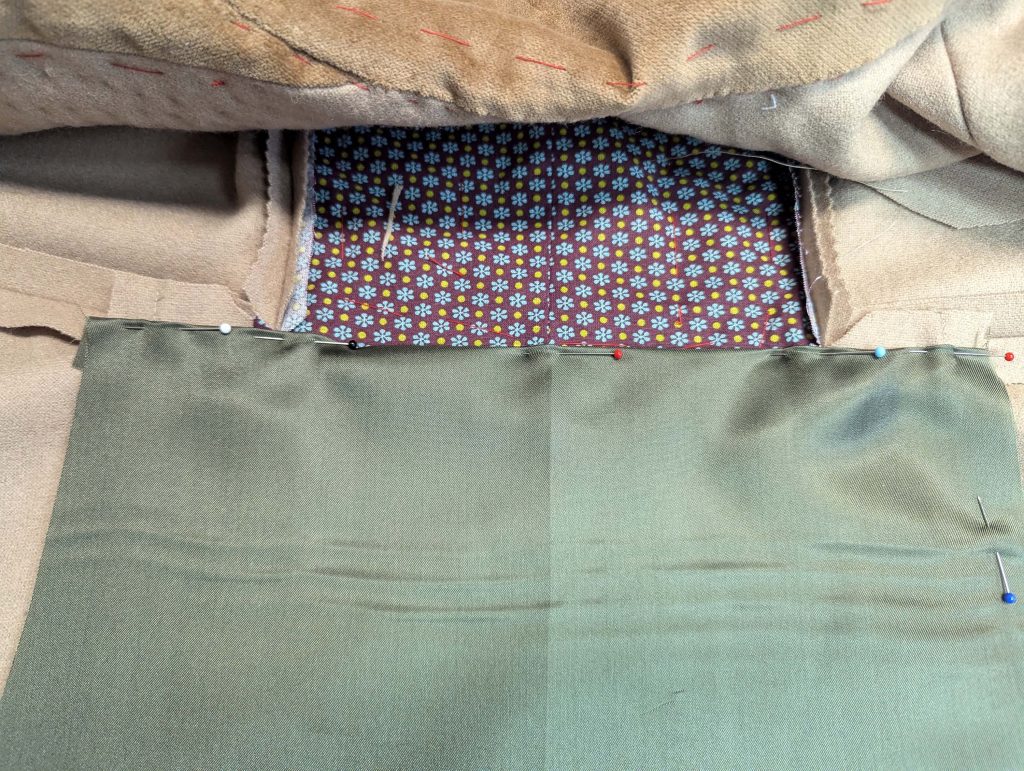
Nimm das vordere Futter and turn in the seam allowances along the front, top, and side edges. Ease baste along the hem and sew in the same way as described before. Fold the lining into the skirt, wrong sides together, and line up all edges. First, baste, then fell stitch the lining to the skirt along the front, the fold, and the waistline.
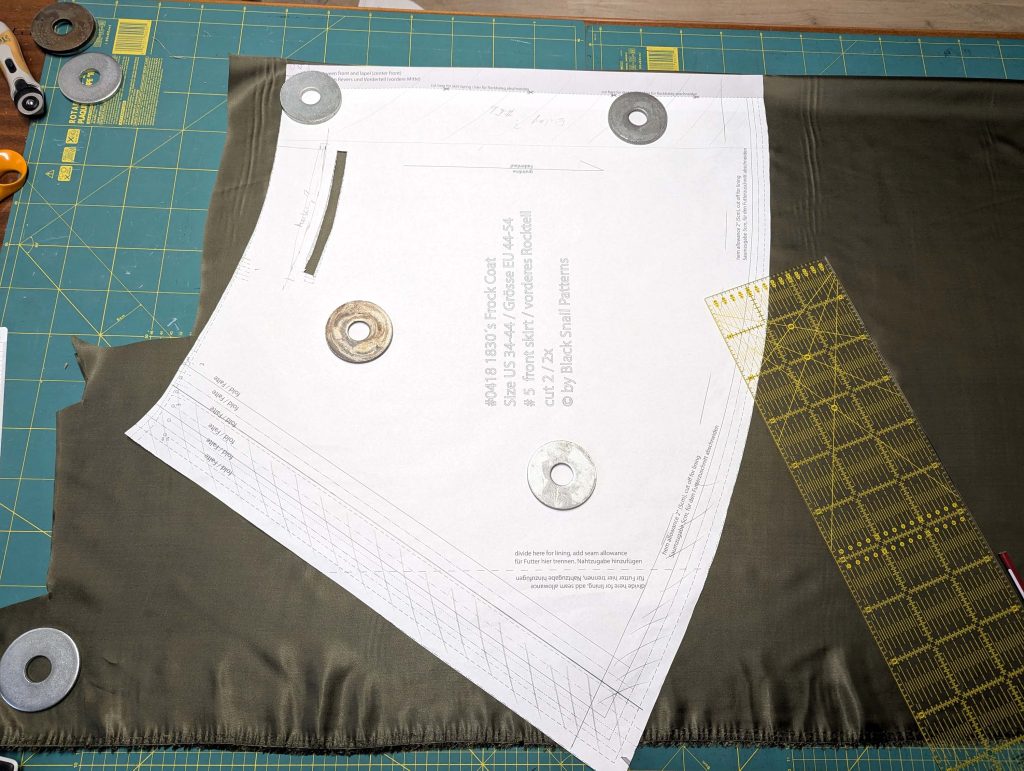
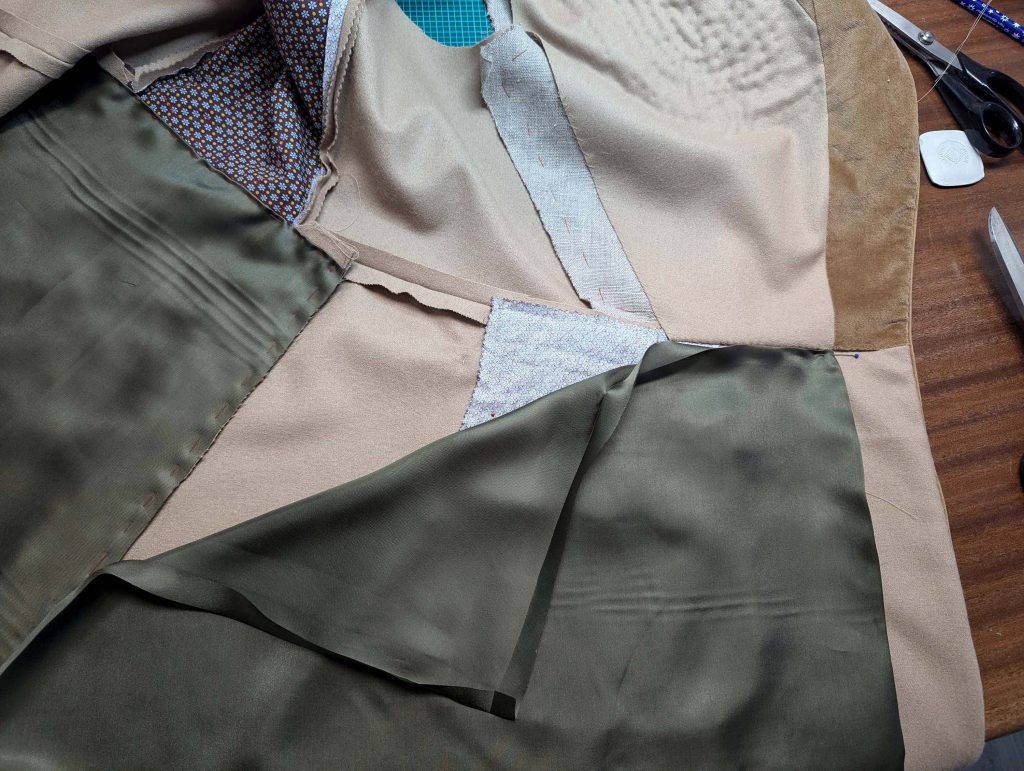
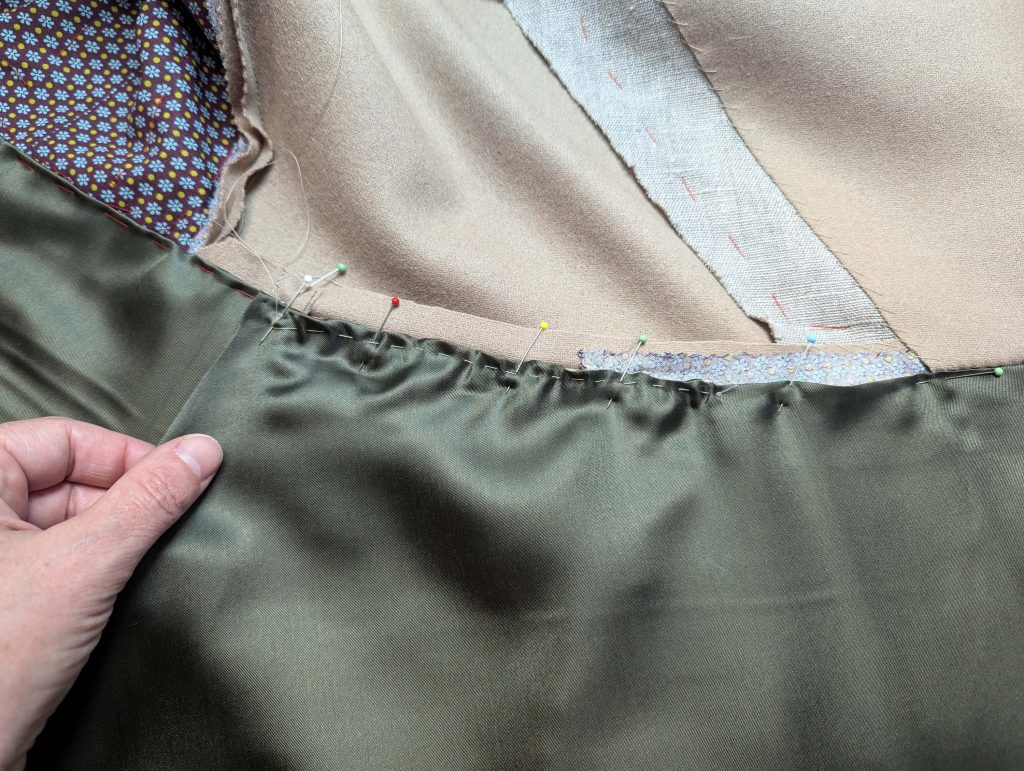
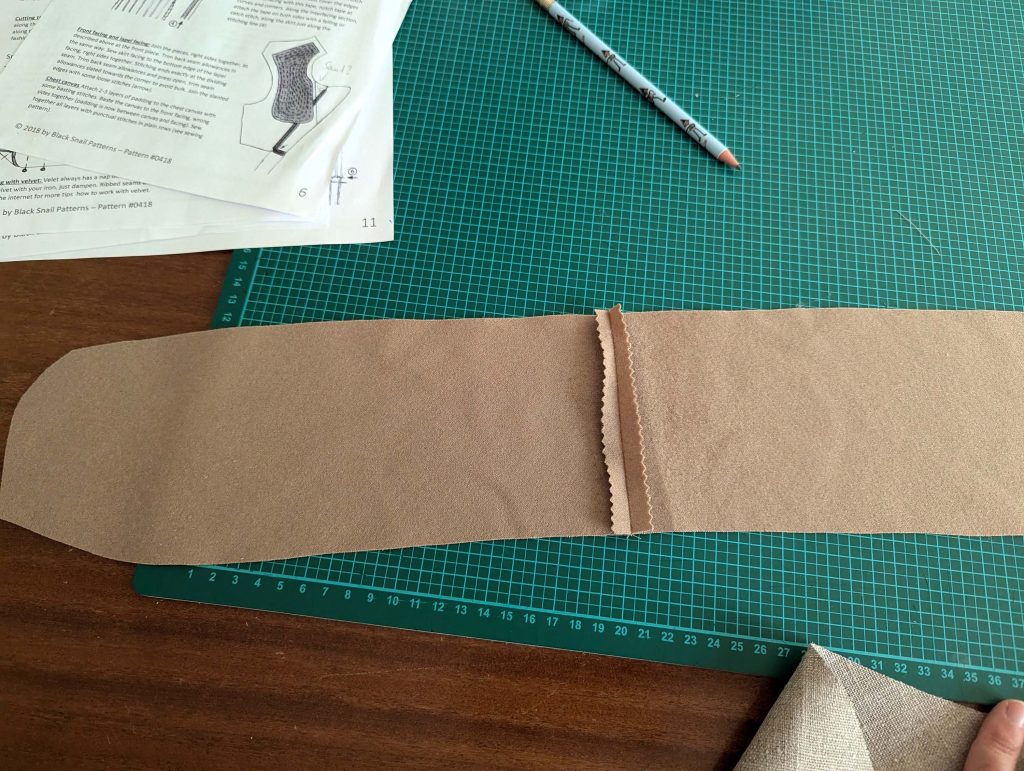
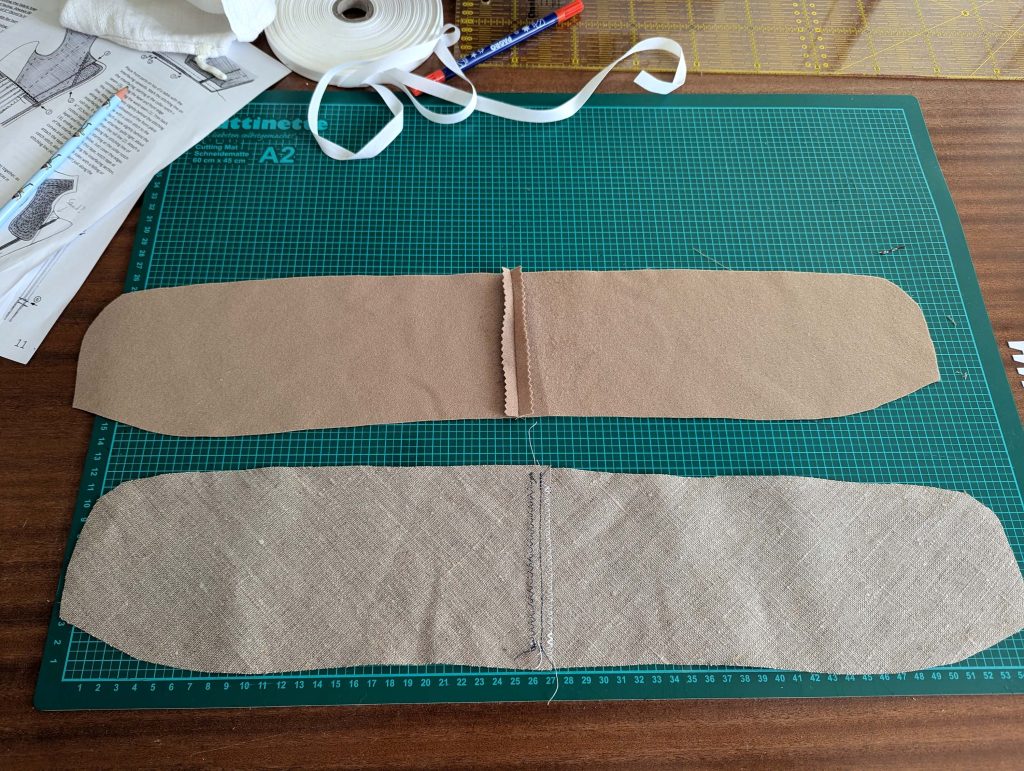
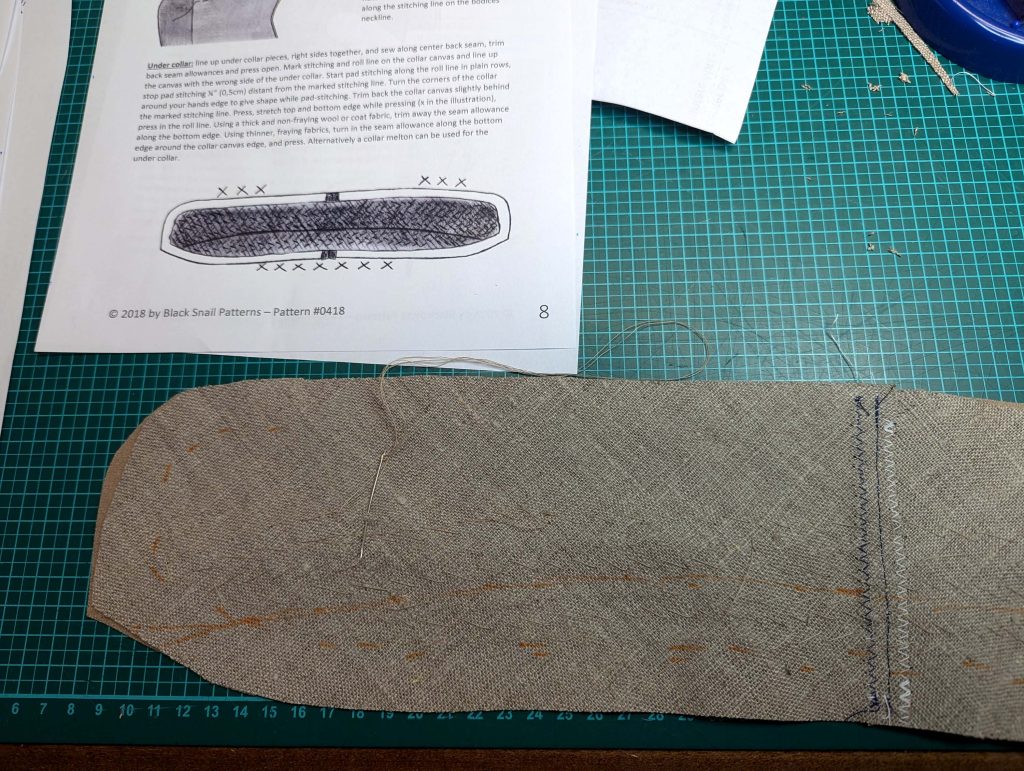
(13) Finally it´s collar time! Line up the pieces for the undercollar, right sides together, and sew along the center back. Trim back the seam allowances and press open. Line up the Krageneinlage mit der linken Seite des Unterkragens. Mark the seam and the roll line. Starting at the collar stand, pad stitch the canvas to the collar. Fold the collar around your hand´s edge while pad stitching to give the right shape. Press the collar, stretching the top and bottom edge, and press in the roll line. Trim back the canvas only about 1/8” (2-3mm) behind the stitching line along the outer edges and notch the seam allowances to reduce bulk.
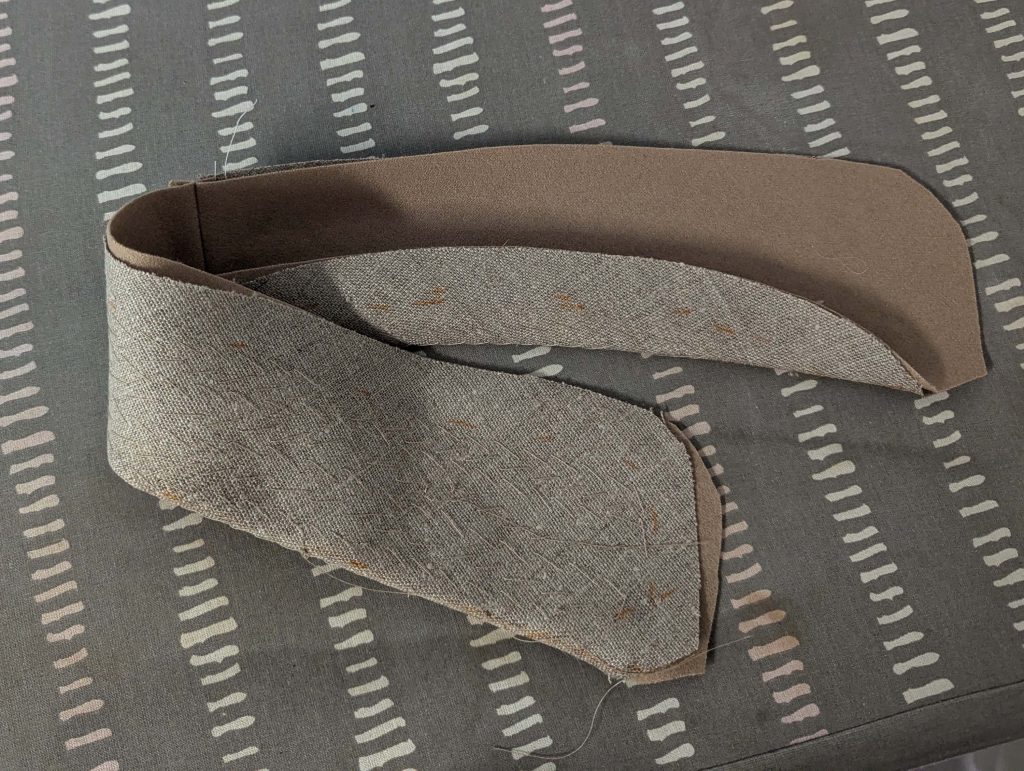
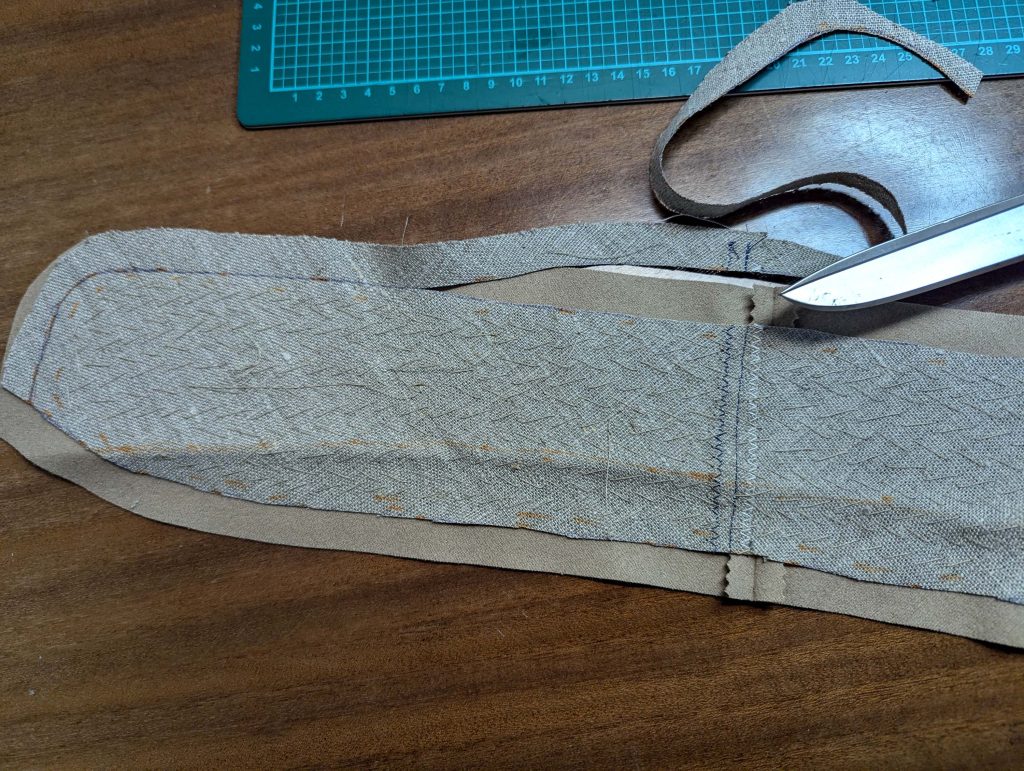
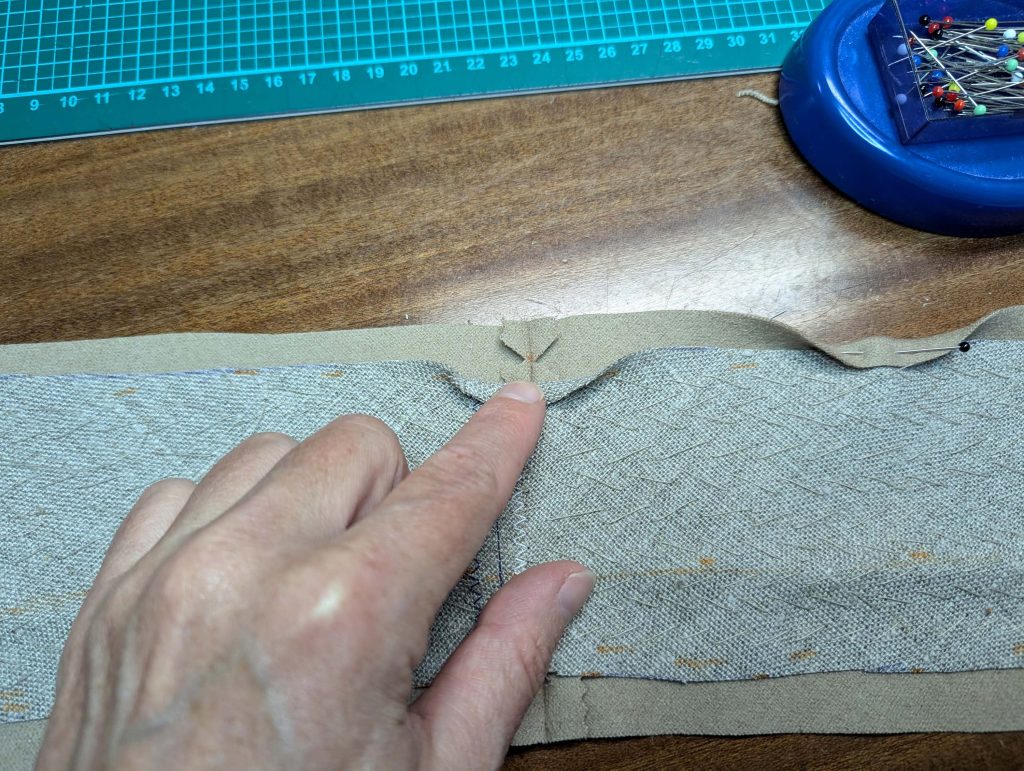
Again, things are a bit different with piping here on the blog. You could sew the collar to the bodice now as it’s in the instruction, just that I decided to make things harder. As I did at the lapel before, I turned in the seam allowances of the collar all around, except for the bottom edge, which is to be cut to the seamline later.
Then I stitched the piping to the top collar from velvet and lined up the wrong sides together. As at the lapel, I felled together the layers in the ditch of the piping from the garment’s wrong side. All stitching ends at the collar notch.
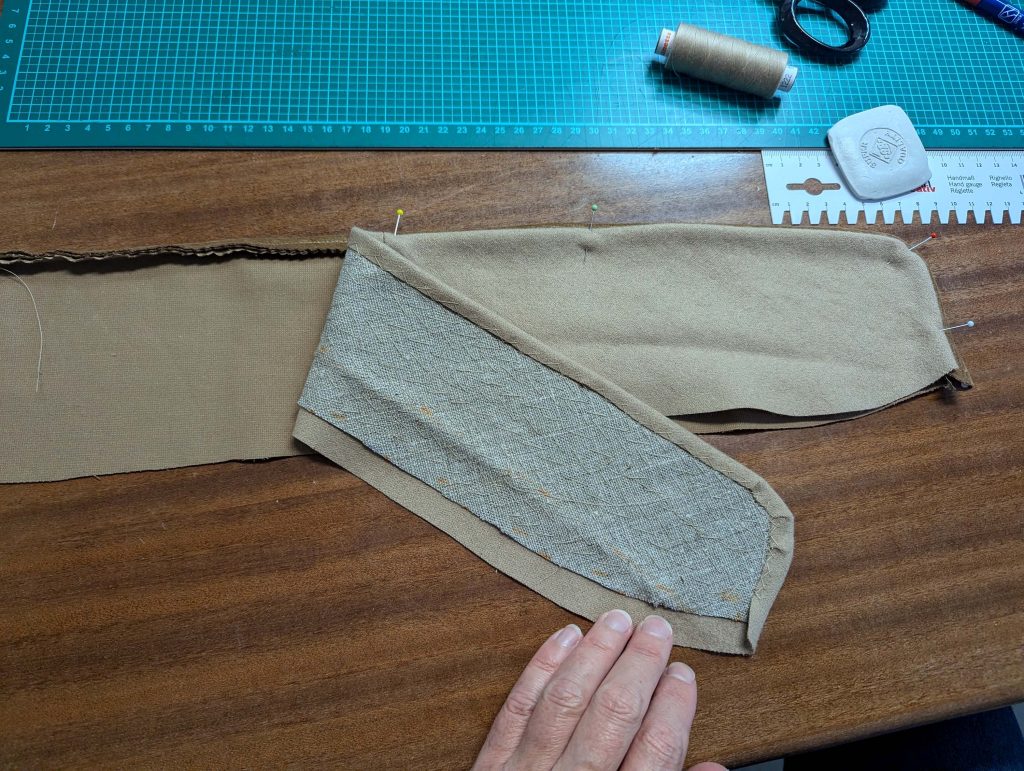
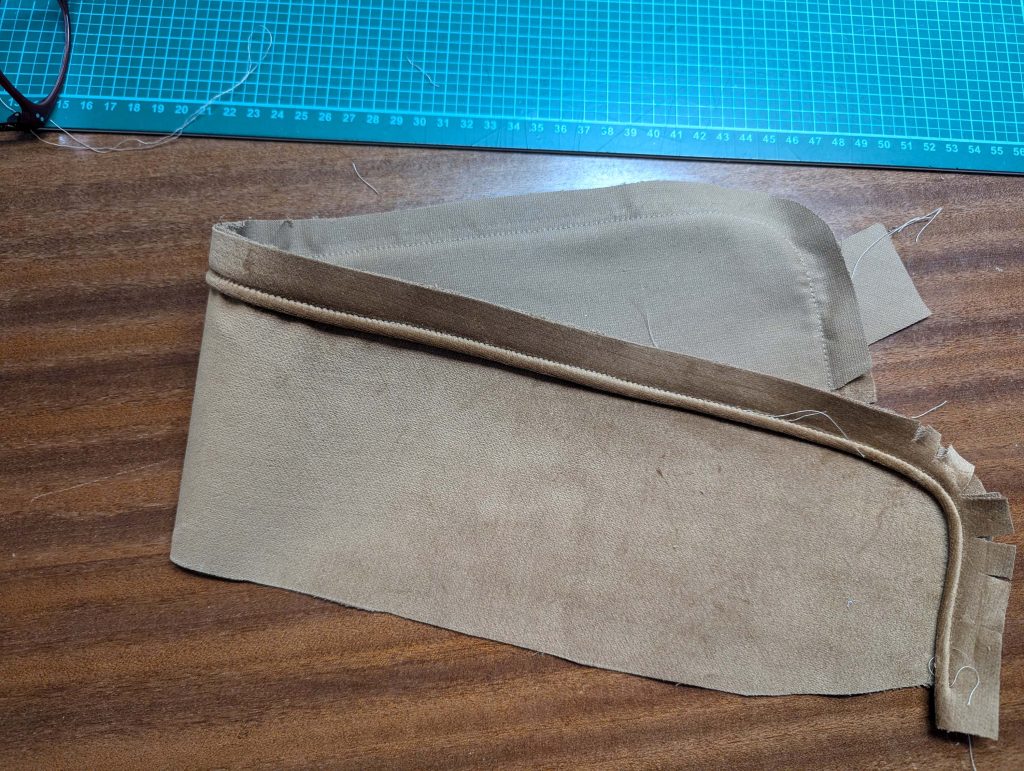
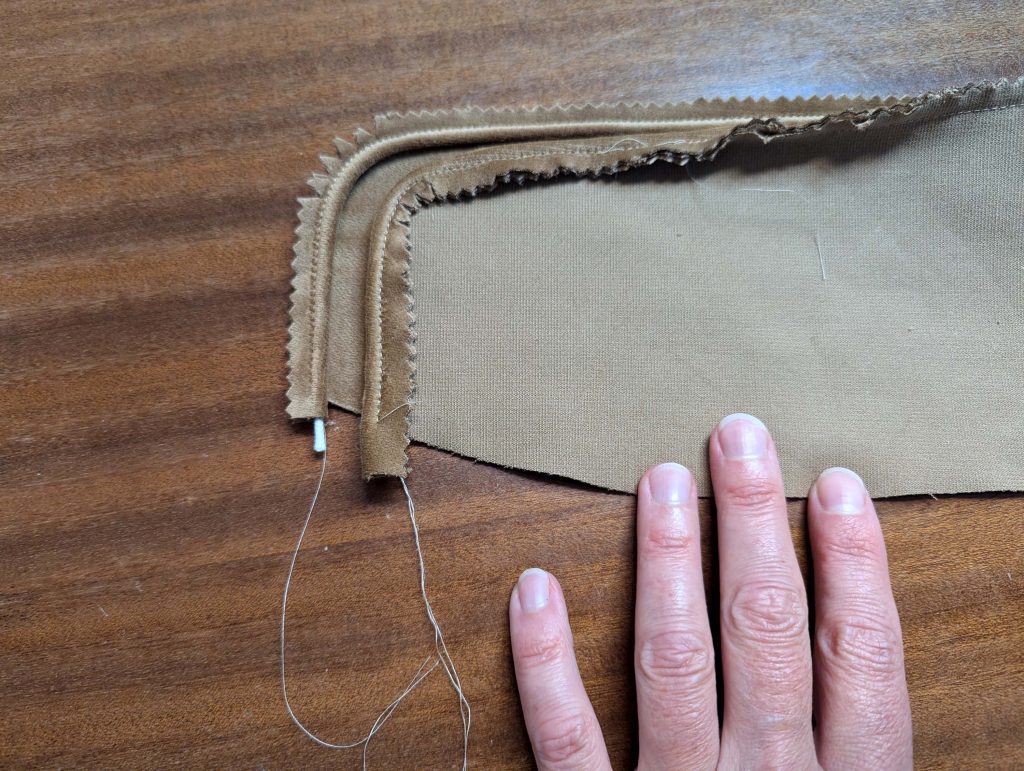
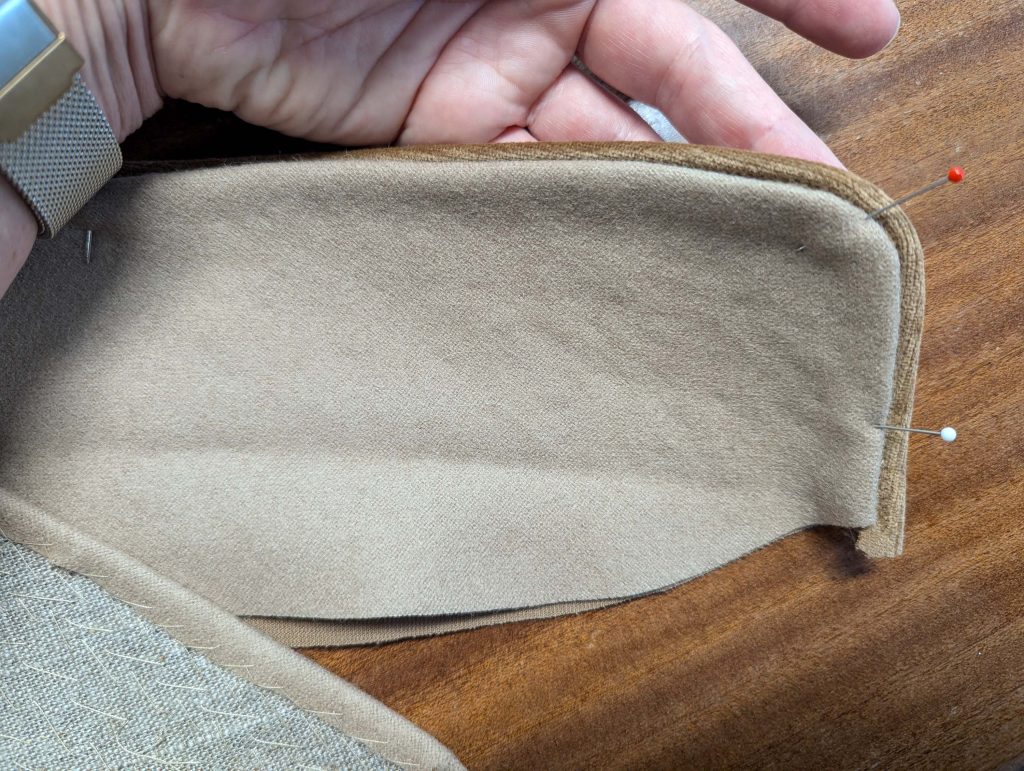
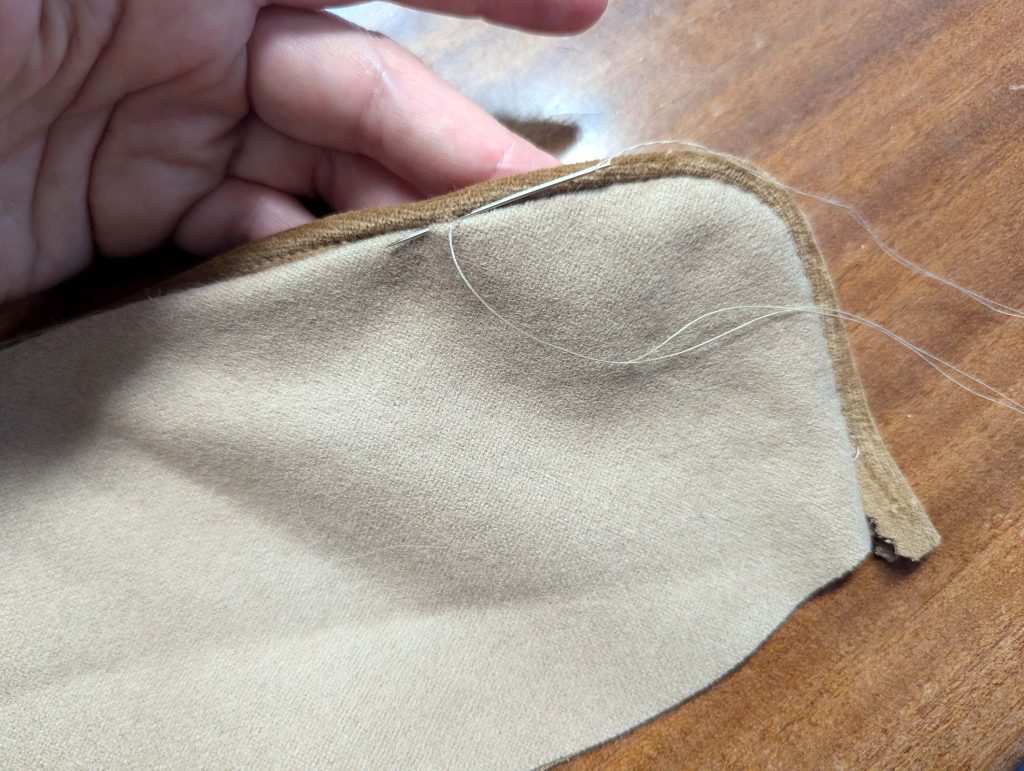
Along the bottom edge, trim back the canvas and fashion fabric to the seamline and mark the collar notch. On the right side of the coat, mark the seamline along the Halsausschnitt, and line up the bottom edge of the Kragen with that line, matching the collar notches, and easing in the excess fabric at the highest point of the shoulder. First pin, then baste in place. The collar’s wrong side faces the tailcoat’s right side. Fell stitch the collar to the coat along the neckline from the right side, start and stop exactly at the collar notch.
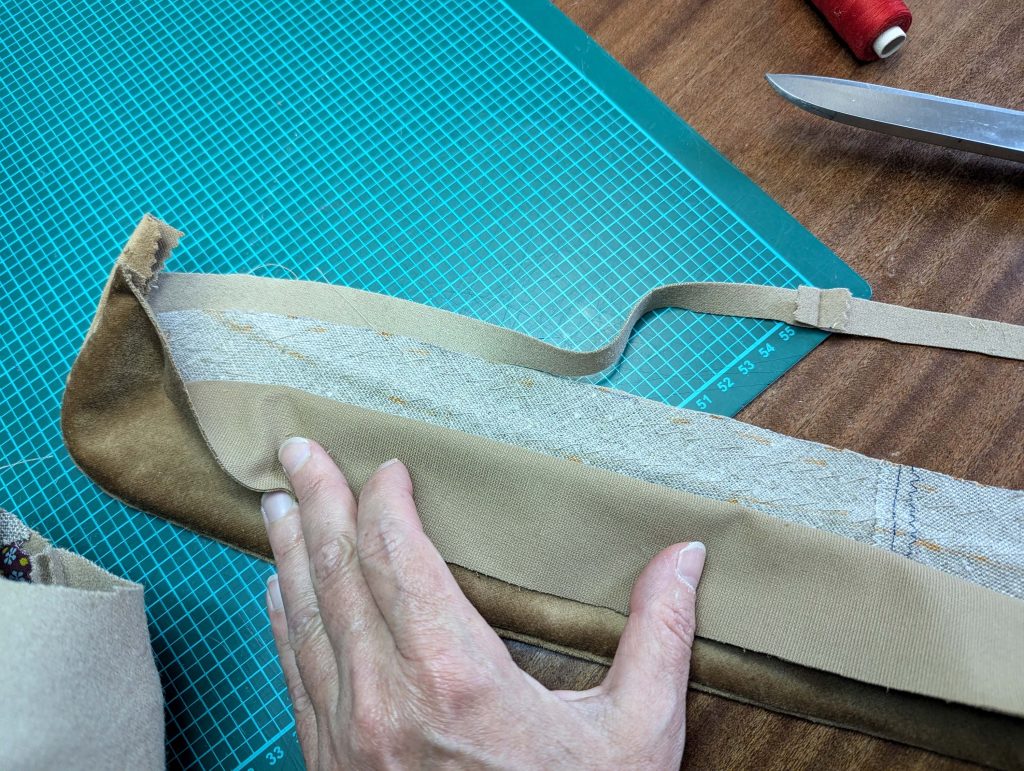
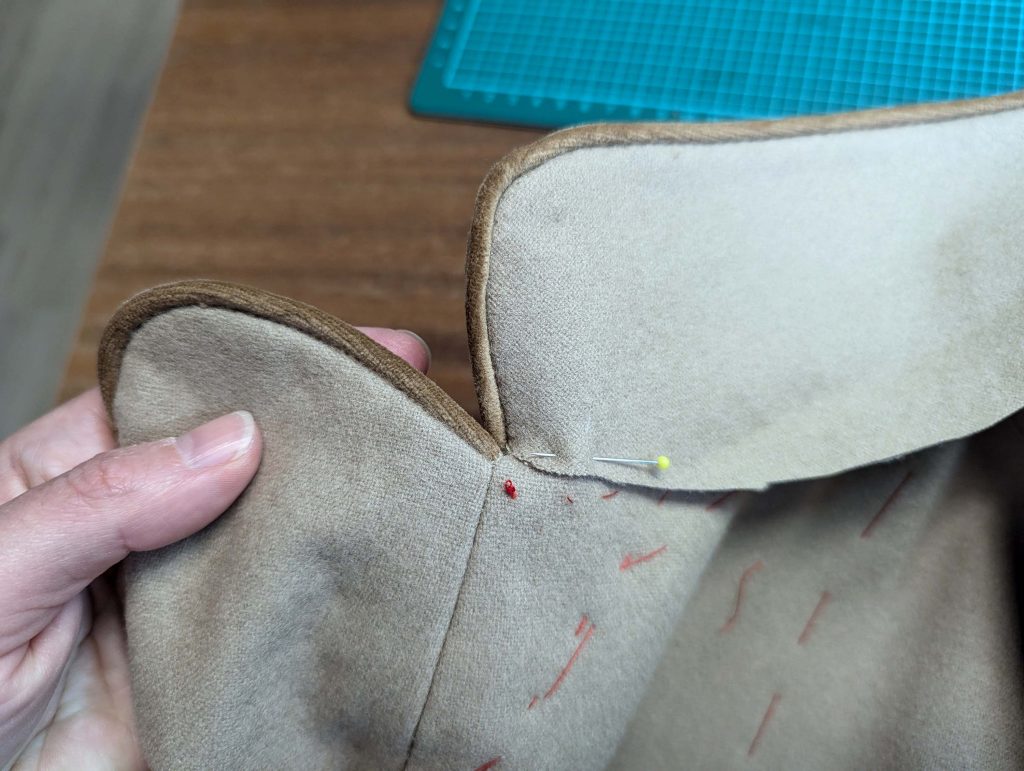
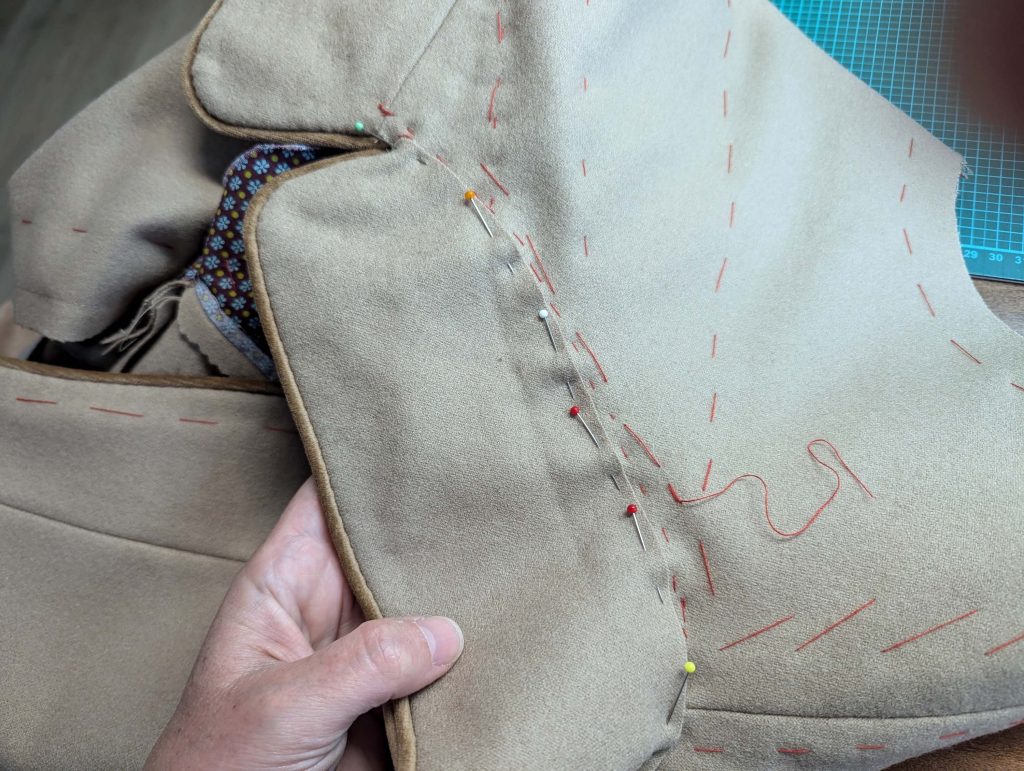
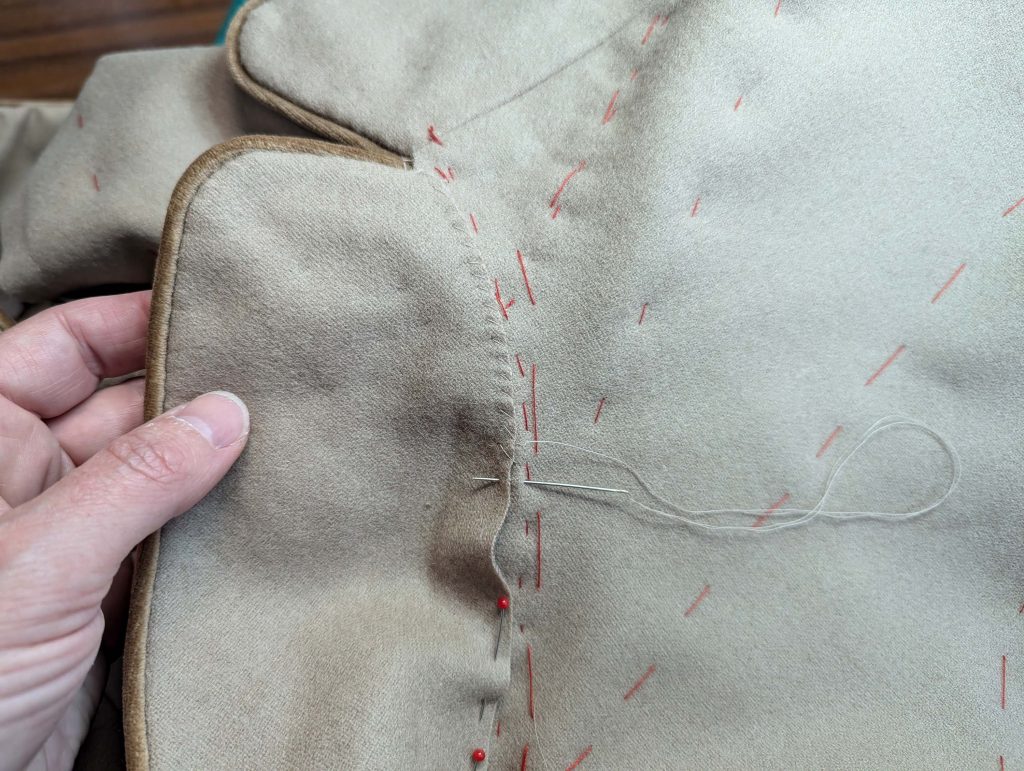
Turn the tailcoat with the wrong side up and catch stitch the front canvas to the collar canvas. While simulating the curve of the neck and the width needed for the turn of cloth at the roll line, baste beside the roll line. Turn in the seam allowance along the bottom edge, and trim back to about 3/8” (1cm), baste in place. Notch the seam allowance of the top collar at the collar notch to reduce bulk. Sew the crochet seam (between the collar and facing) with an invisible ladder stitch.
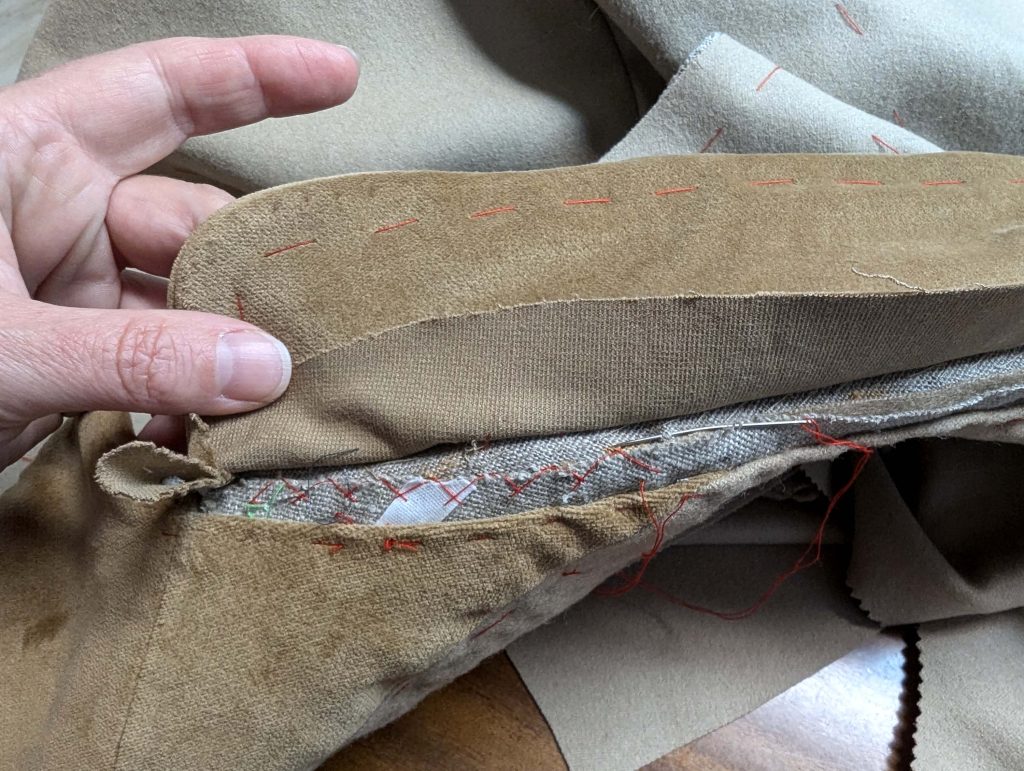
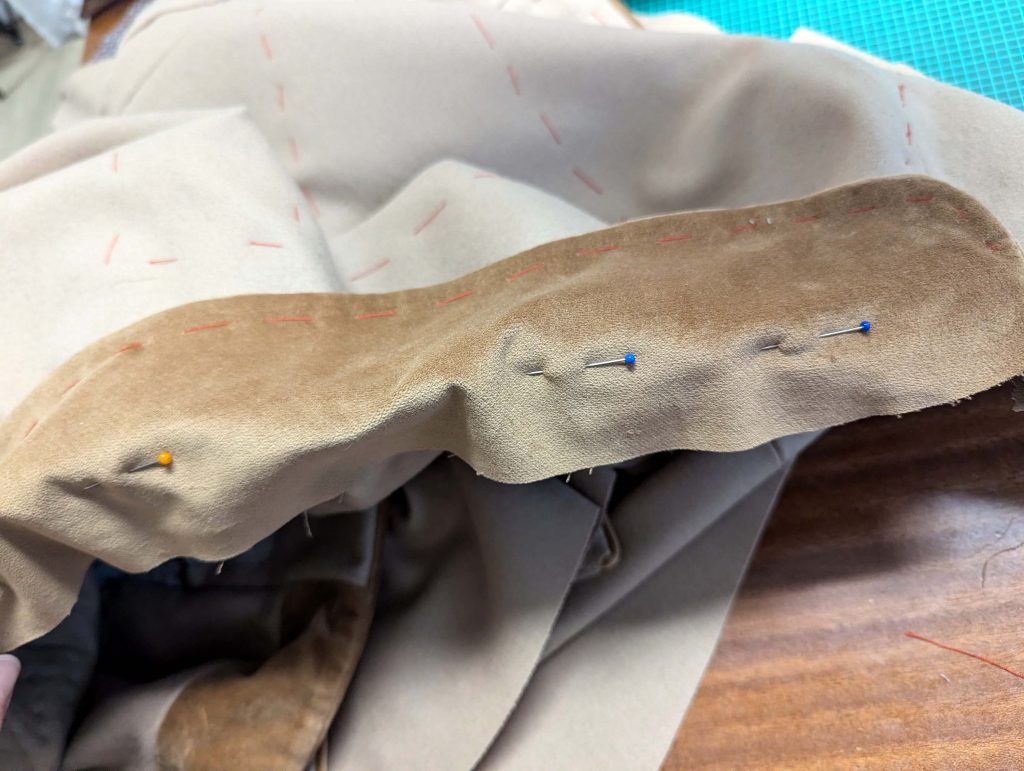
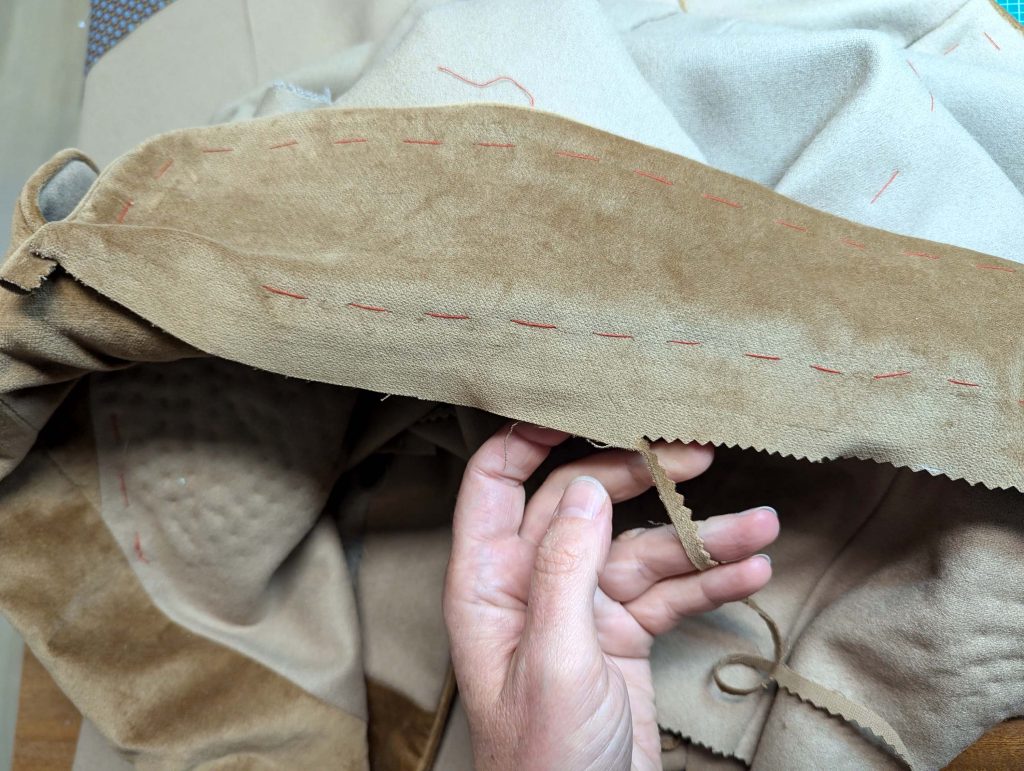
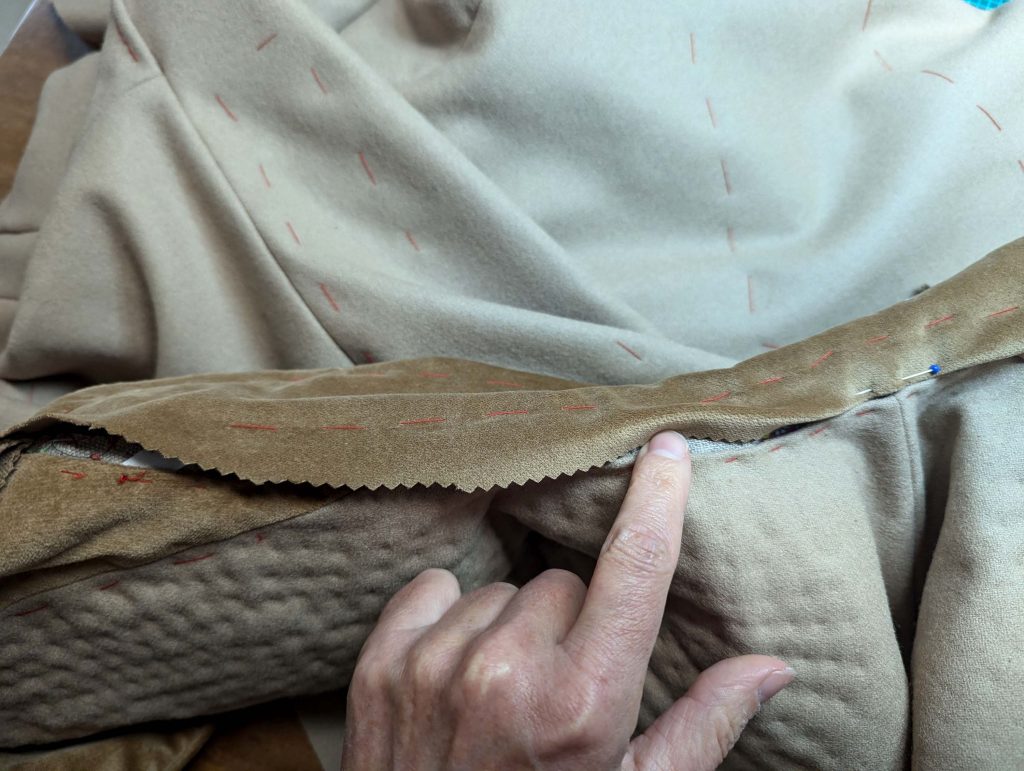
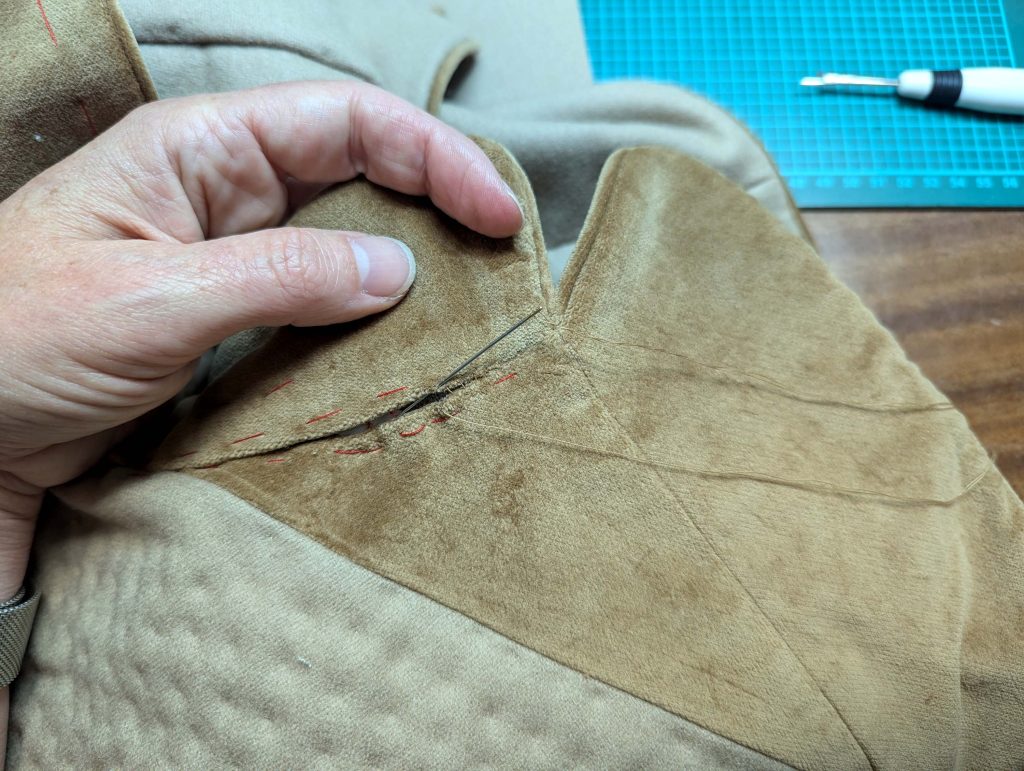
(14) Sew the front Ärmel seam, right sides together, and press open the seam allowances. For the piped edges, trim back the facing of the top collar evenly to match the cuff (the additional layer of flatlining seen in the pictures is not necessary, I wasn´t sure then, how to interface the cuffs). Line up the Manschette from fashion fabric with the bottom edge of the sleeve, right sides together, matching all marks, and sew. Press open the seam allowances and notch at marks (7) and (8) as well as at the front sleeve seam to reduce bulk.
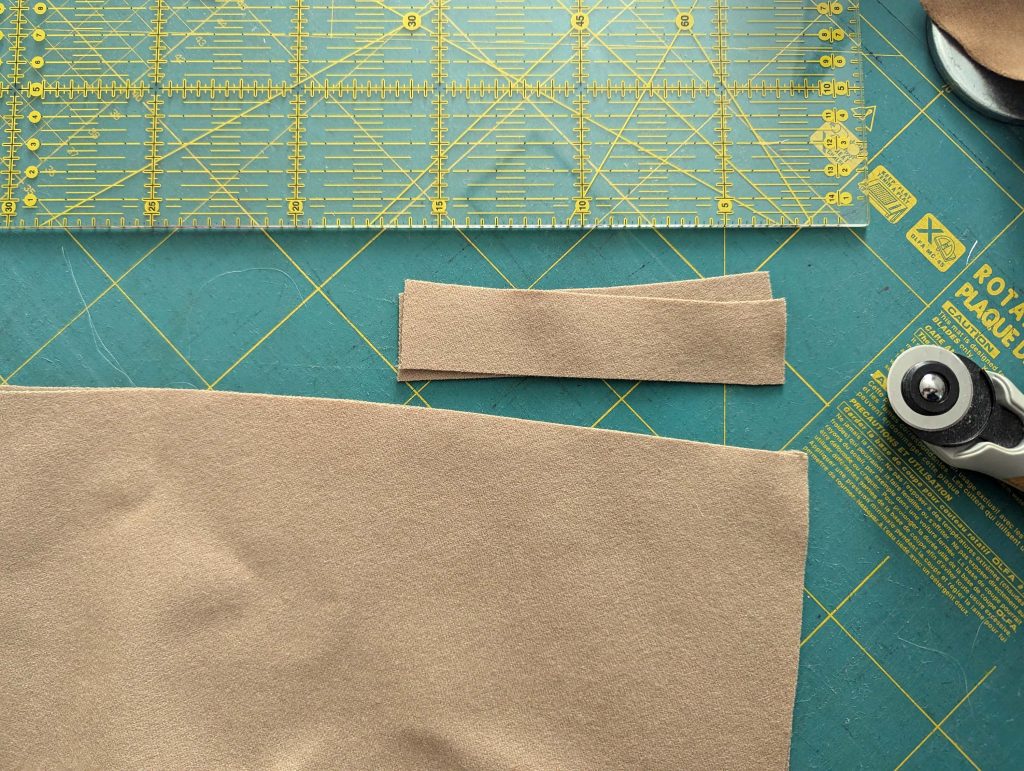
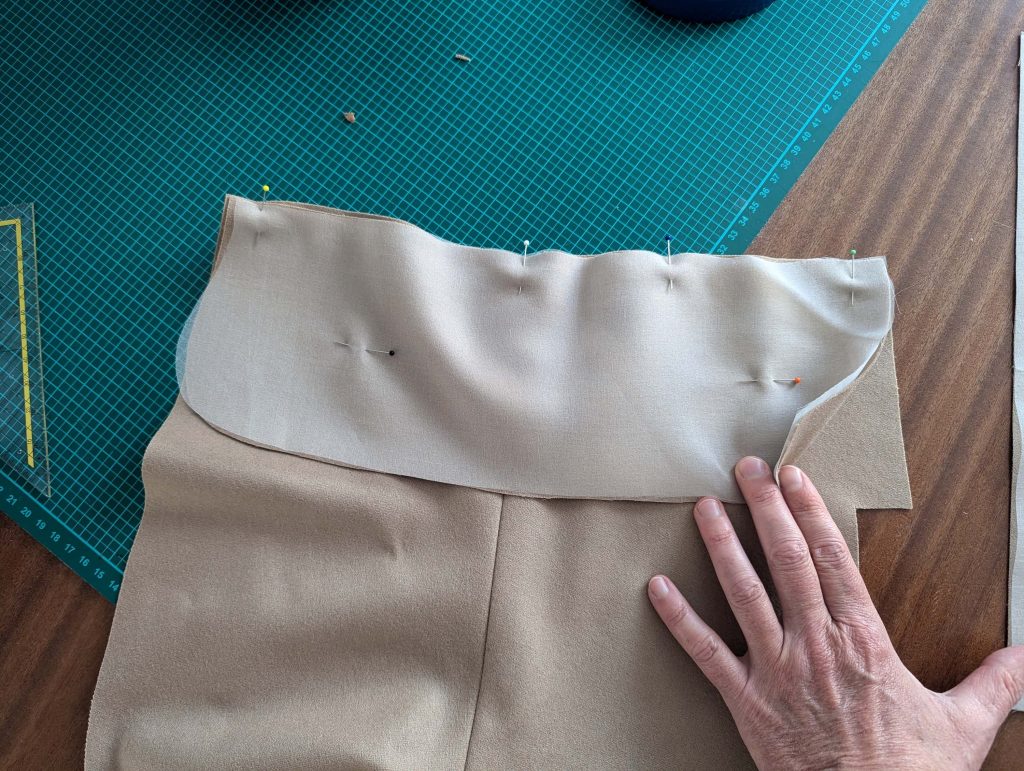
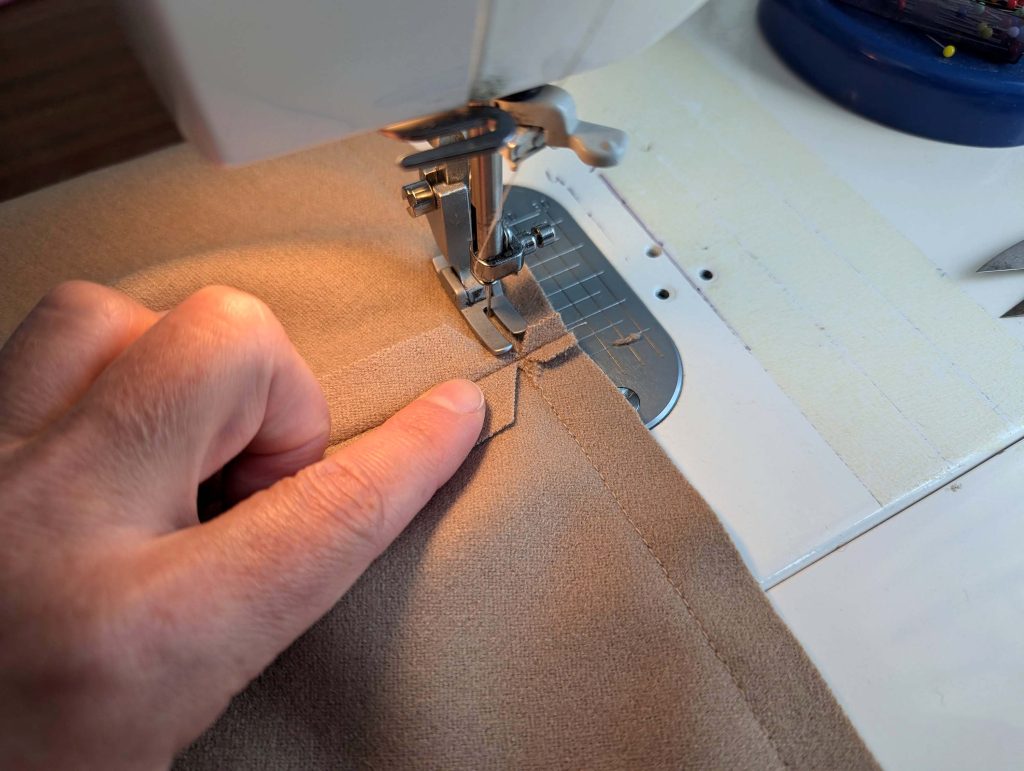
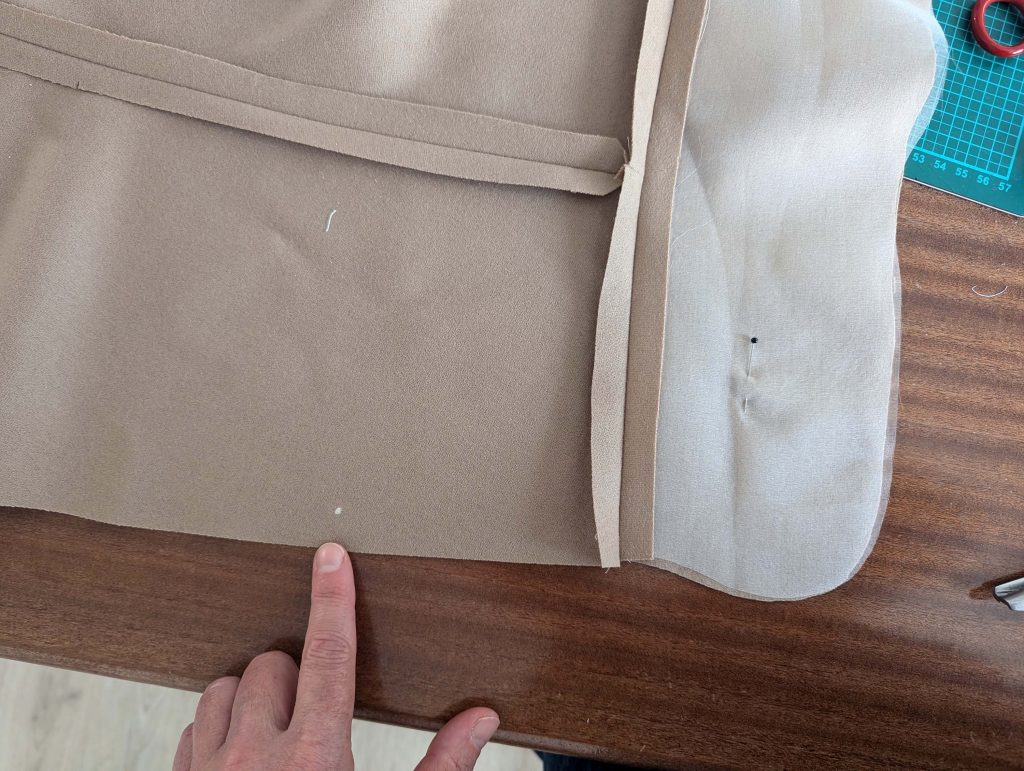
Line up the piping with the cuff and vent edges, and stitch in place. At the top sleeve, stop stitching exactly at the end of the vent.
Place the canvas against the wrong side of the cuff and lower sleeve section, and baste in place. Mark the stitching line on the canvas and trim back the seam allowances along the side and bottom edges. Attach the canvas to the cuff using catch stitches, ensuring the stitches remain nearly invisible from the right side.
Trim back the seam allowance of the piping and cuff, and catch stitch the seam allowance to the canvas, without any stitches visible on the right fabric side.
Take the cuff lining and turn in the seam allowances along the side and bottom edges, line up with the cuff, wrong sides together and fell stitch in place.
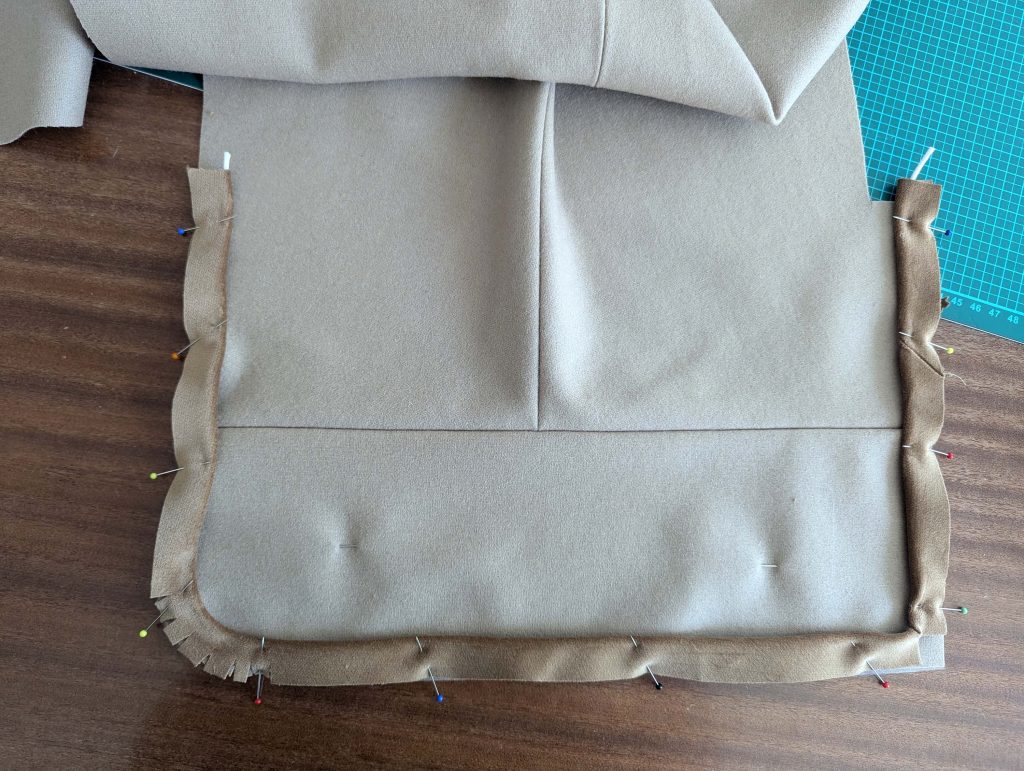
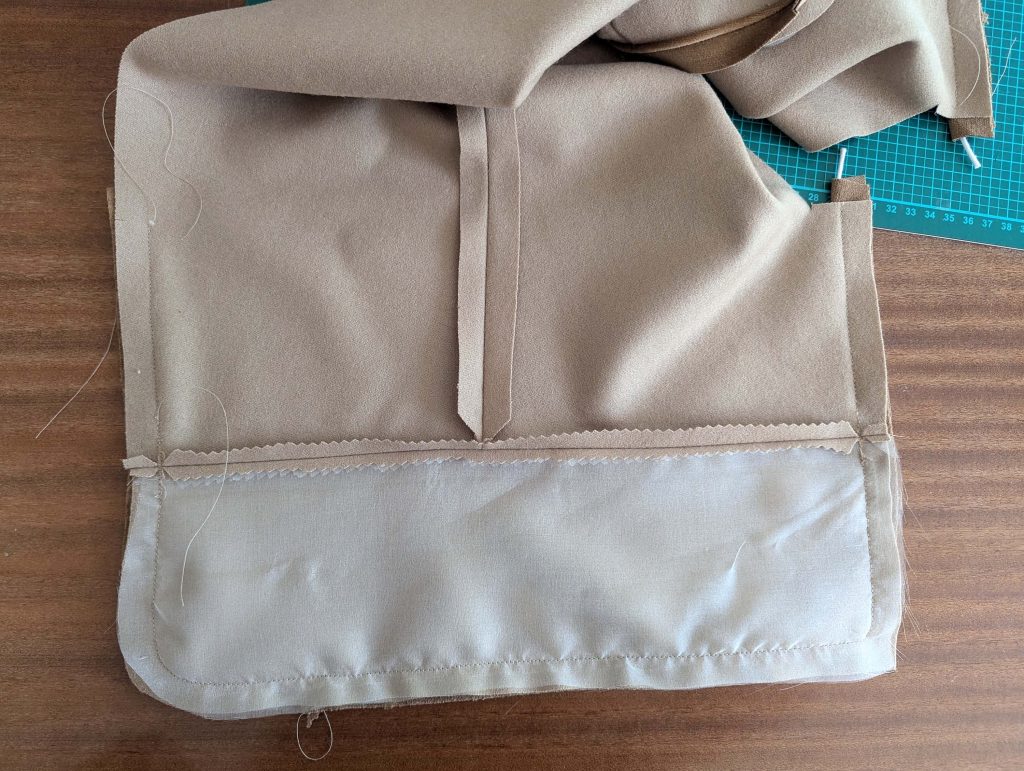
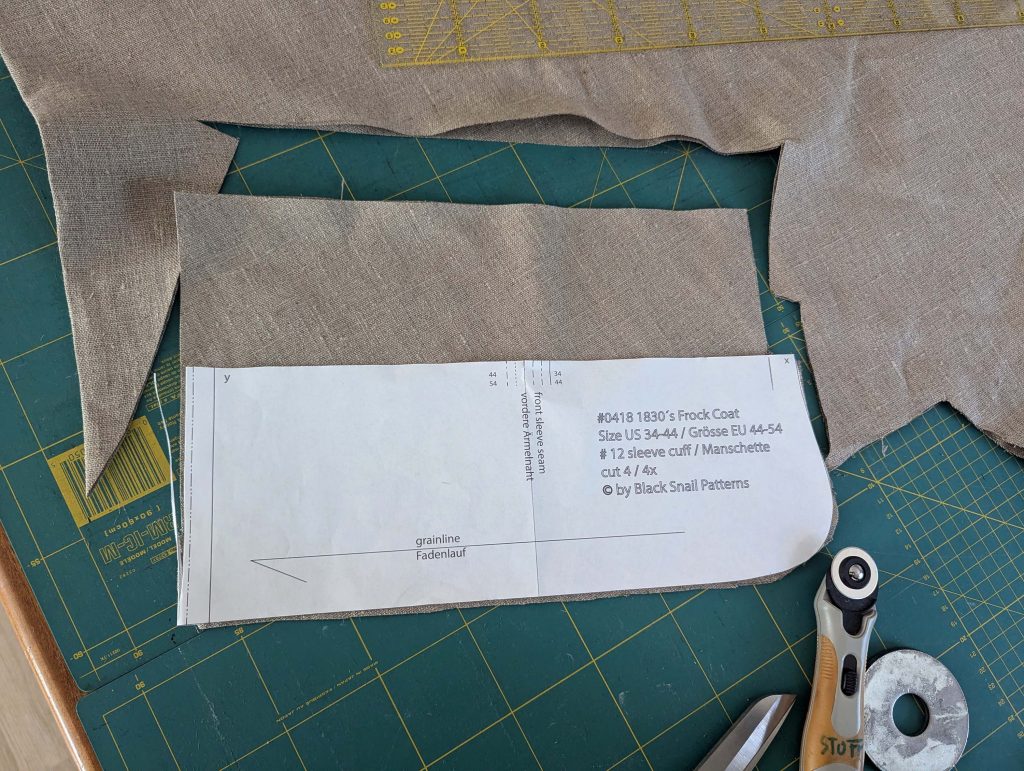
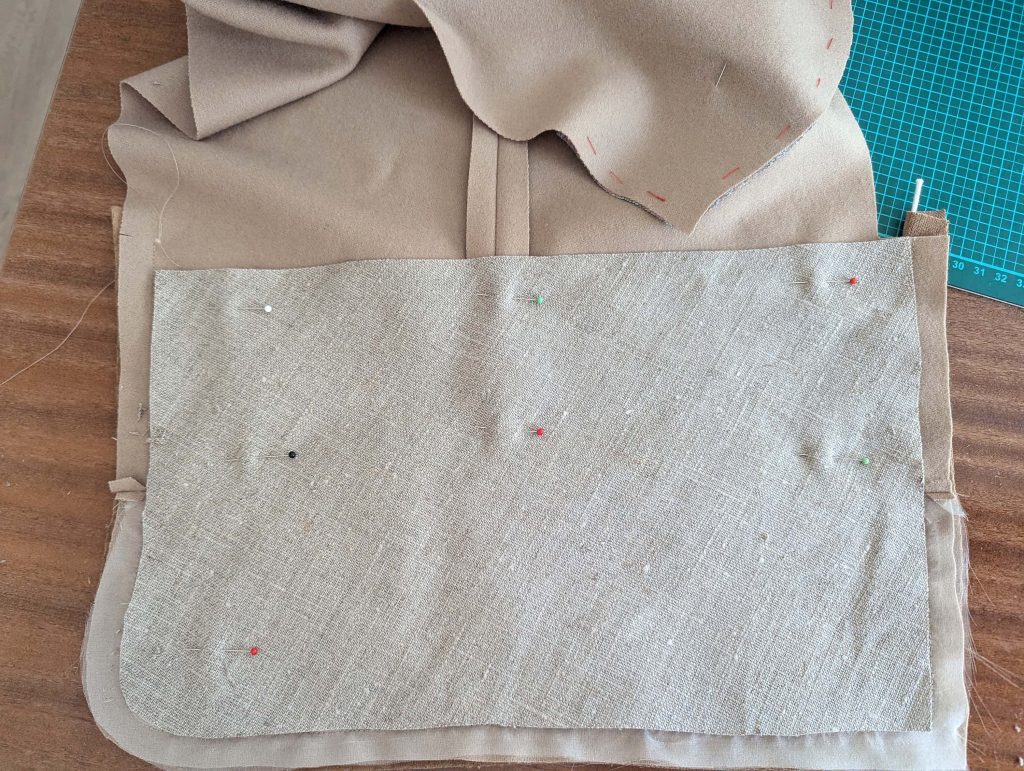
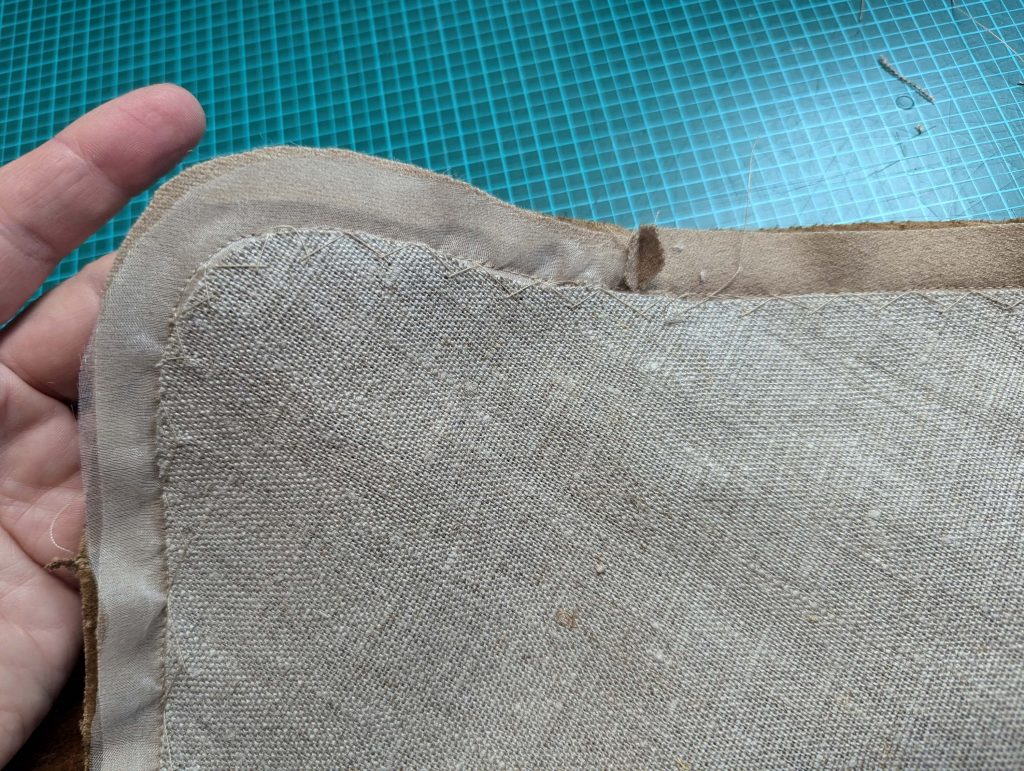
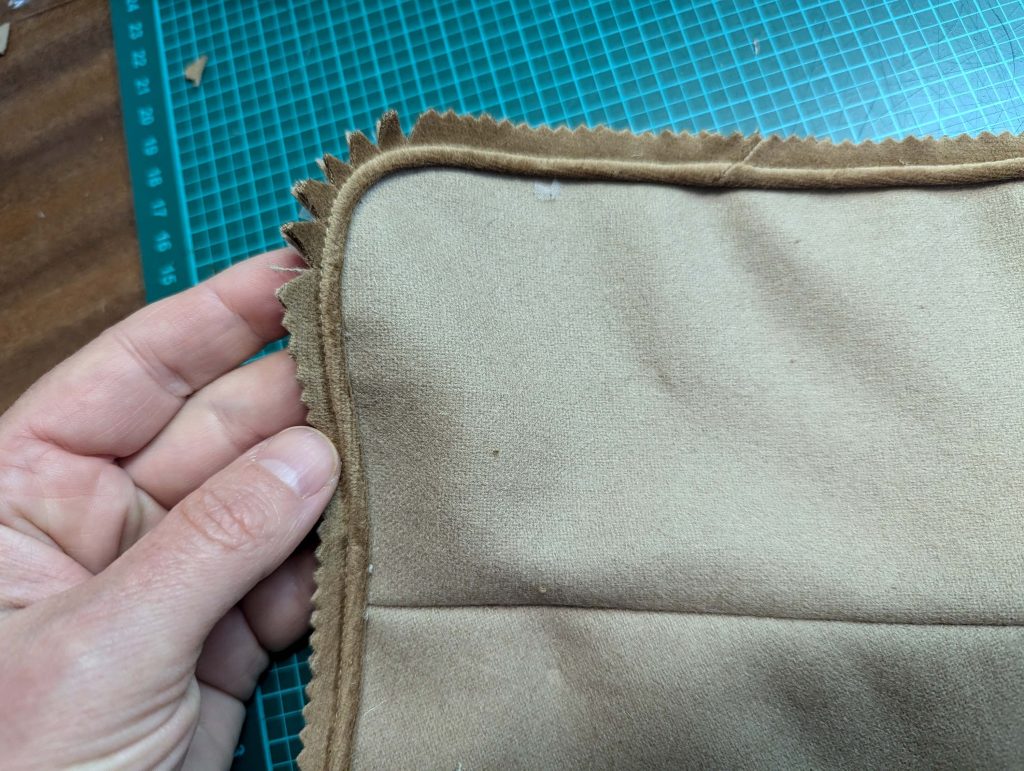
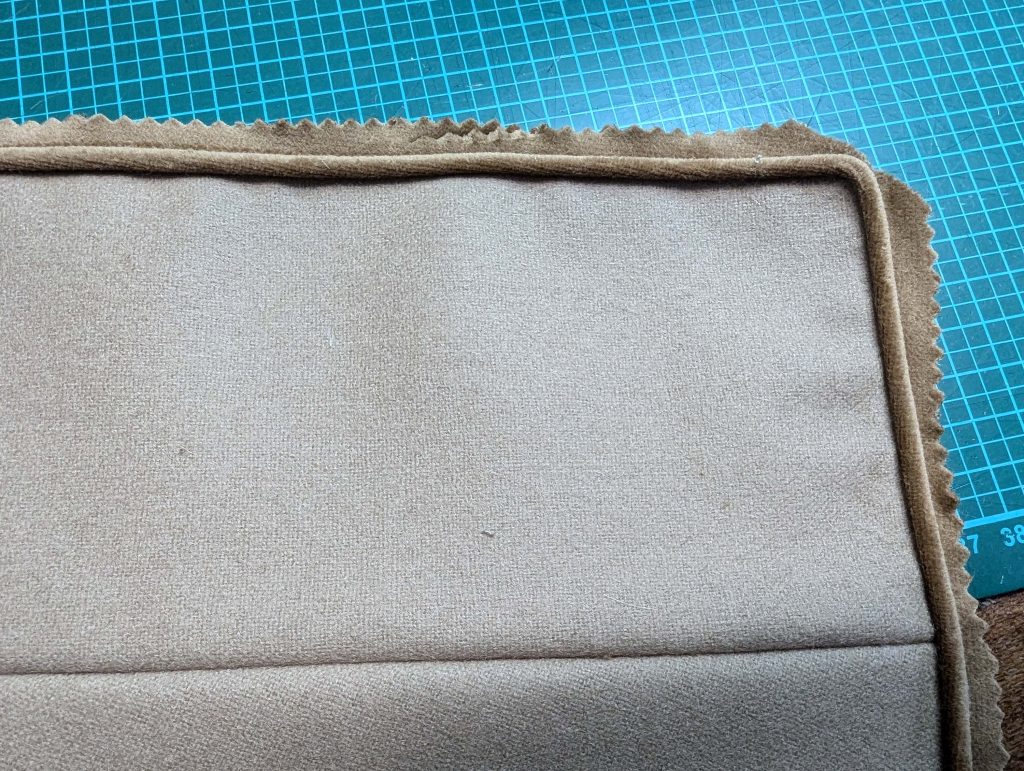
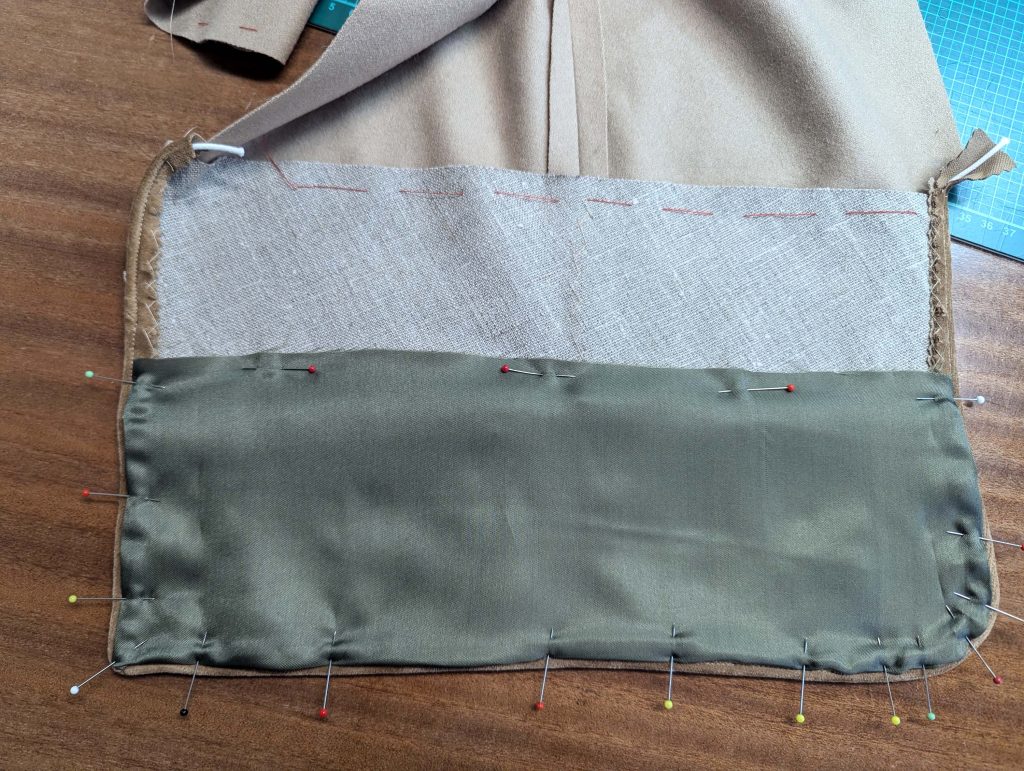
Näh das back sleeve seam, right sides together, matching the marks (6) exactly. Press open the seam allowances. Sew the sleeve lining right sides together, and press open the seam allowances. Turn in the seam allowance at the bottom and vent edges, there’s no need to trim back all the placket area her, just trim back to the edge in the same way as the top sleeve from fashion fabric. Pull the lining over the sleeve, right sides together, matching all marks and seams, and fell stitch in place along the vent and bottom edge. Again, try to work as accurately as possible here and reduce all the bulk from the piping by notching the seam allowances. To save time, I decided to omit the button holes and just sew the buttons through all layers.
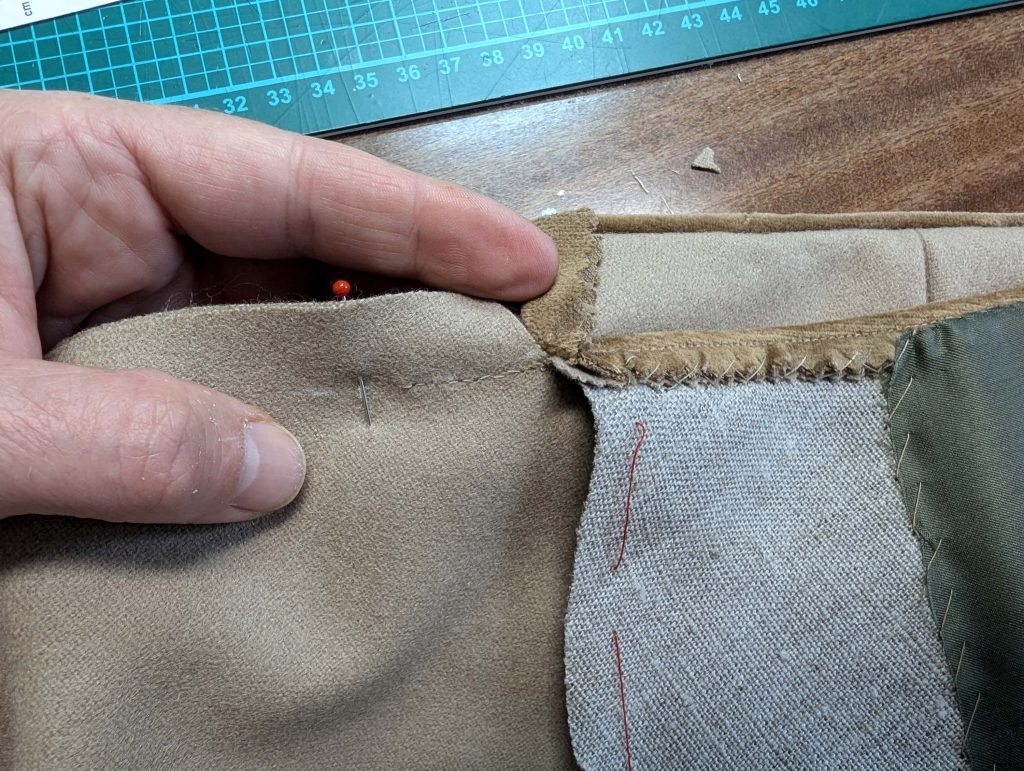
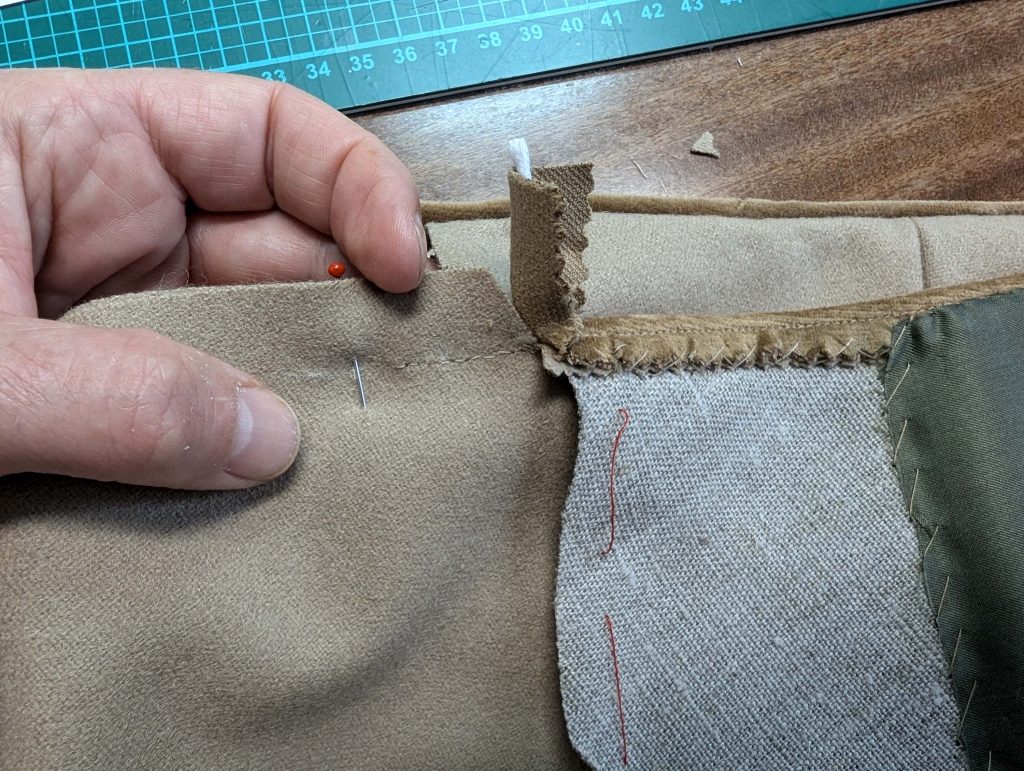
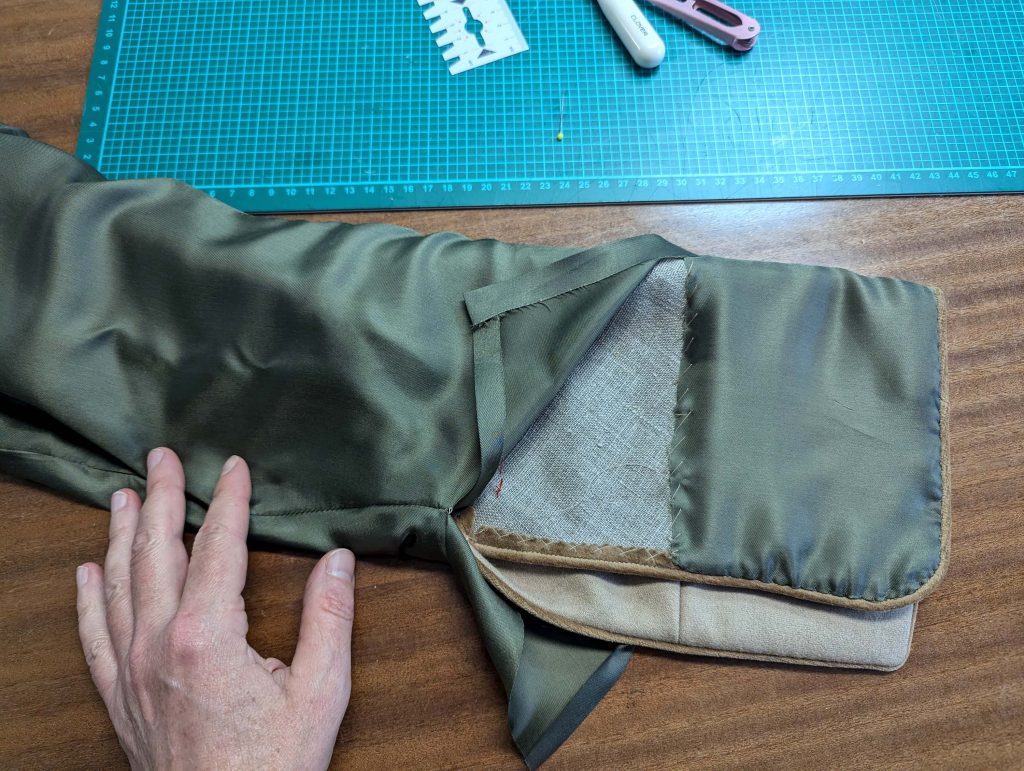
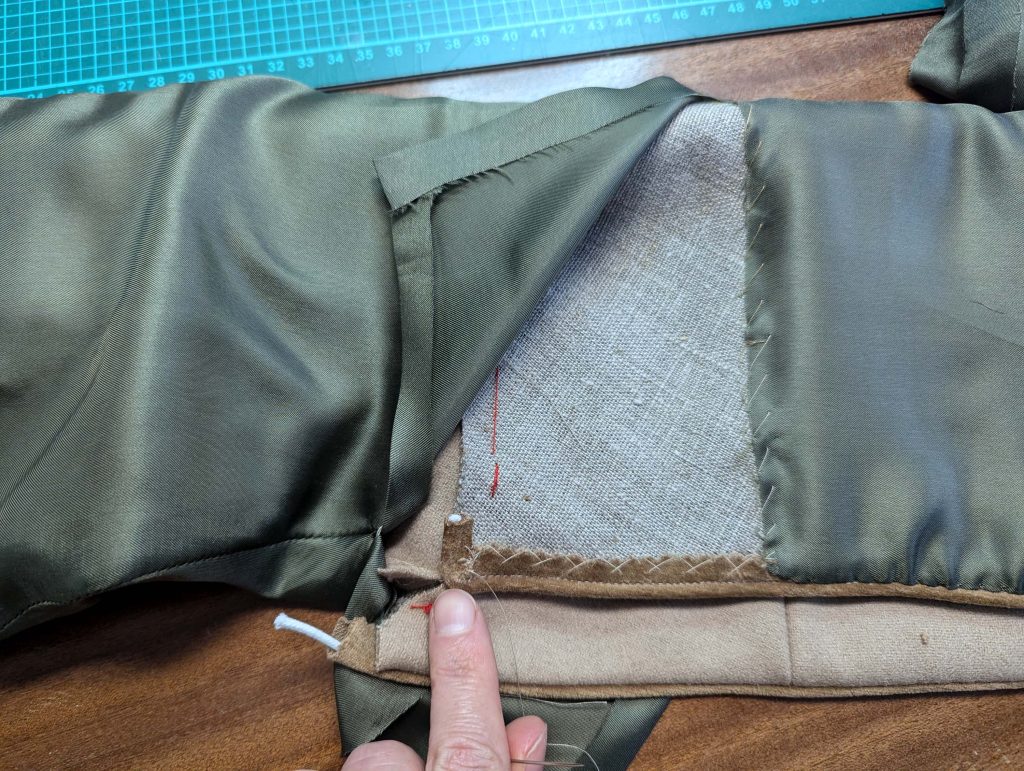
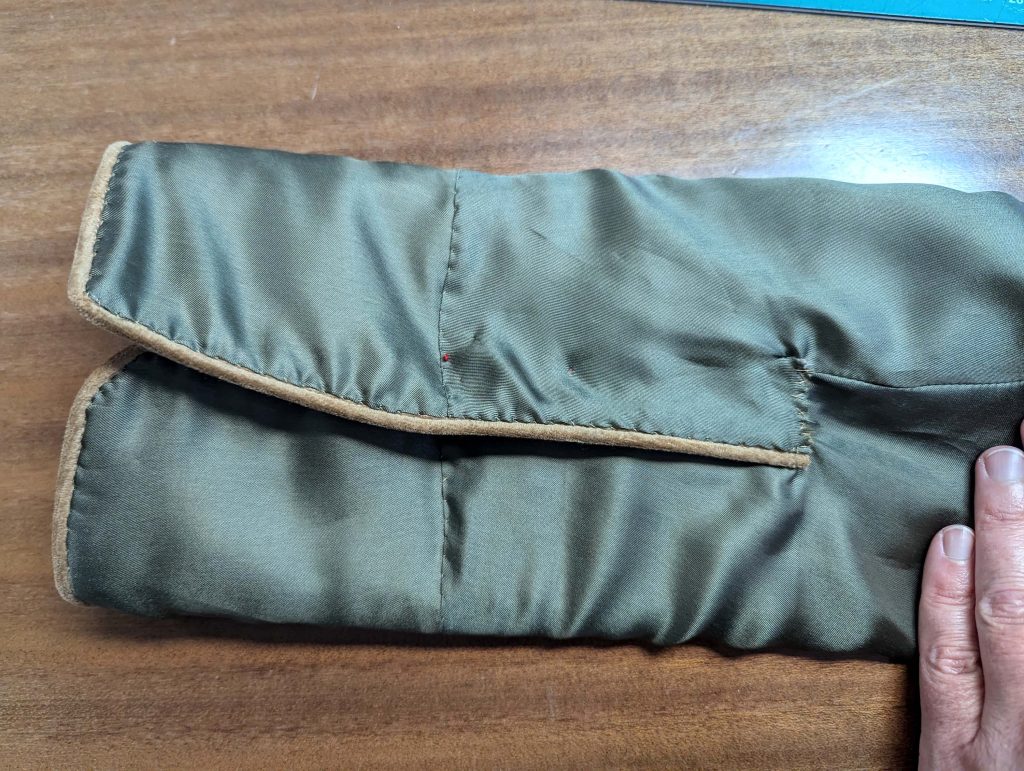
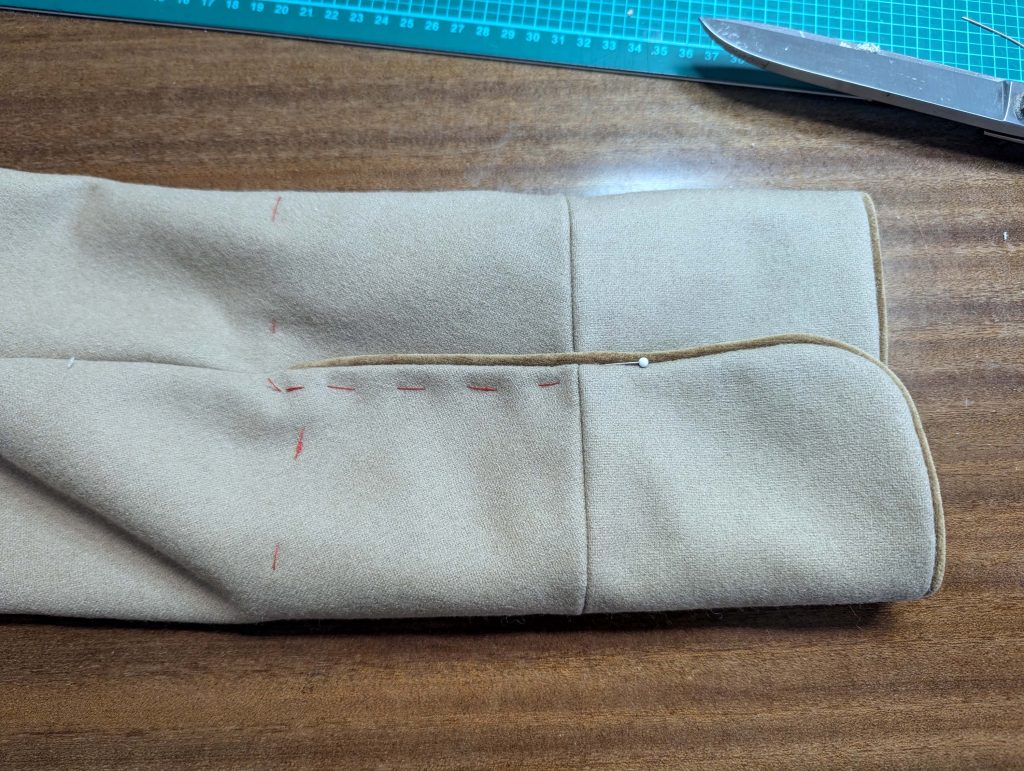
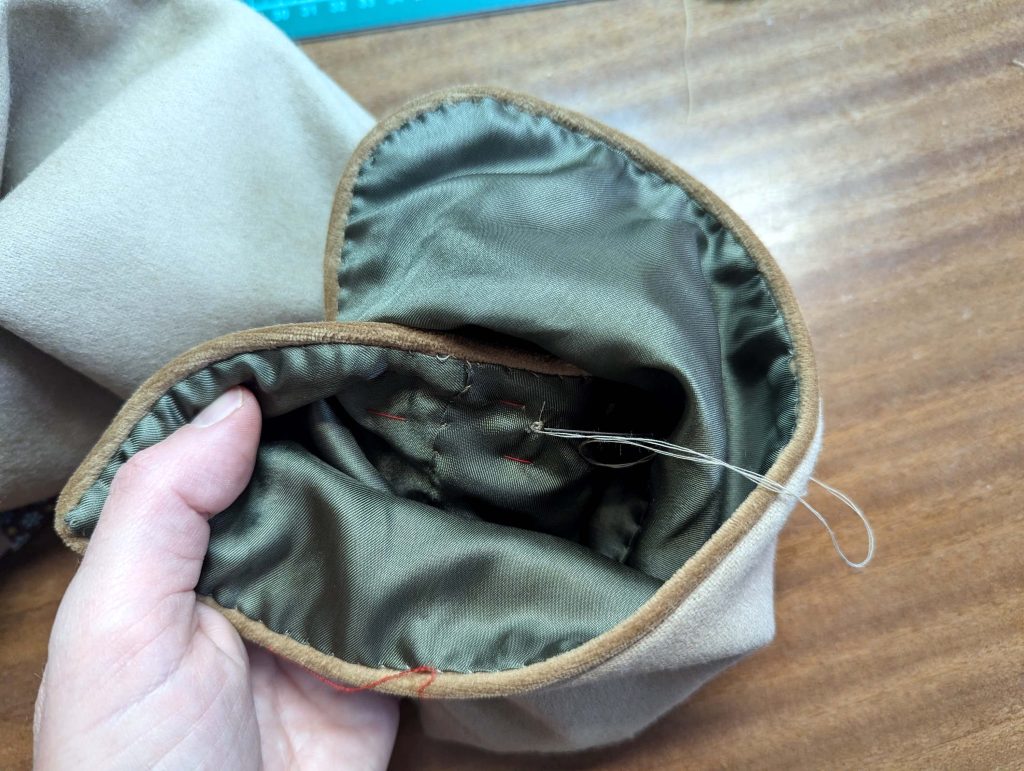
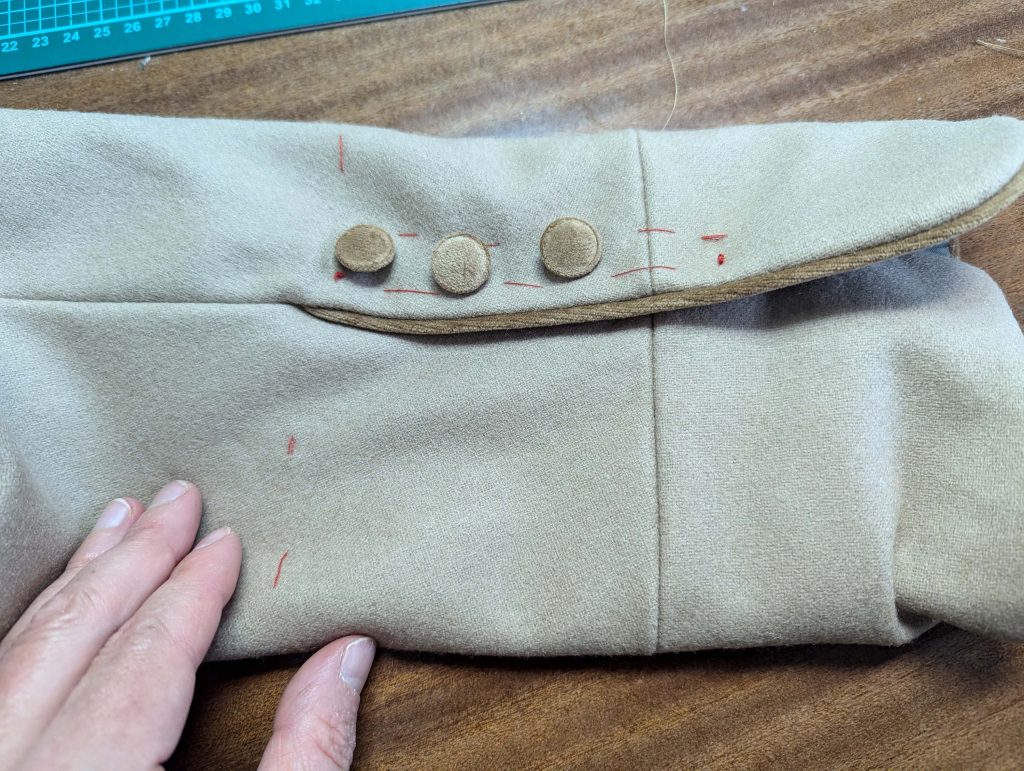
Turn the sleeve the right way out and pull down the lining a bit out of the way while inserting the sleeve.
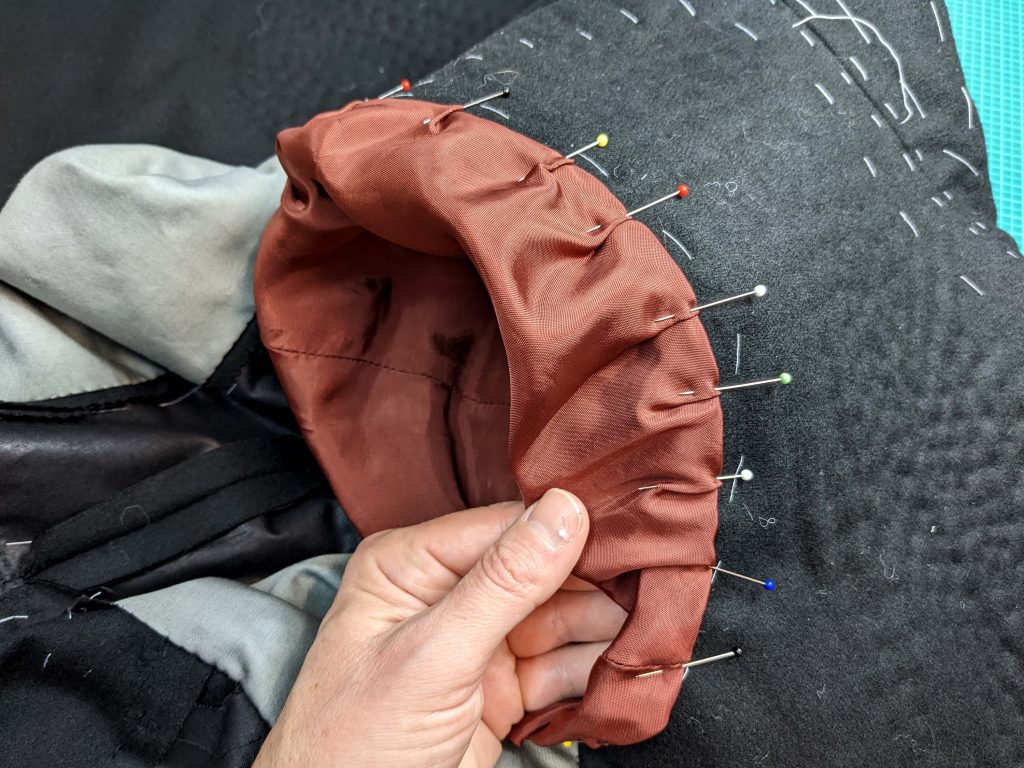
(15) Ease baste along the sleeve head and pin the sleeve into the Ärmelloch, right sides together, matching all marks. Start at the front sleeve seam, follow the armpit to the back sleeve seam, and continue along the sleeve head. Pull the threads to ease in the excess fabric. First, baste, then sew (by hand with a back stitch) the sleeve to the fashion fabric only, folding the canvas and the front-facing to the side. Smooth out all layers and baste together (fashion fabric, canvas, and the lining) right beside the sleeve seam inside the seam allowance. Trim back the seam allowance to 3/8” (1cm). Take a strip of padding (about 3” x 15” (8cm x 40cm)), turn in about 1/3 along one long edge, and line up with the seam allowance along the sleeve head, baste to the seam allowance. Baste the front facing to the seam allowance of the back seam, without any stitches visible on the right fabric side.
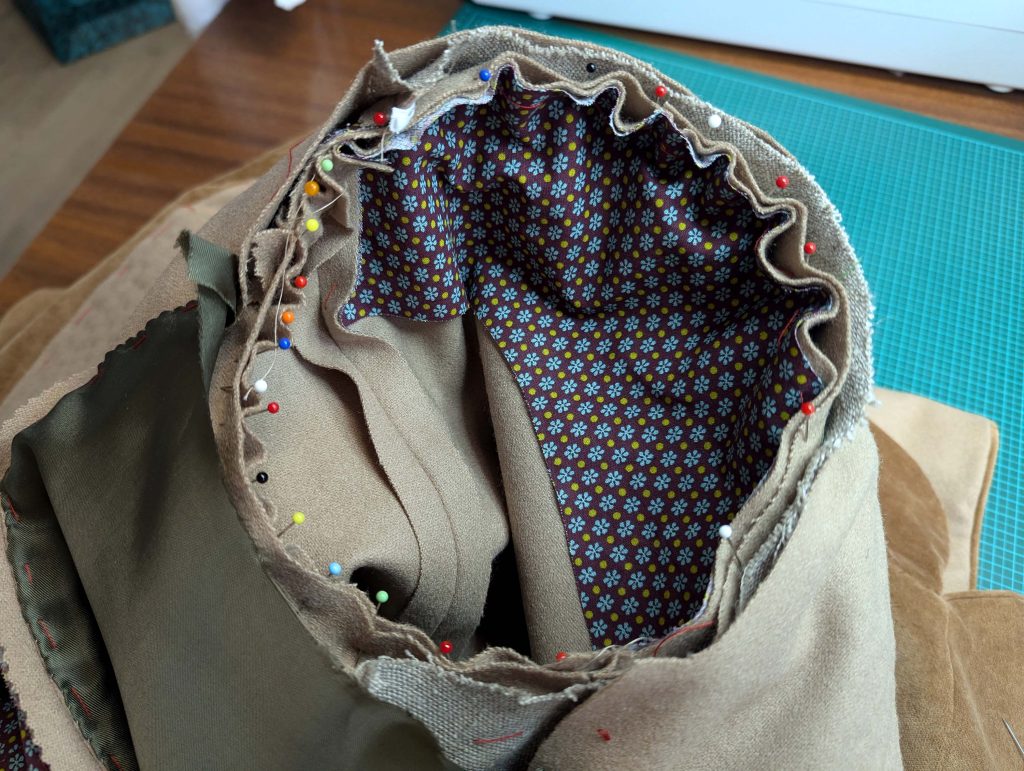
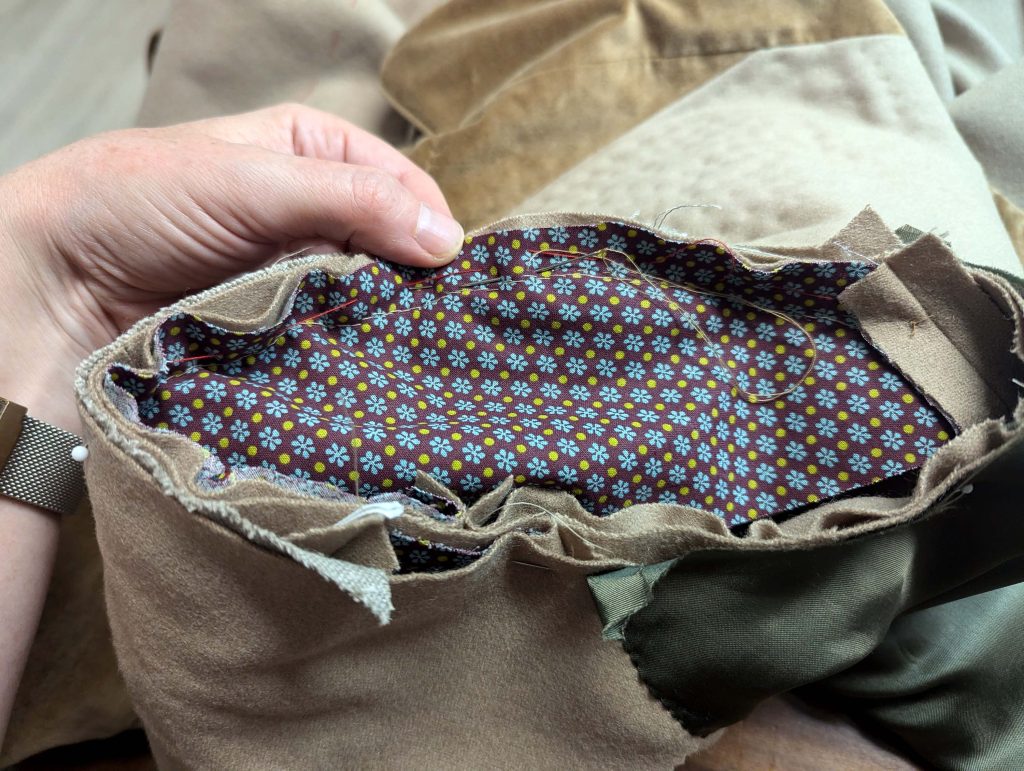
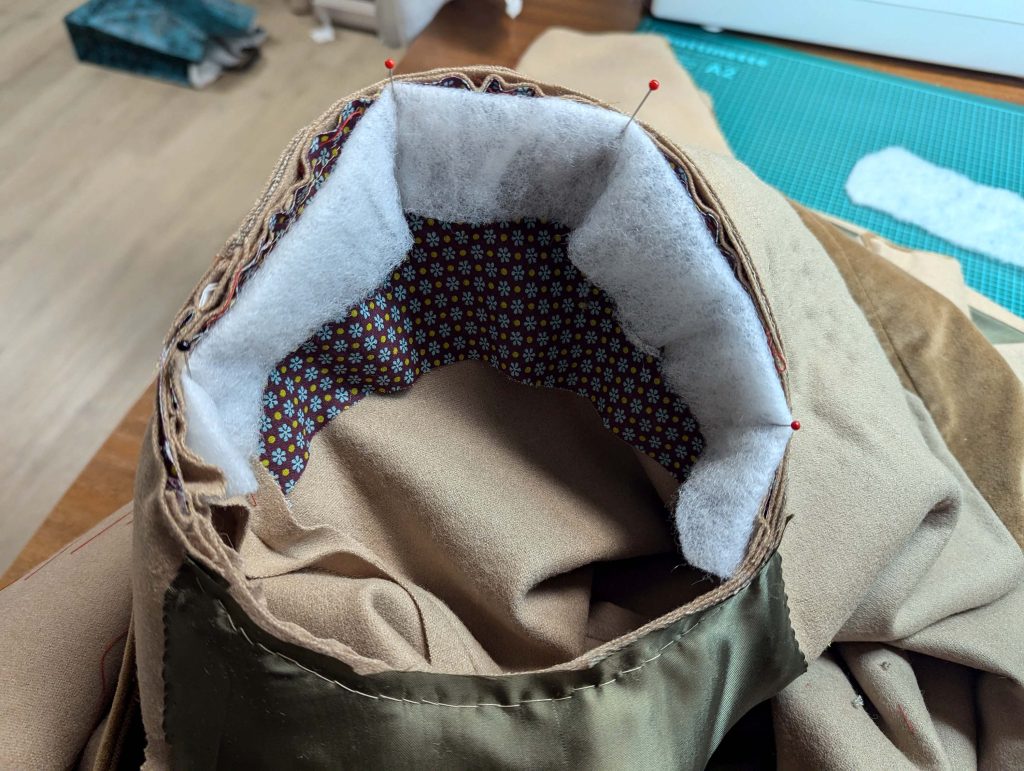
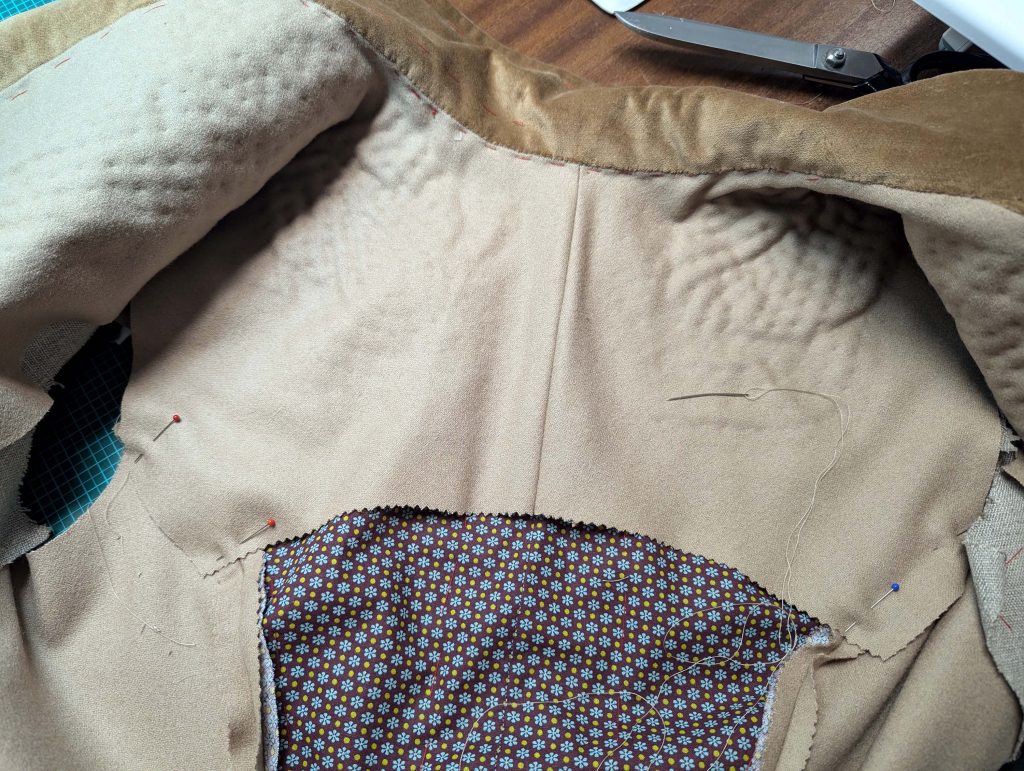
(17) Nimm das bodice lining and turn in the seam allowances along the side and bottom edges. Line up with the side part of the bodice, right sides together, covering all raw edges. First, baste, then fell stitch along the side and bottom edge, along the armhole, just baste within the seam allowance. Pull the sleeve lining through the armhole and turn in the seam allowance. Line up with the armhole seam, covering the raw edges of the armhole, and fell stitch in place . Lay the excess width of the sleeve head into small folds.


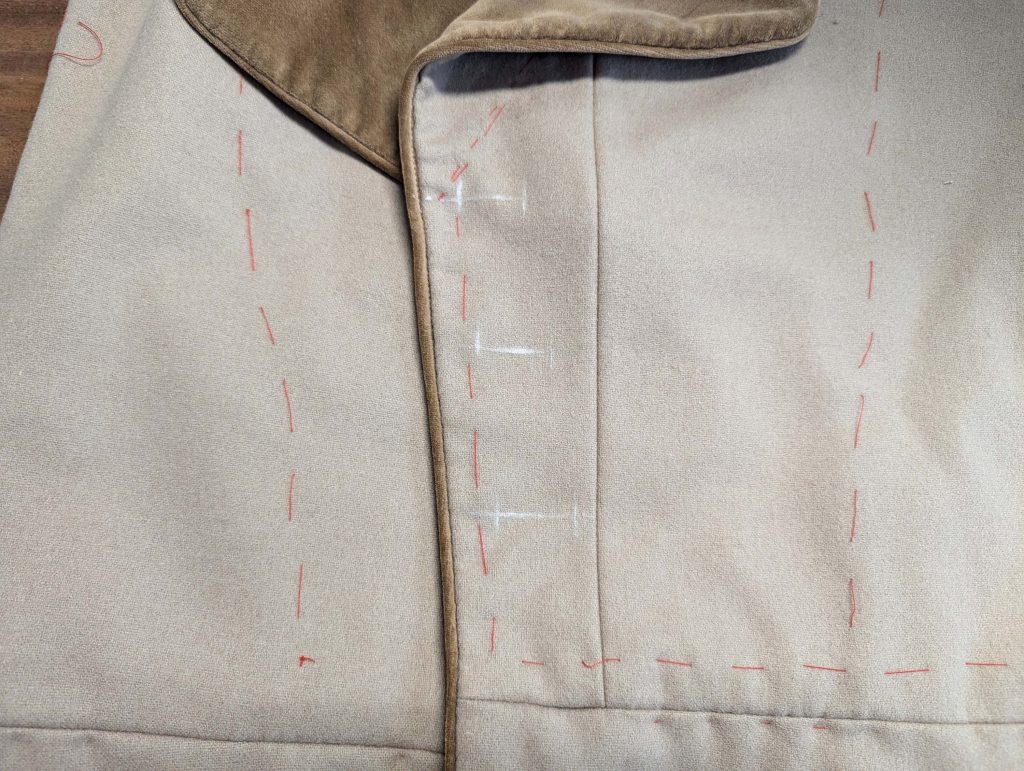
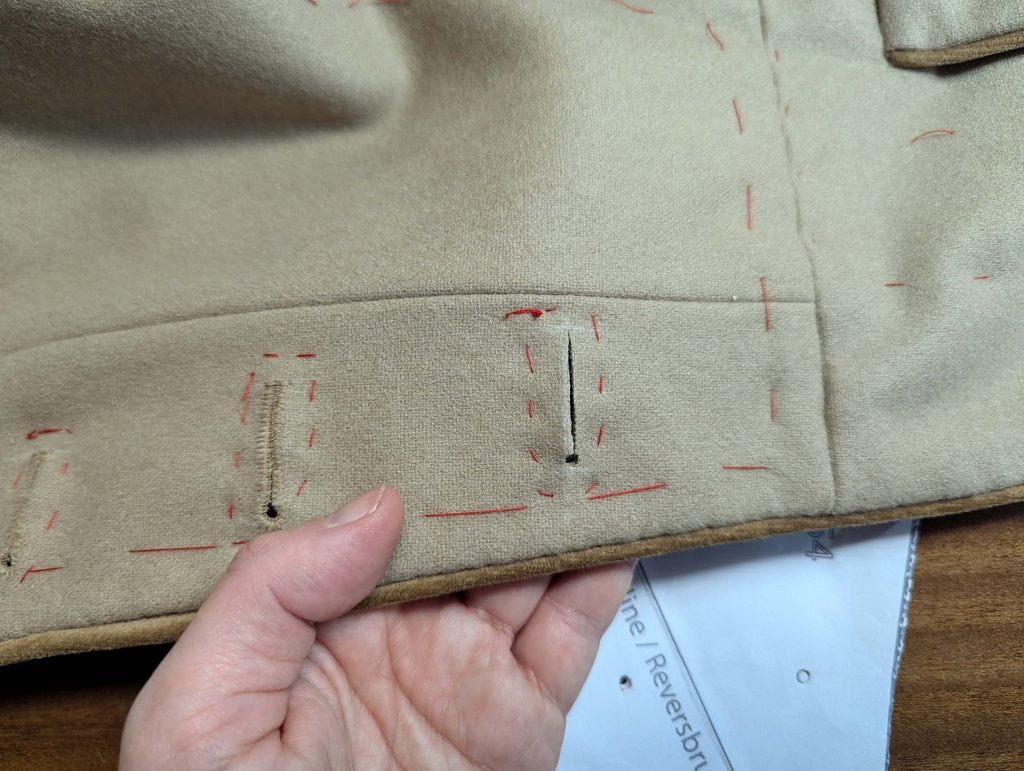
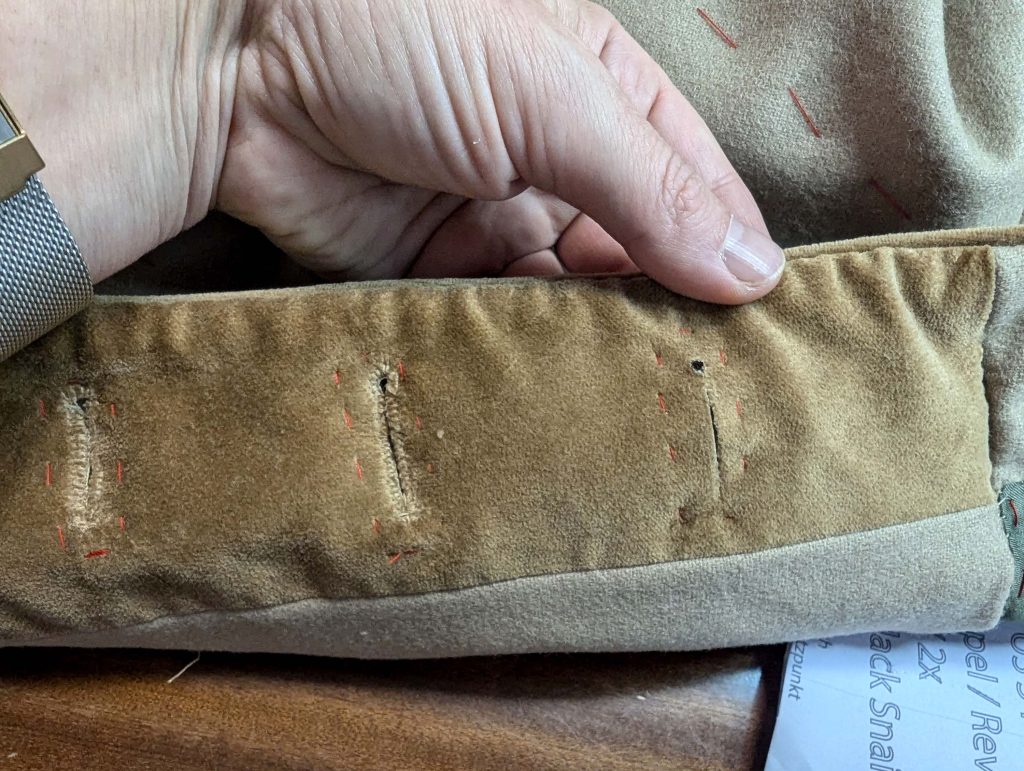
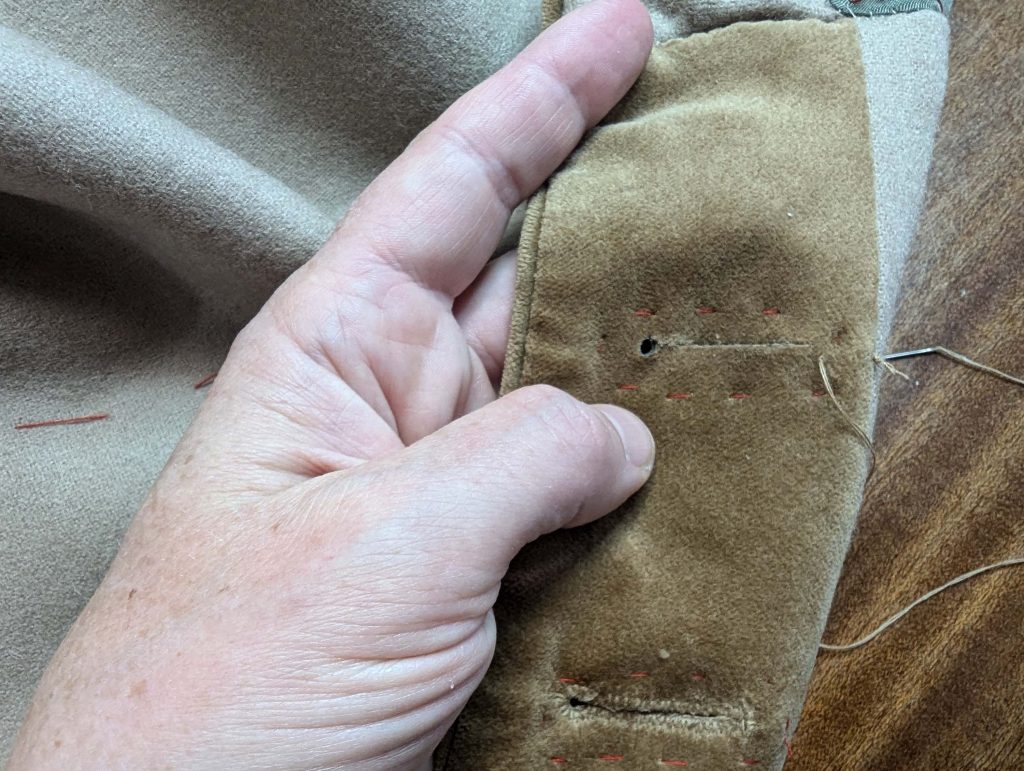
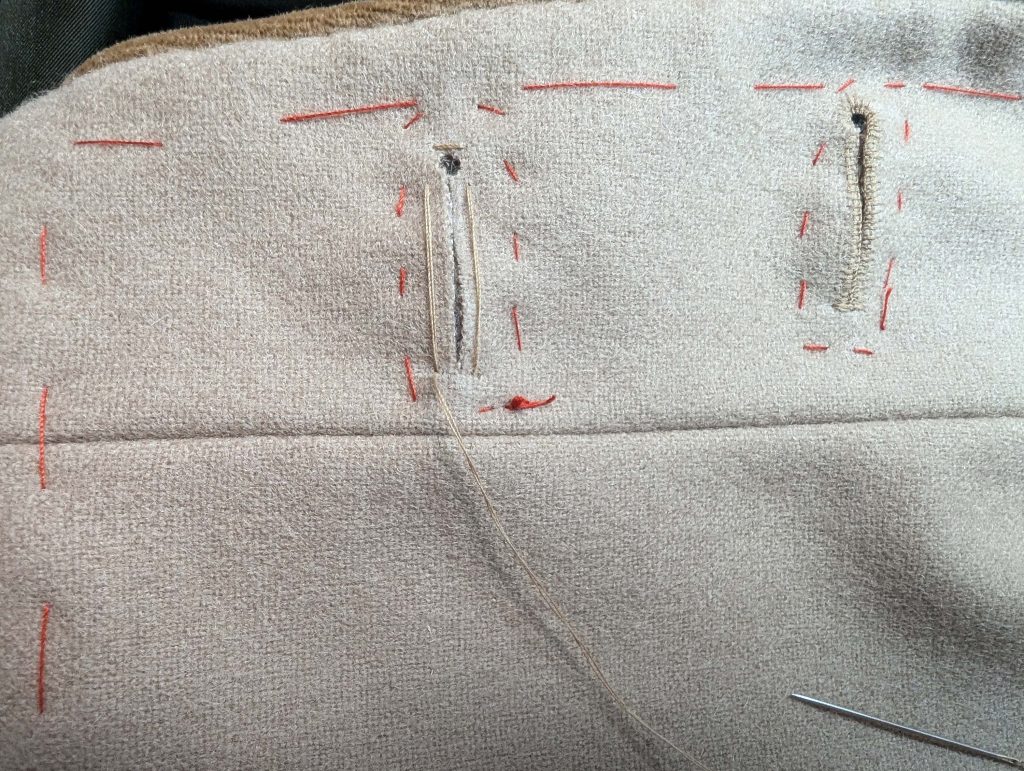
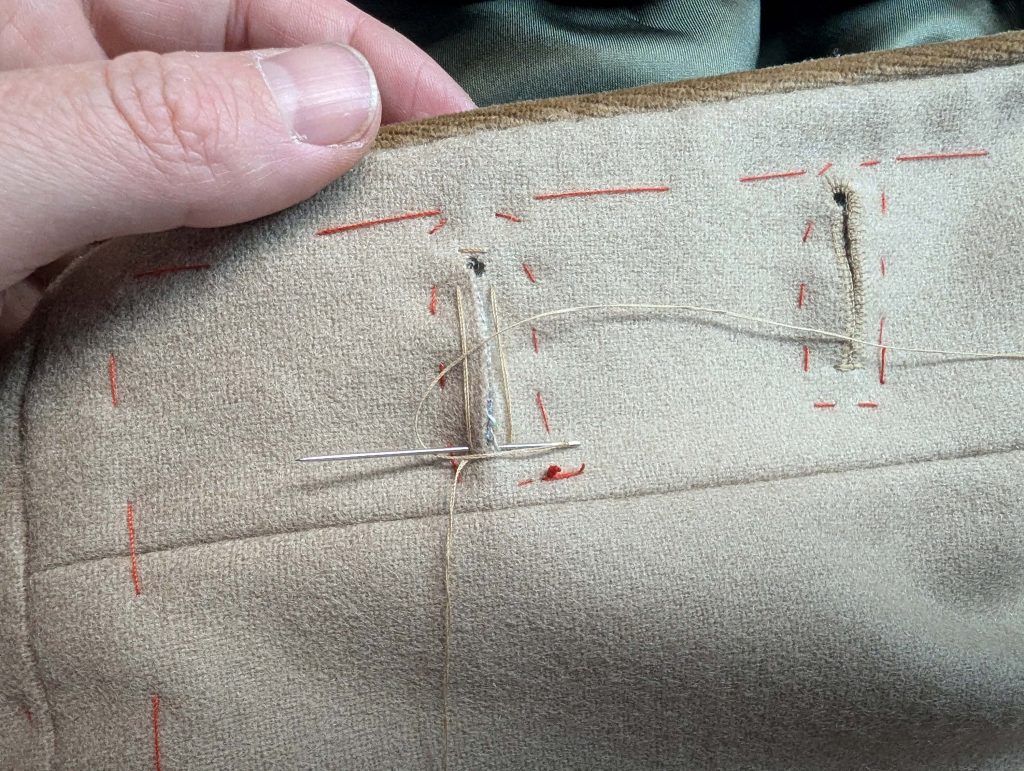
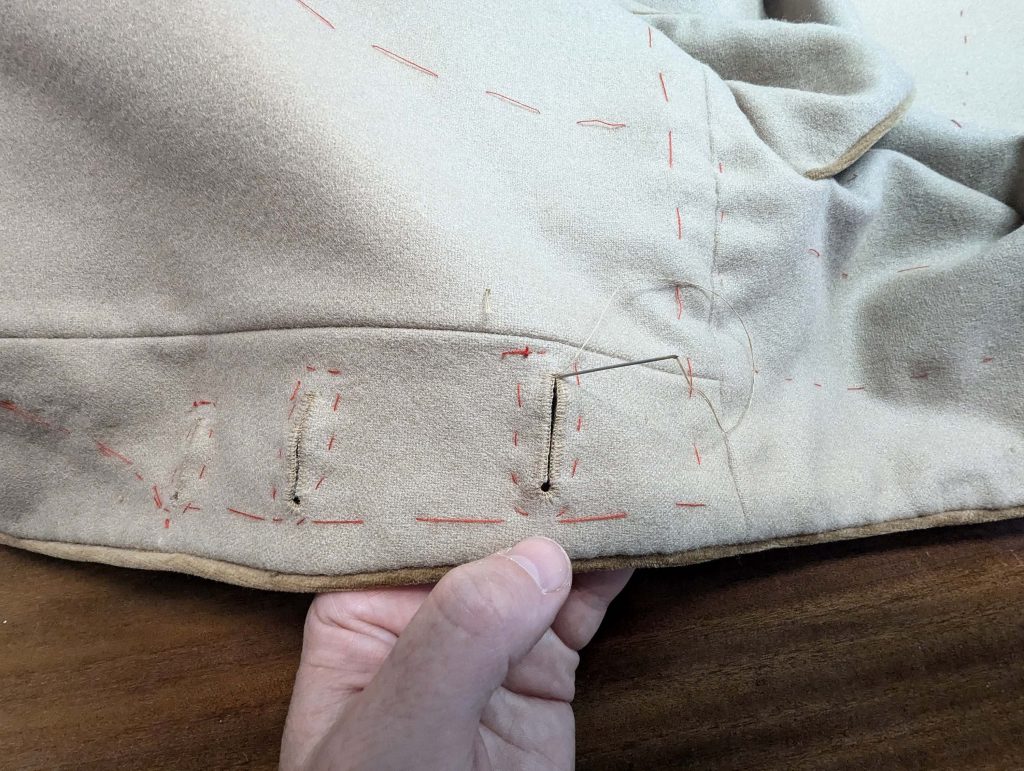
(18) Create large Knopflöcher on the left front of the jacket at the marked positions. Place the uppermost buttonhole at the roll line and the lowest at the waistline, corresponding to the opening previously left in construction.
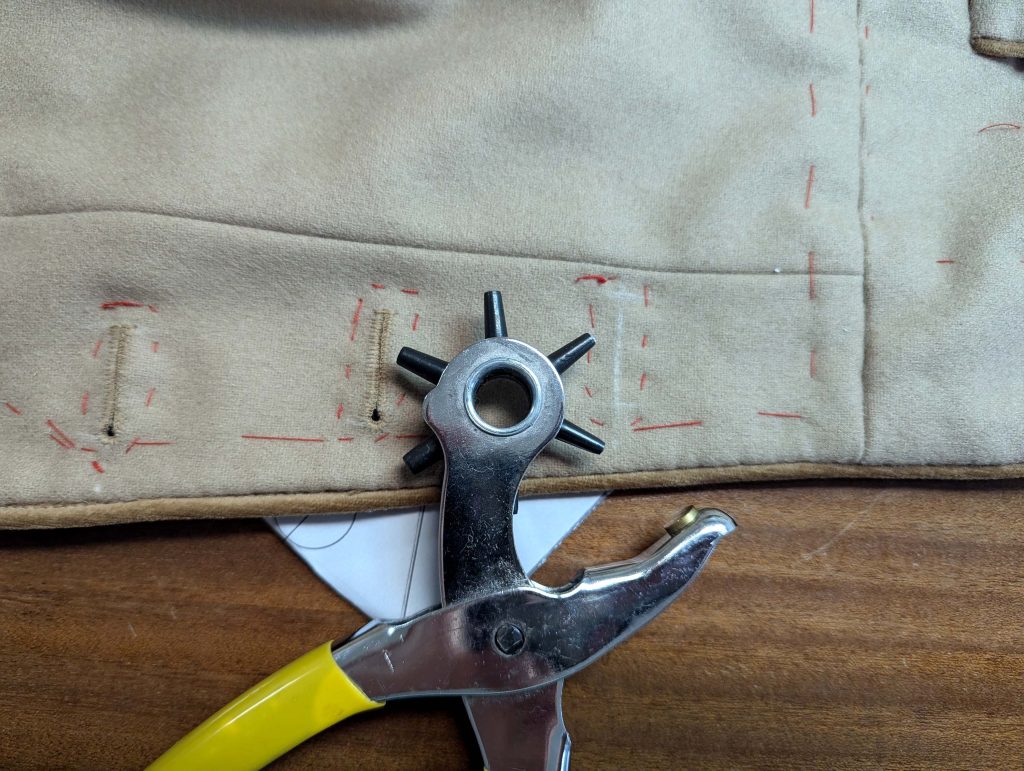
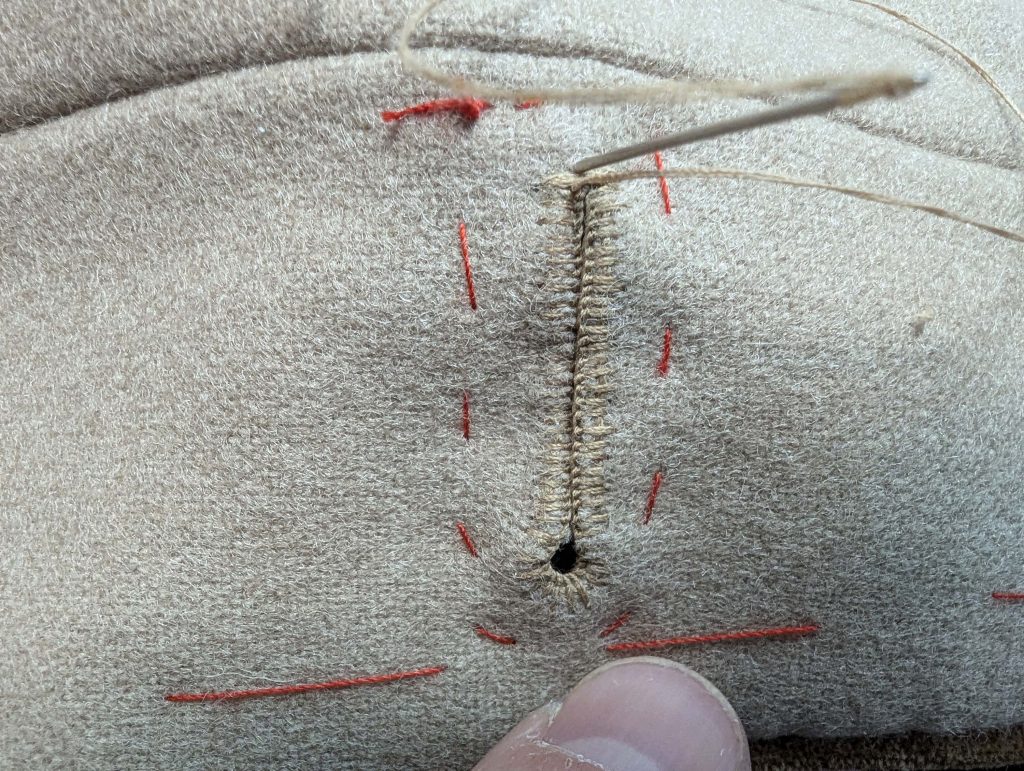
This is the way, how I make the button holes: After marking the position of the holes, I baste around each. I punch a hole and cut it open, then bar tack around the buttonhole with the same thread I´ll use for the buttonhole. I prefer a waxed double sewing thread instead of a buttonhole silk thread. I start at the left edge and go around, spreading the stitches evenly around the hole. When reaching the end again, I bar tack 2 times and secure the tack with another stitch in the middle.
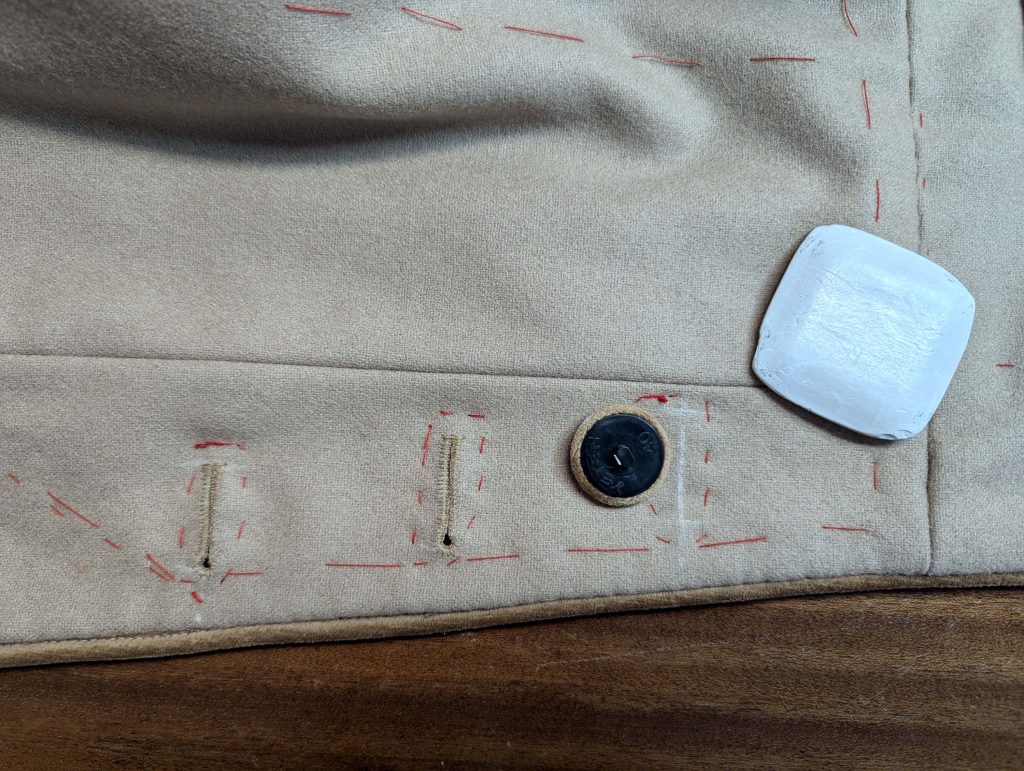
Attach the buttons in two rows: one row on the right side and a corresponding, mirrored row on the left side of the bodice. At the sleeves, work smaller buttonholes and sew their matching buttons. Secure two large buttons at the top of the fold.
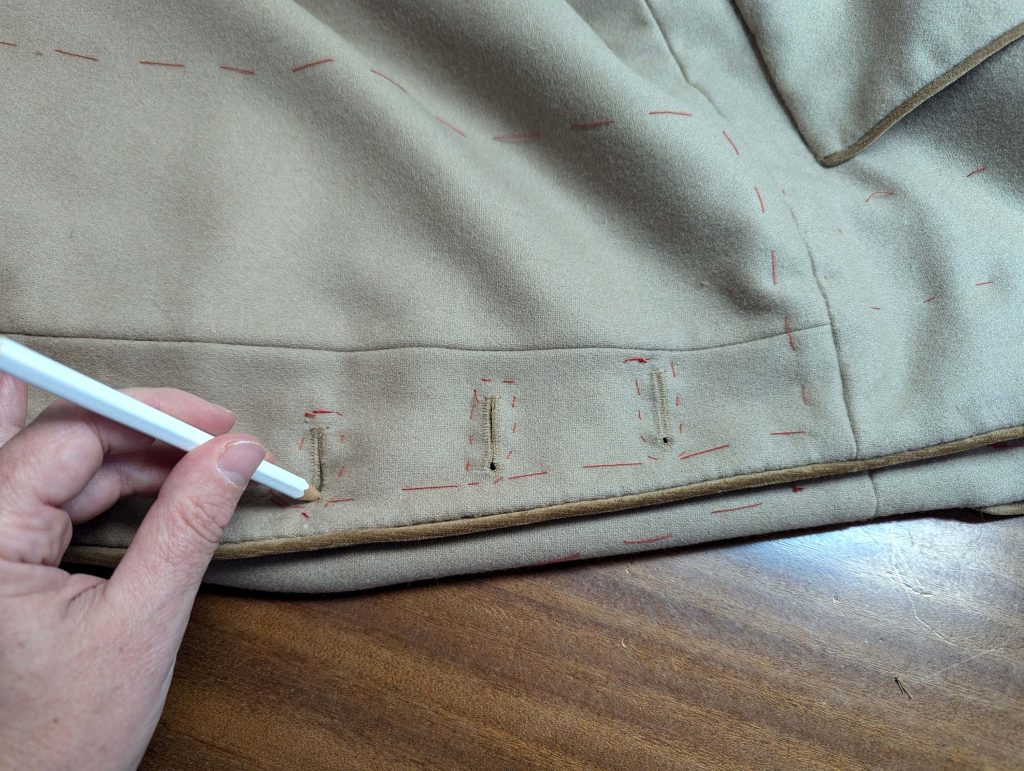
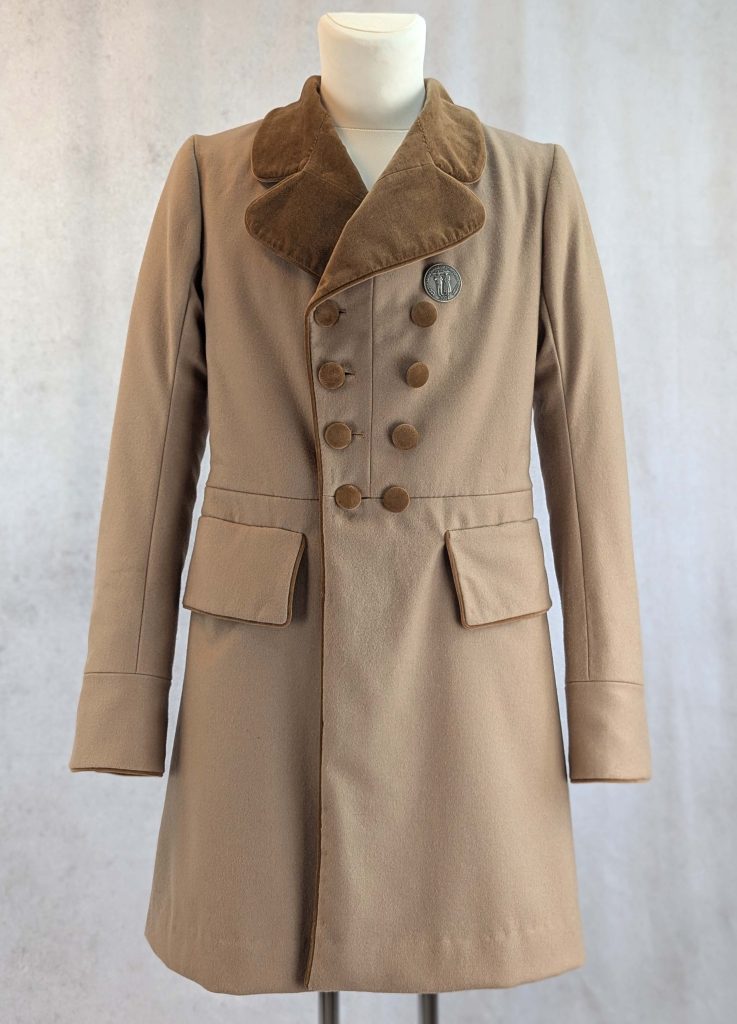
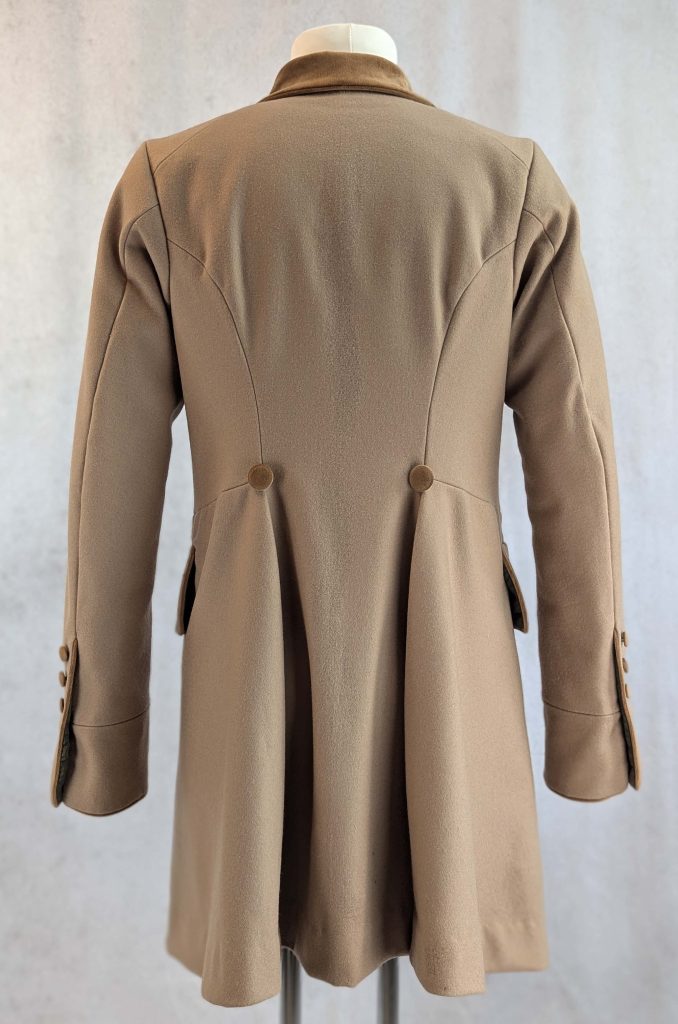
Finished, yeah!
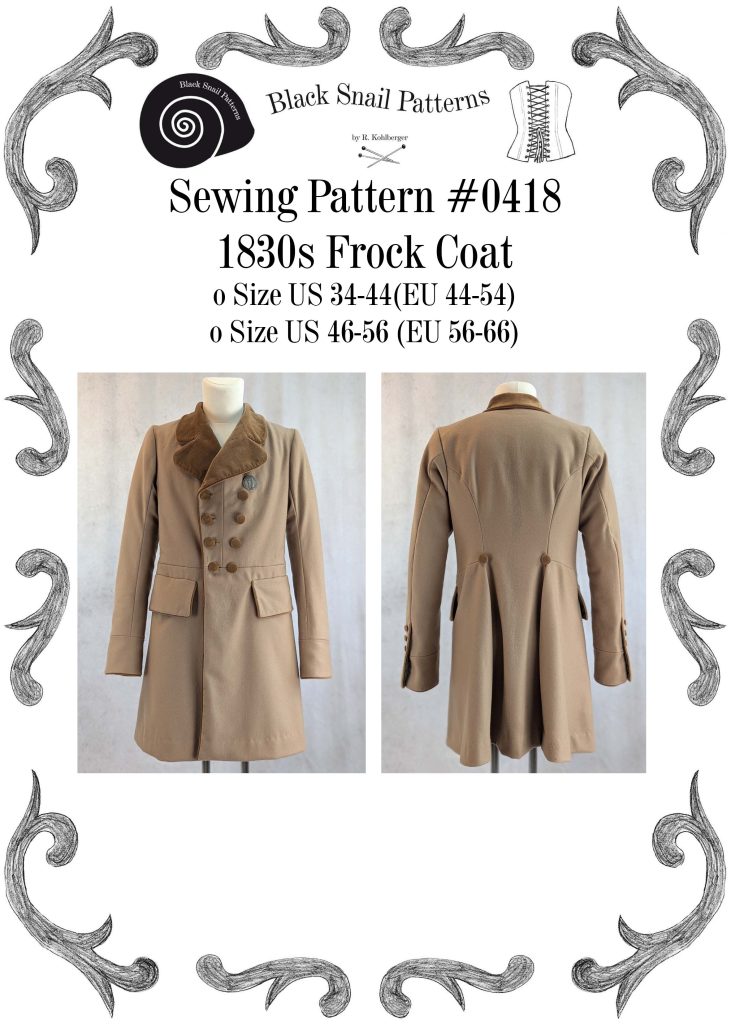
Has this inspired you to start sewing? Grab the pattern now and get started!

