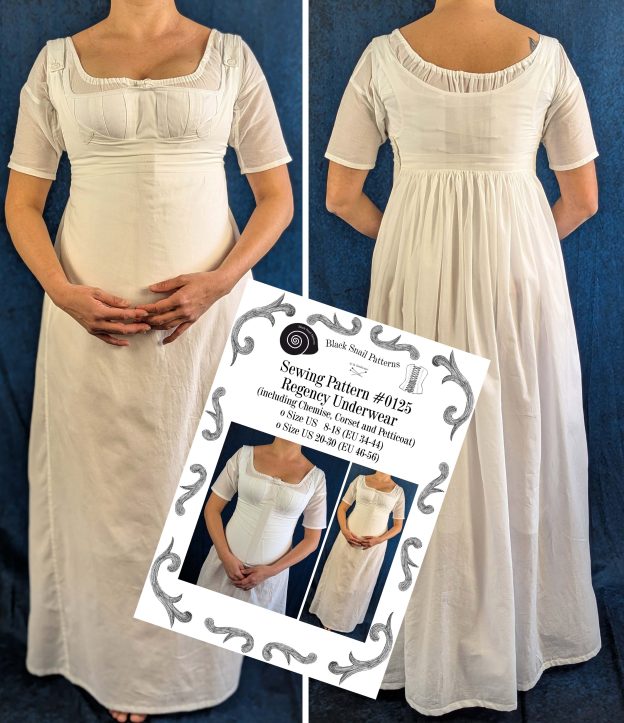
The complete Regency undergarment ensemble typically consisted of three key pieces:
- A simple chemise of cotton or linen as the first layer against the skin
- An early corset with less boning than their predecessors, the stays.
- A supporting petticoat that helped maintain the dress’s elegant drape while providing modesty
This blog post is now about the petticoat construction, again all machine sewing.
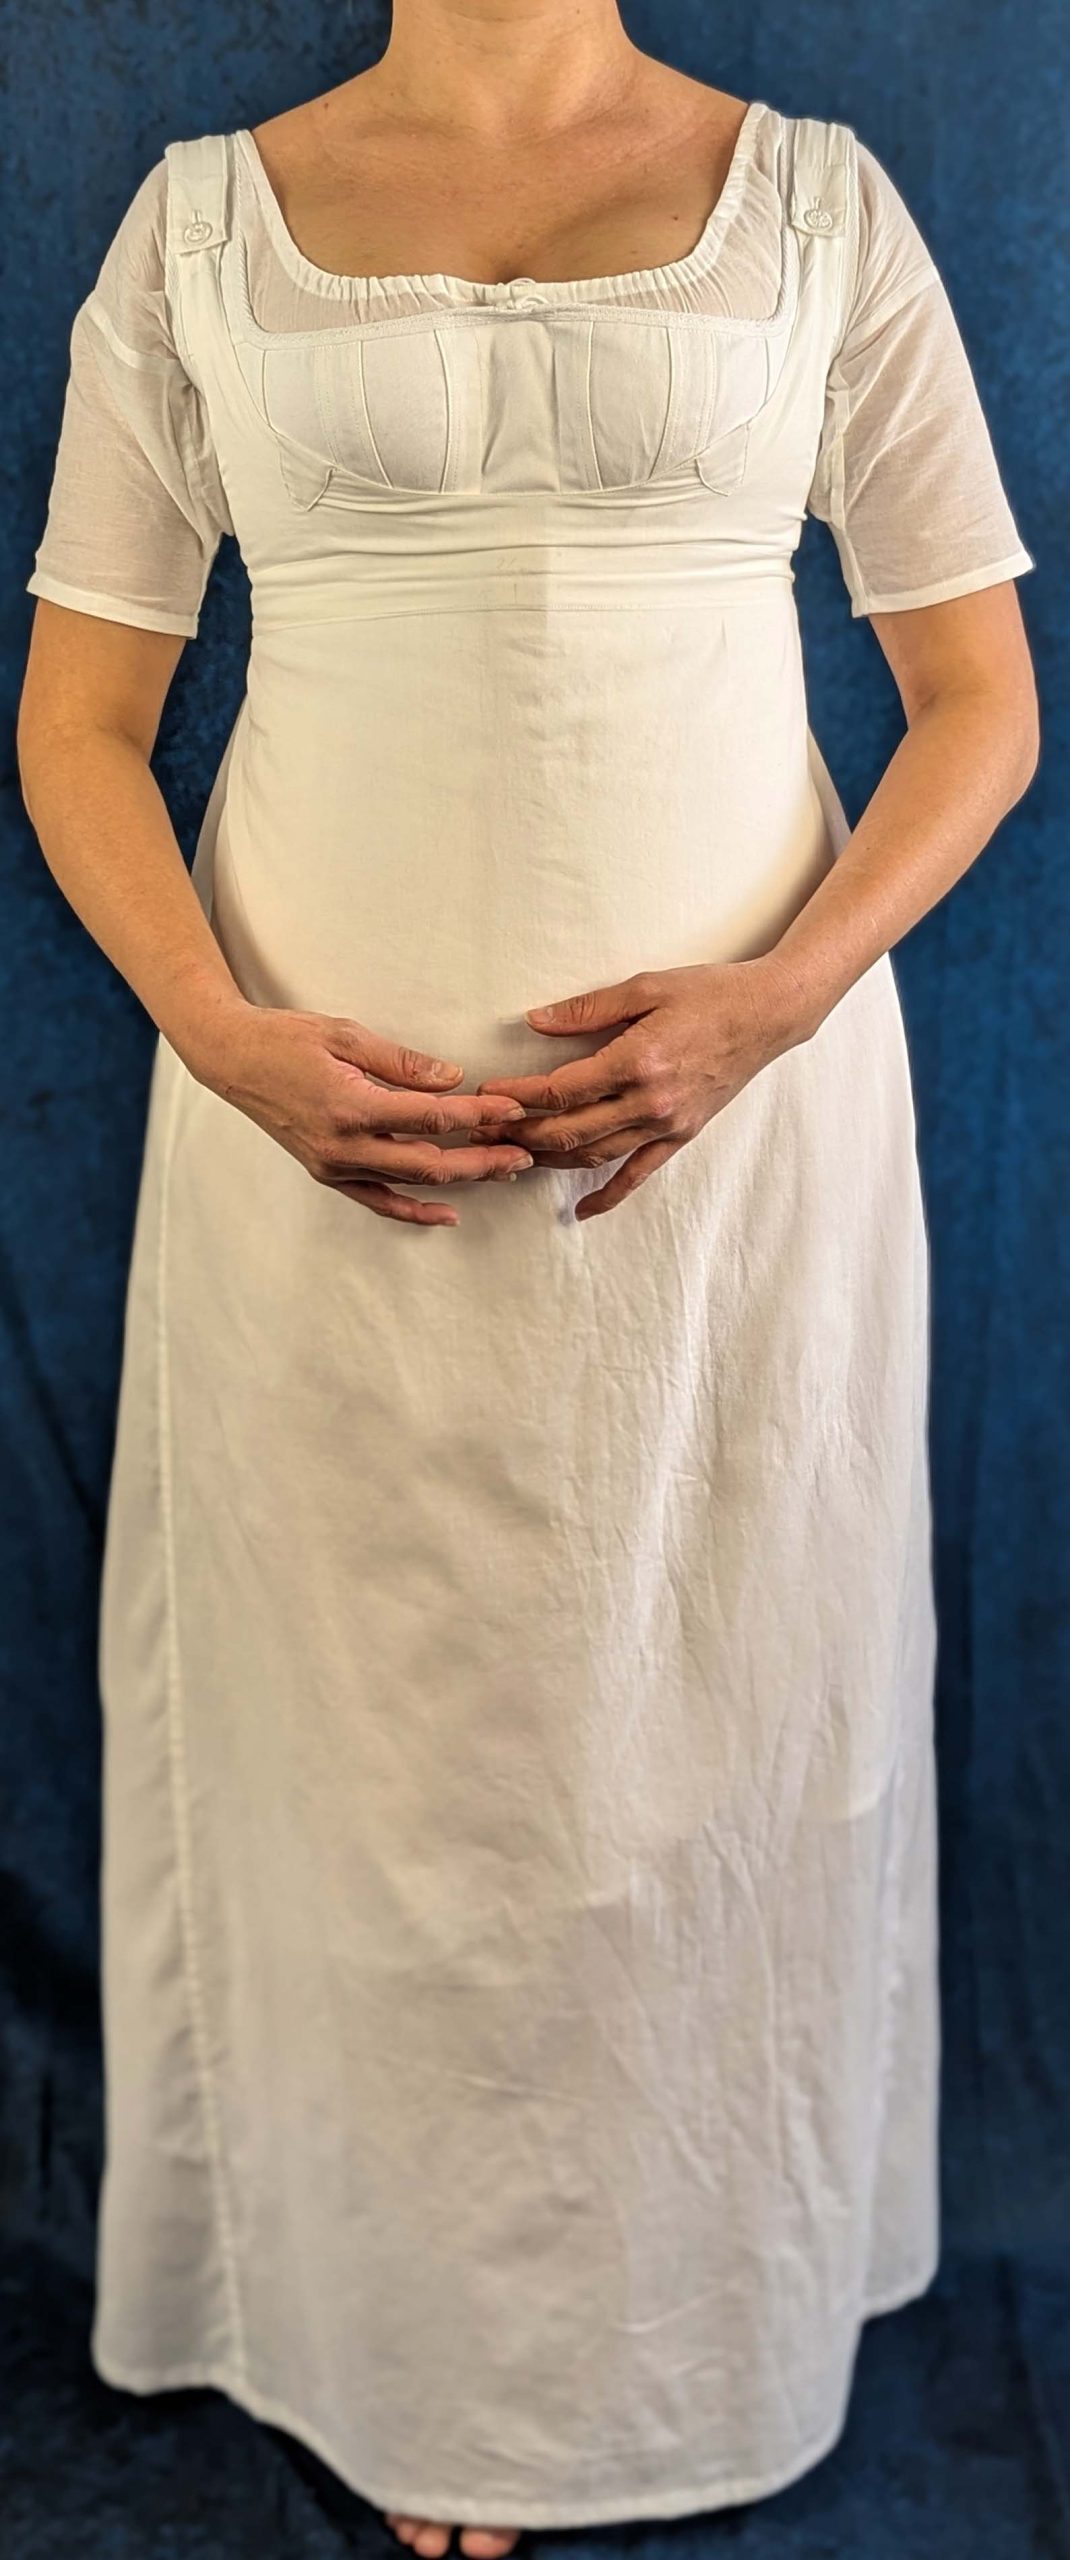
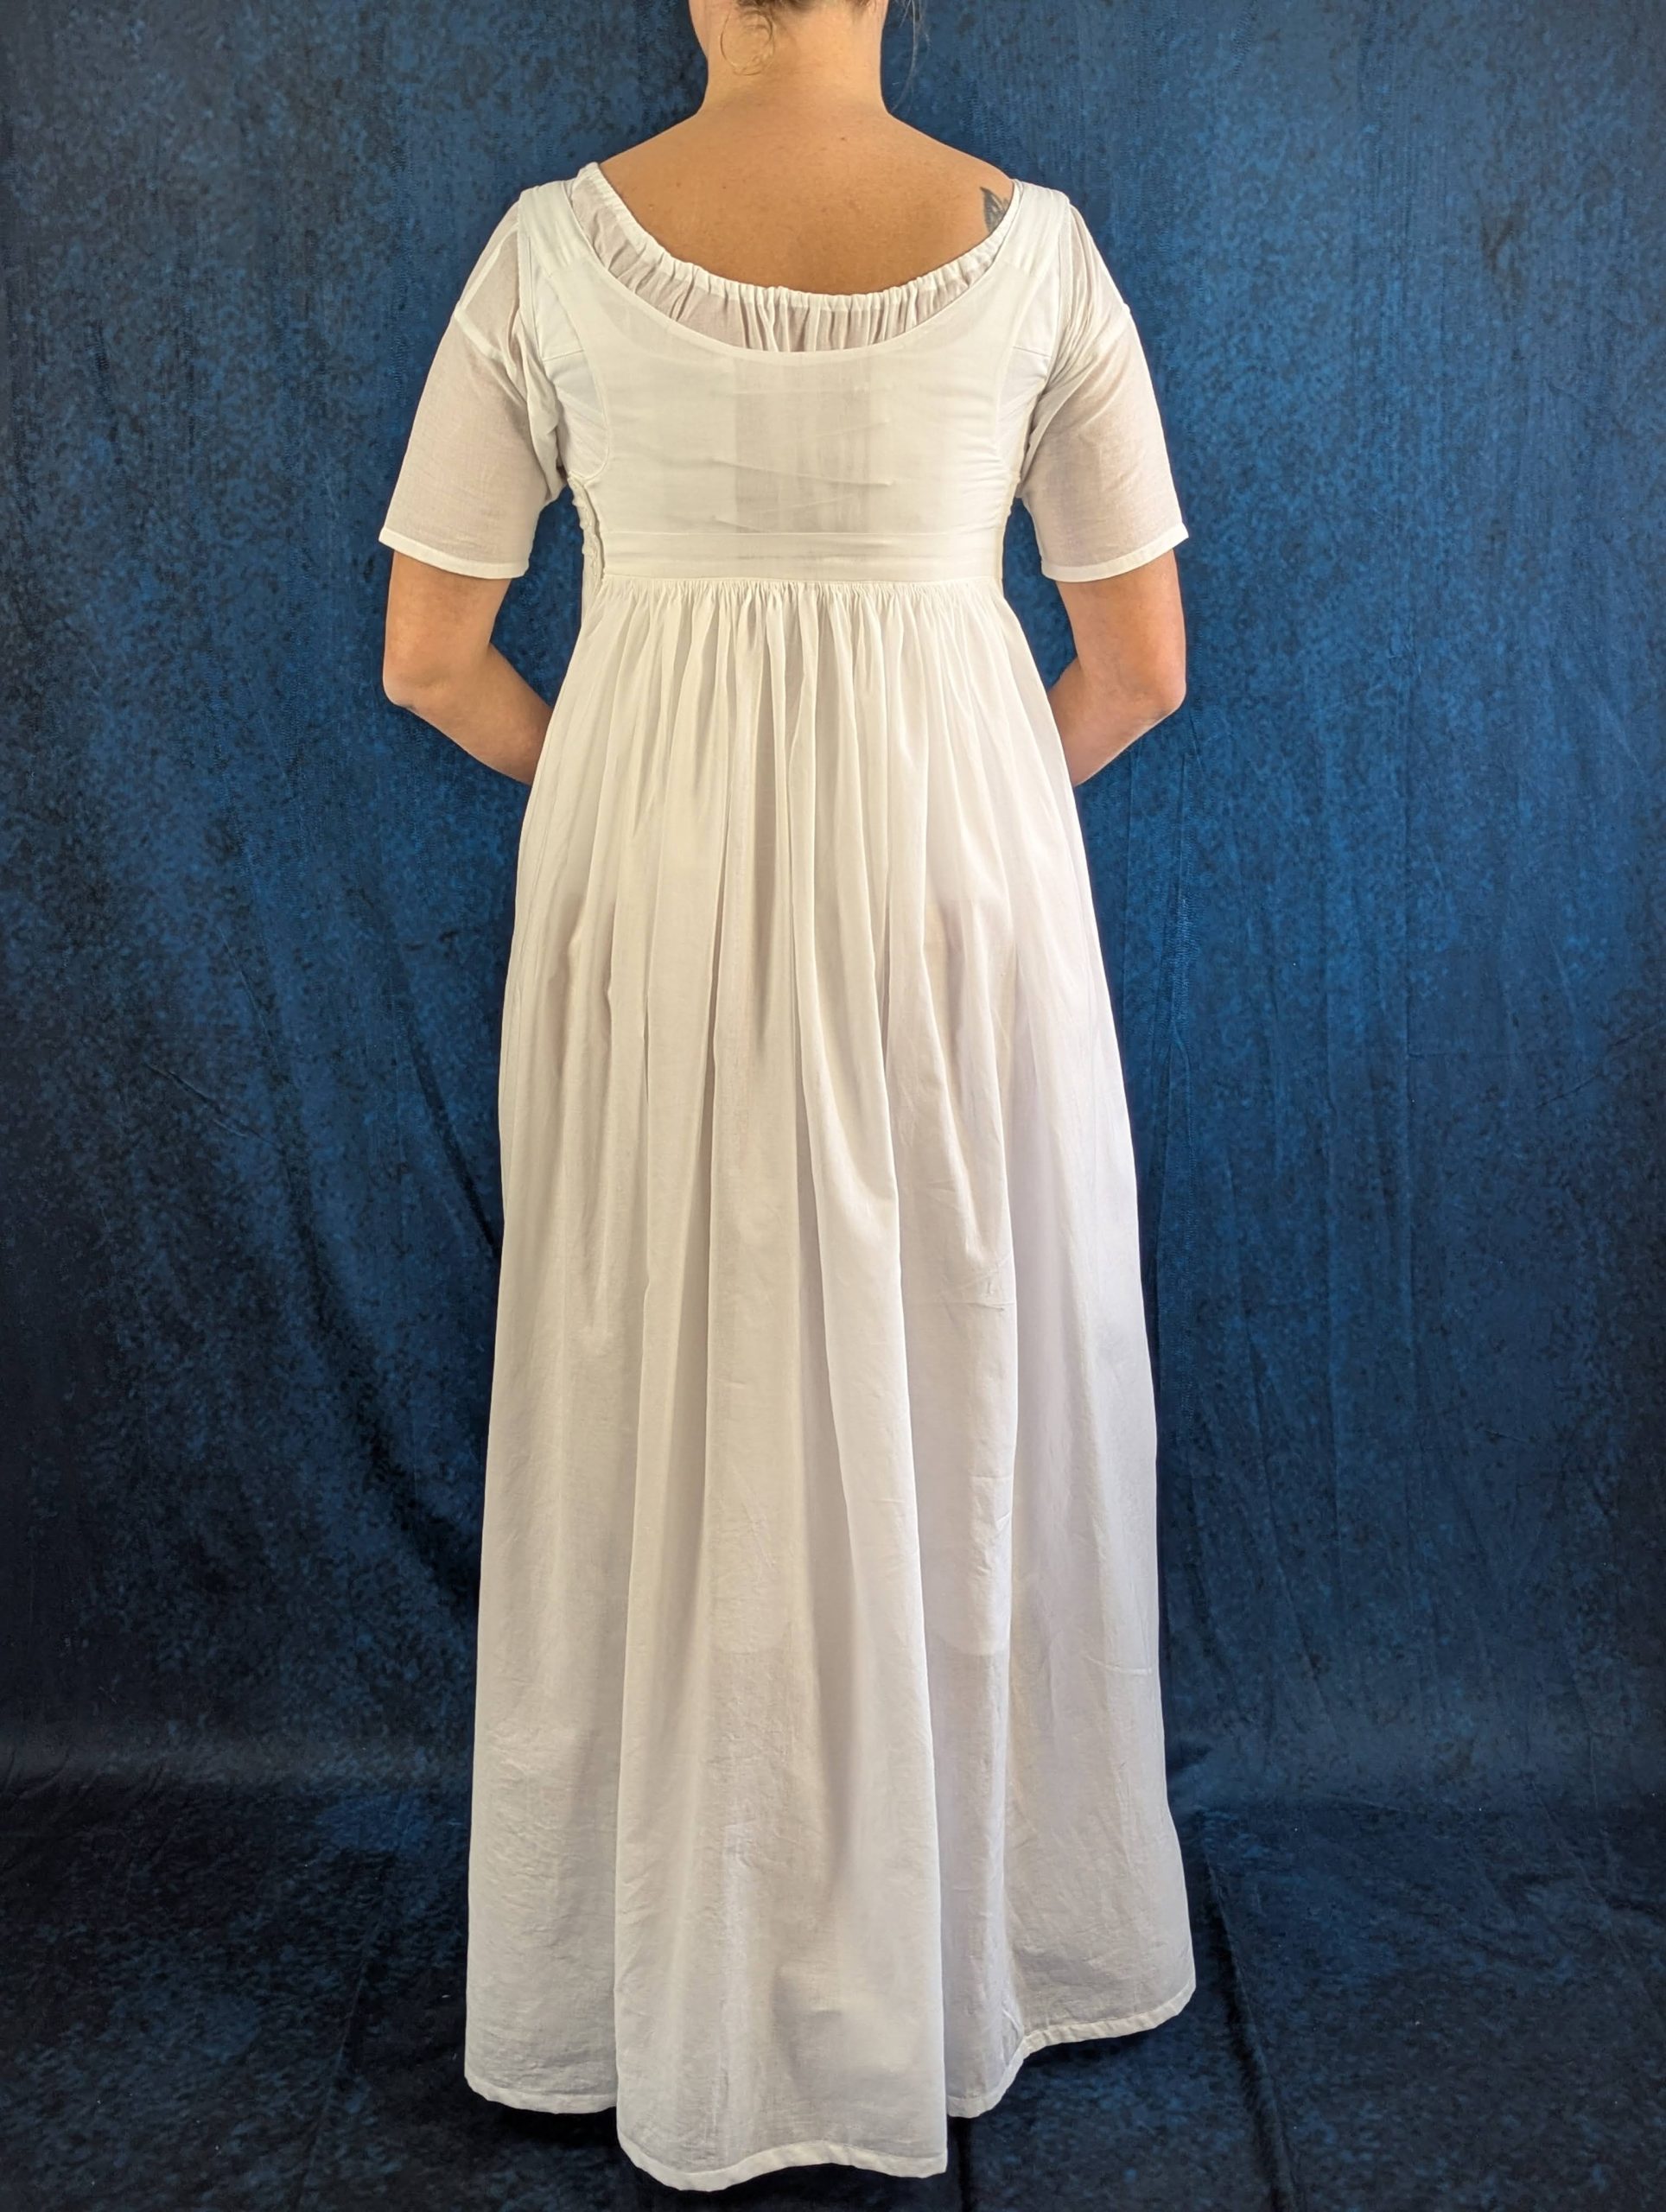
The Regency petticoat is a skirt with a fitted waistband that sits just under the bust. The fullness is concentrated at the back through careful gathering, while the front remains relatively smooth. The petticoat is held in place by a small bodice or just straps.
(1) Schneide out all pieces from the fabric. For the skirt, cut several panels from the fabric as indicated in the cutting diagram, depending on your size. Omit the bodice pieces and step when you prefer just straps instead.
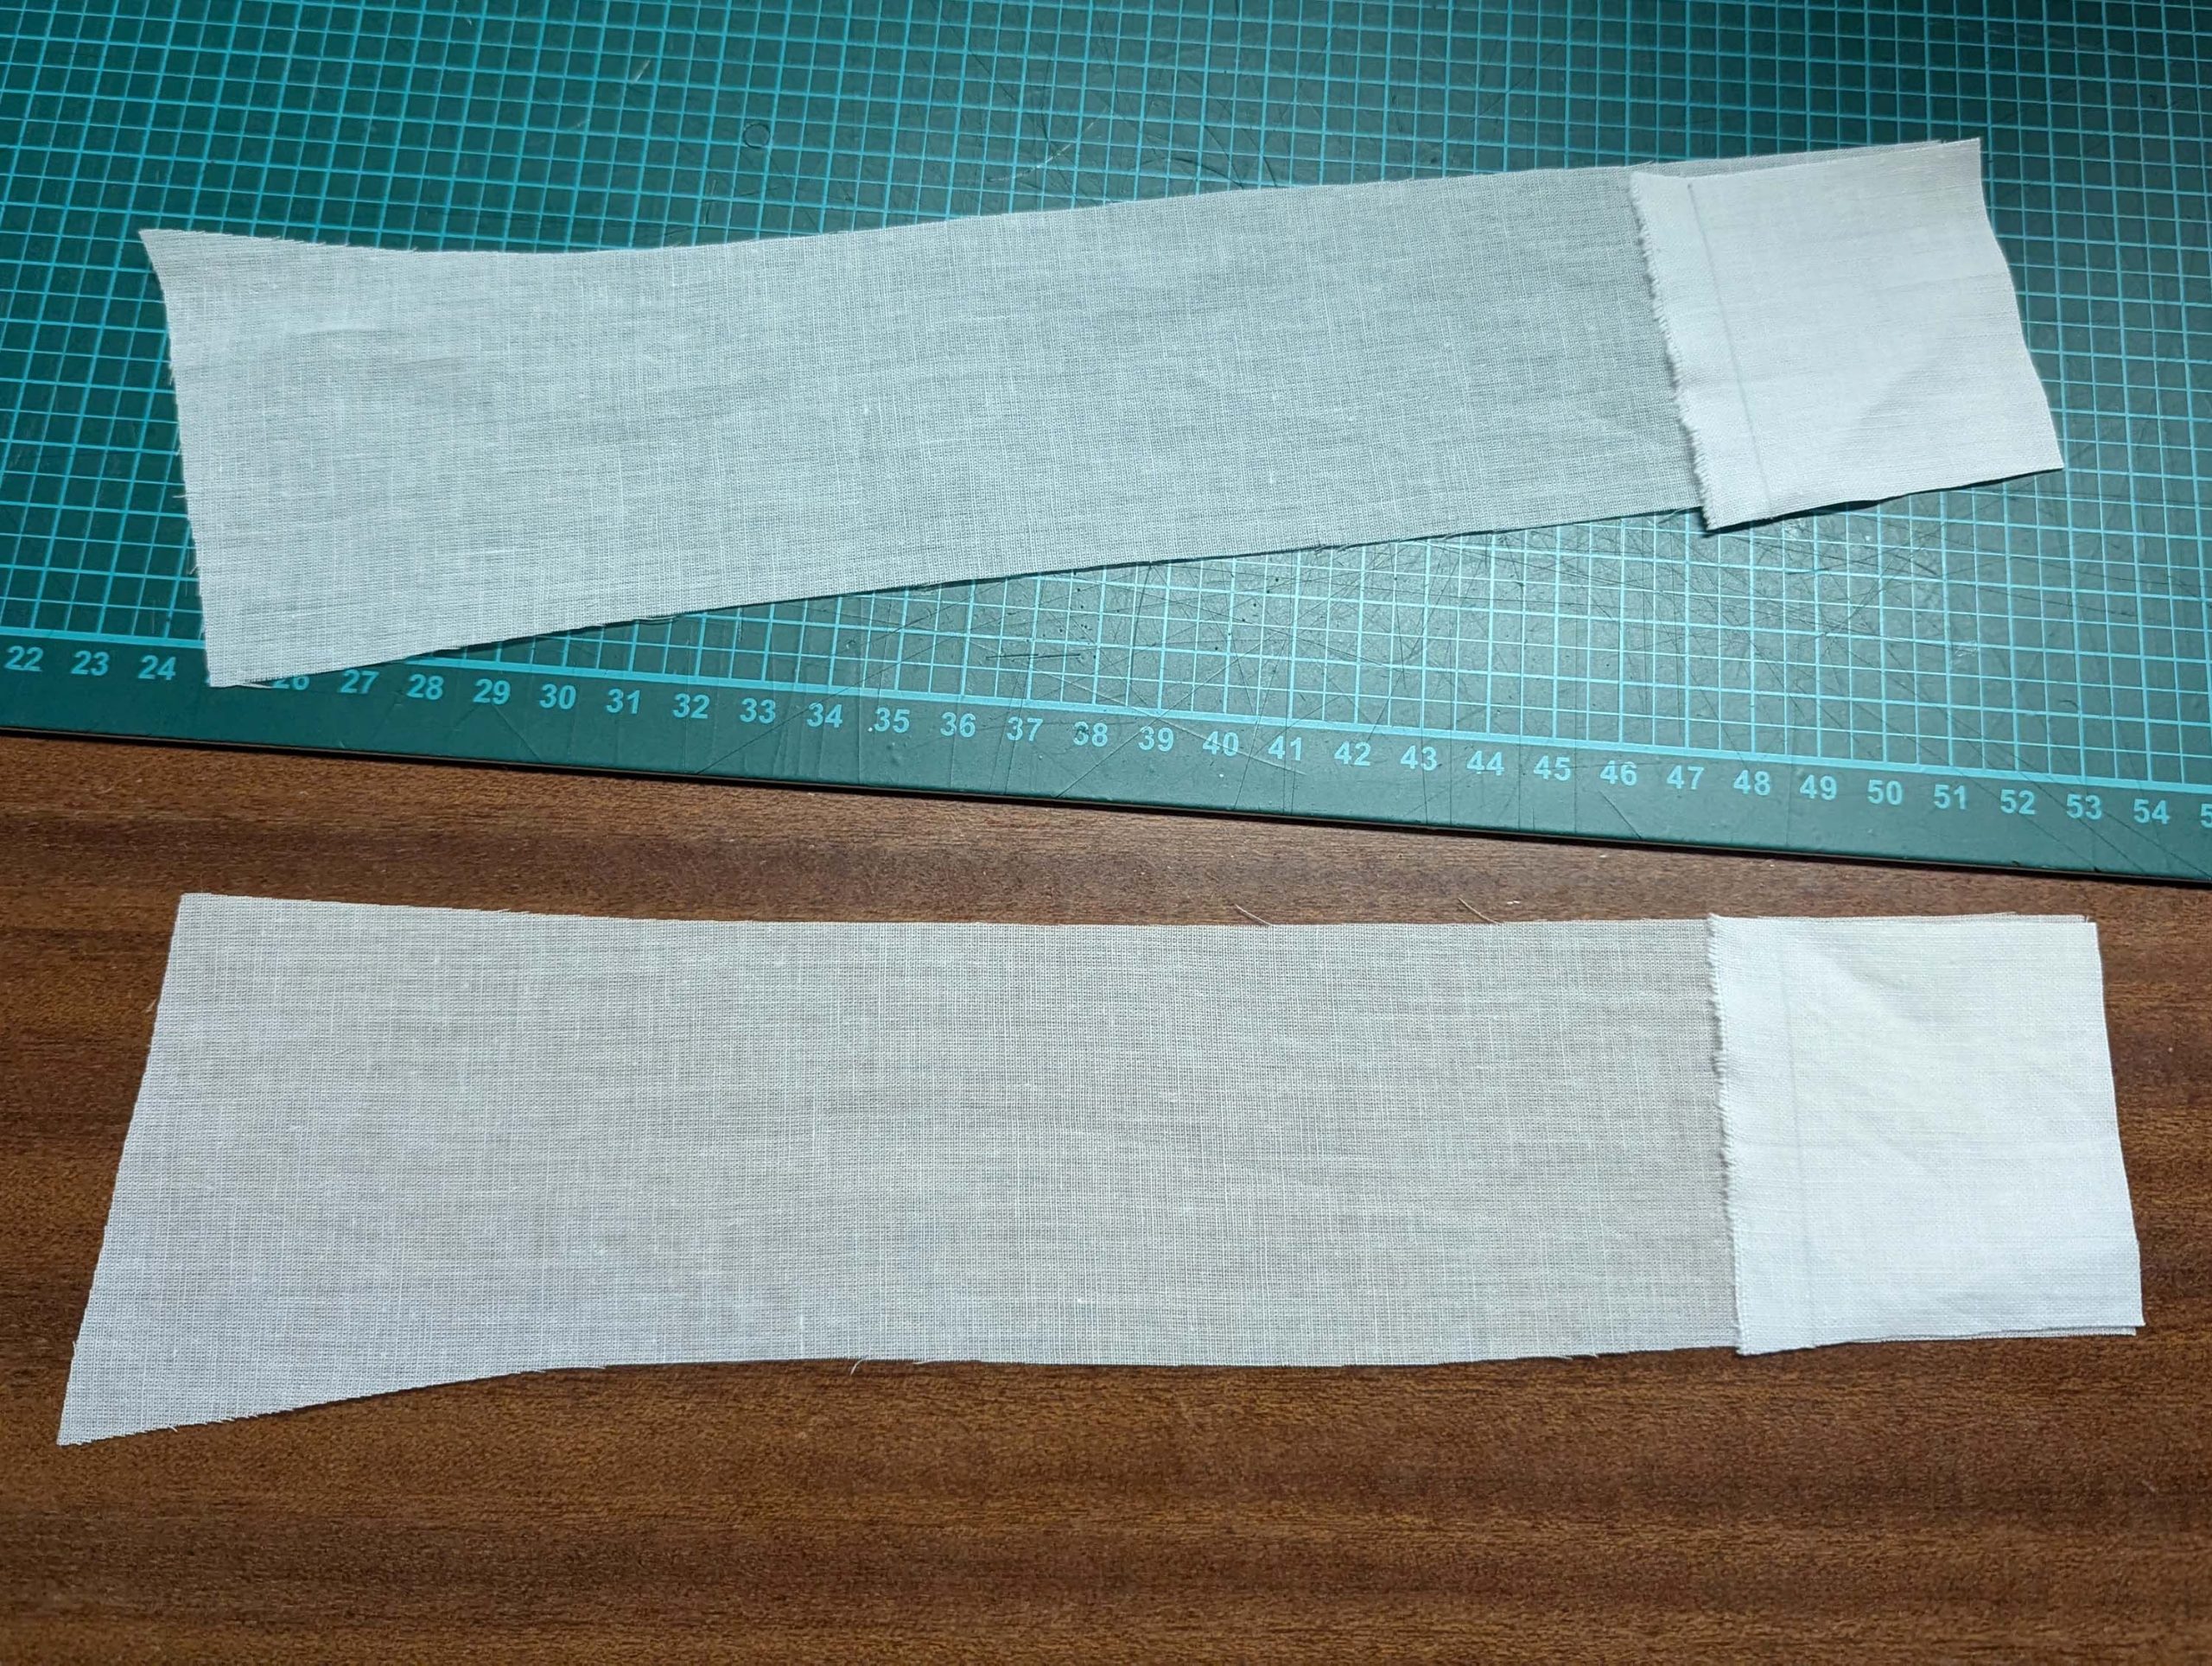
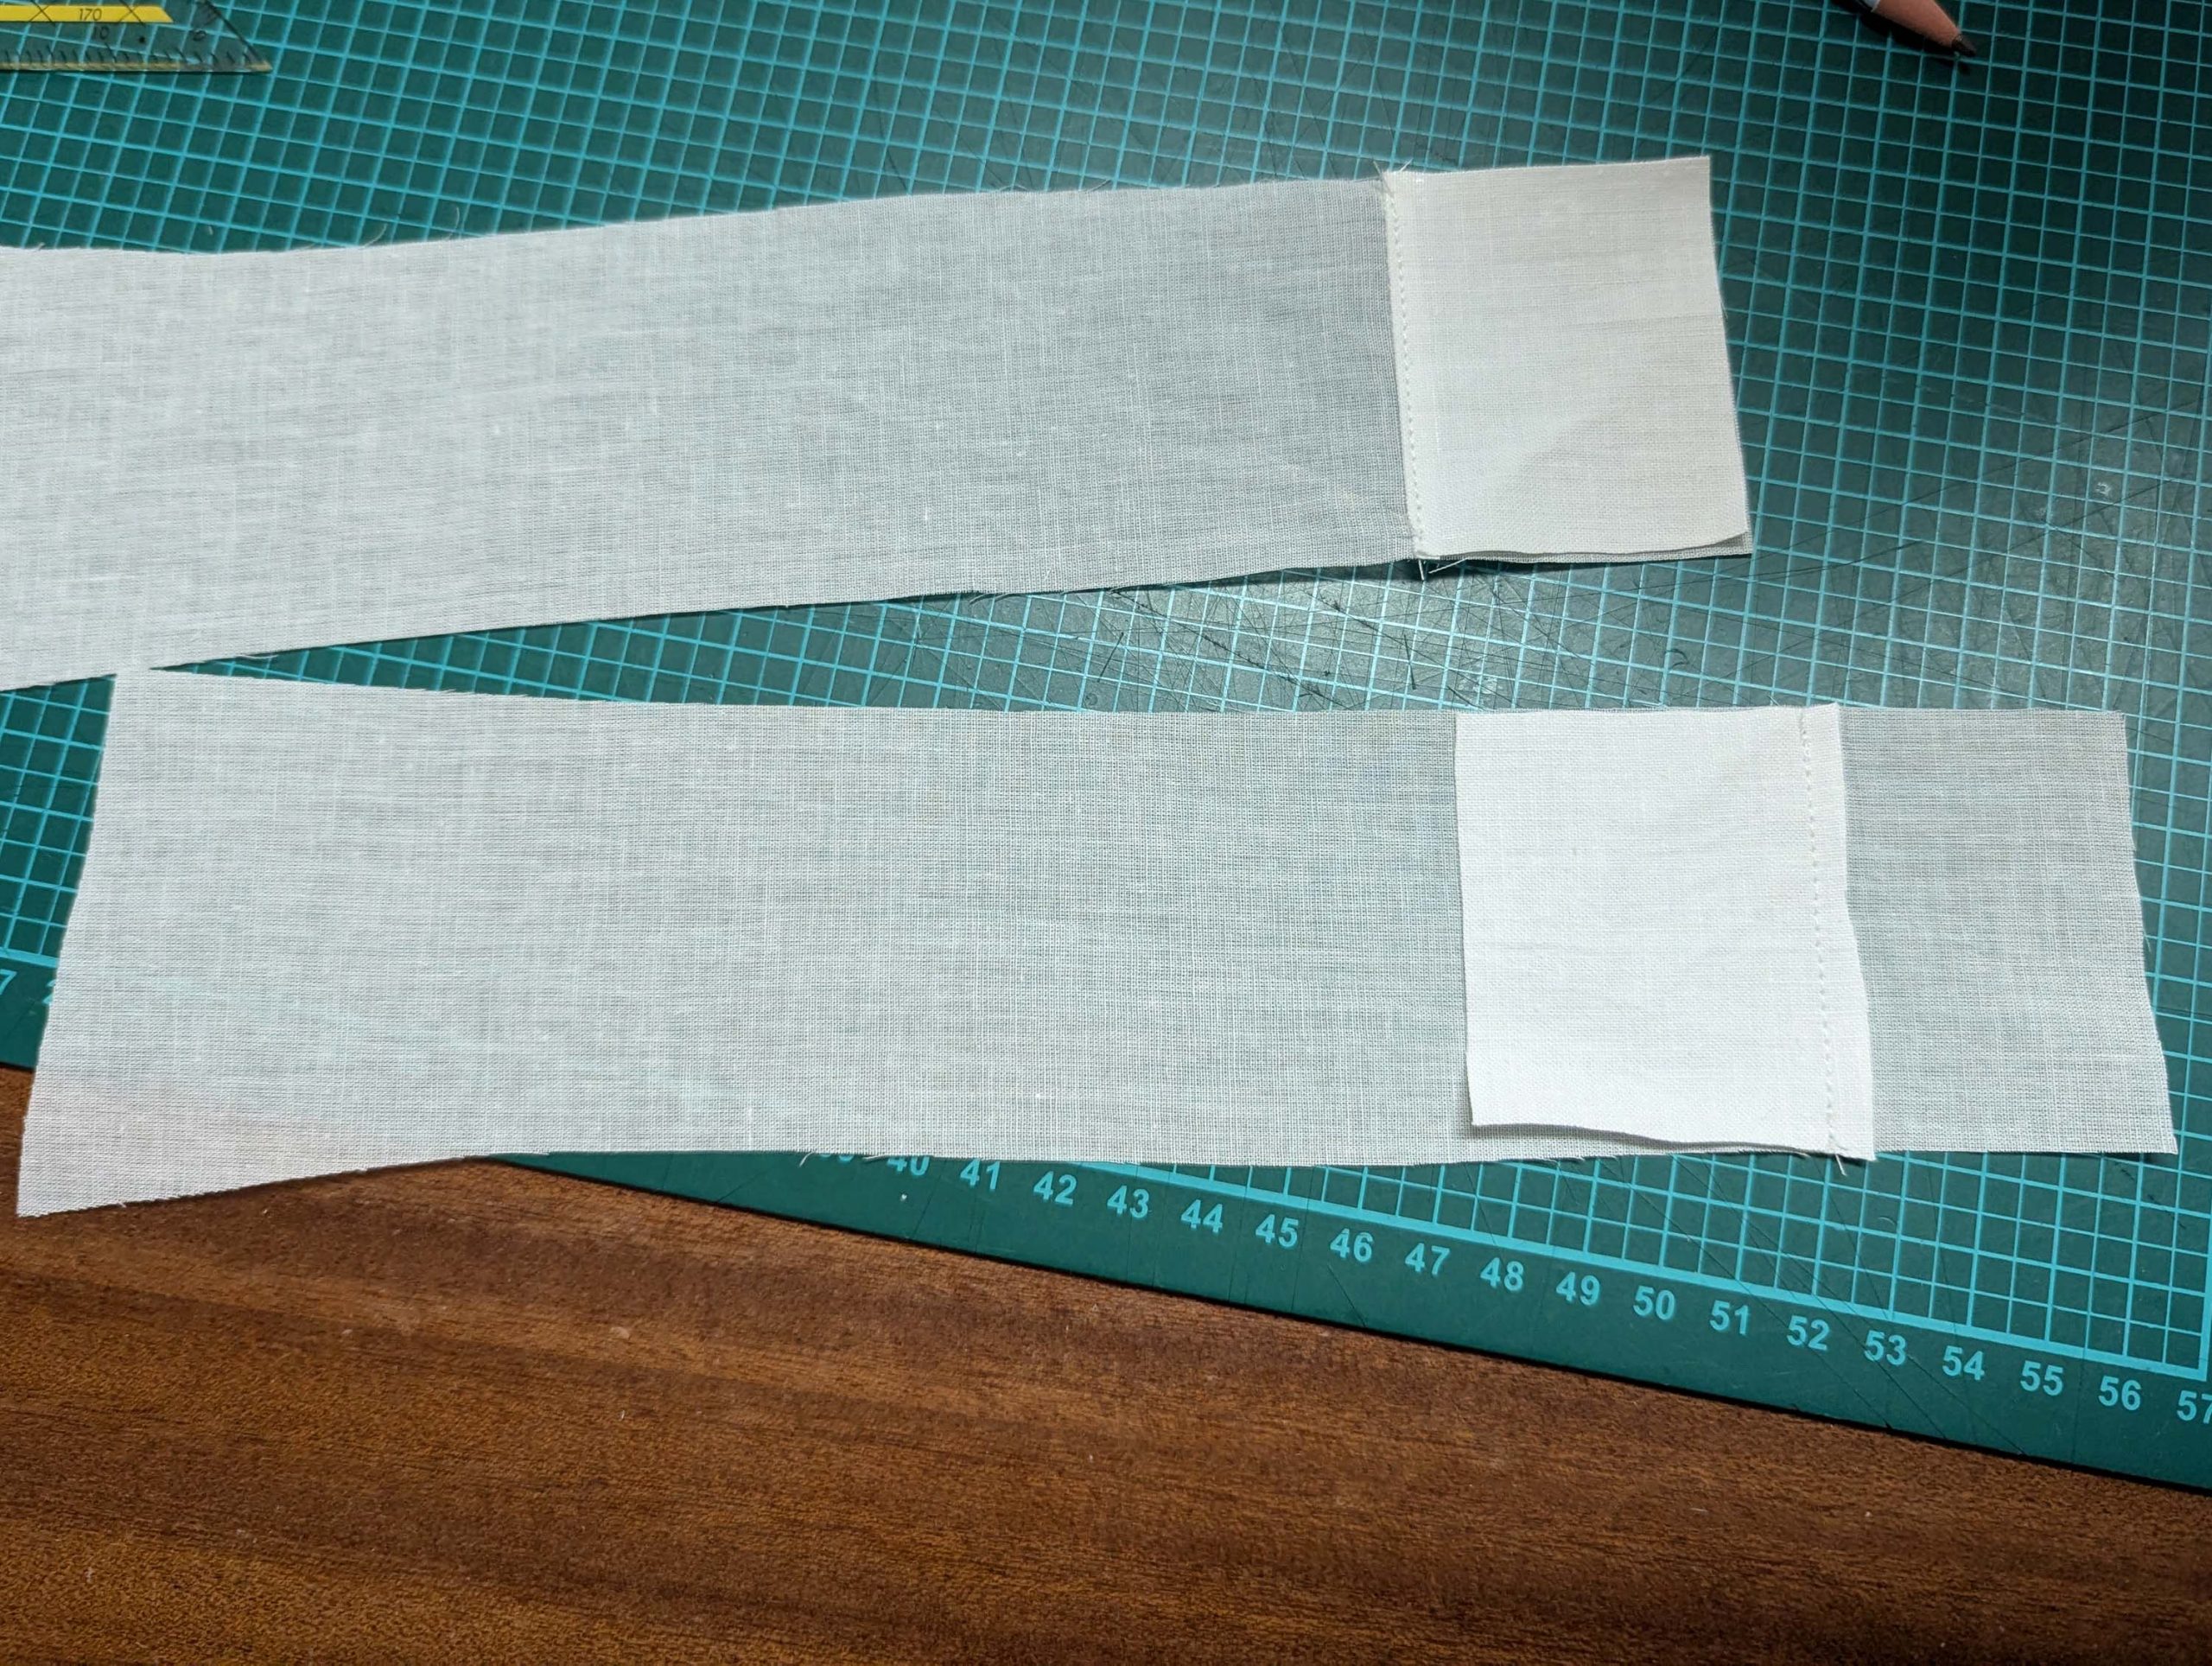
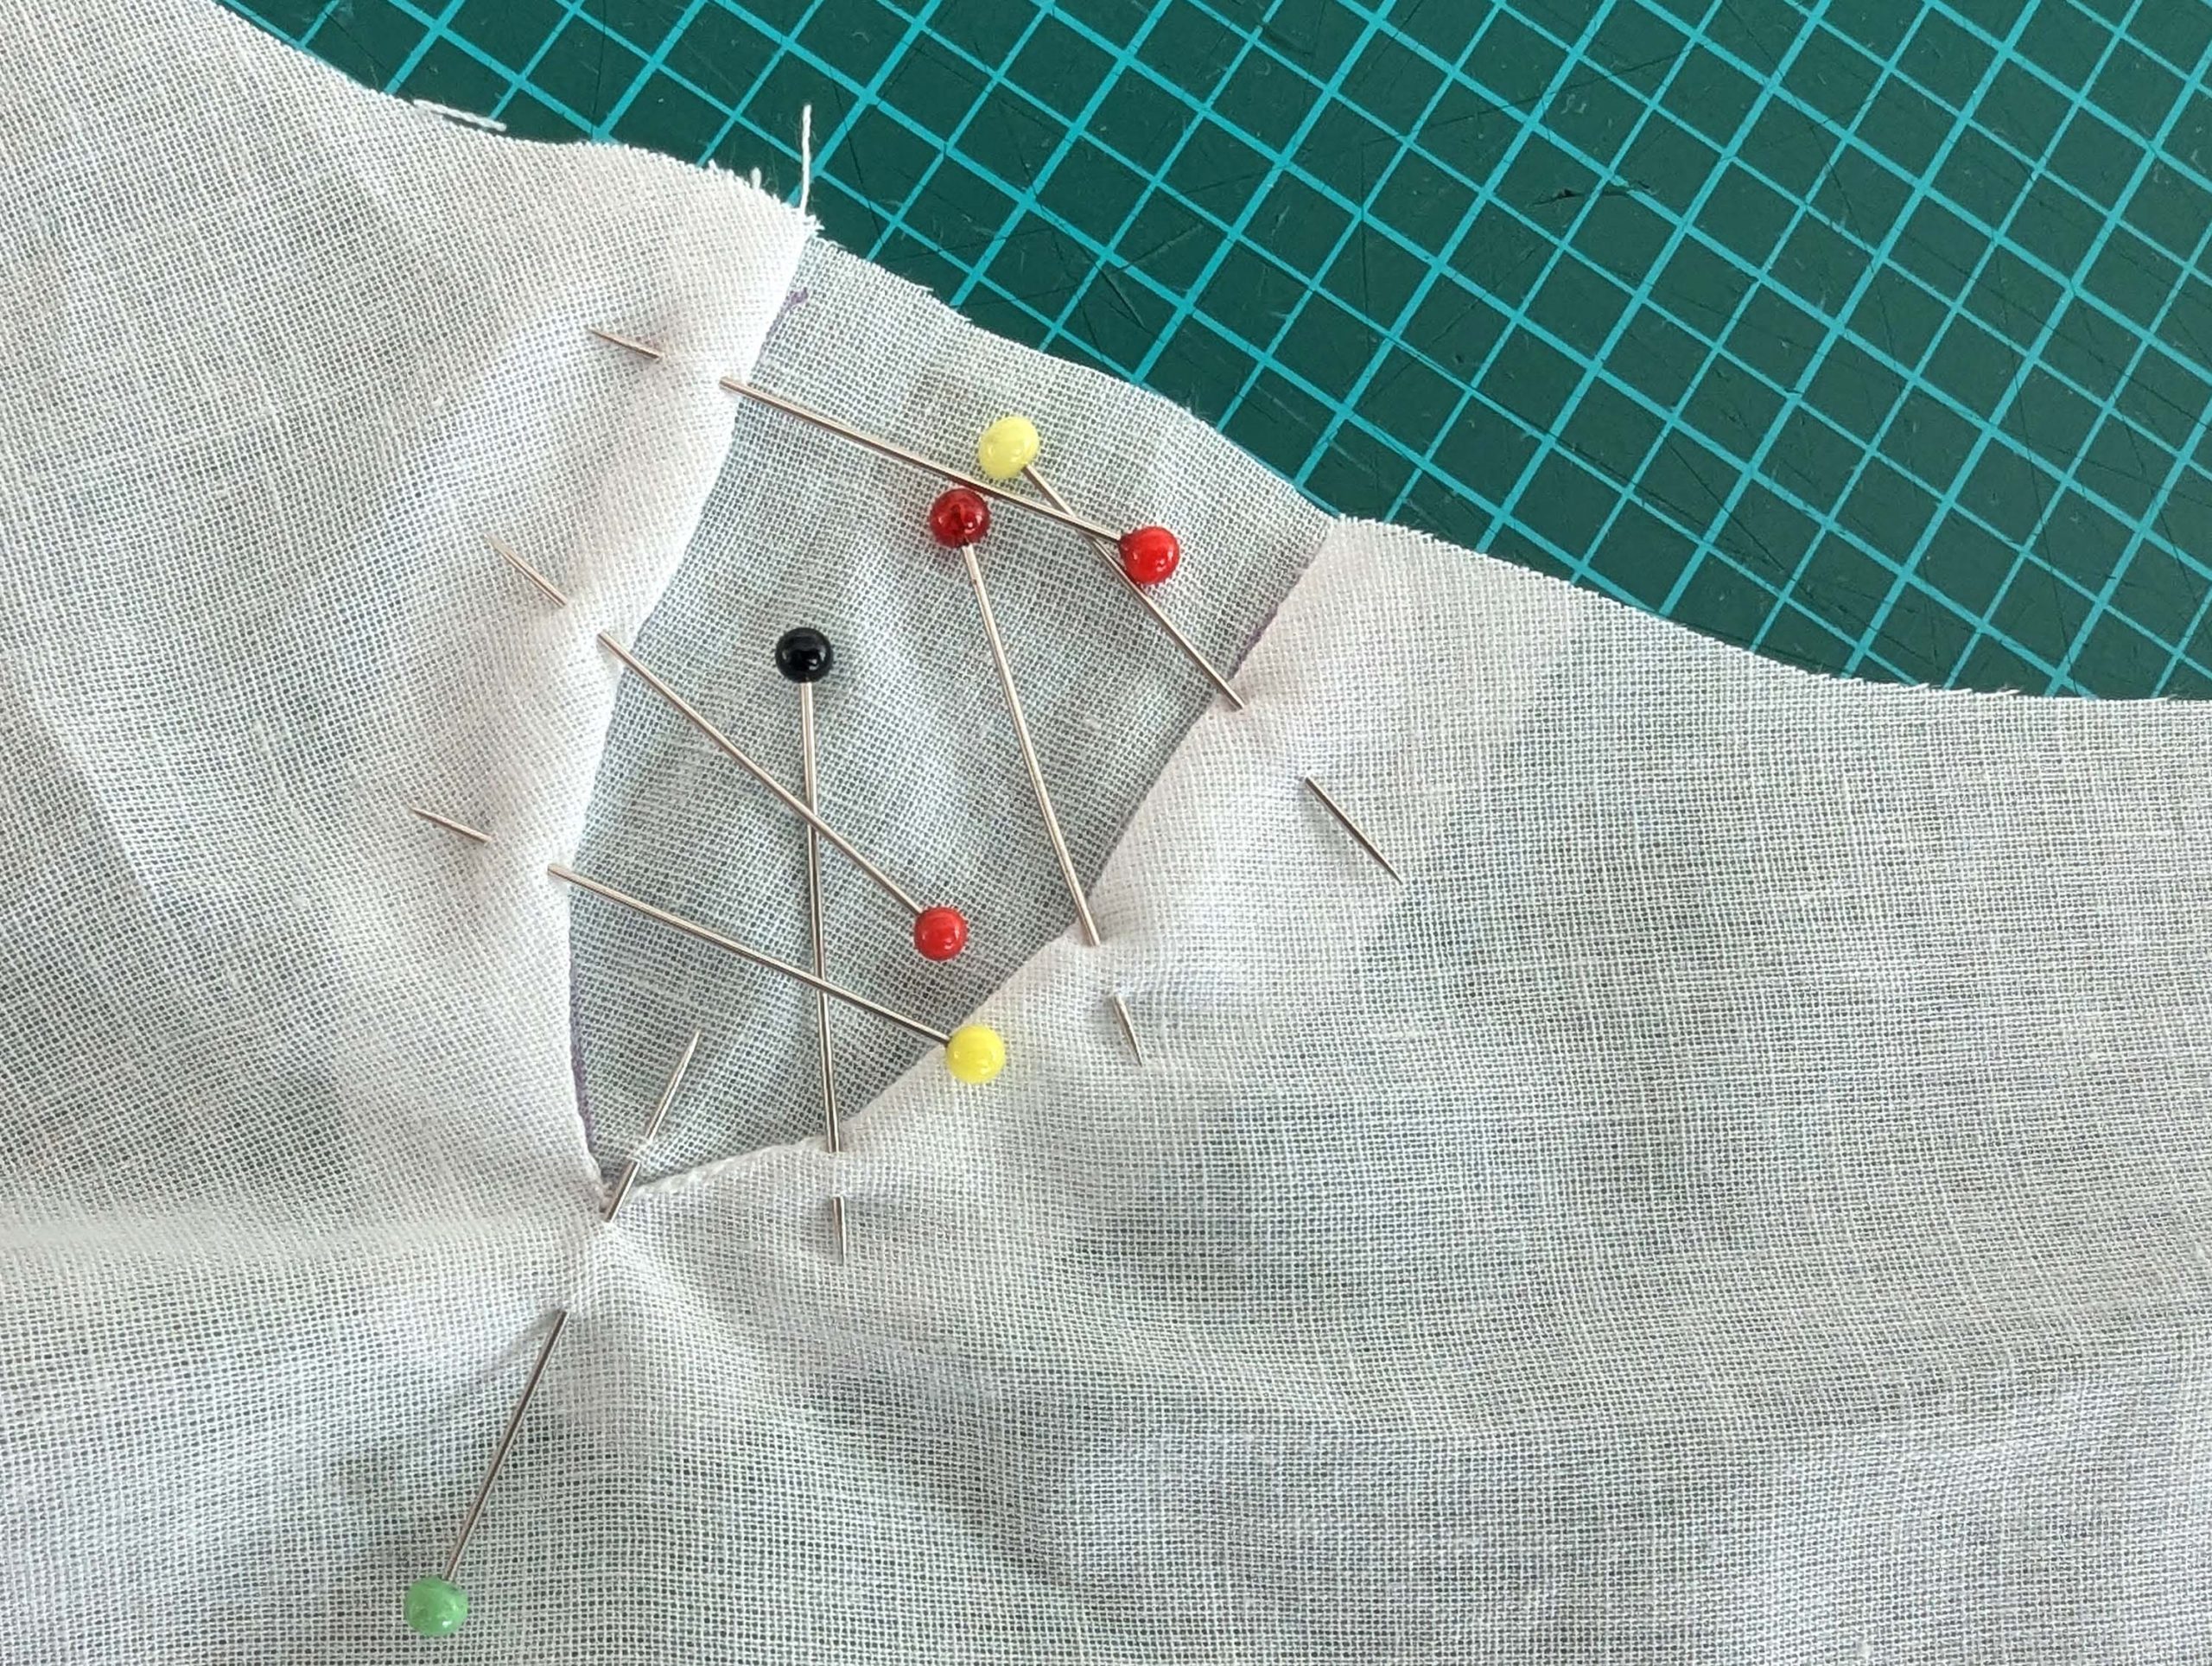
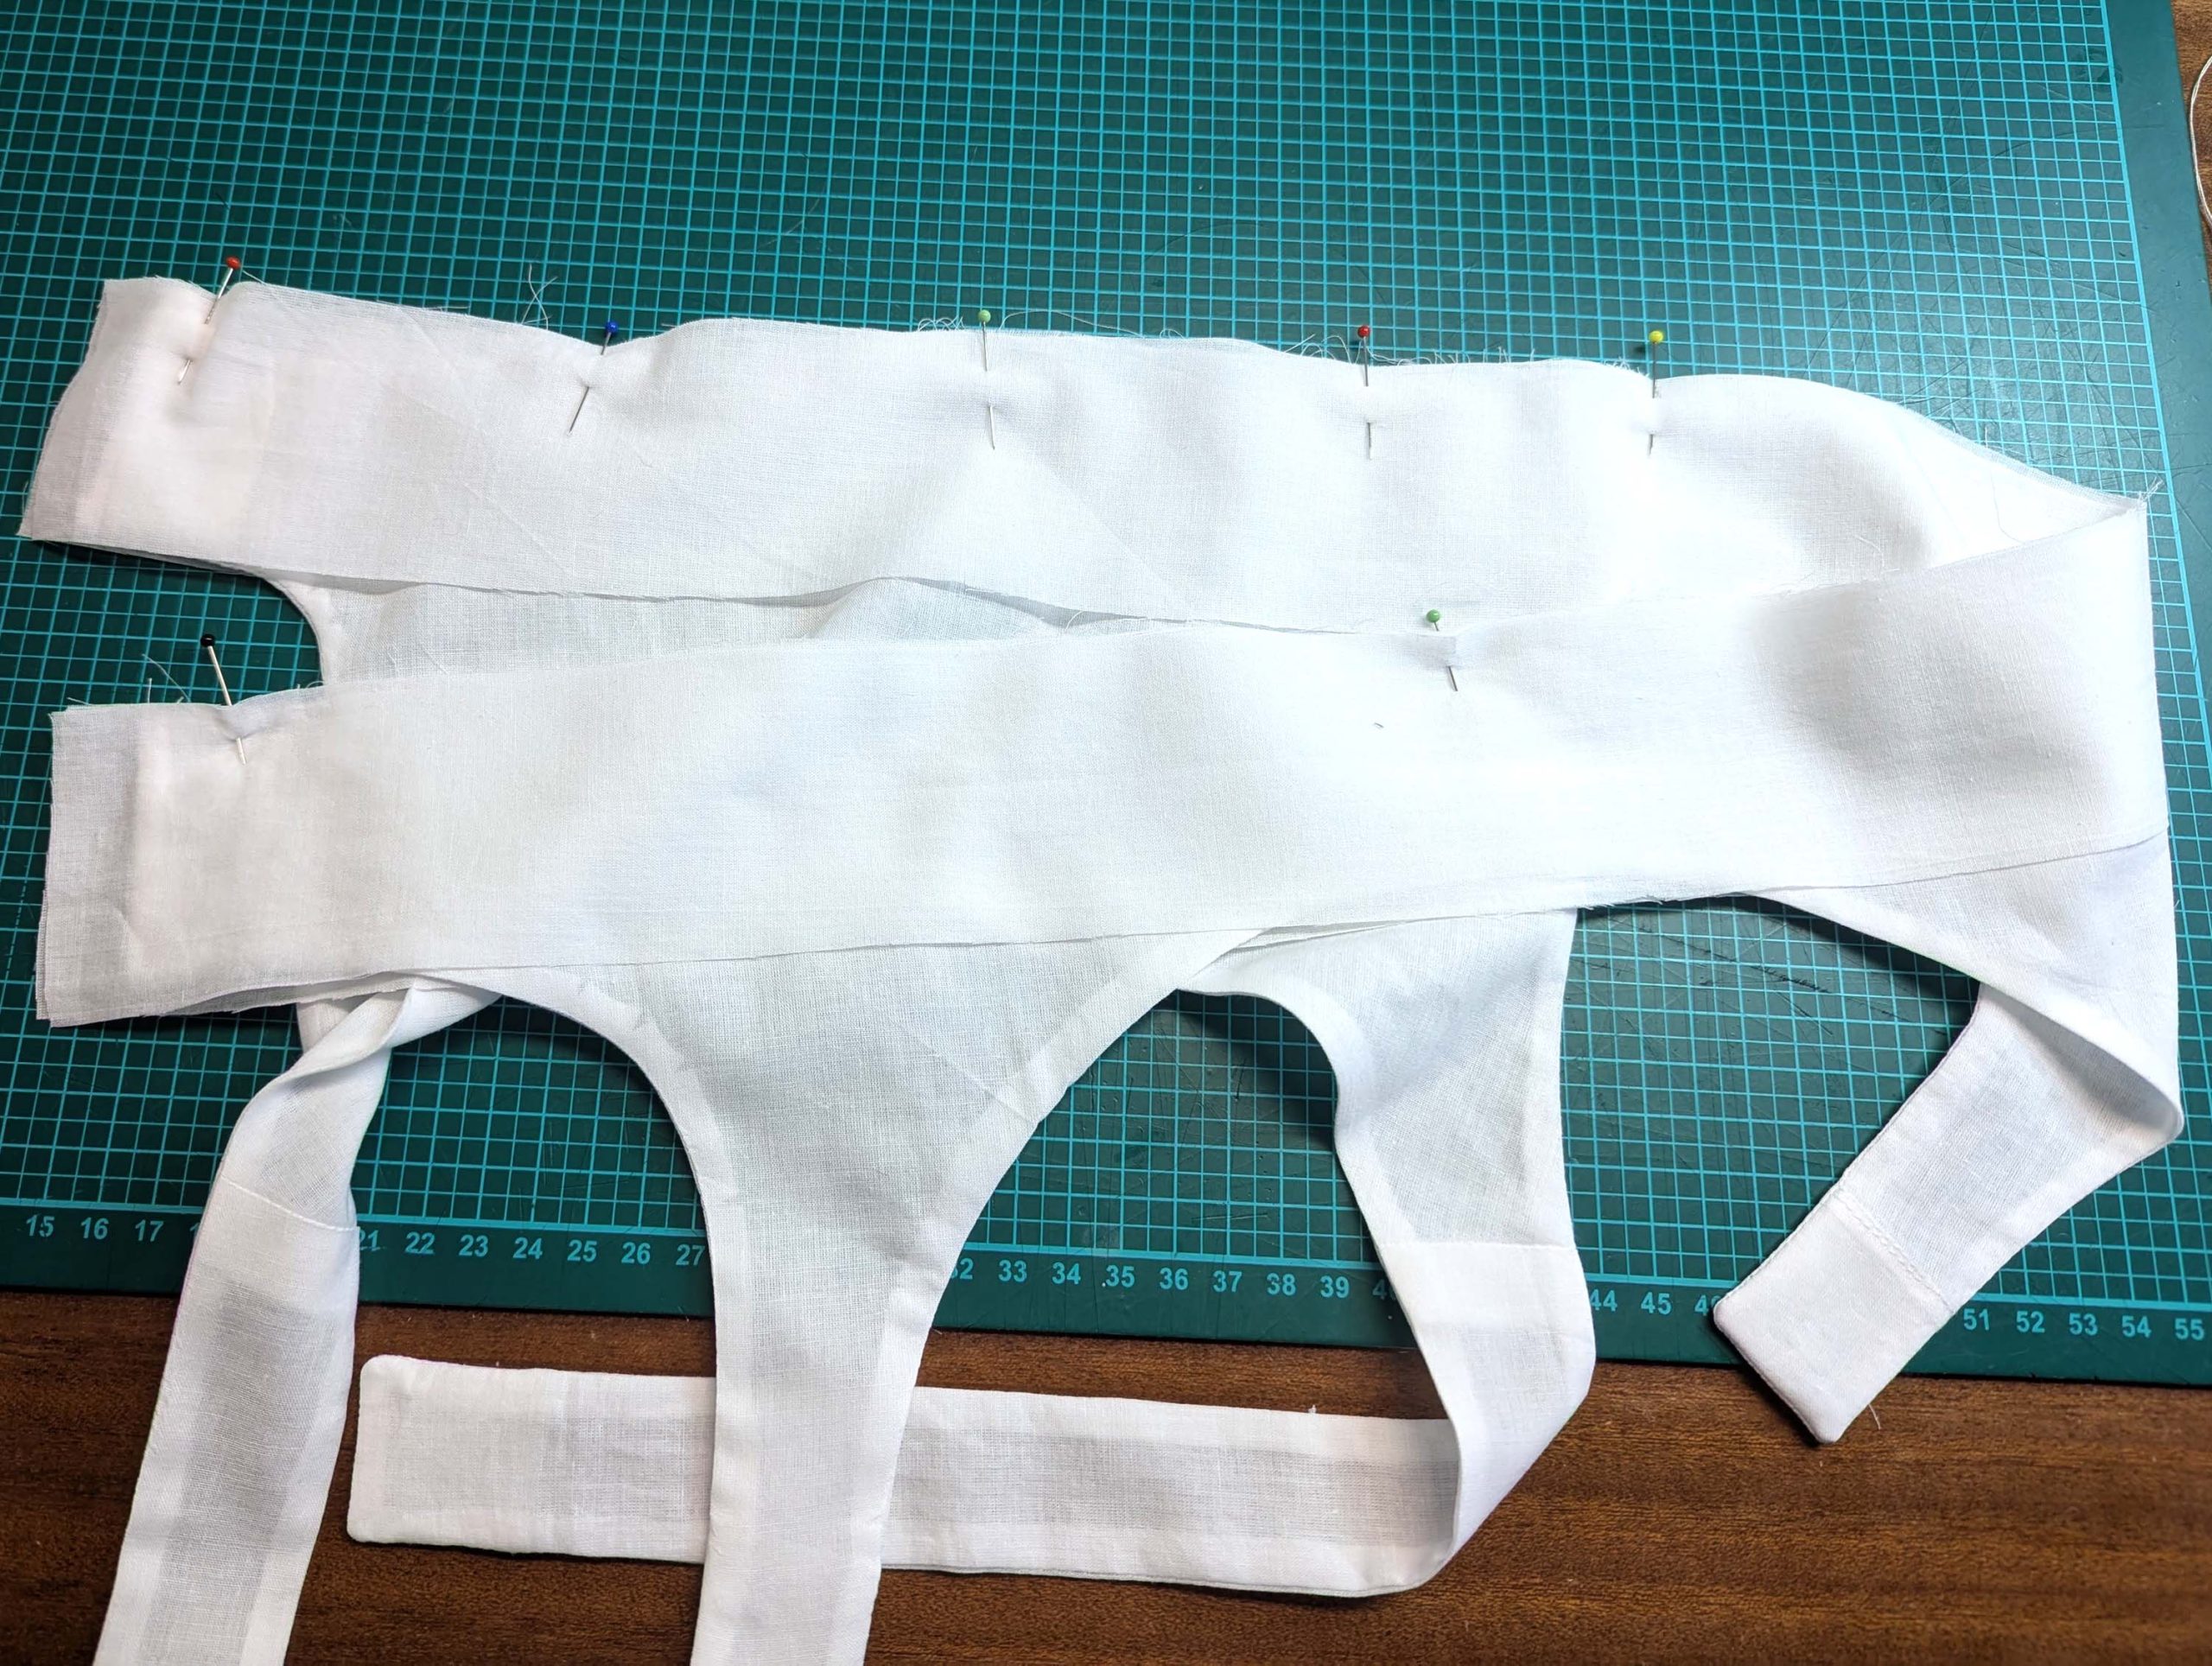
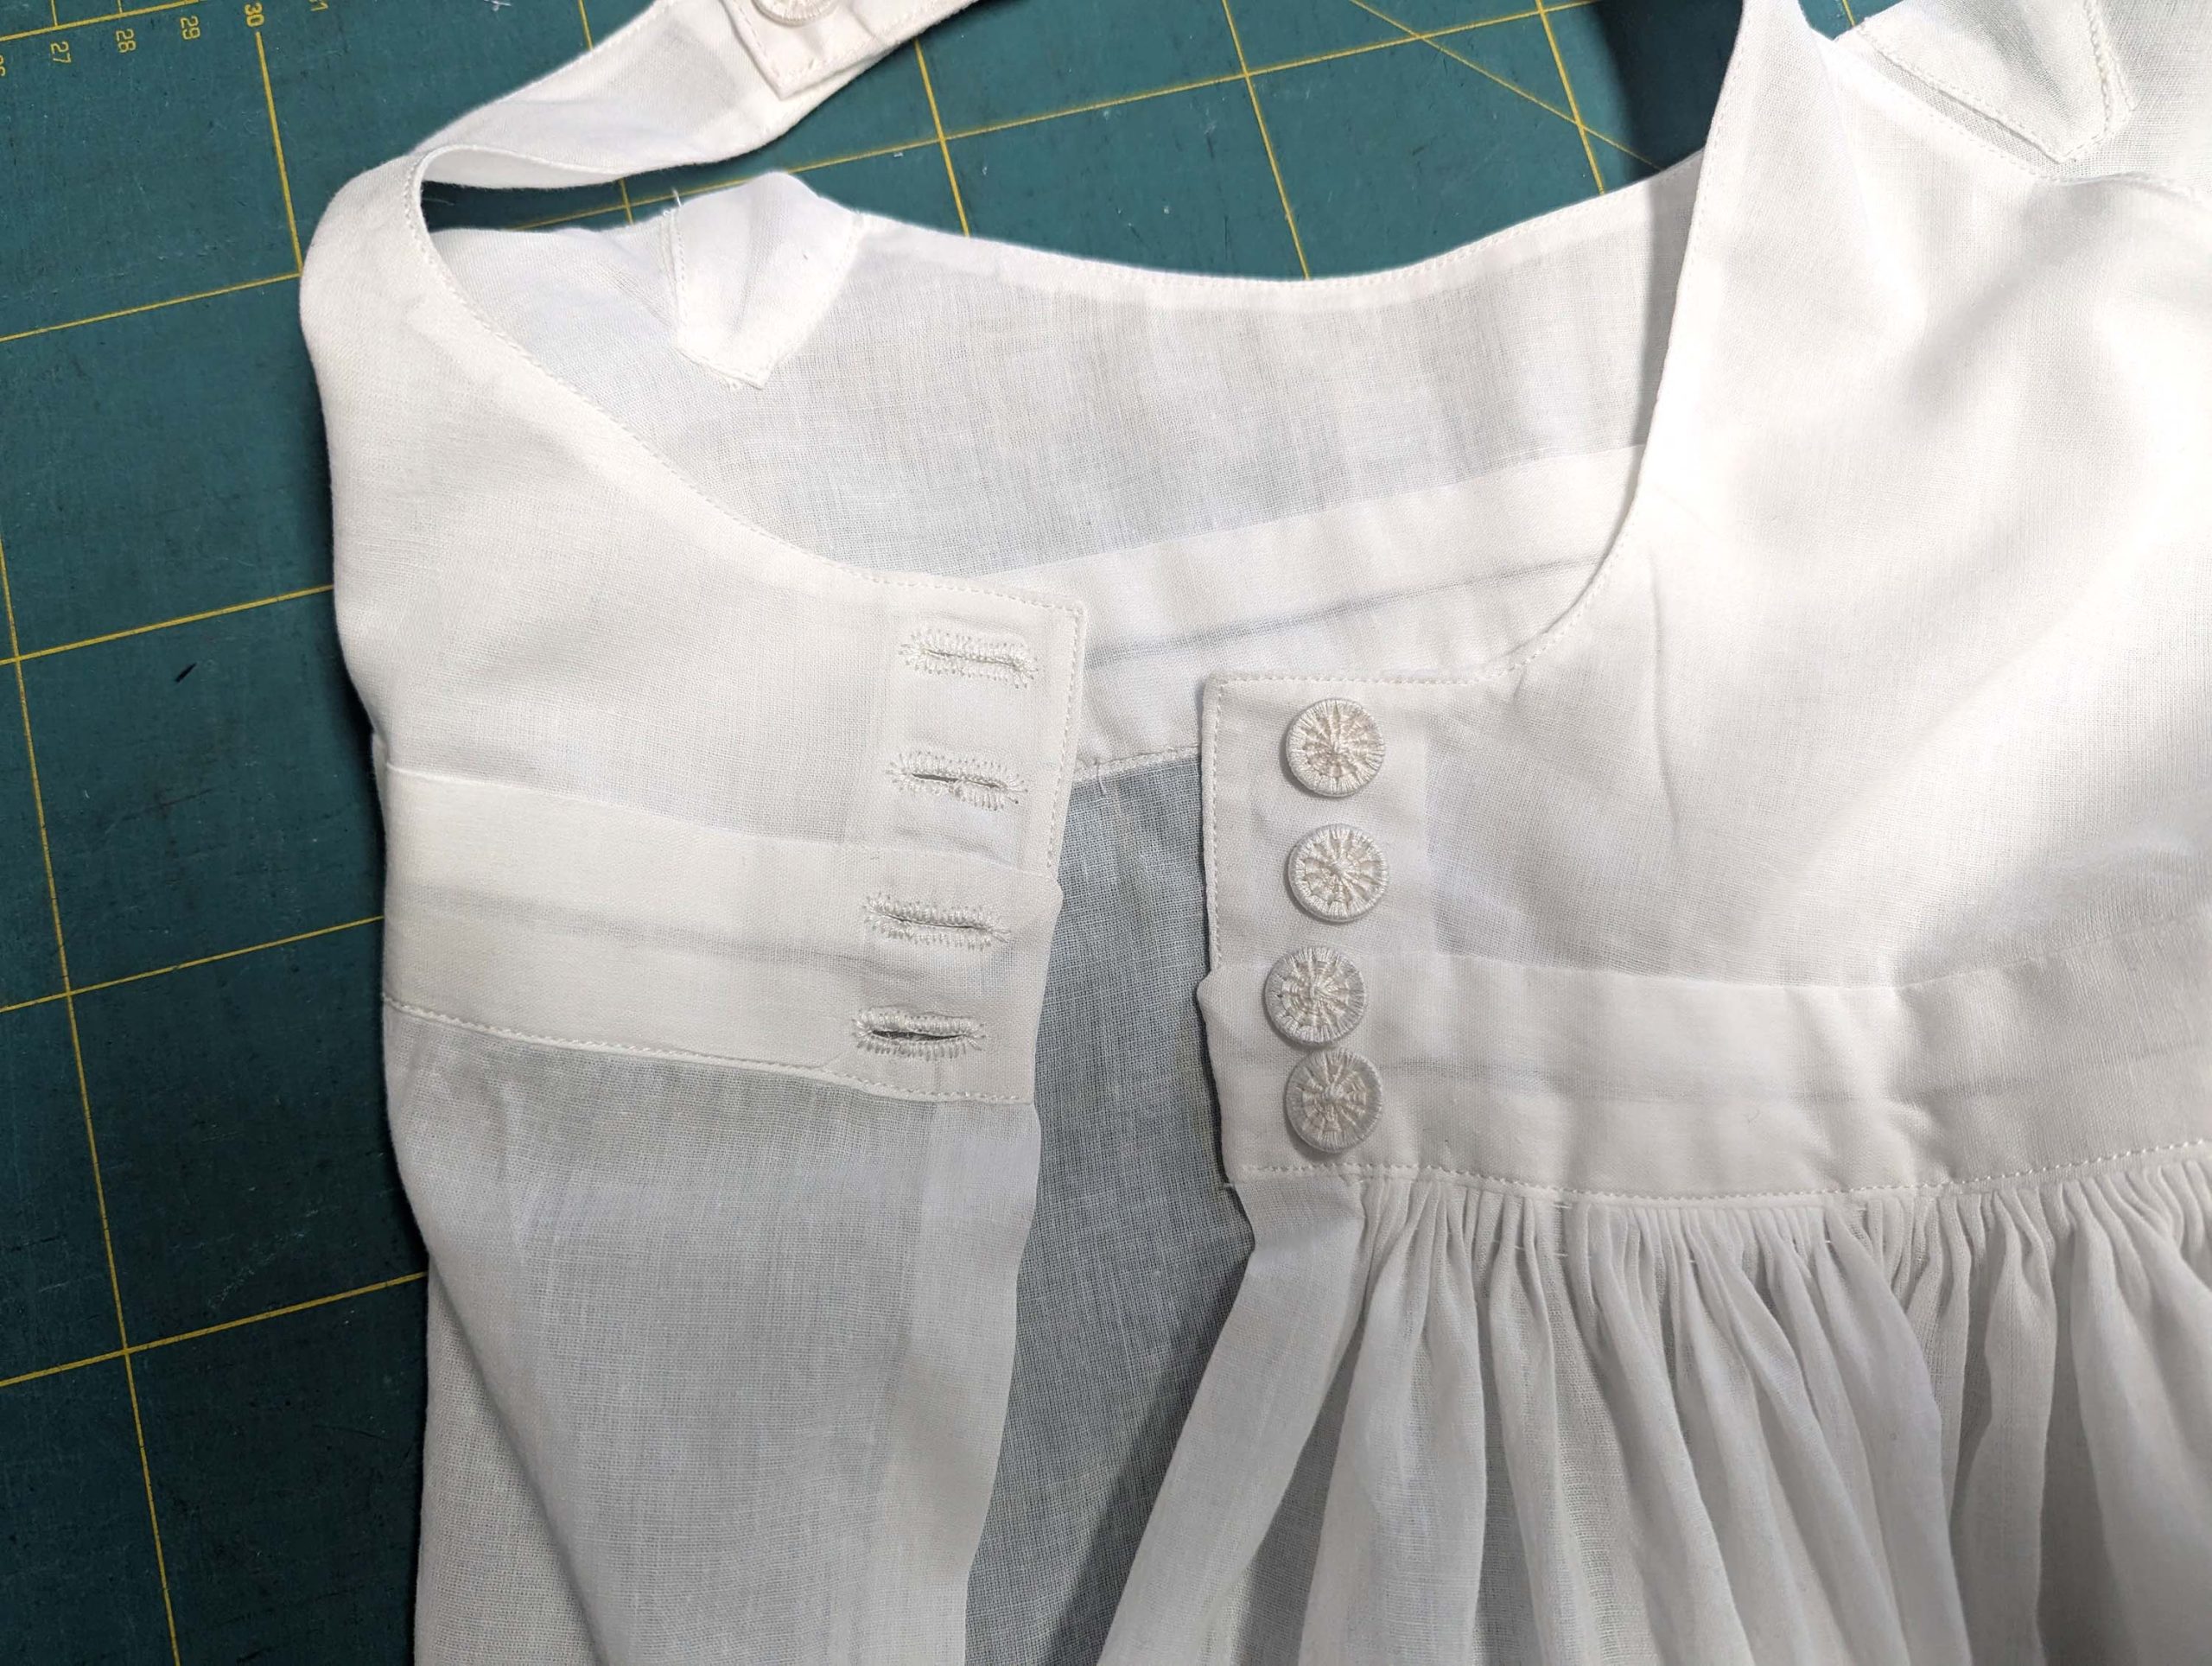
(2) To ensure durability in the bodice, reinforce all Futter areas that will bear mechanical stress with a midweight cotton fabric. Key areas requiring reinforcement include the button and buttonhole placements, the terminal points of the straps, and the placket positioned at the left side seam. To do so, take the small pieces, and turn in the seam allowance along the edge, indicated on the pattern, and line up with the straps/placket, wrong sides together. Edgestitch along the edge with the turned-in seam allowance.
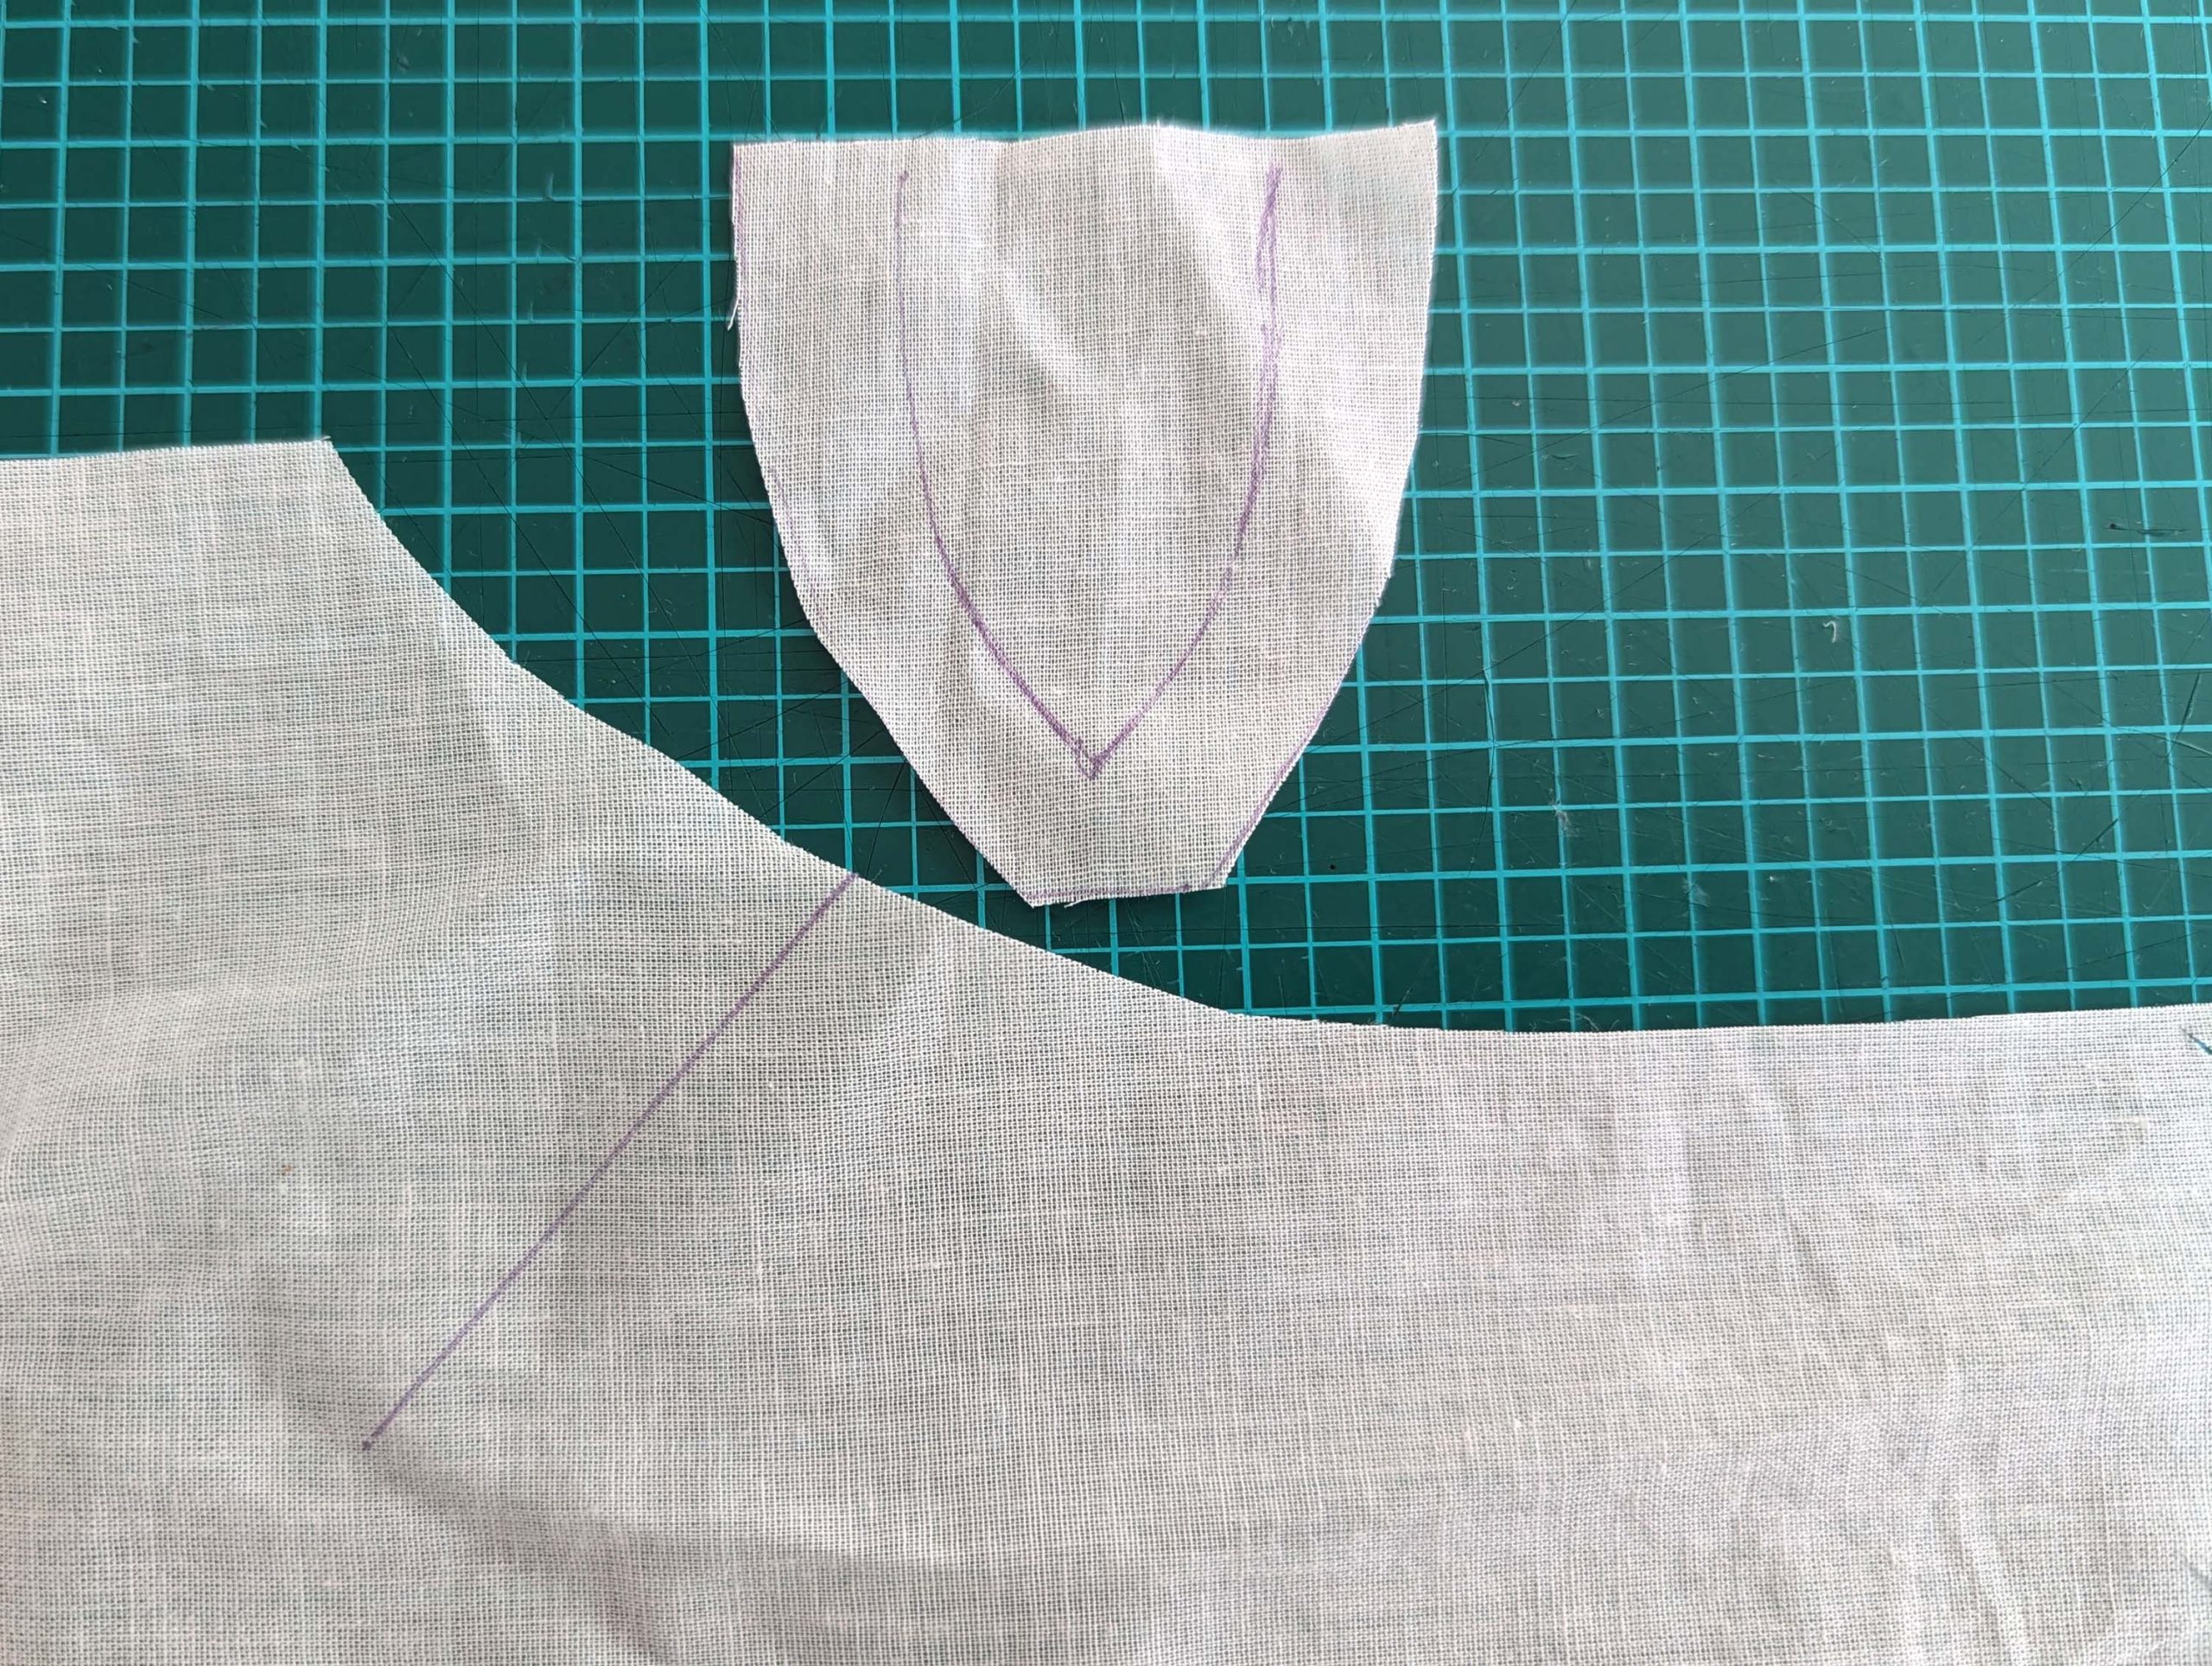
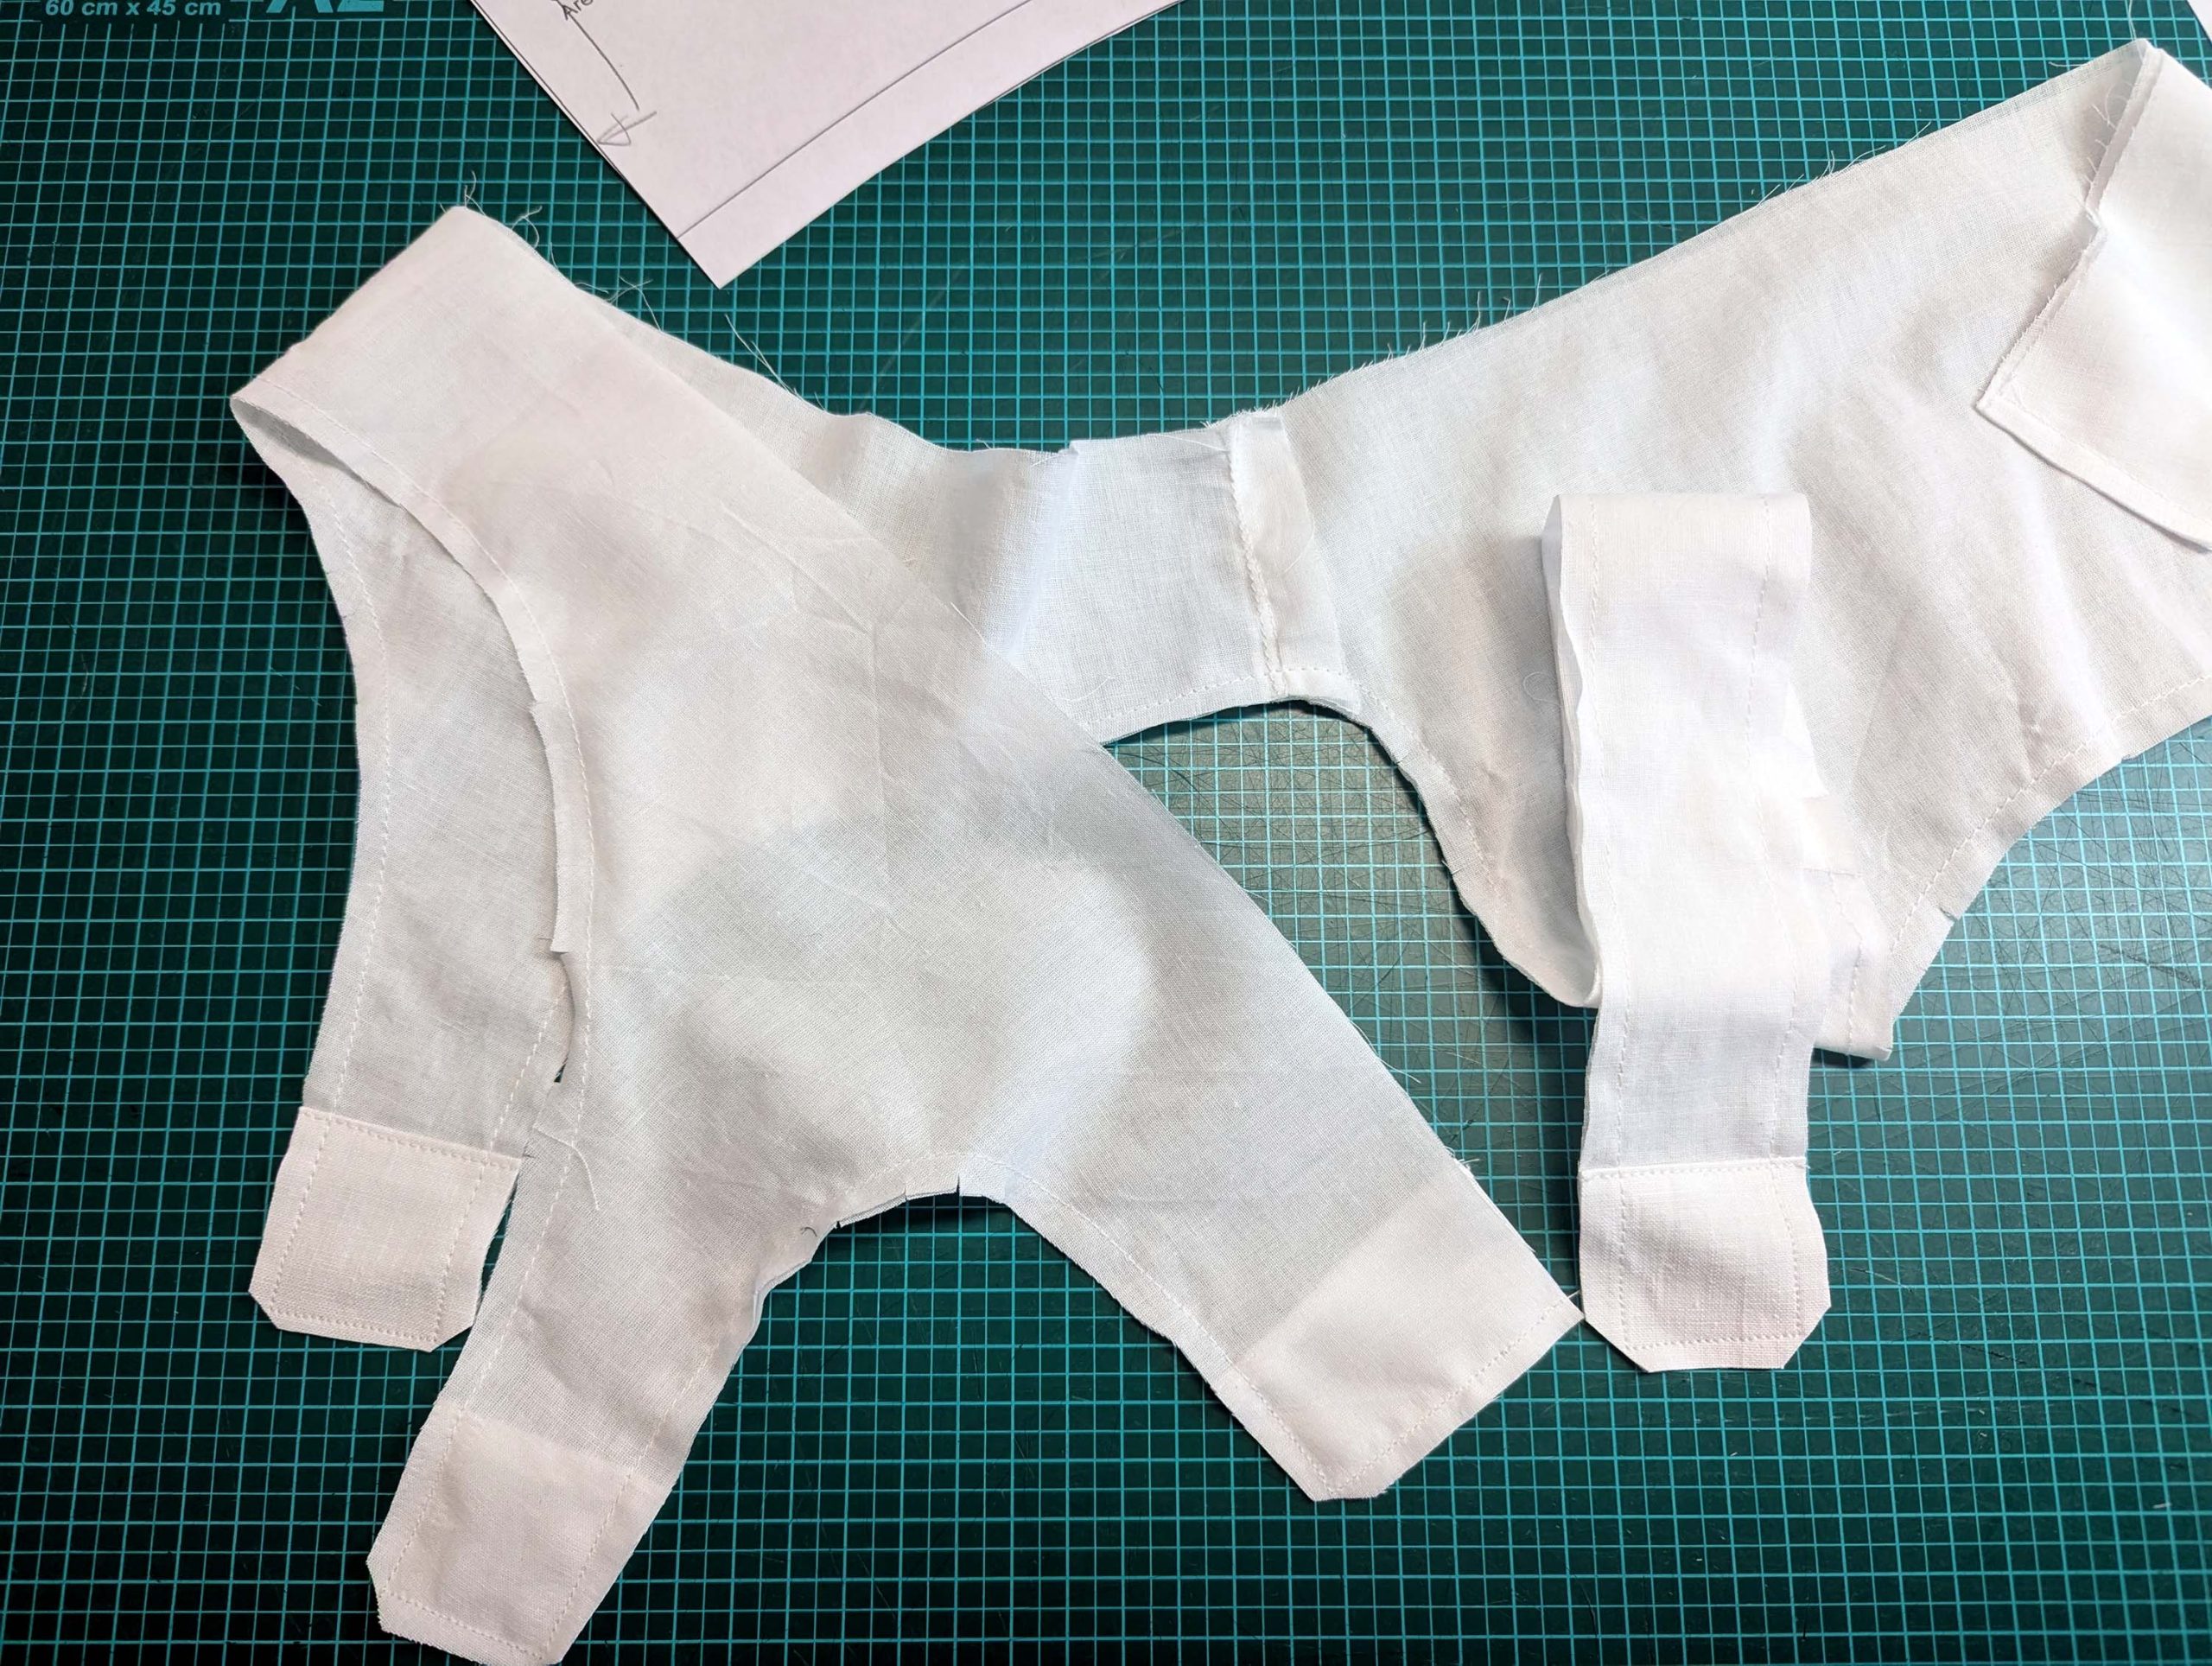
Näh das straps rechts auf rechts auf das Rückteil, right sides together, and press the seam allowance towards the straps and topstitch. Sew the right side seam, right sides together, press the seam allowance towards the back, and topstitch. Insert the gussets and repeat all steps with the top layer, except the reinforcing.
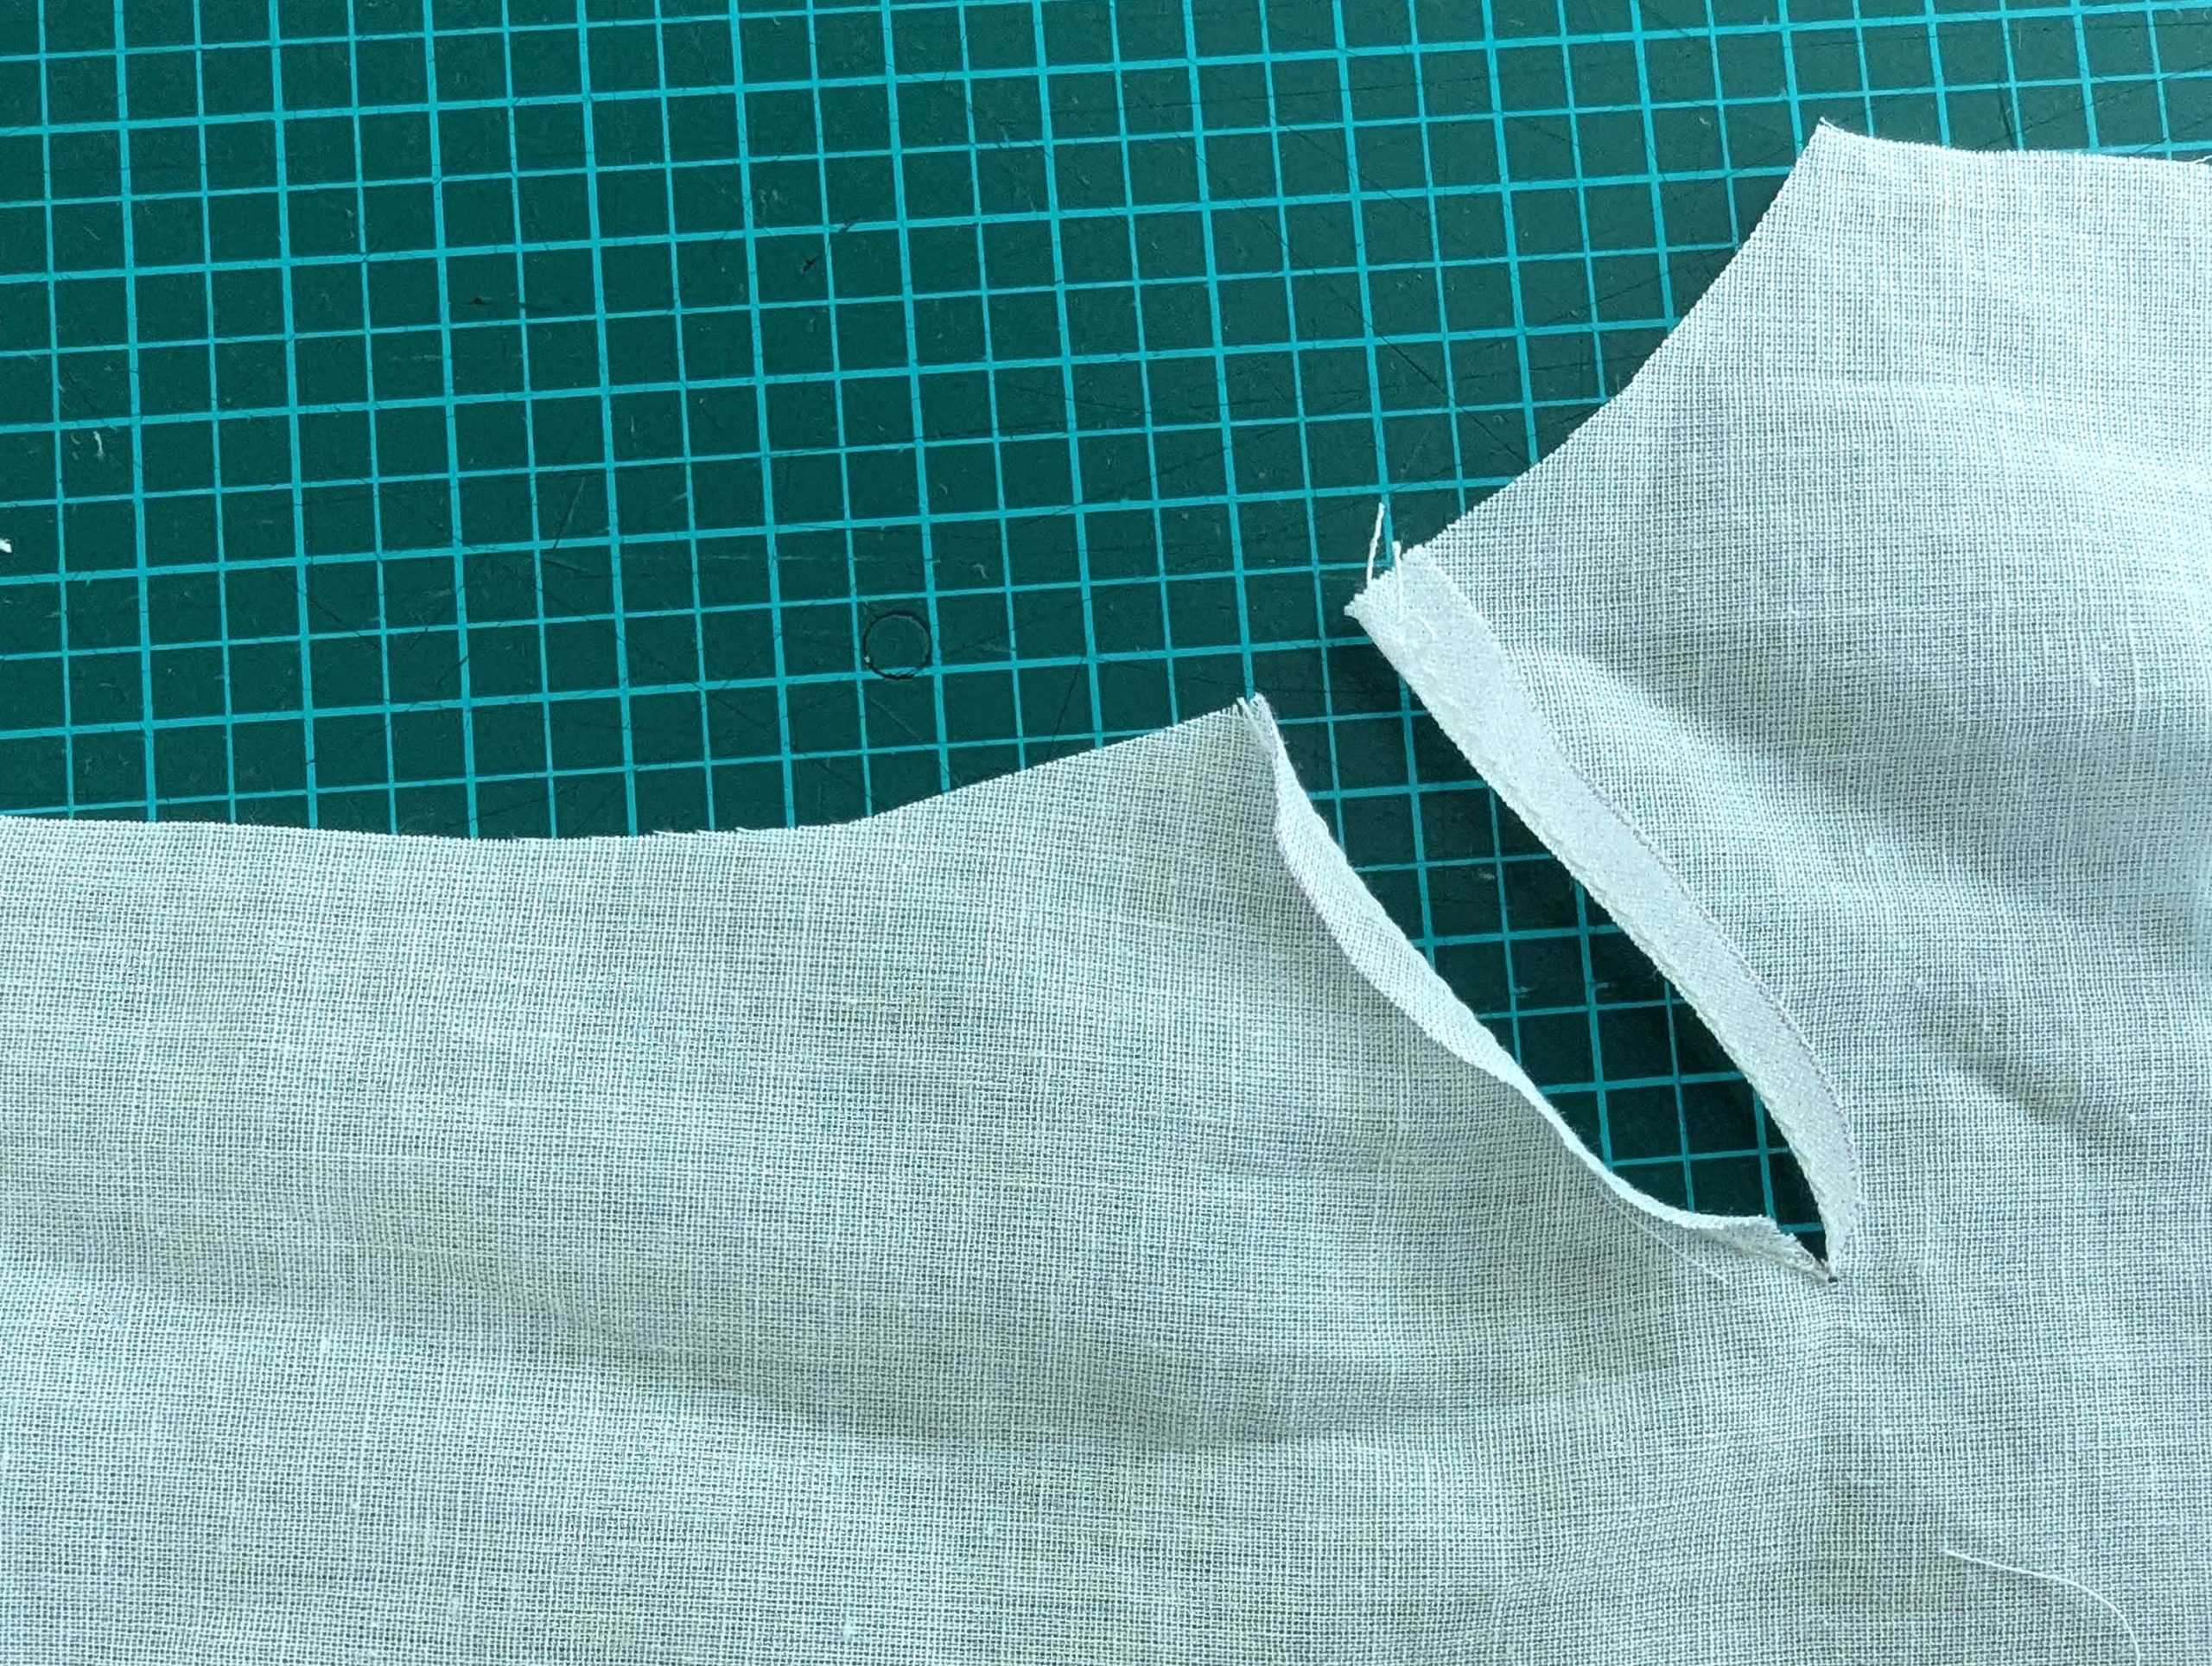
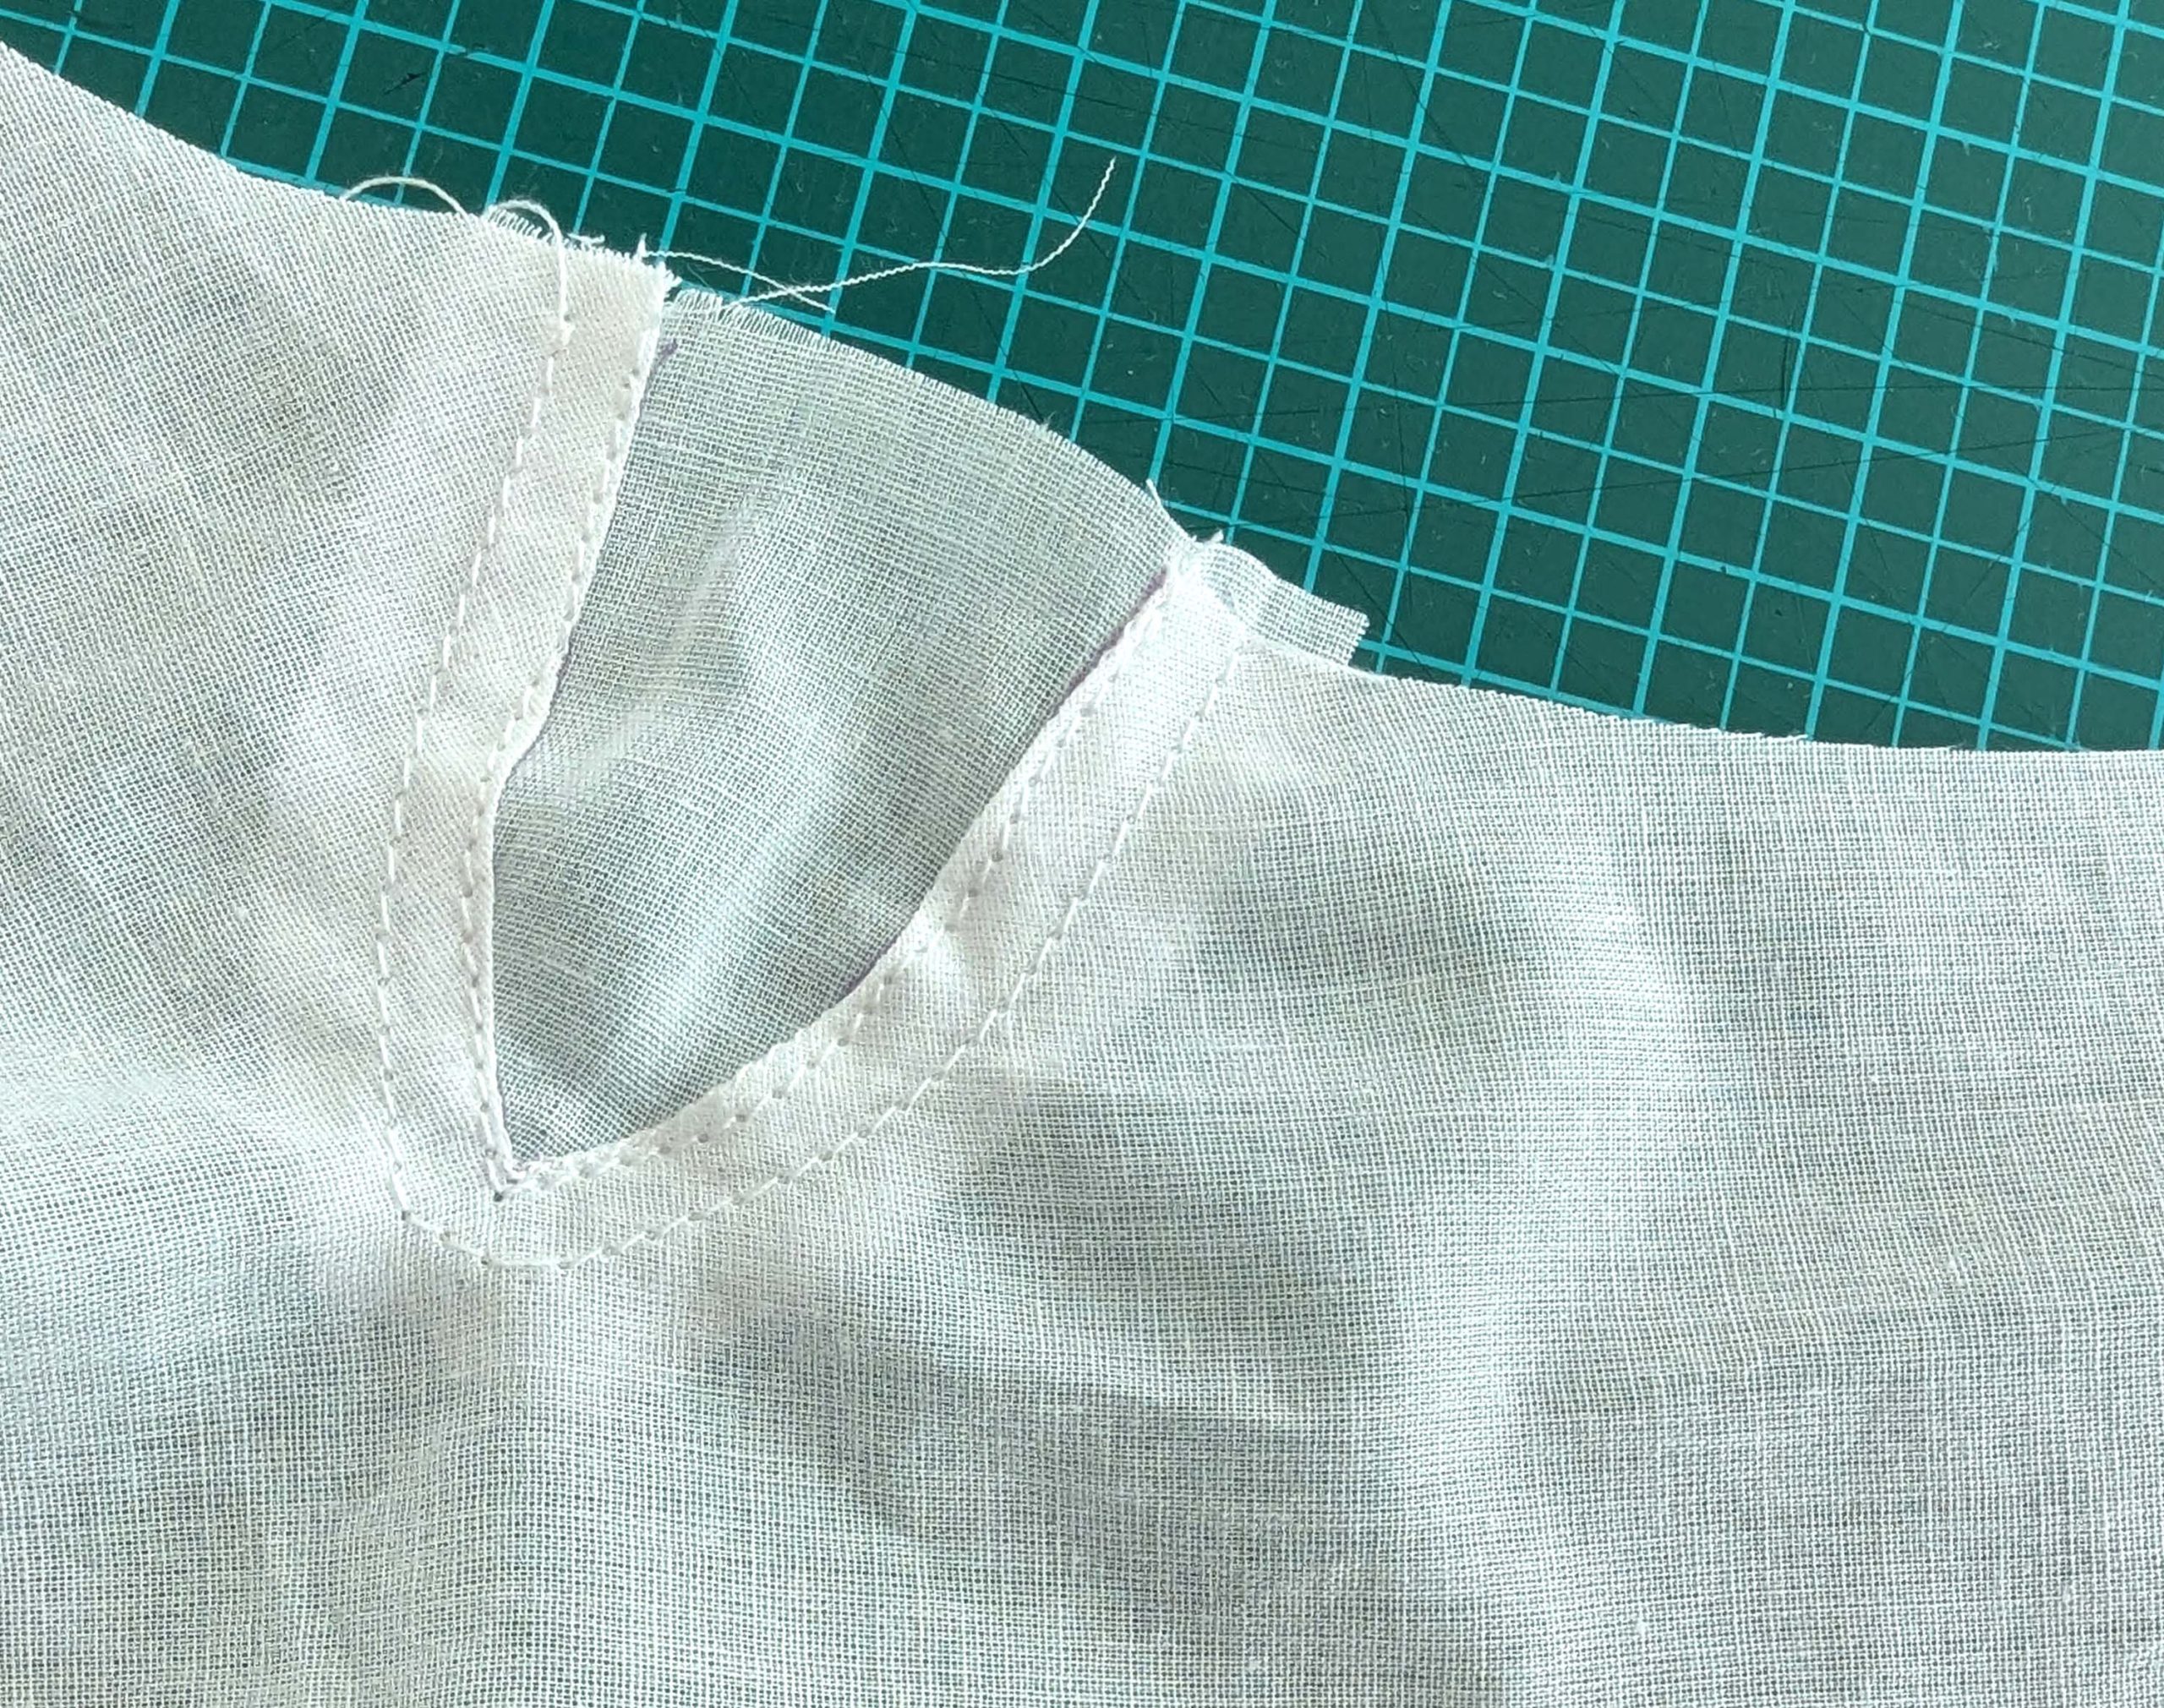
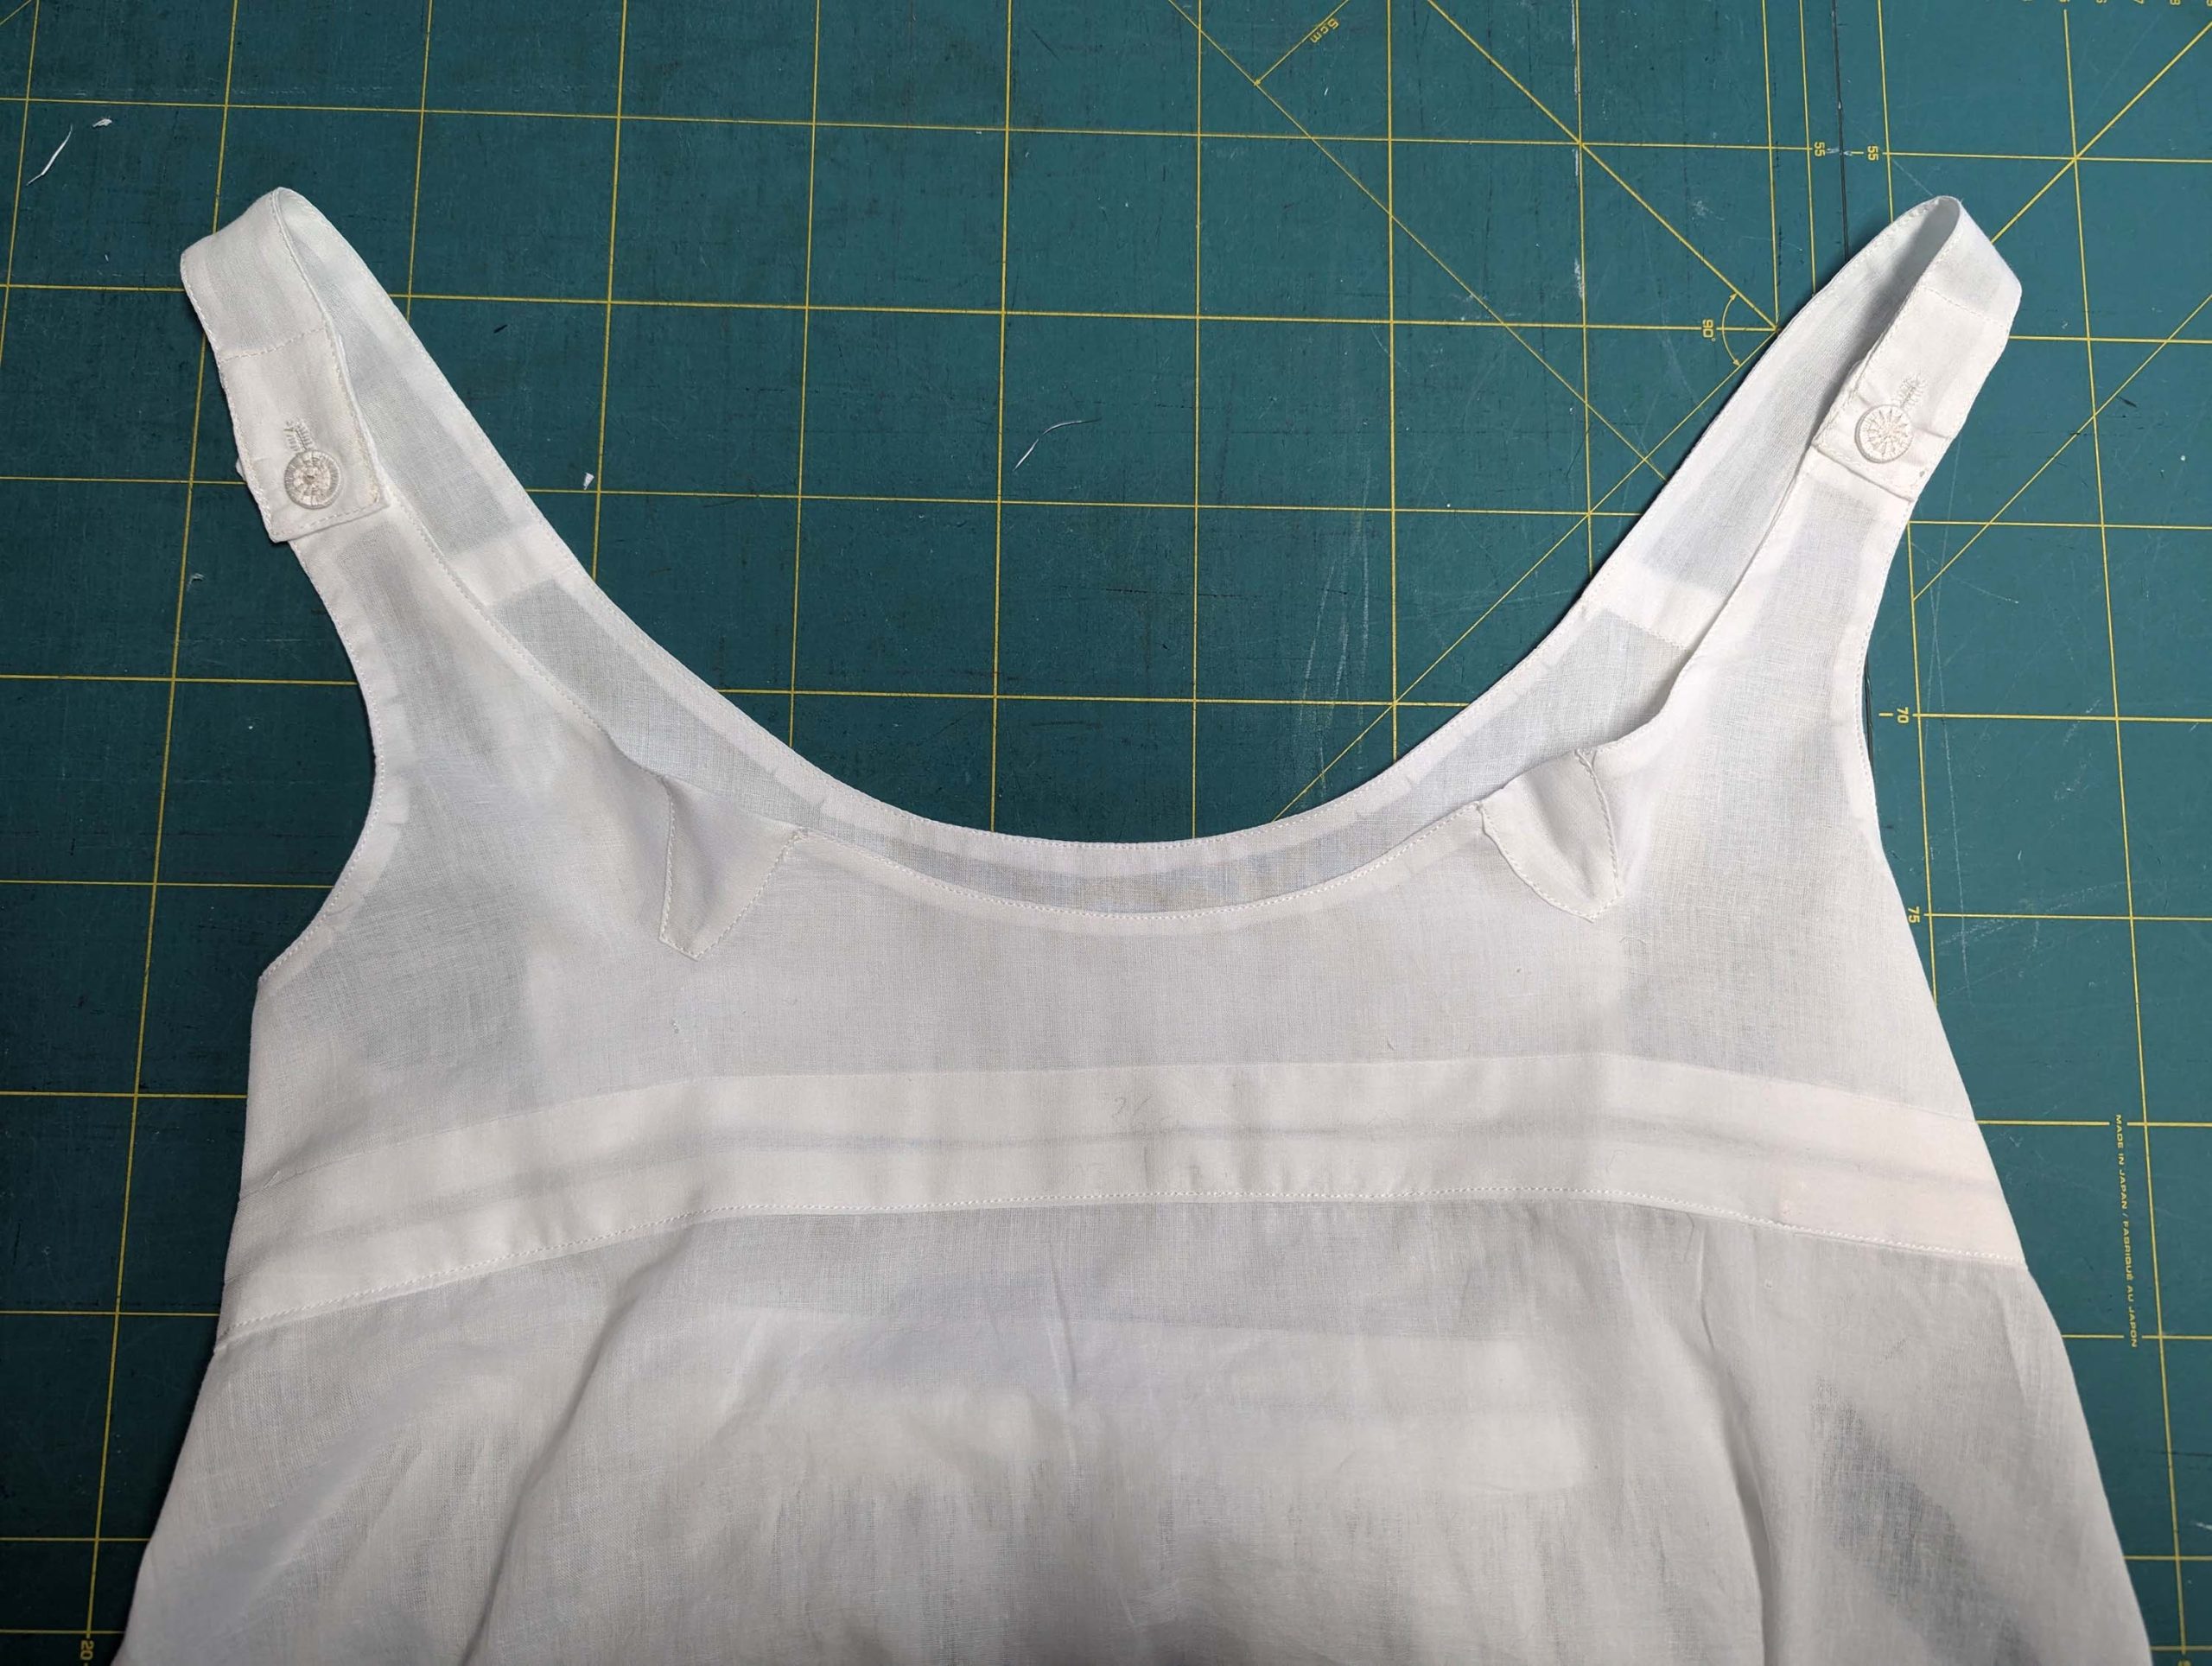
Richte die top and lining layer, right sides together, and stitch along the left side, armholes, neckline, and straps, reducing the stitch length at corners and curves. Trim back the seam allowance, notch at the curves, and turn the right way out. Press and topstitch along the edges.
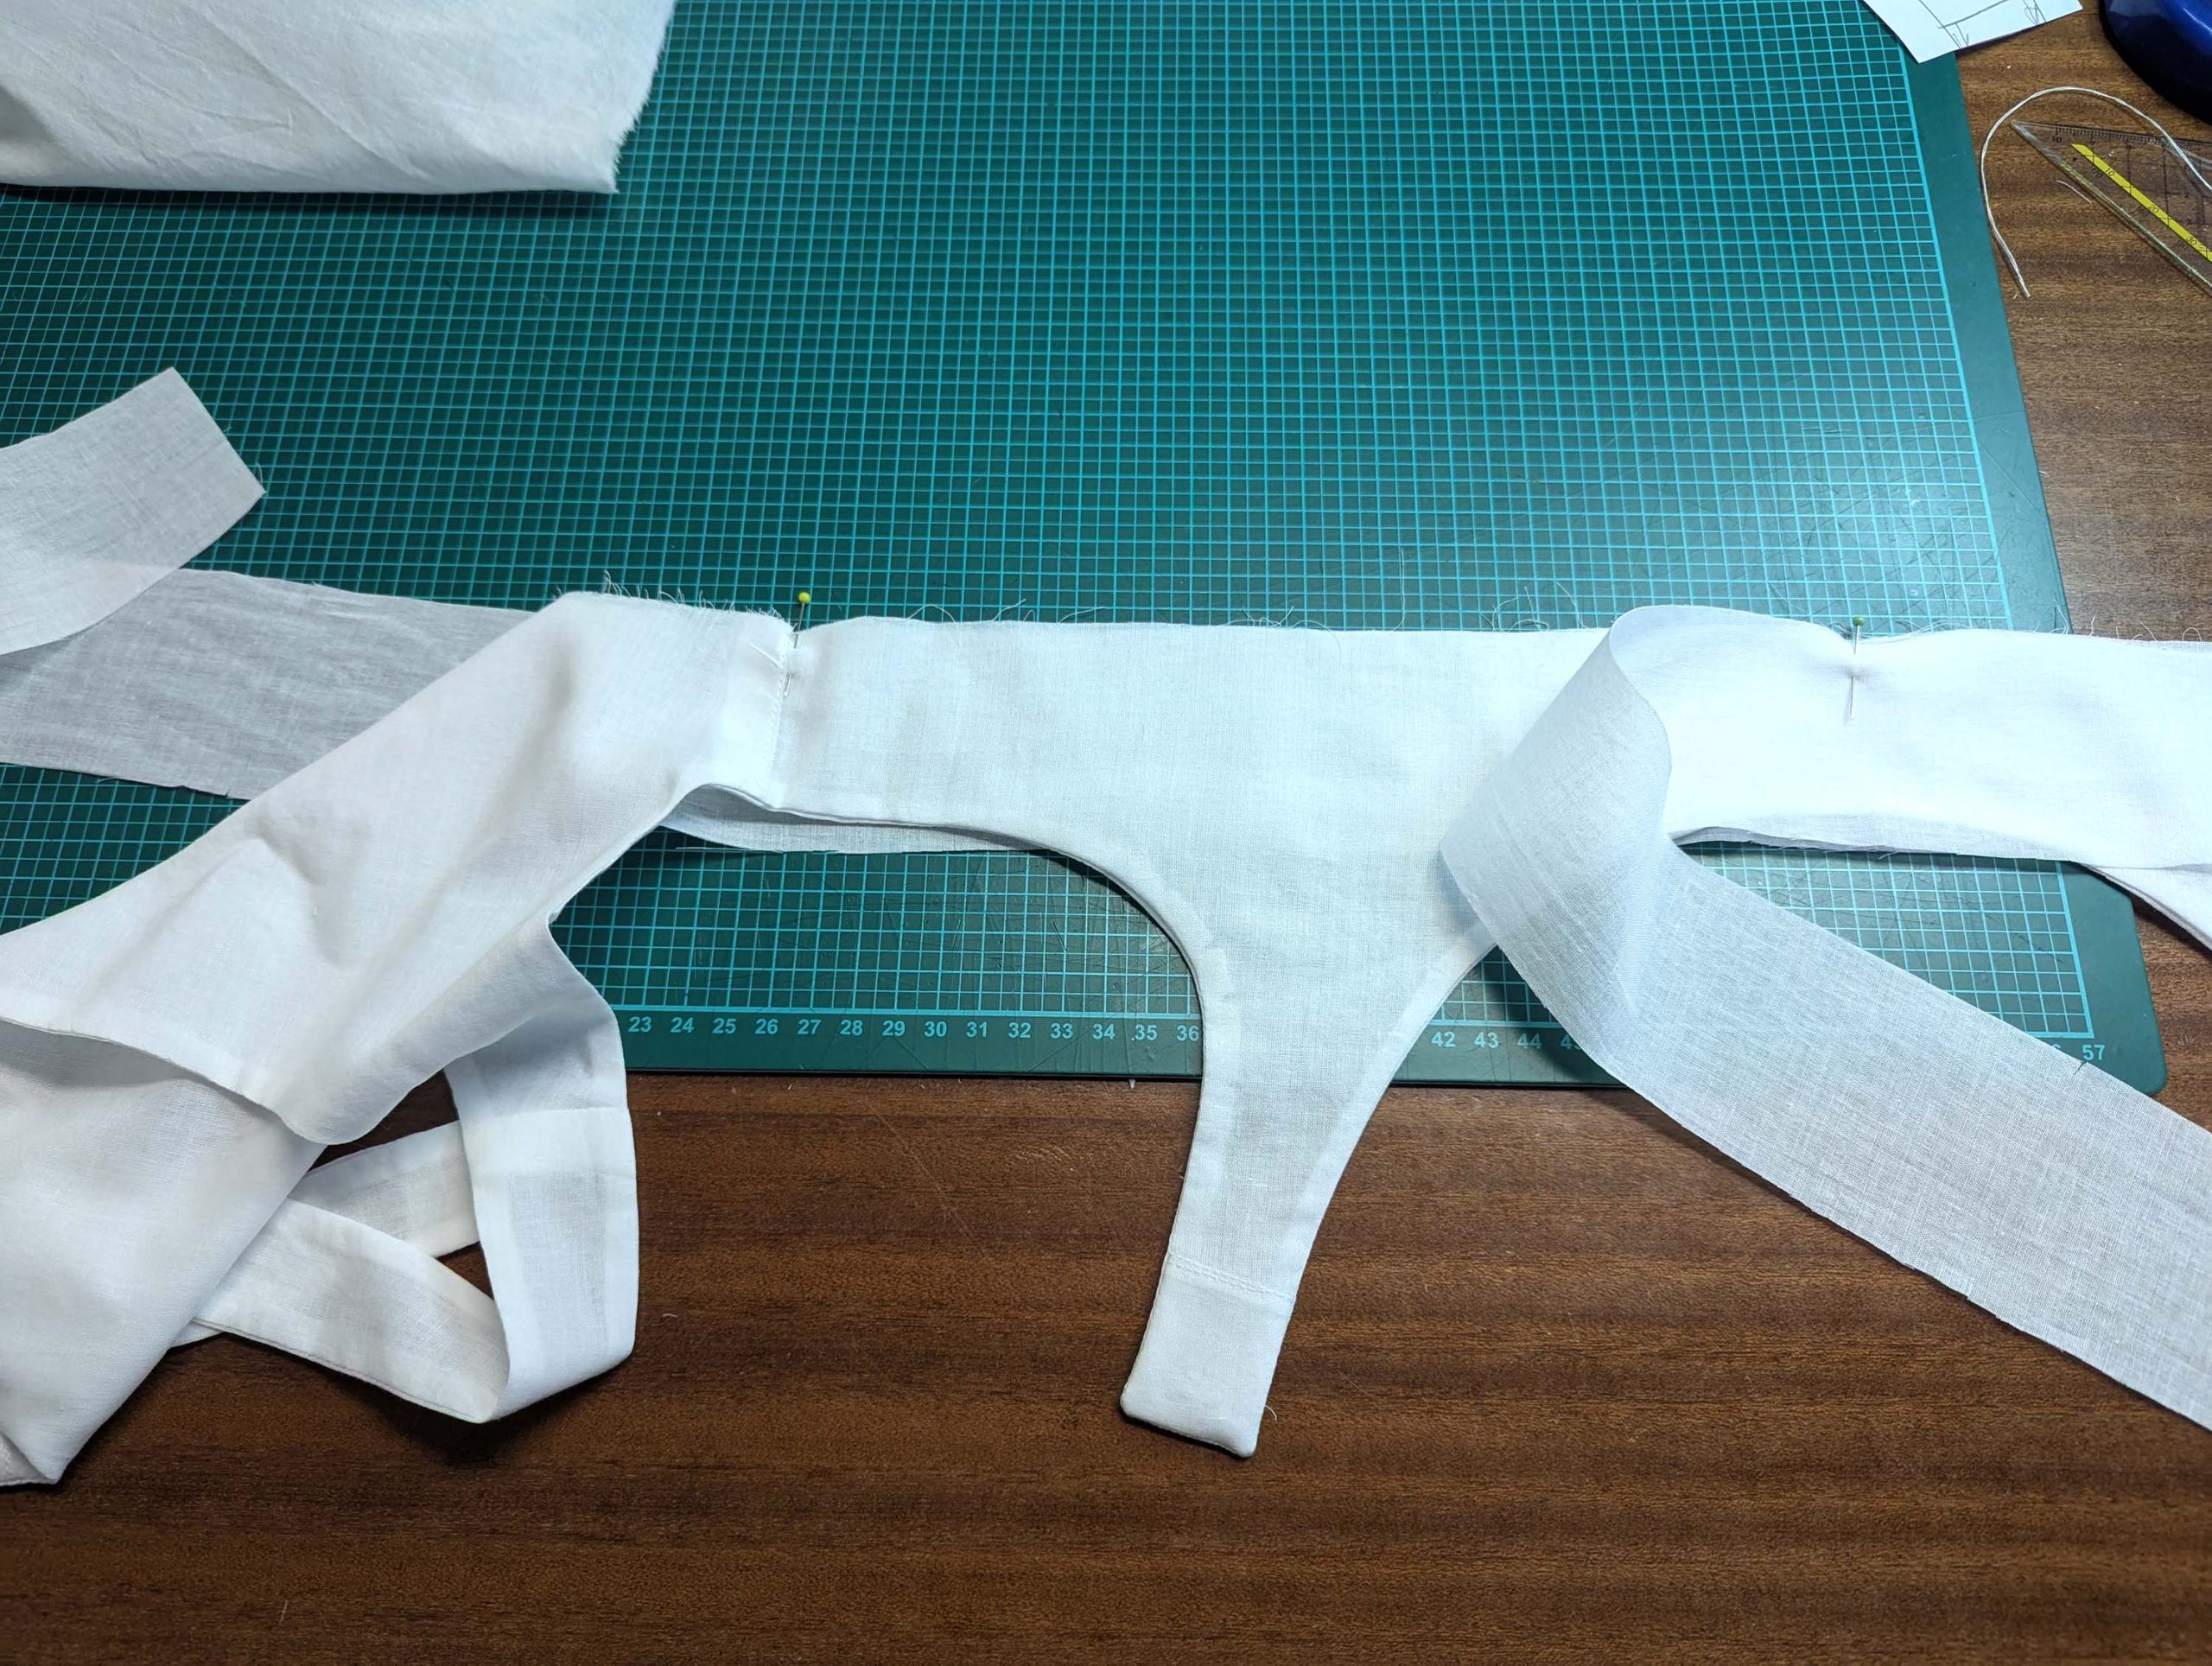
(3) Reinforce the ends of the waistband lining in the same way as described before. Without bodice: Line up the waistband and waistband lining, right sides together, and stitch along the top edge, understitch if wanted. With bodice: sandwich the bodice between the two layers, respecting all marks.
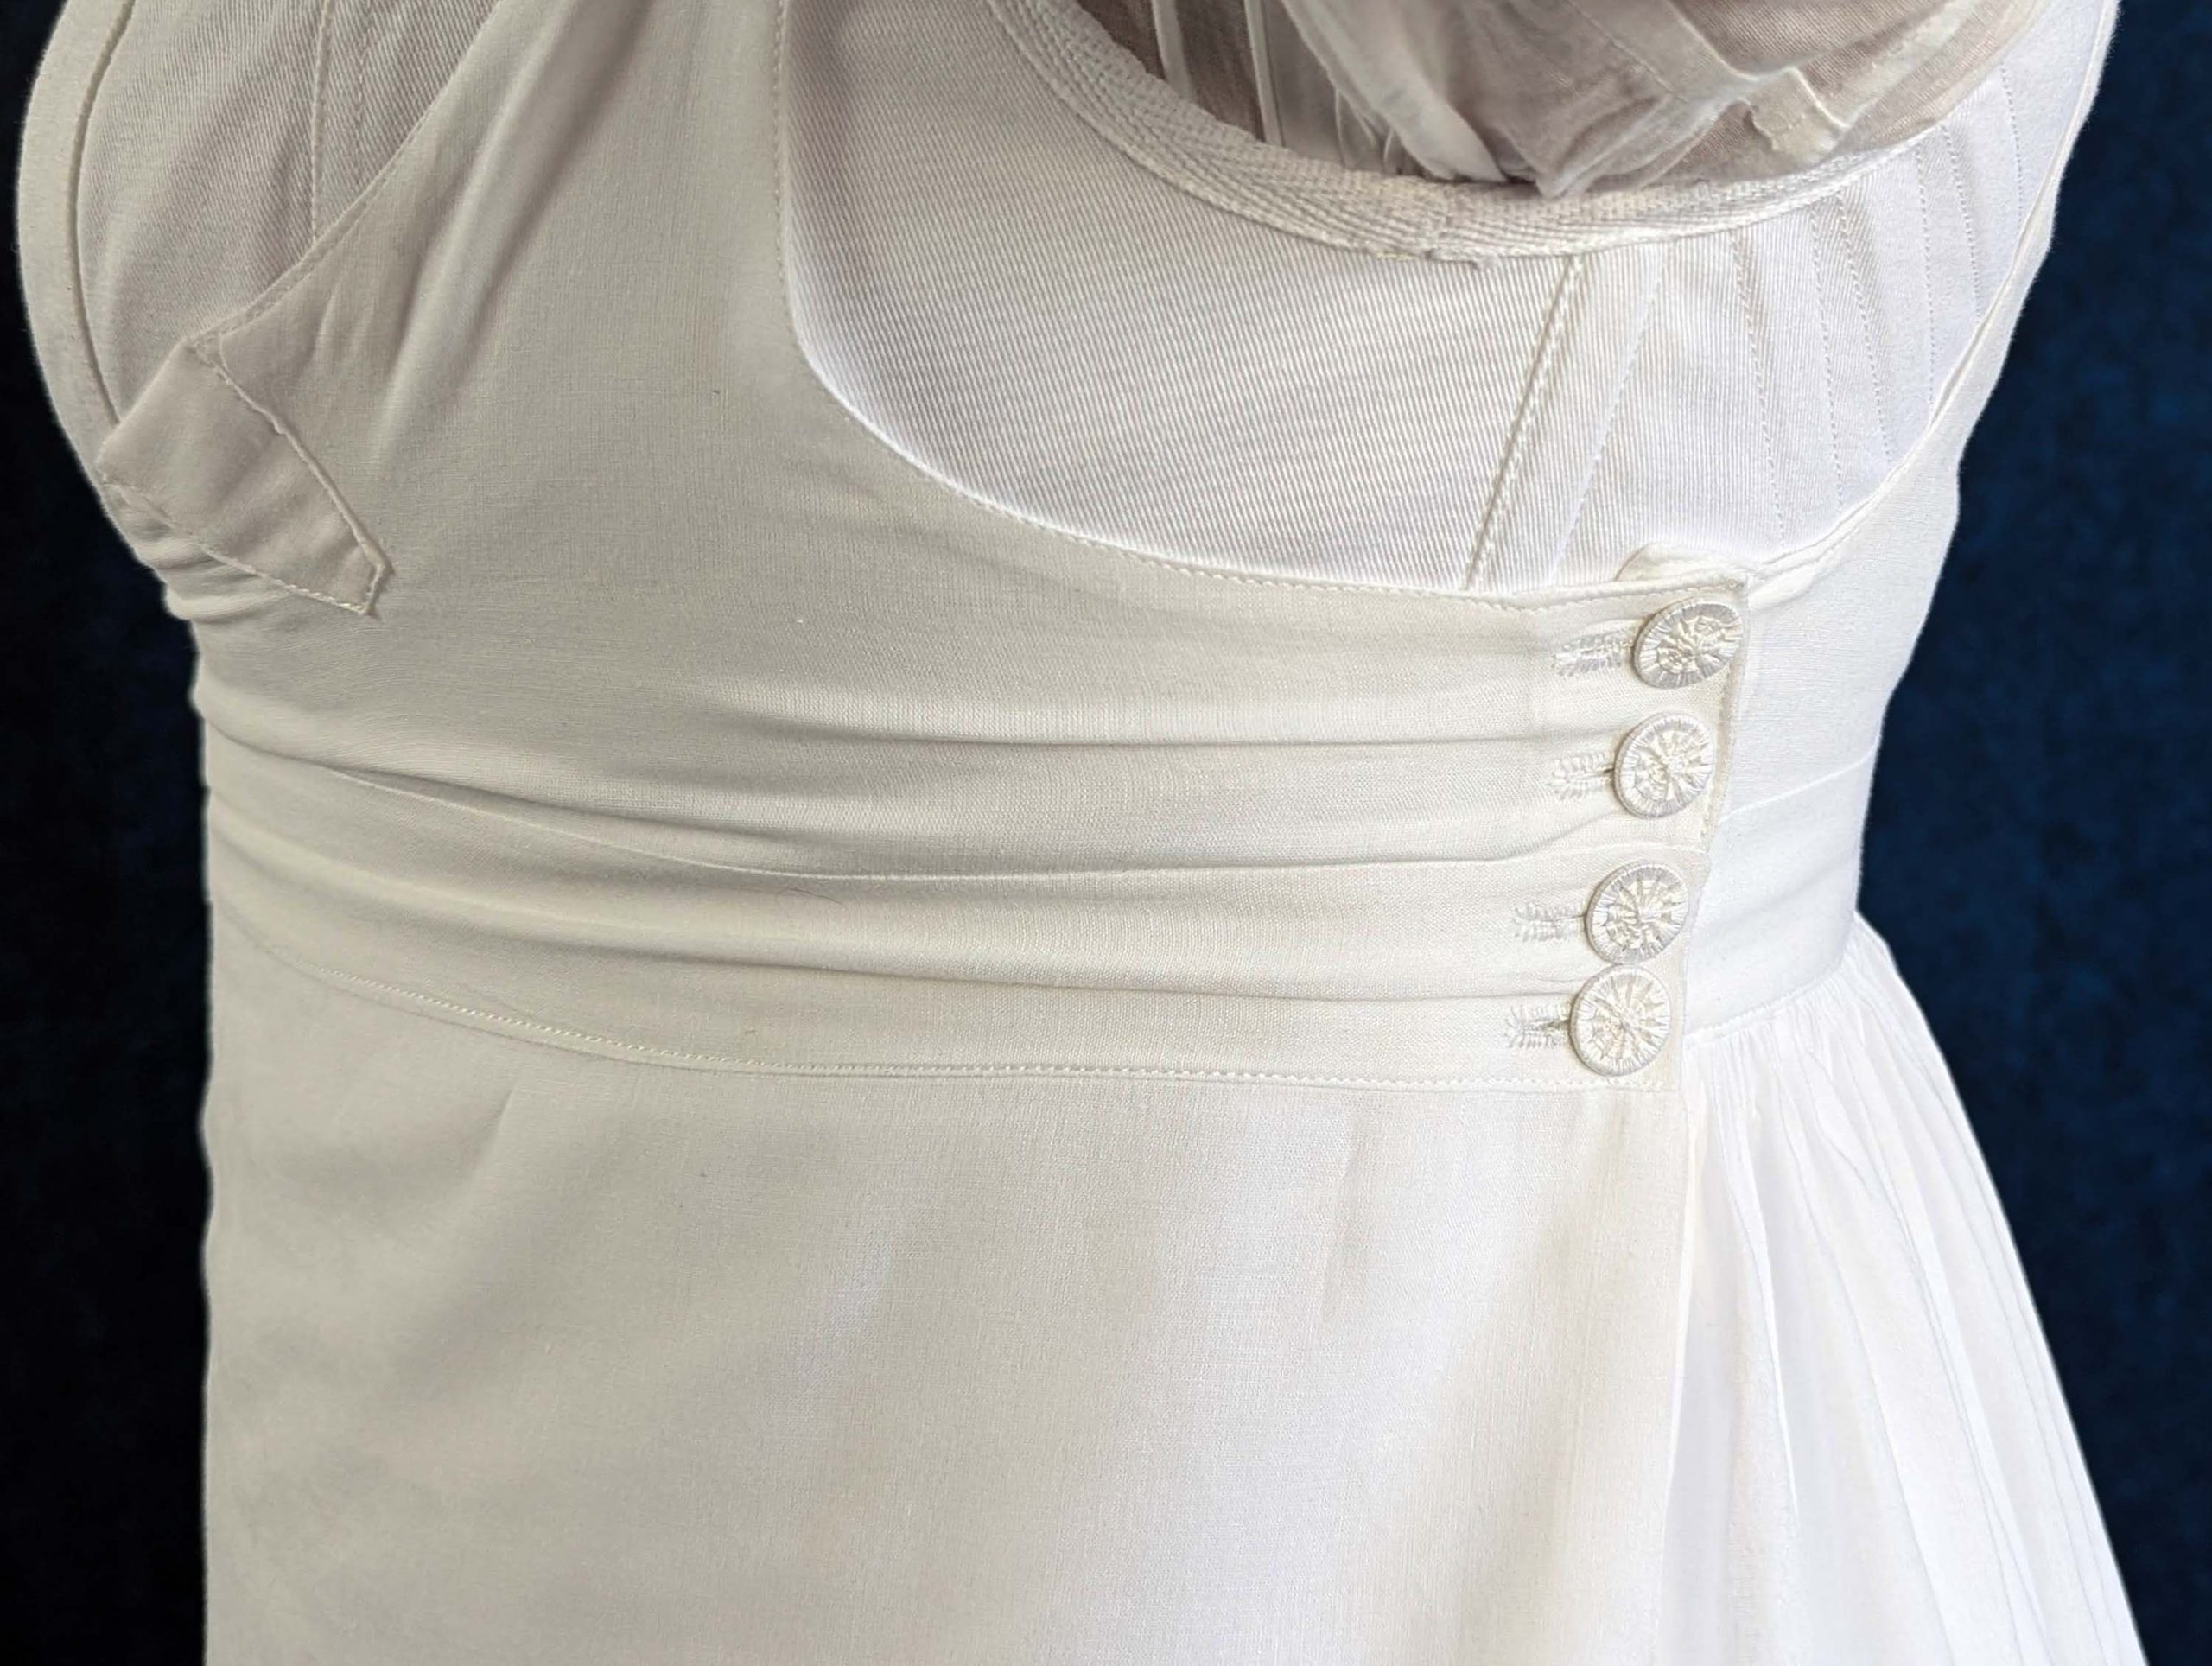
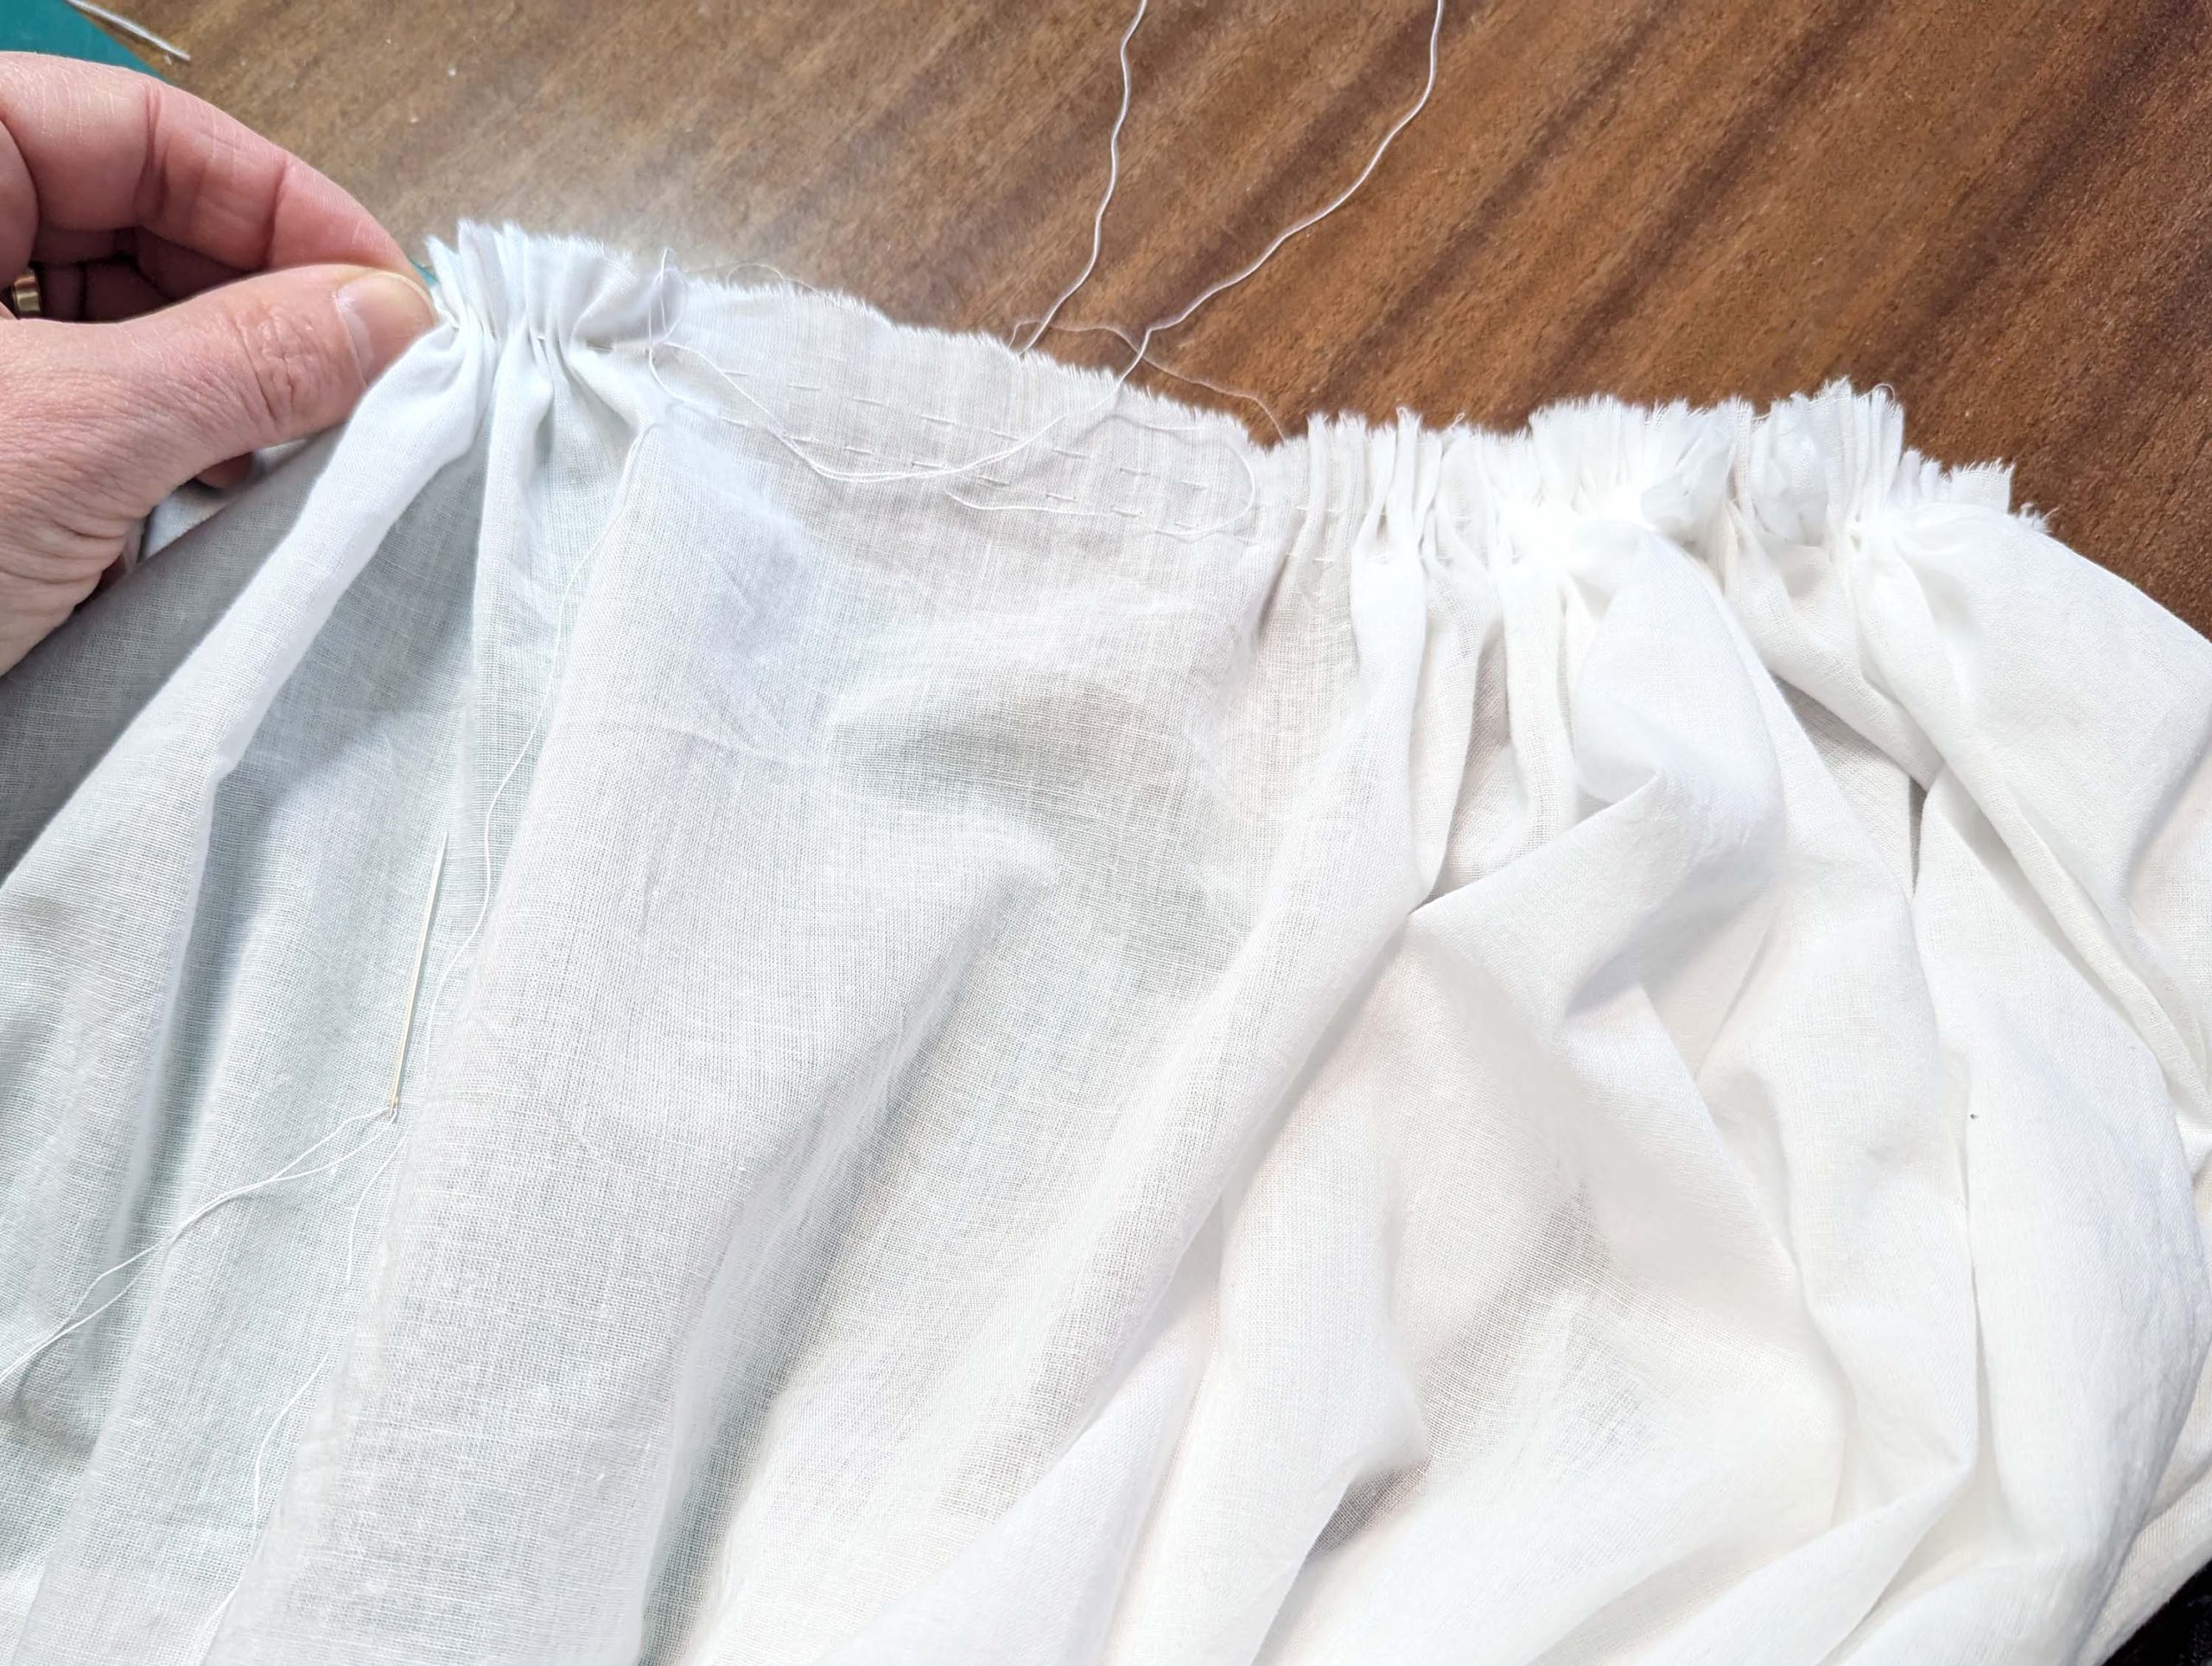
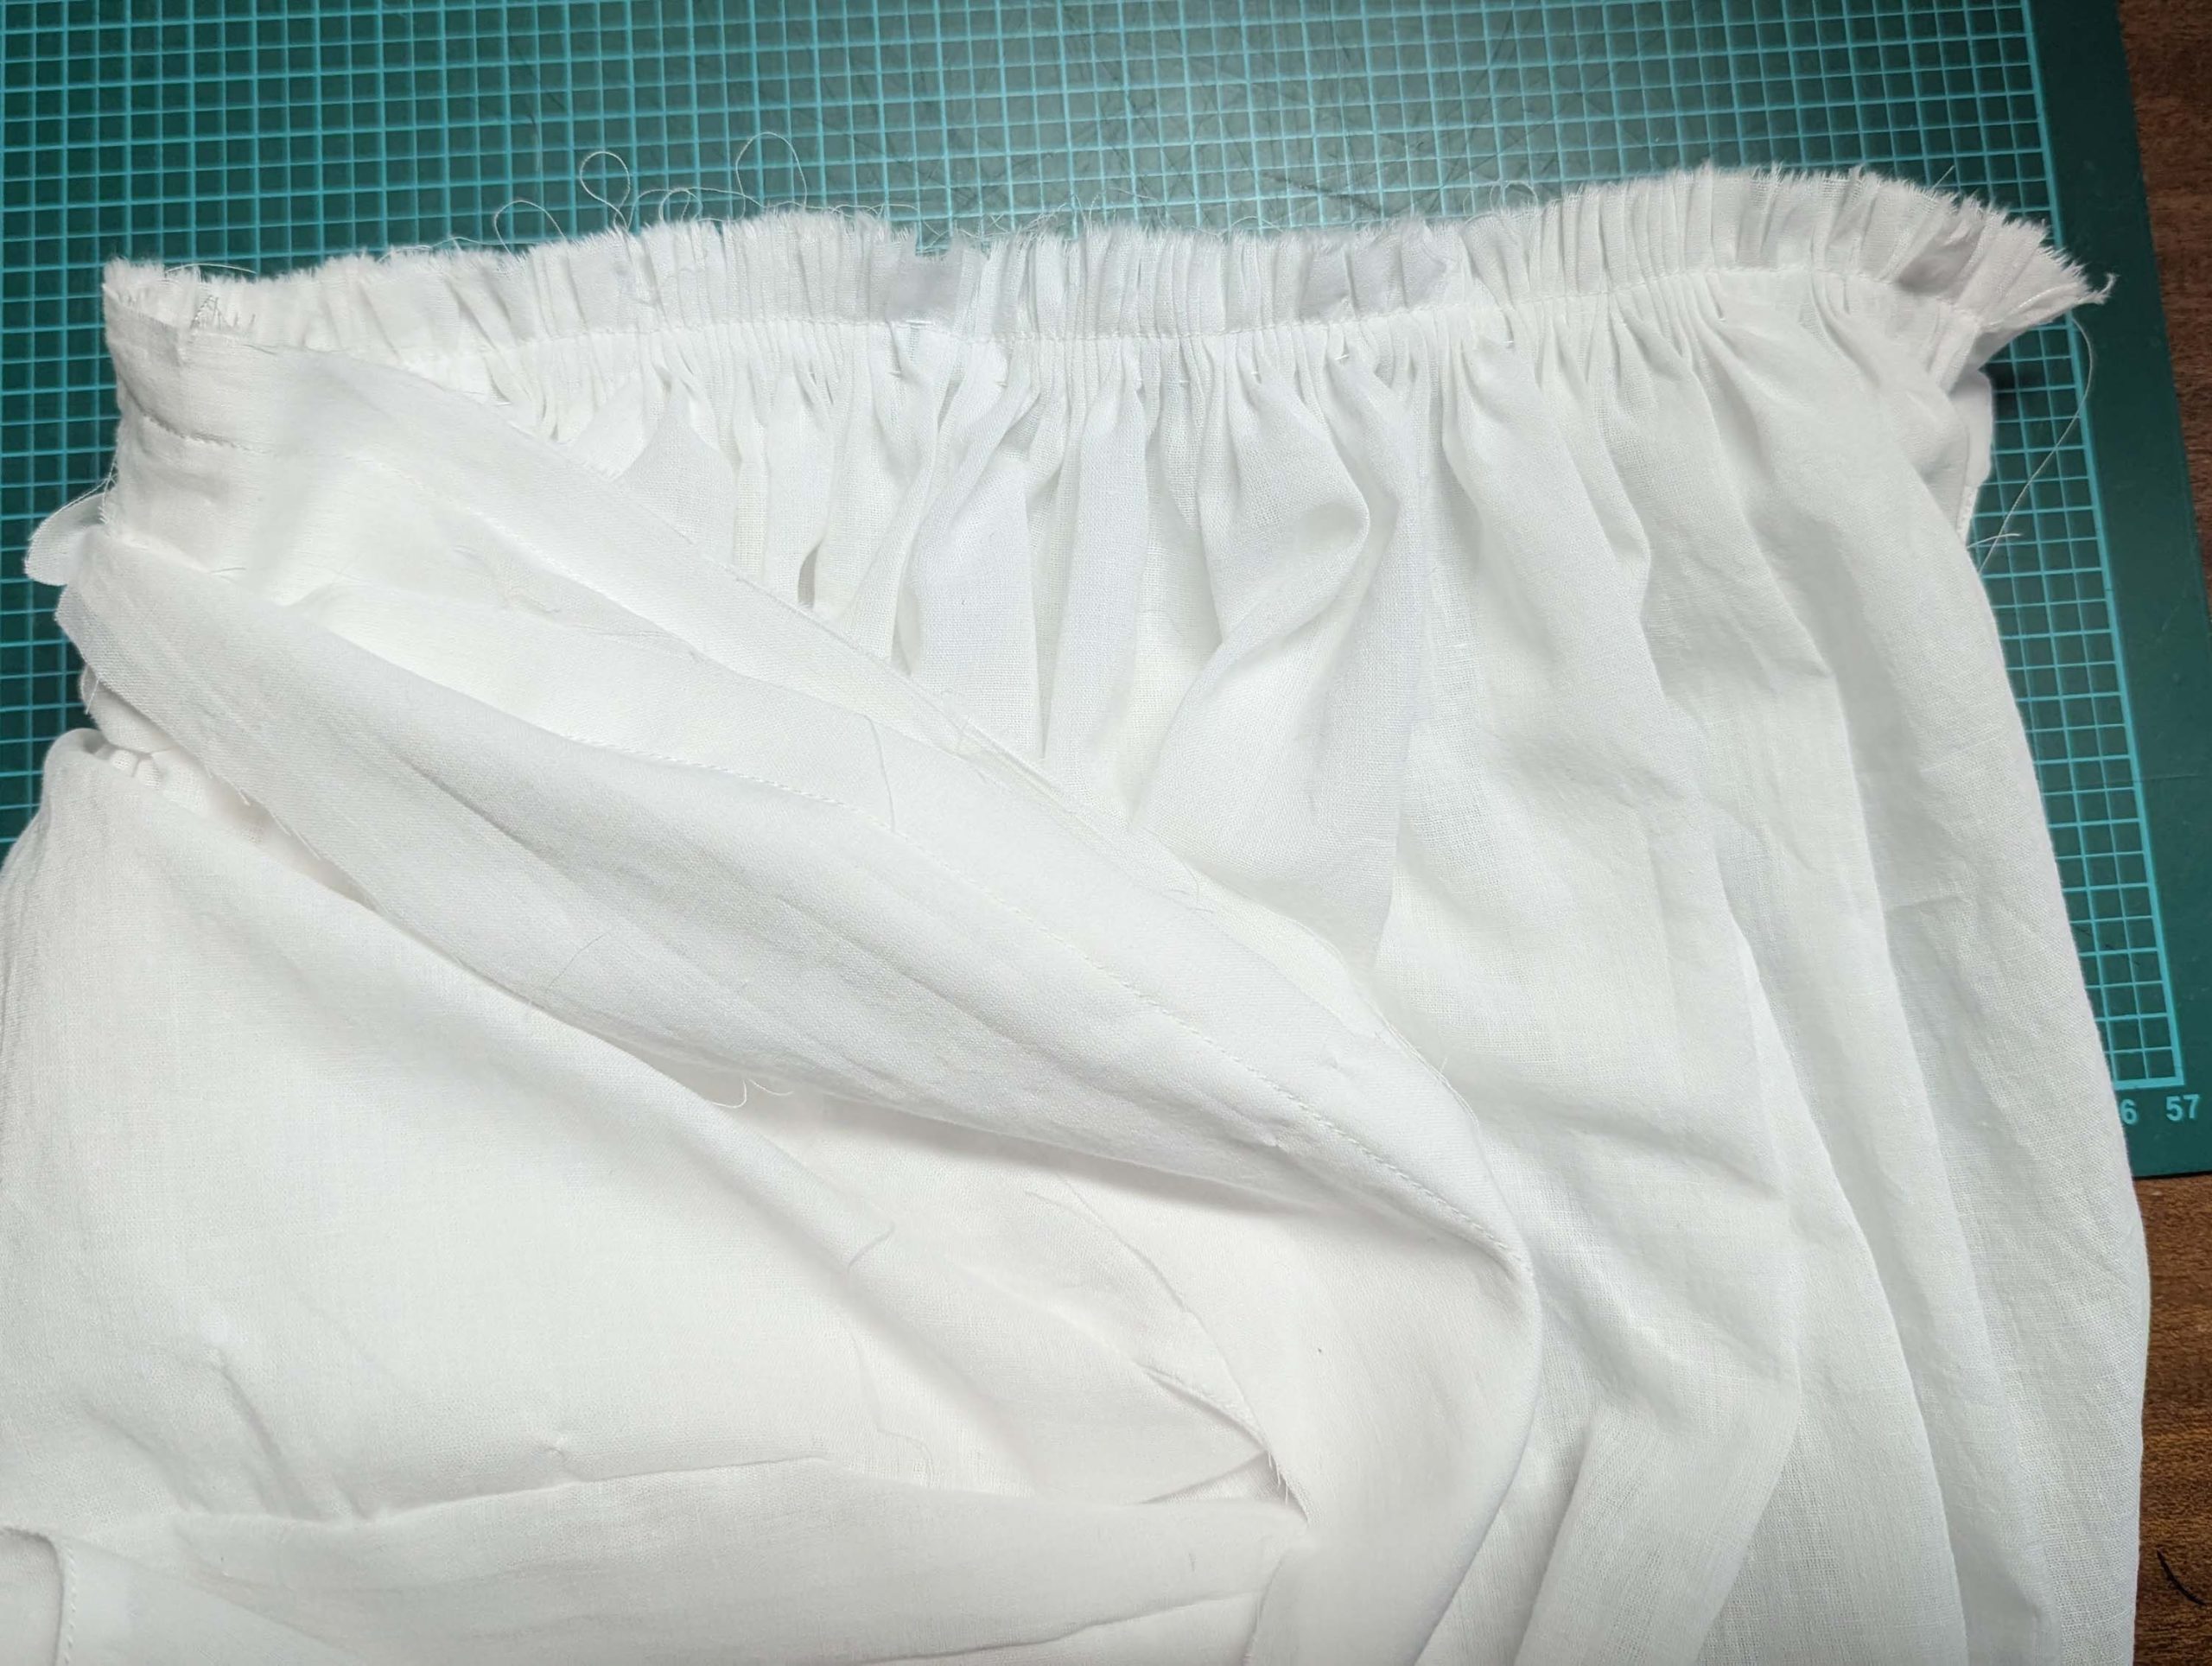
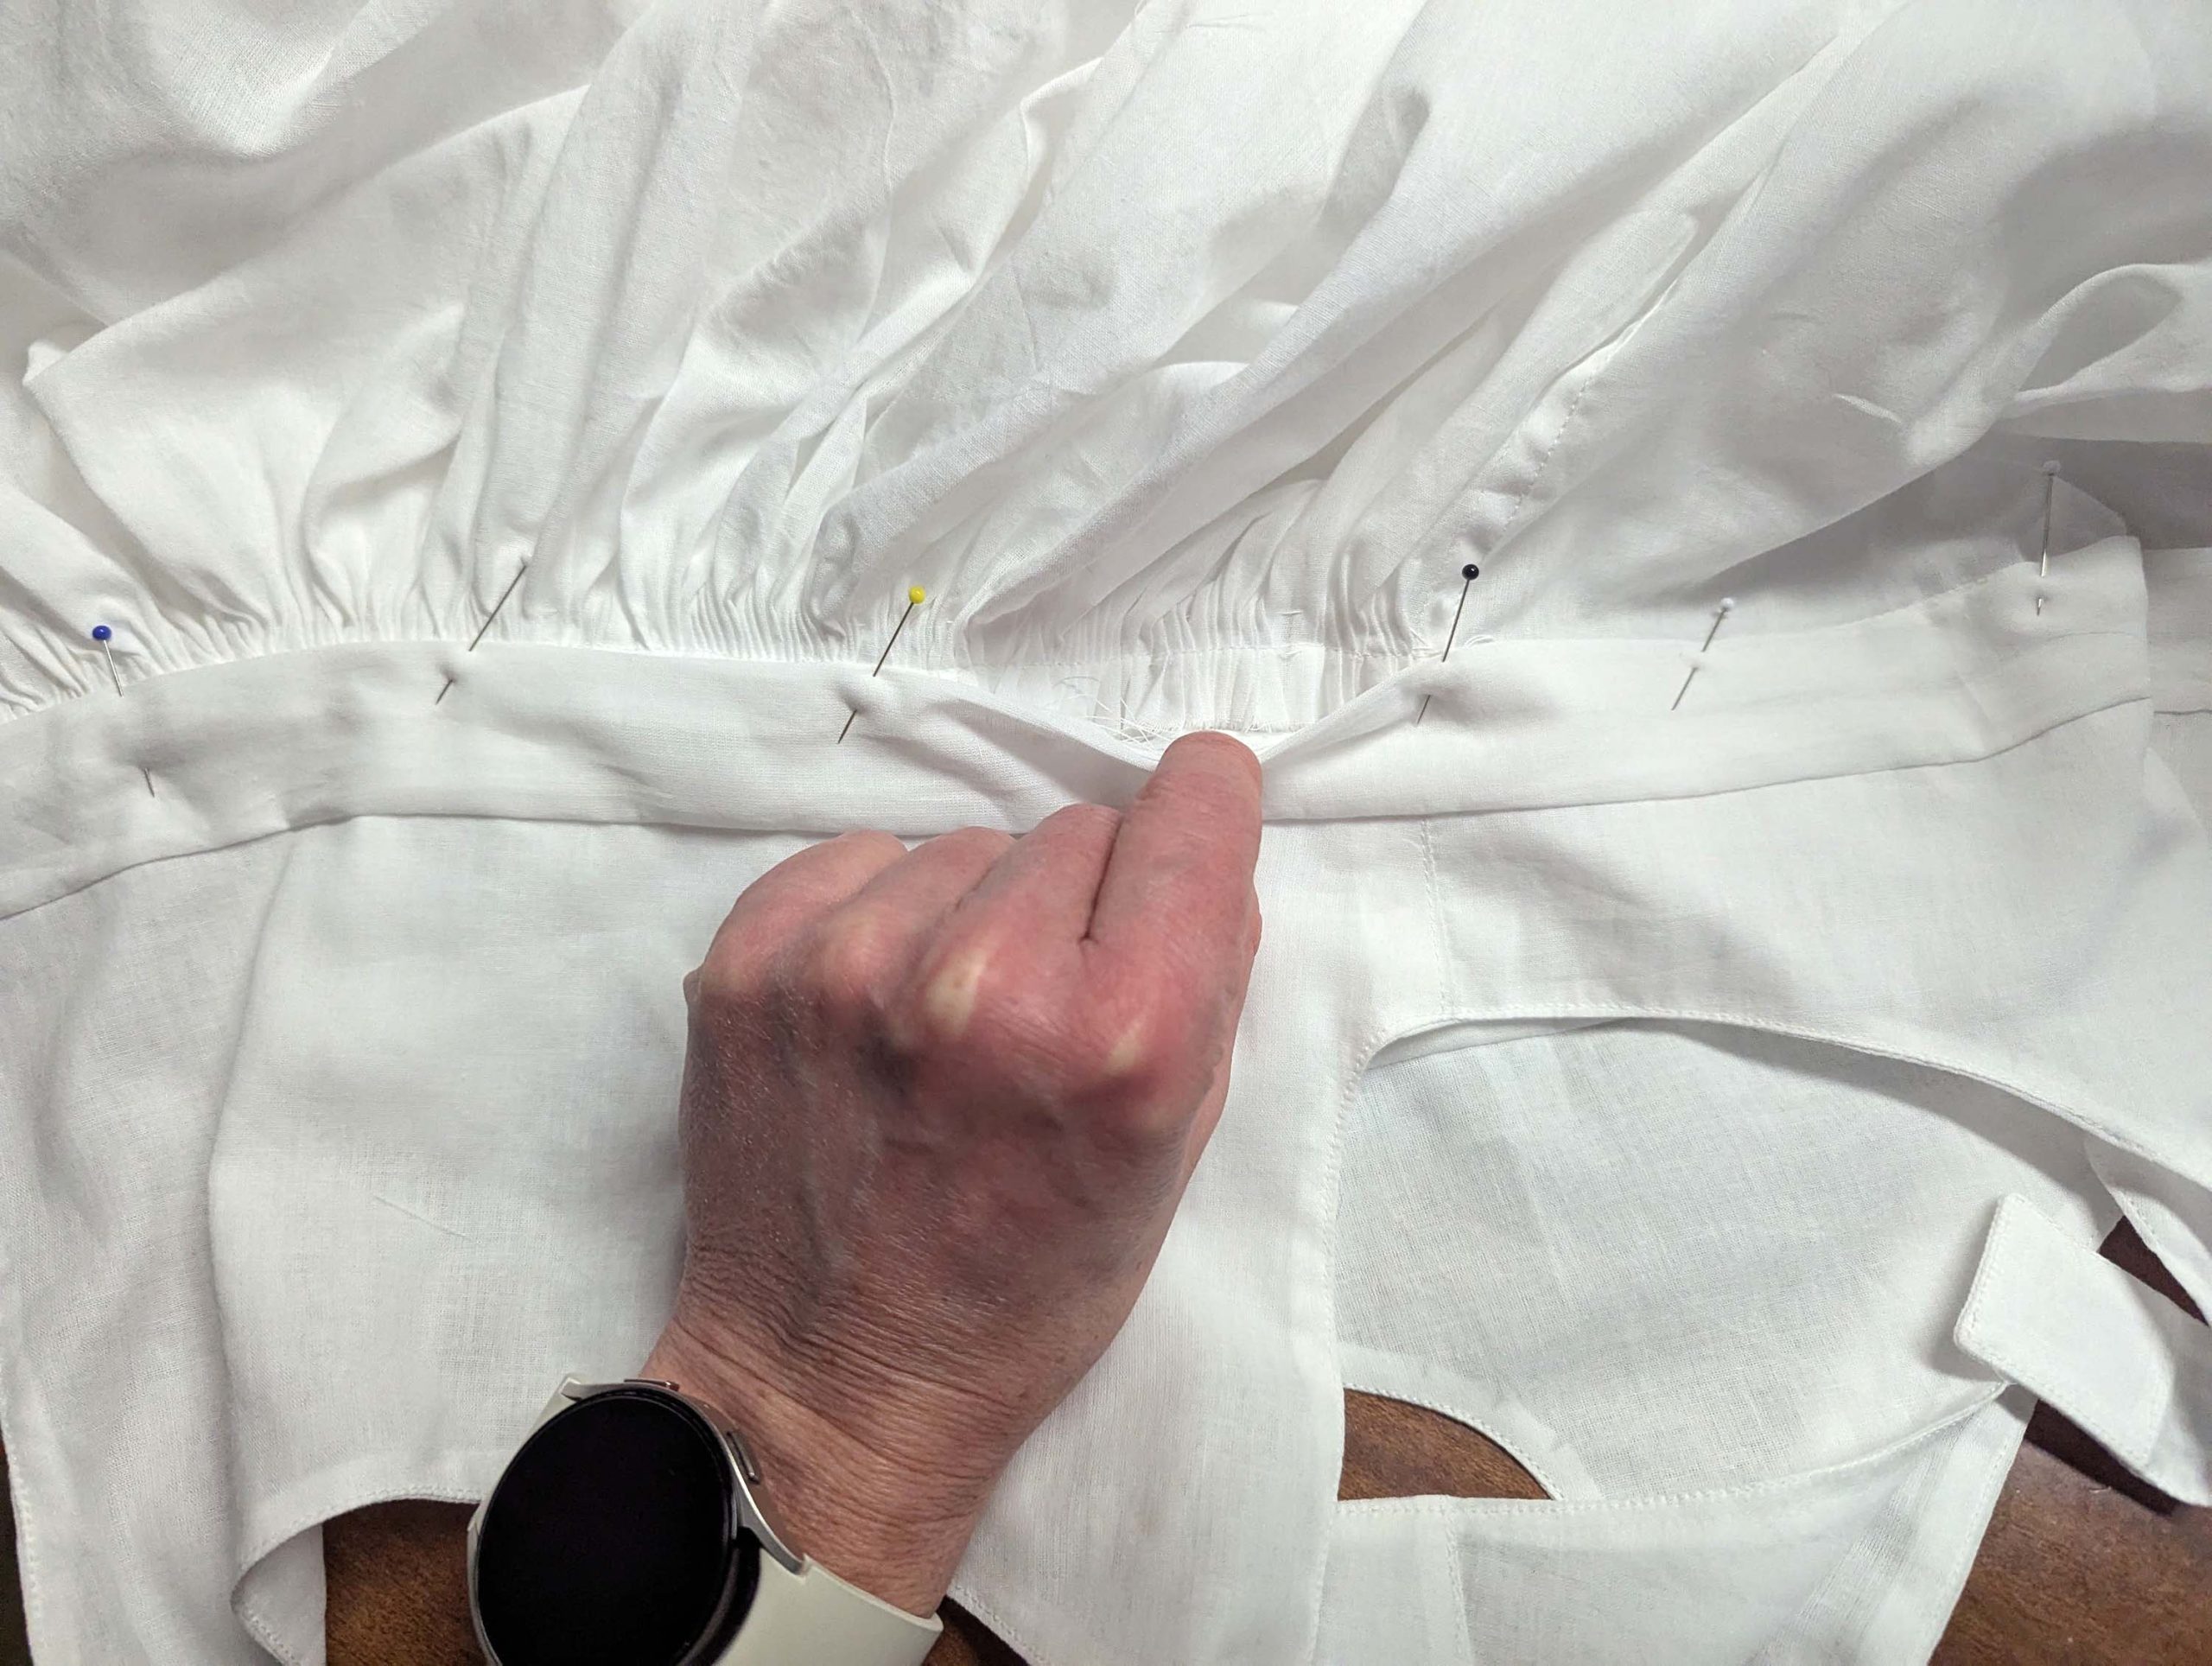
(4) Nimm das Rock panels and sew the right side seam, right sides together, finishing with a flat felled seam. Sew the left side seam, leaving a 12” (30cm) deep vent. Gather the top edge of the back. Sew the skirt to the waistband, right sides together, respecting all marks. At the back, pull the threads to match the waistband, and spread the pleats evenly, leaving the placket area plain. Fold the seam allowances towards the waistband after sewing. Sew the short ends right sides together. On the inside, line up the bottom edge of the waistband lining with the stitching line of the skirt and fell stitch in place.
Work a buttonhole at the front end of the waistband and sew on a matching button at the back end. Work two Knopflöcher at the left side of the front and a buttonhole on each strap. Sew-on the buttons correspondingly.
(5) Without bodice: For the straps, cut a twill tape about 1” (2.5 cm) wide to the needed length and sew it to the back of the waistband where indicated on the pattern. At the front, sew to the waistband as indicated on the pattern; alternatively, work buttonholes to make the straps adjustable.
(6) The last step is to check the length and trim back the des Rocks when needed. Double-turn in the hem and stitch in place.