(6) Take the shoulder straps and turn in the seam allowances between (7) and (8). Fell to the basic layer as described before.
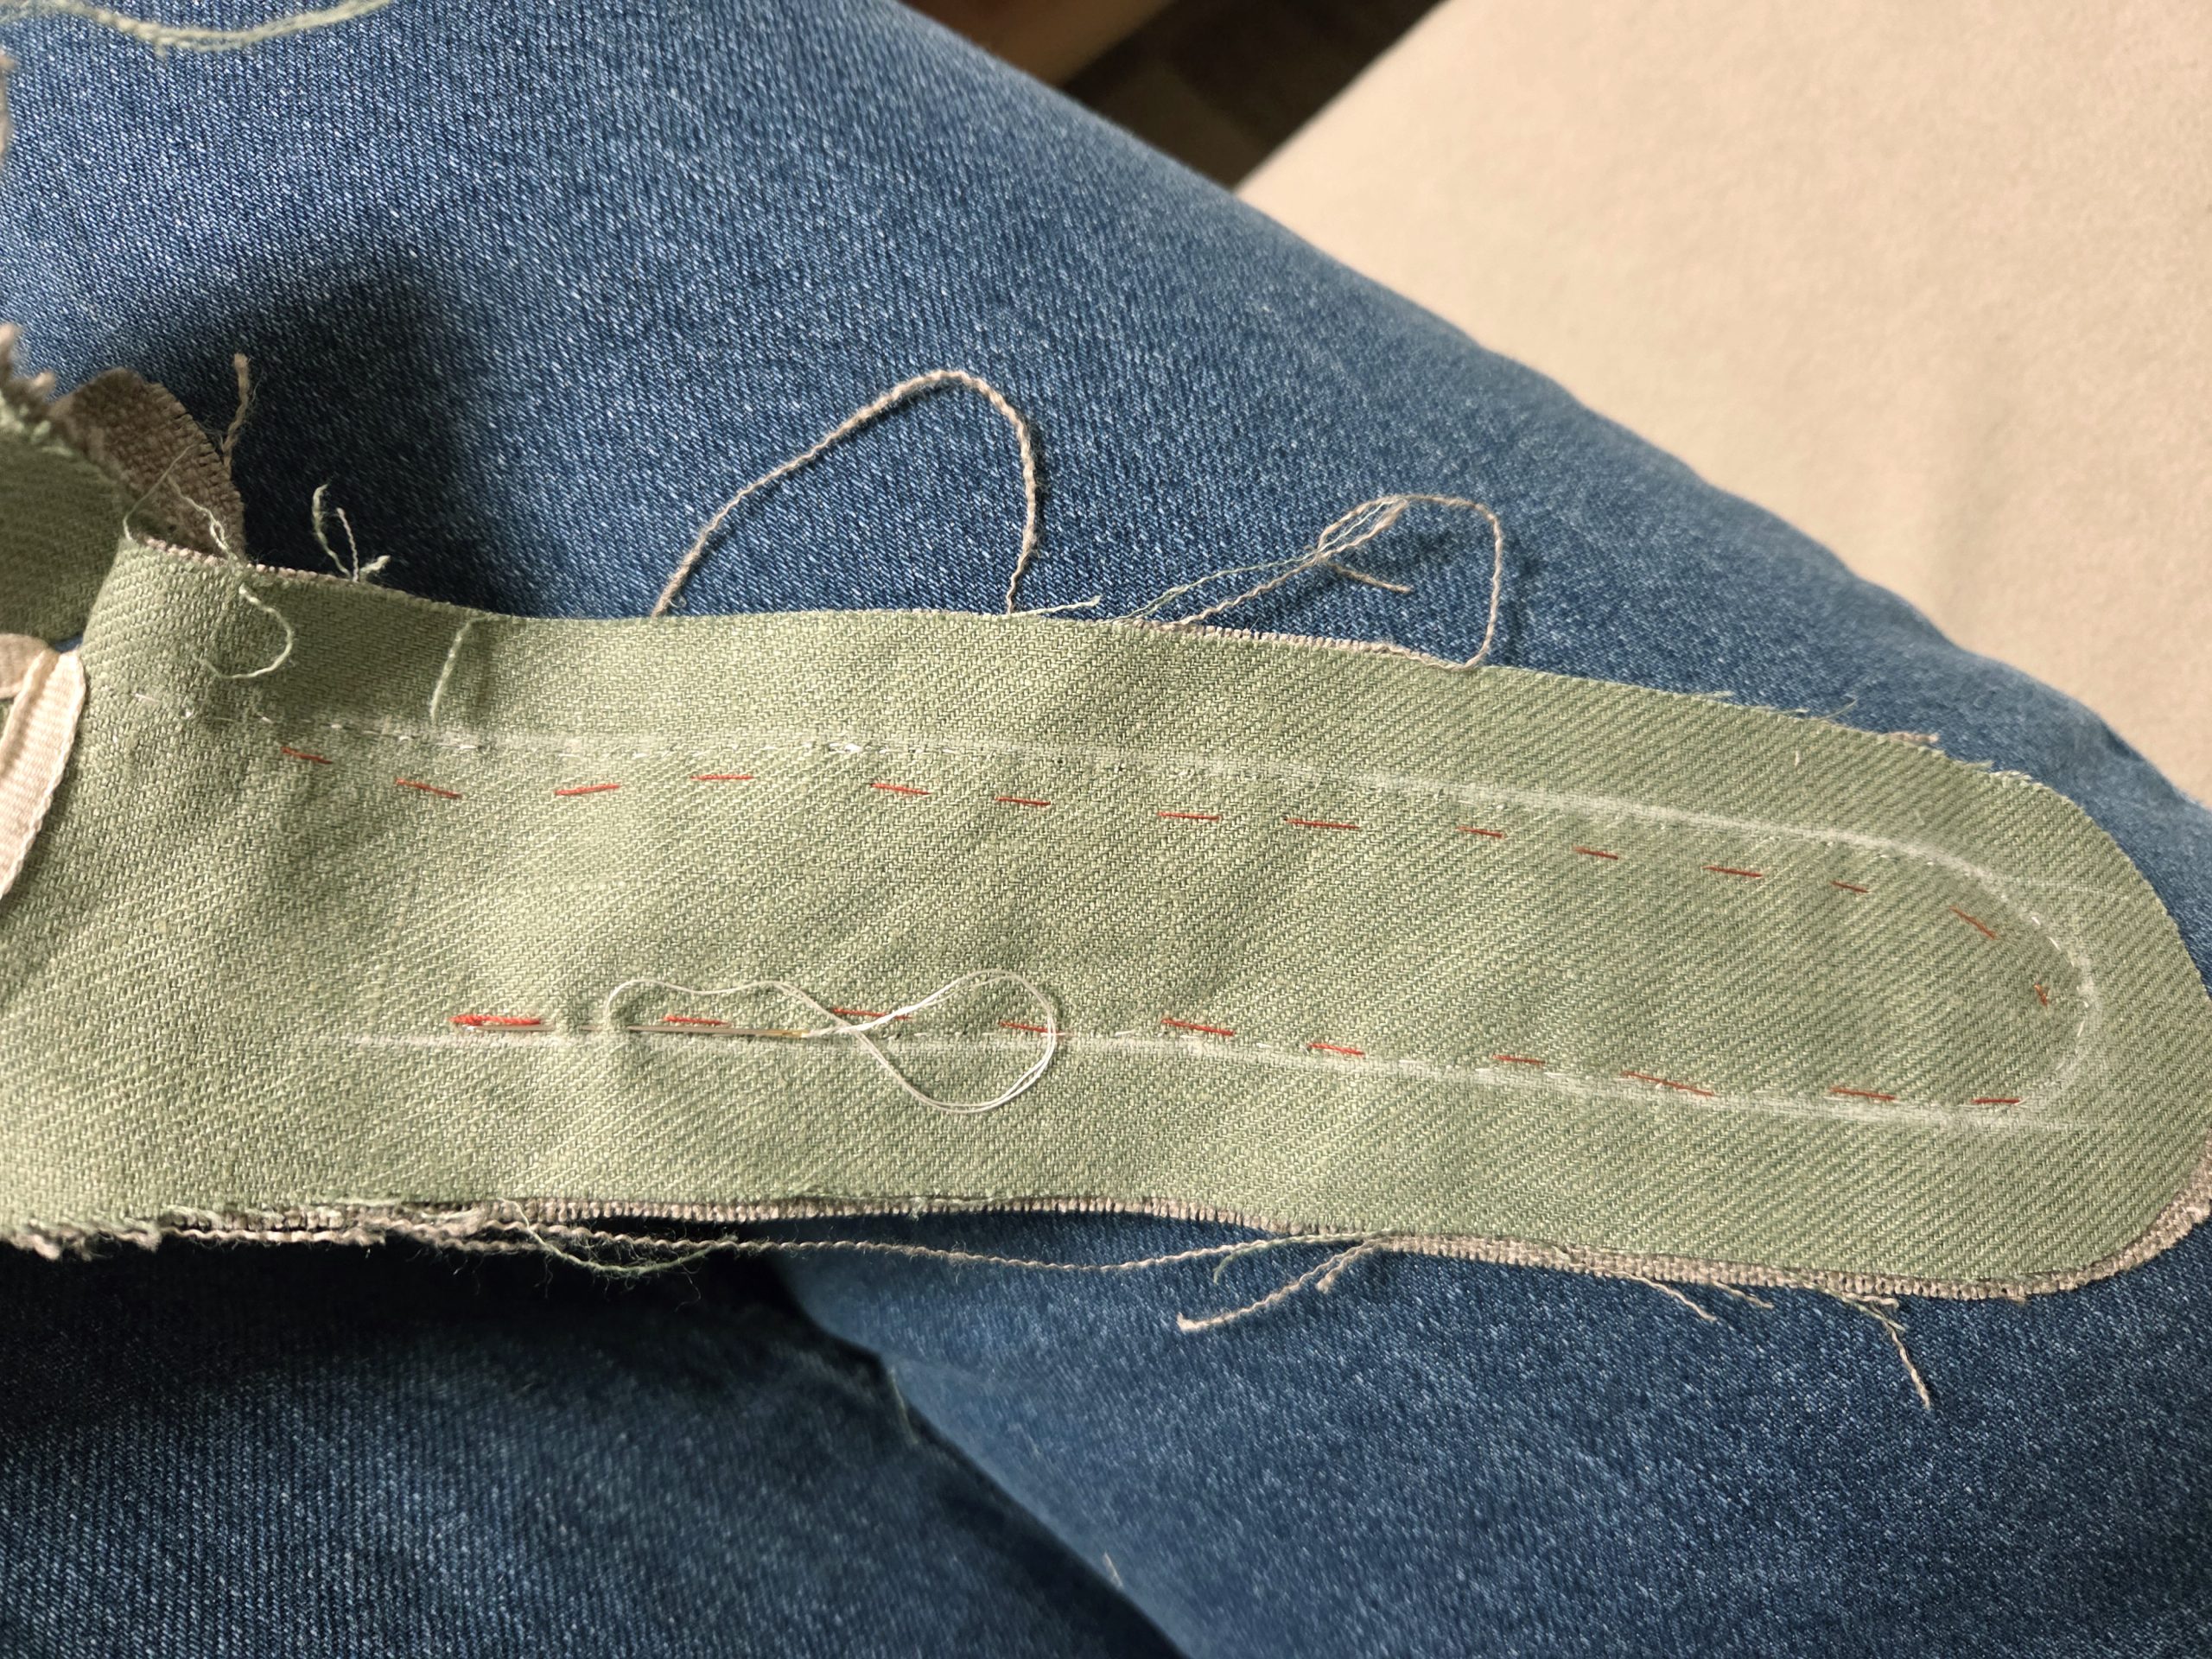
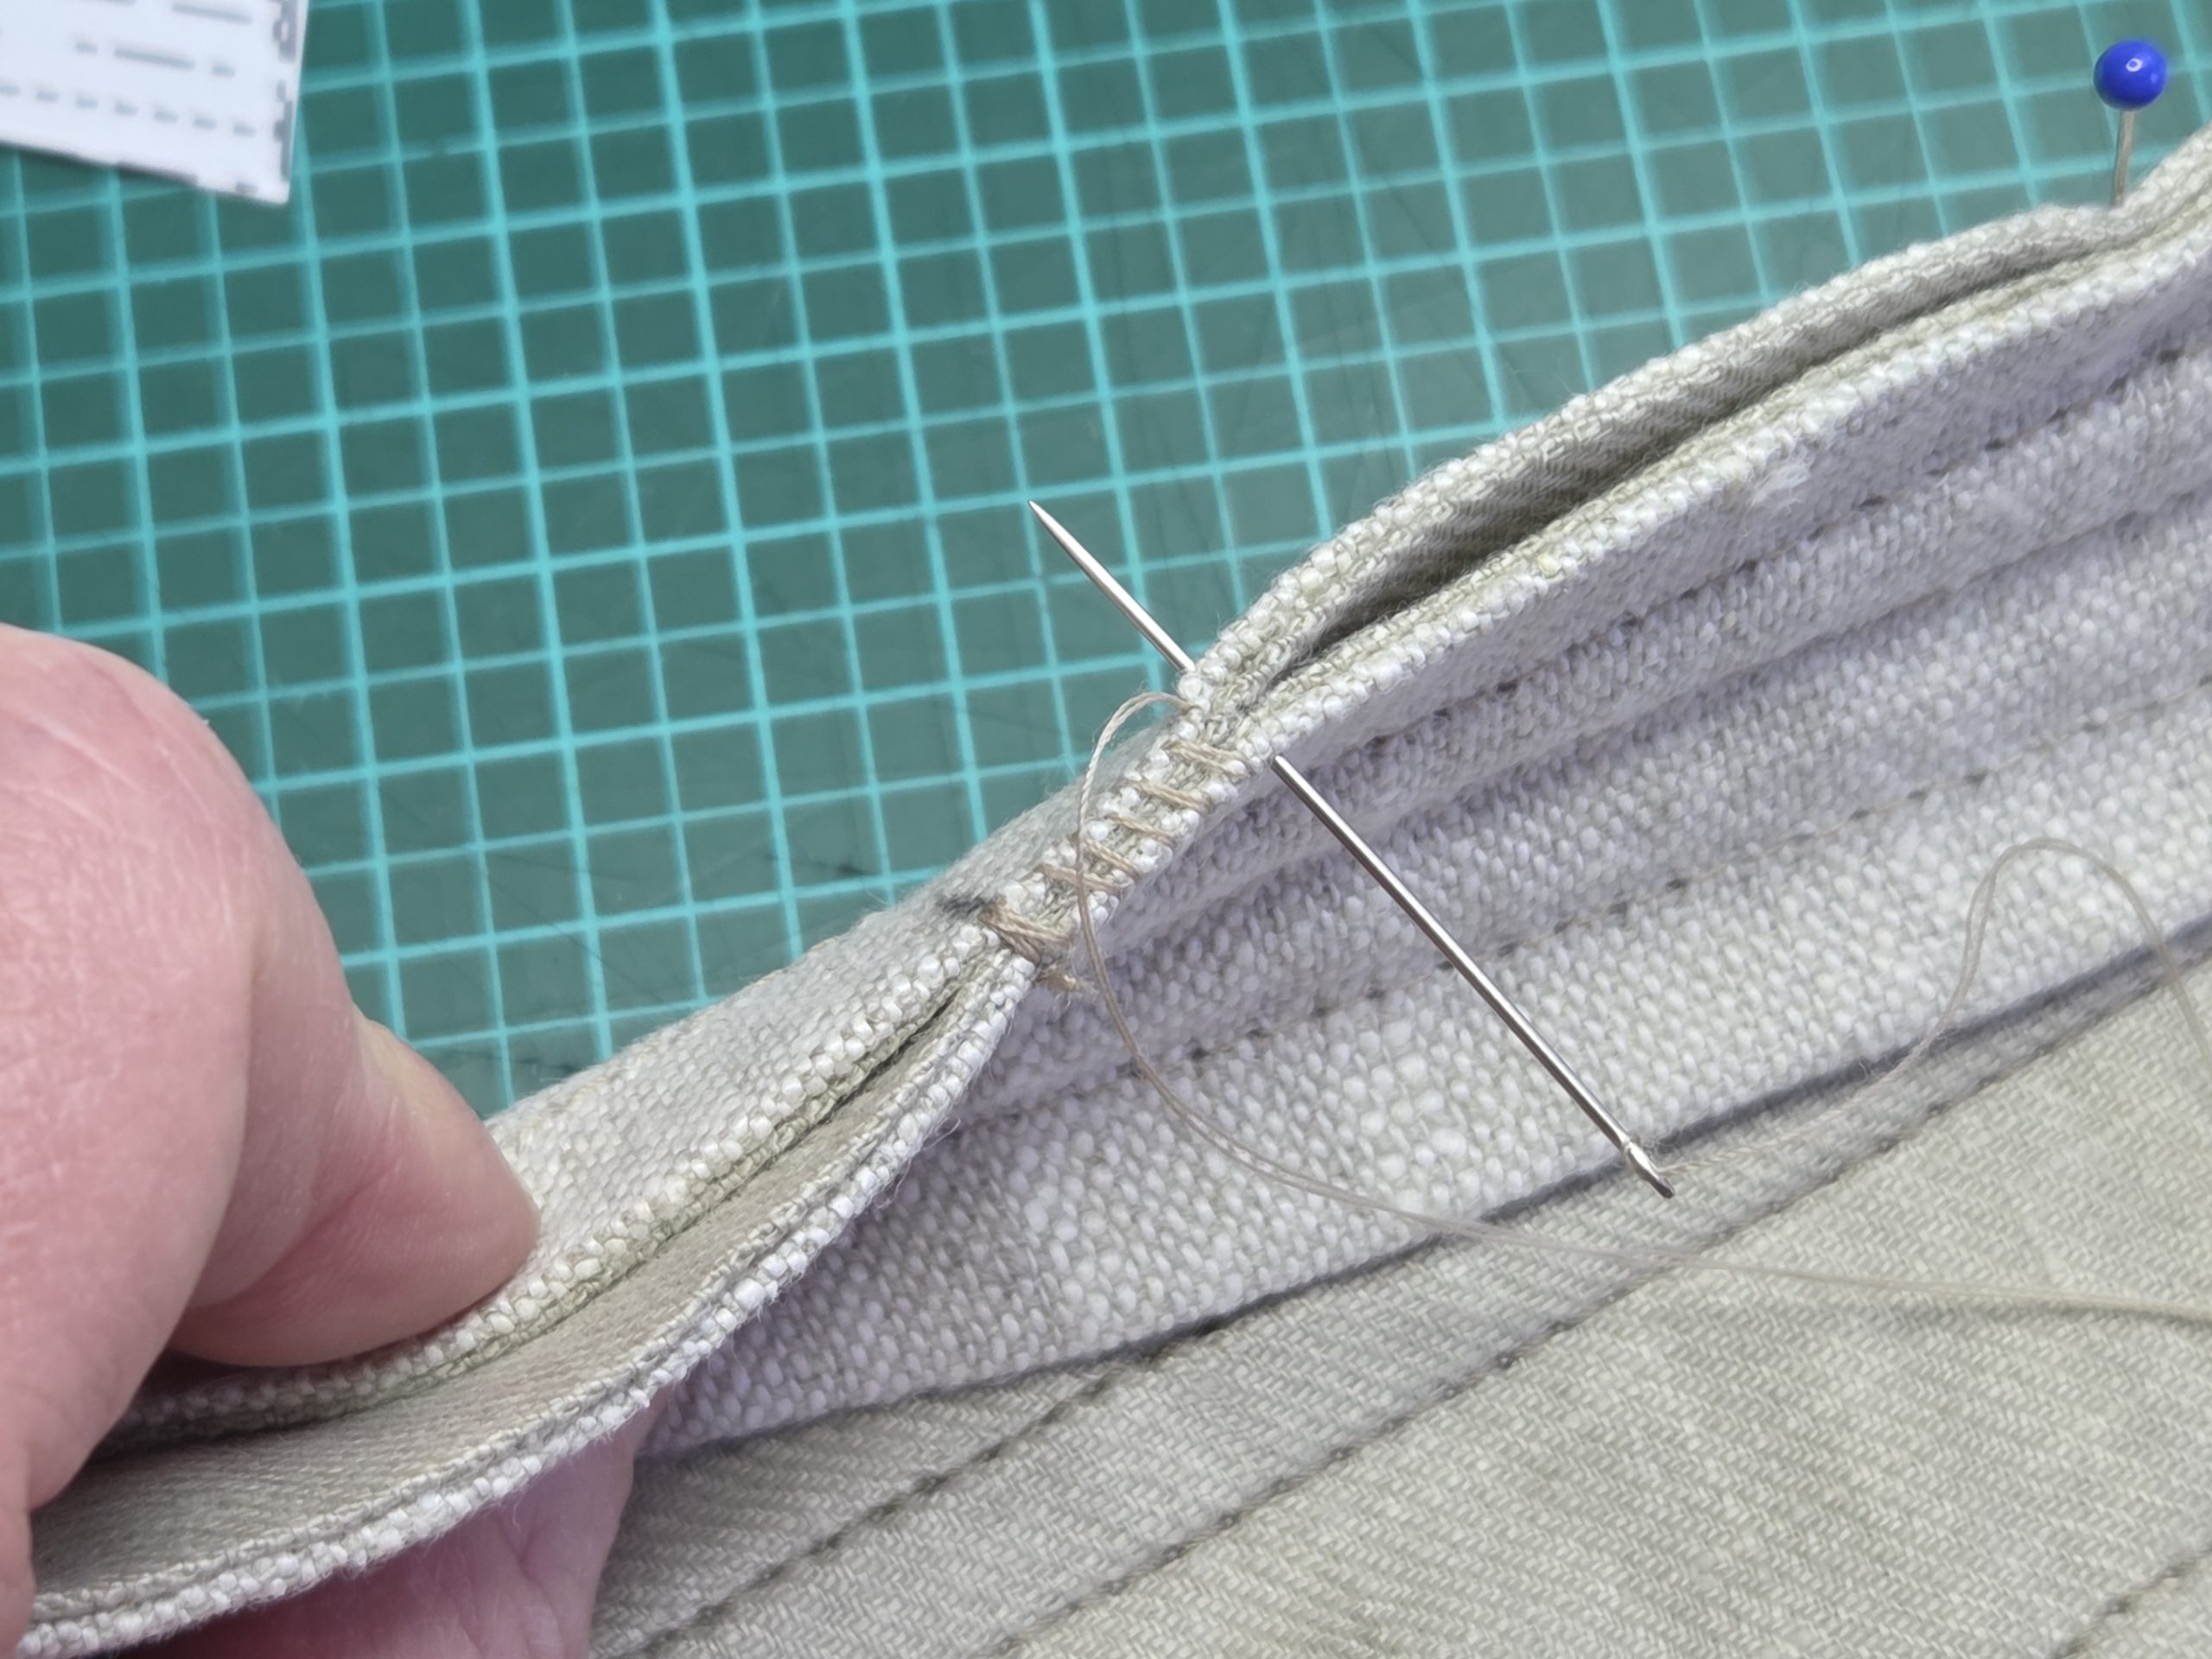
(7) Now all the pieces are prepared, and the side edges of each panel are cast individually. First, take the fronts and line them up along the center front, right sides together. With a double-threaded needle, whip-stitch together the fronts from the bottom until reaching point (9). Bar tack the ends securely and press open.
Line up the front and side front, right sides together, matching points (1) and (2). Then, again with a double-threaded needle, whip stitch together, starting at points (1) and (2). Stop right before reaching the seam allowance at the top. In the same way, whip stitch the side back to the side front, matching points (3) and (4), and the back to the side back, matching points (5) and (6). Finally, whip stitch the strap to the side back, matching points (7) and (8).
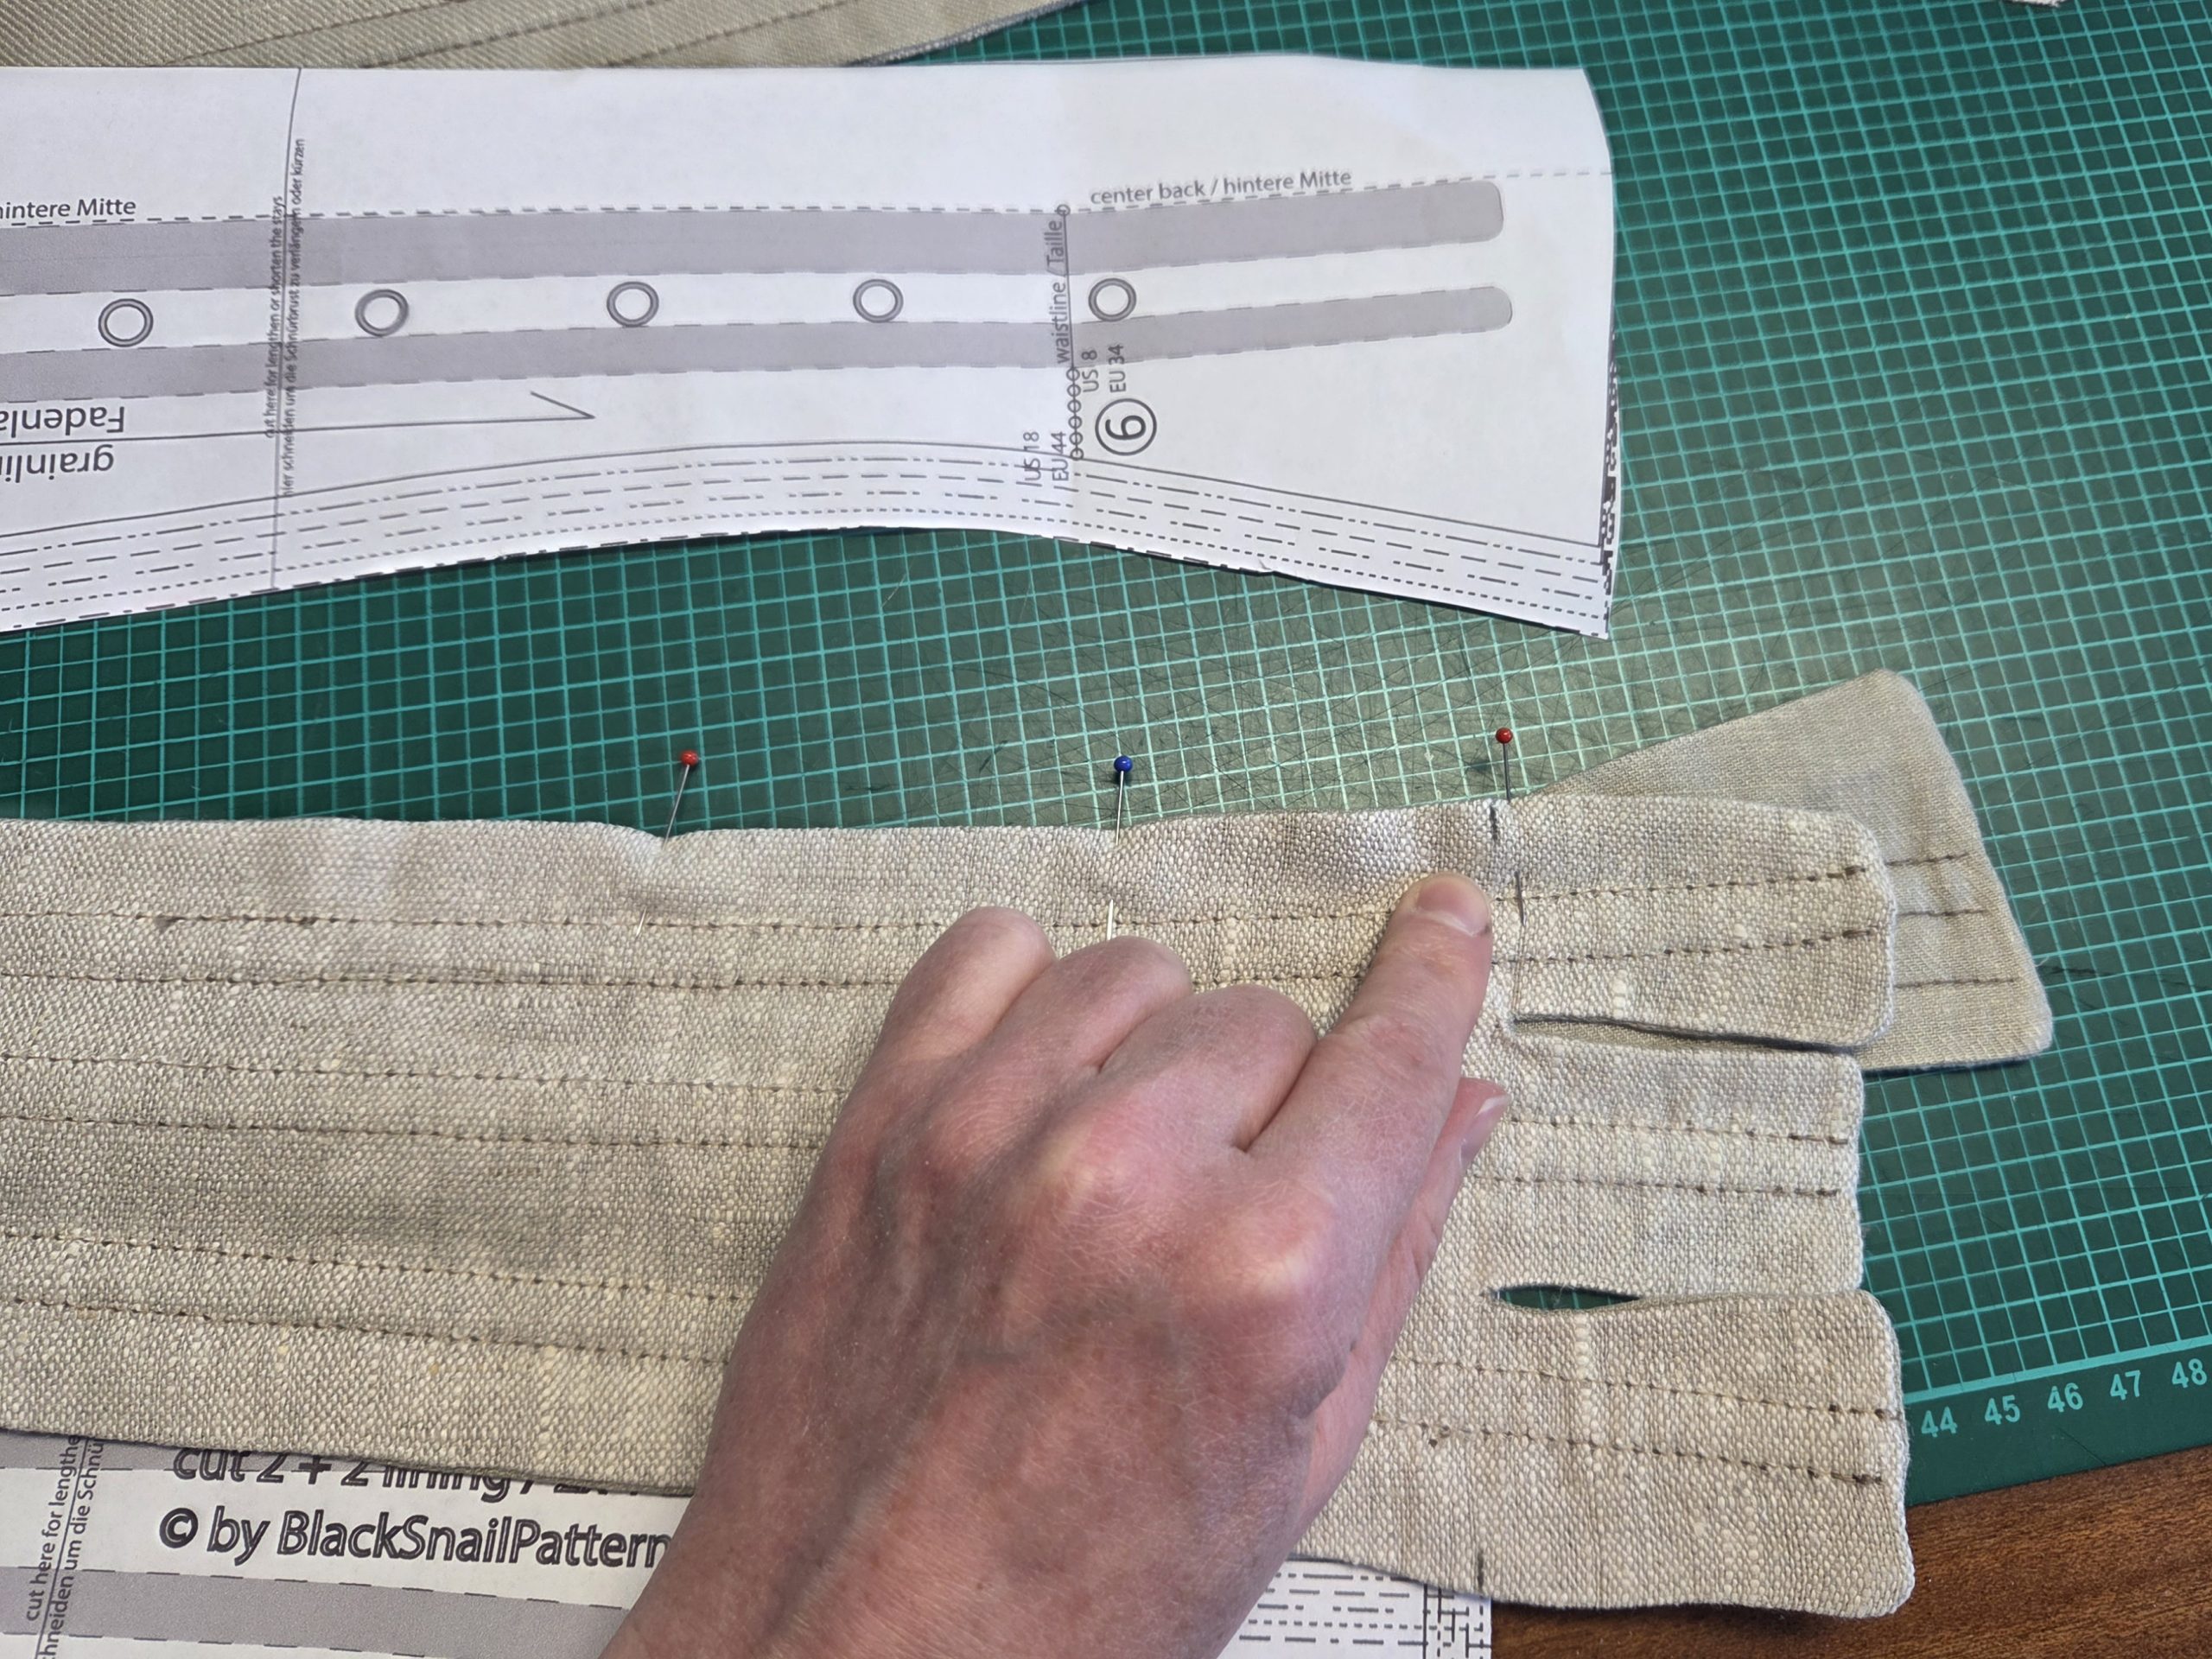
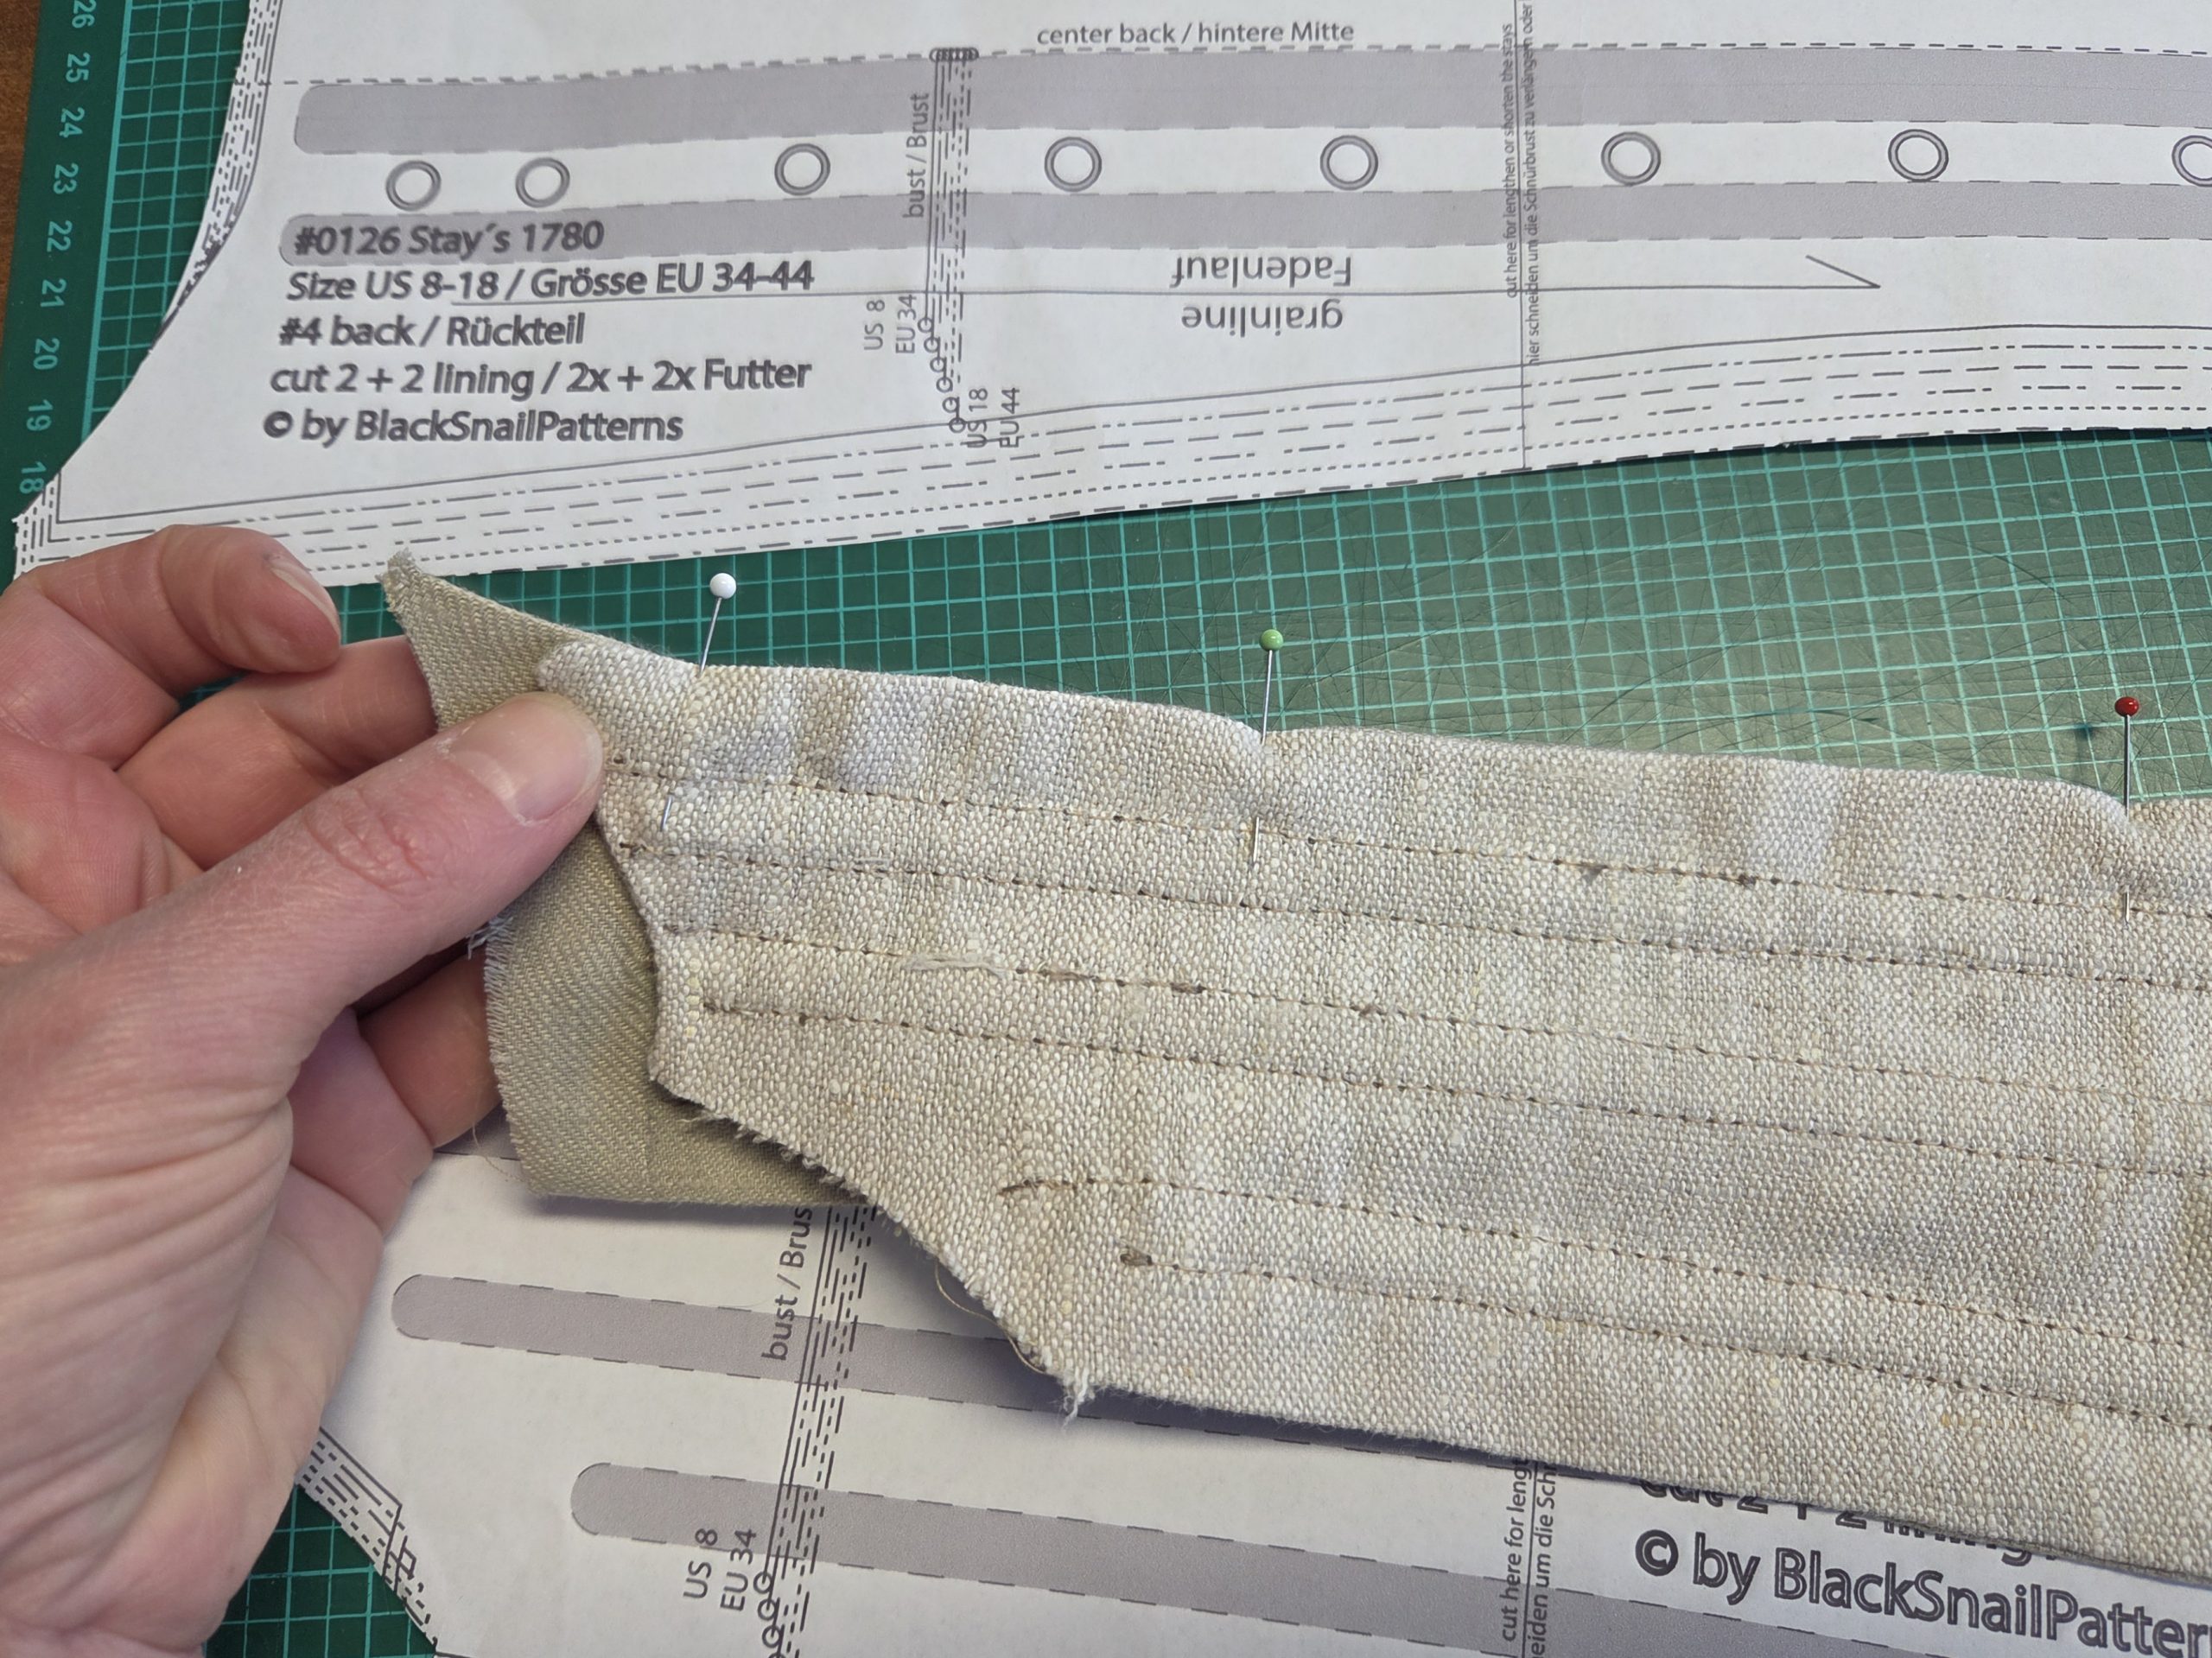
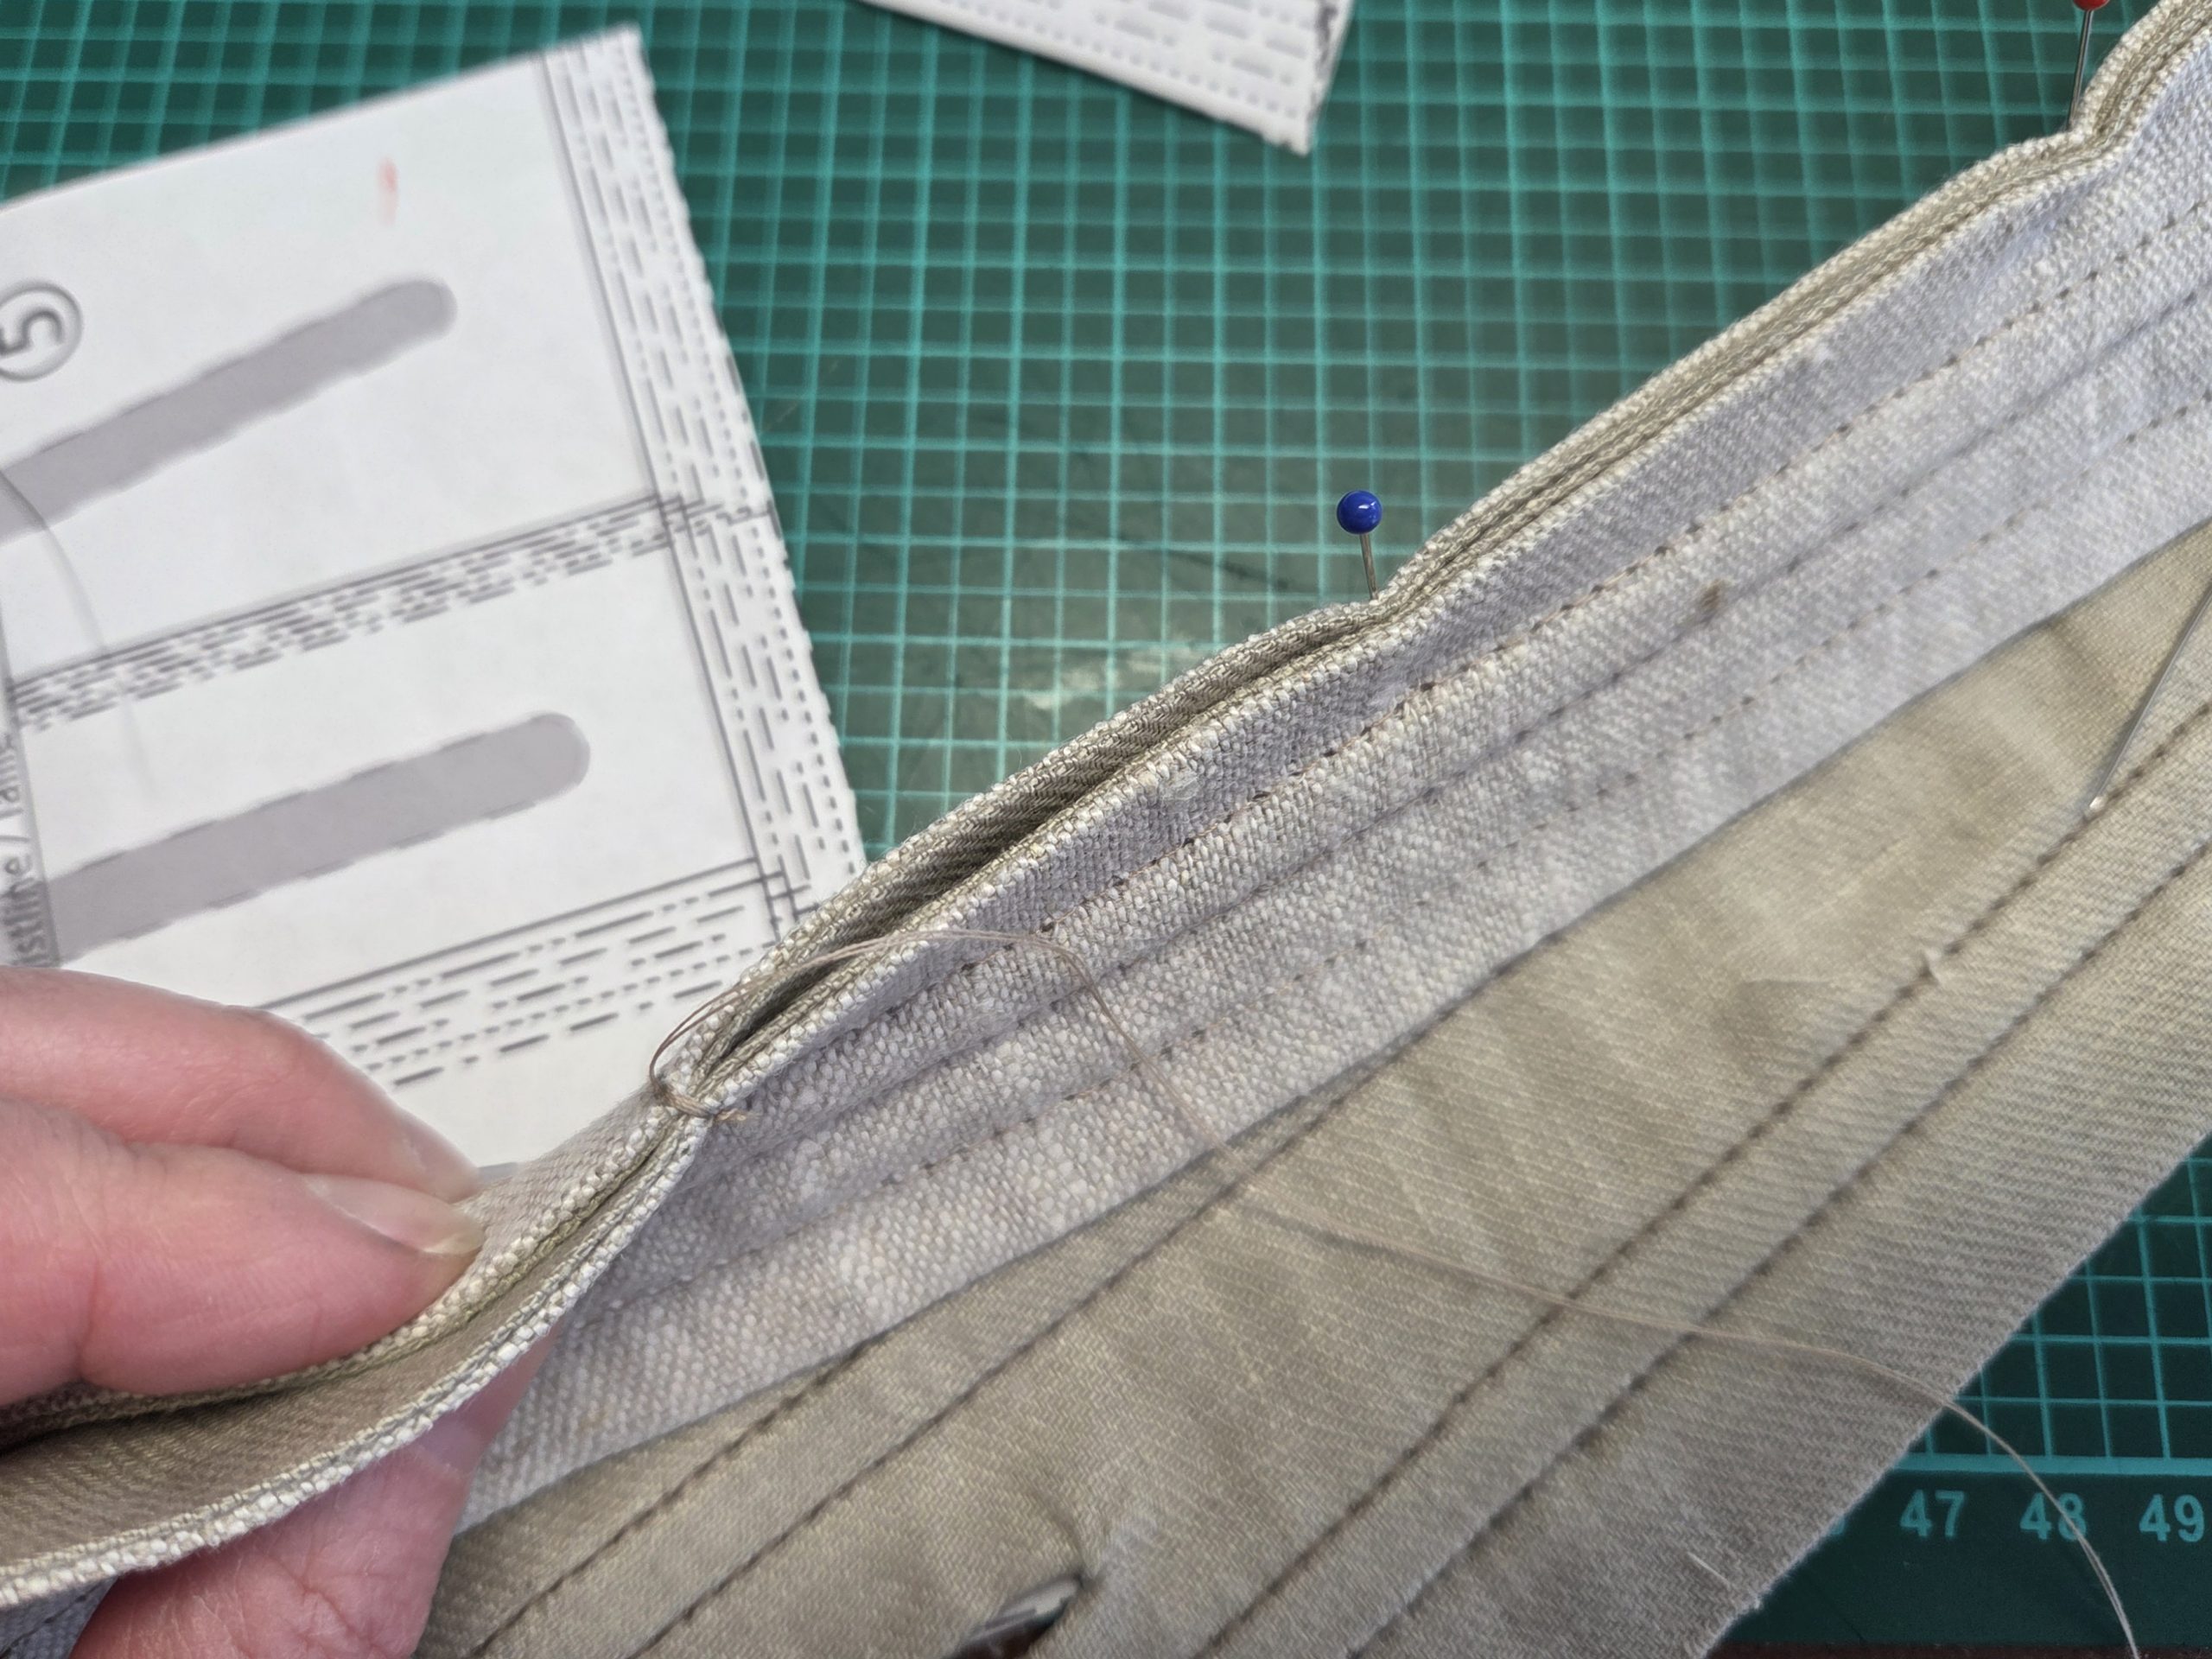
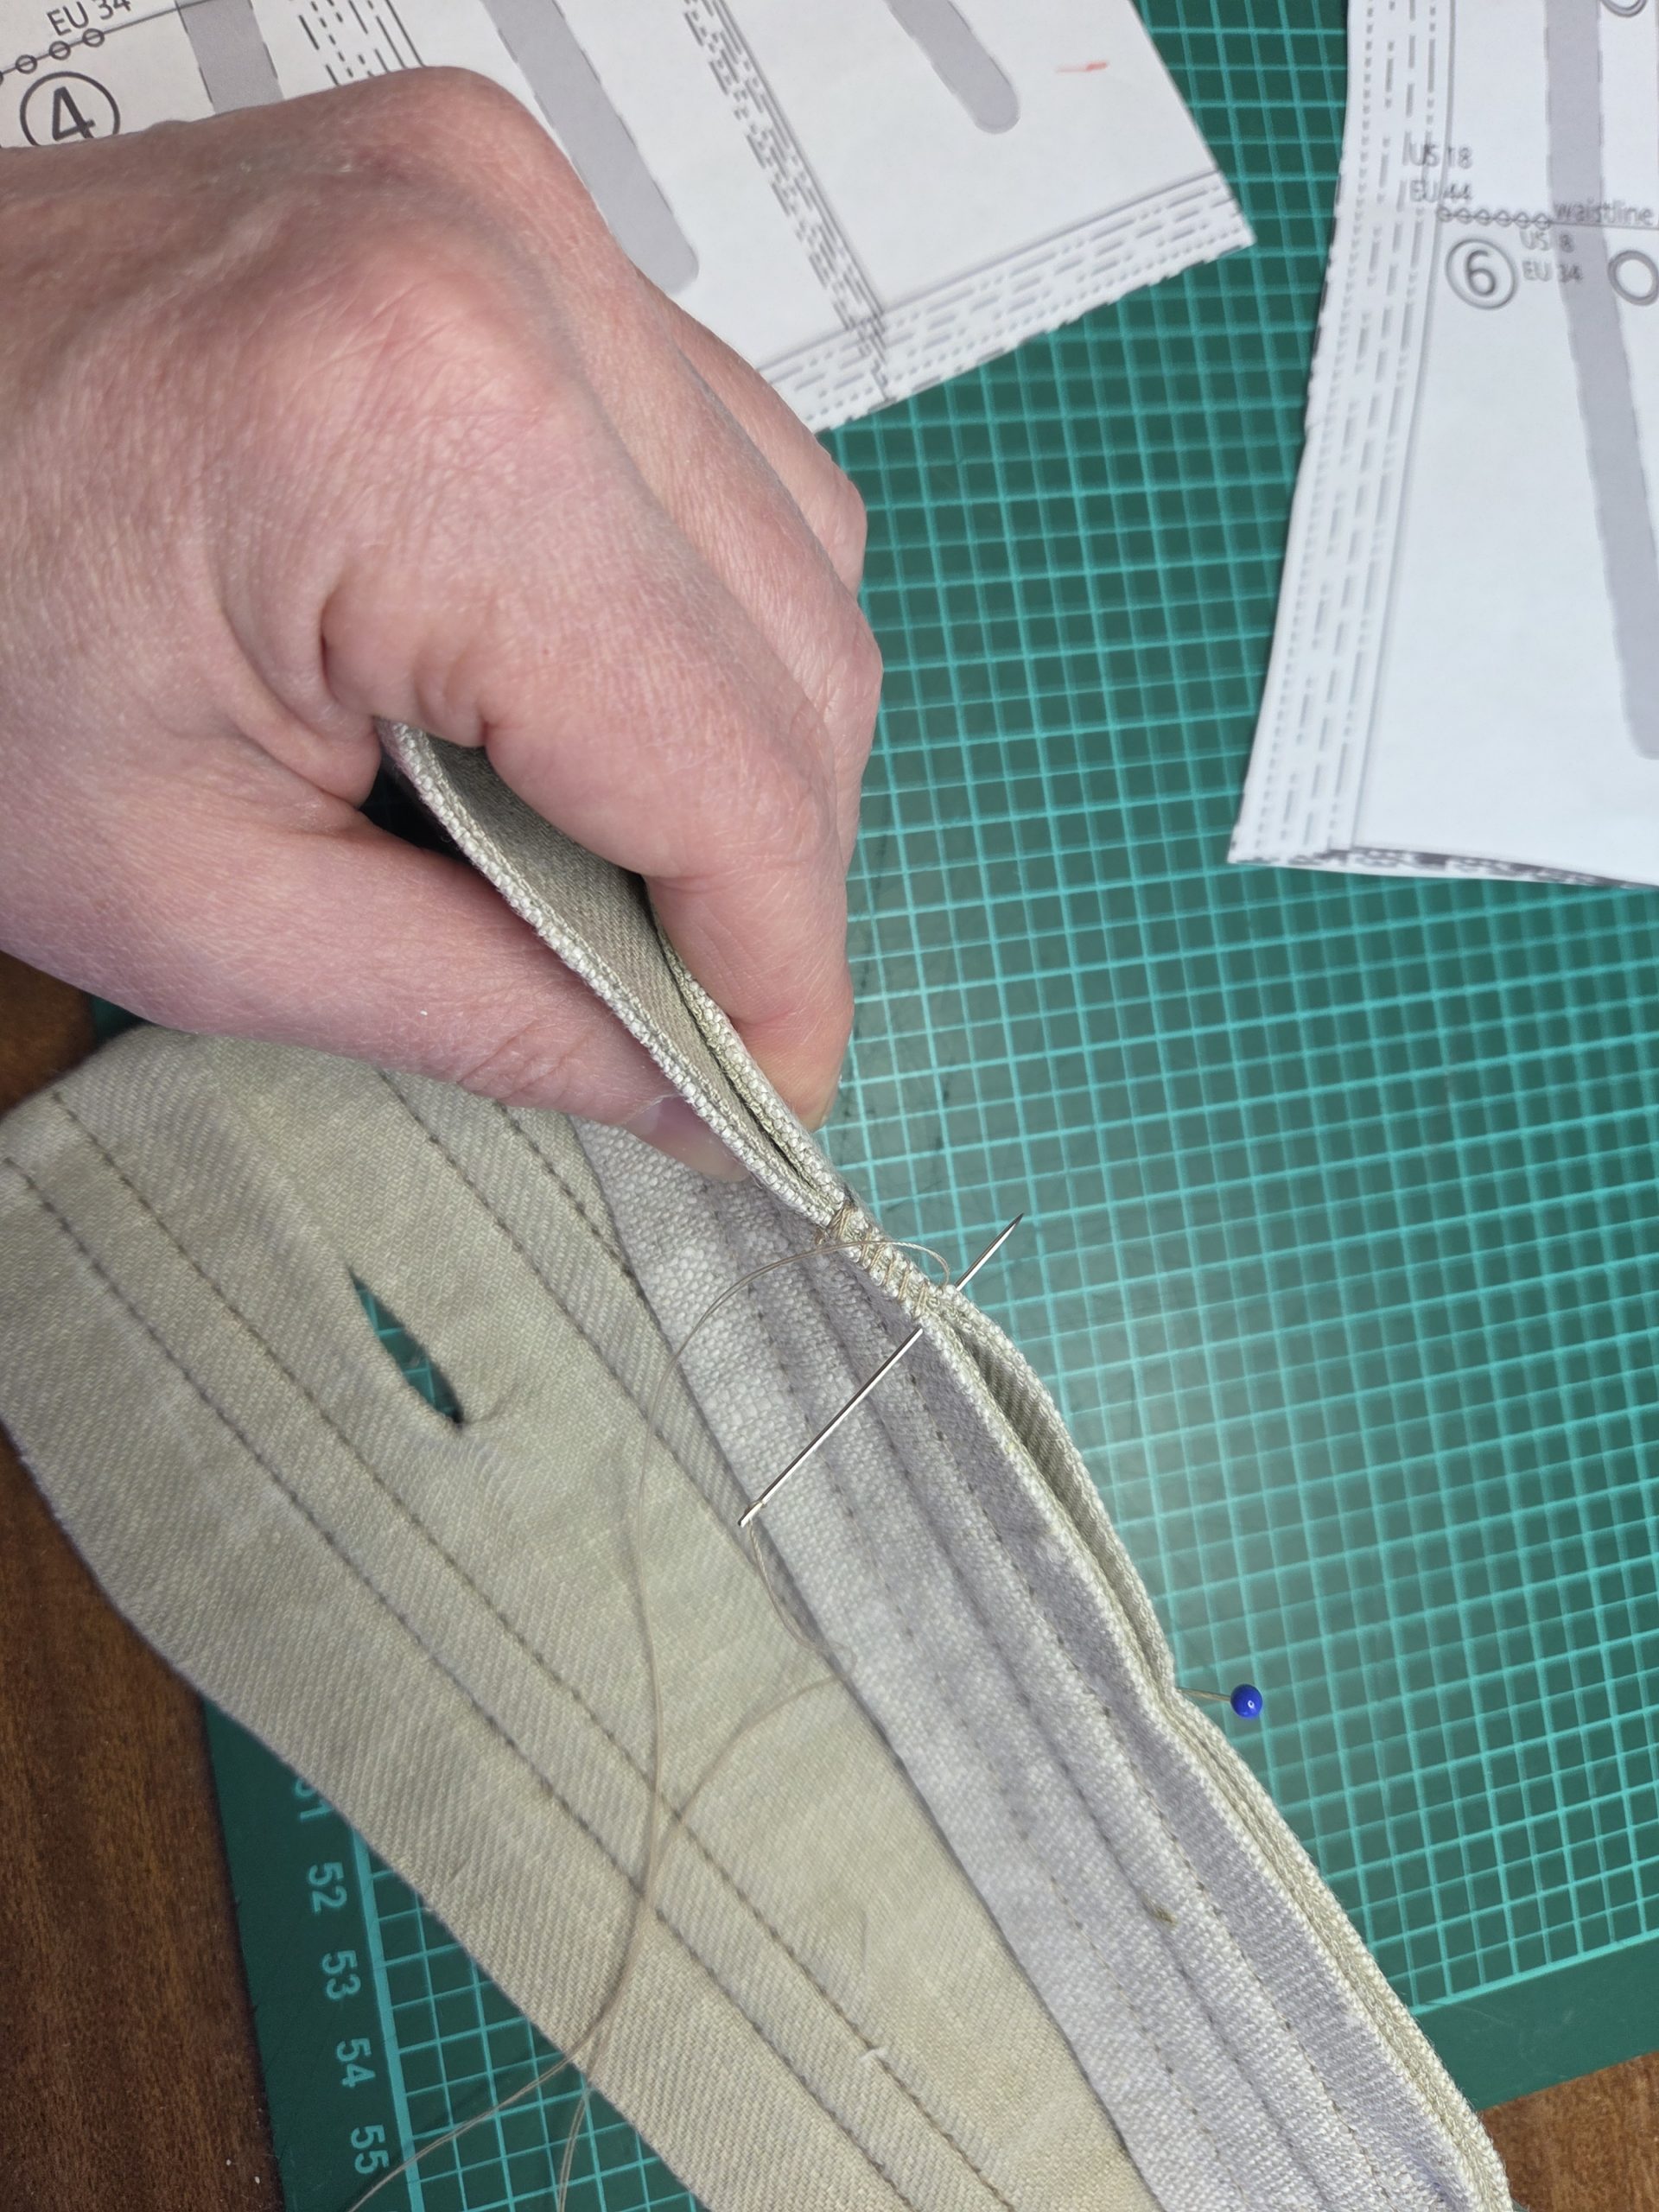
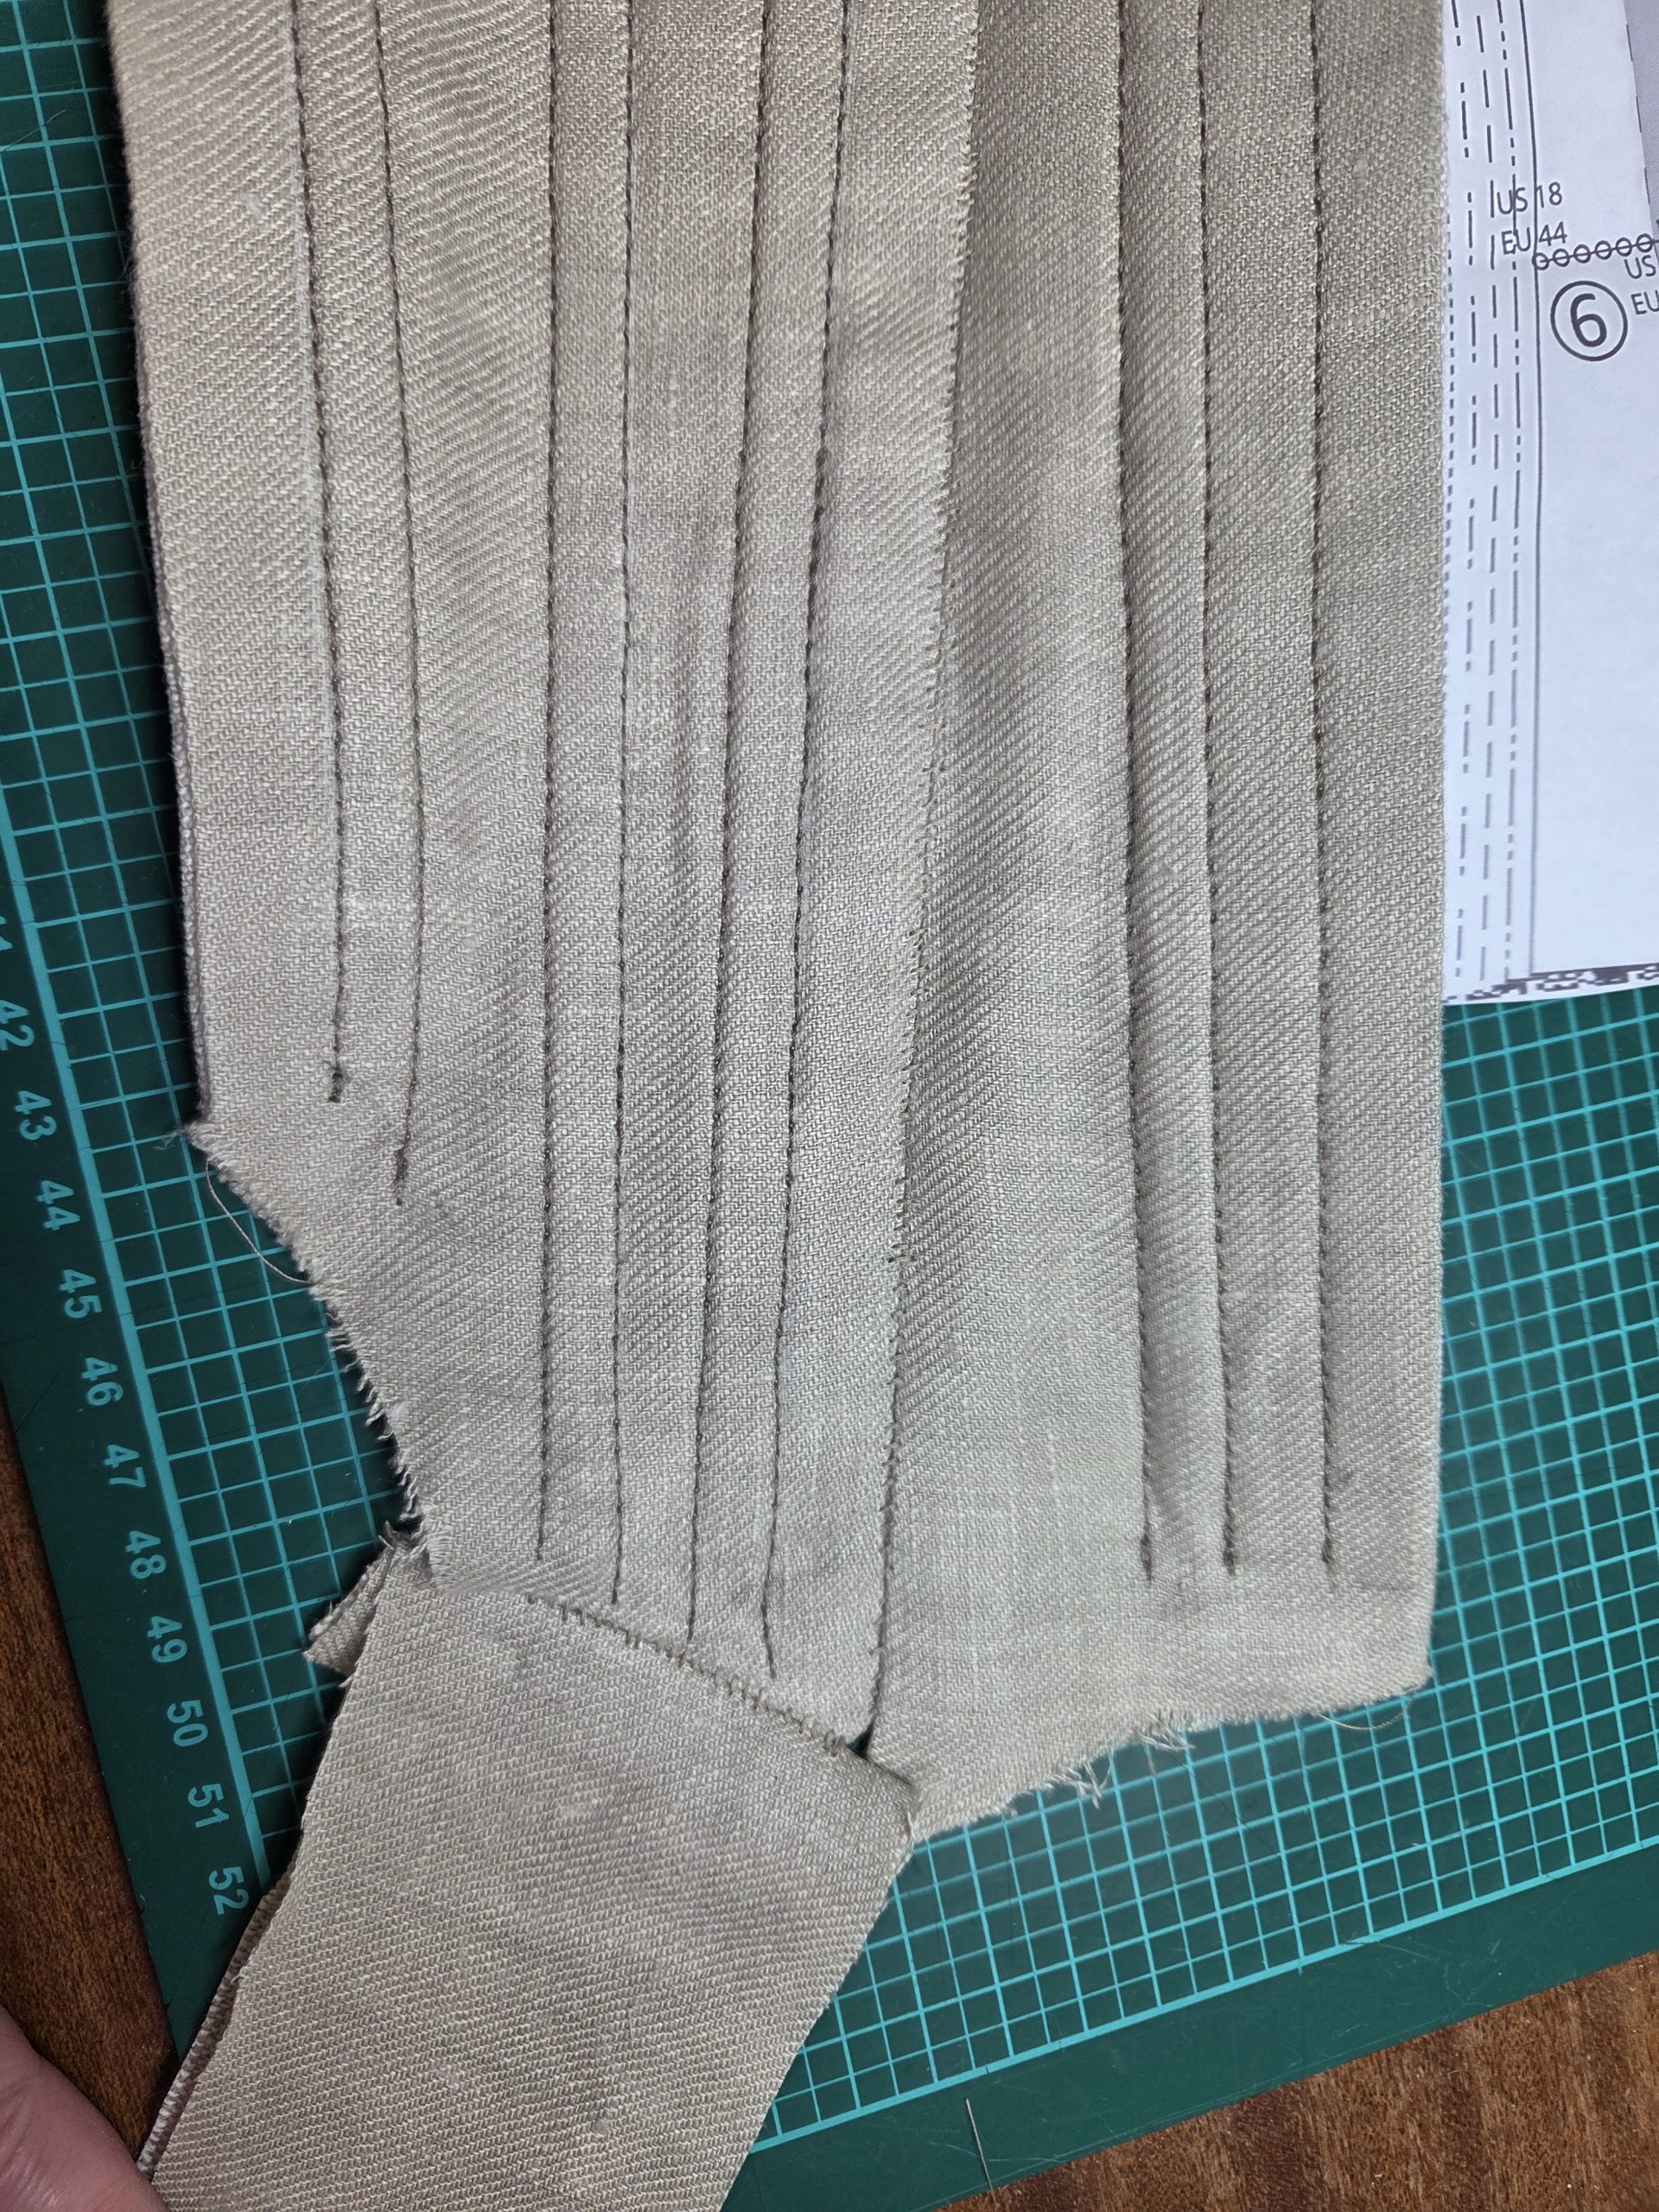
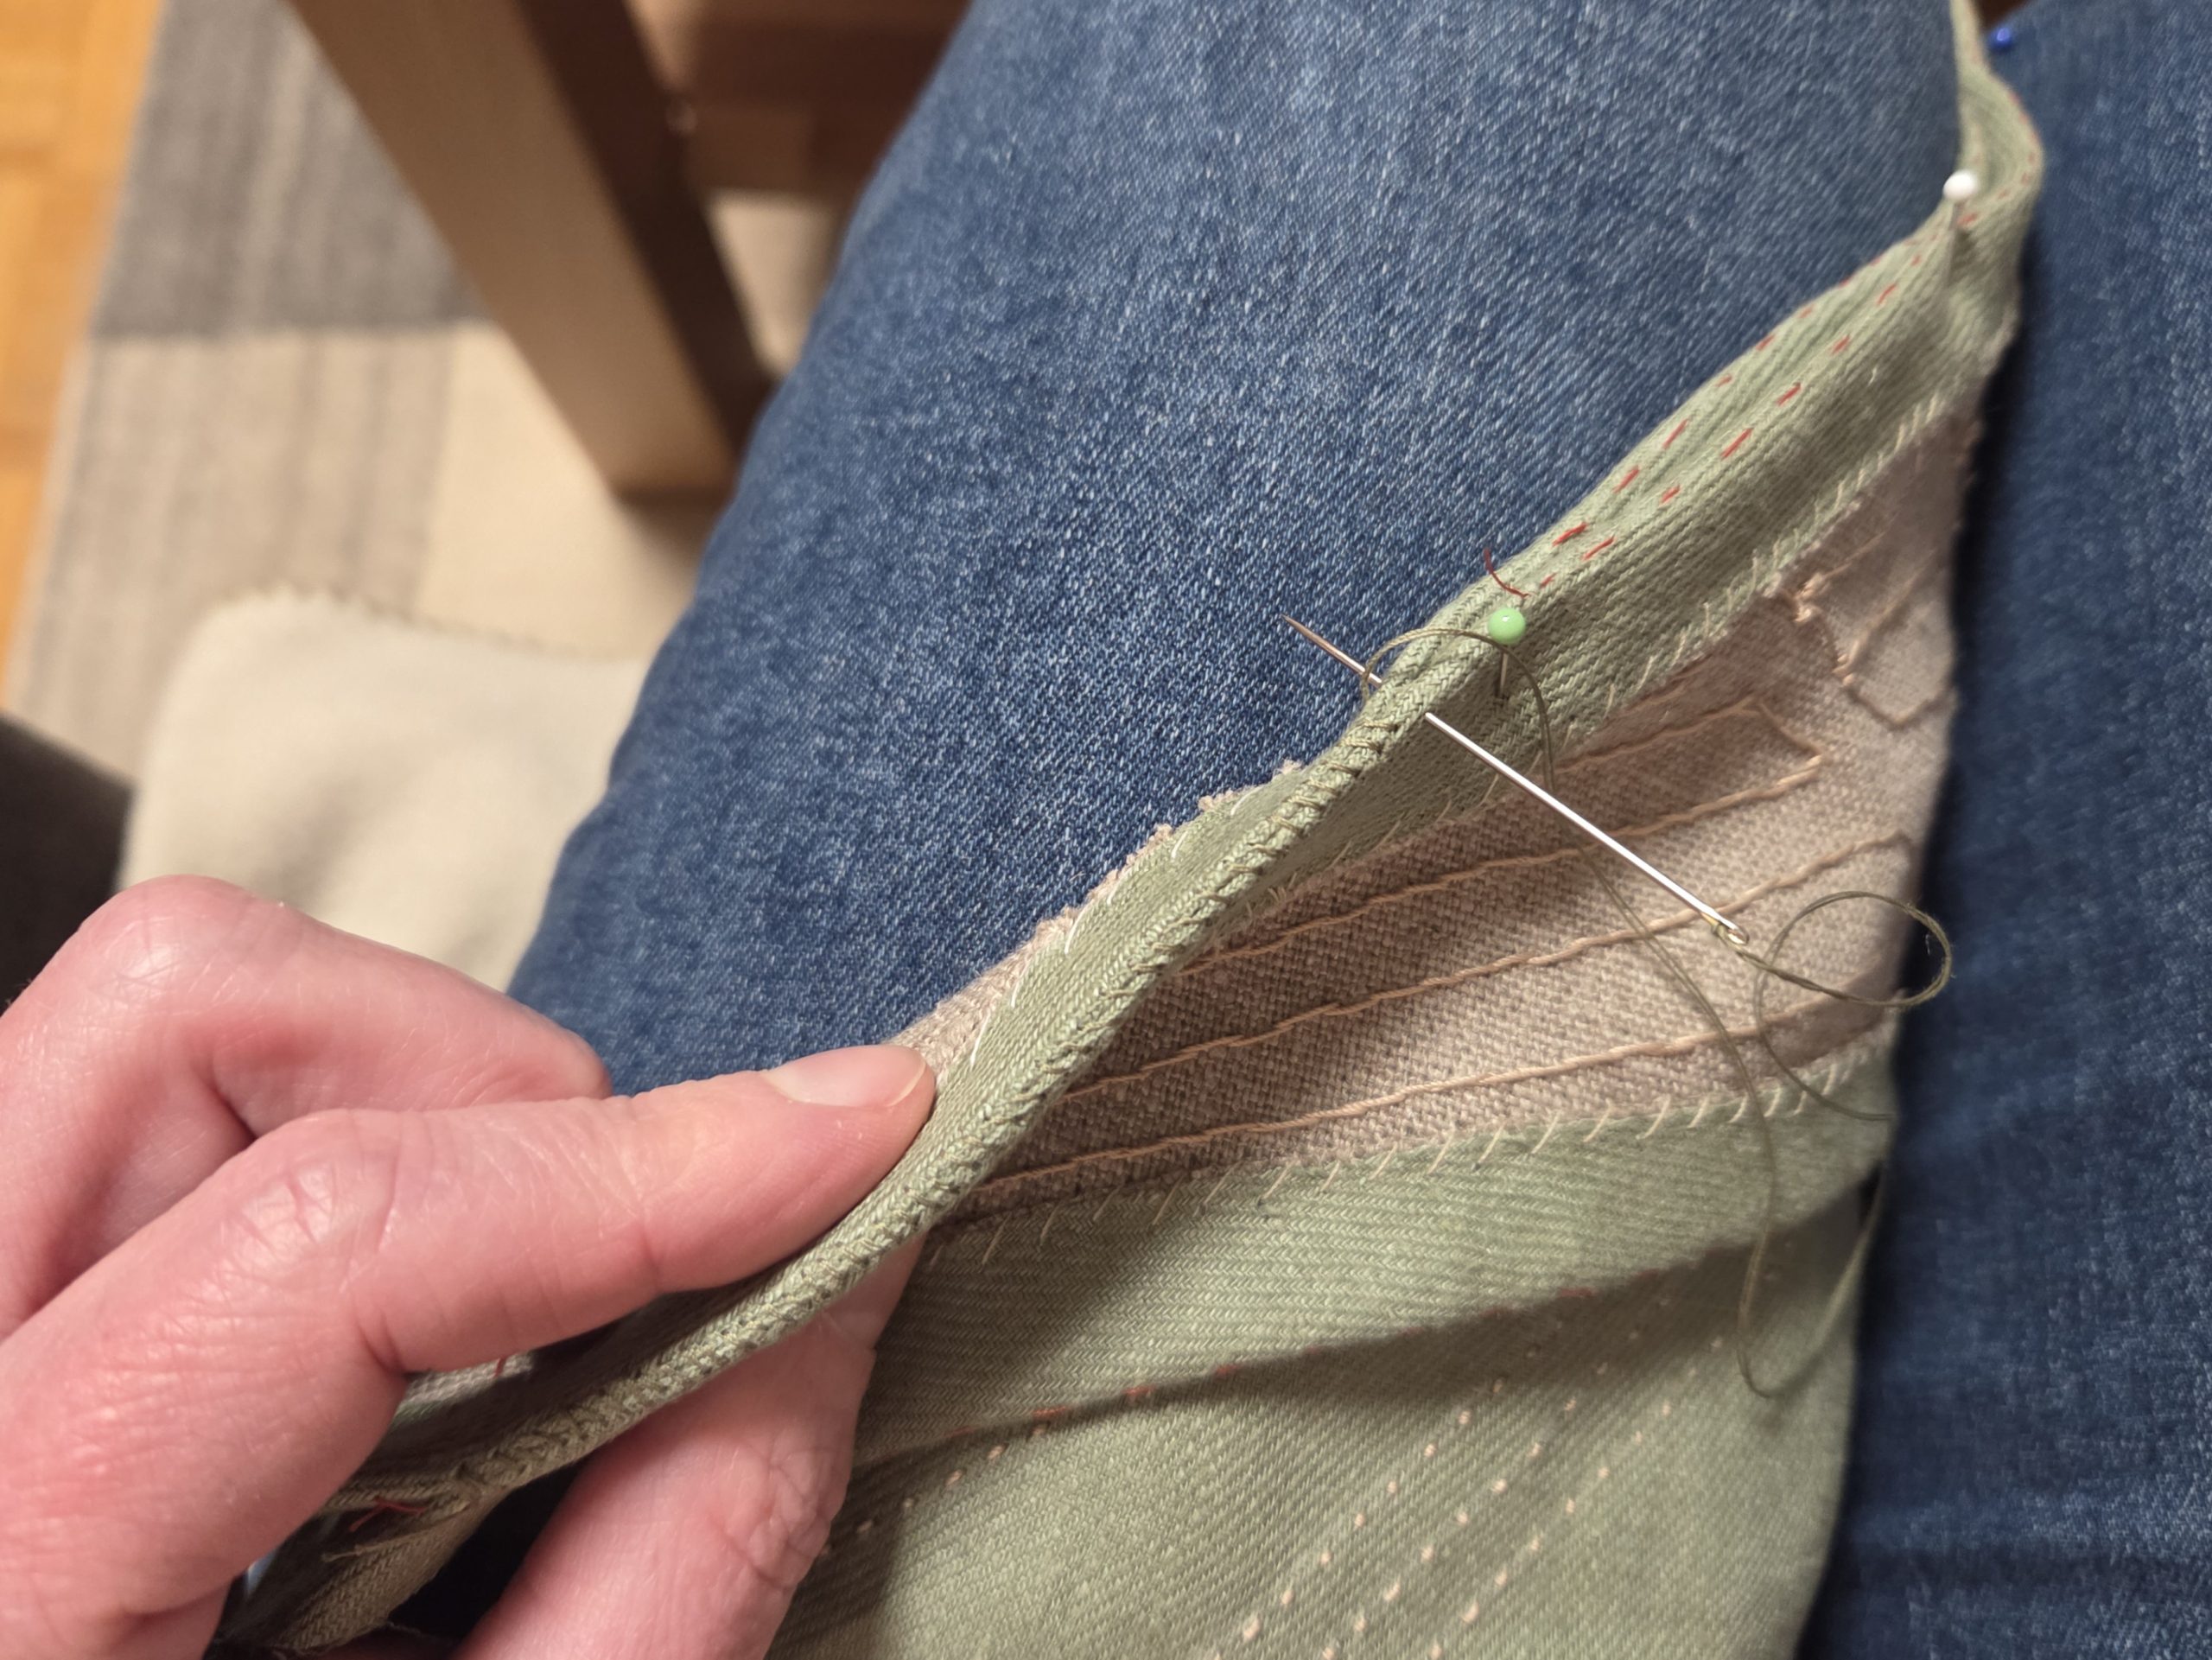
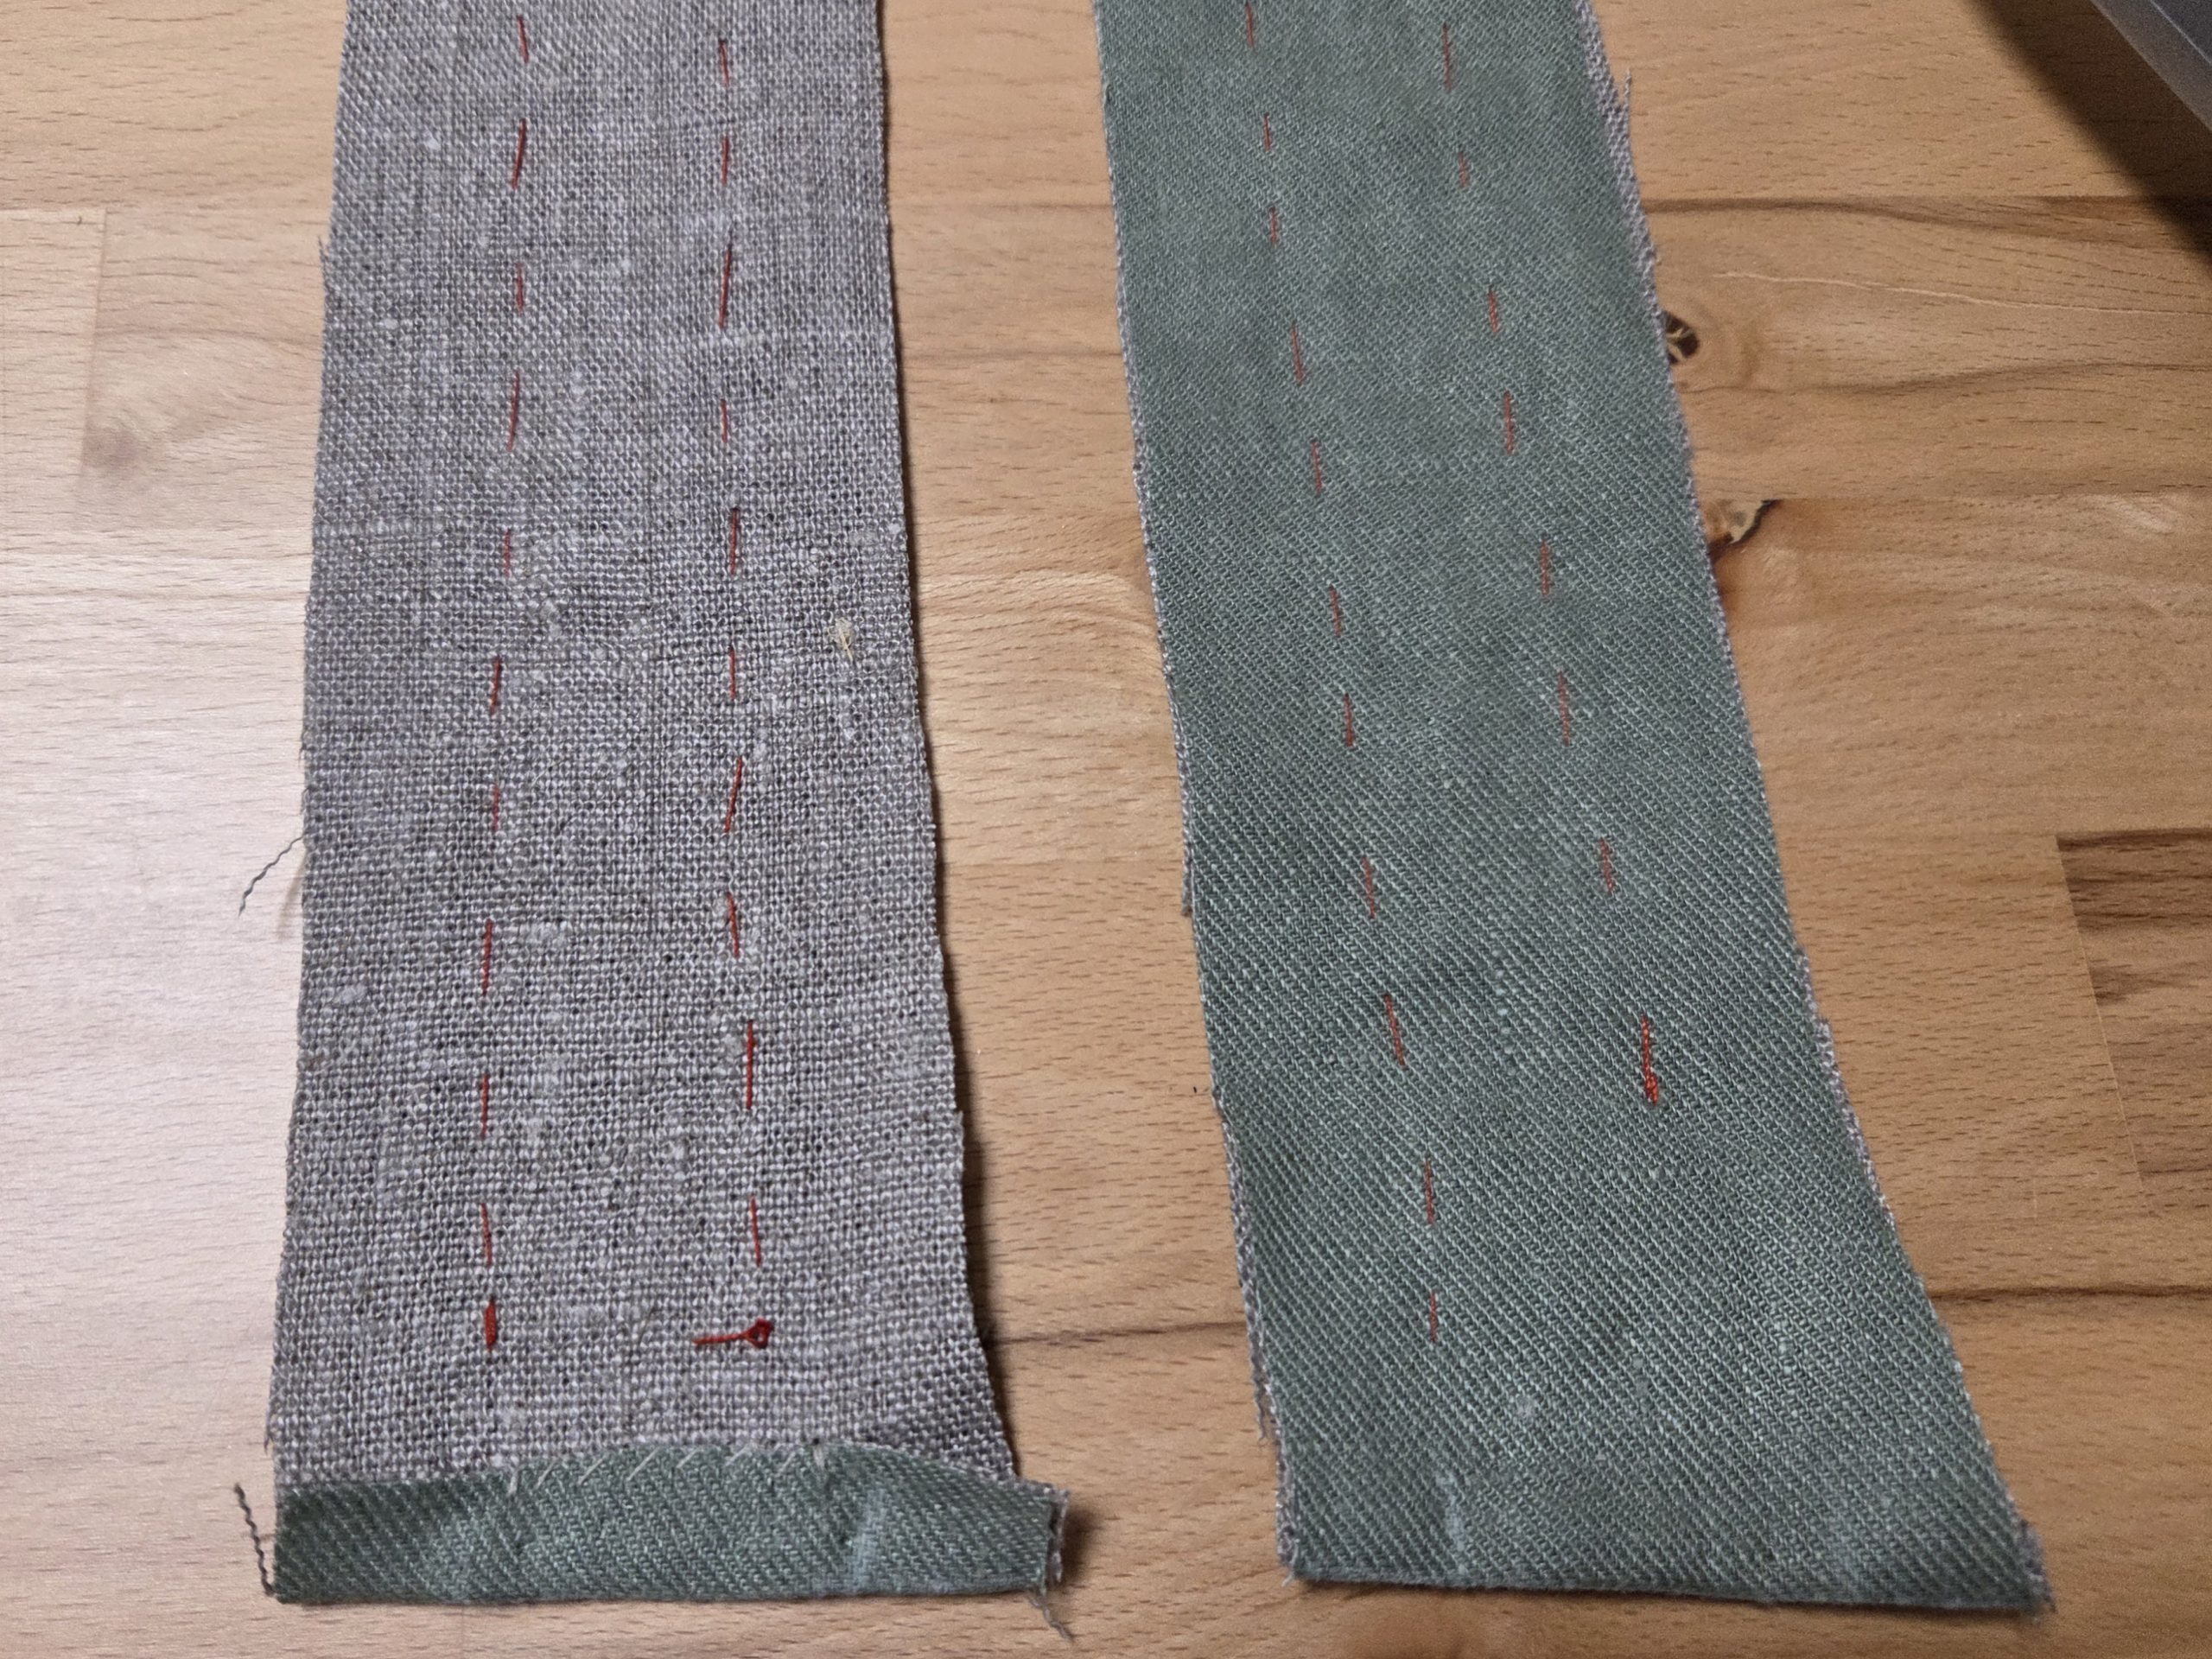
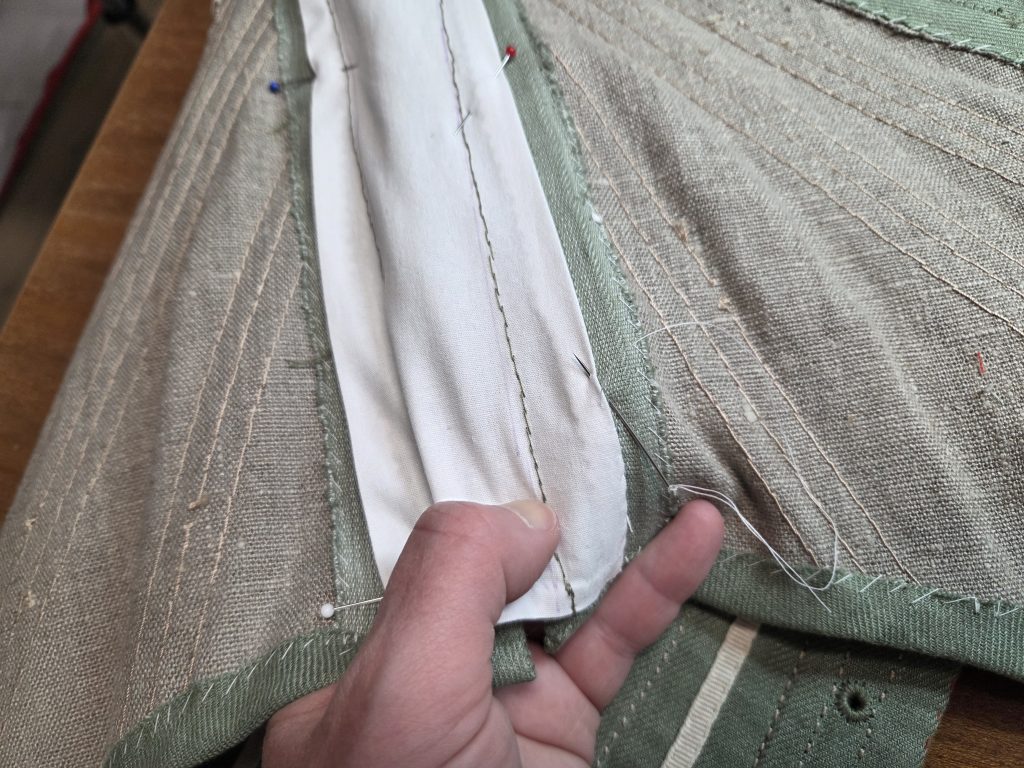
(8) Insert all the boning, taking care that the boning ends about 3/8” (1cm) from the later edges. Sew right beside the net line with a narrow back stitch to keep the boning in place and prevent the edges from fraying. Cut along the net line to trim back the seam allowances. Turn to the right side.
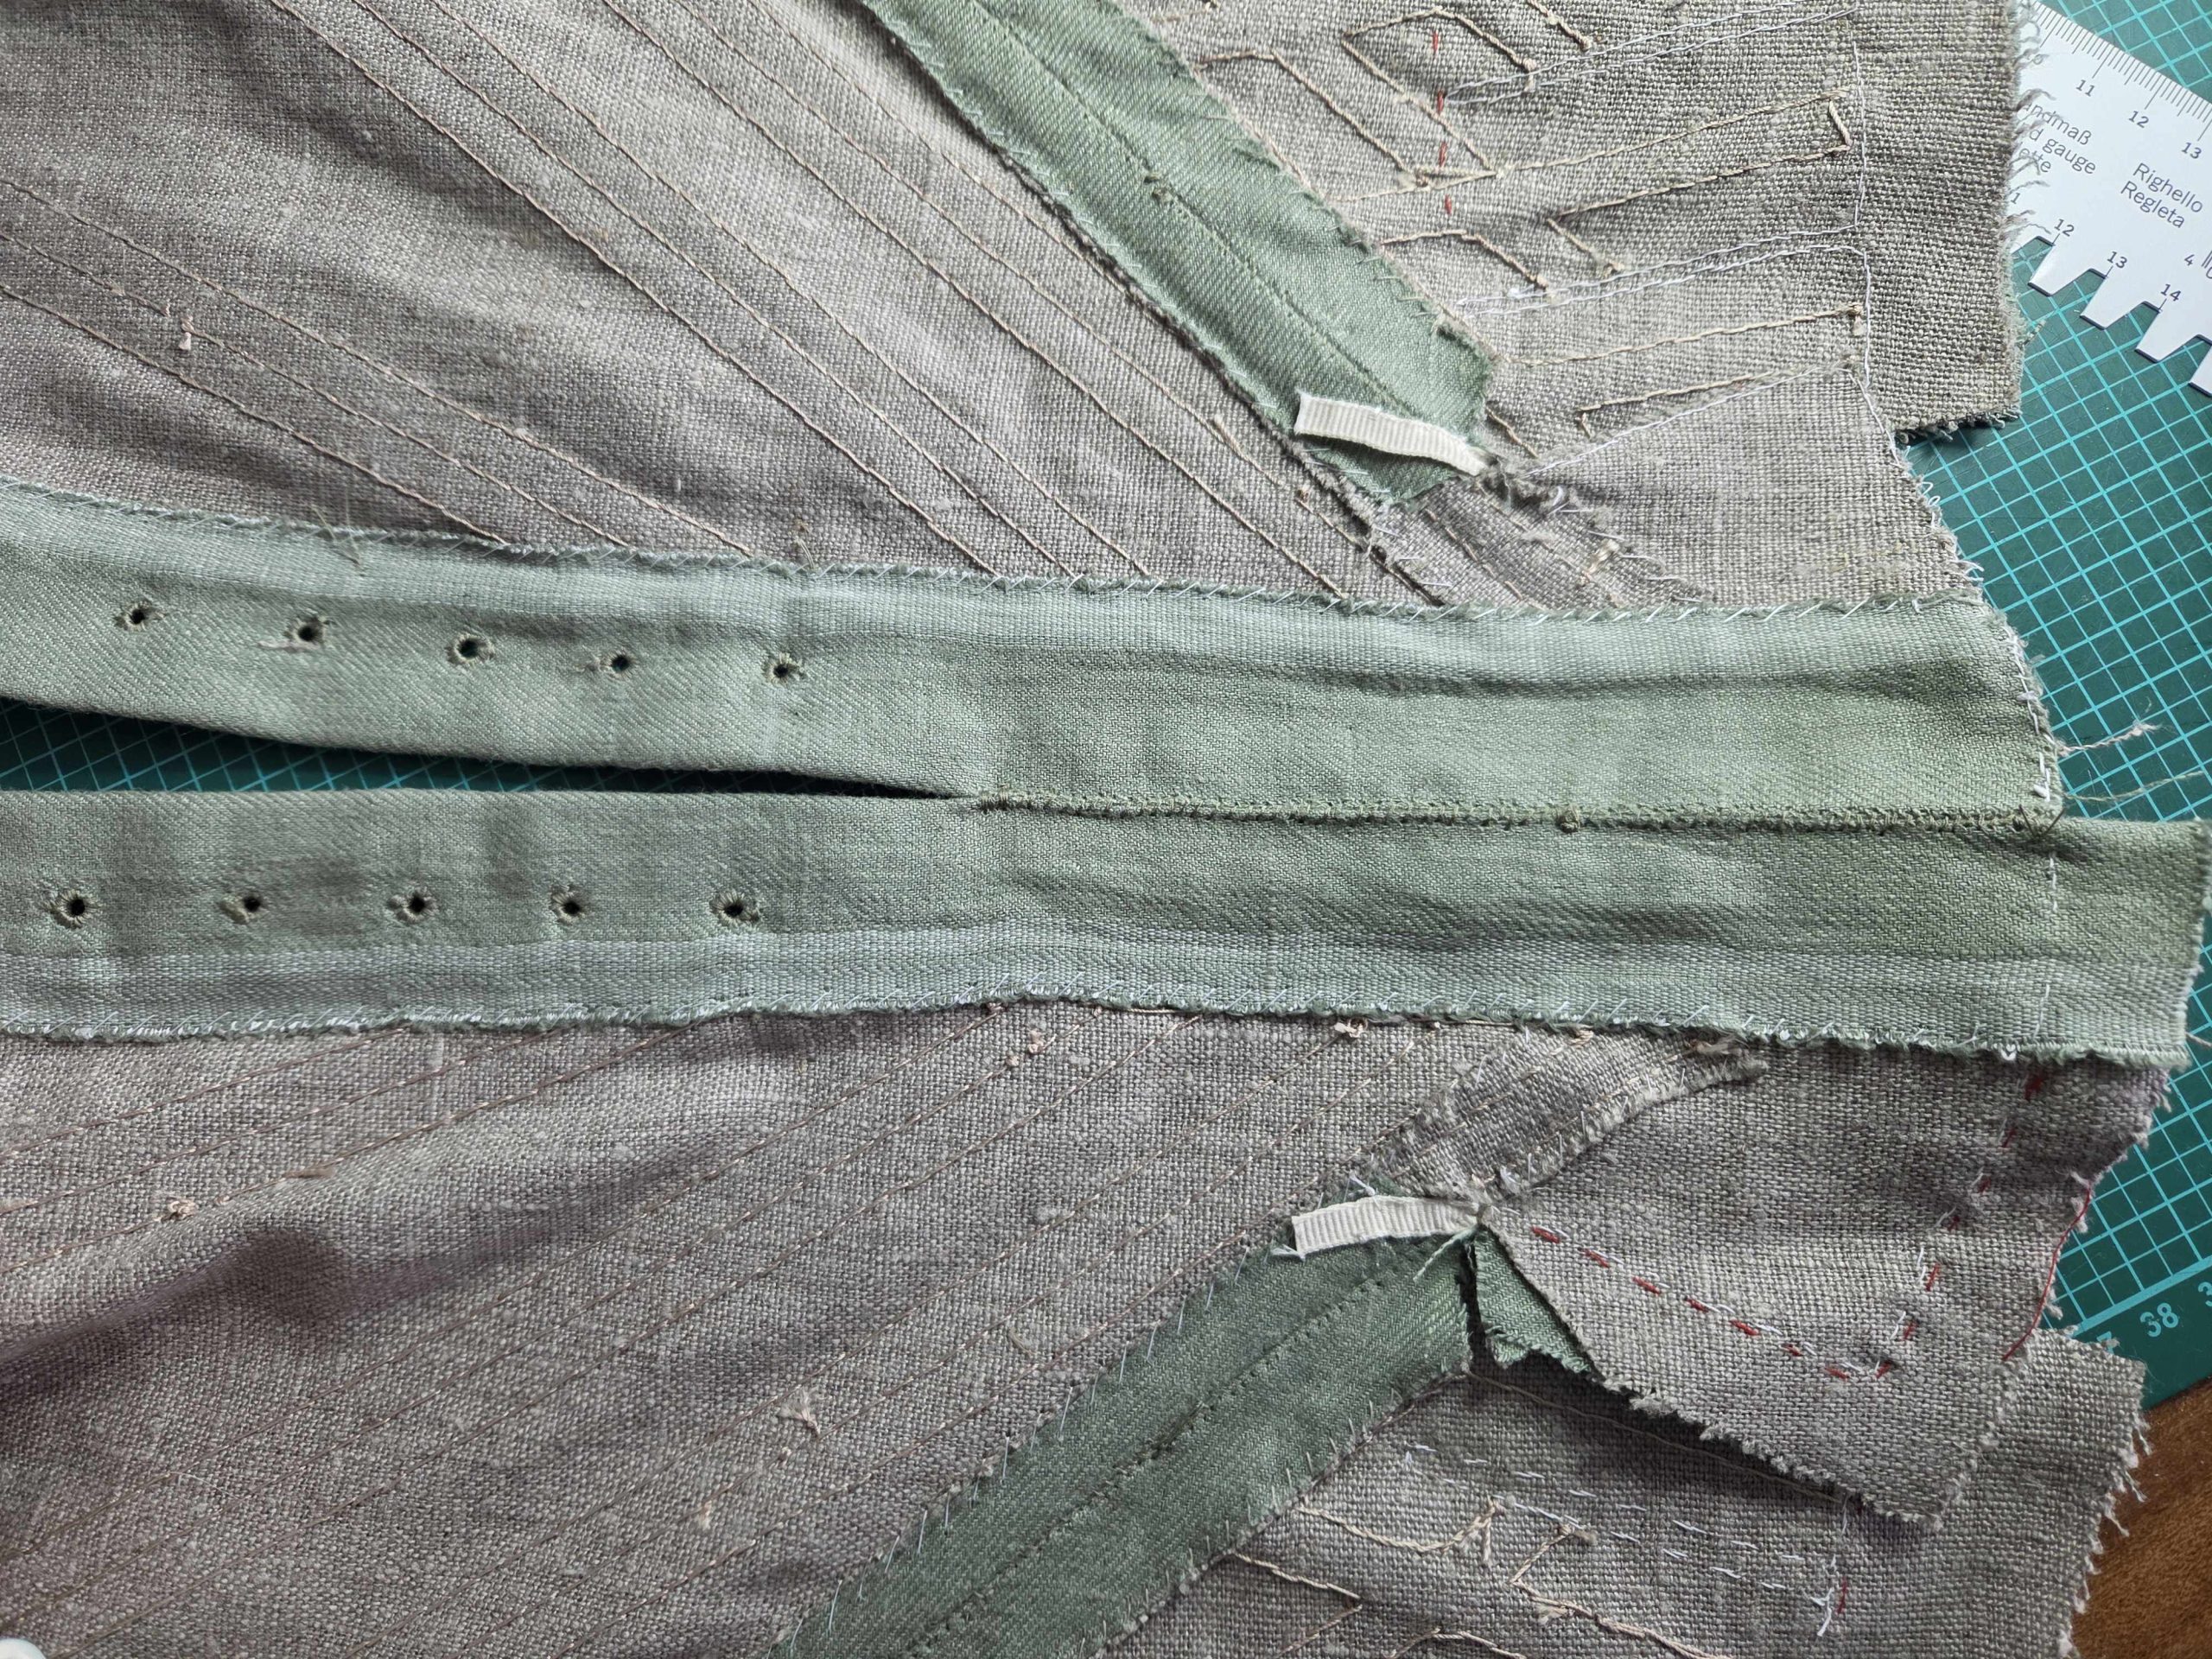
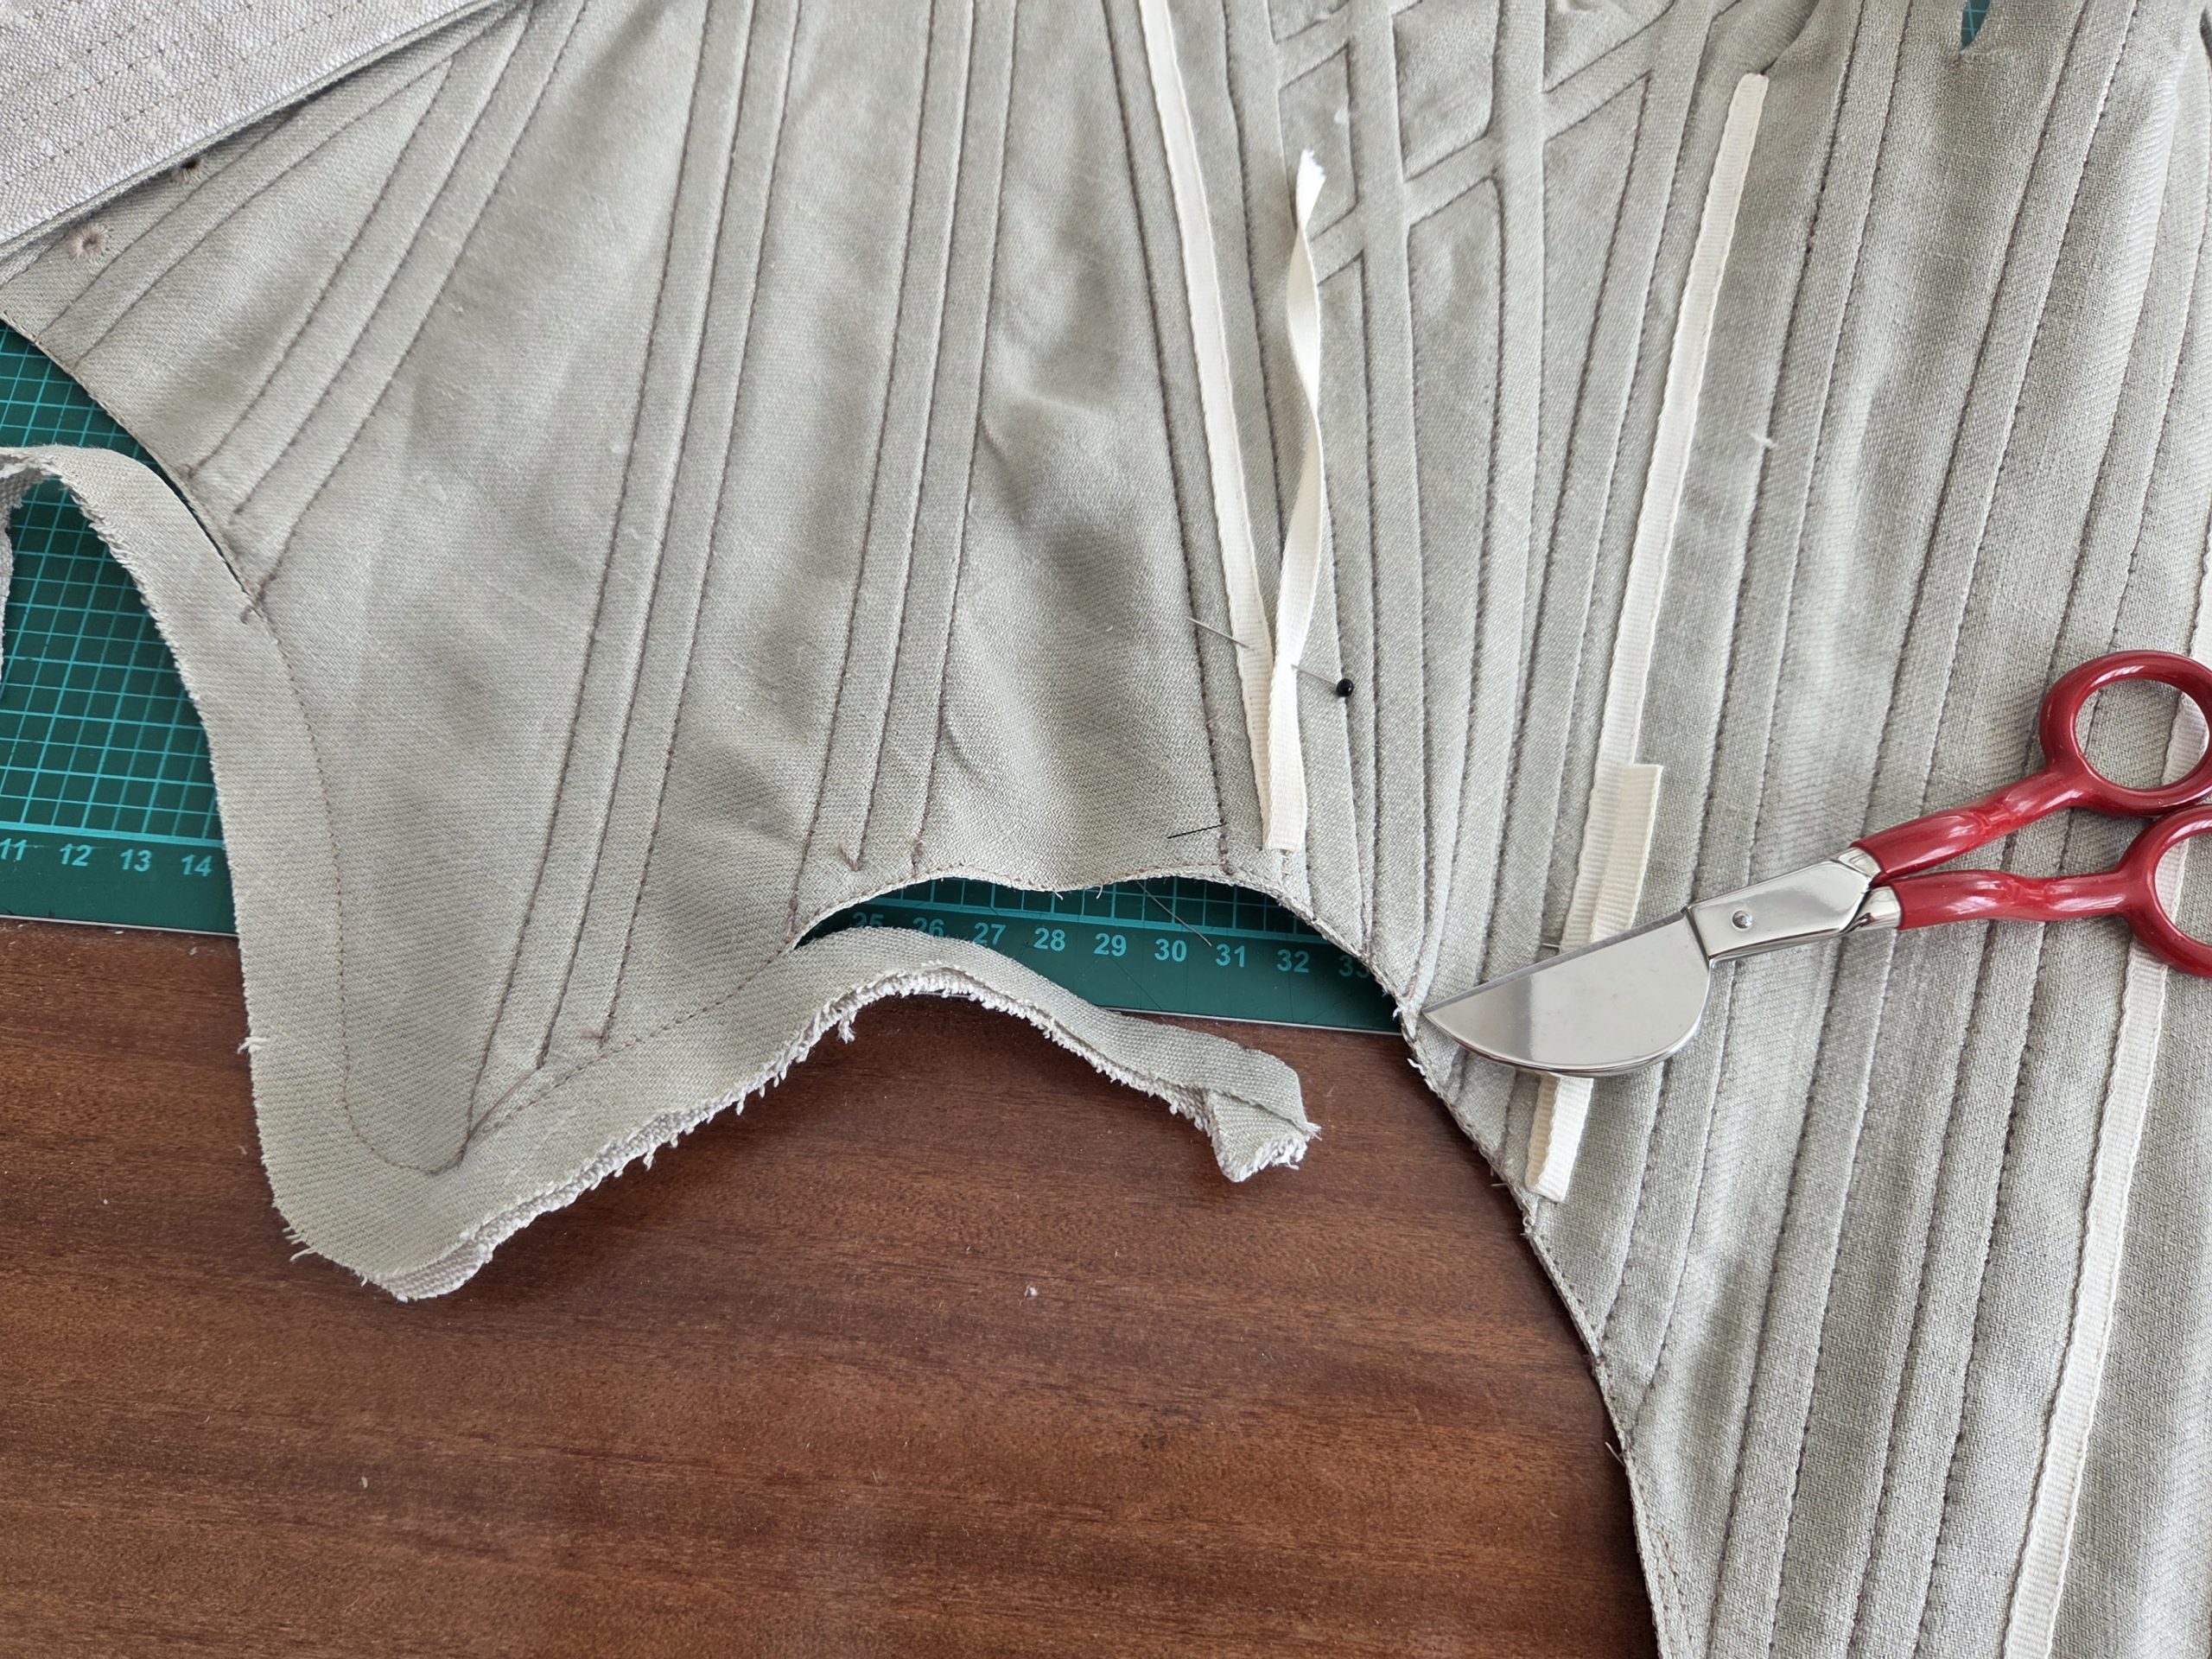
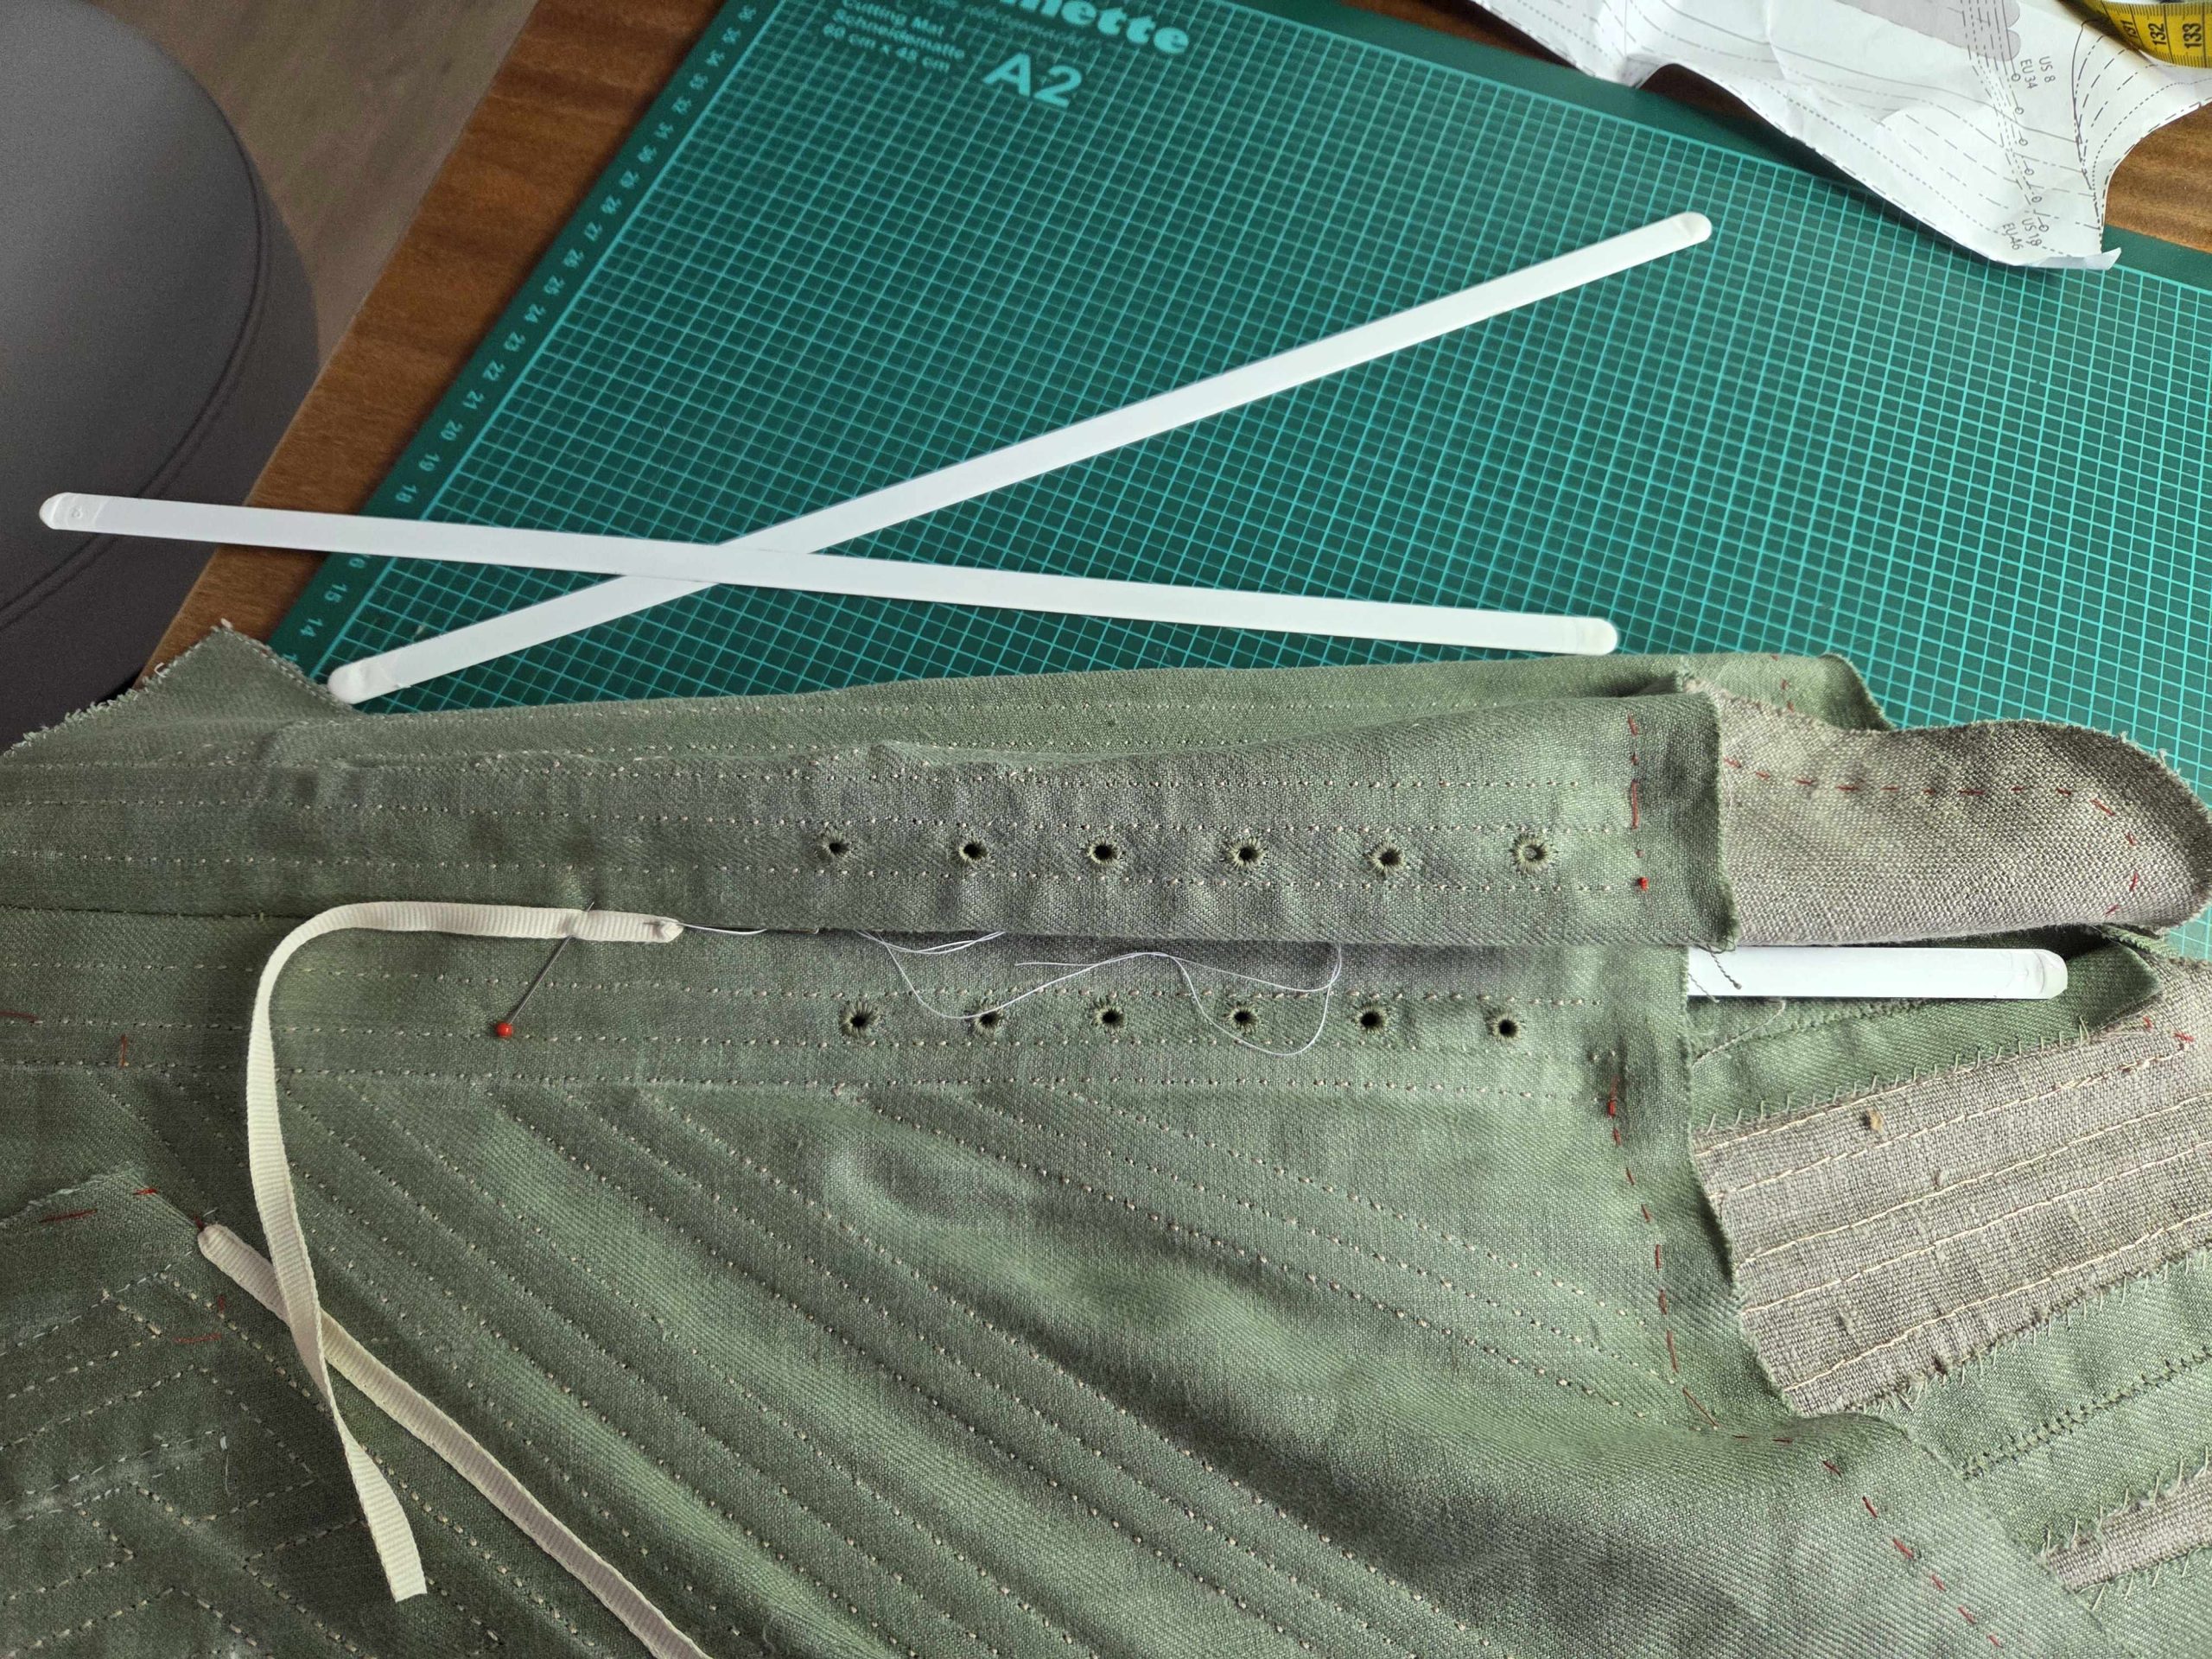
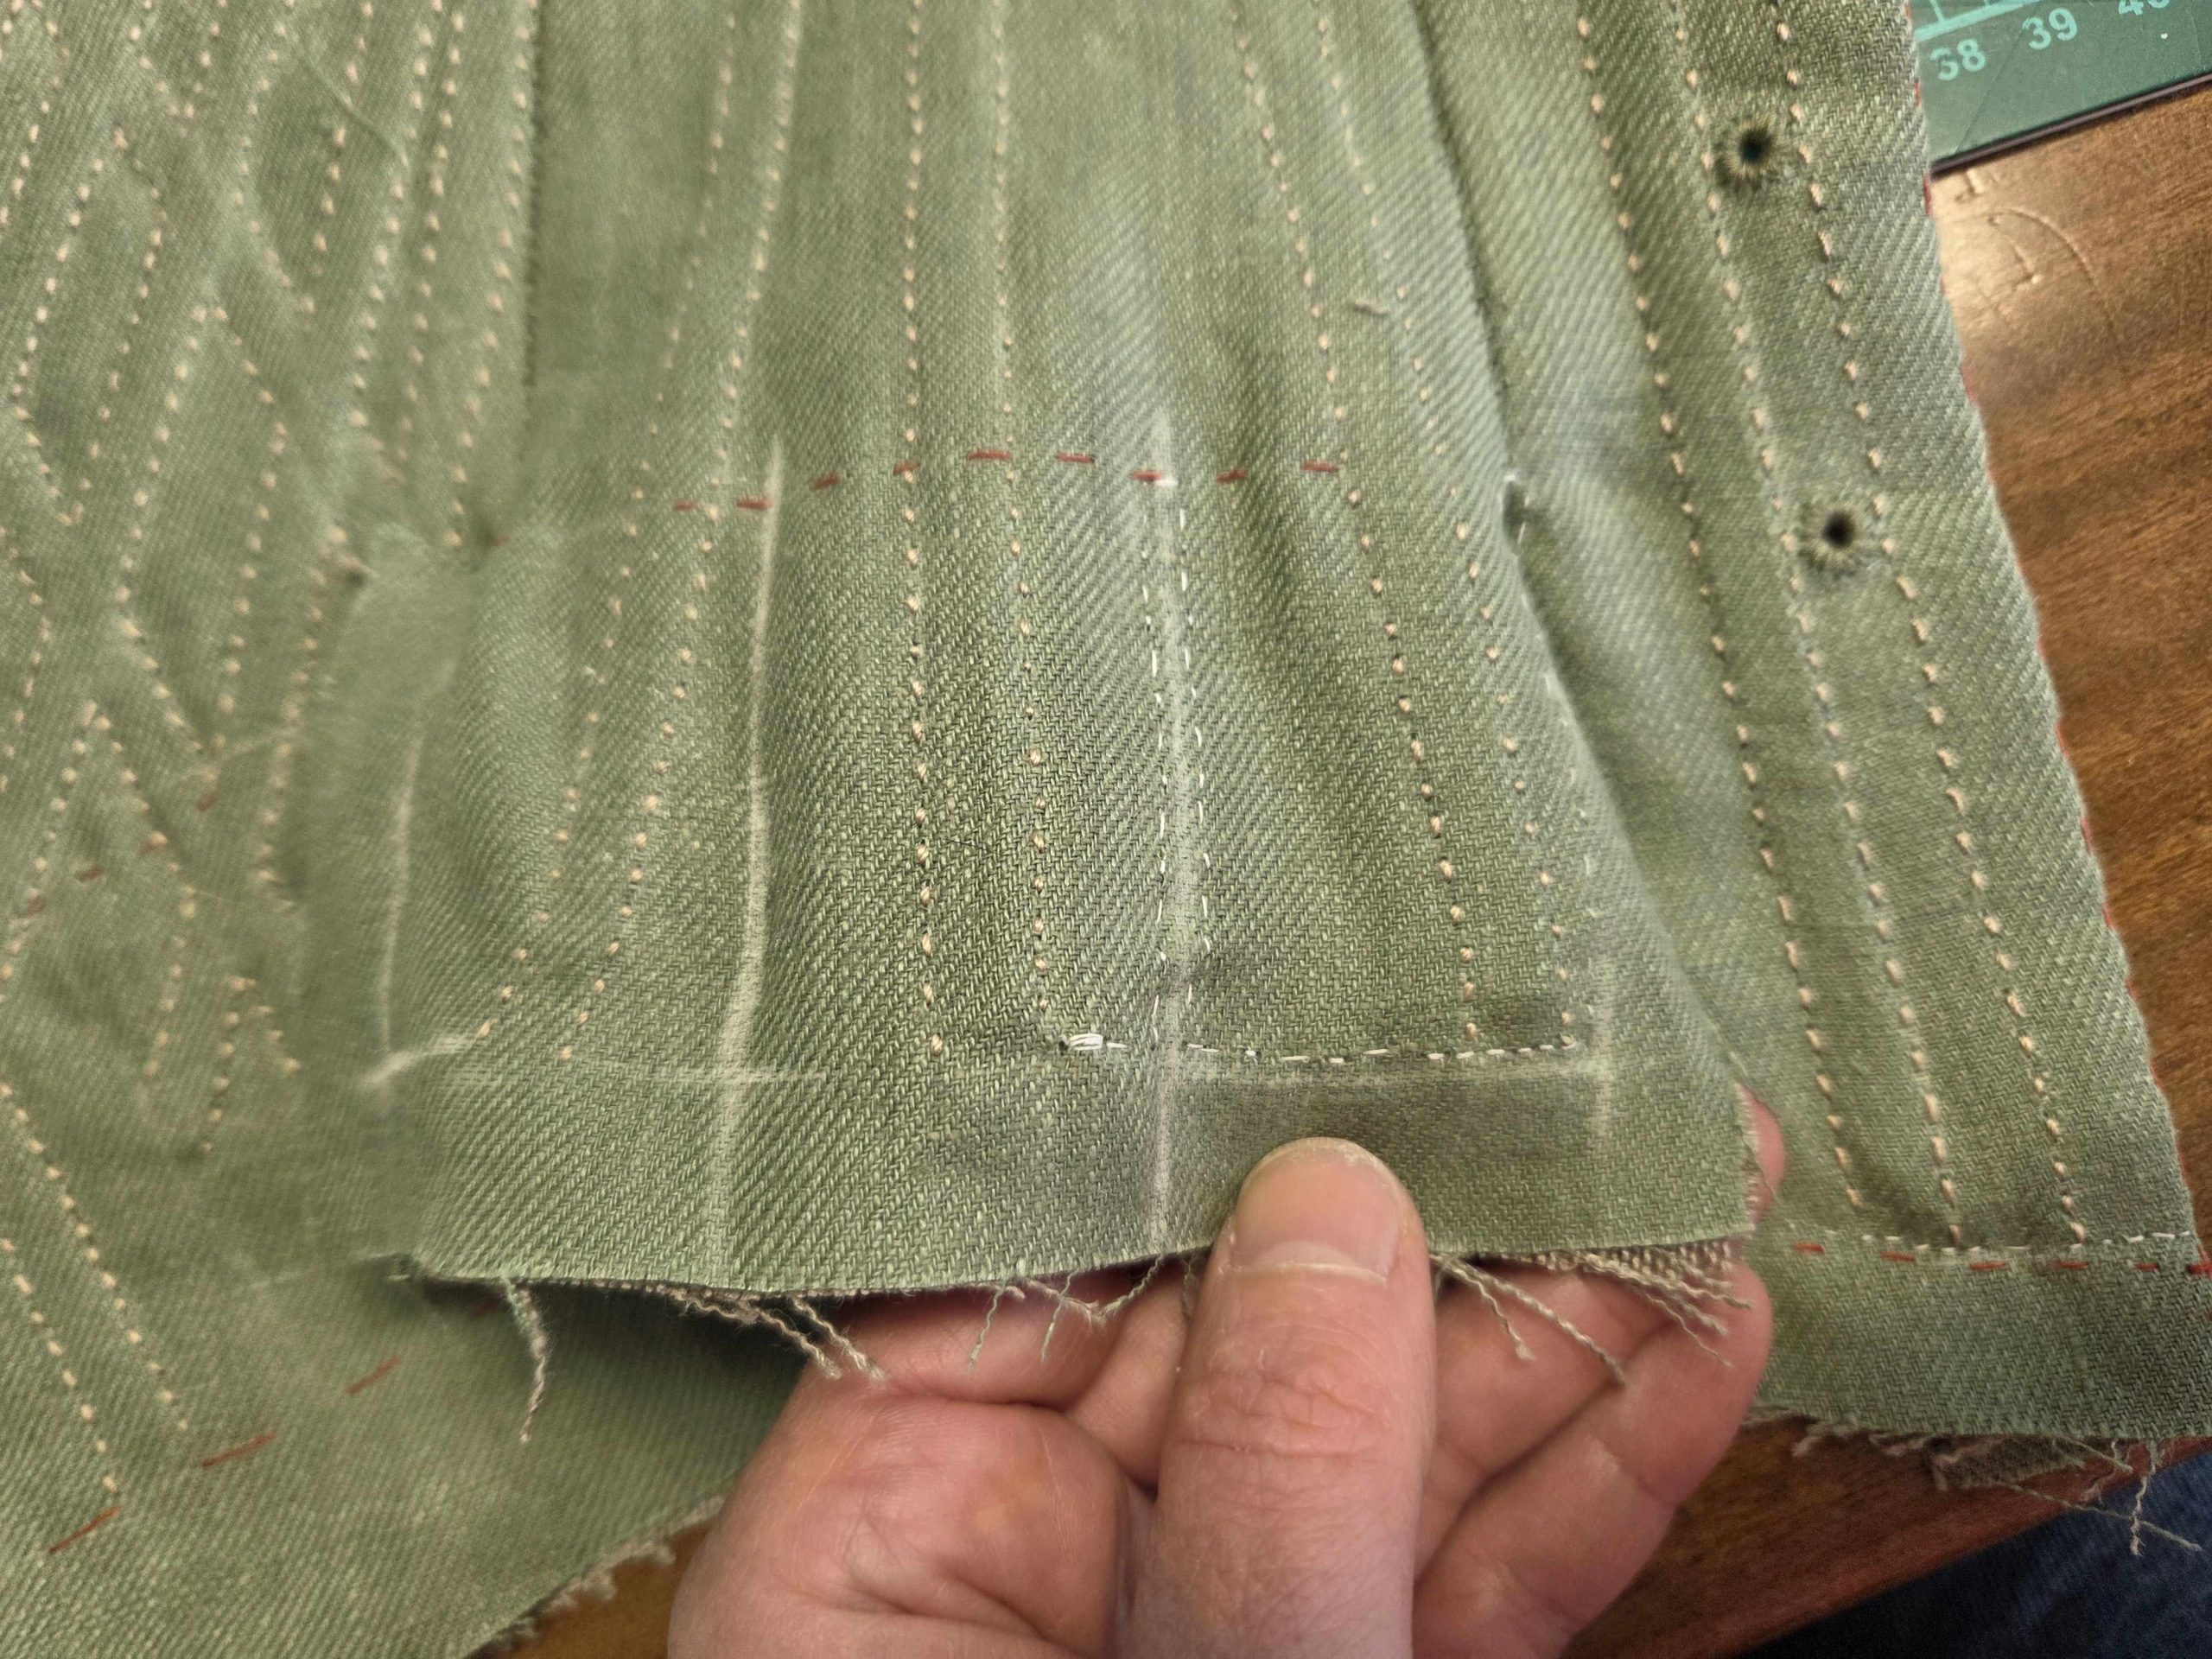
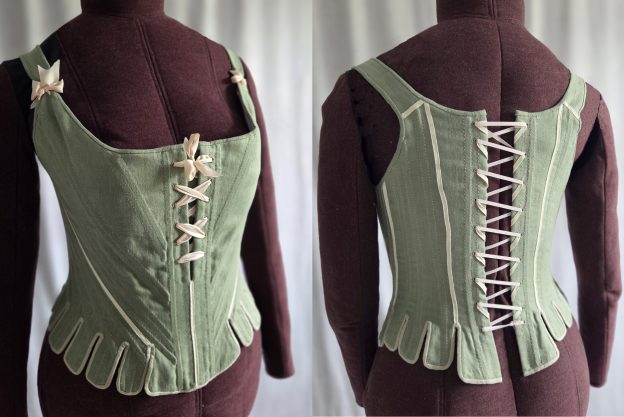
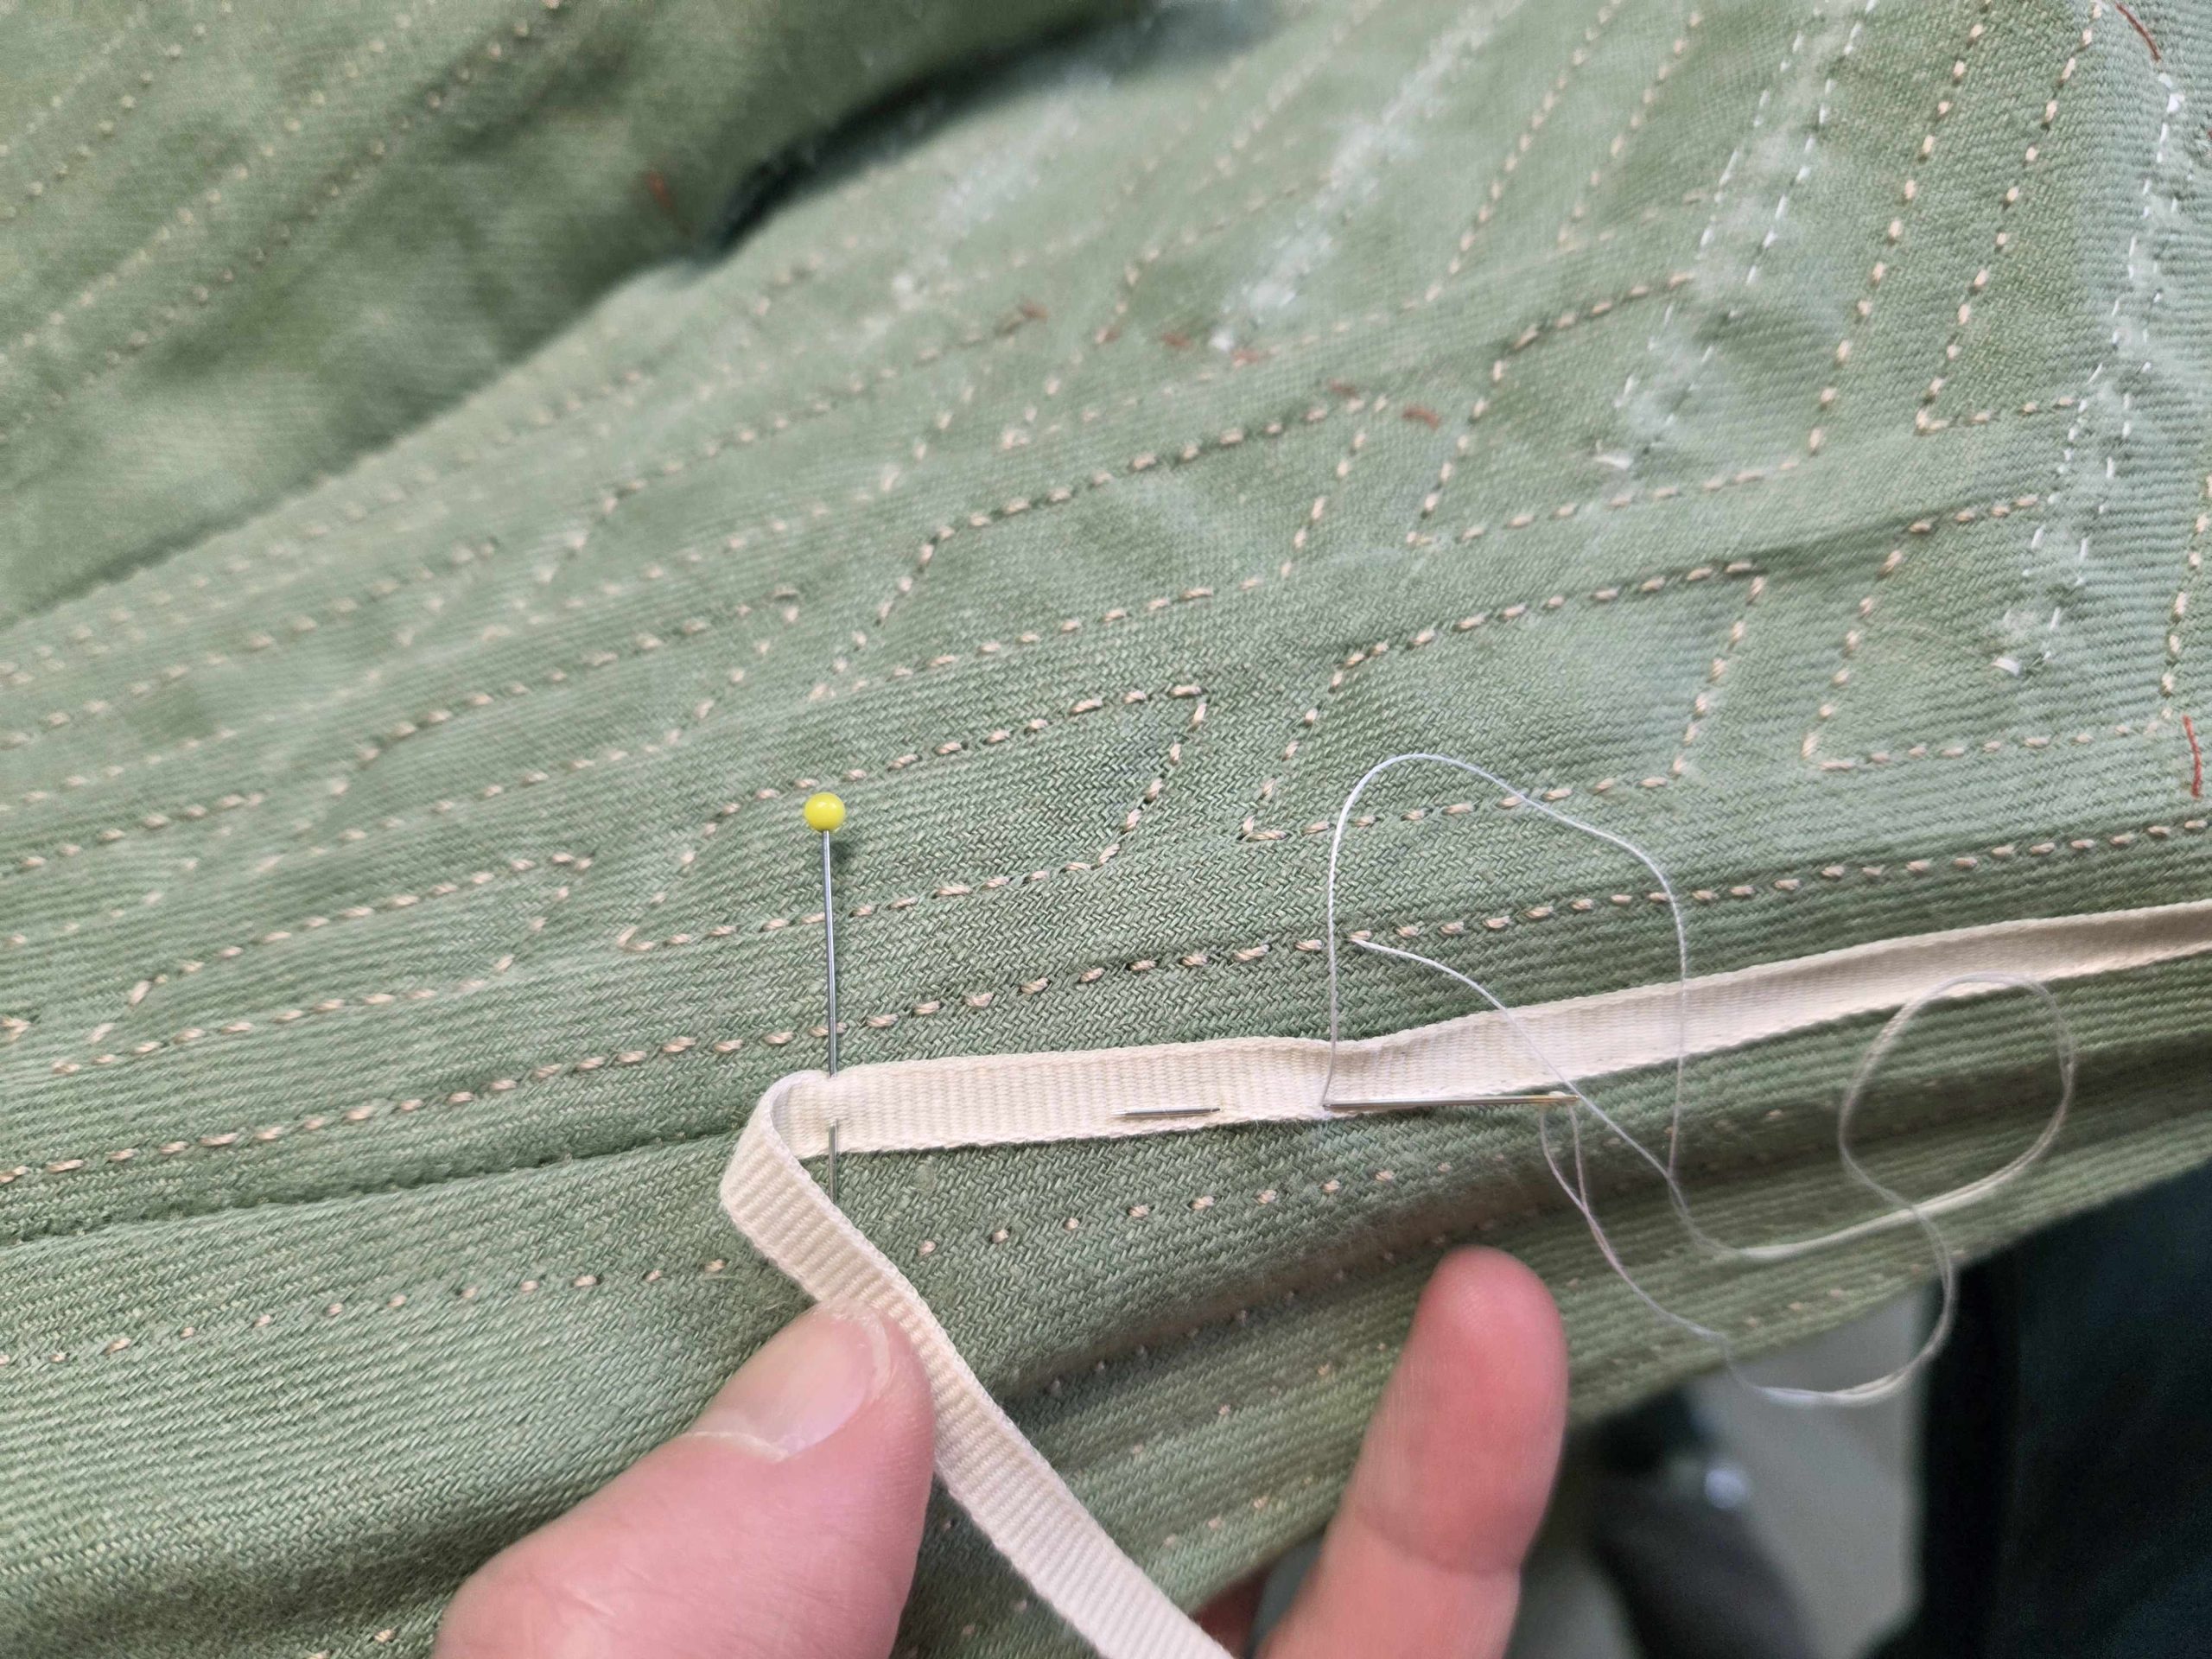
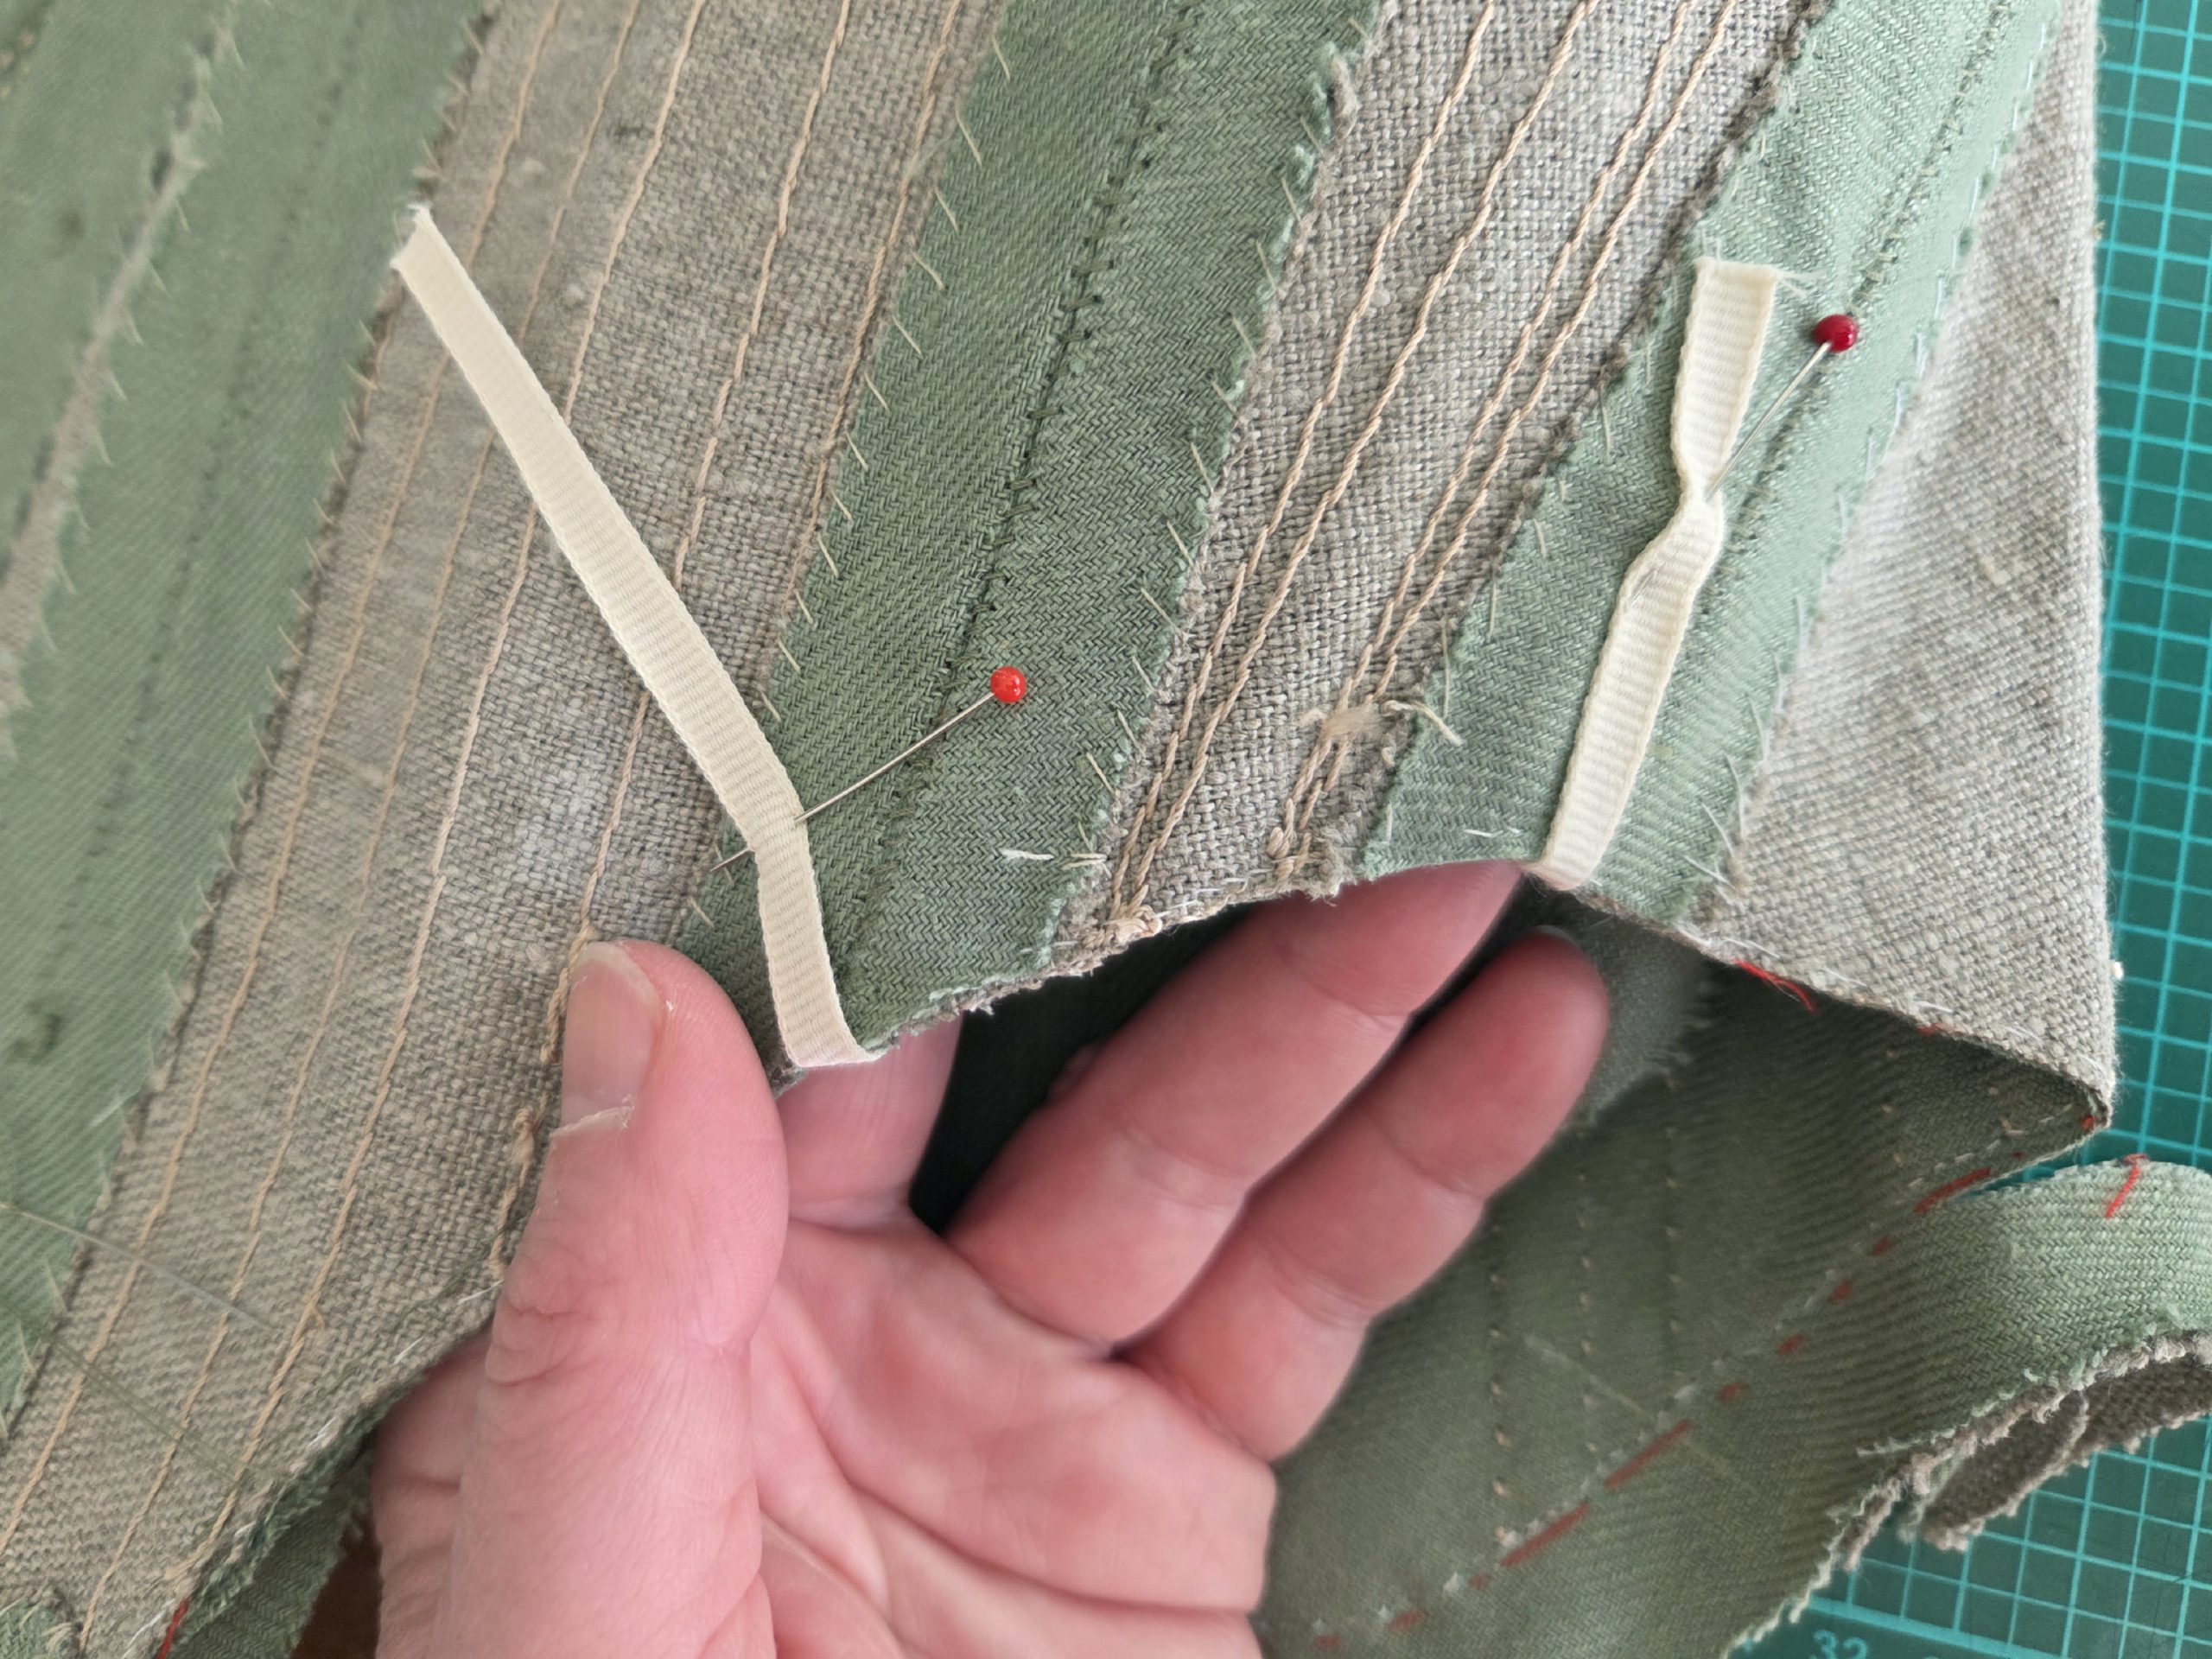
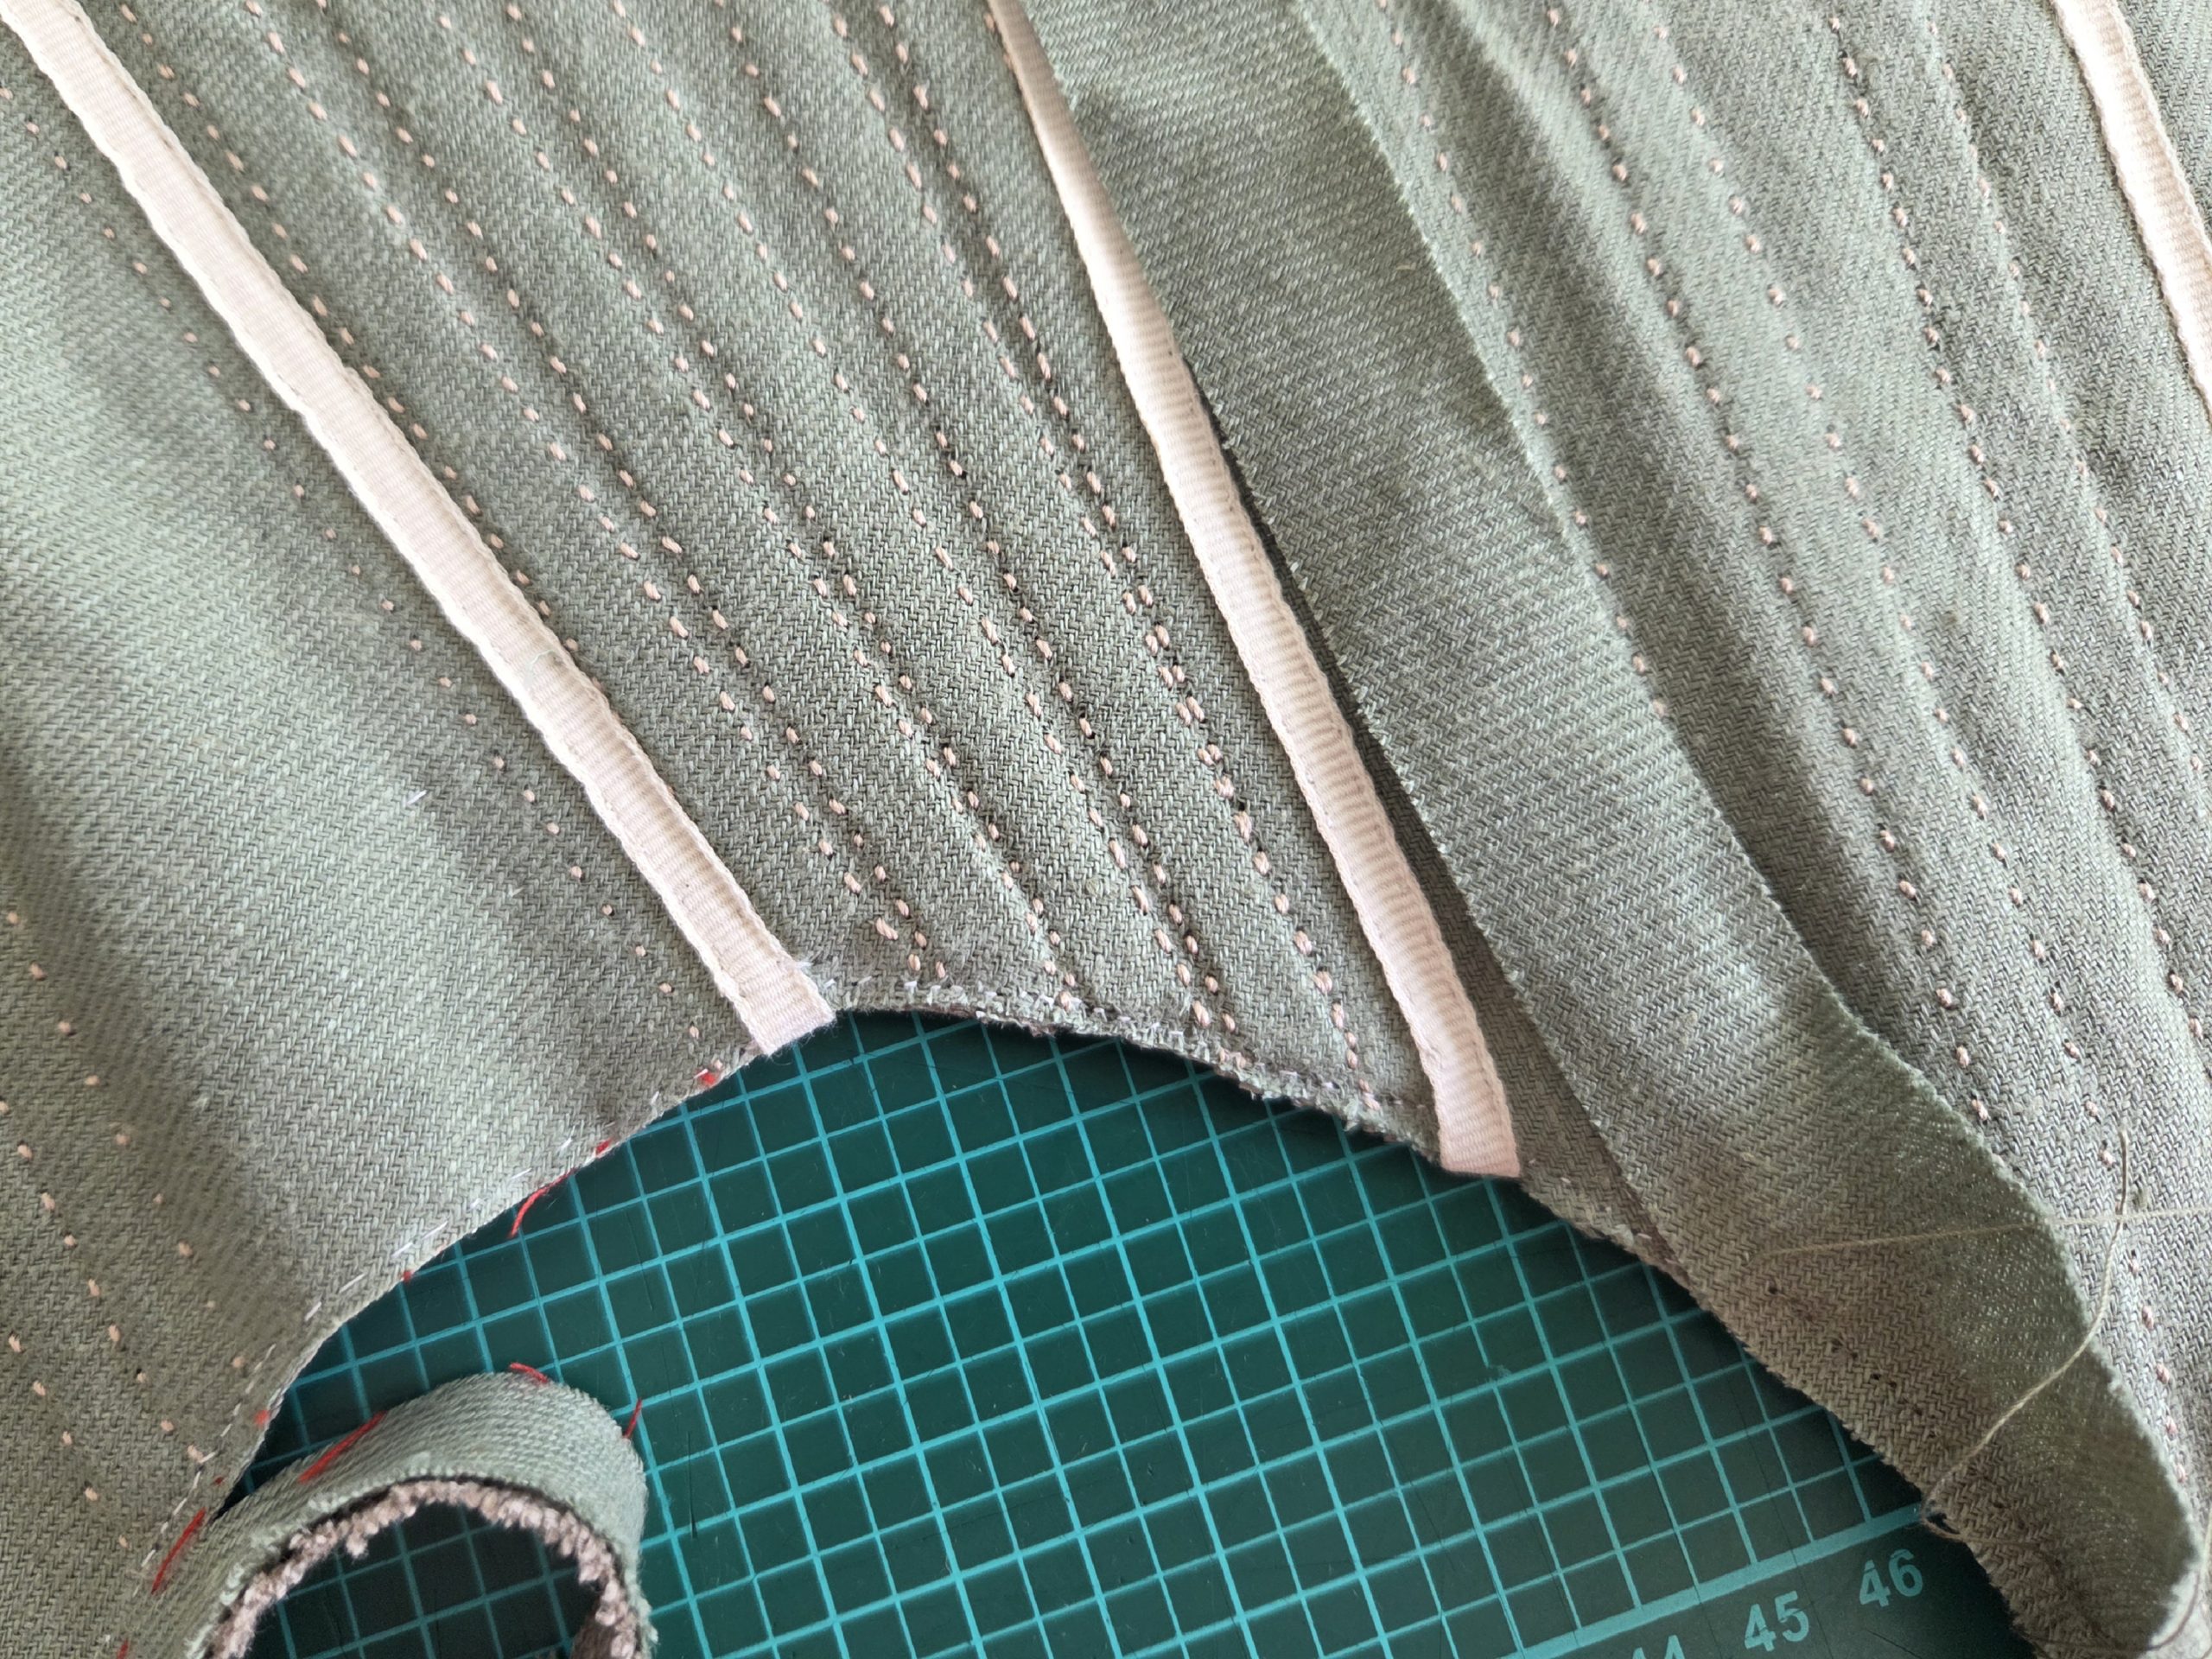
To cover the whip stitches, take a narrow trim or grosgrain ribbon and place it on top of each seam, covering the stitching (s). Stitch the trim to the stays. At the top and bottom, fold around the edge and secure the ends with some stitches to the wrong side.
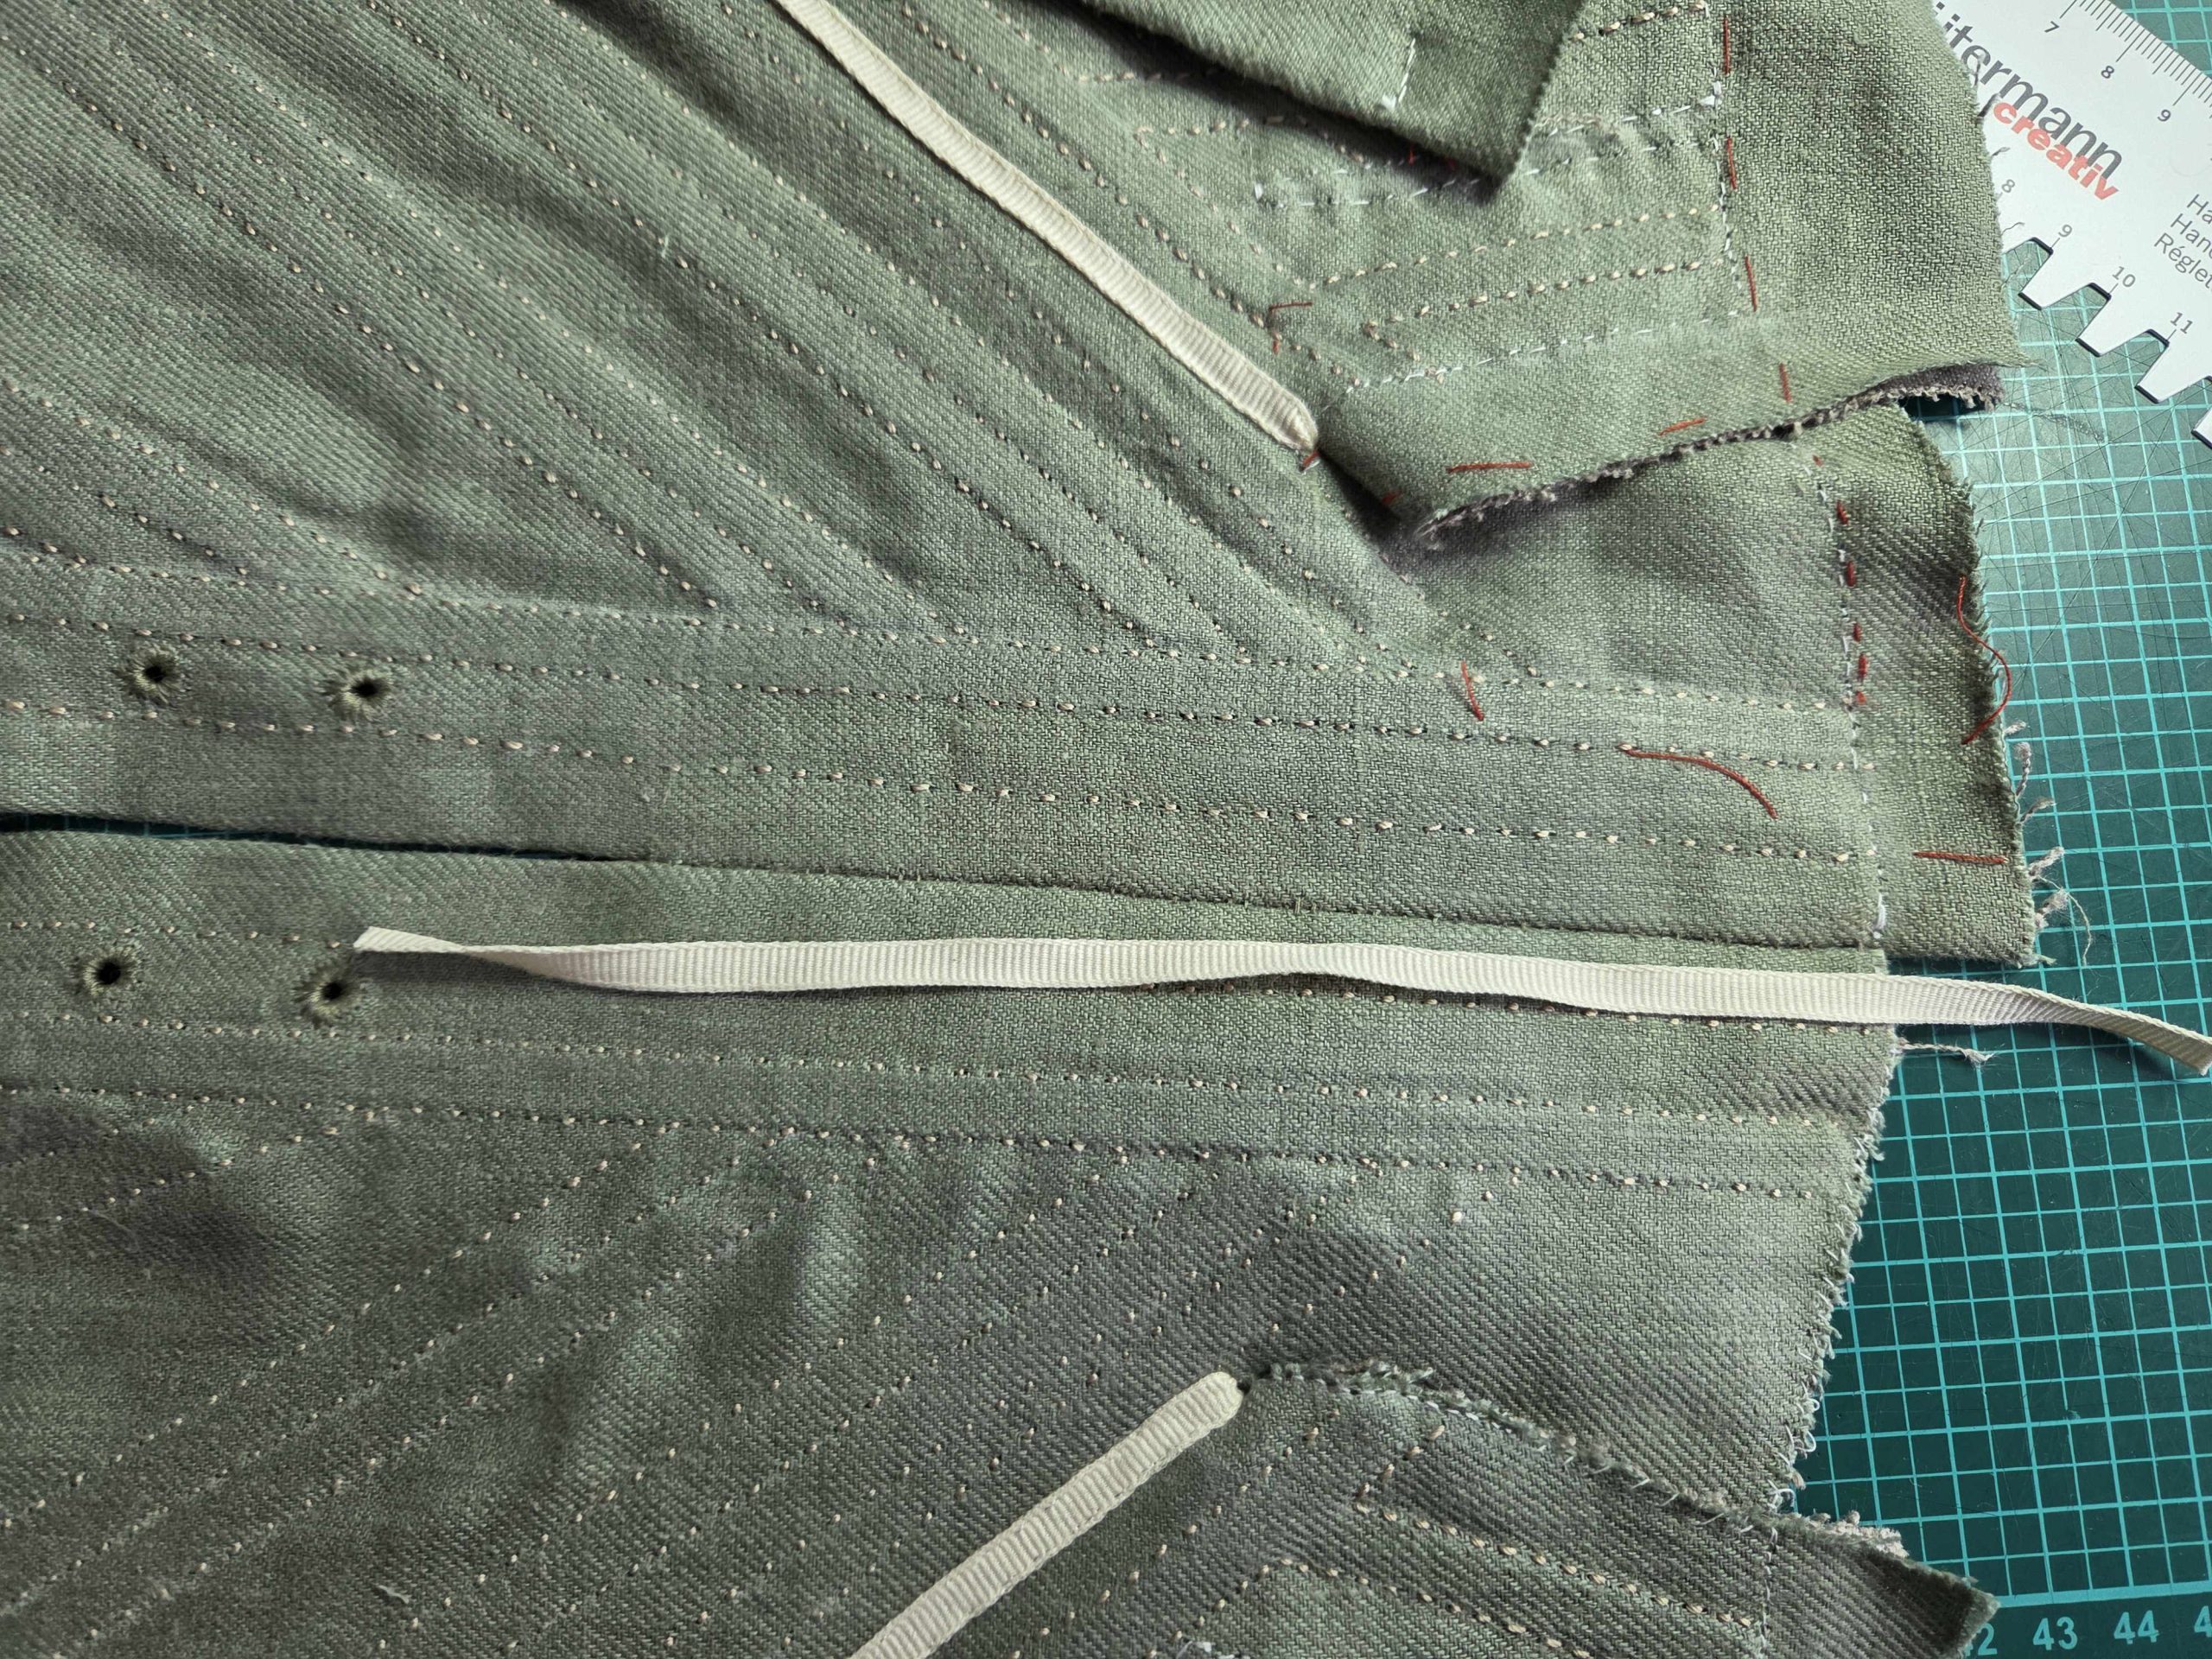
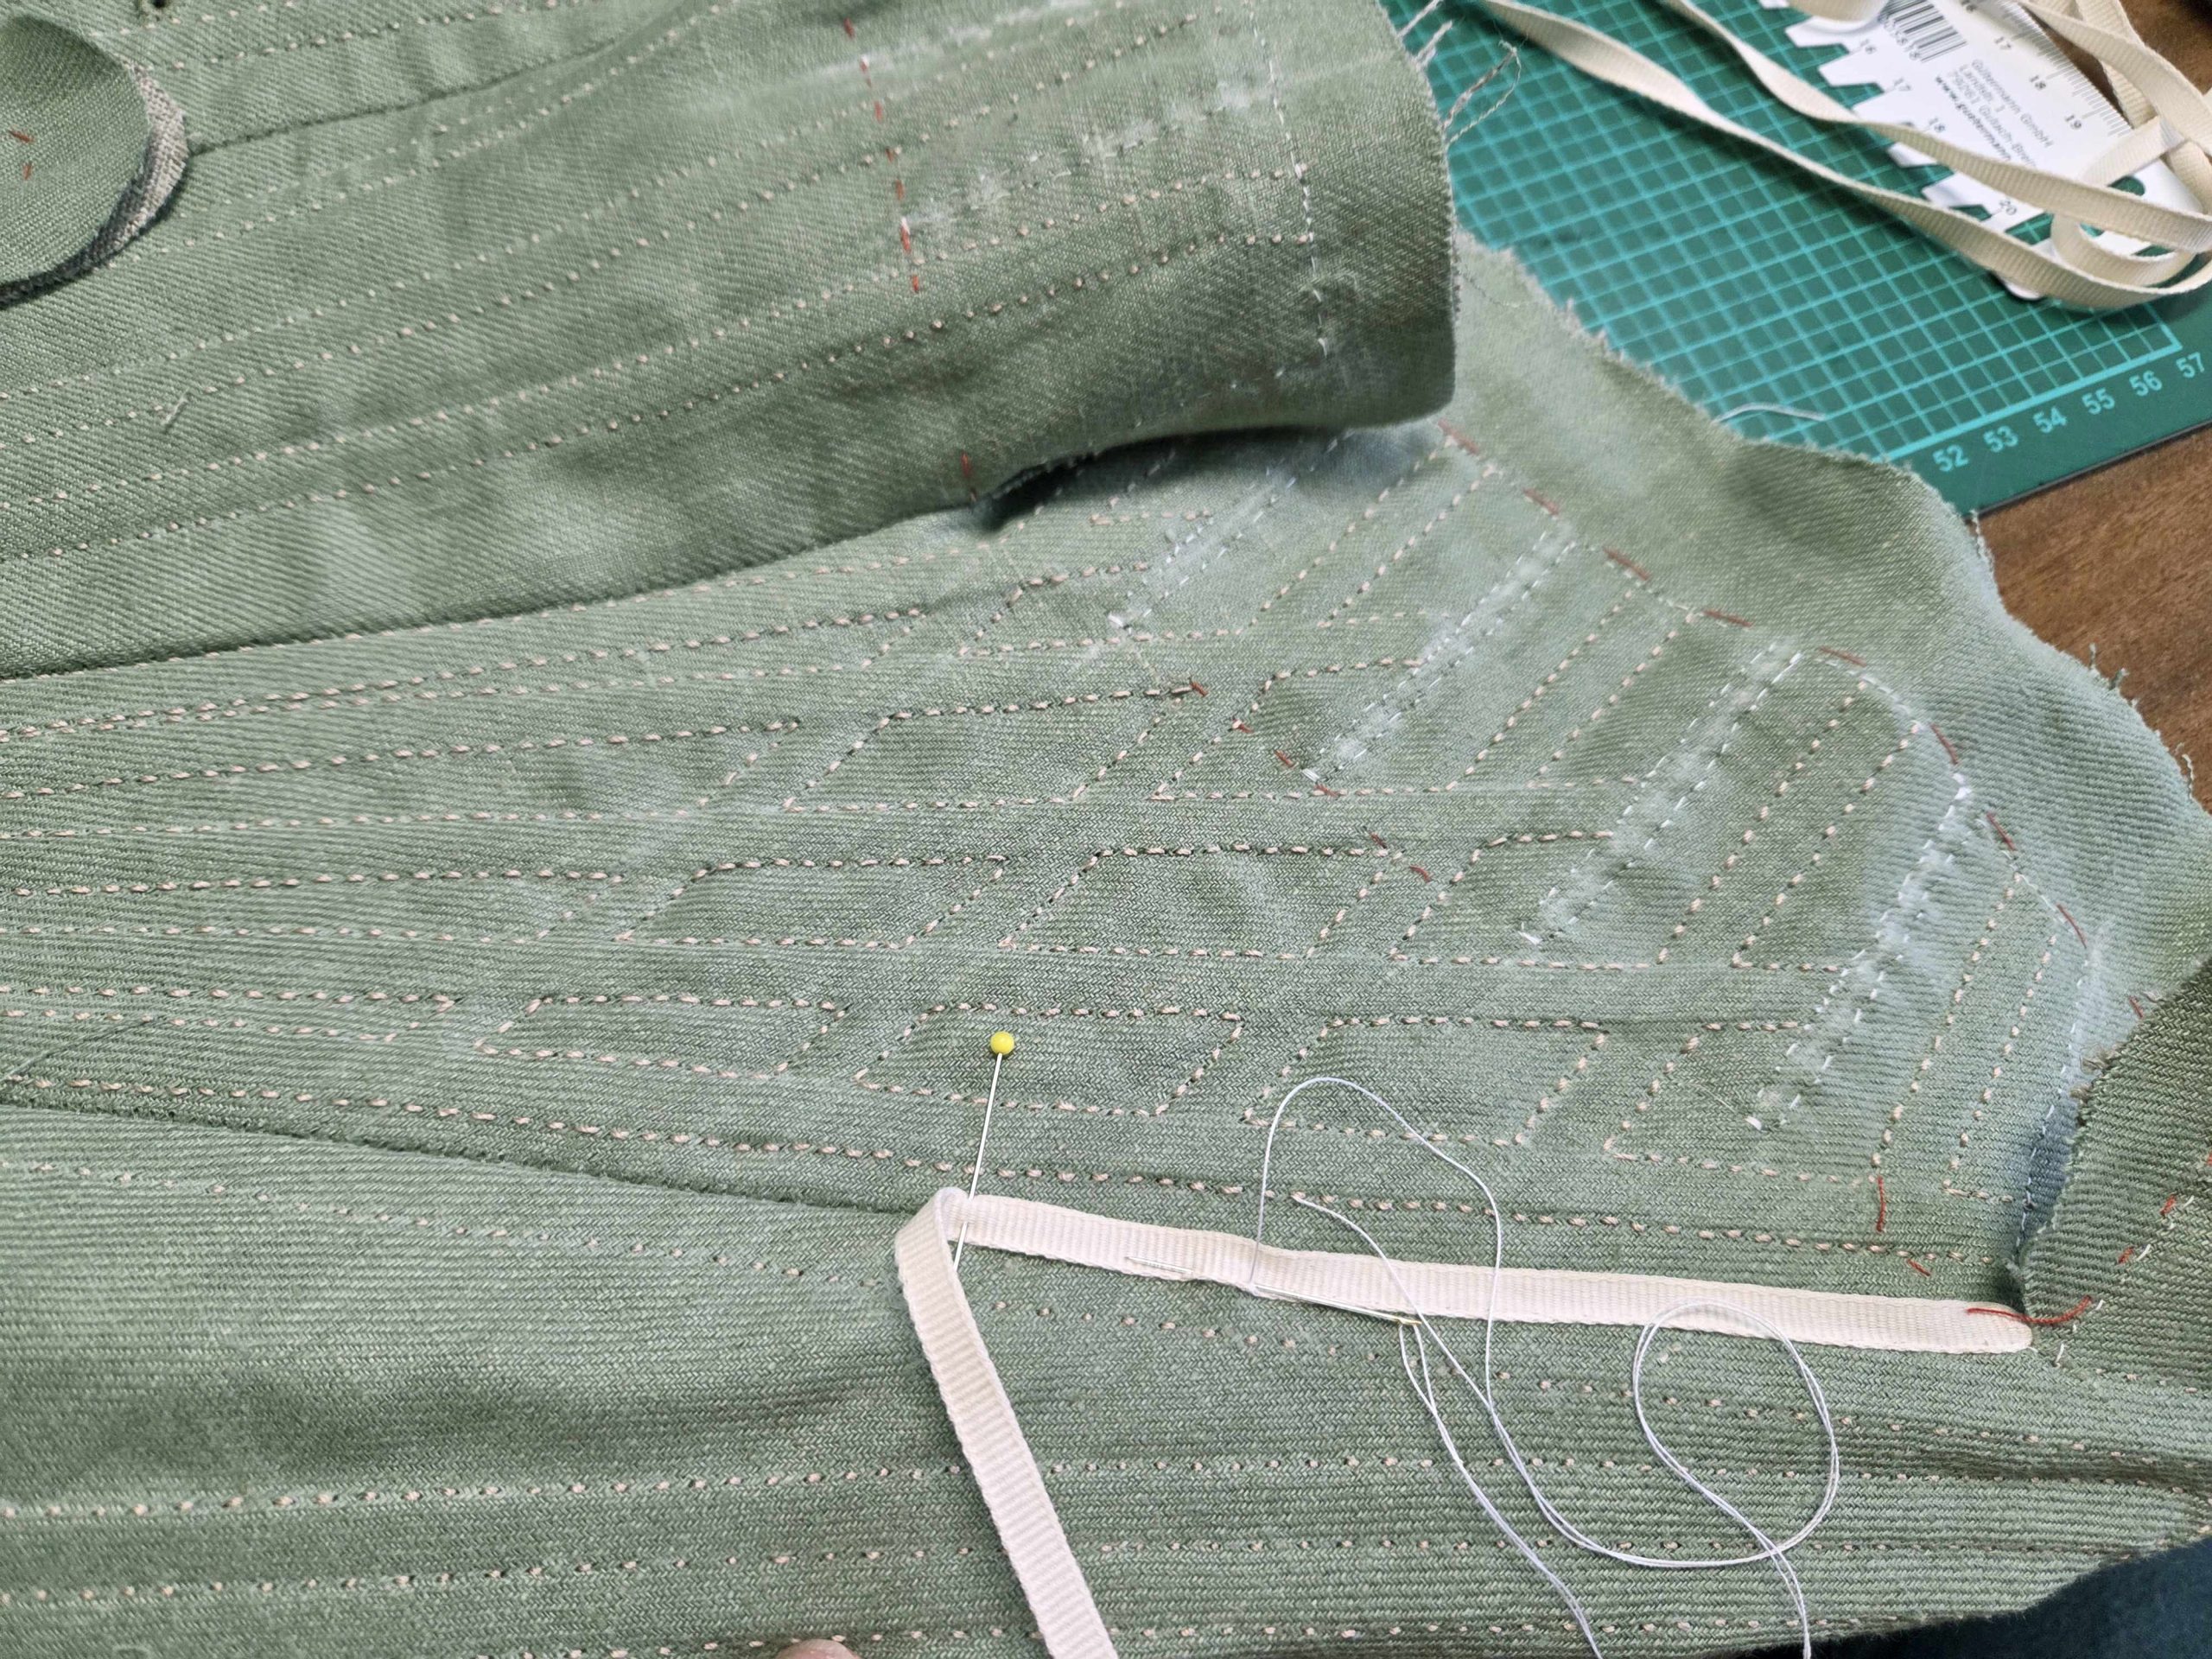
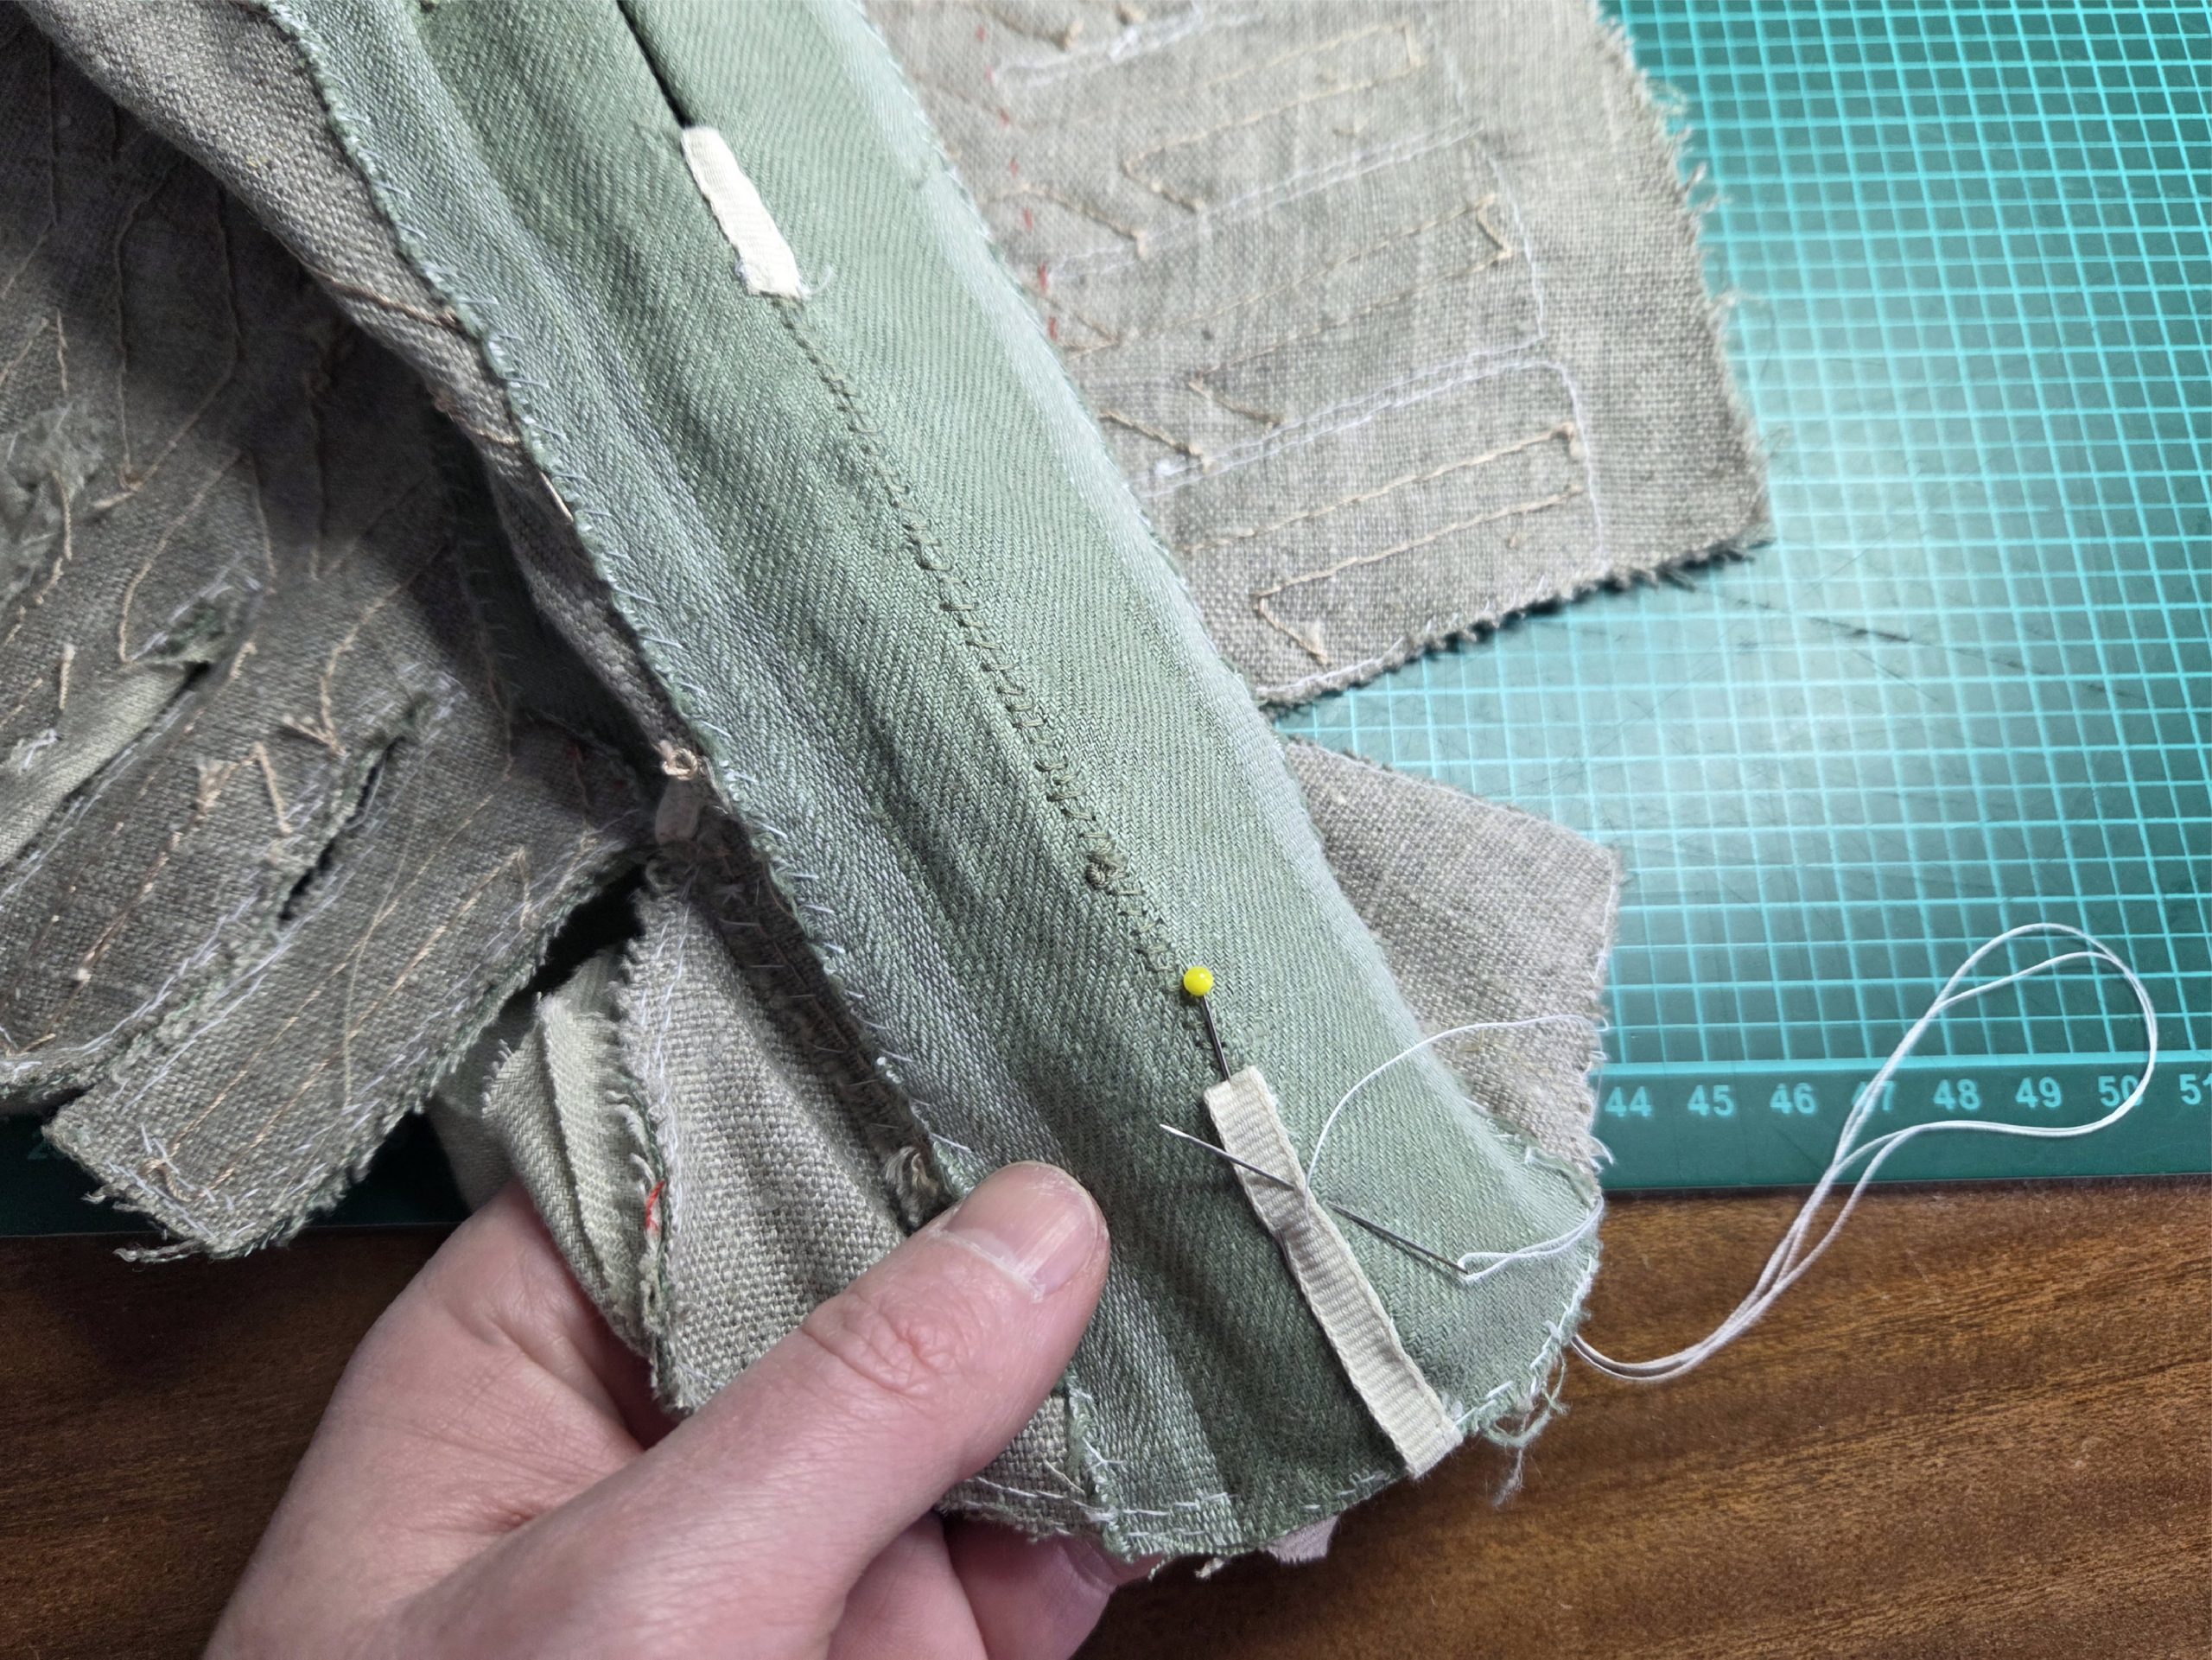
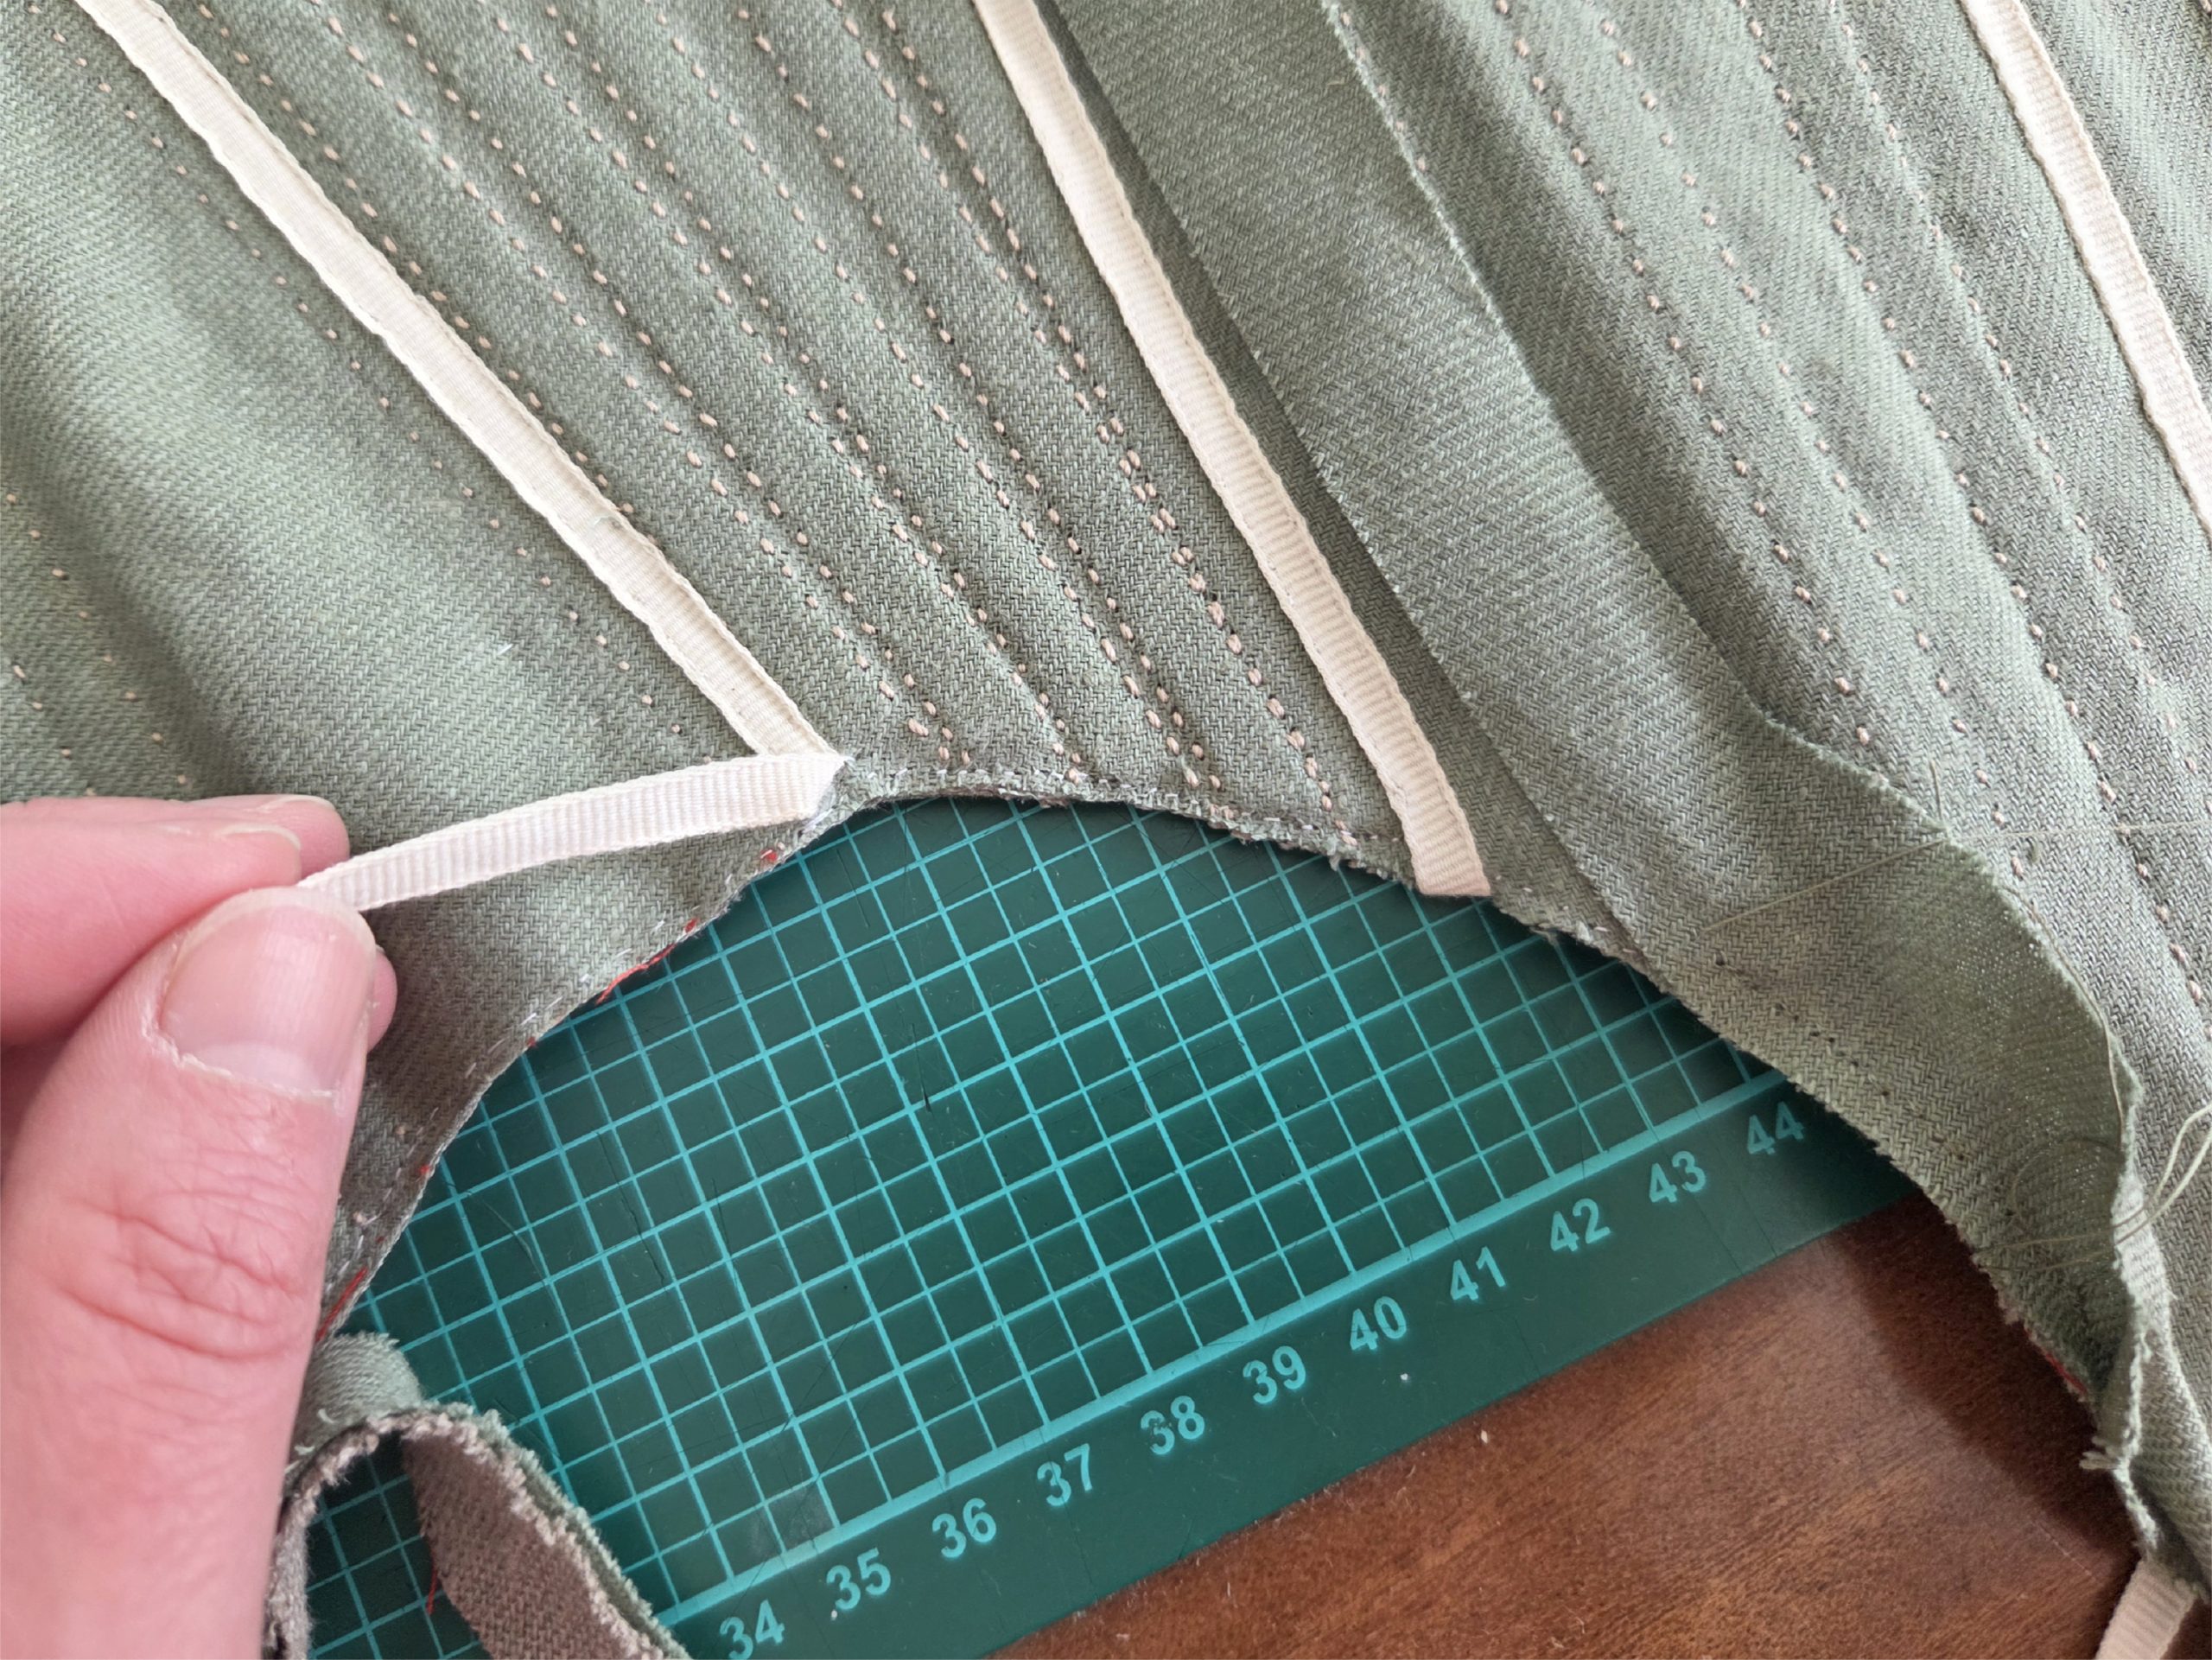
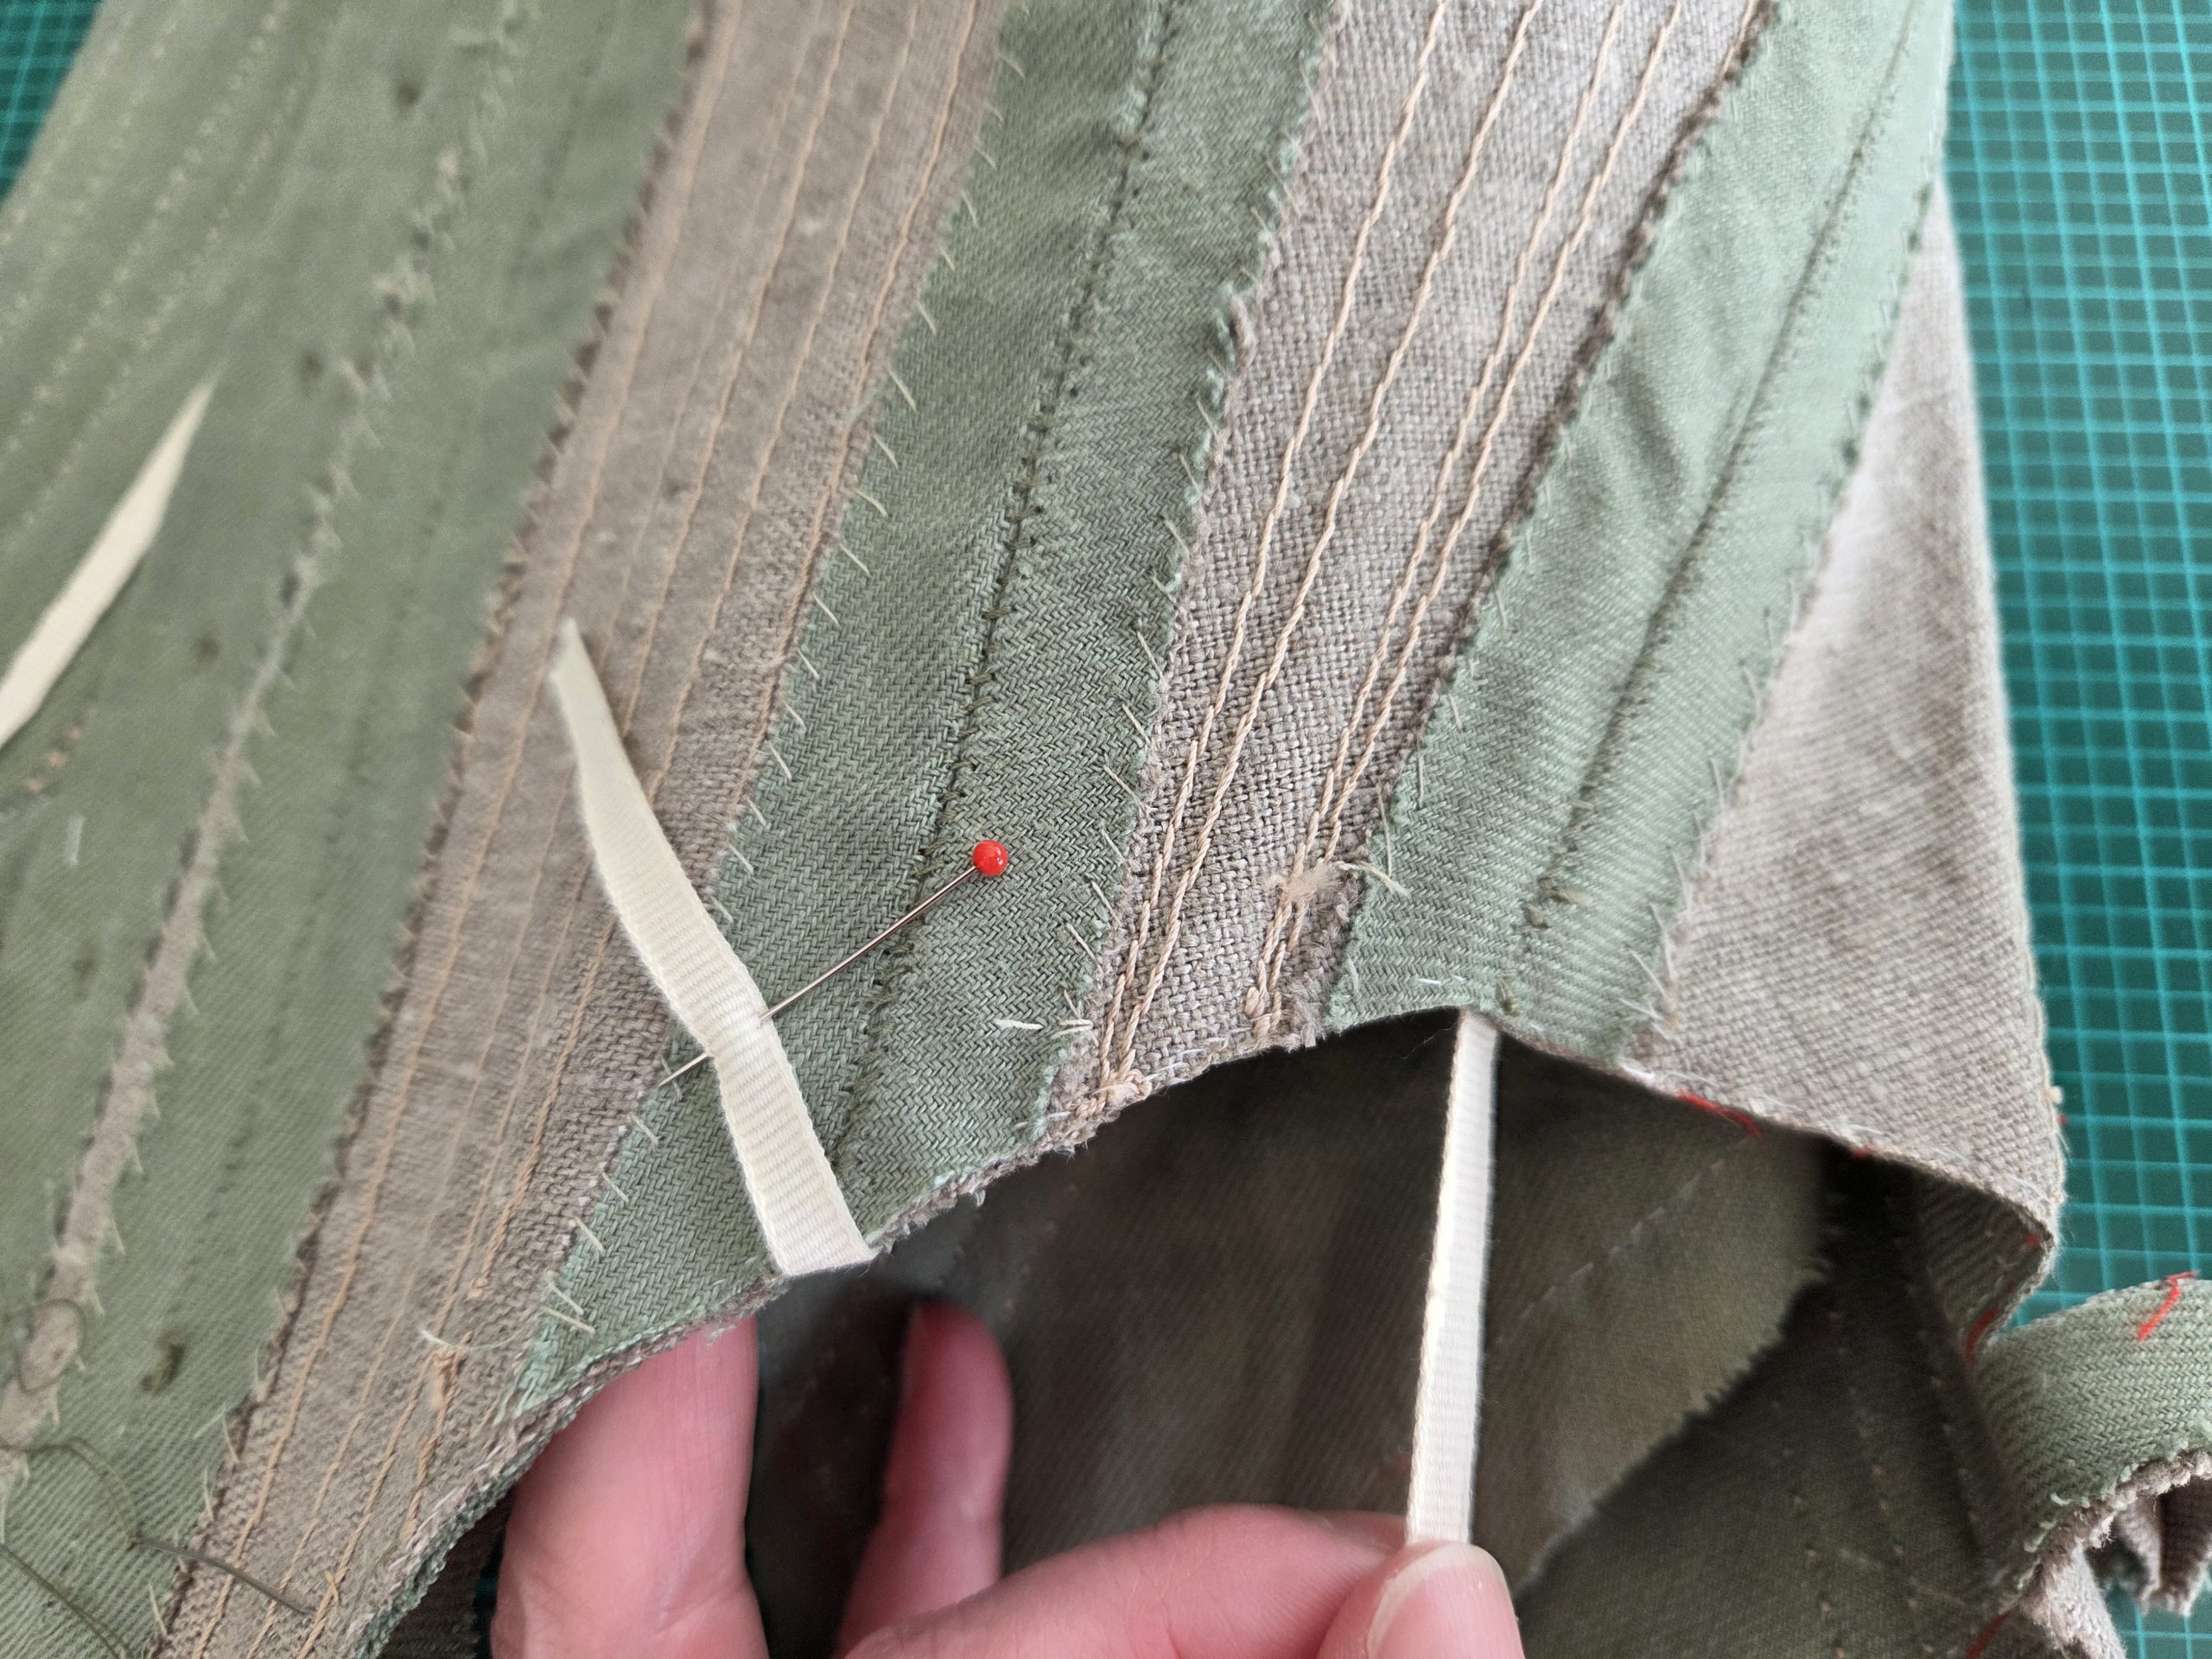
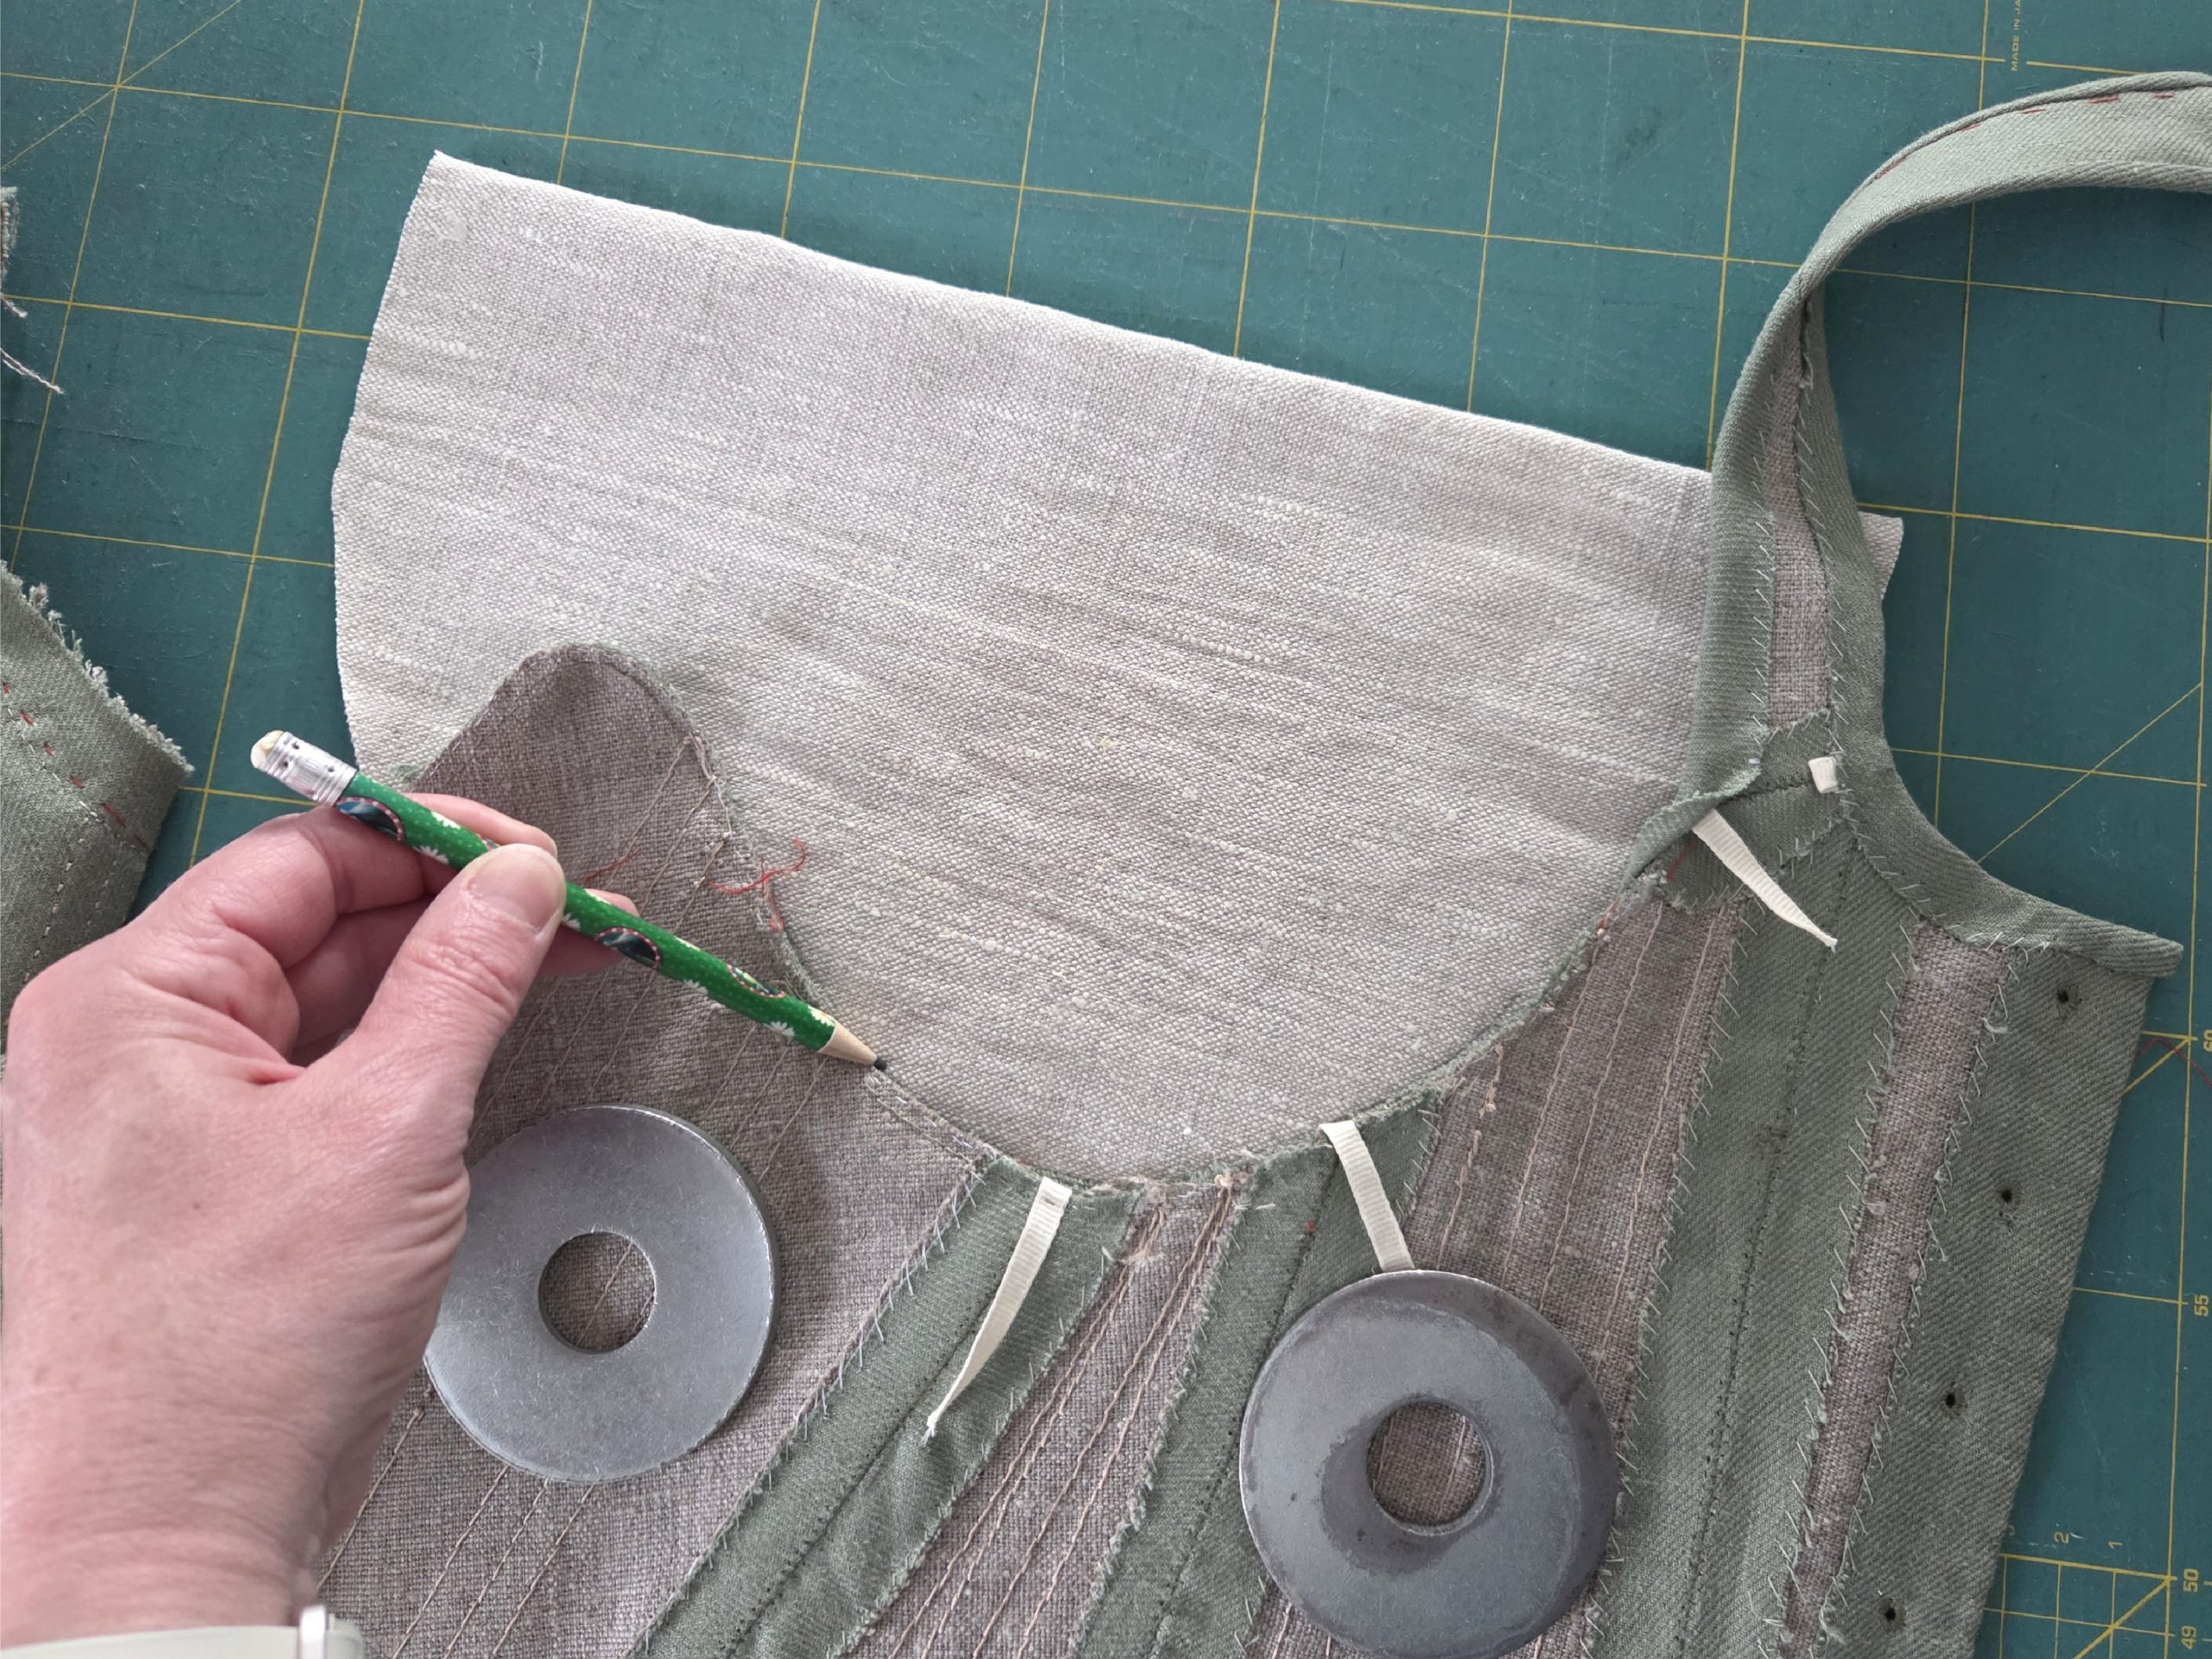
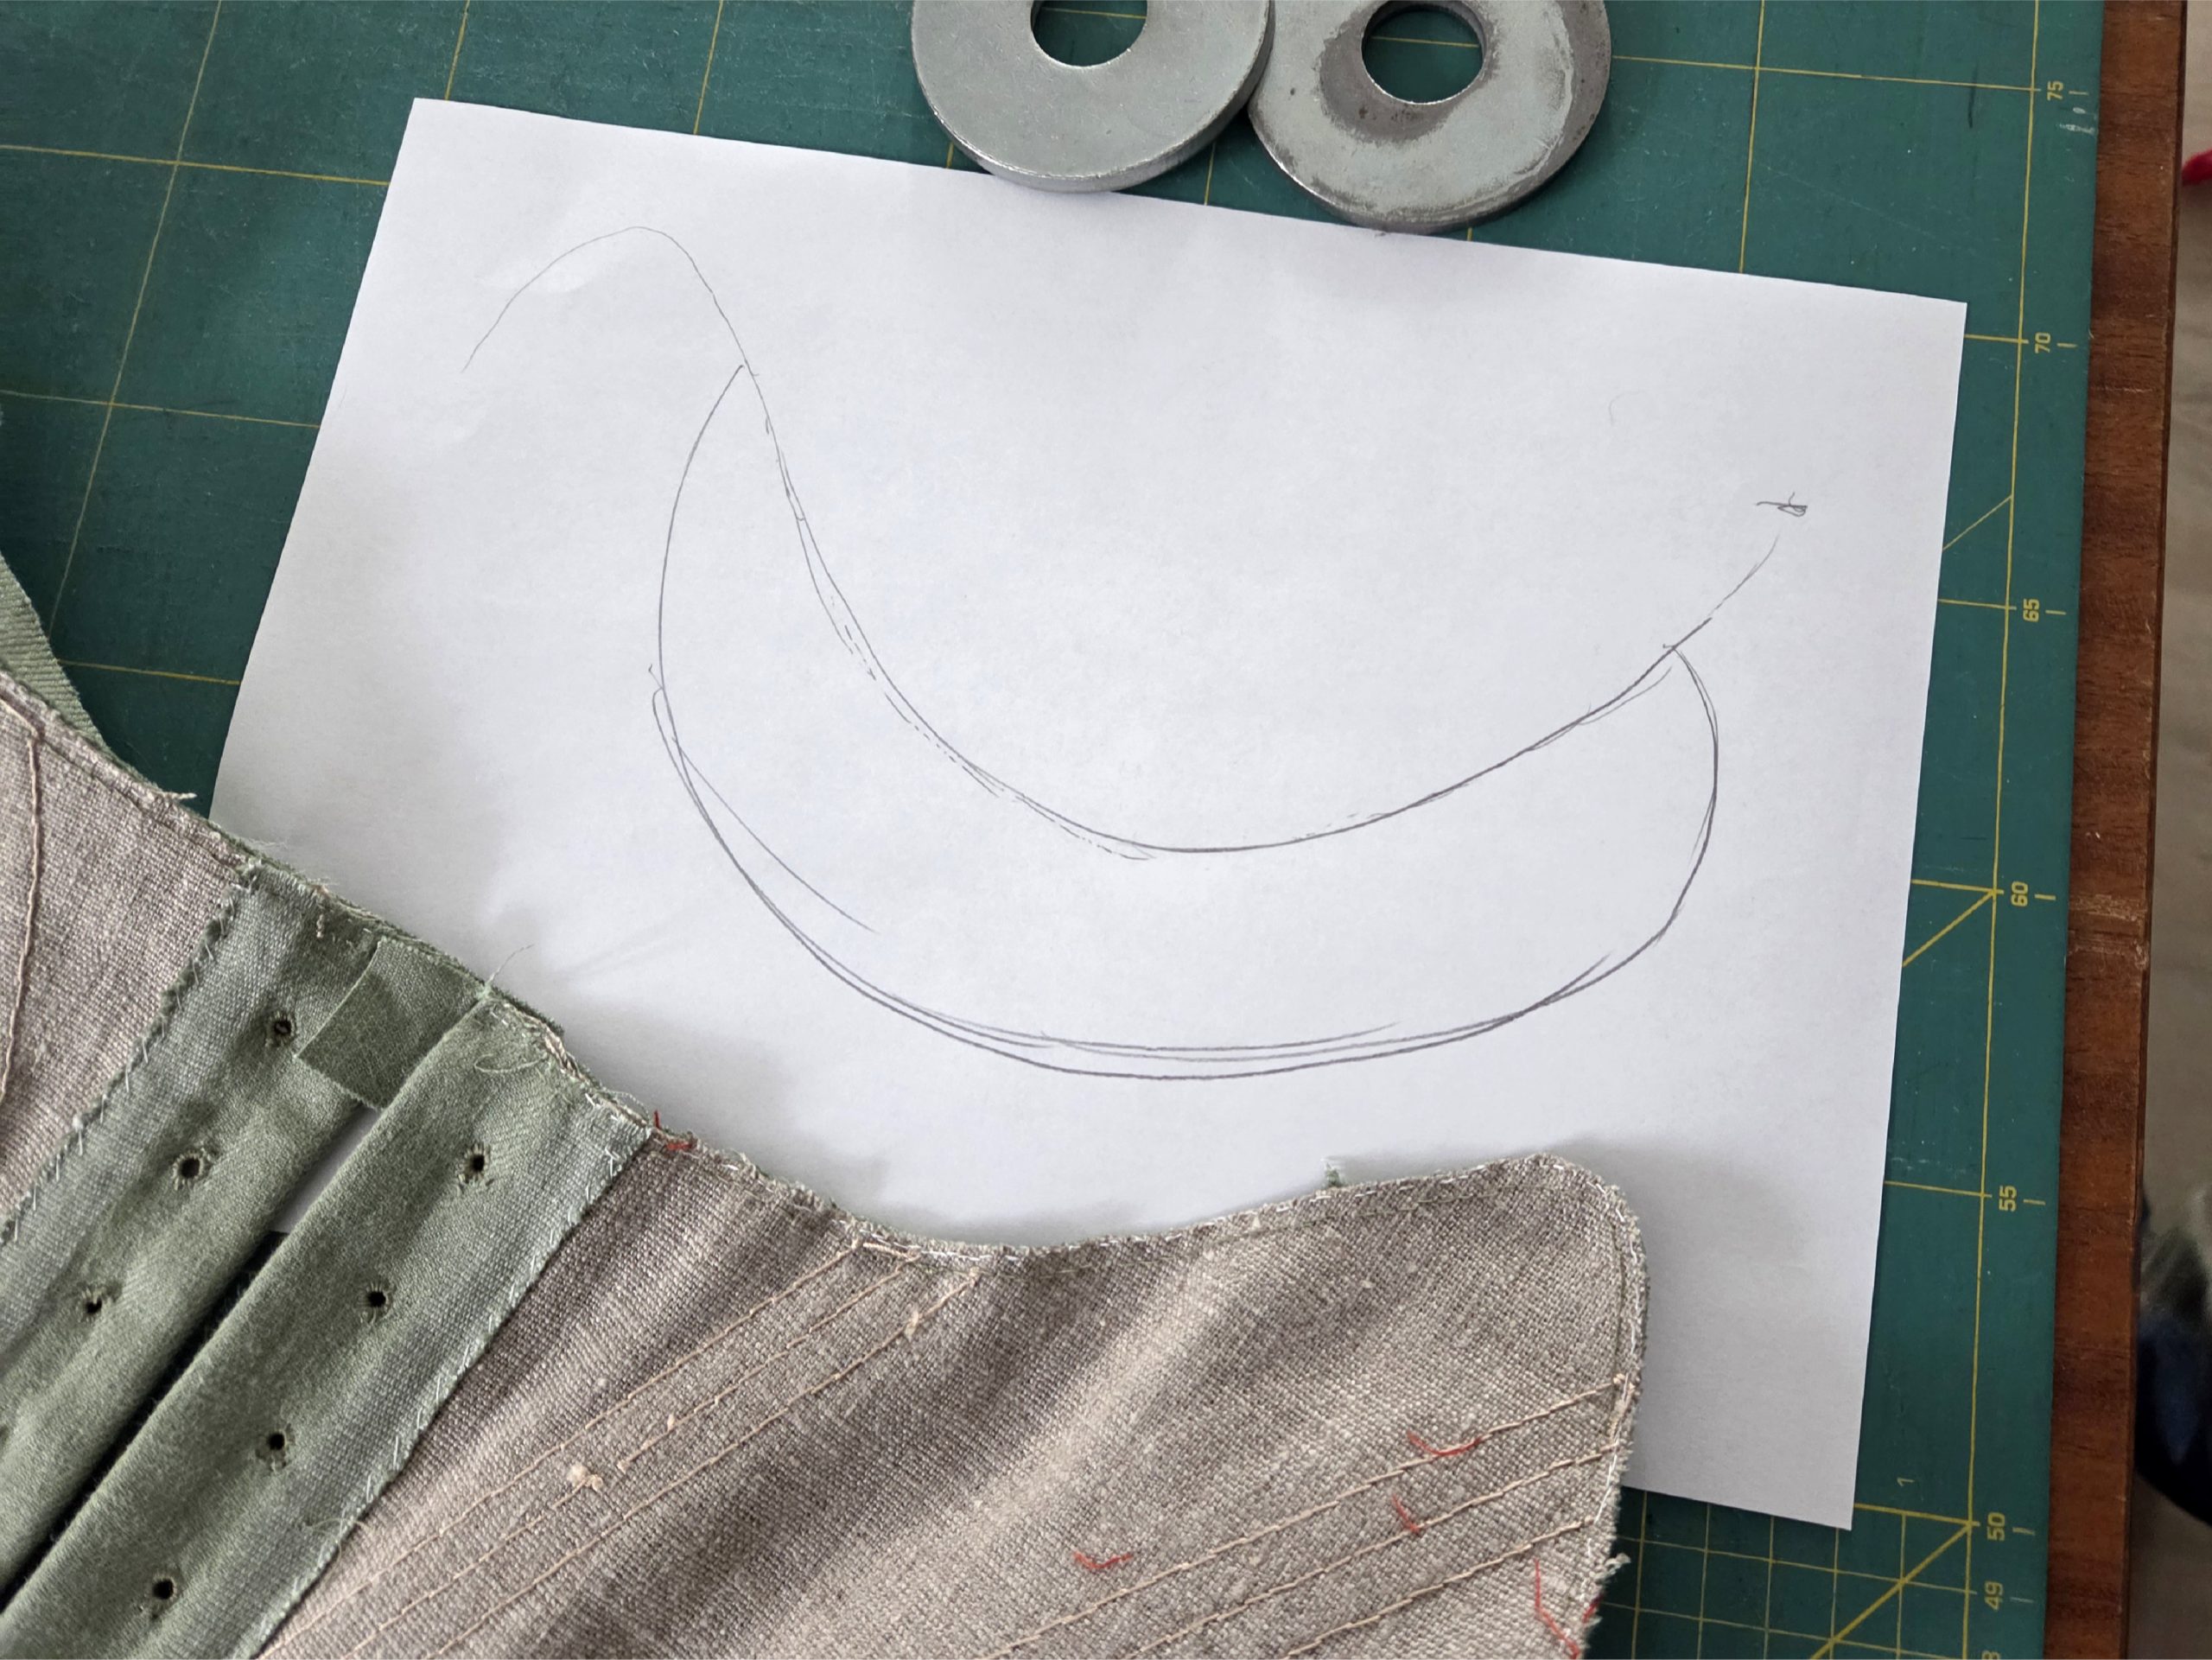
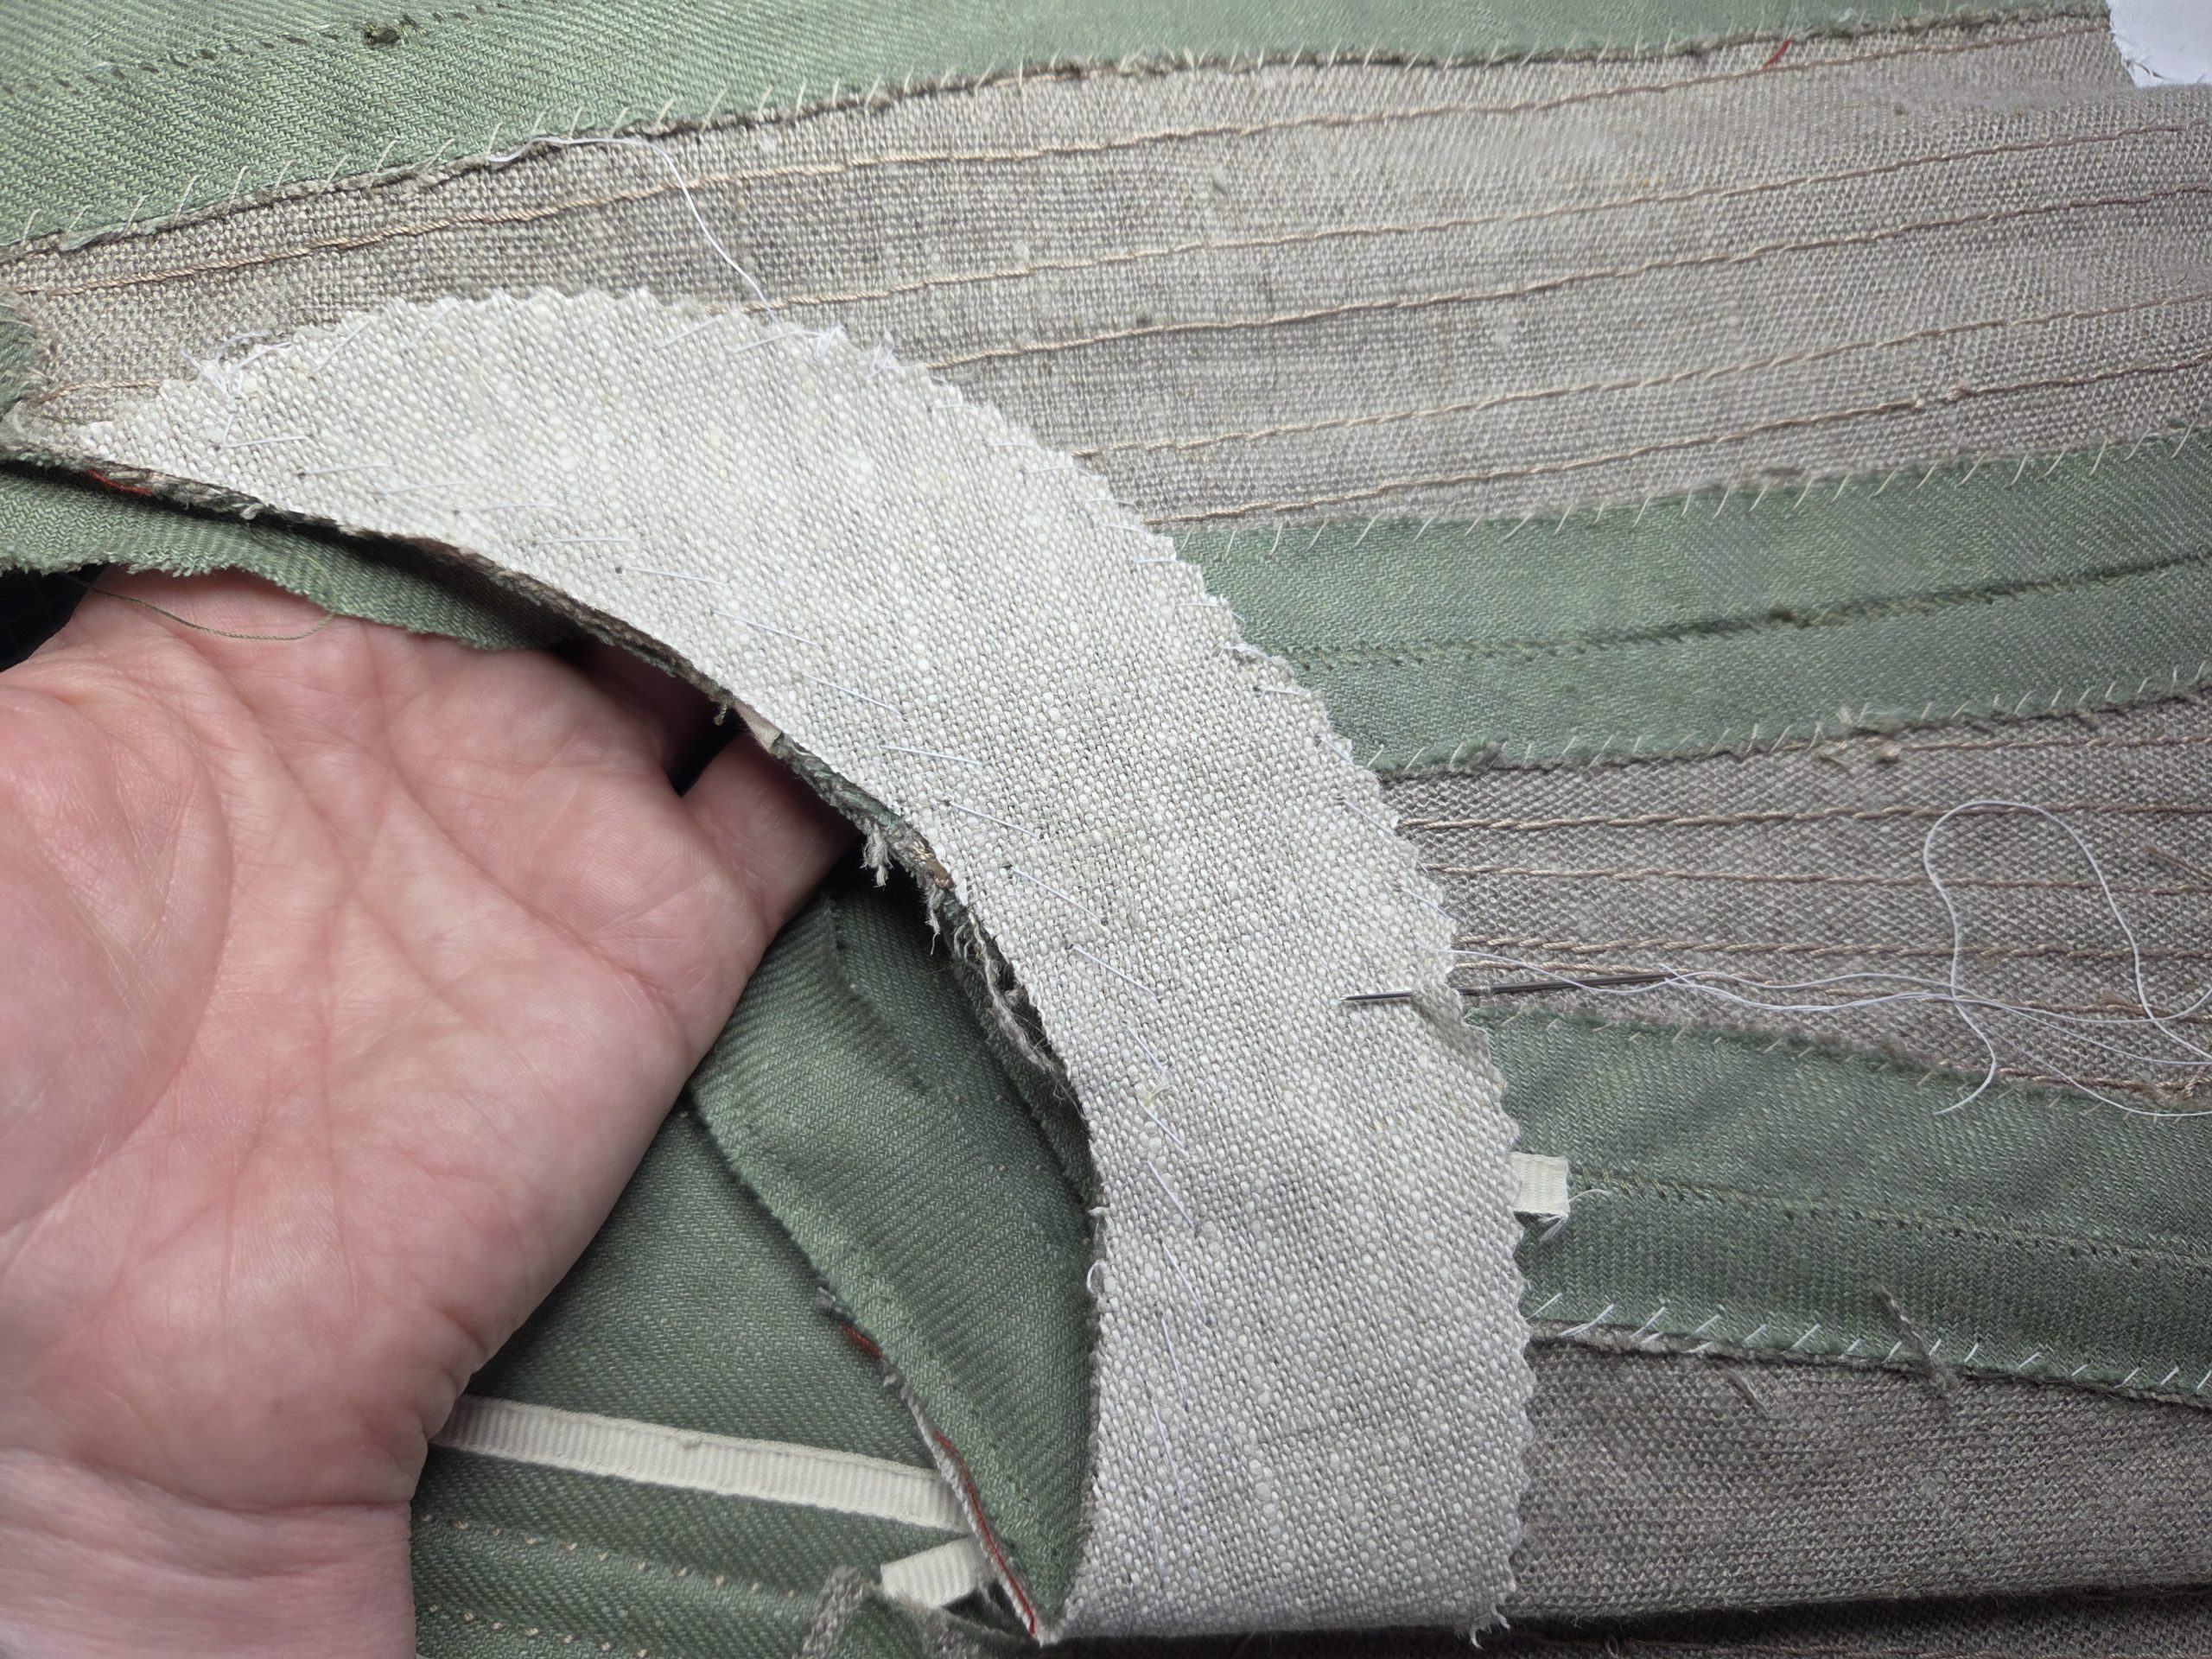
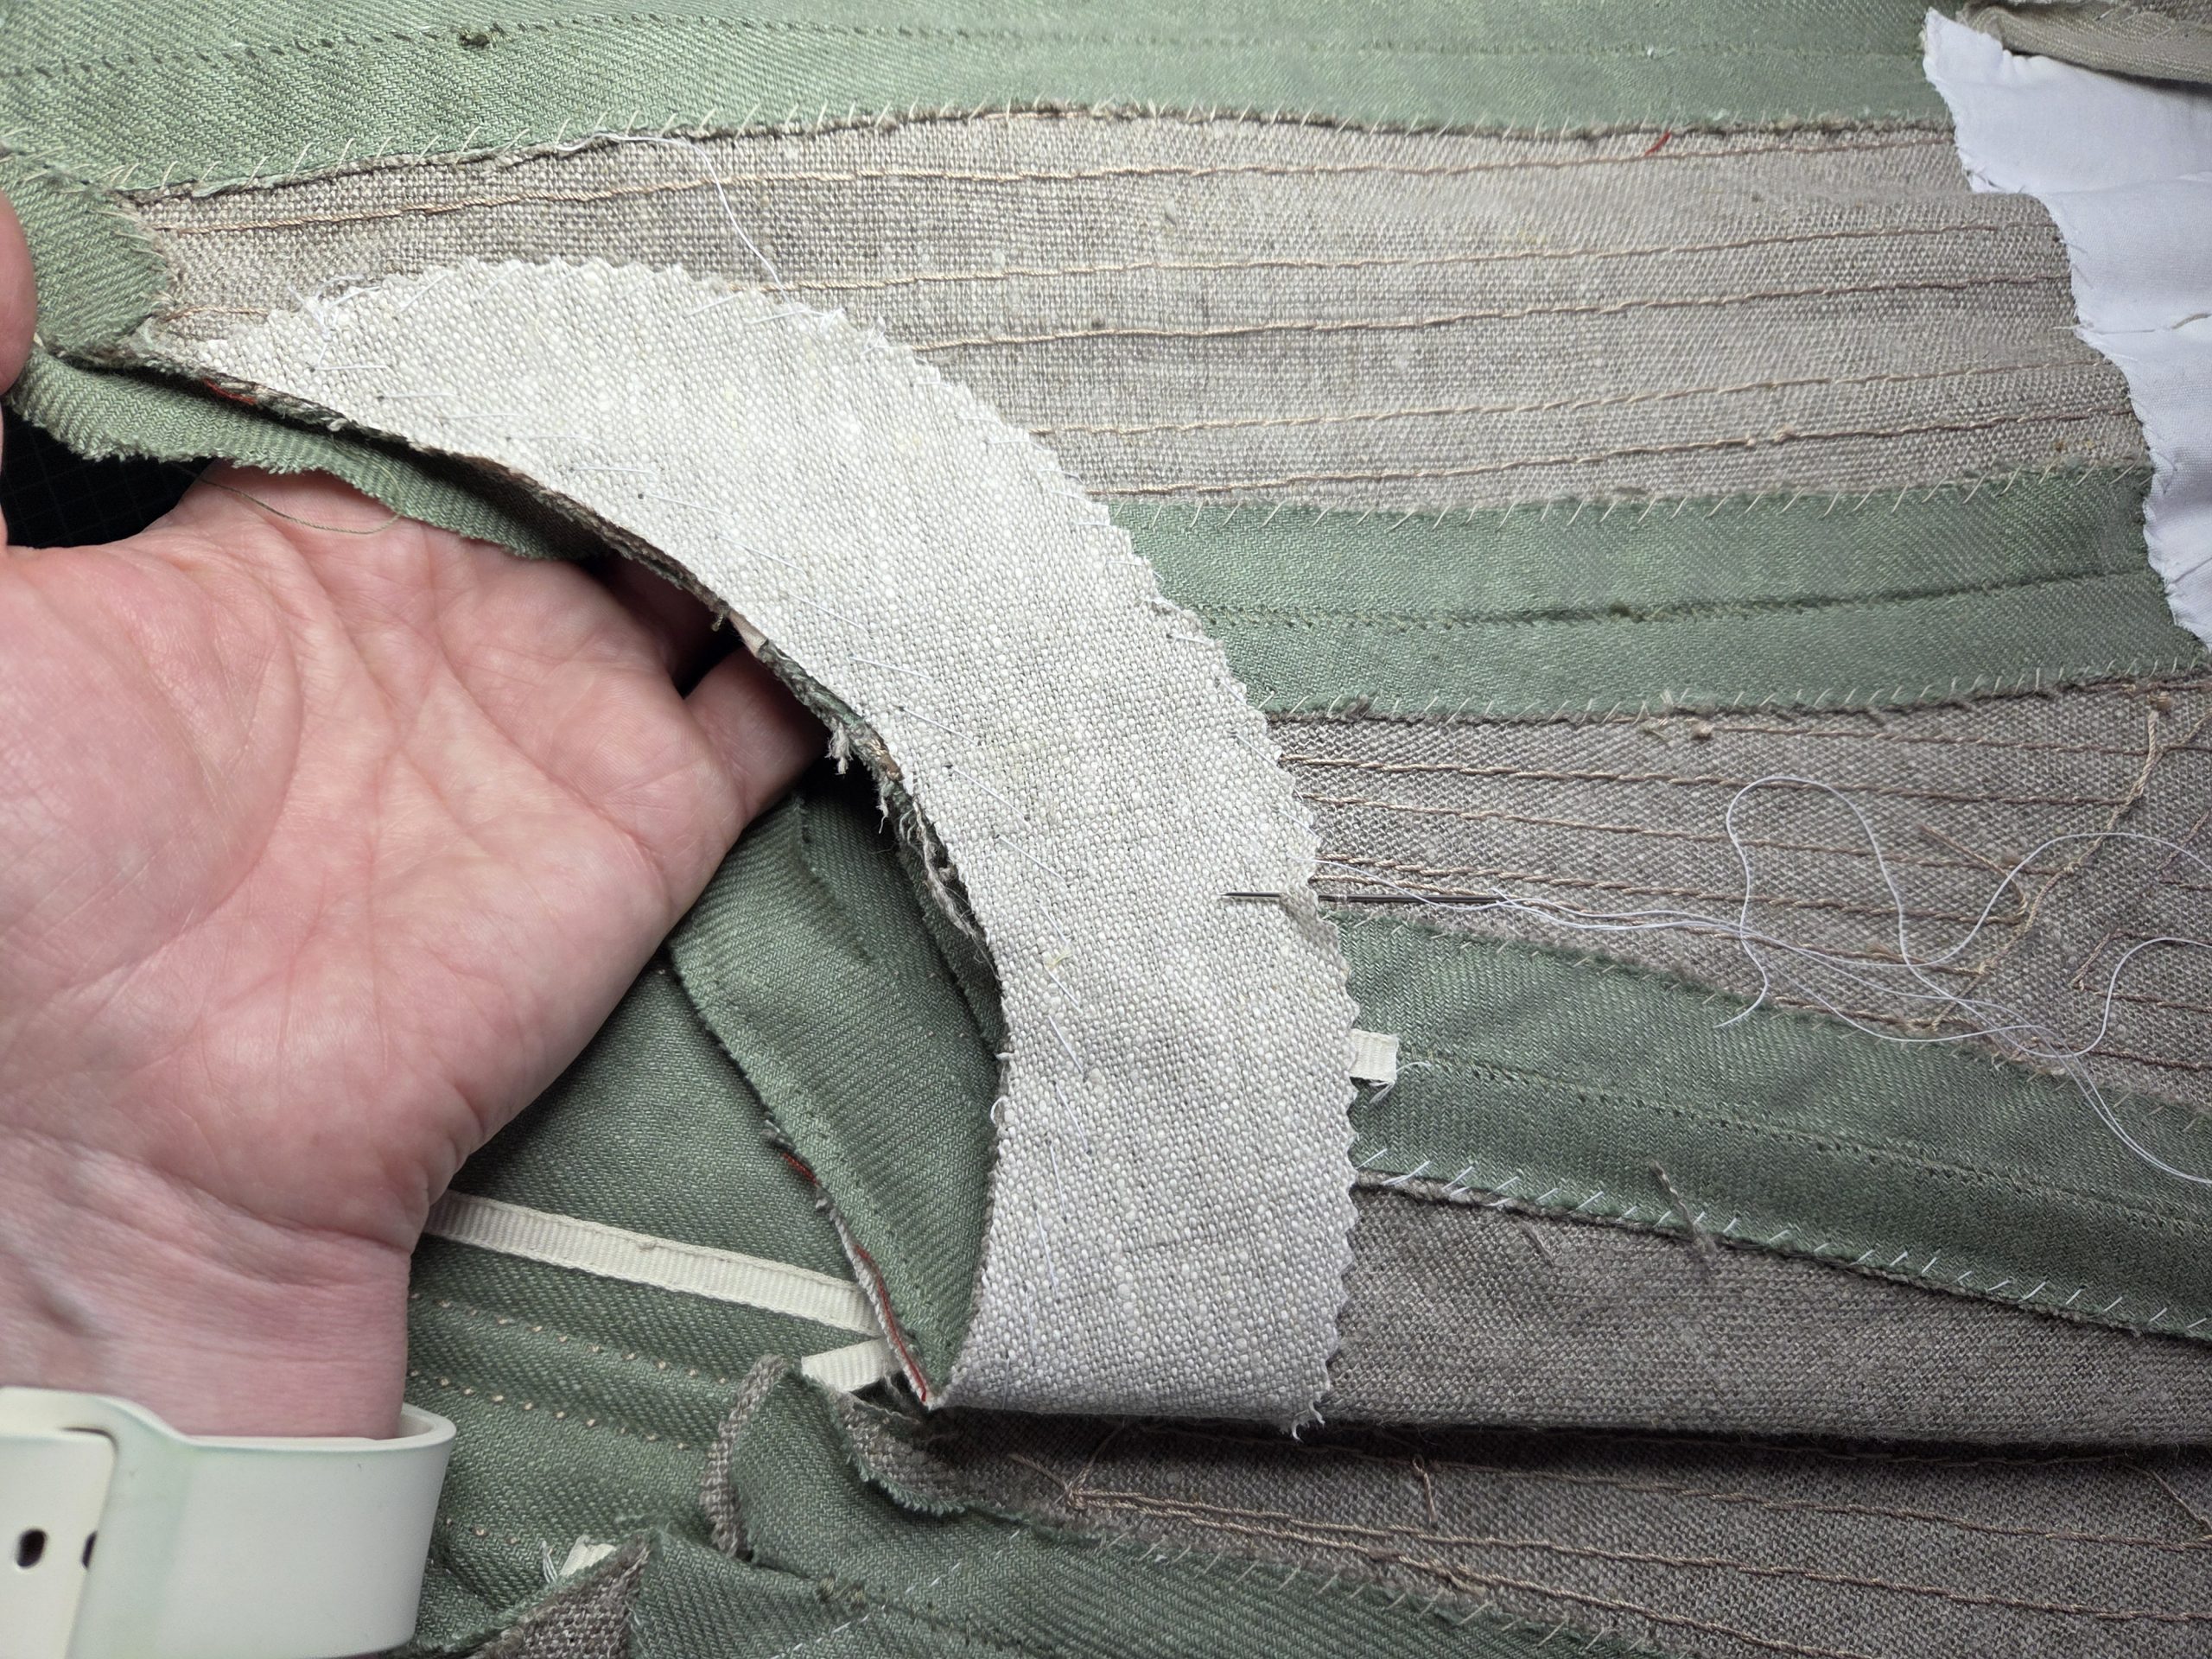
Optionally, you can reinforce the armpit area with another layer of linen, as you can see in the following pictures:
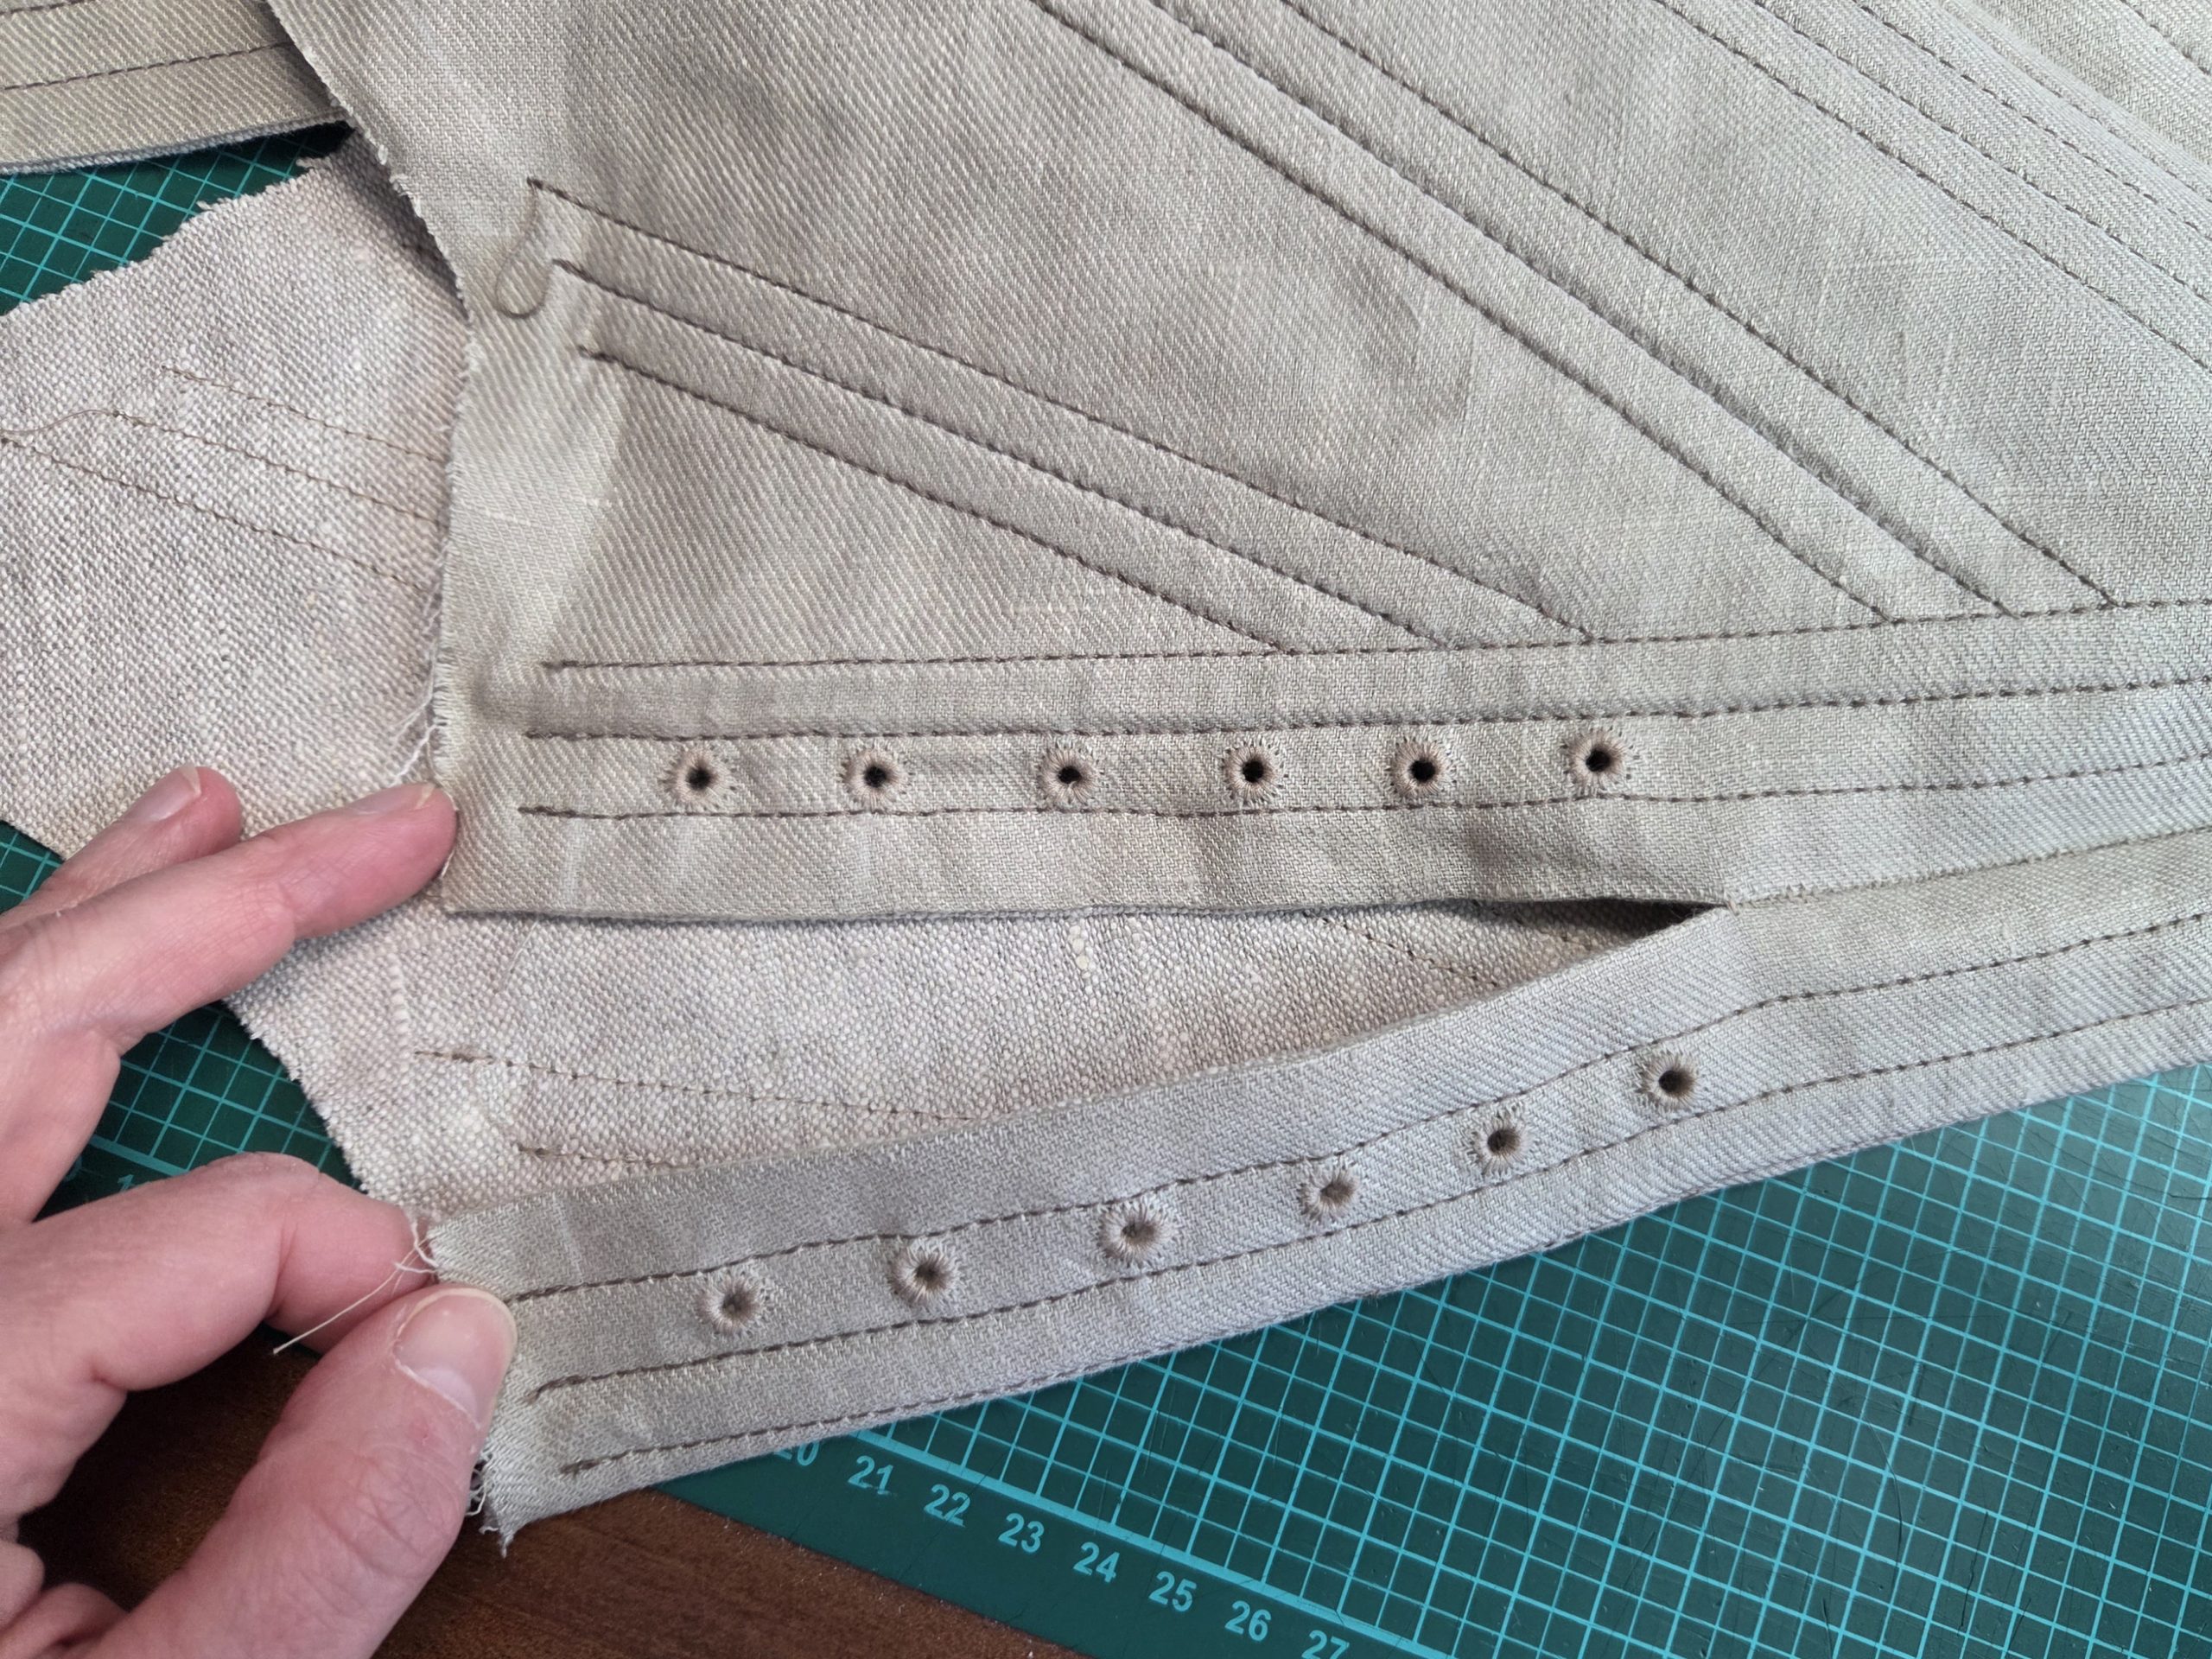
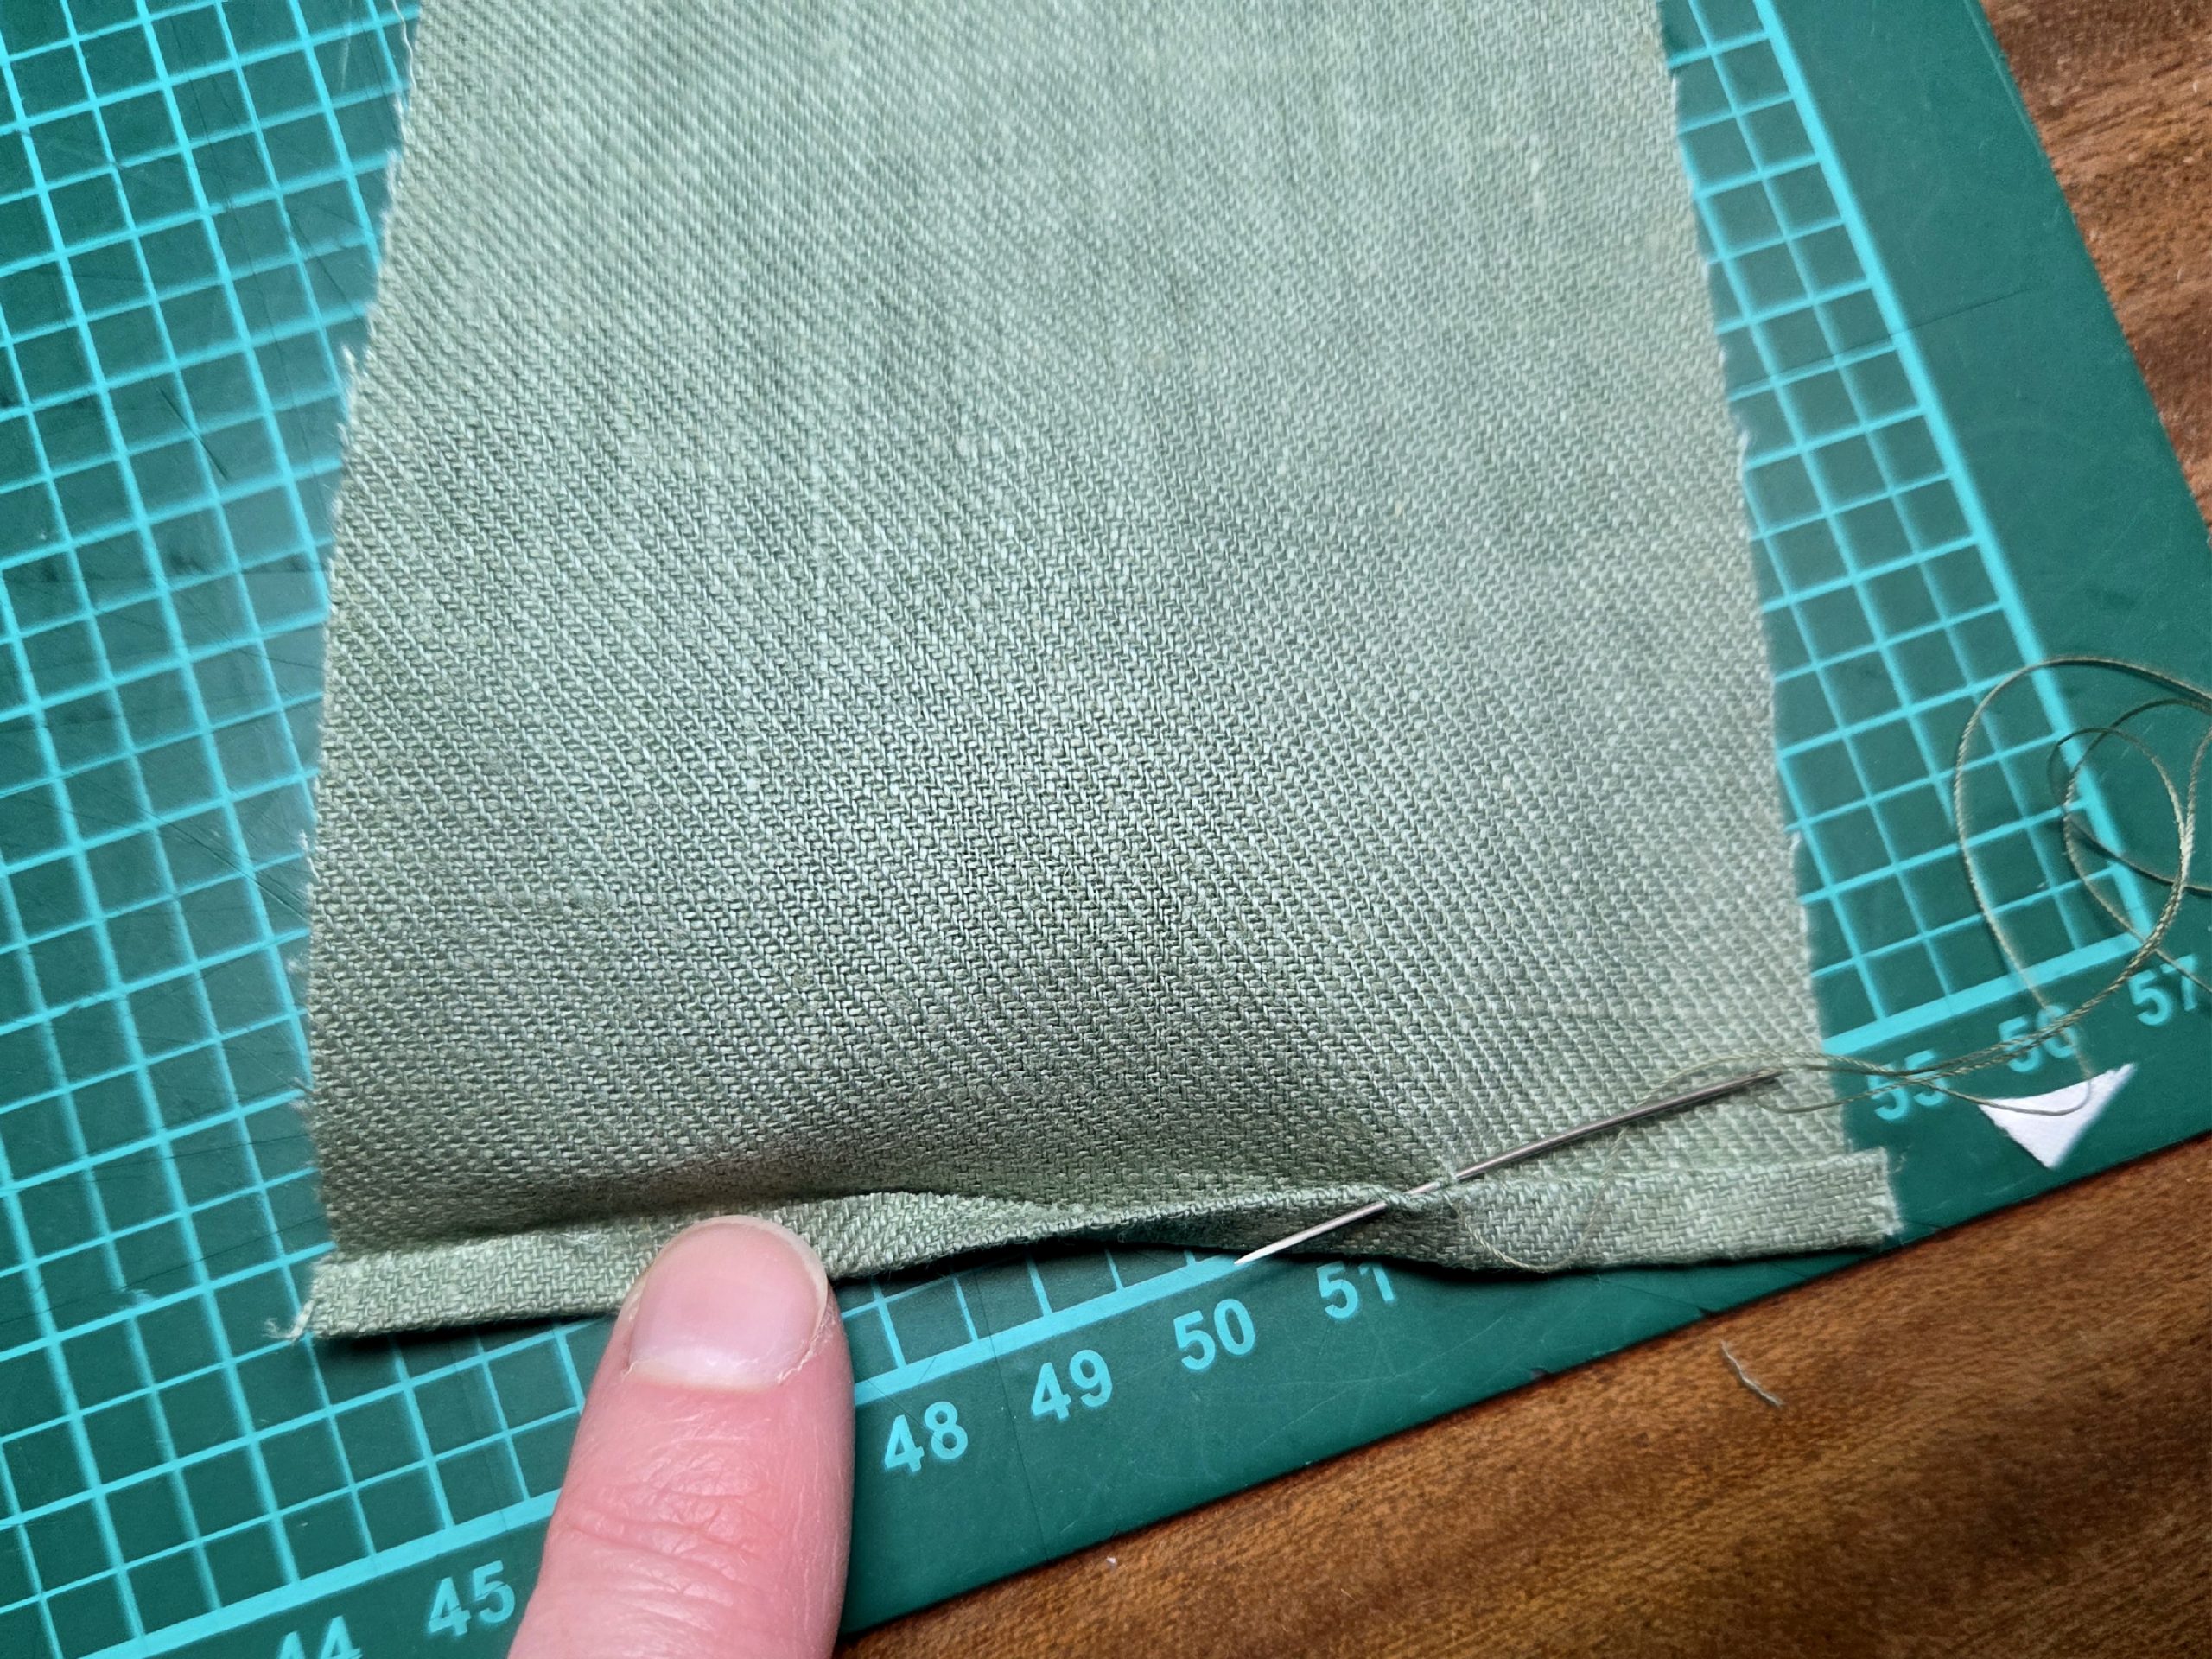
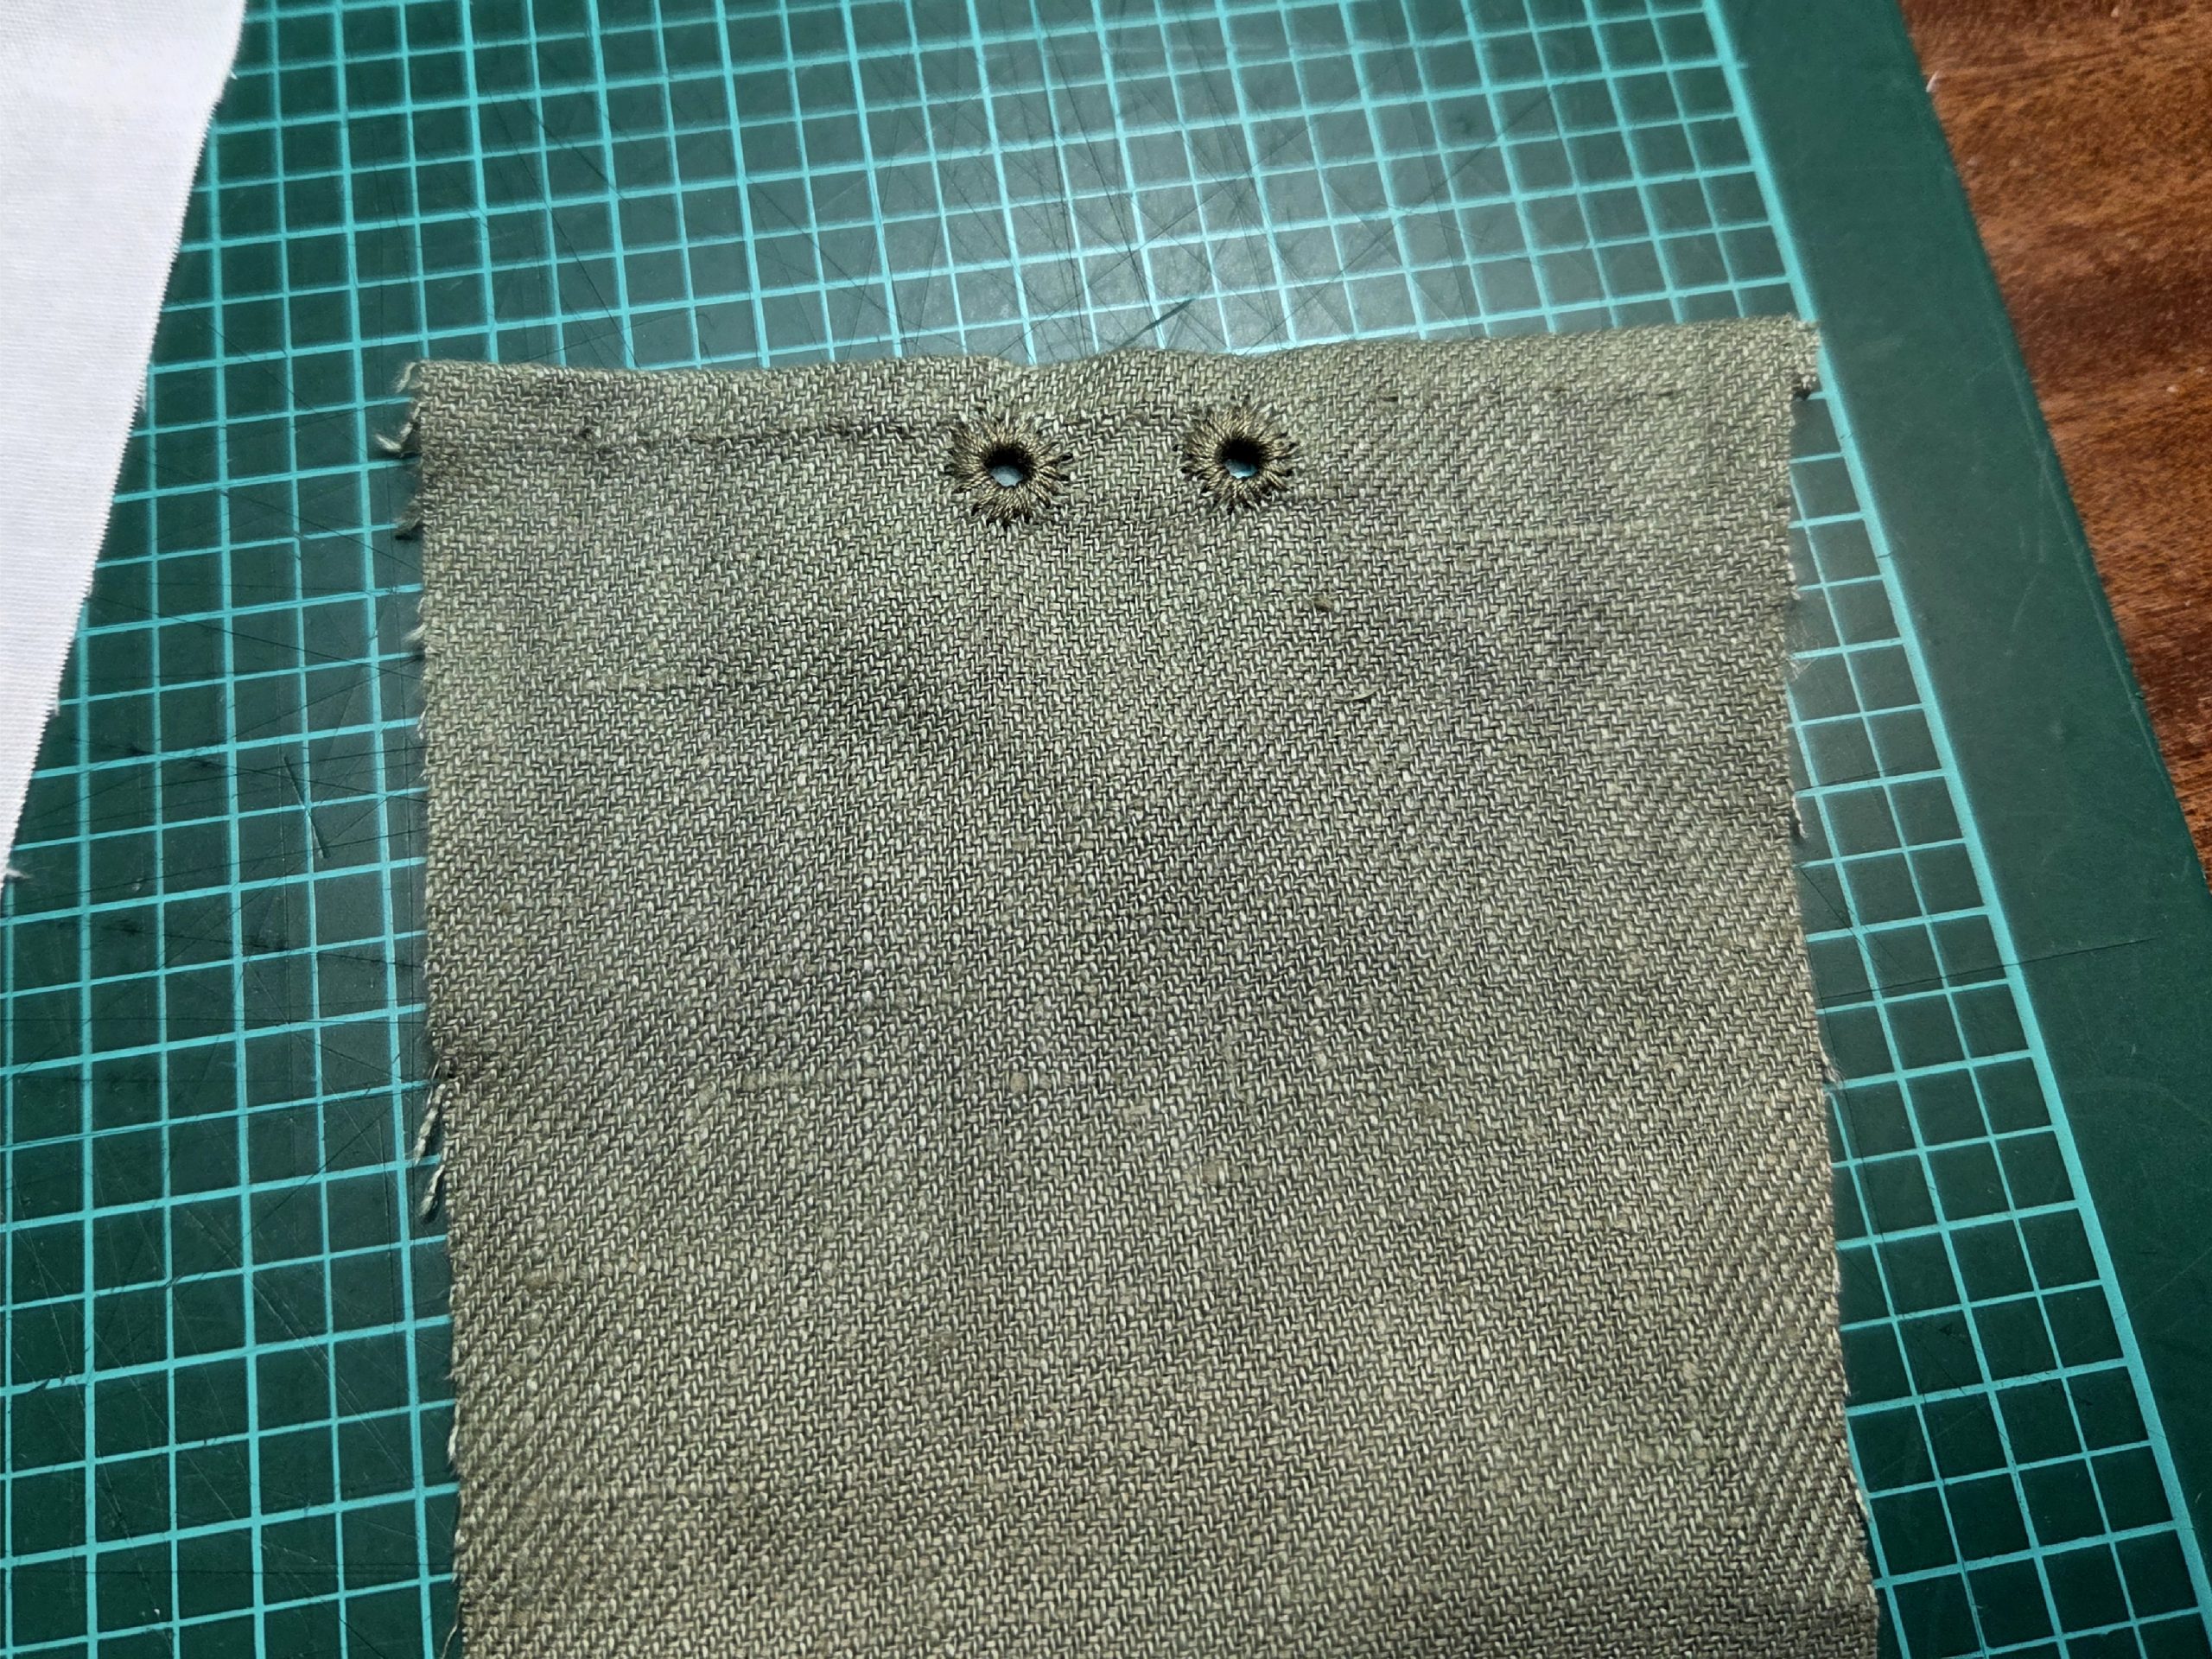
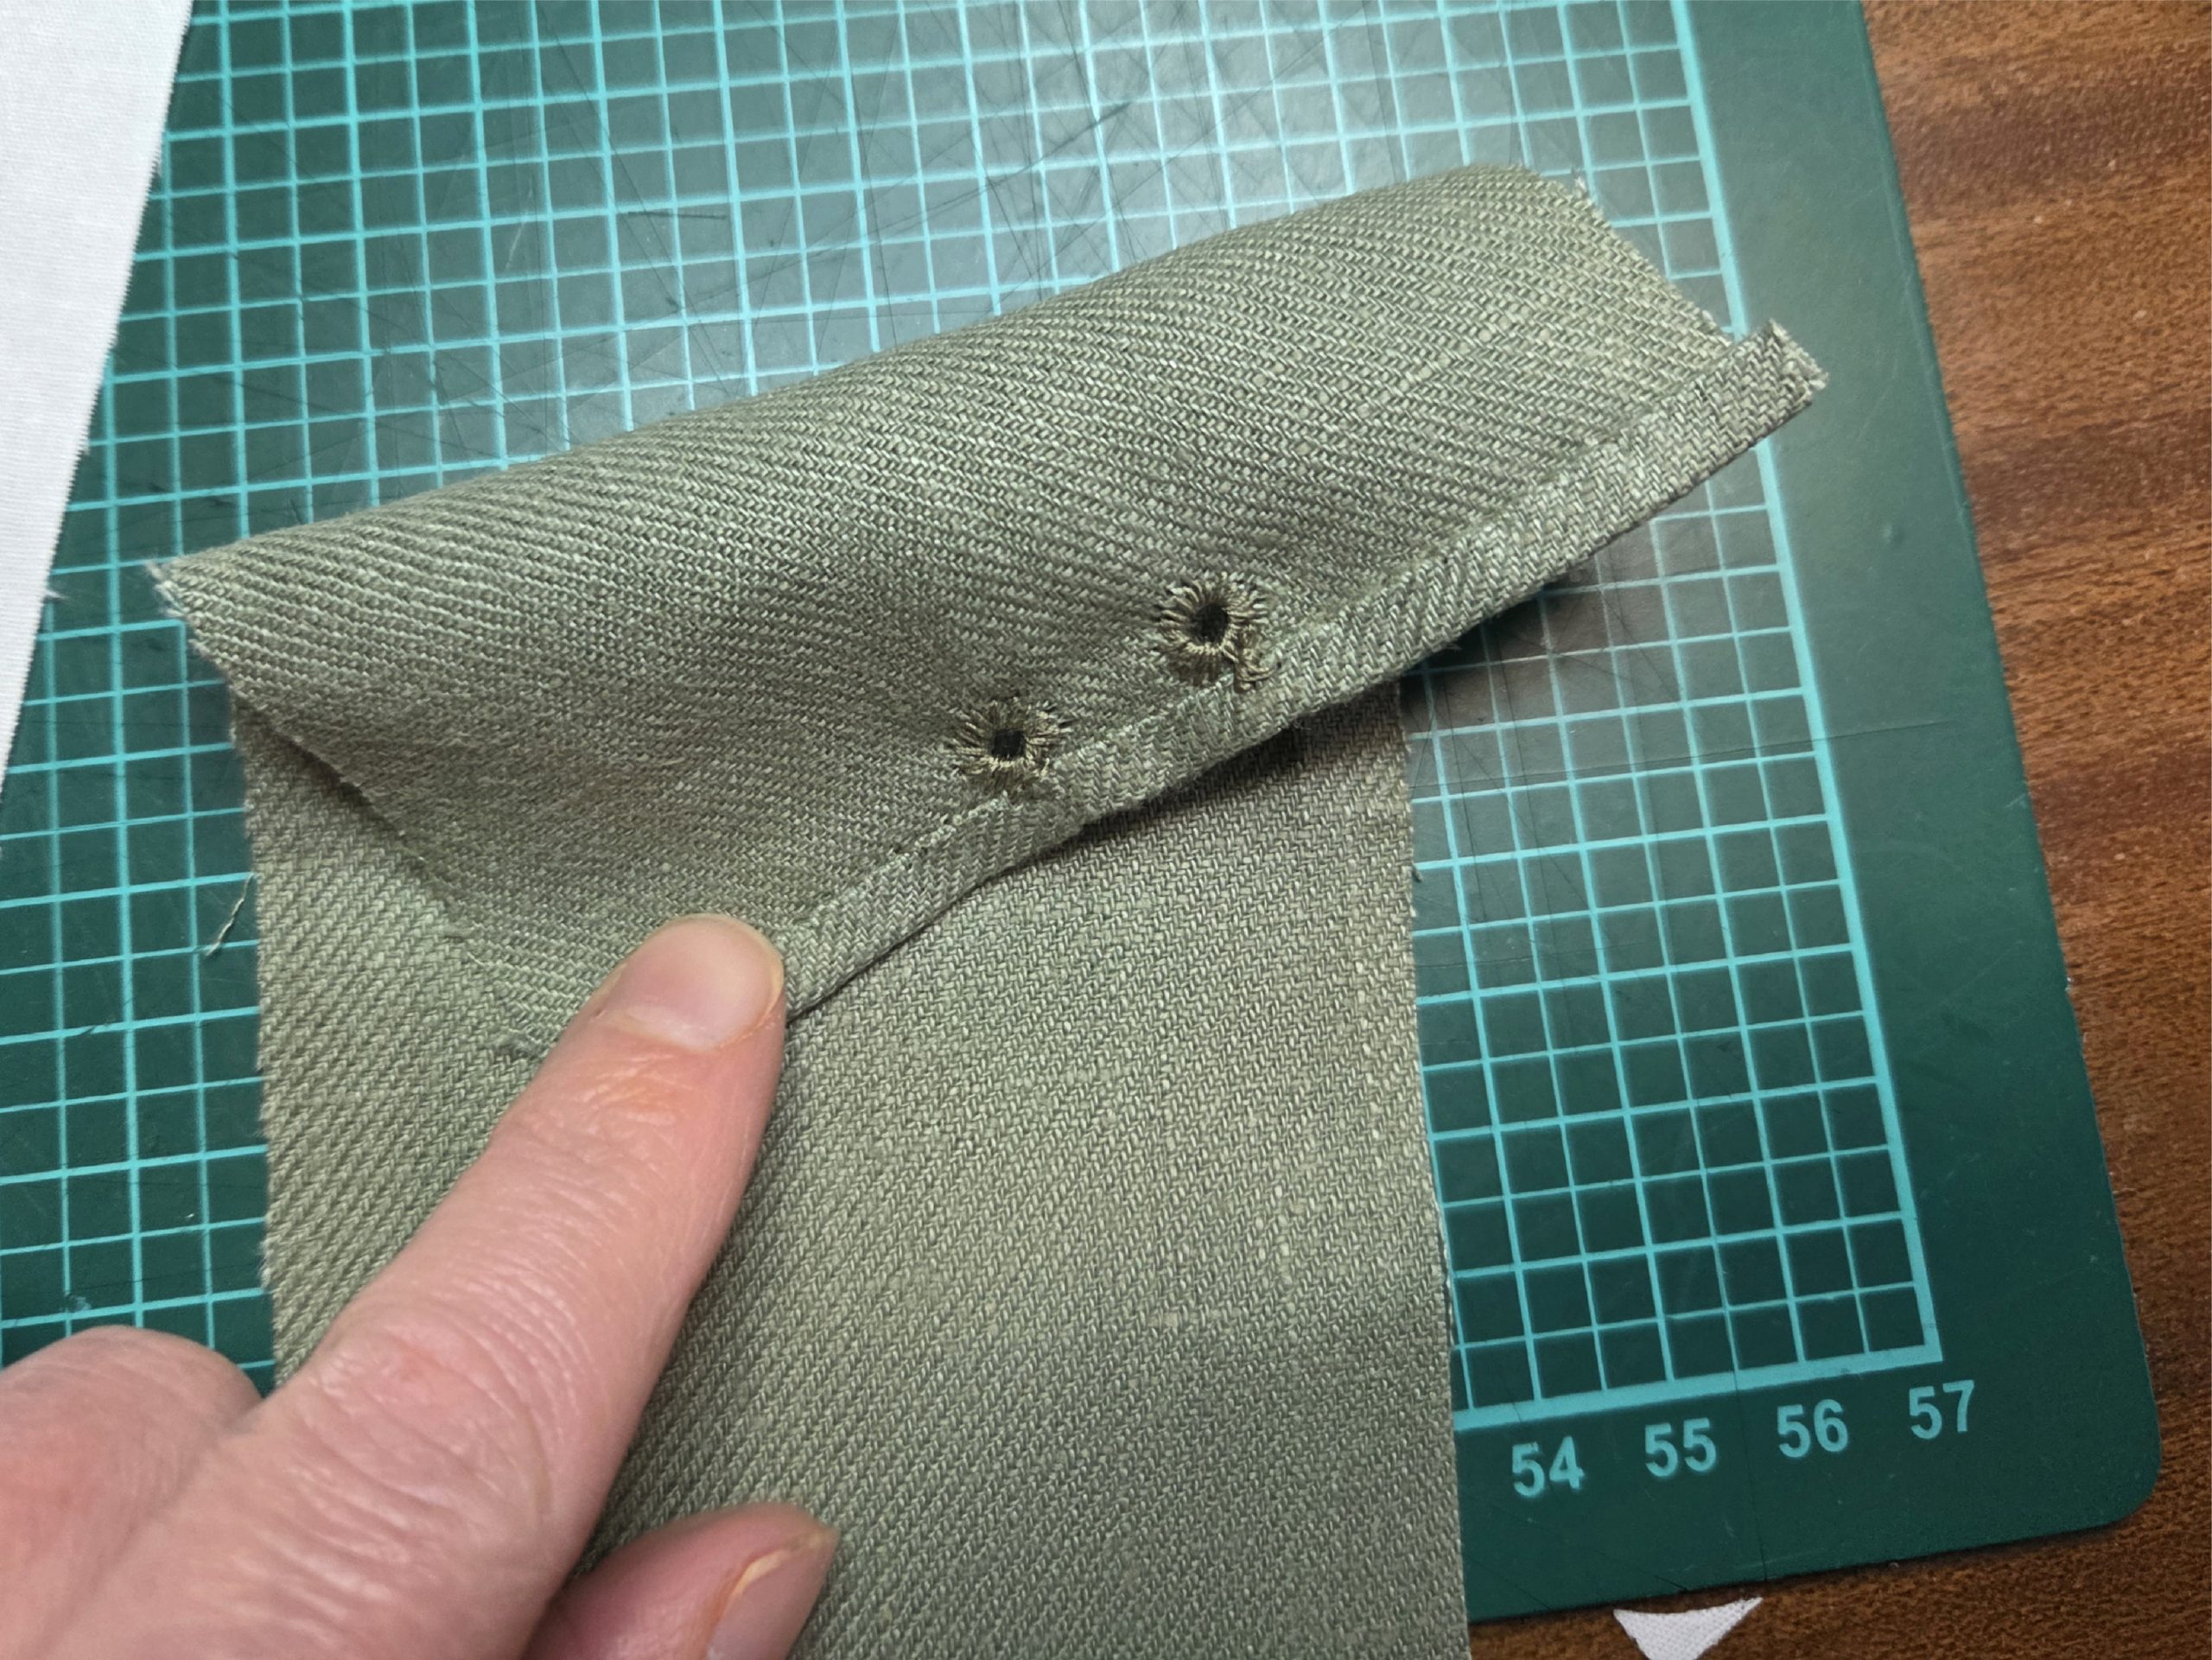
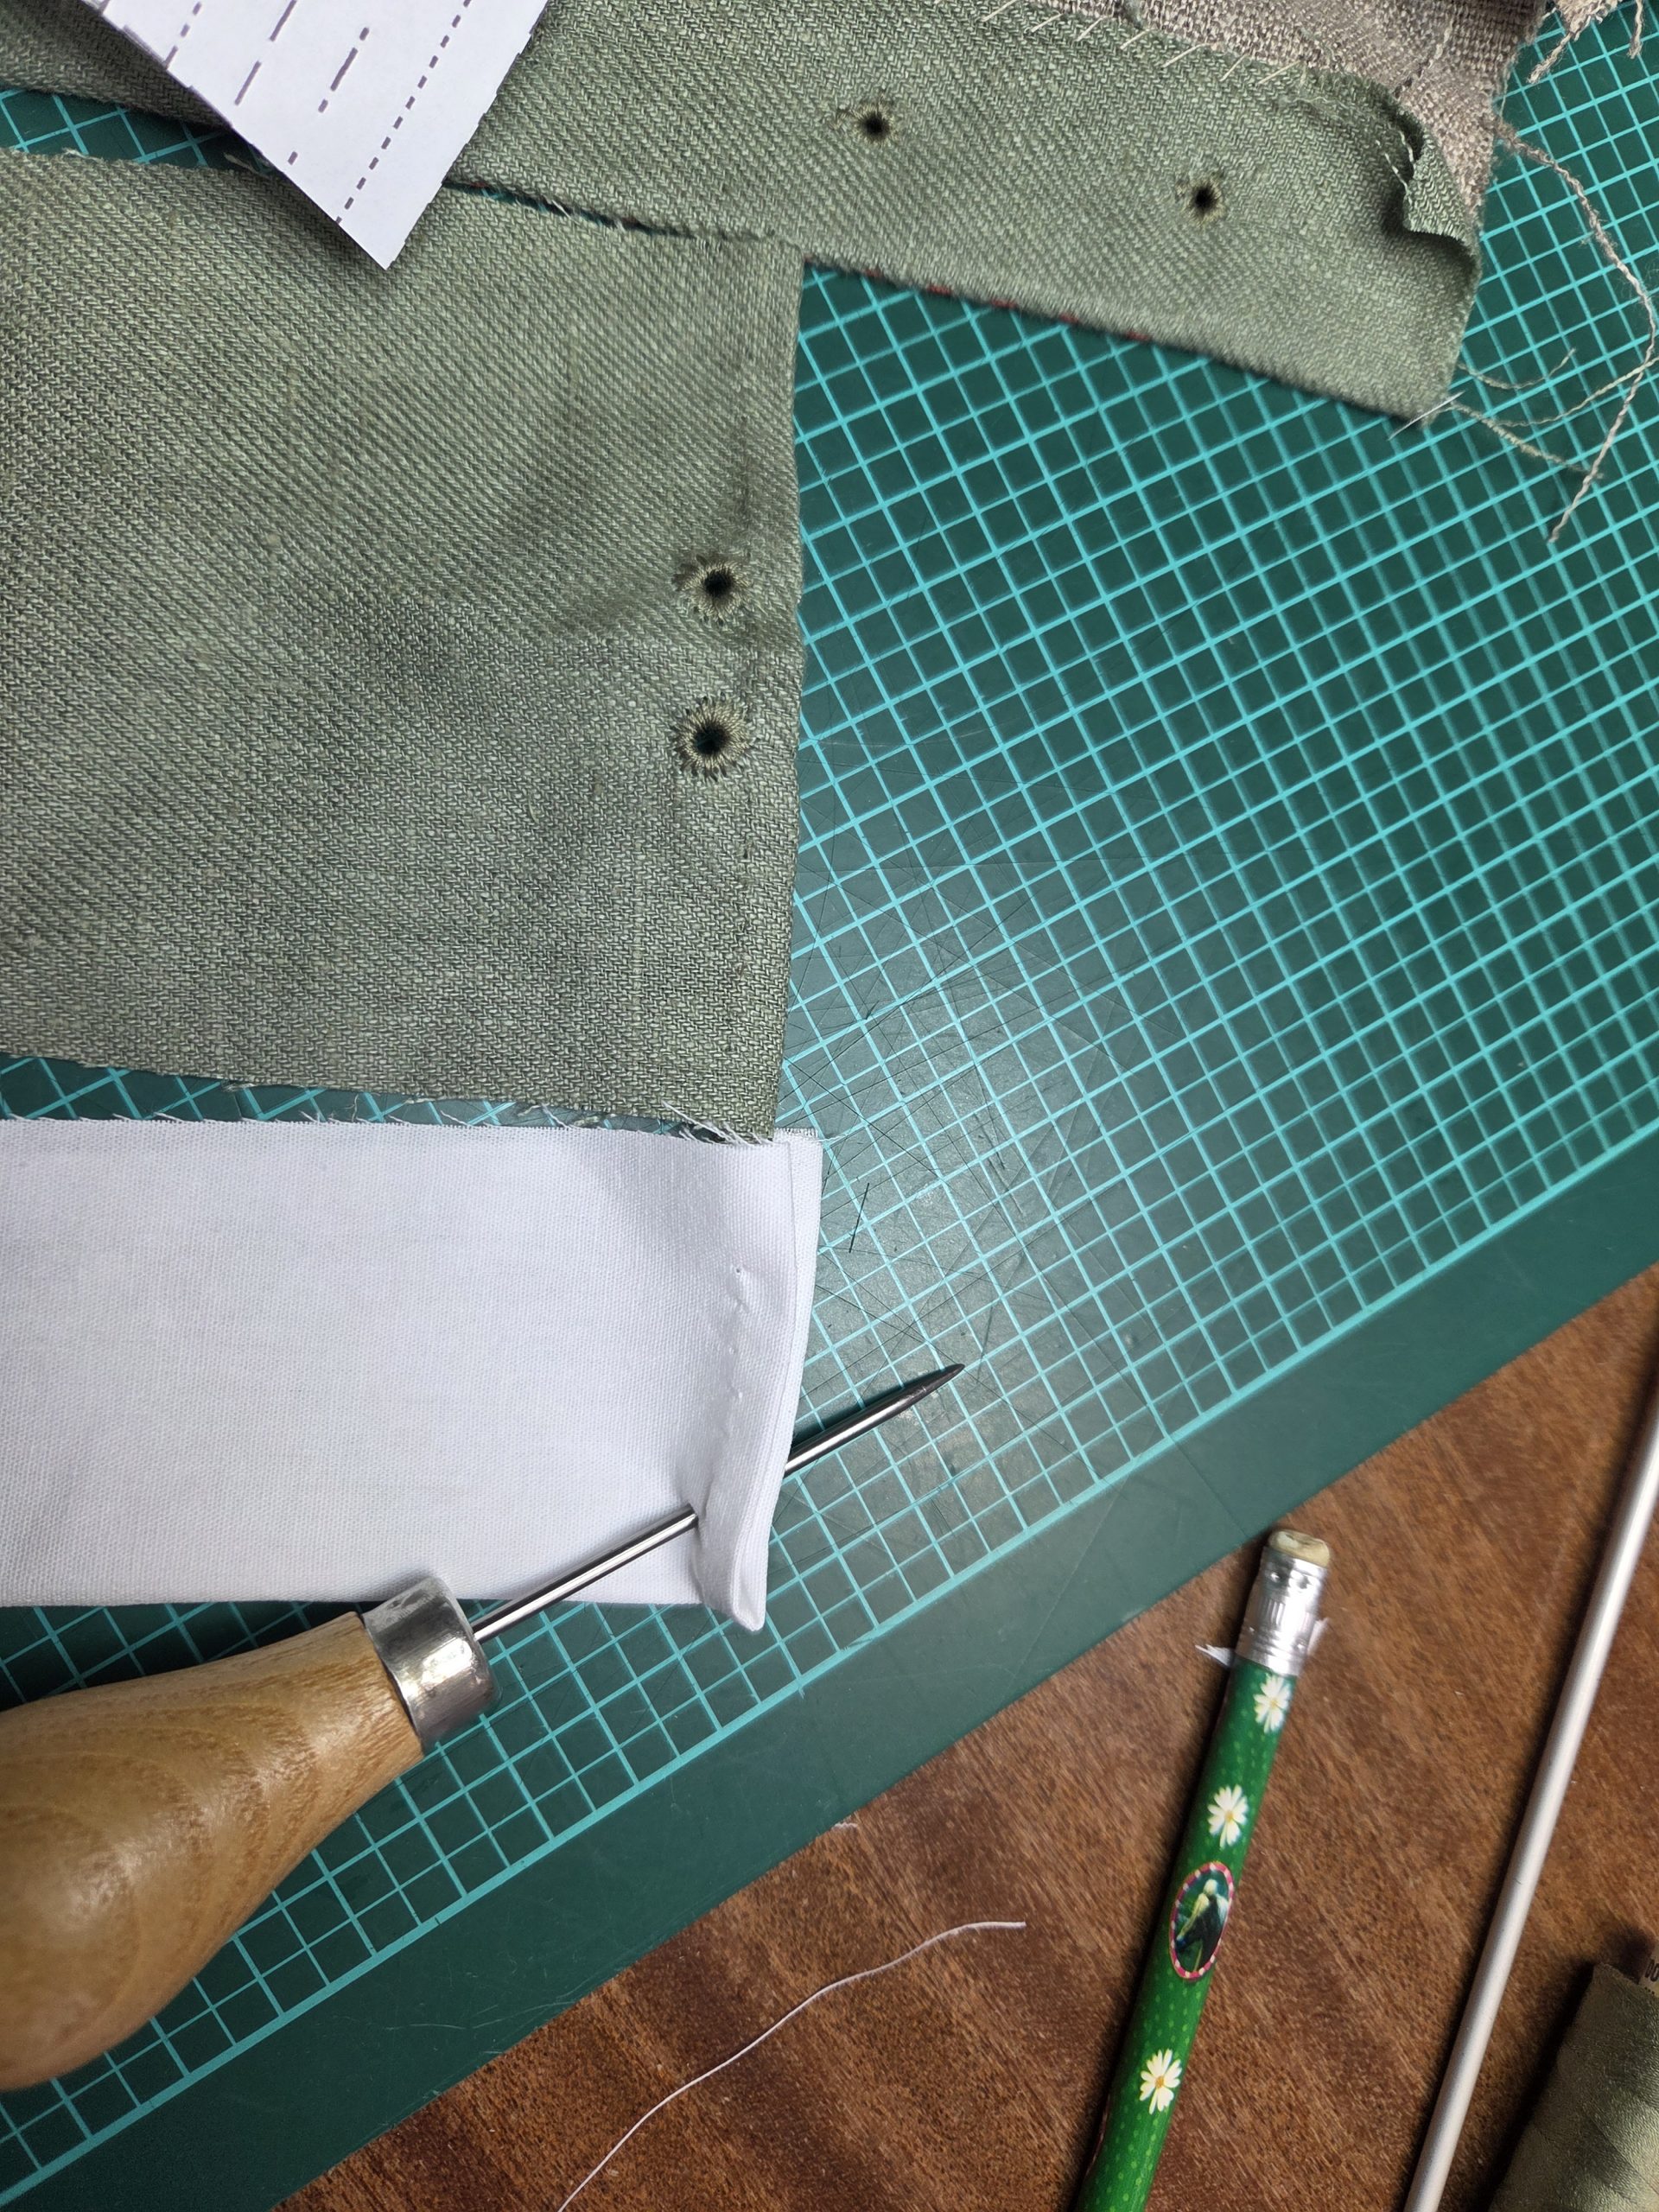
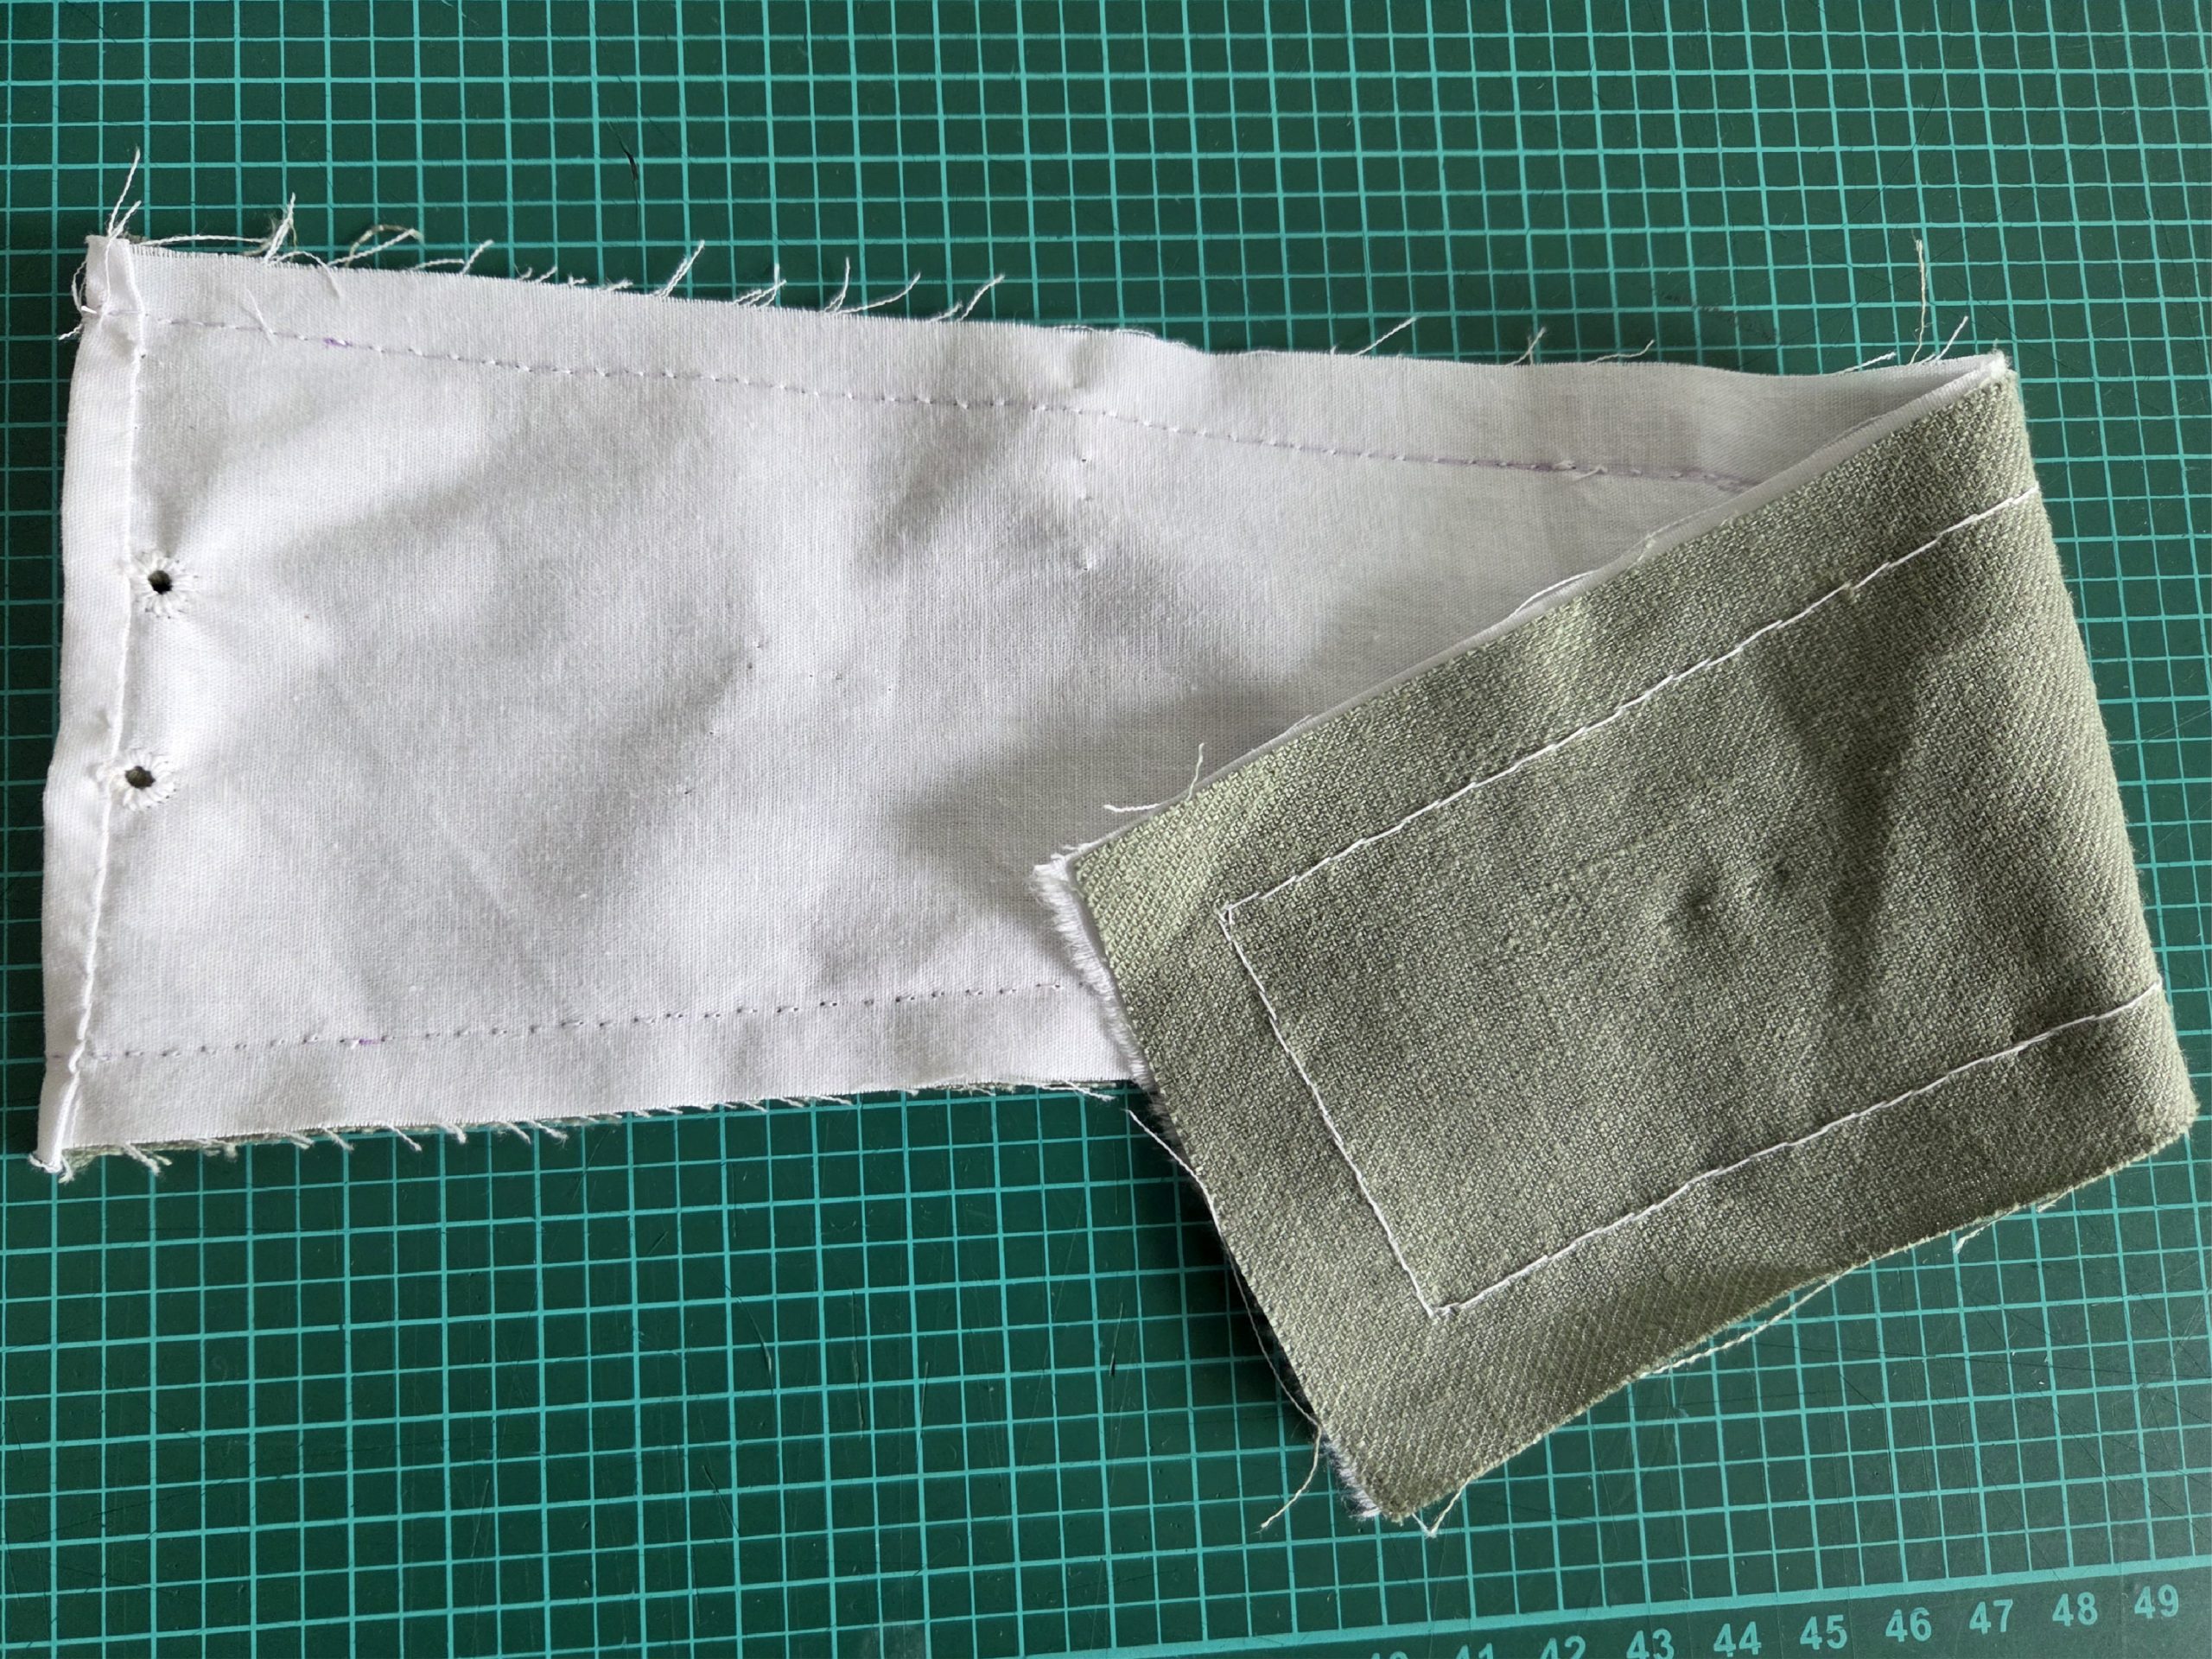
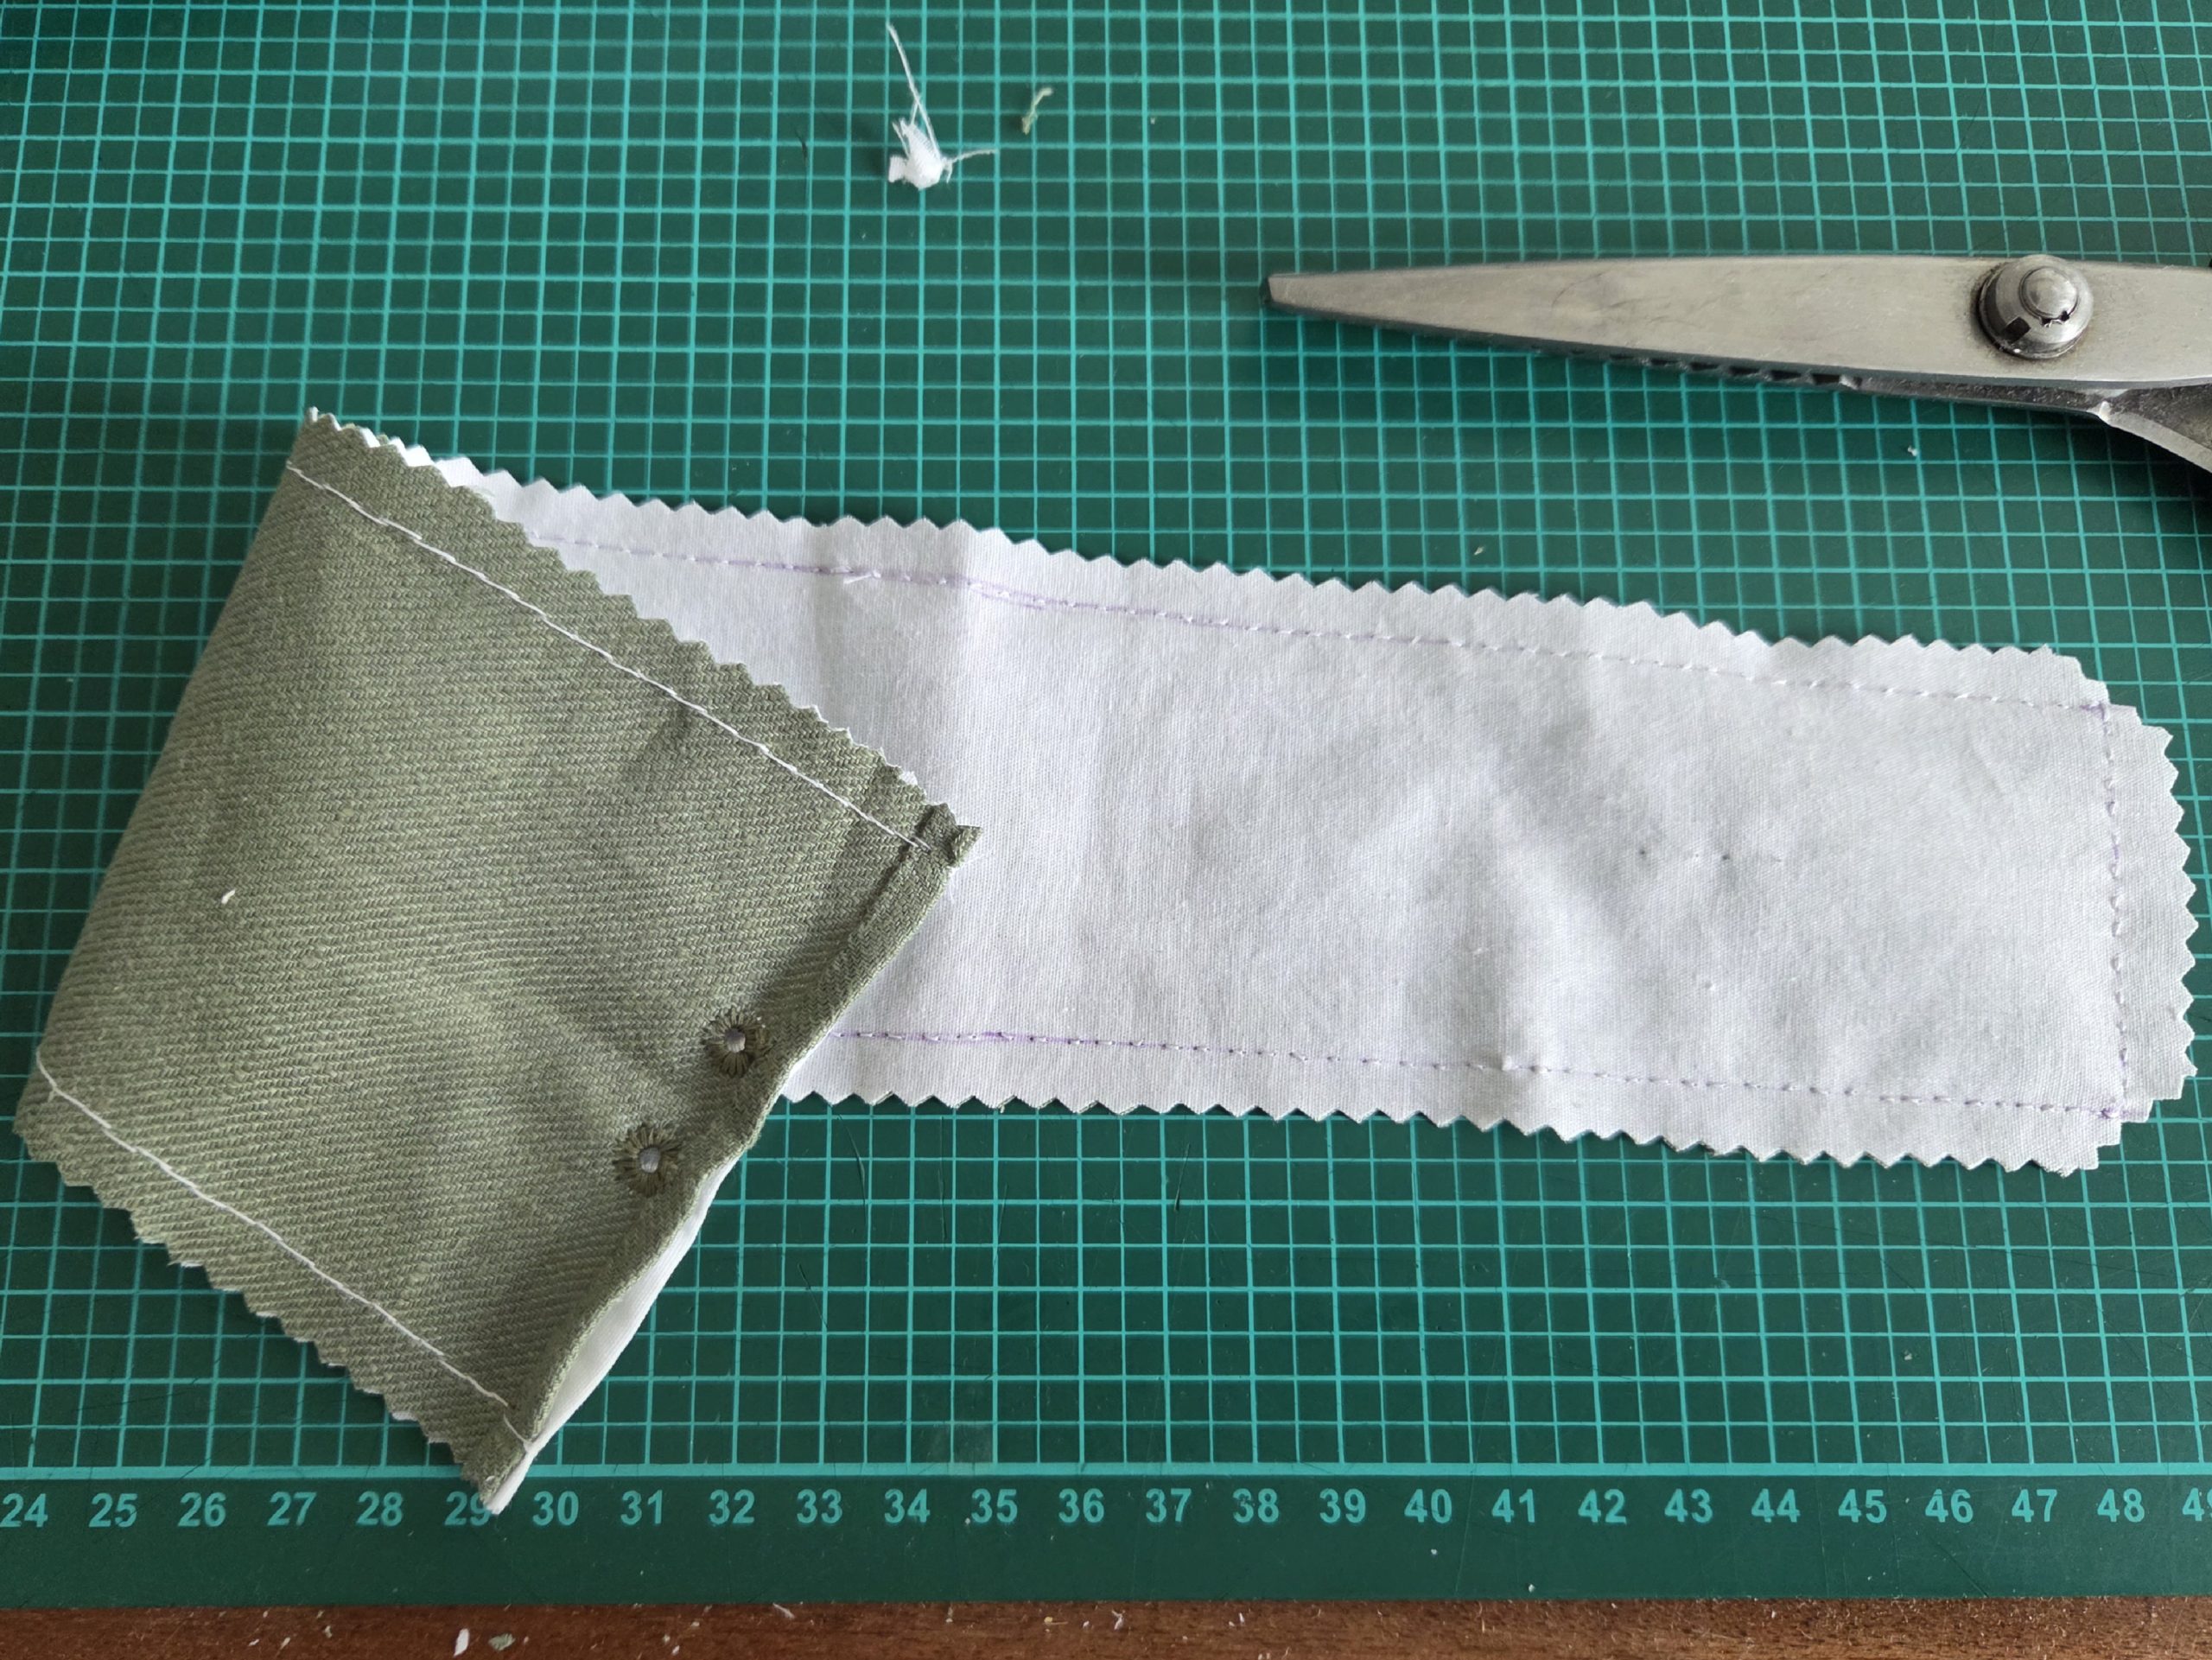
(9) For the busk pocket, double turn in the seam allowances along the top edge, and stitch in place. Sew two eyelets at each top edge to hold the busk in place later. Line up the two layers, right sides together, and sew along the side and bottom edges. Trim back the seam allowances and turn the right way out. Stitch a channel for your busk, depending on its width, to fit snugly into that channel. Take the pocket and place it inside the front, lining up the edges parallel to the seam allowances, giving room for the front gap to open up about 1” (2- 3 cm). Sew to the front panels along the side and bottom edges.
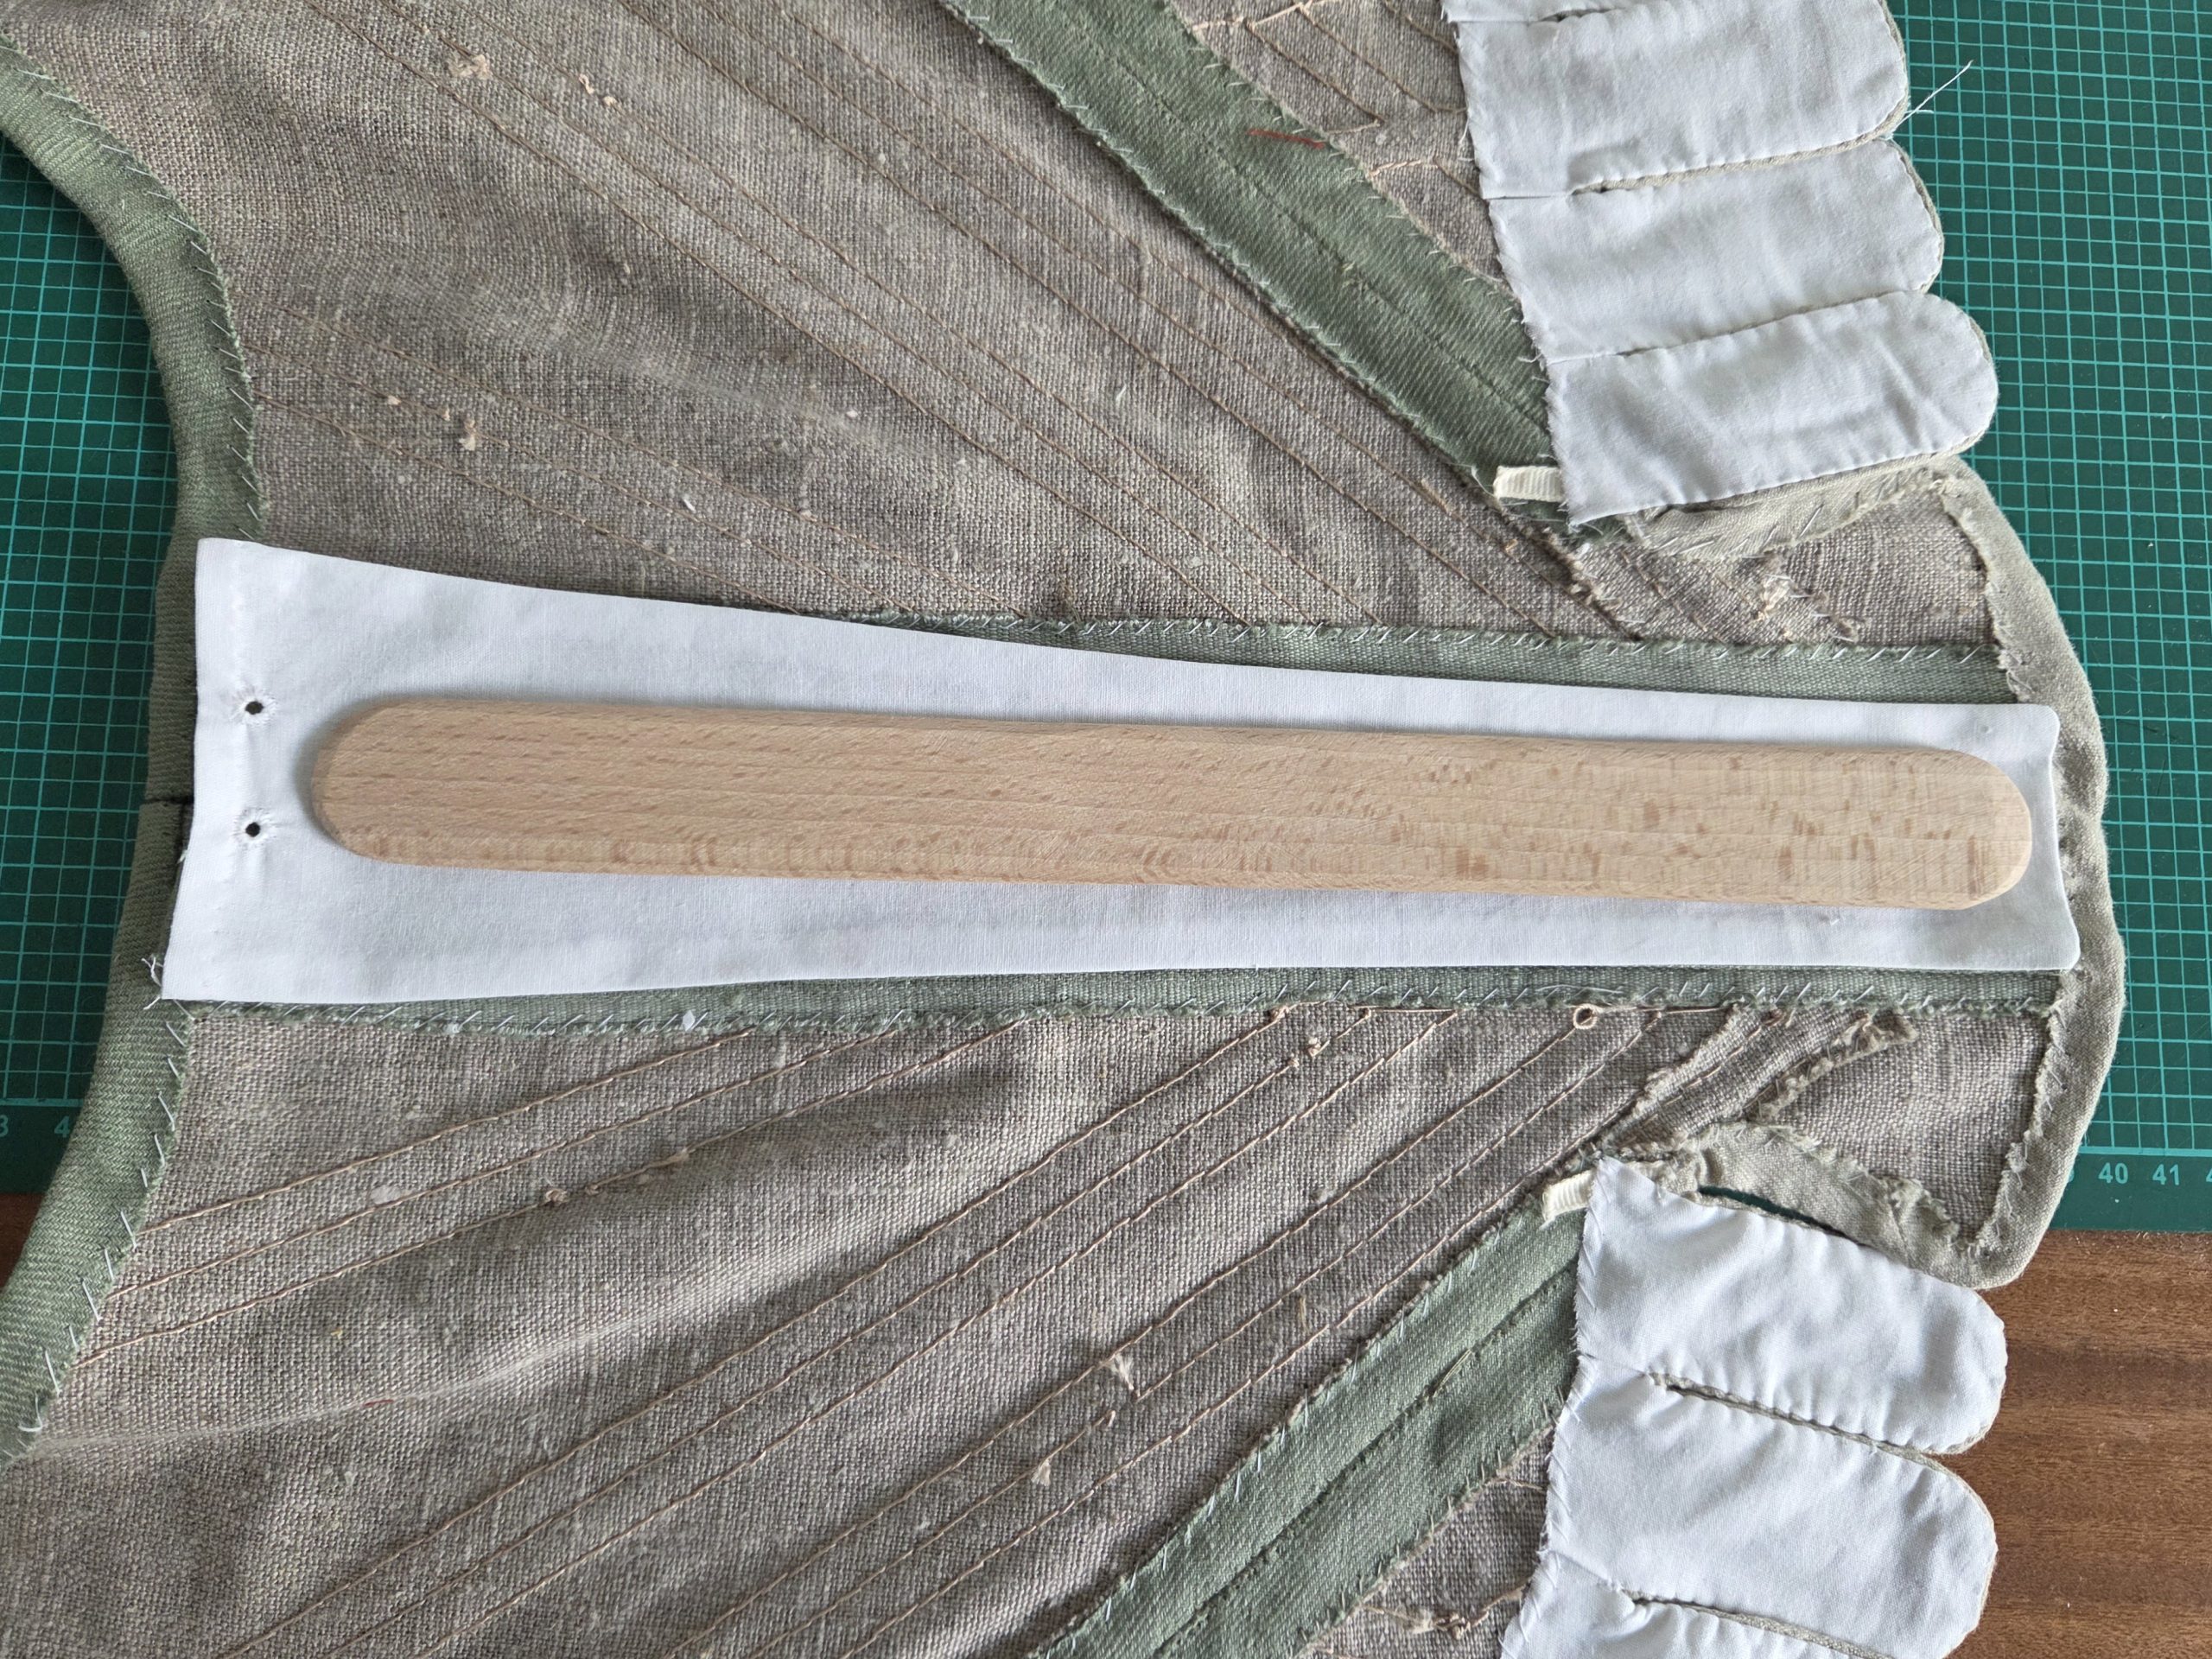
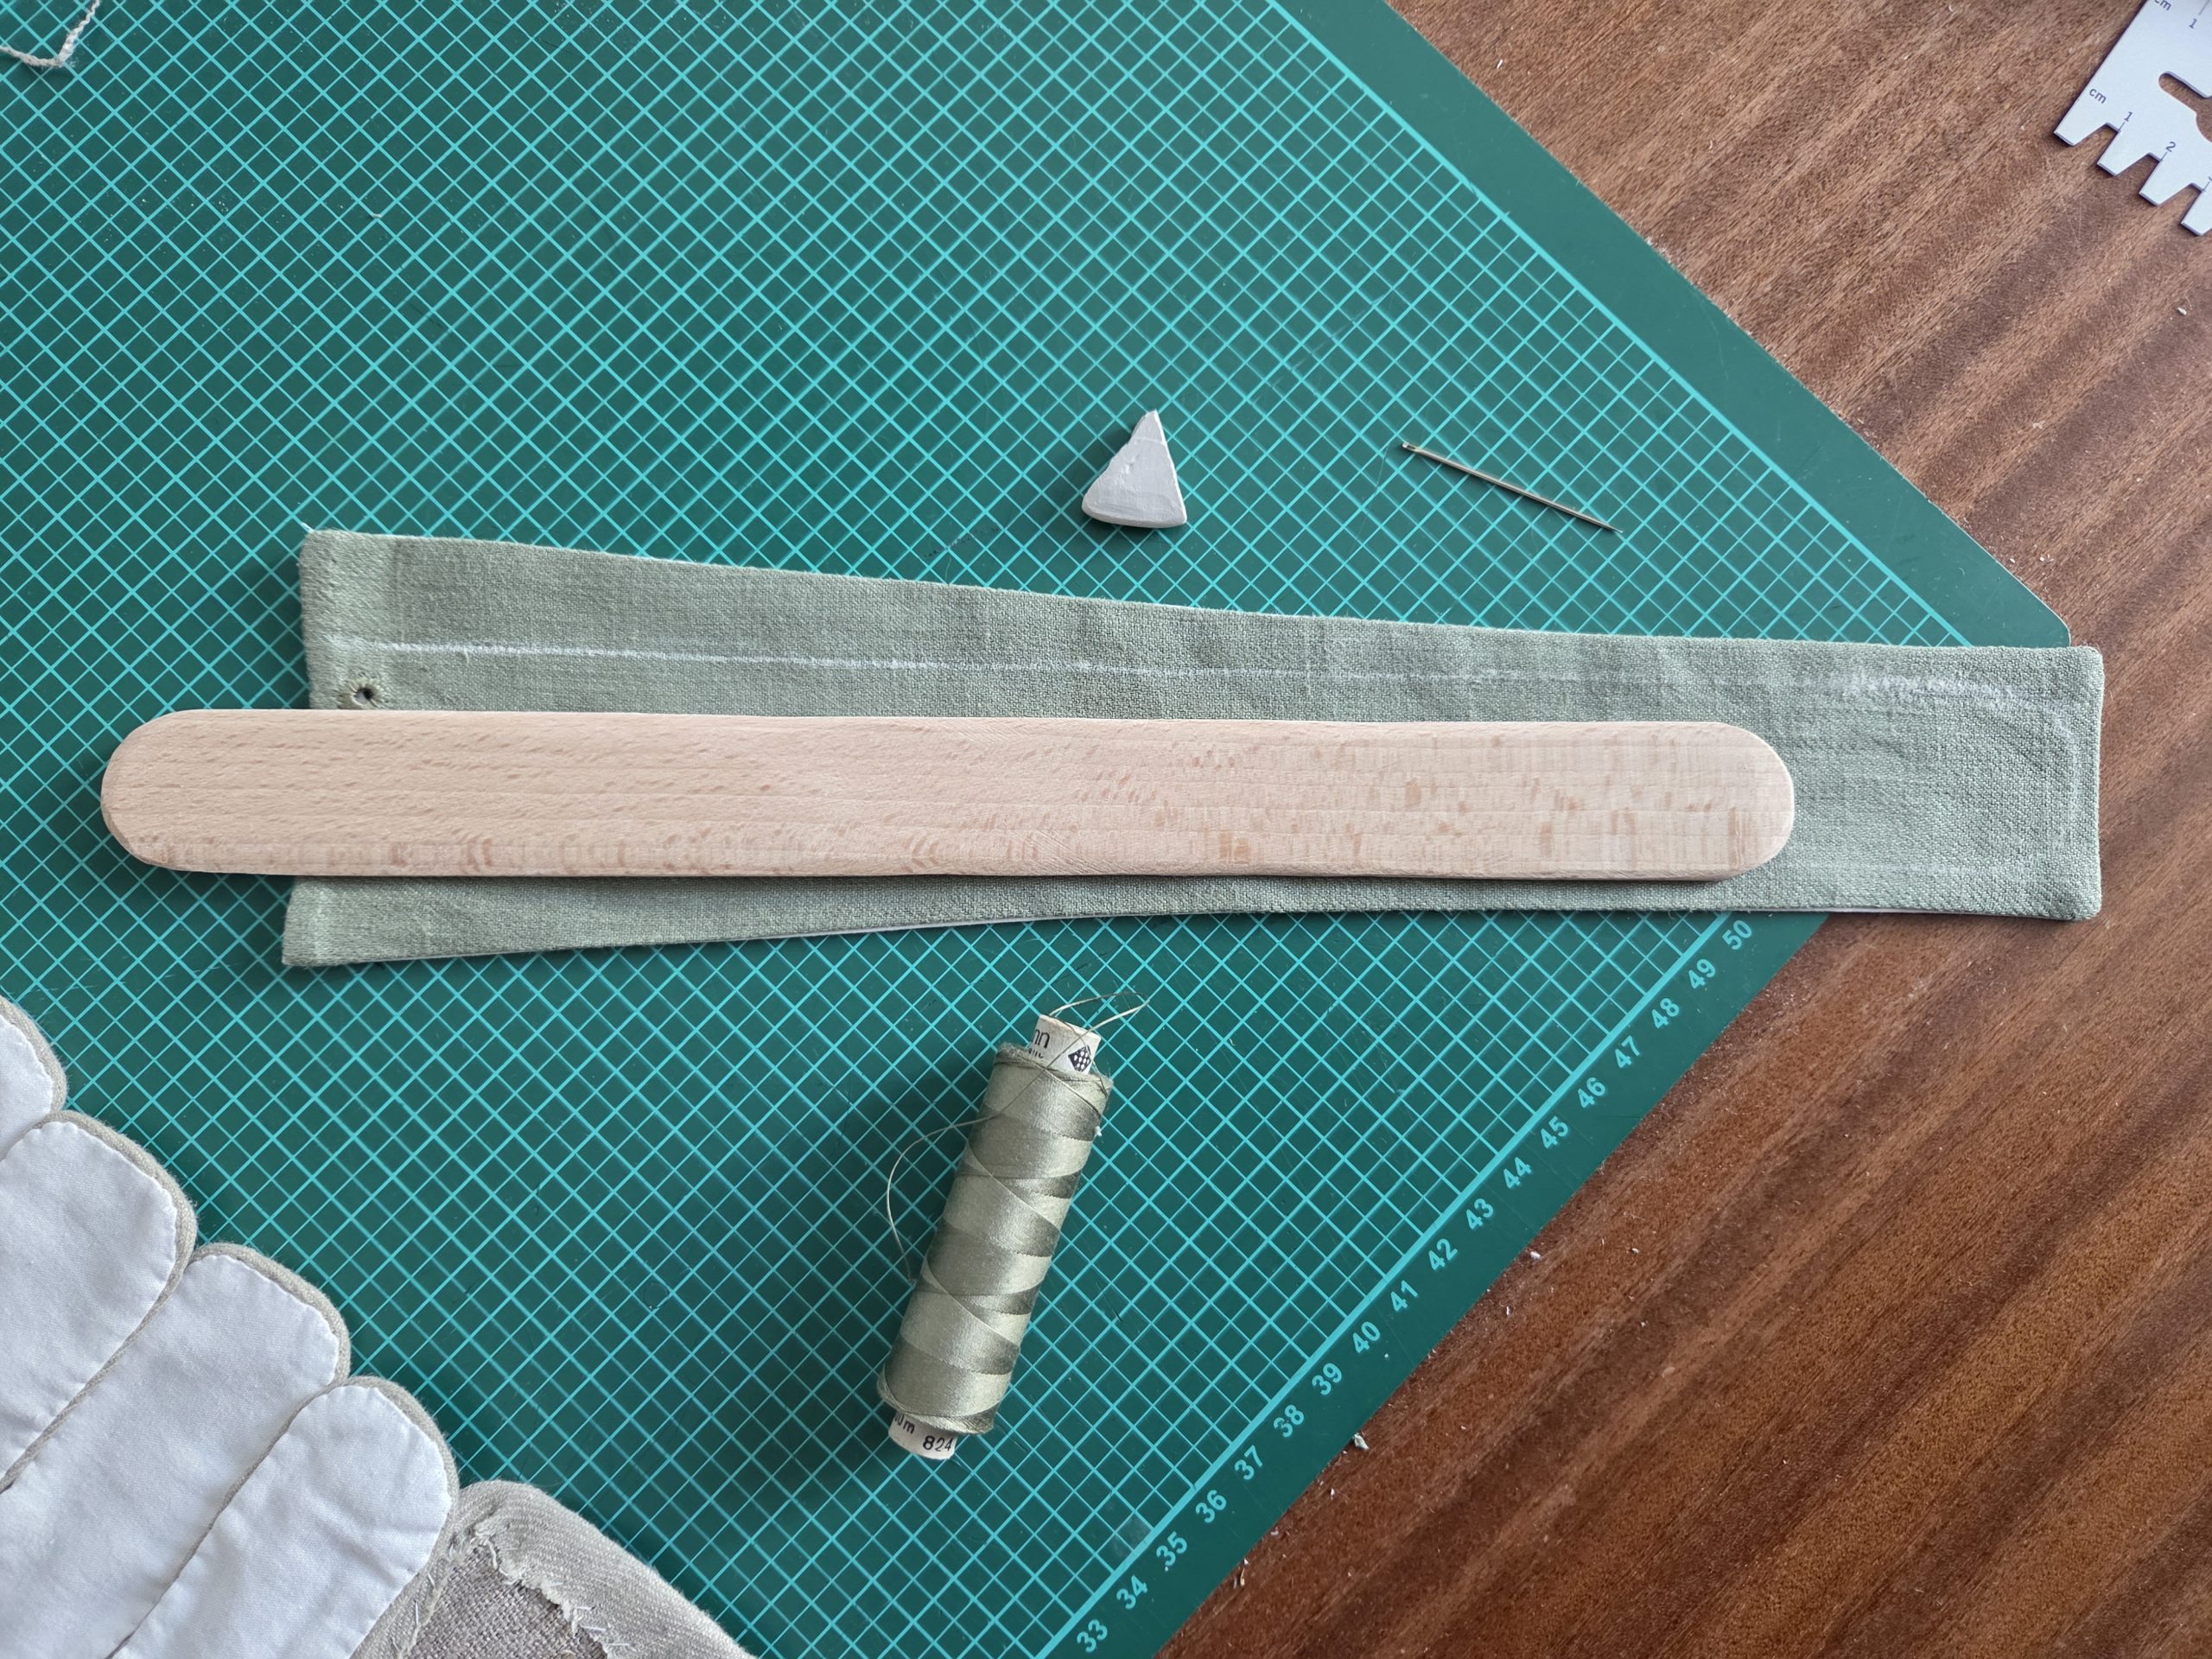
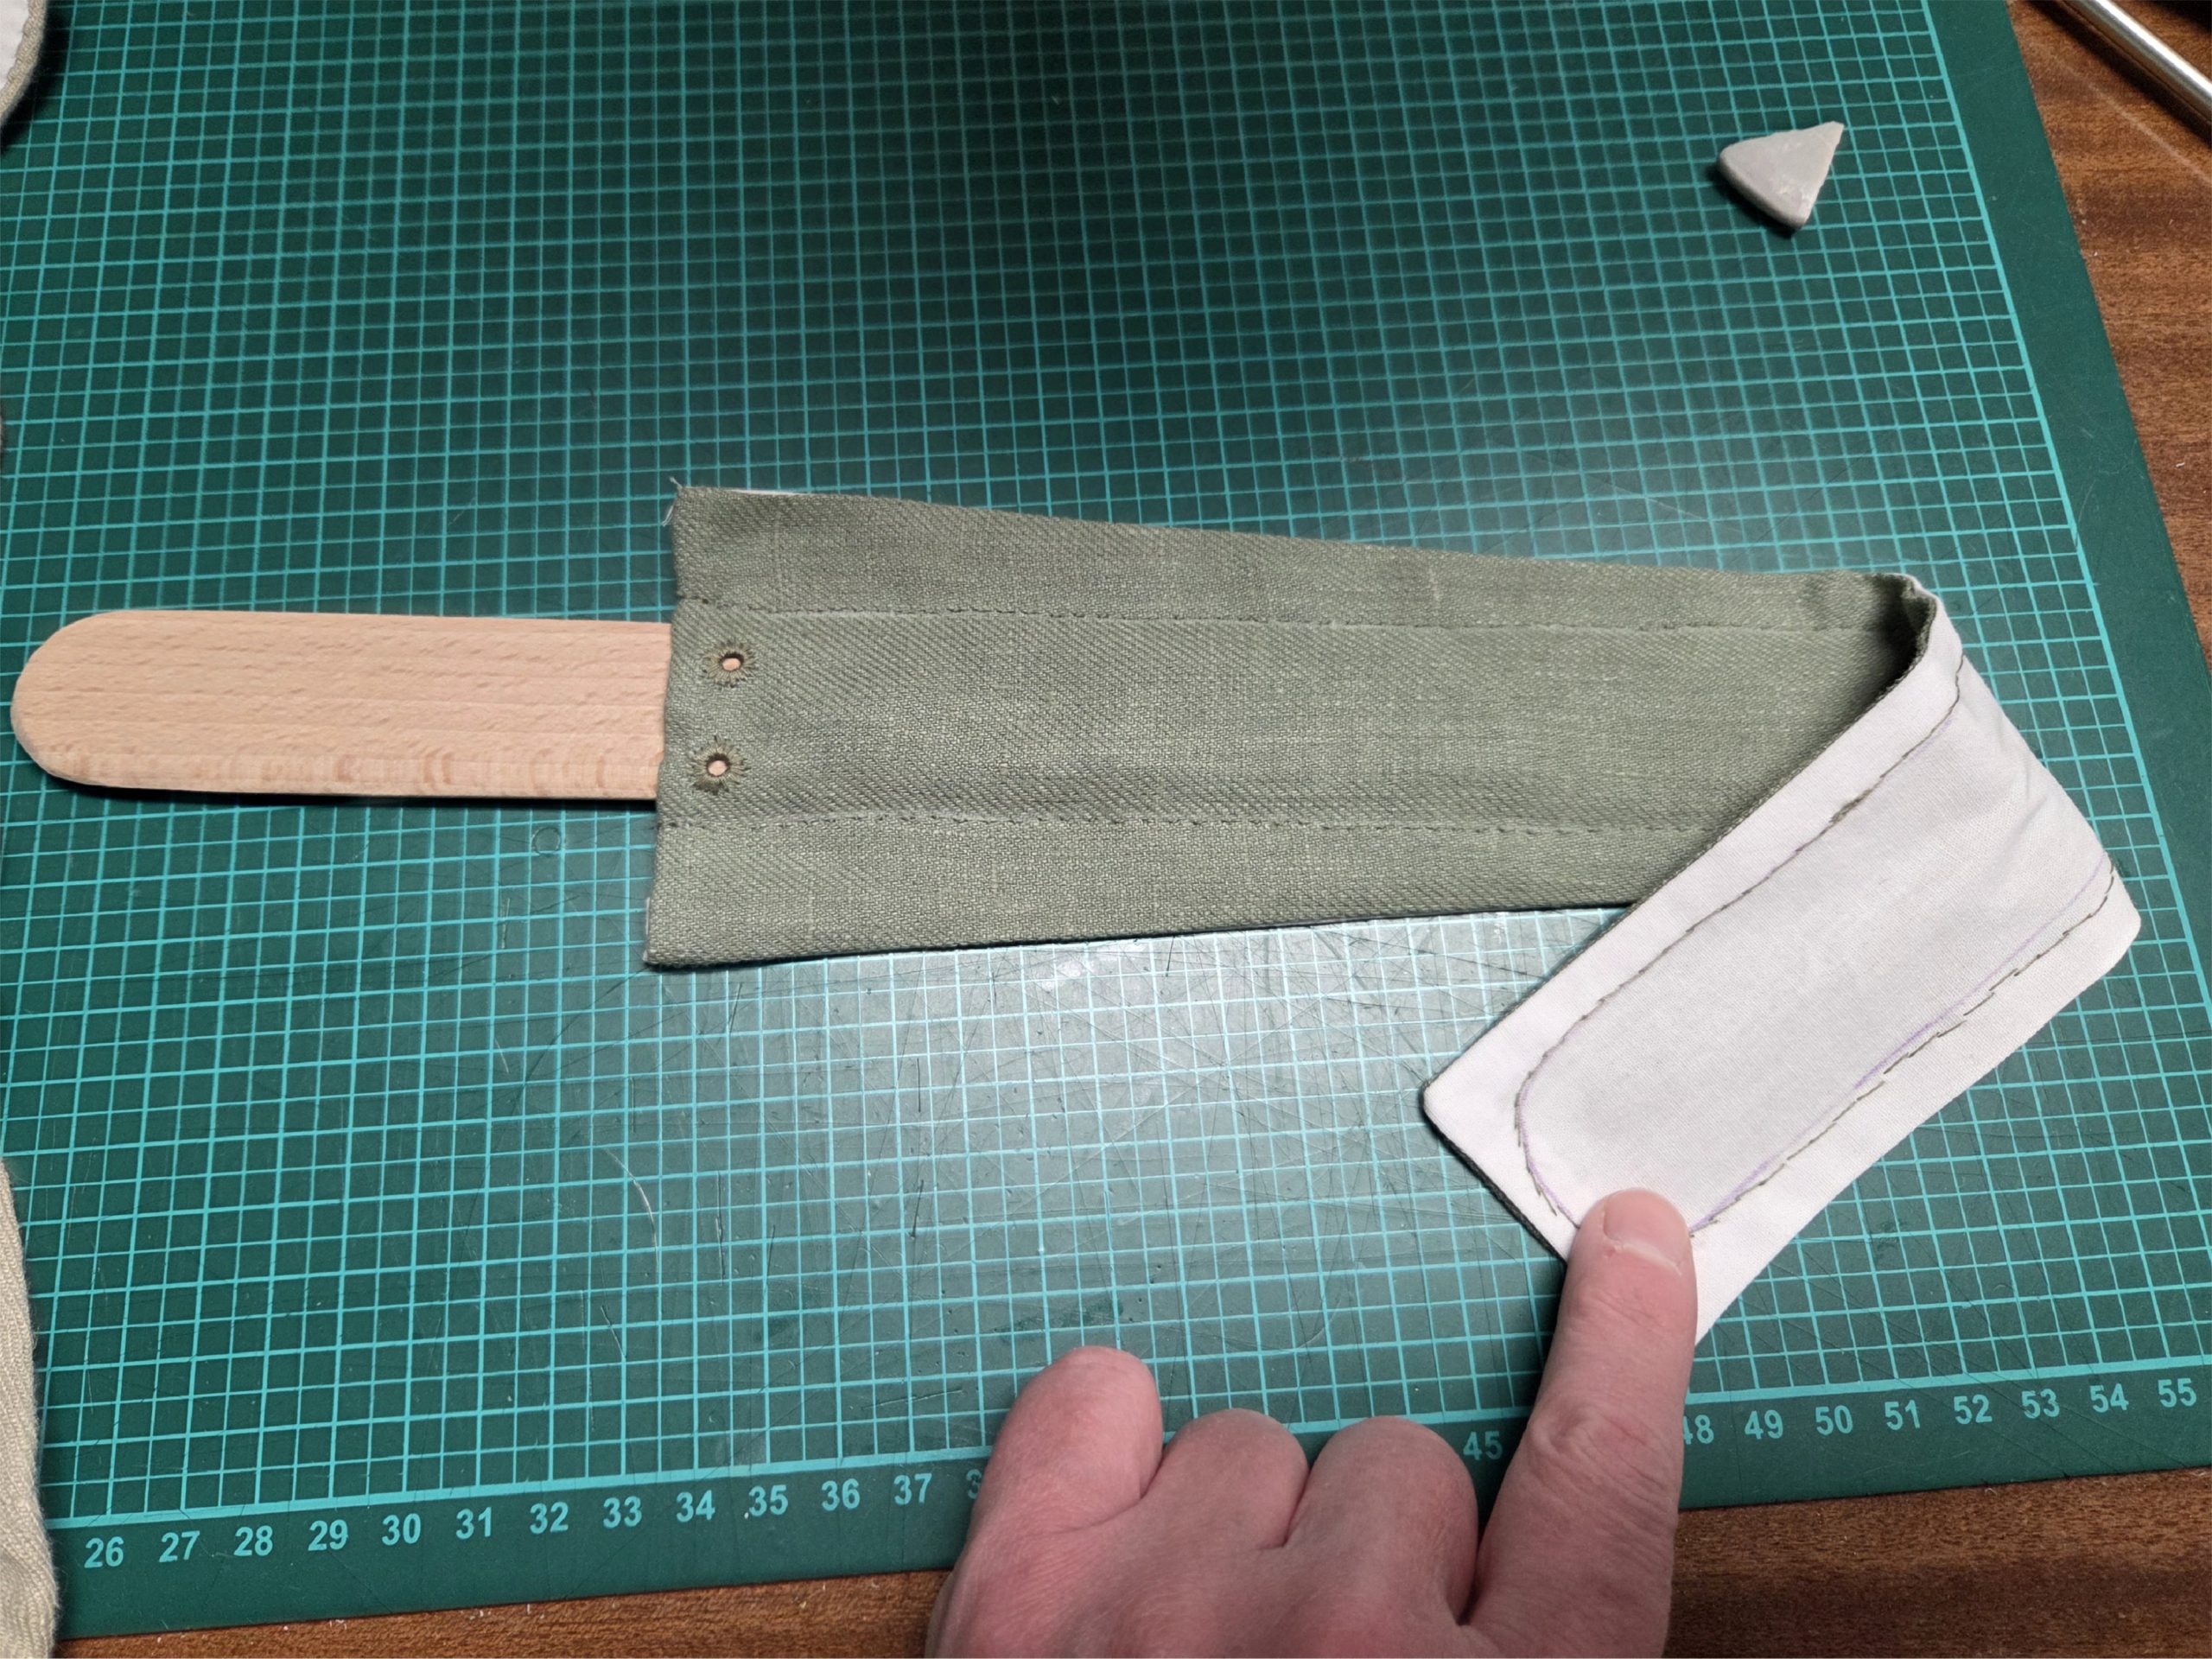
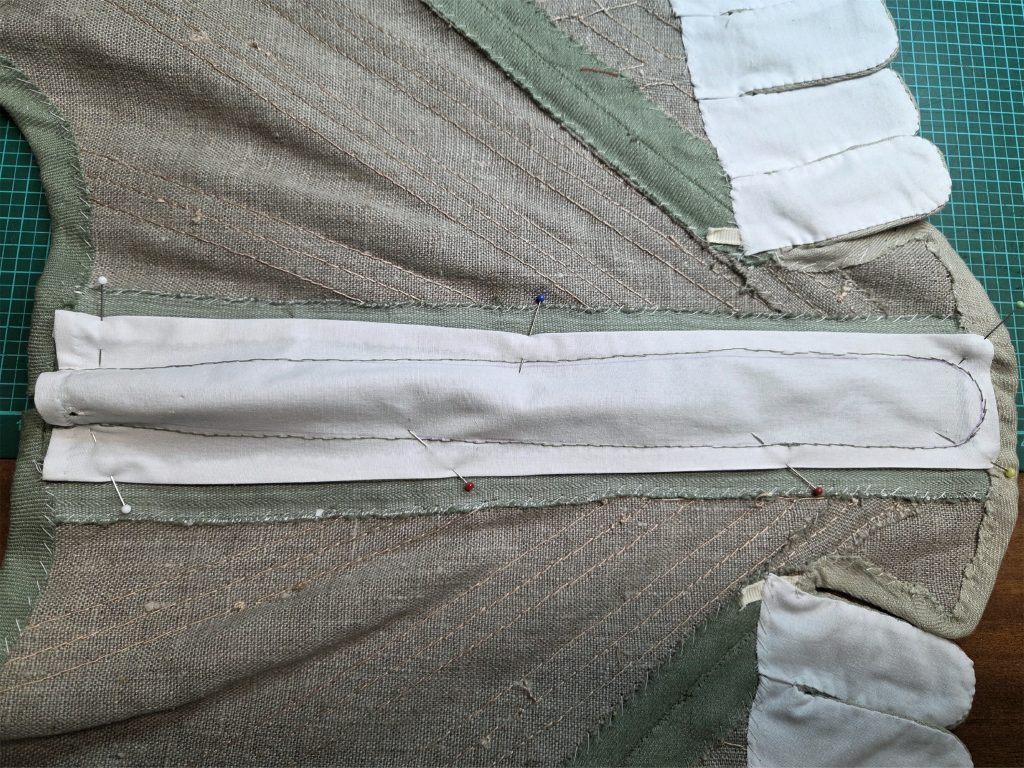
(10) Cut the tabs and bind the bottom and top edges with a bias binding. This will be the trickiest part of making your pair of stays, especially when binding the tabs. Keep the binding quite narrow, about 5mm as usual at that time.
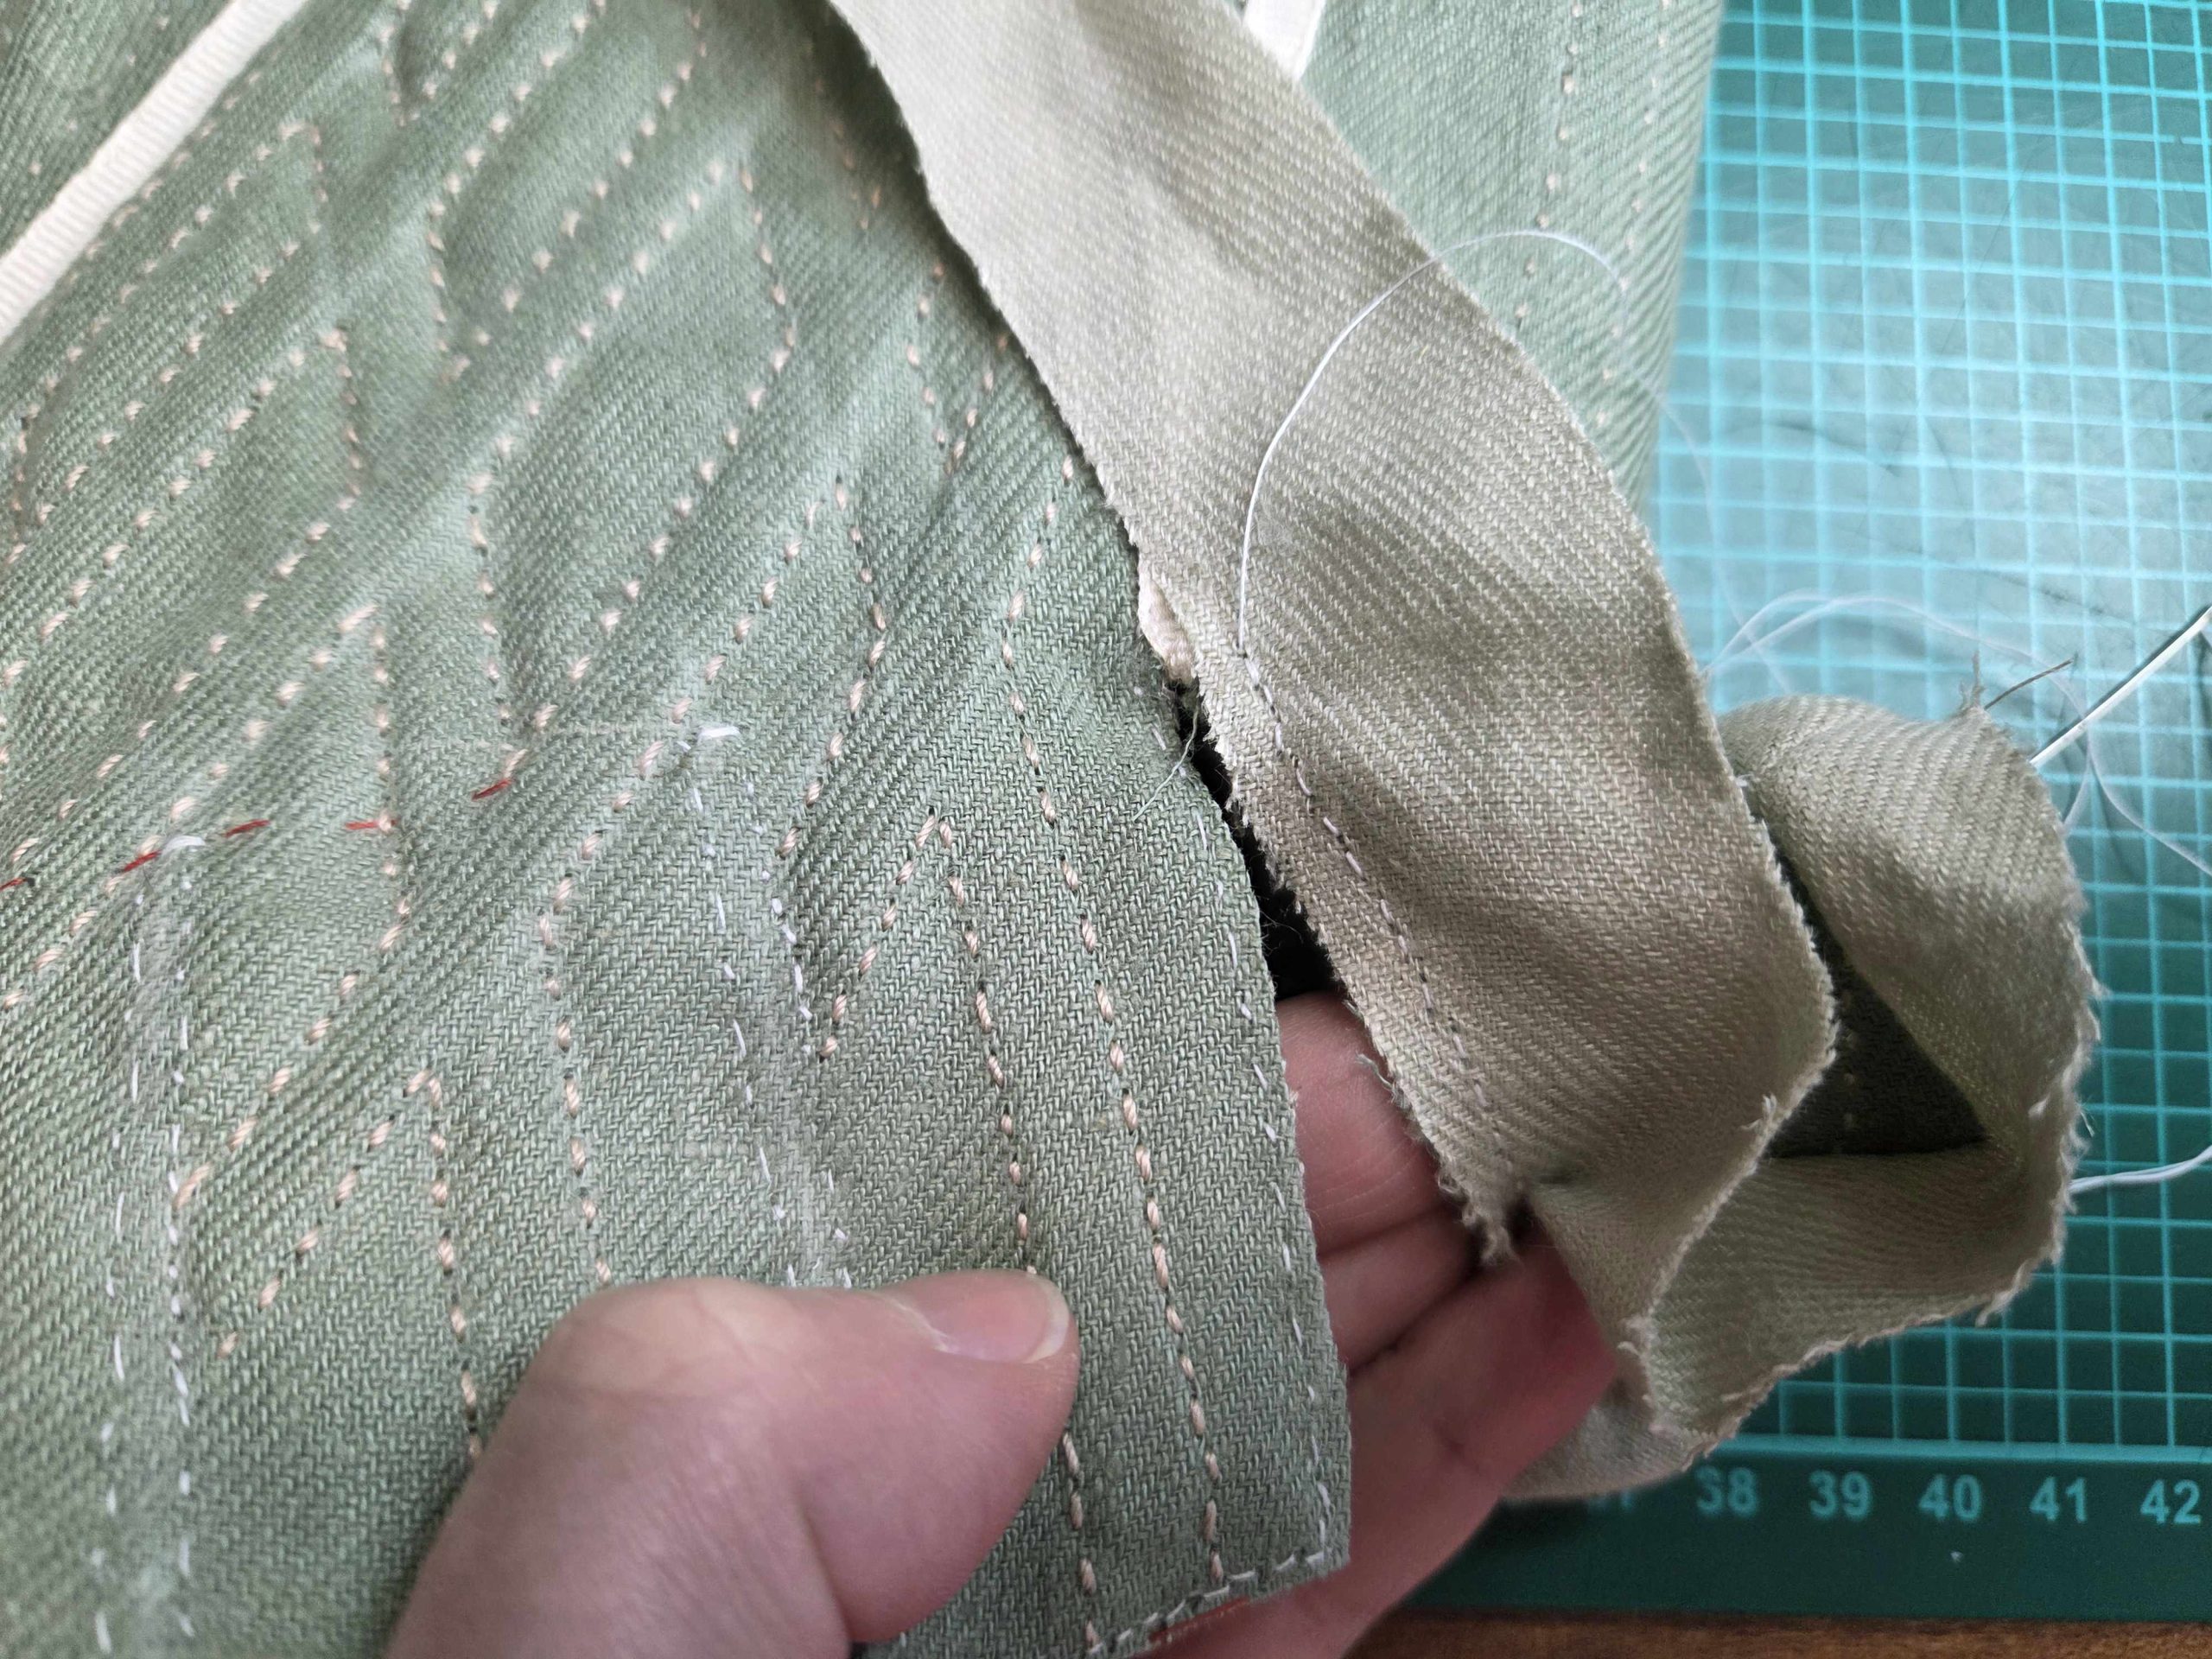
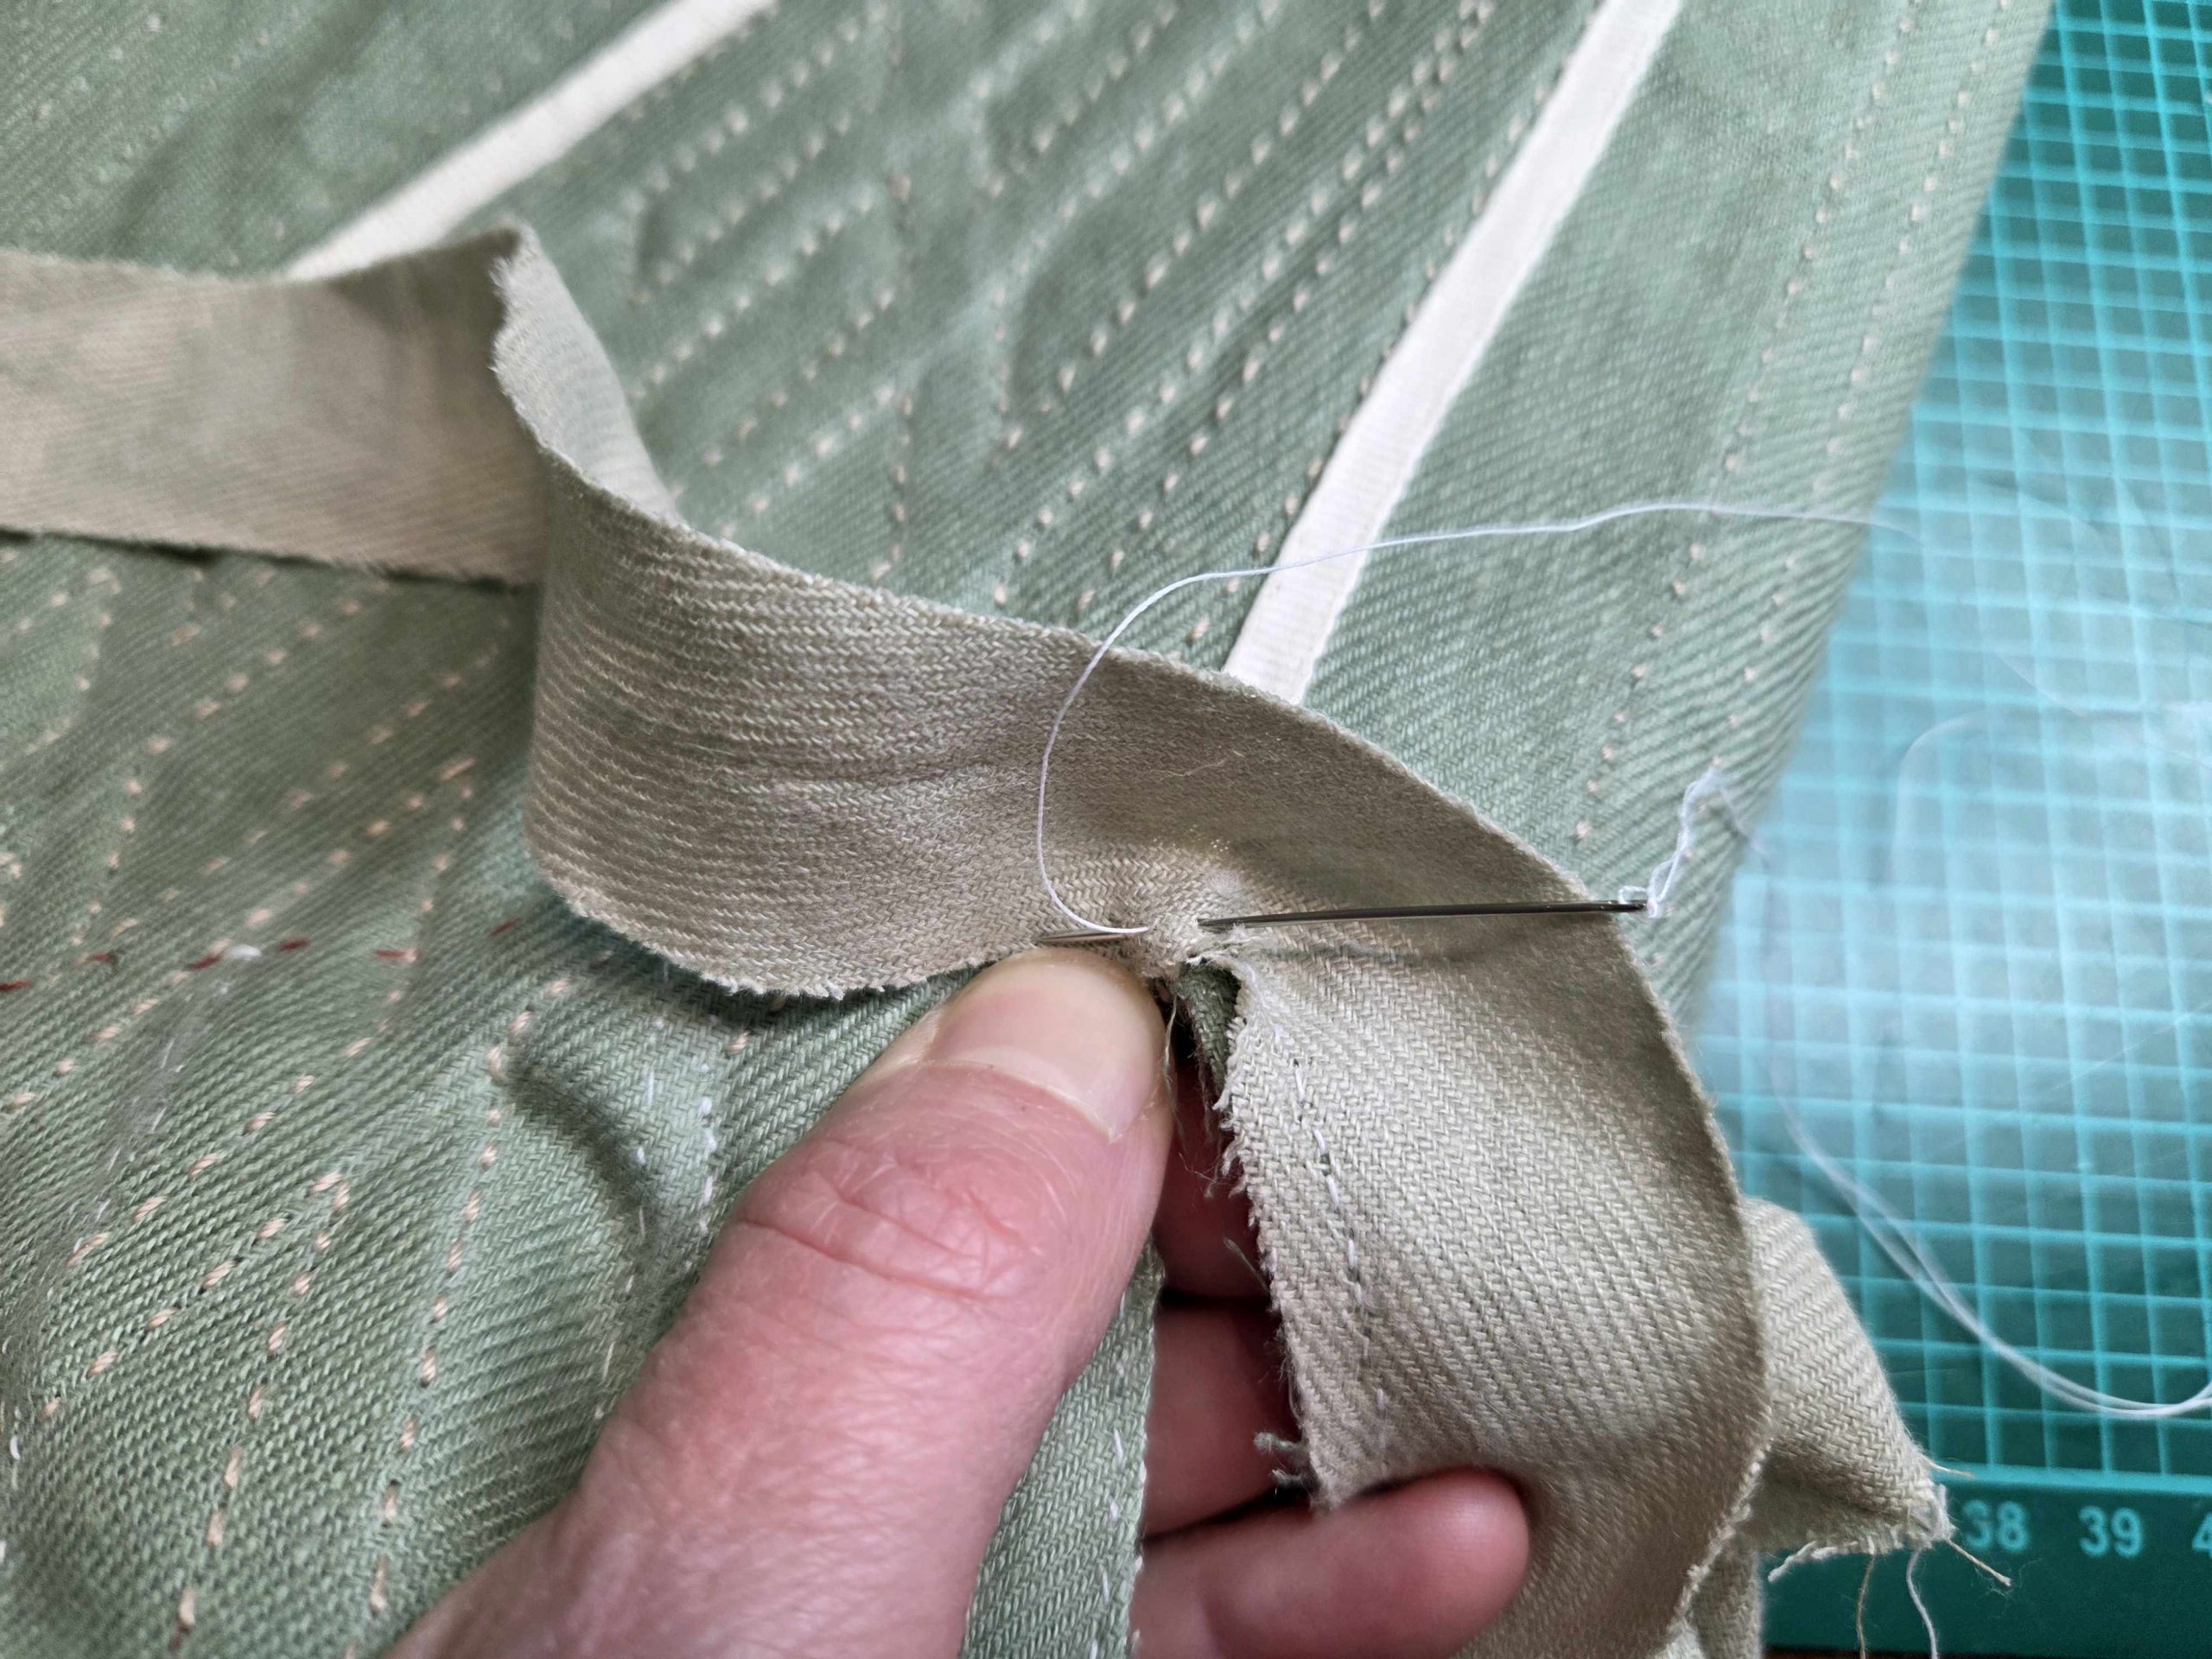
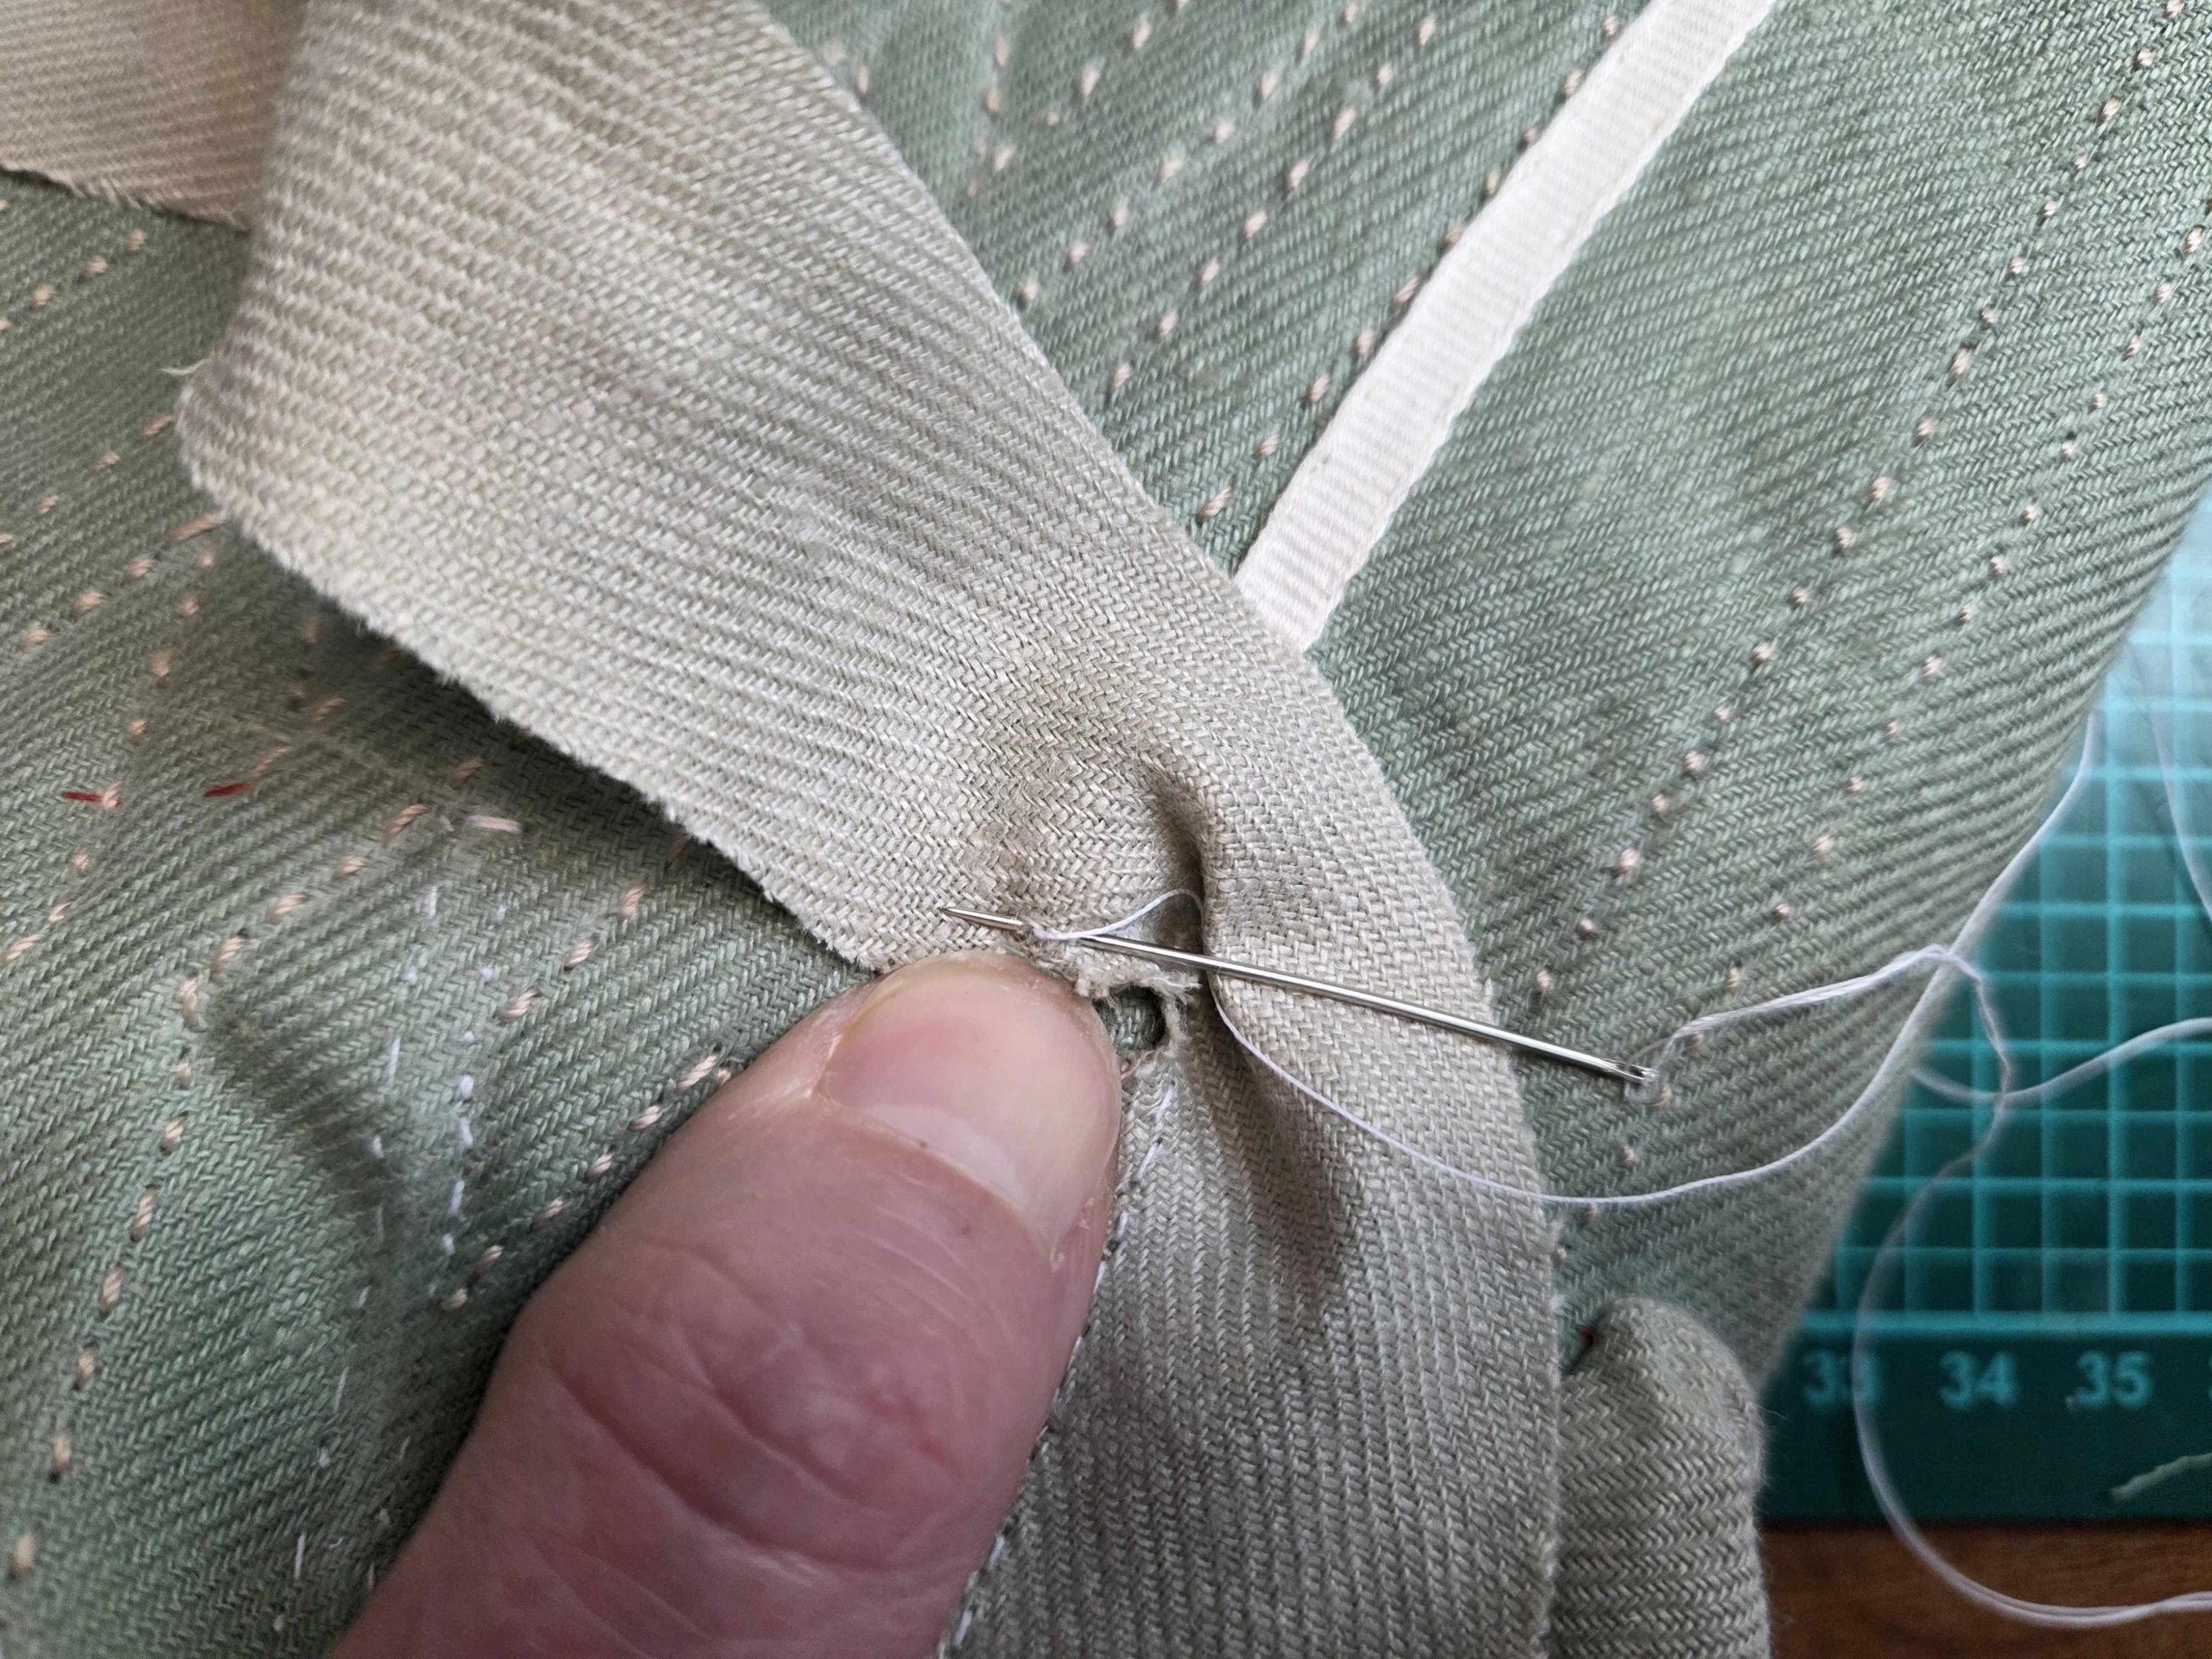
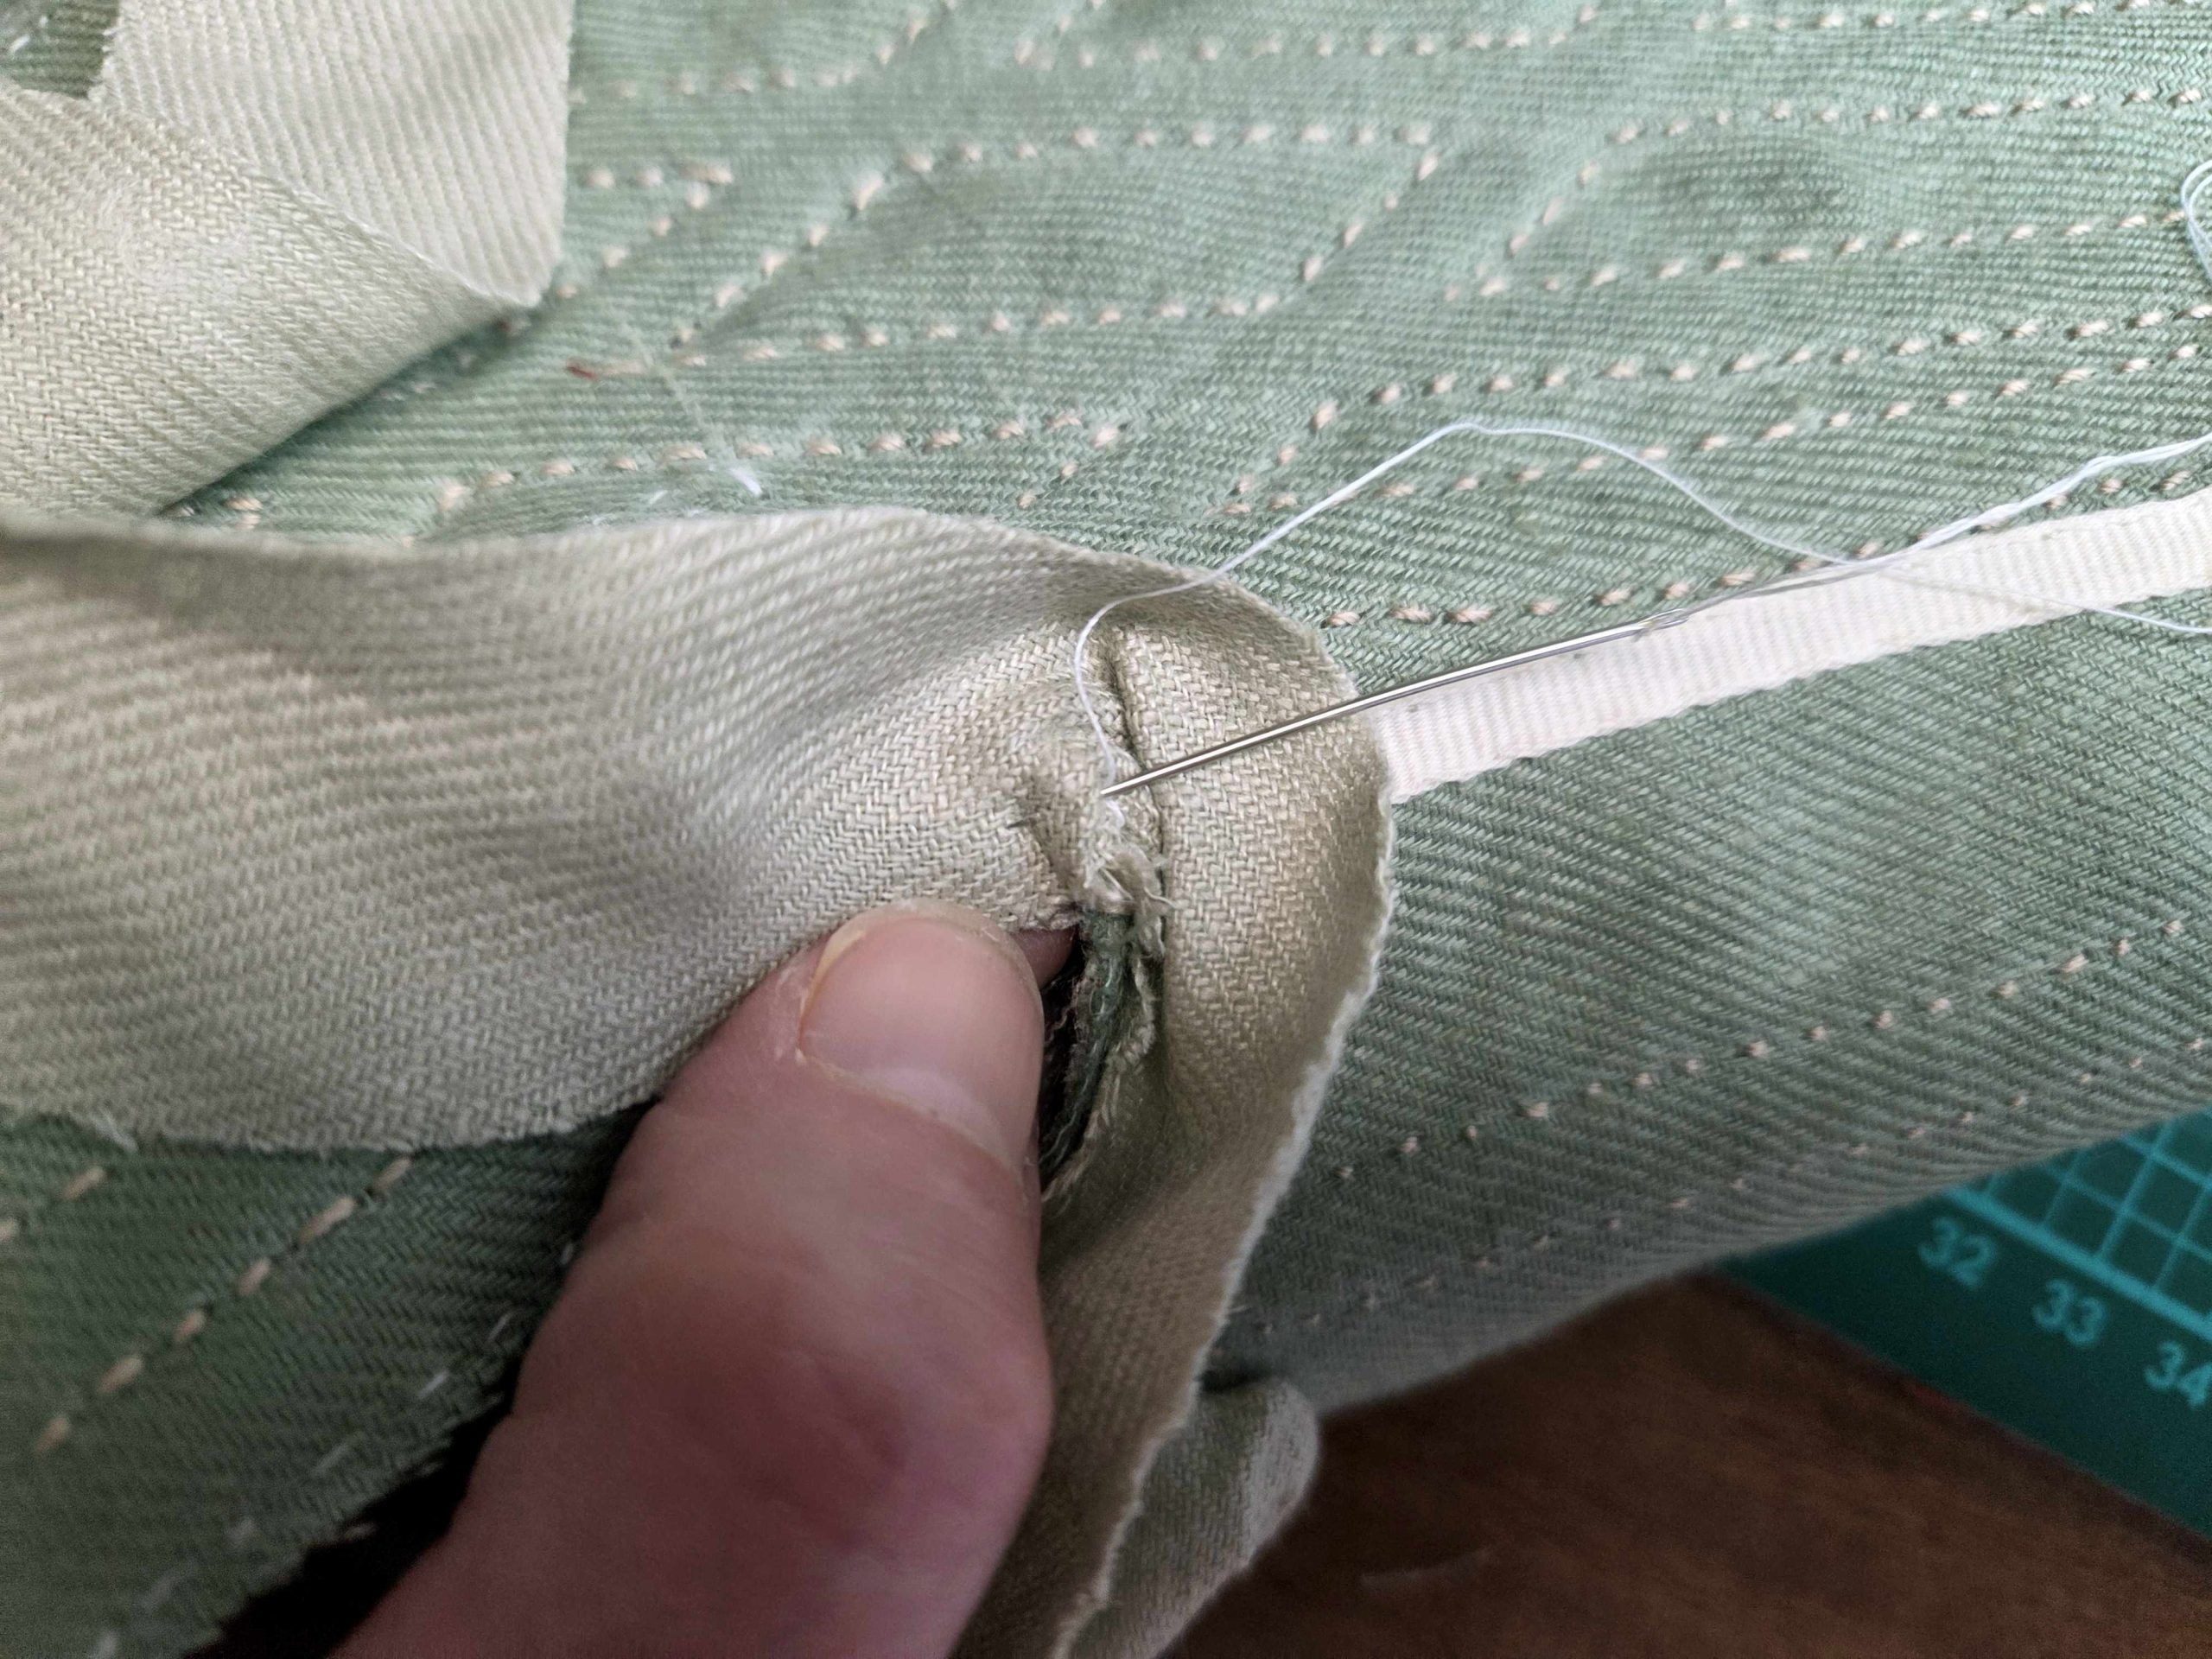
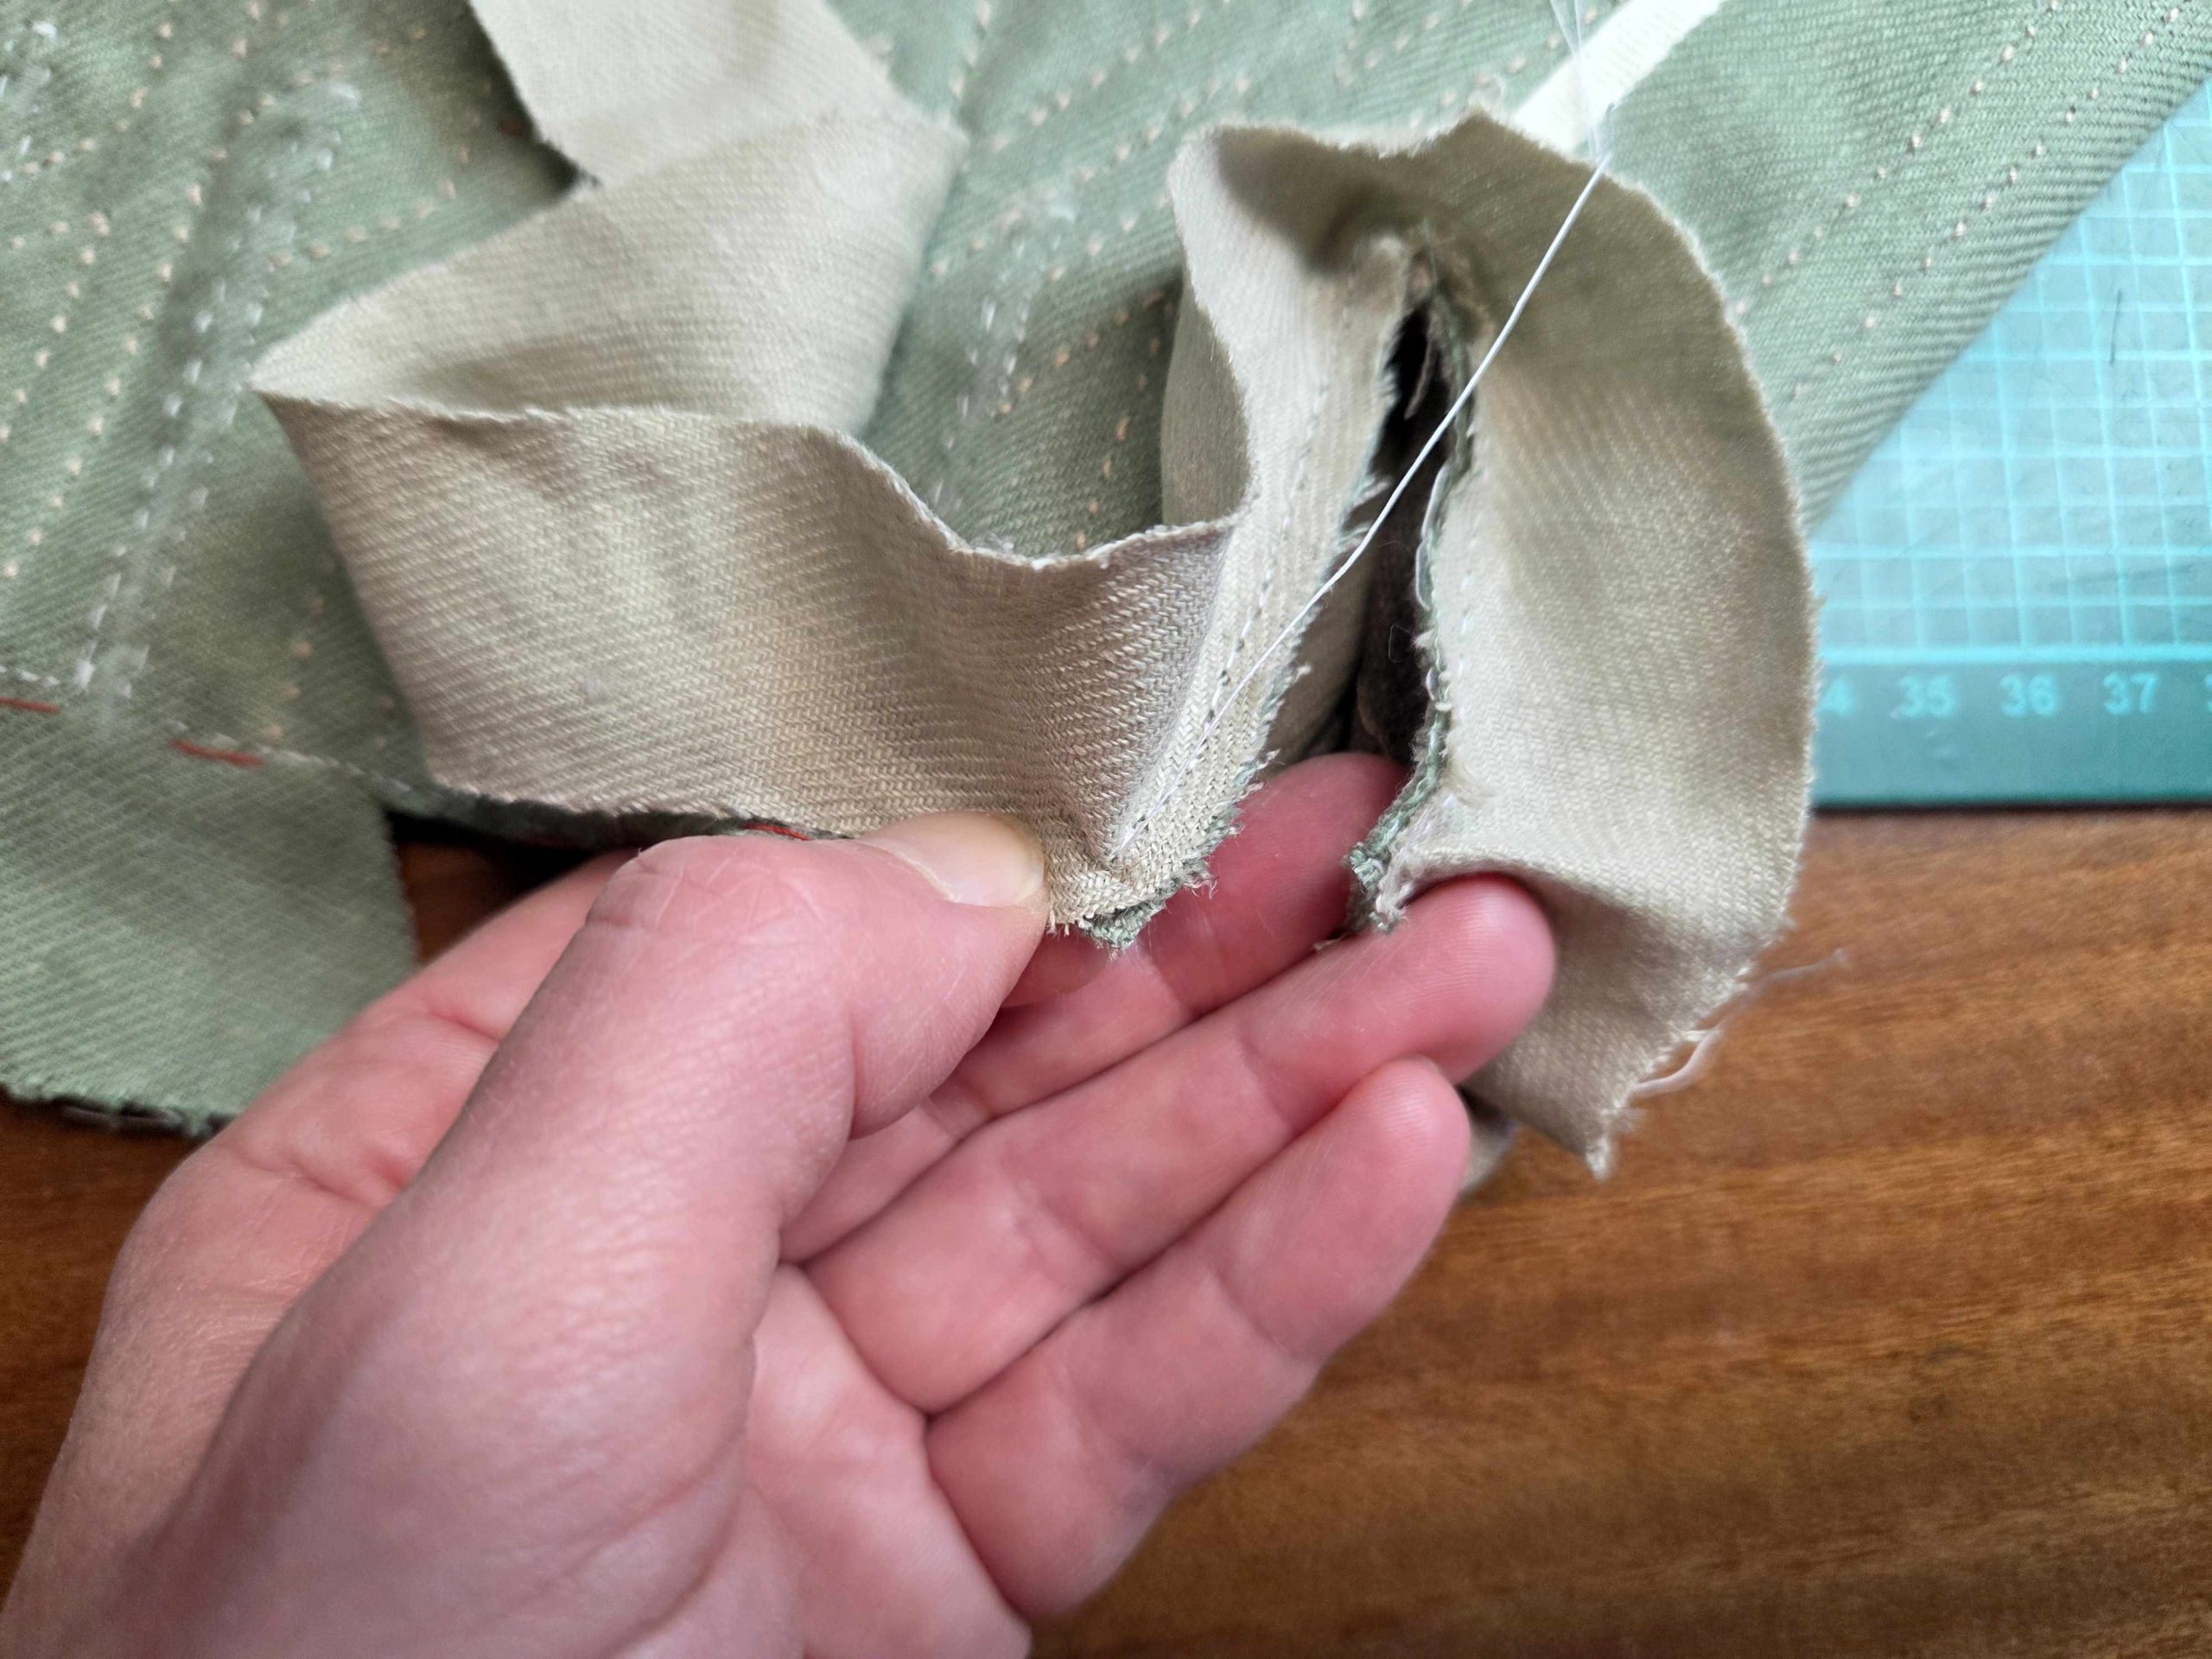
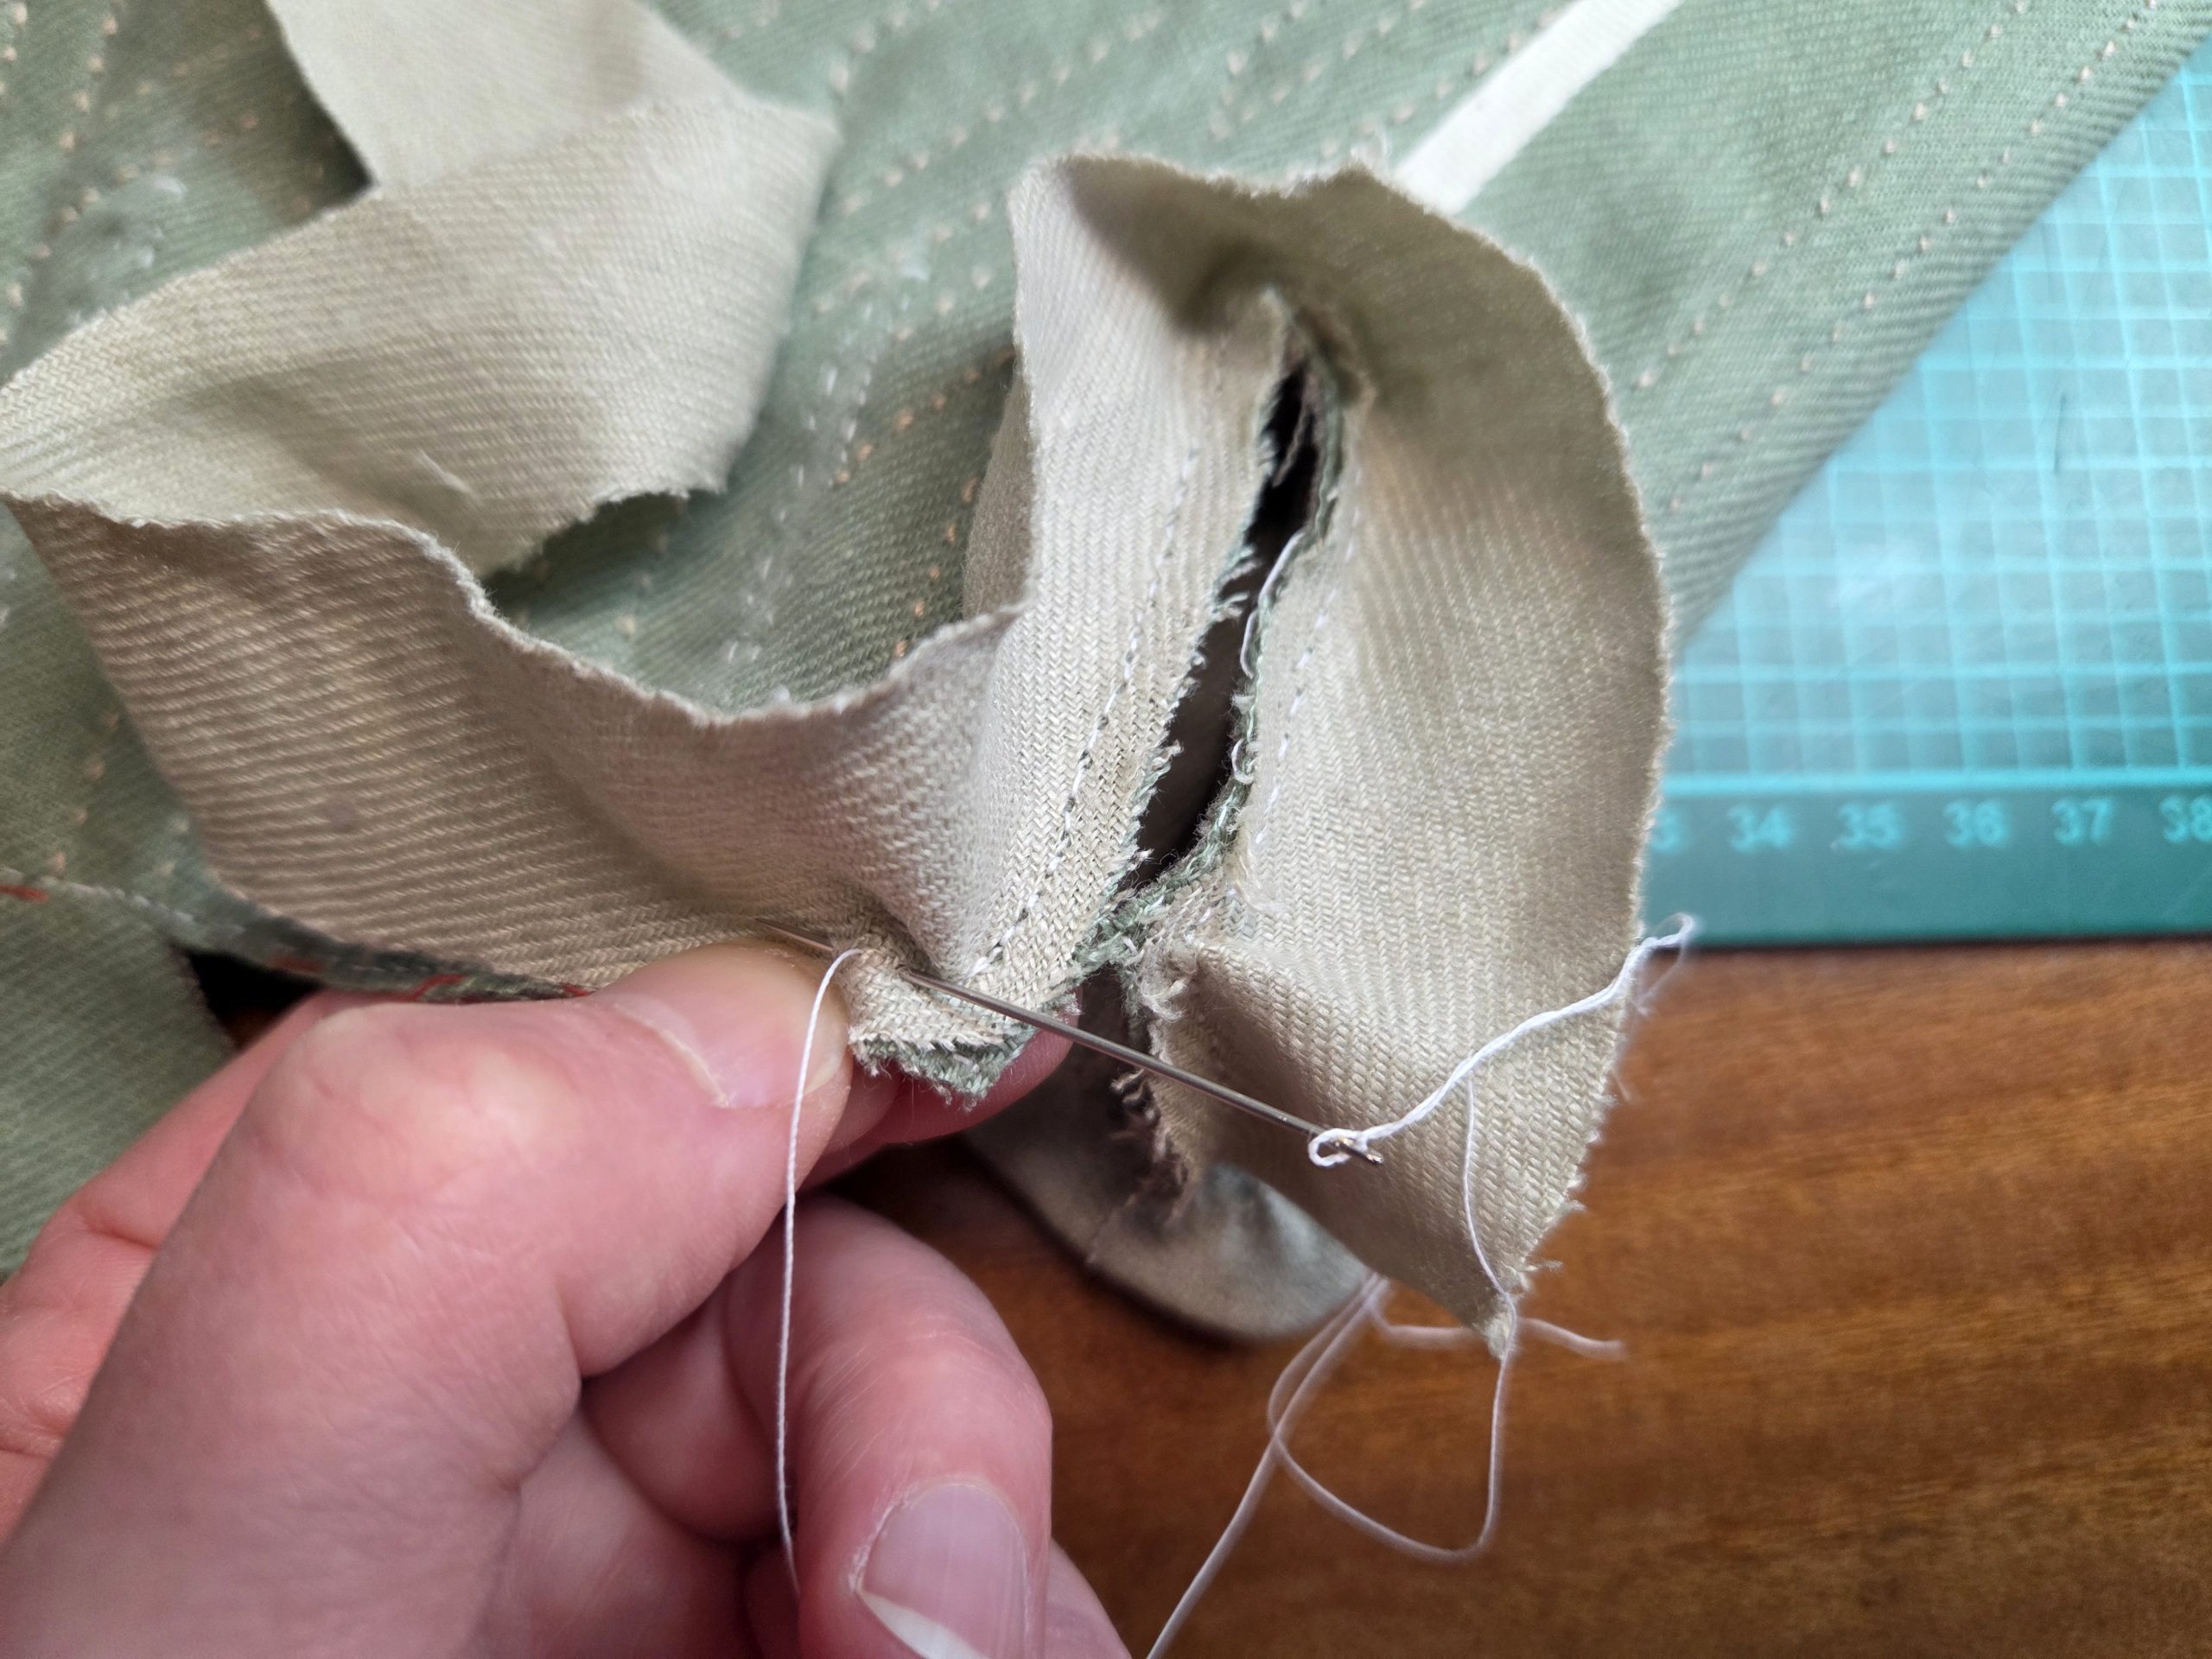
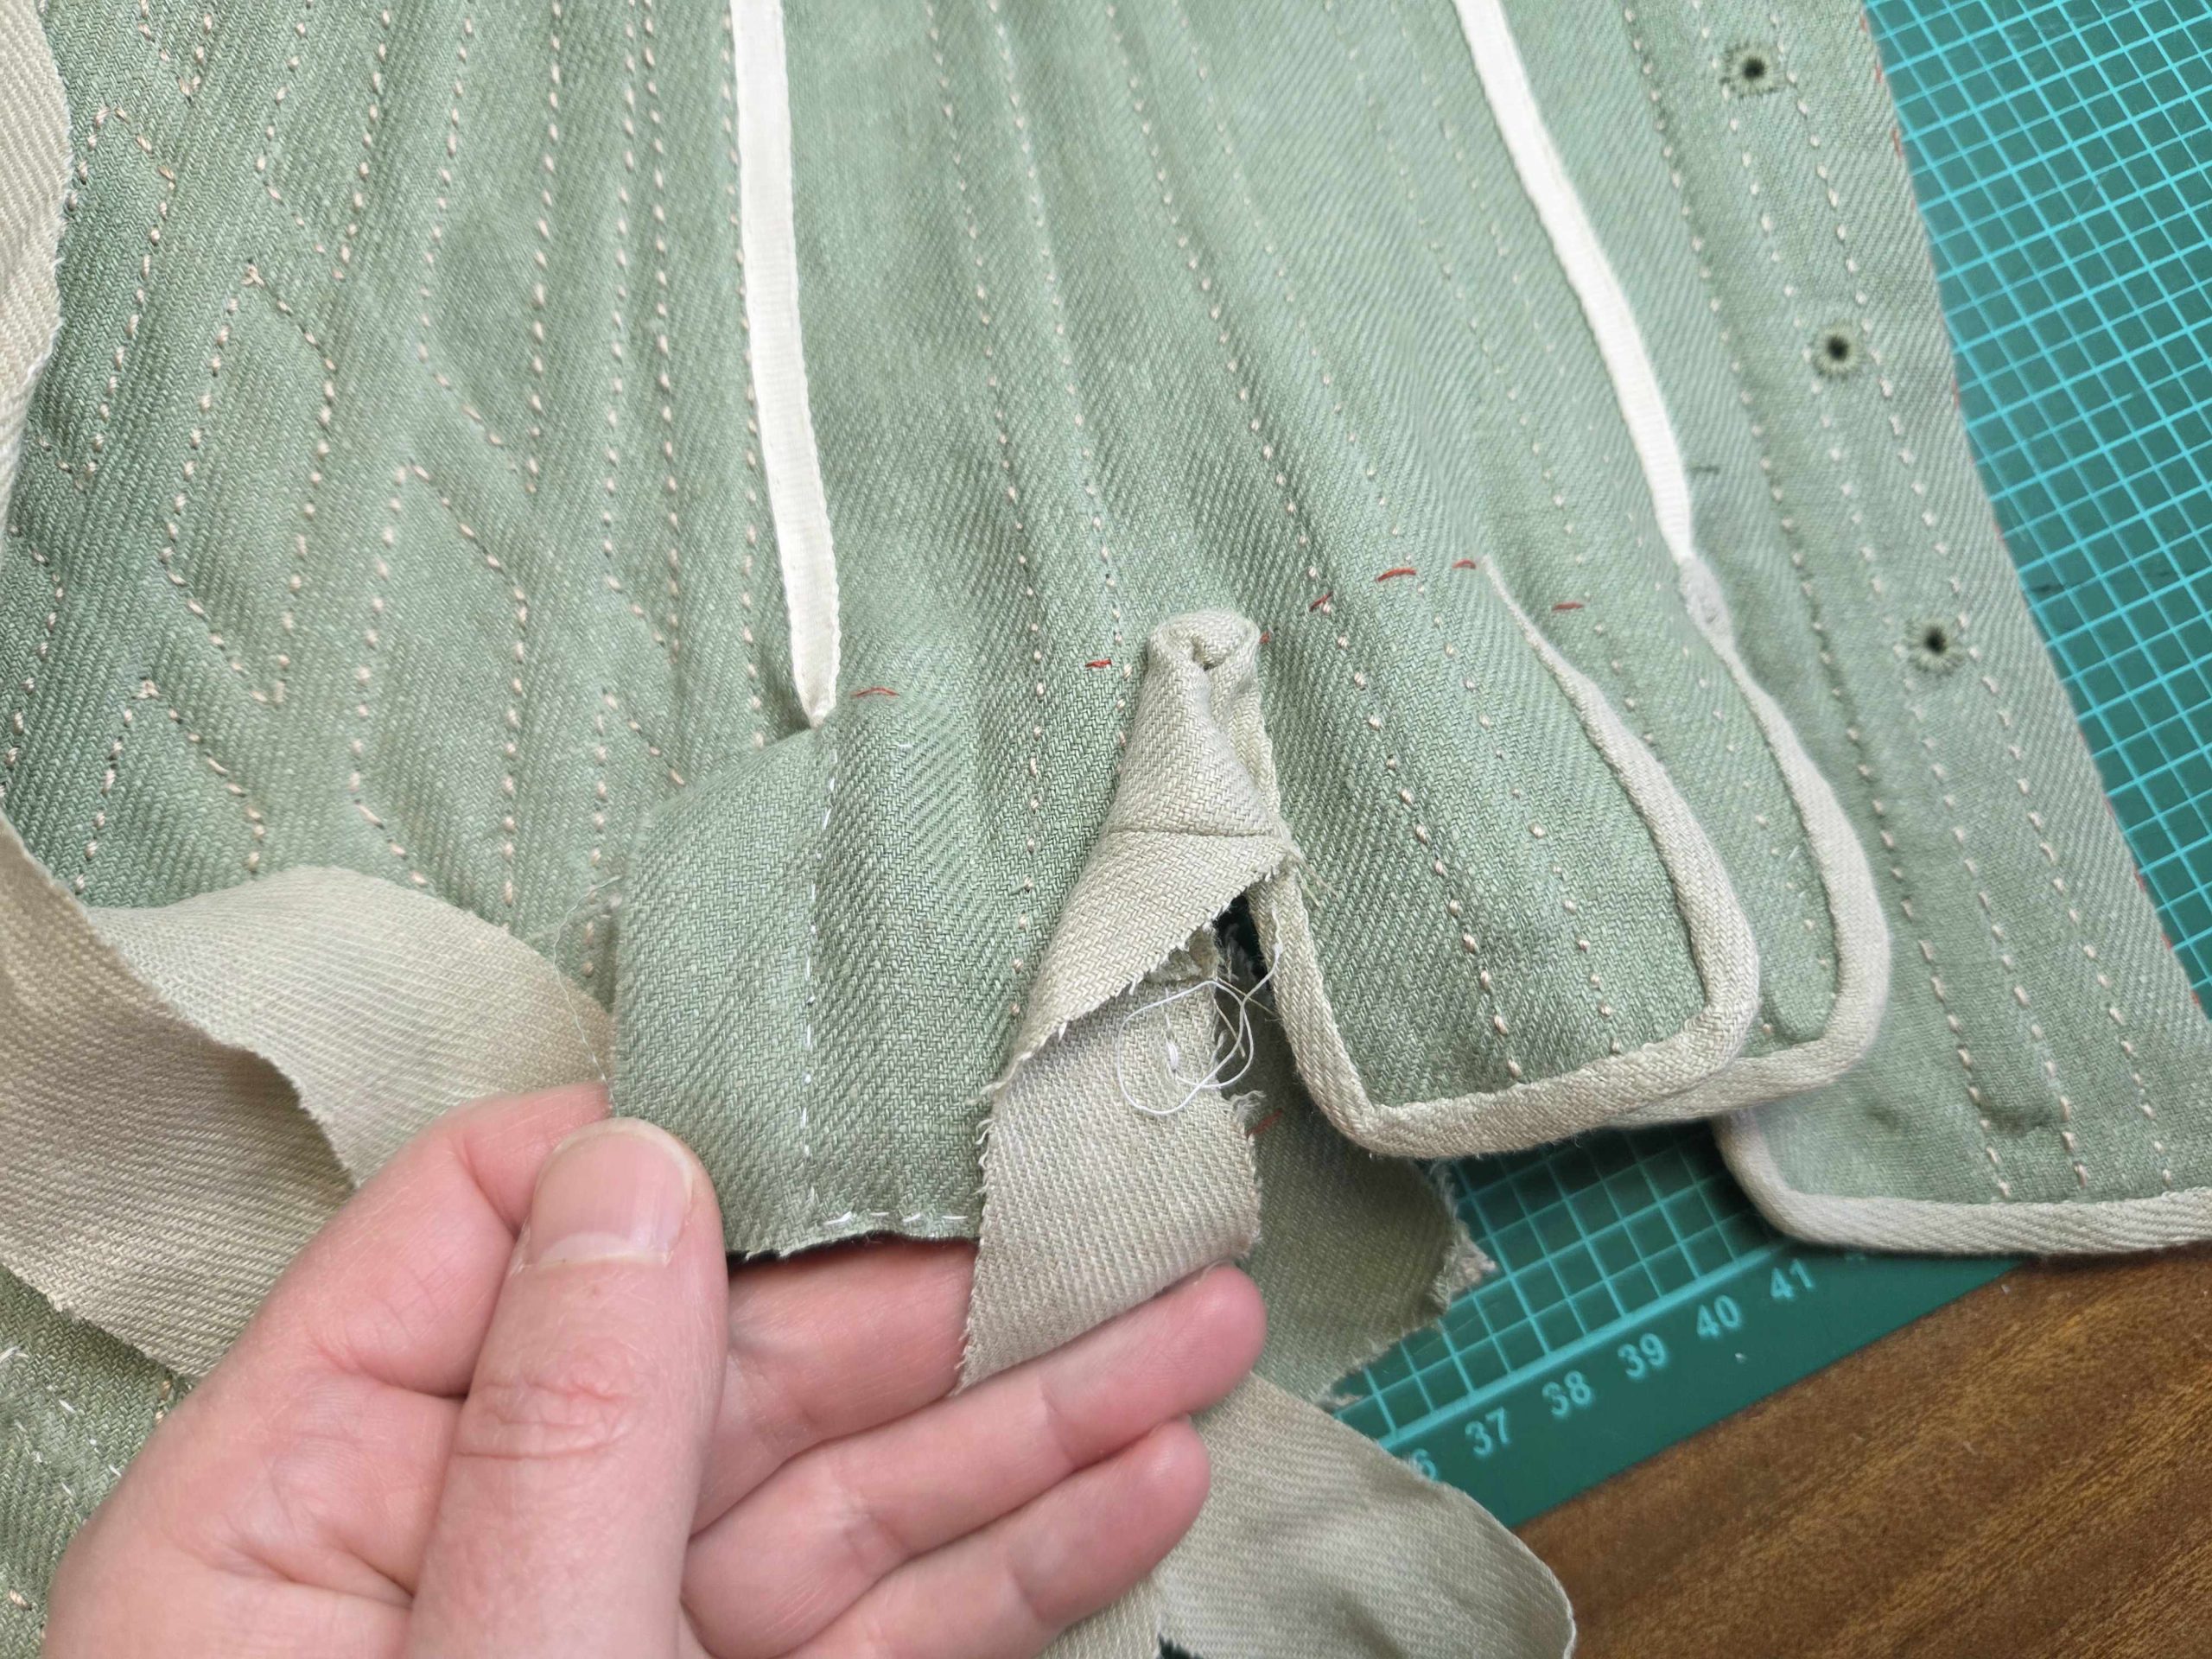
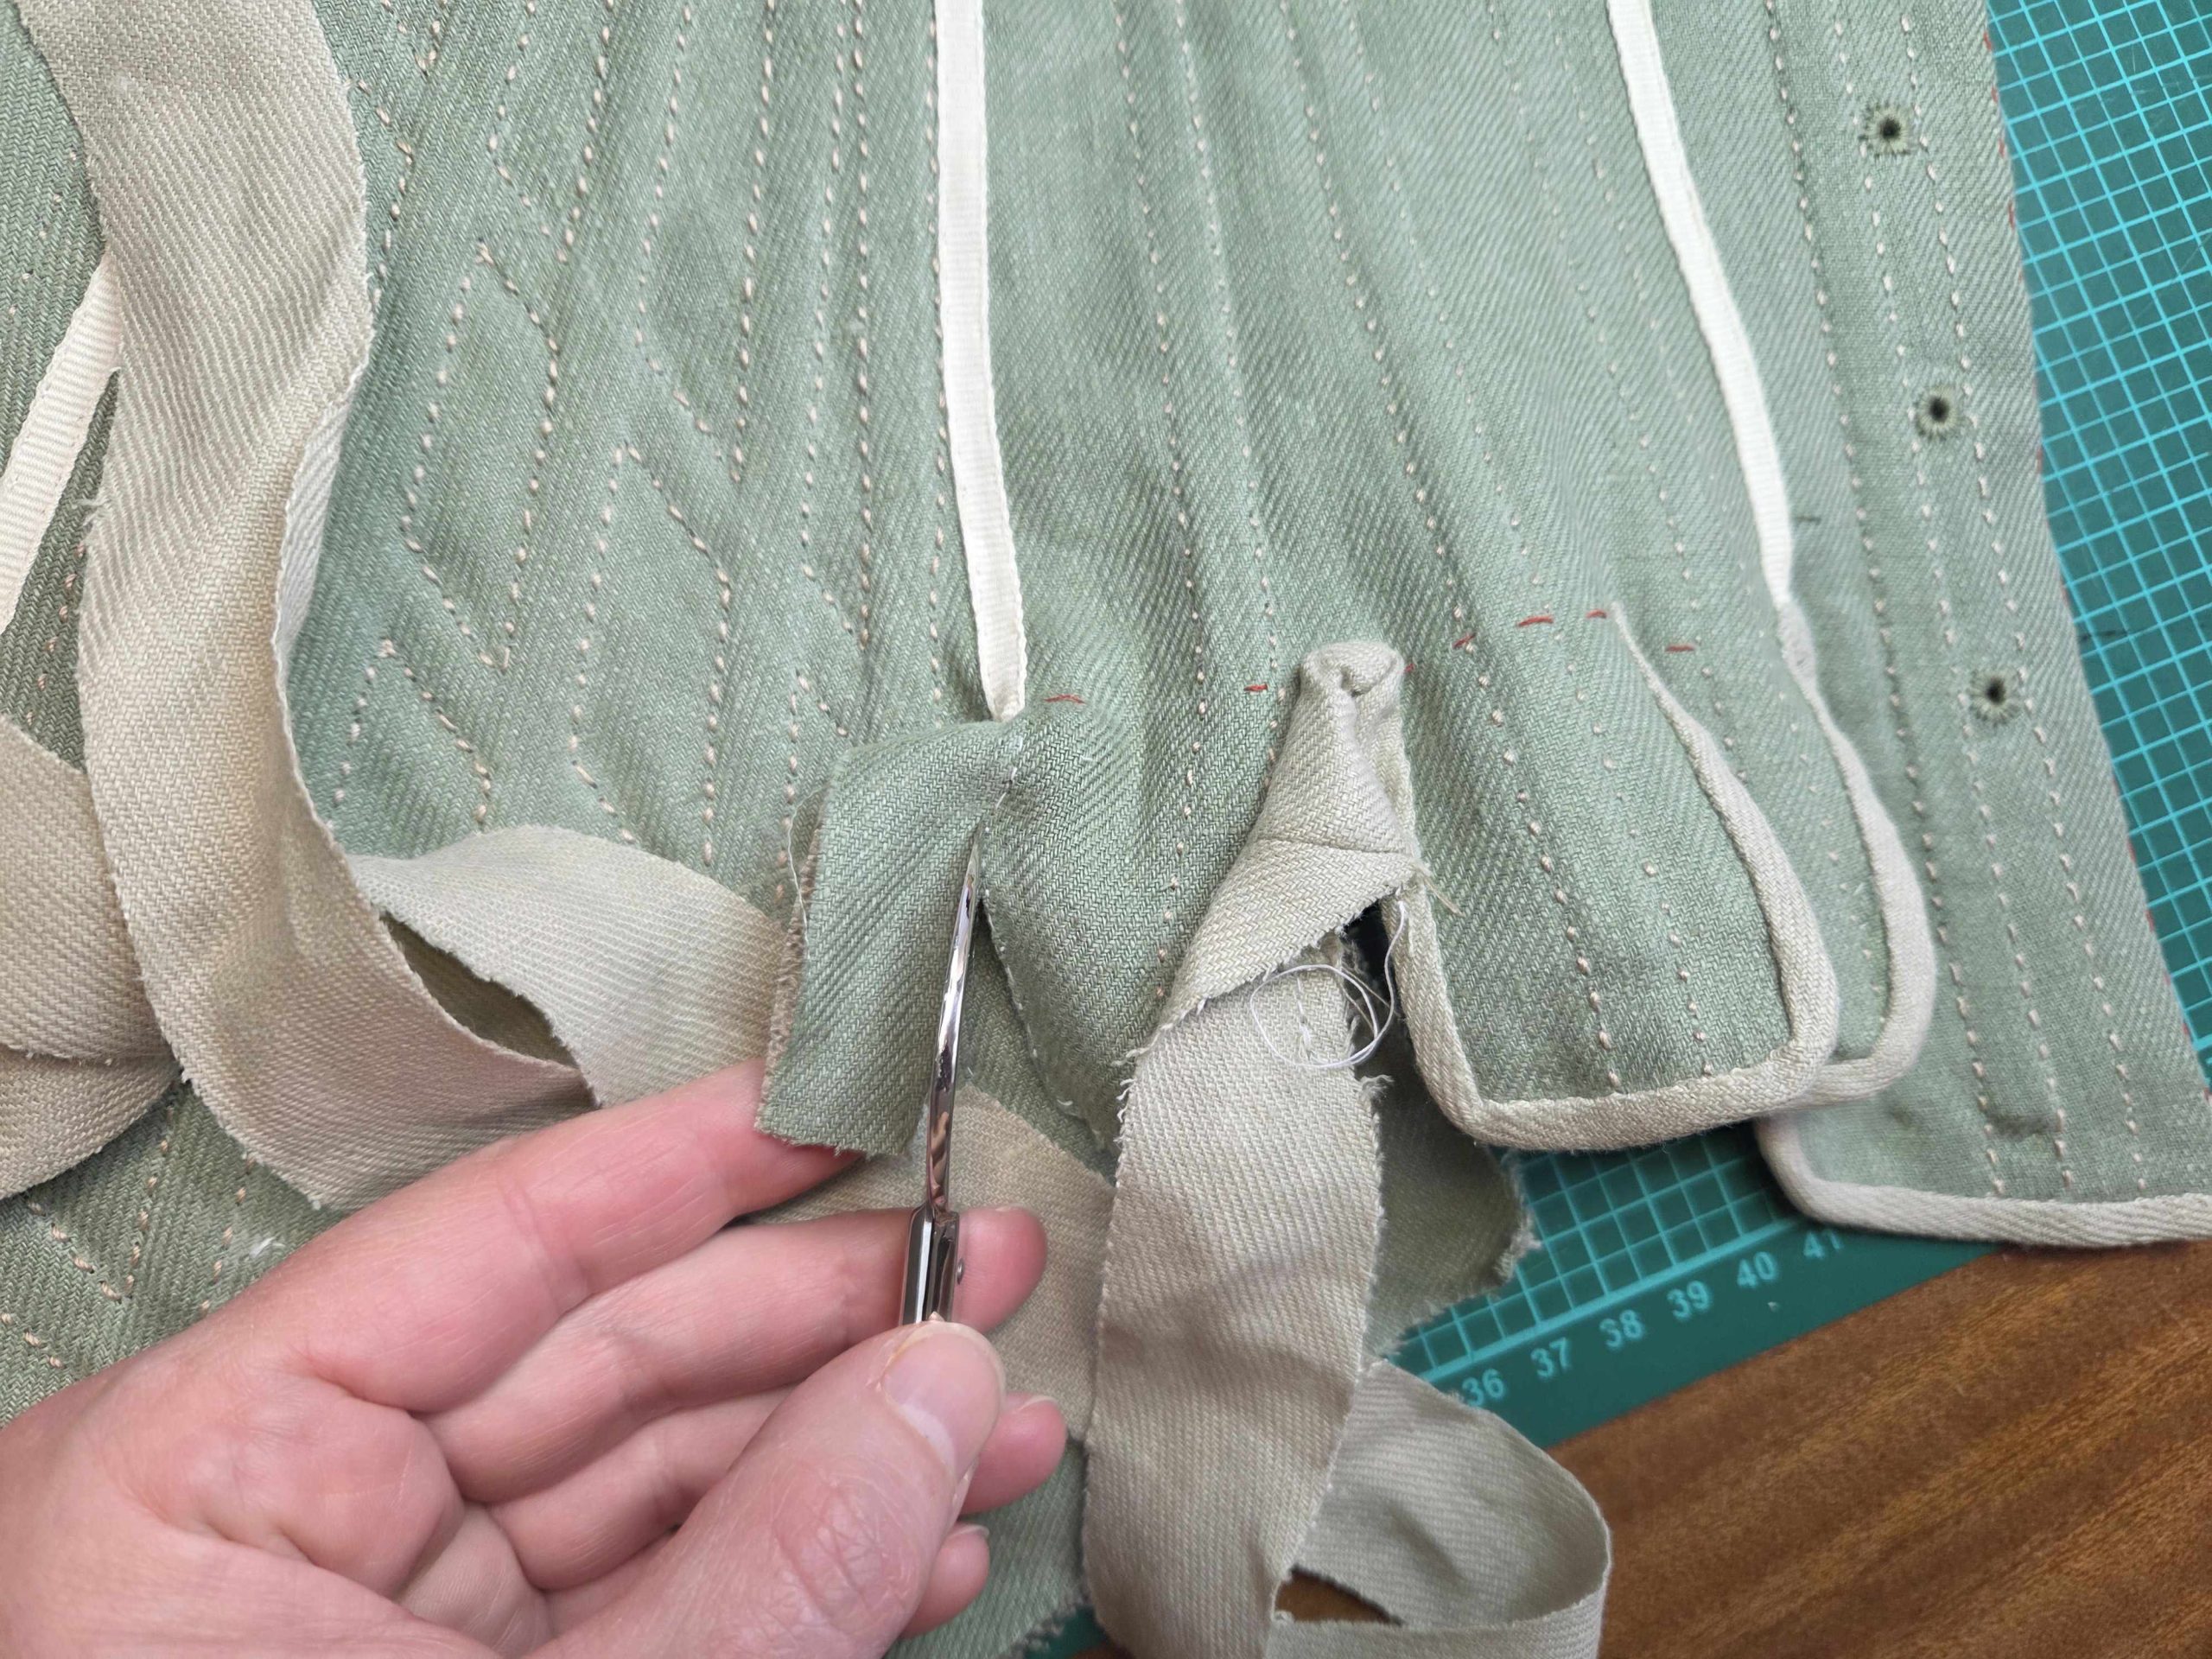
Fold the binding to the wrong side and fell down the loose edge to the base layer. Trim back when needed at the corners.
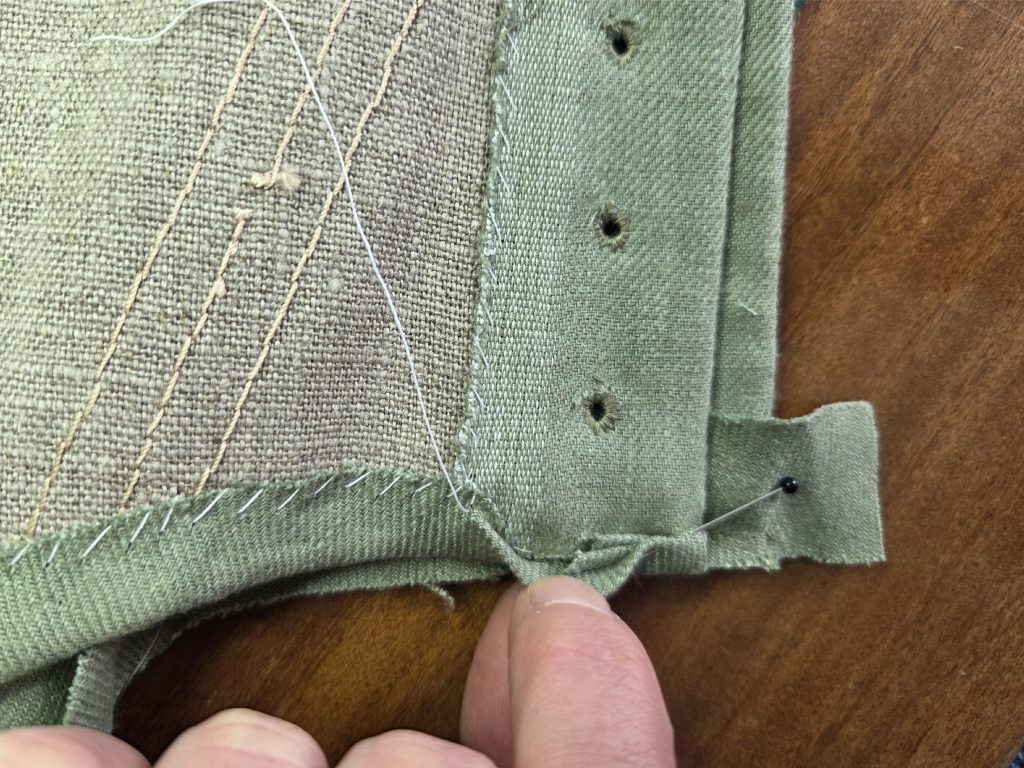
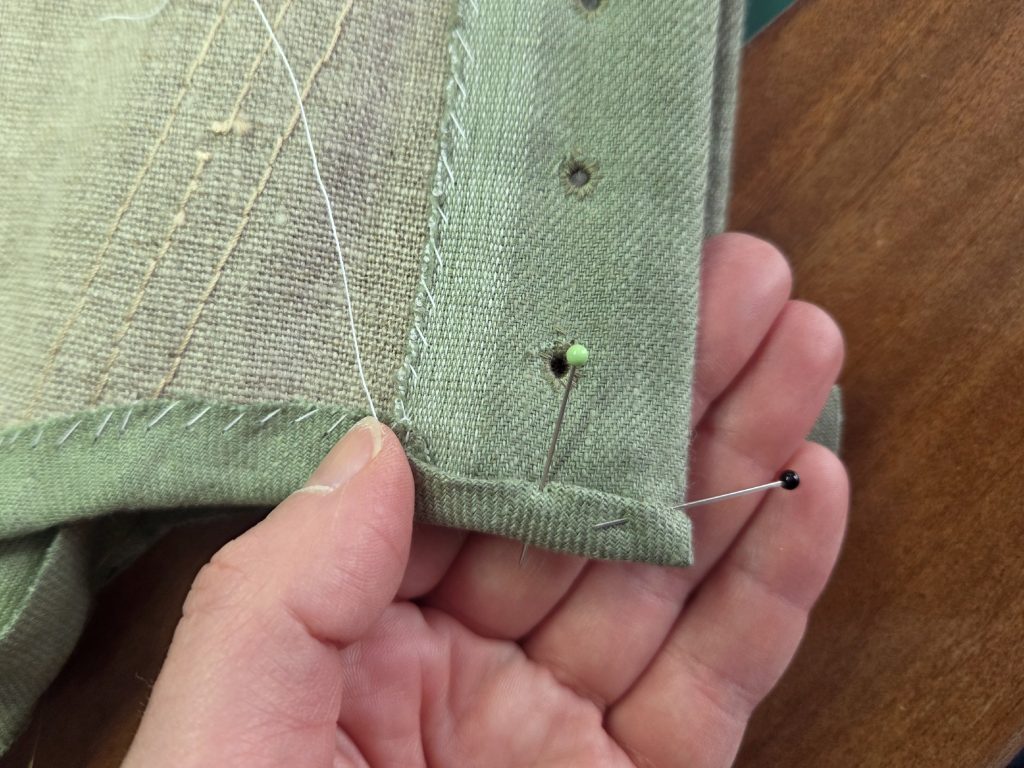
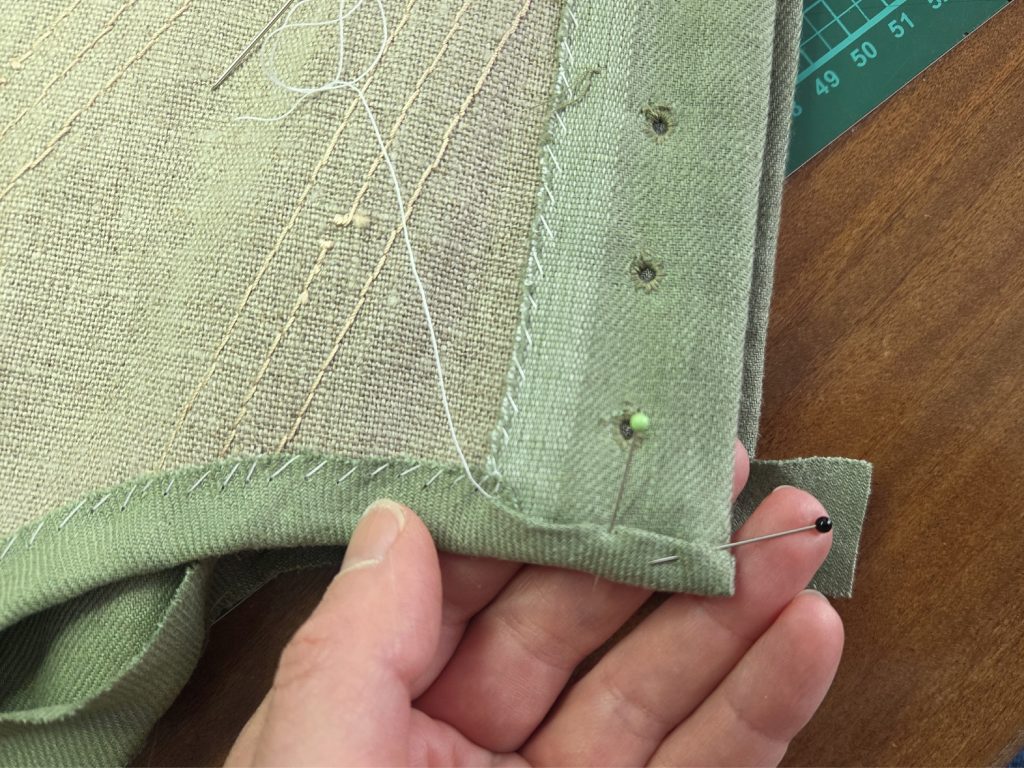
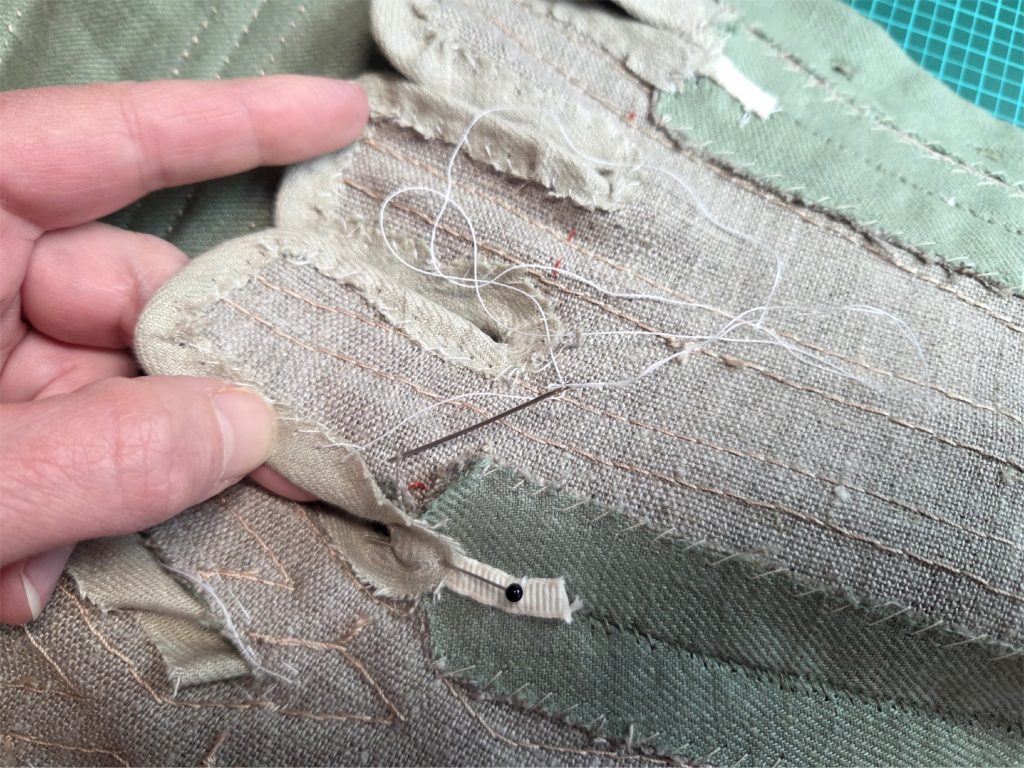
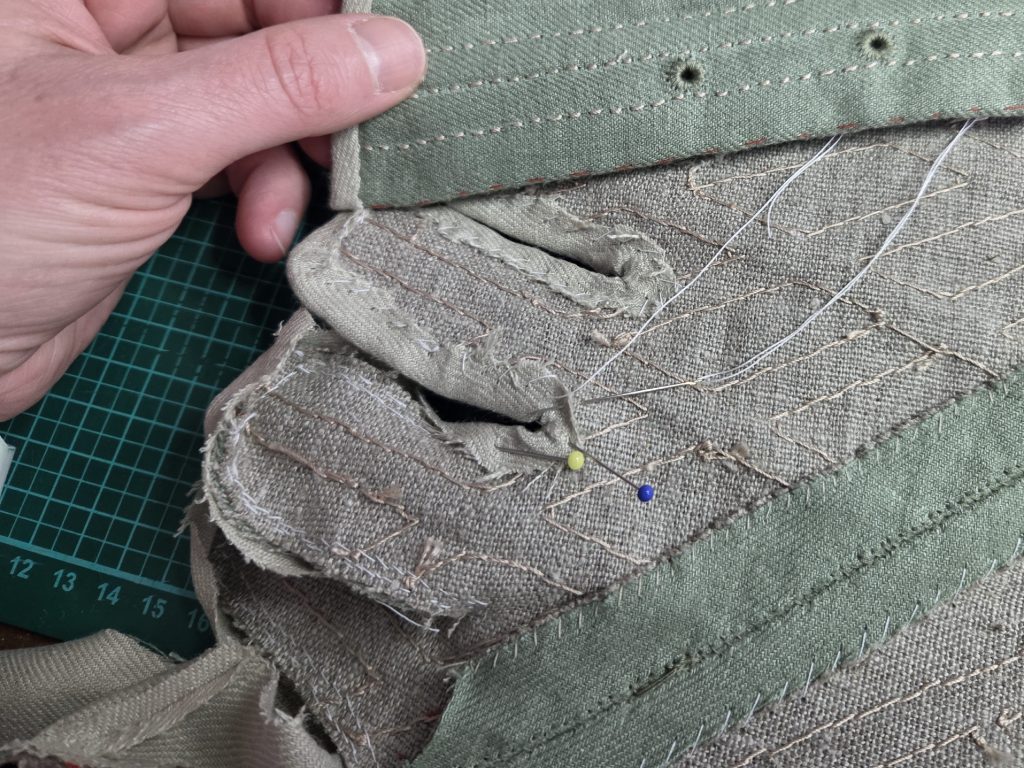
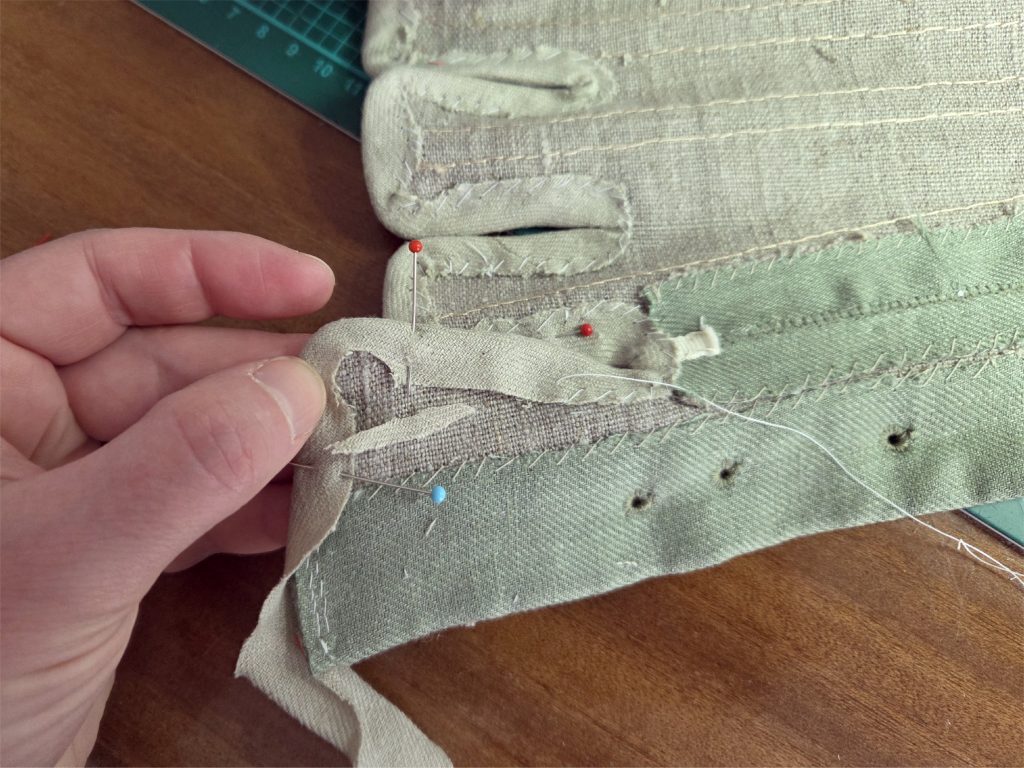
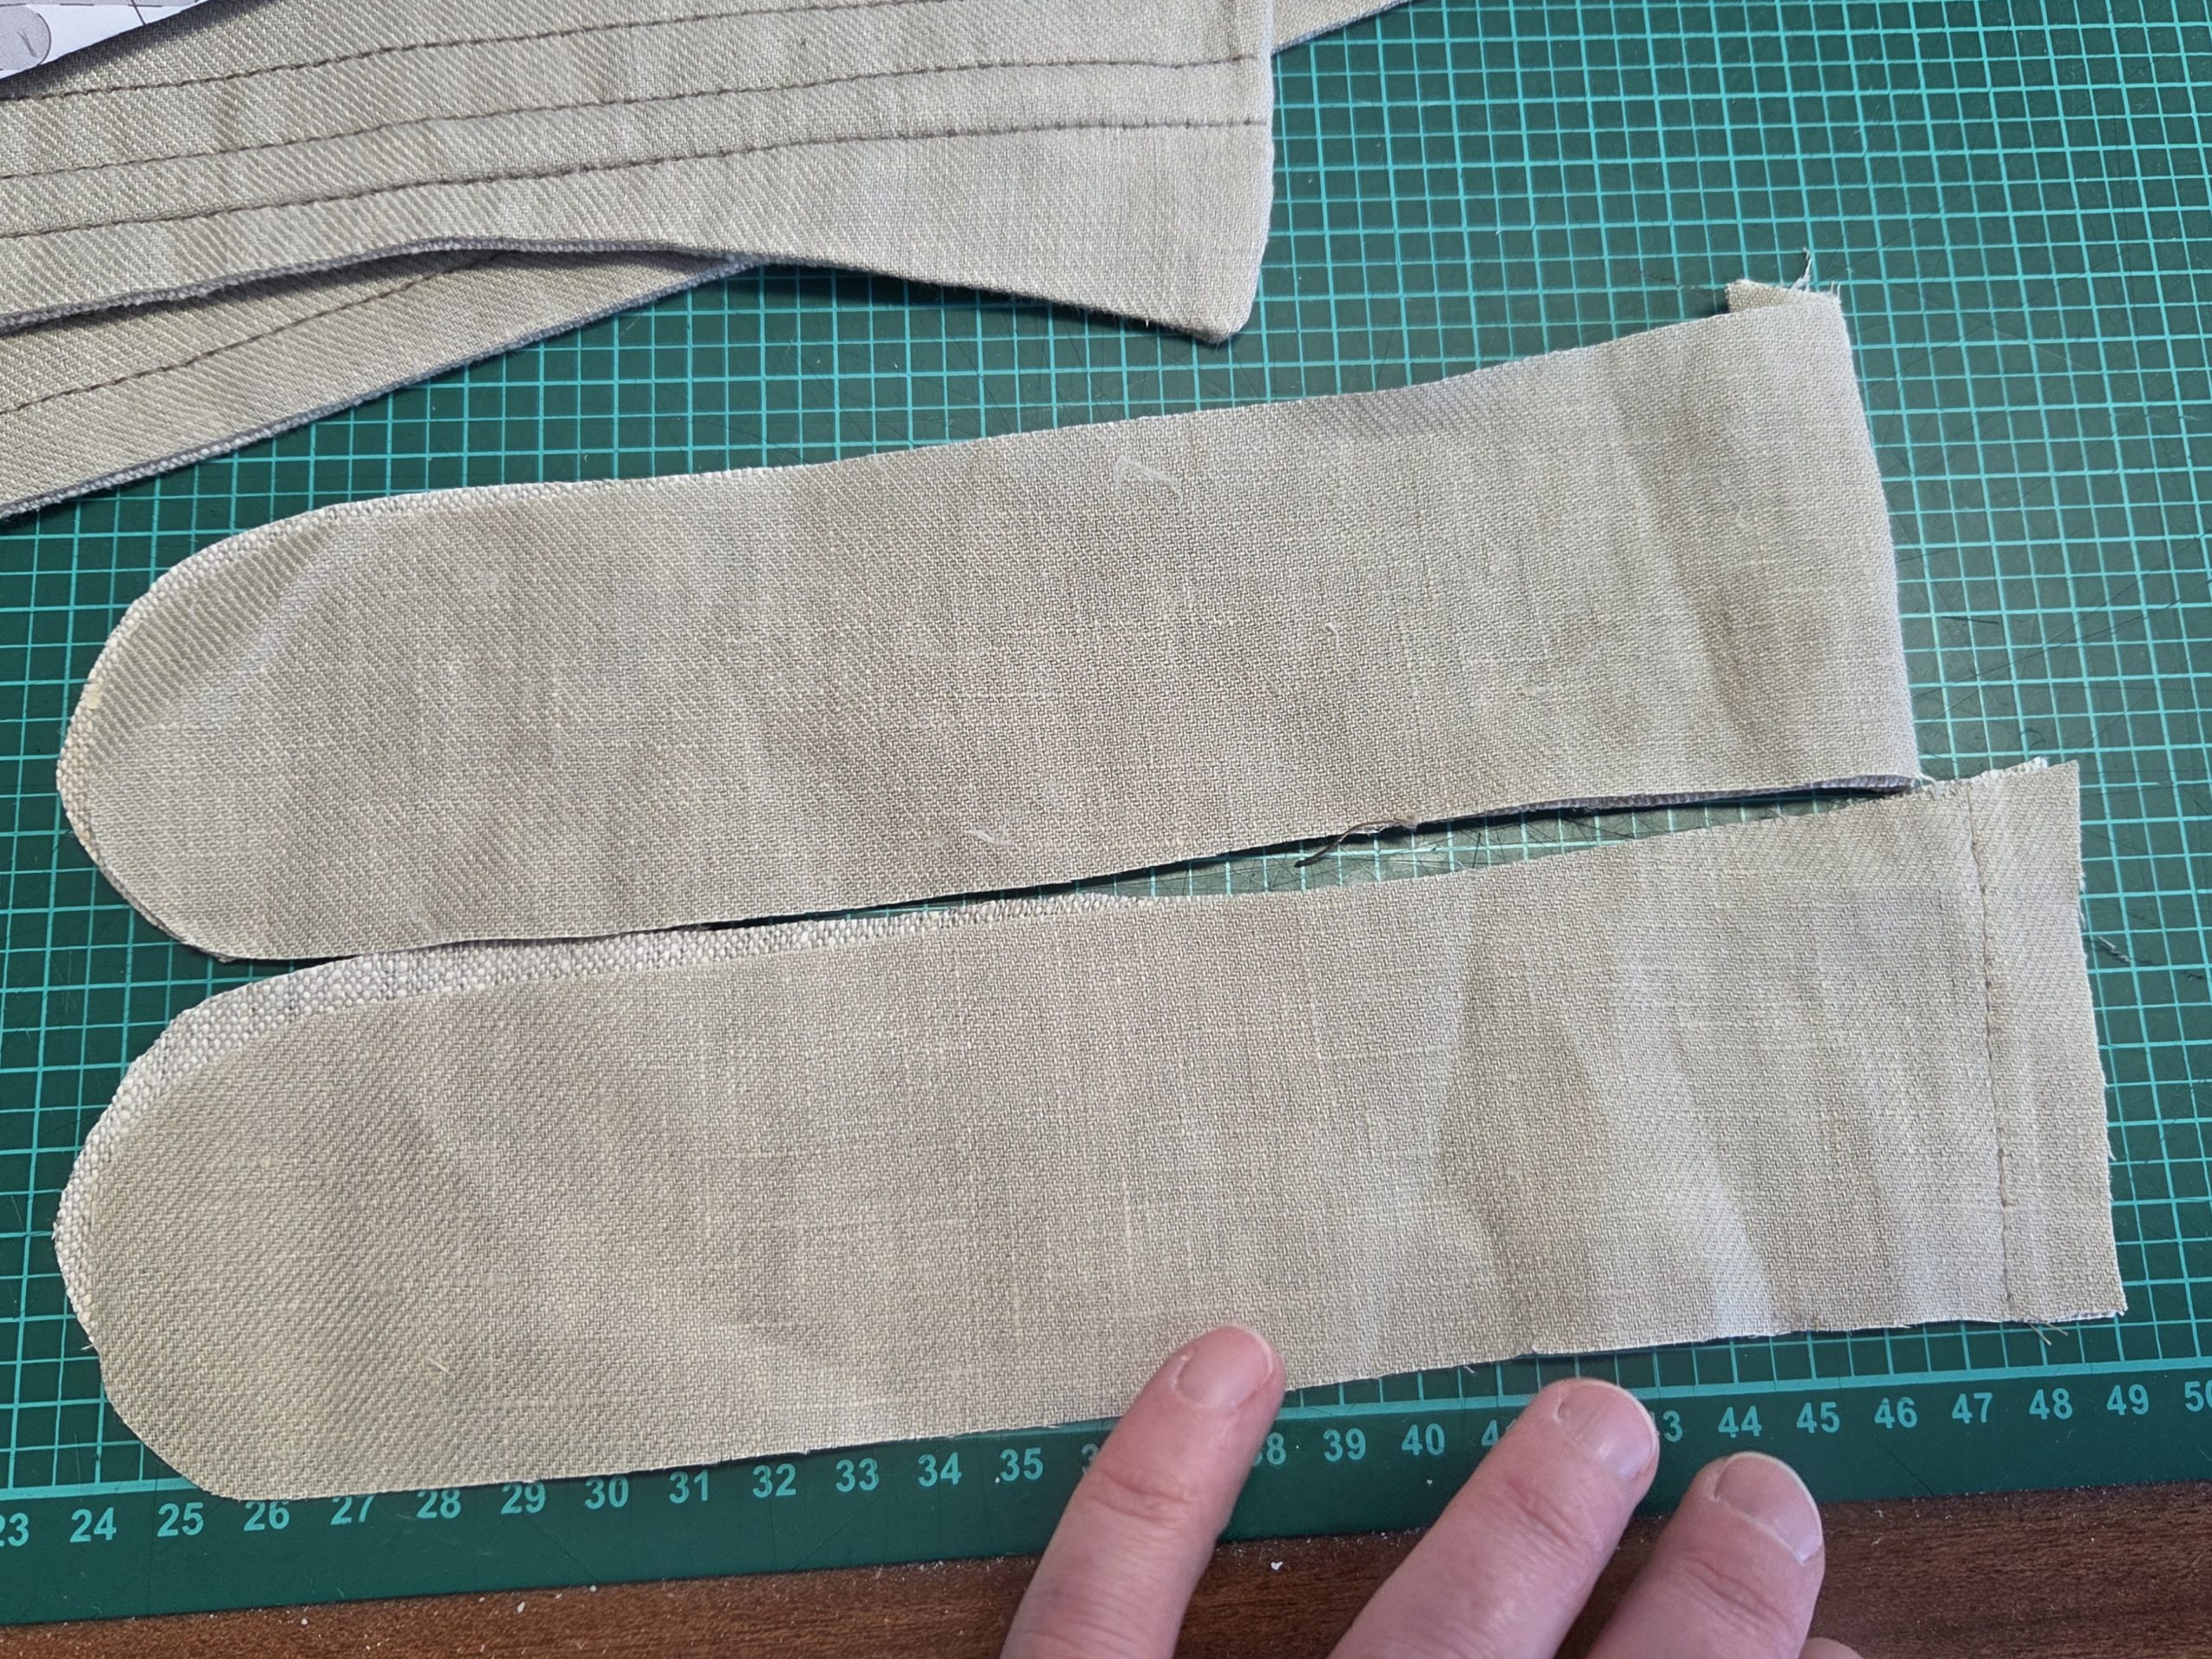
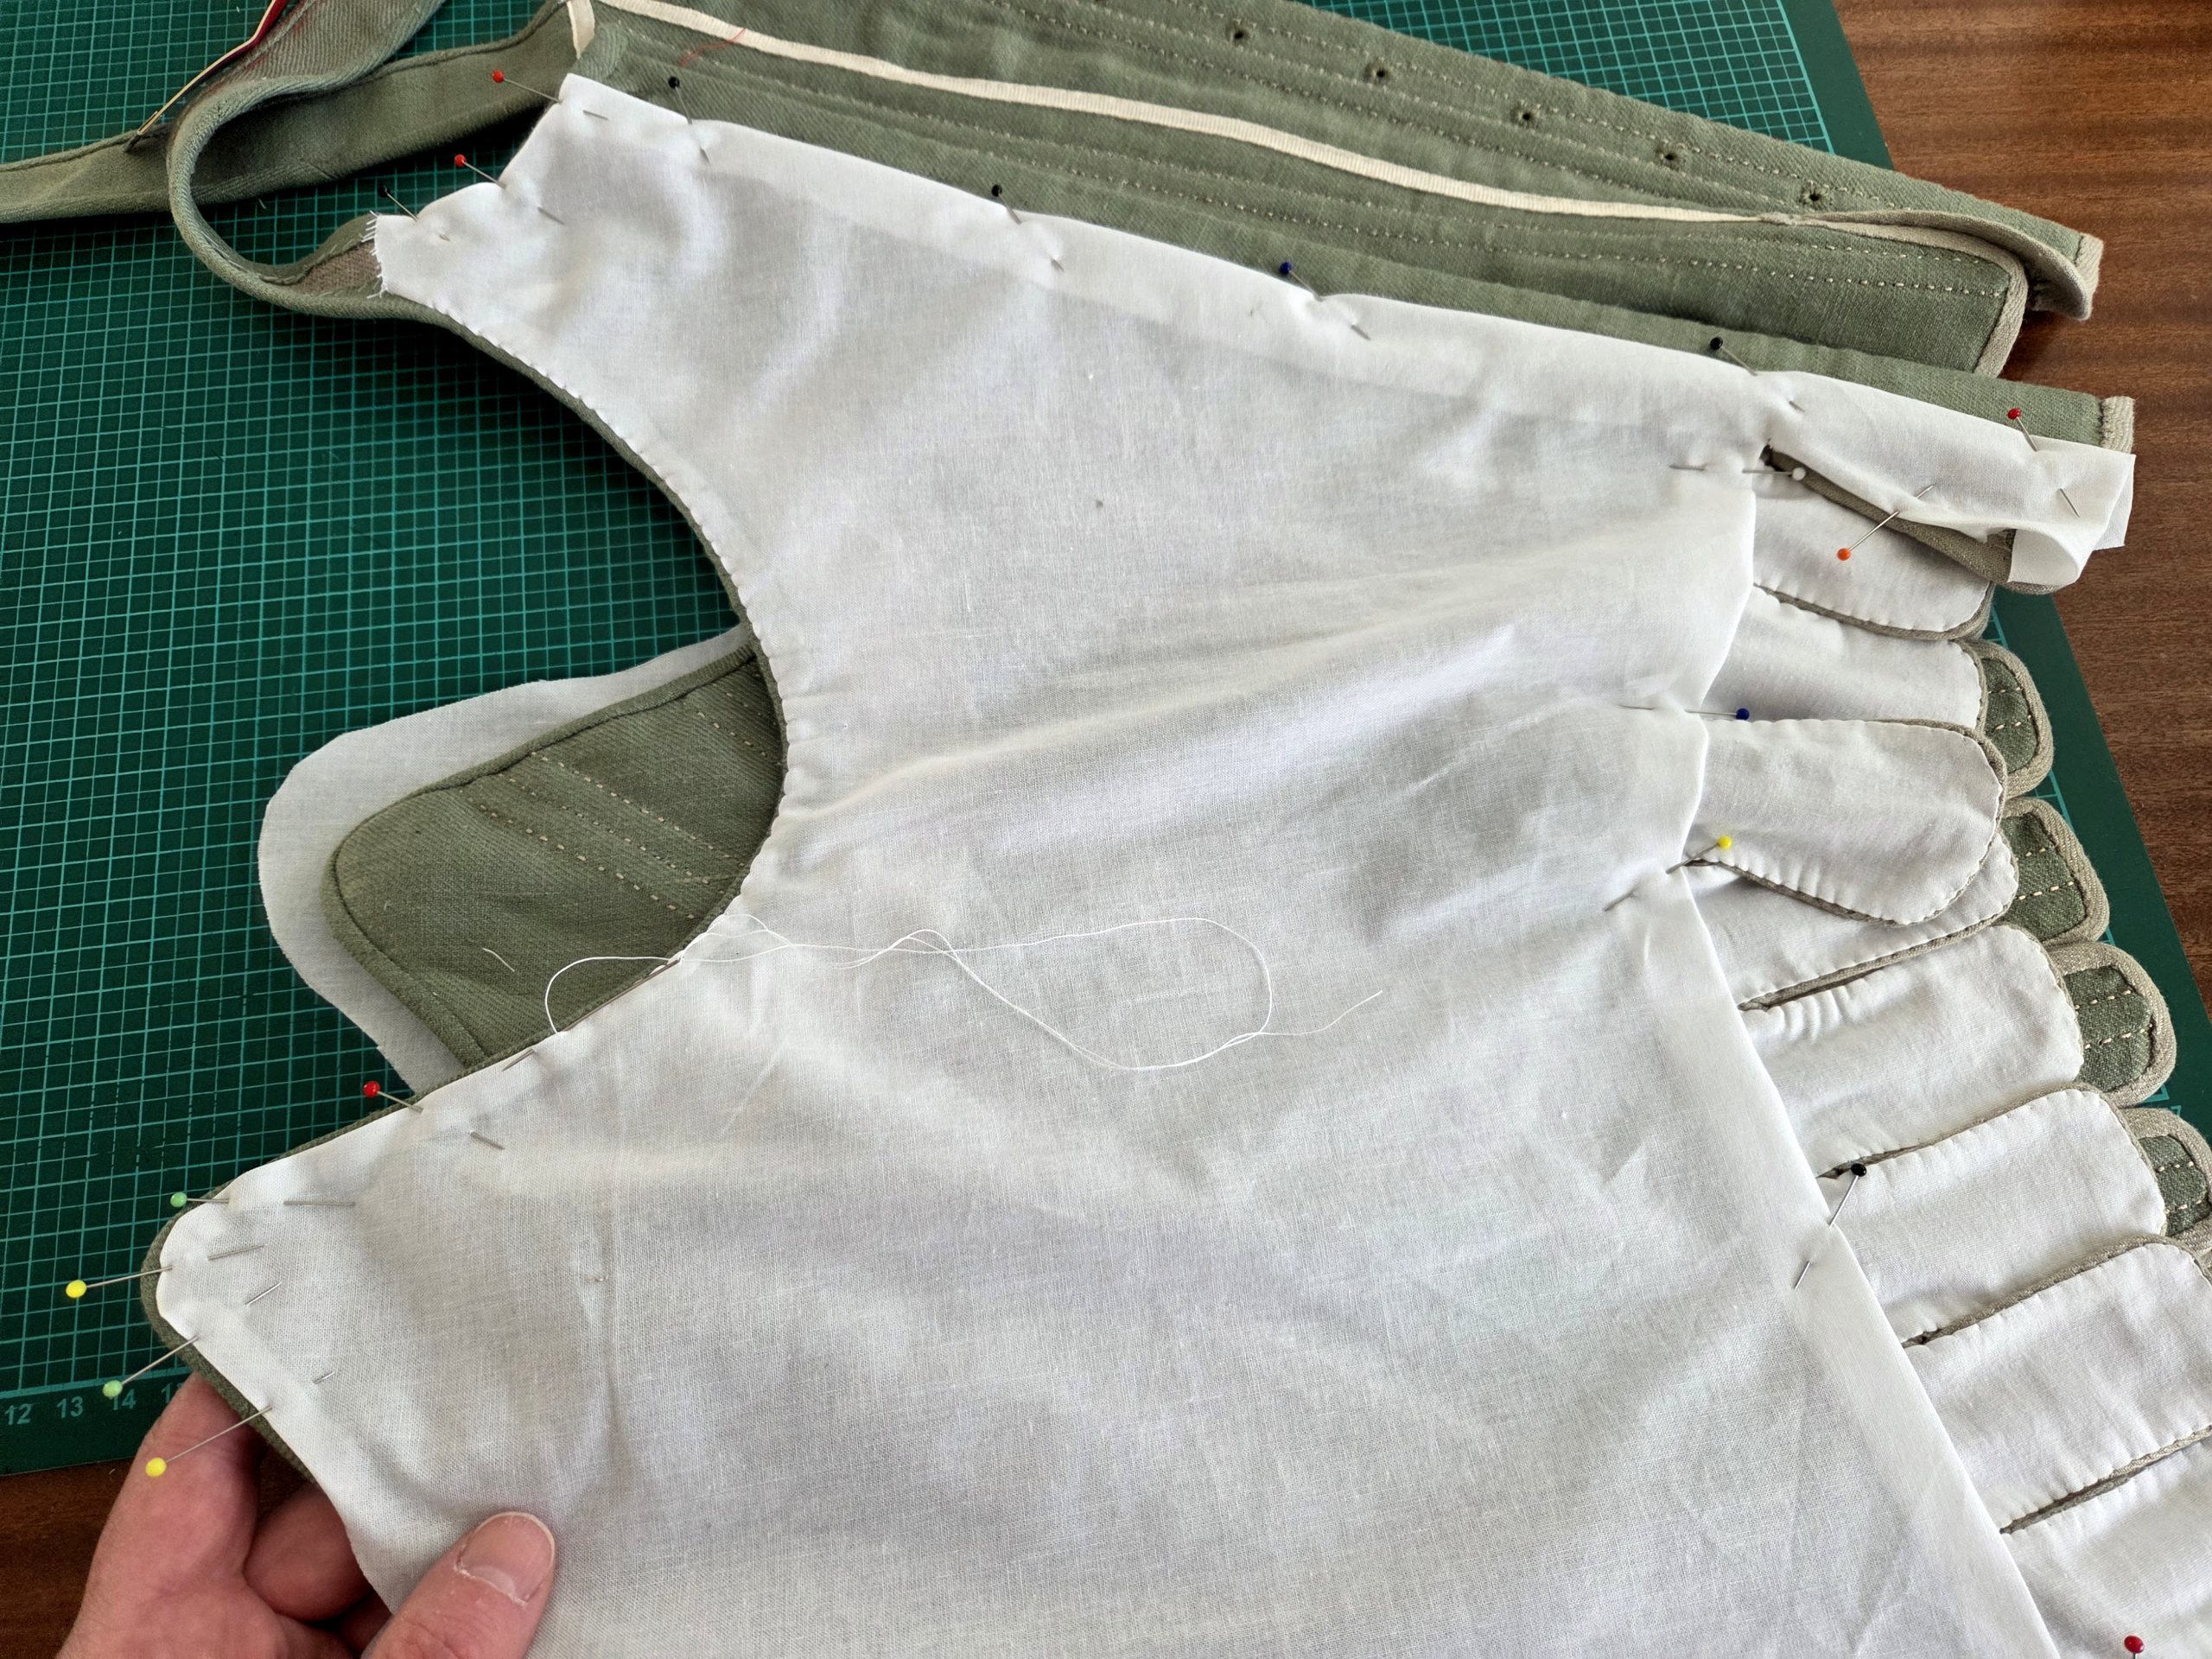
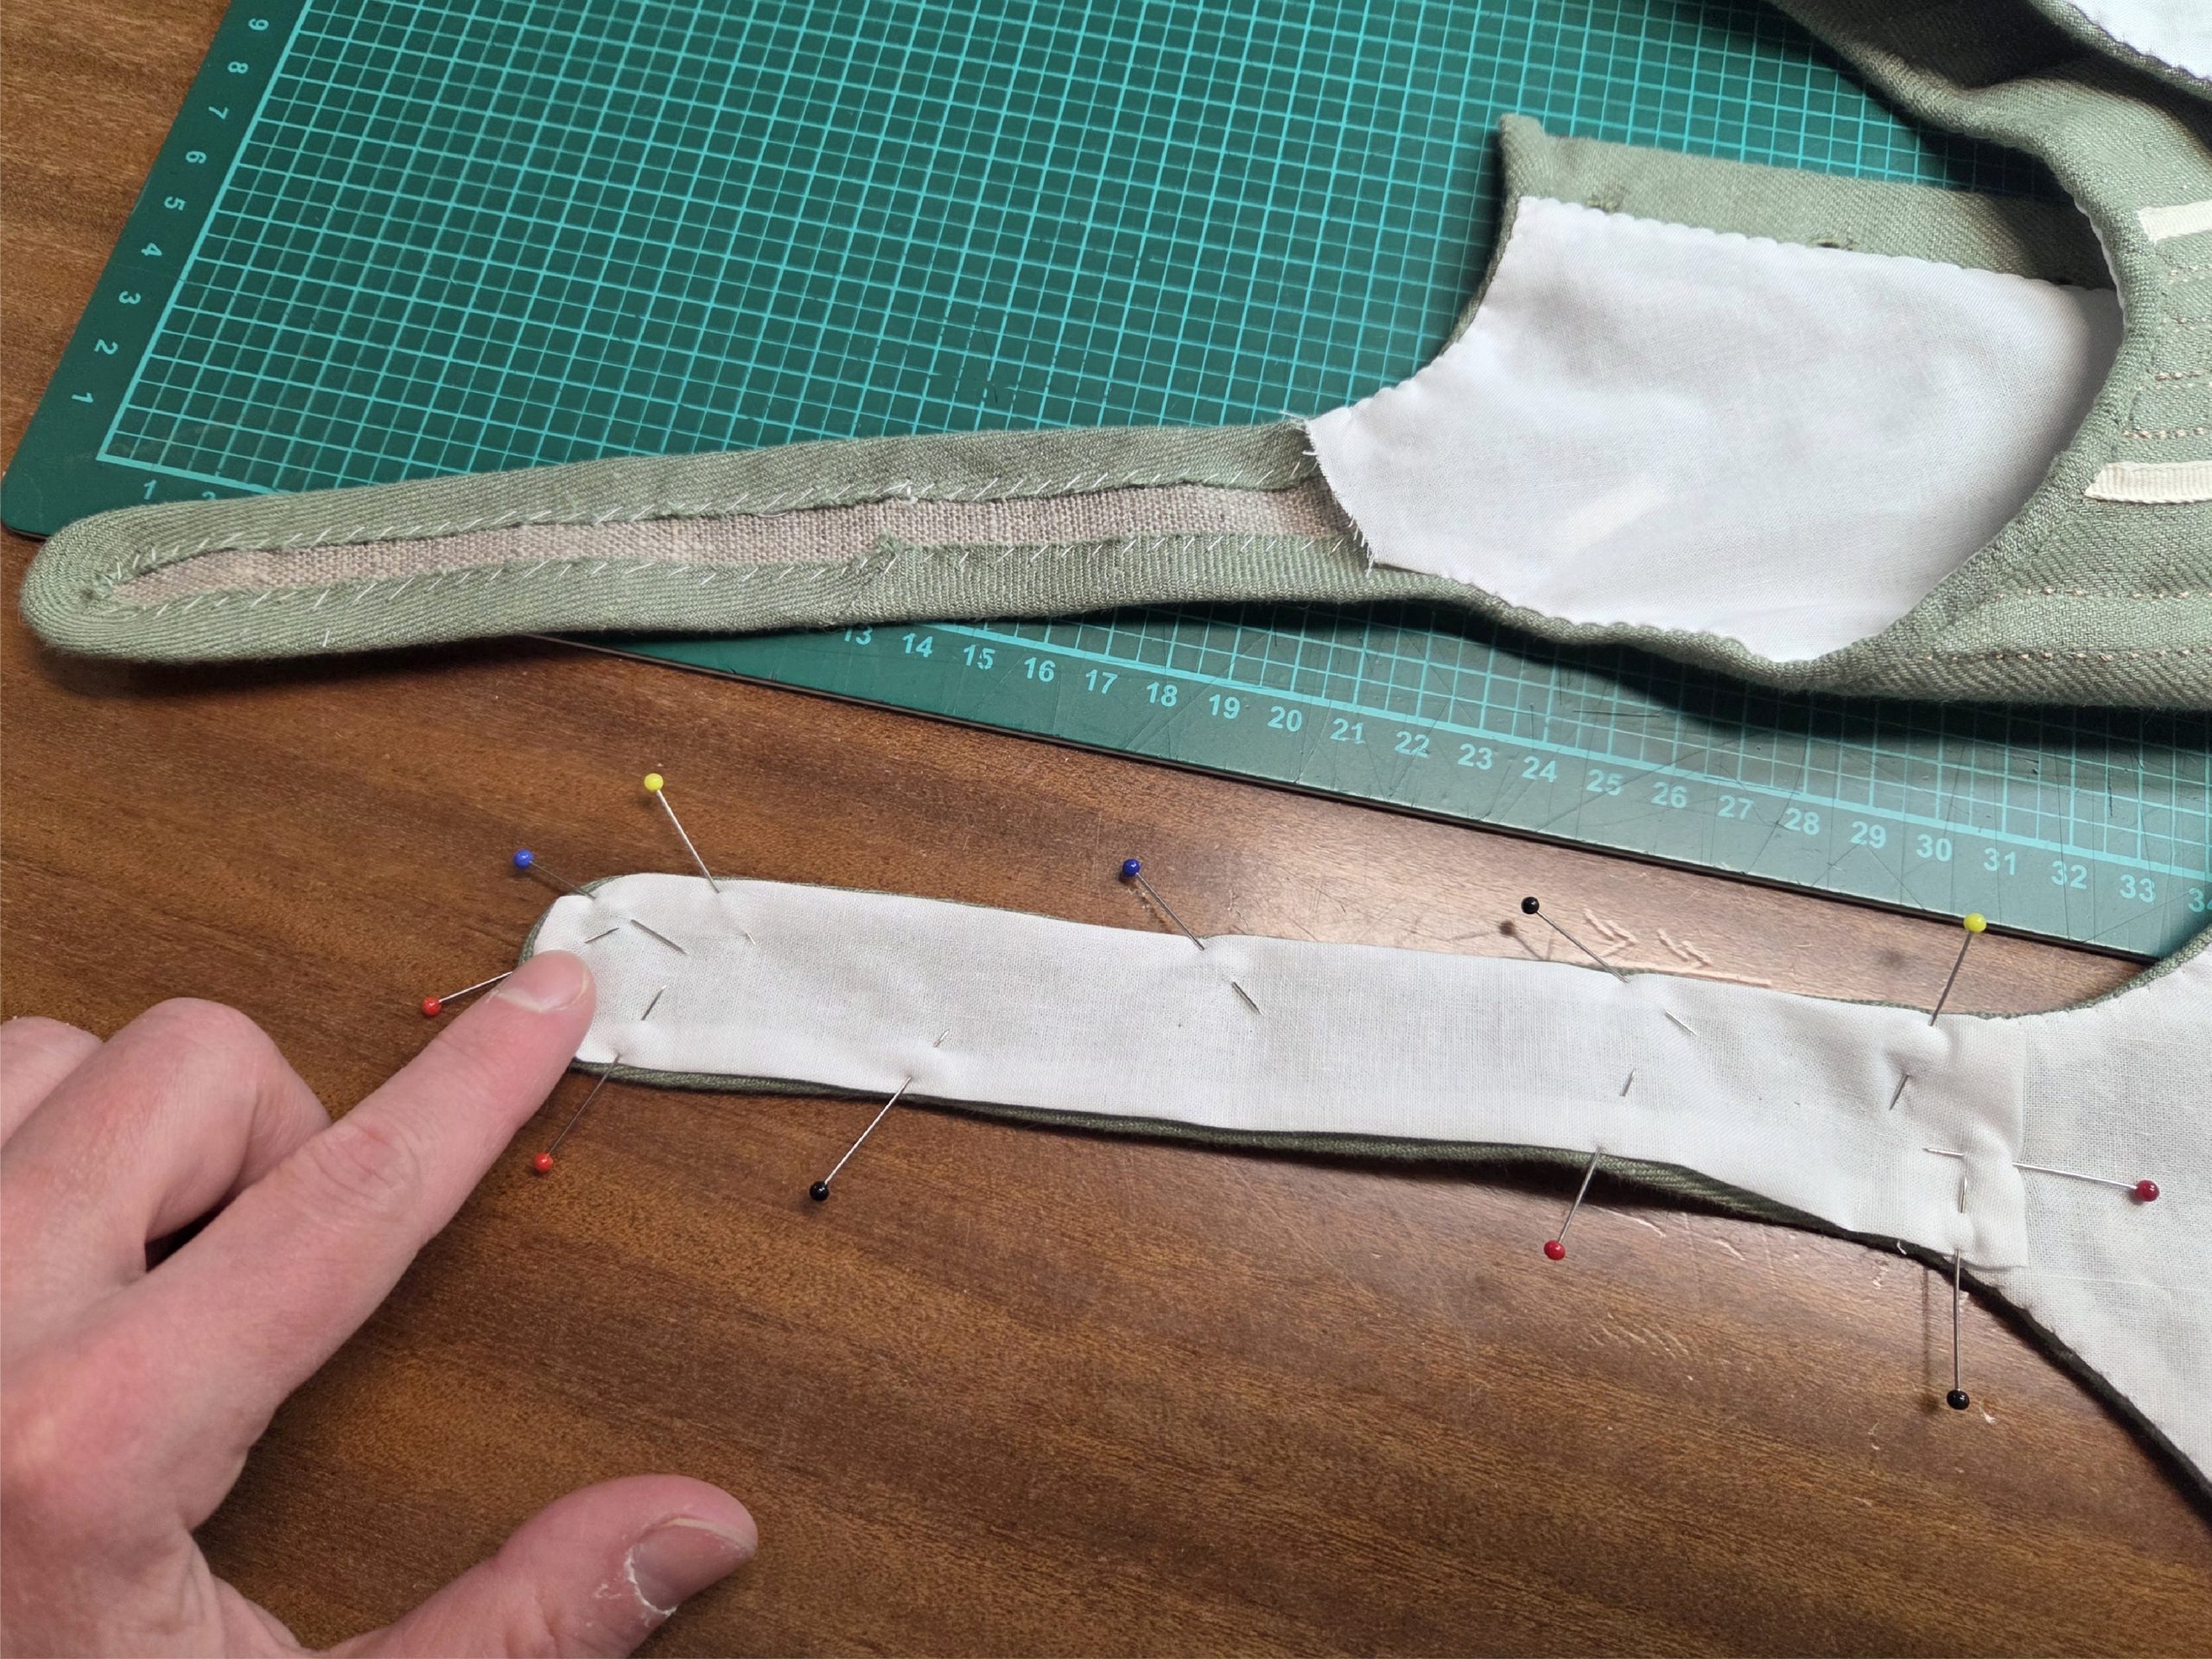
(11) Lining the stays: First, line each tab individually: cut rectangular pieces, including a narrow seam allowance, depending on the size of your tabs. Turn in the seam allowance, and line up with the tabs, wrong sides together, and fell stitch in place. Line the straps in the same way.
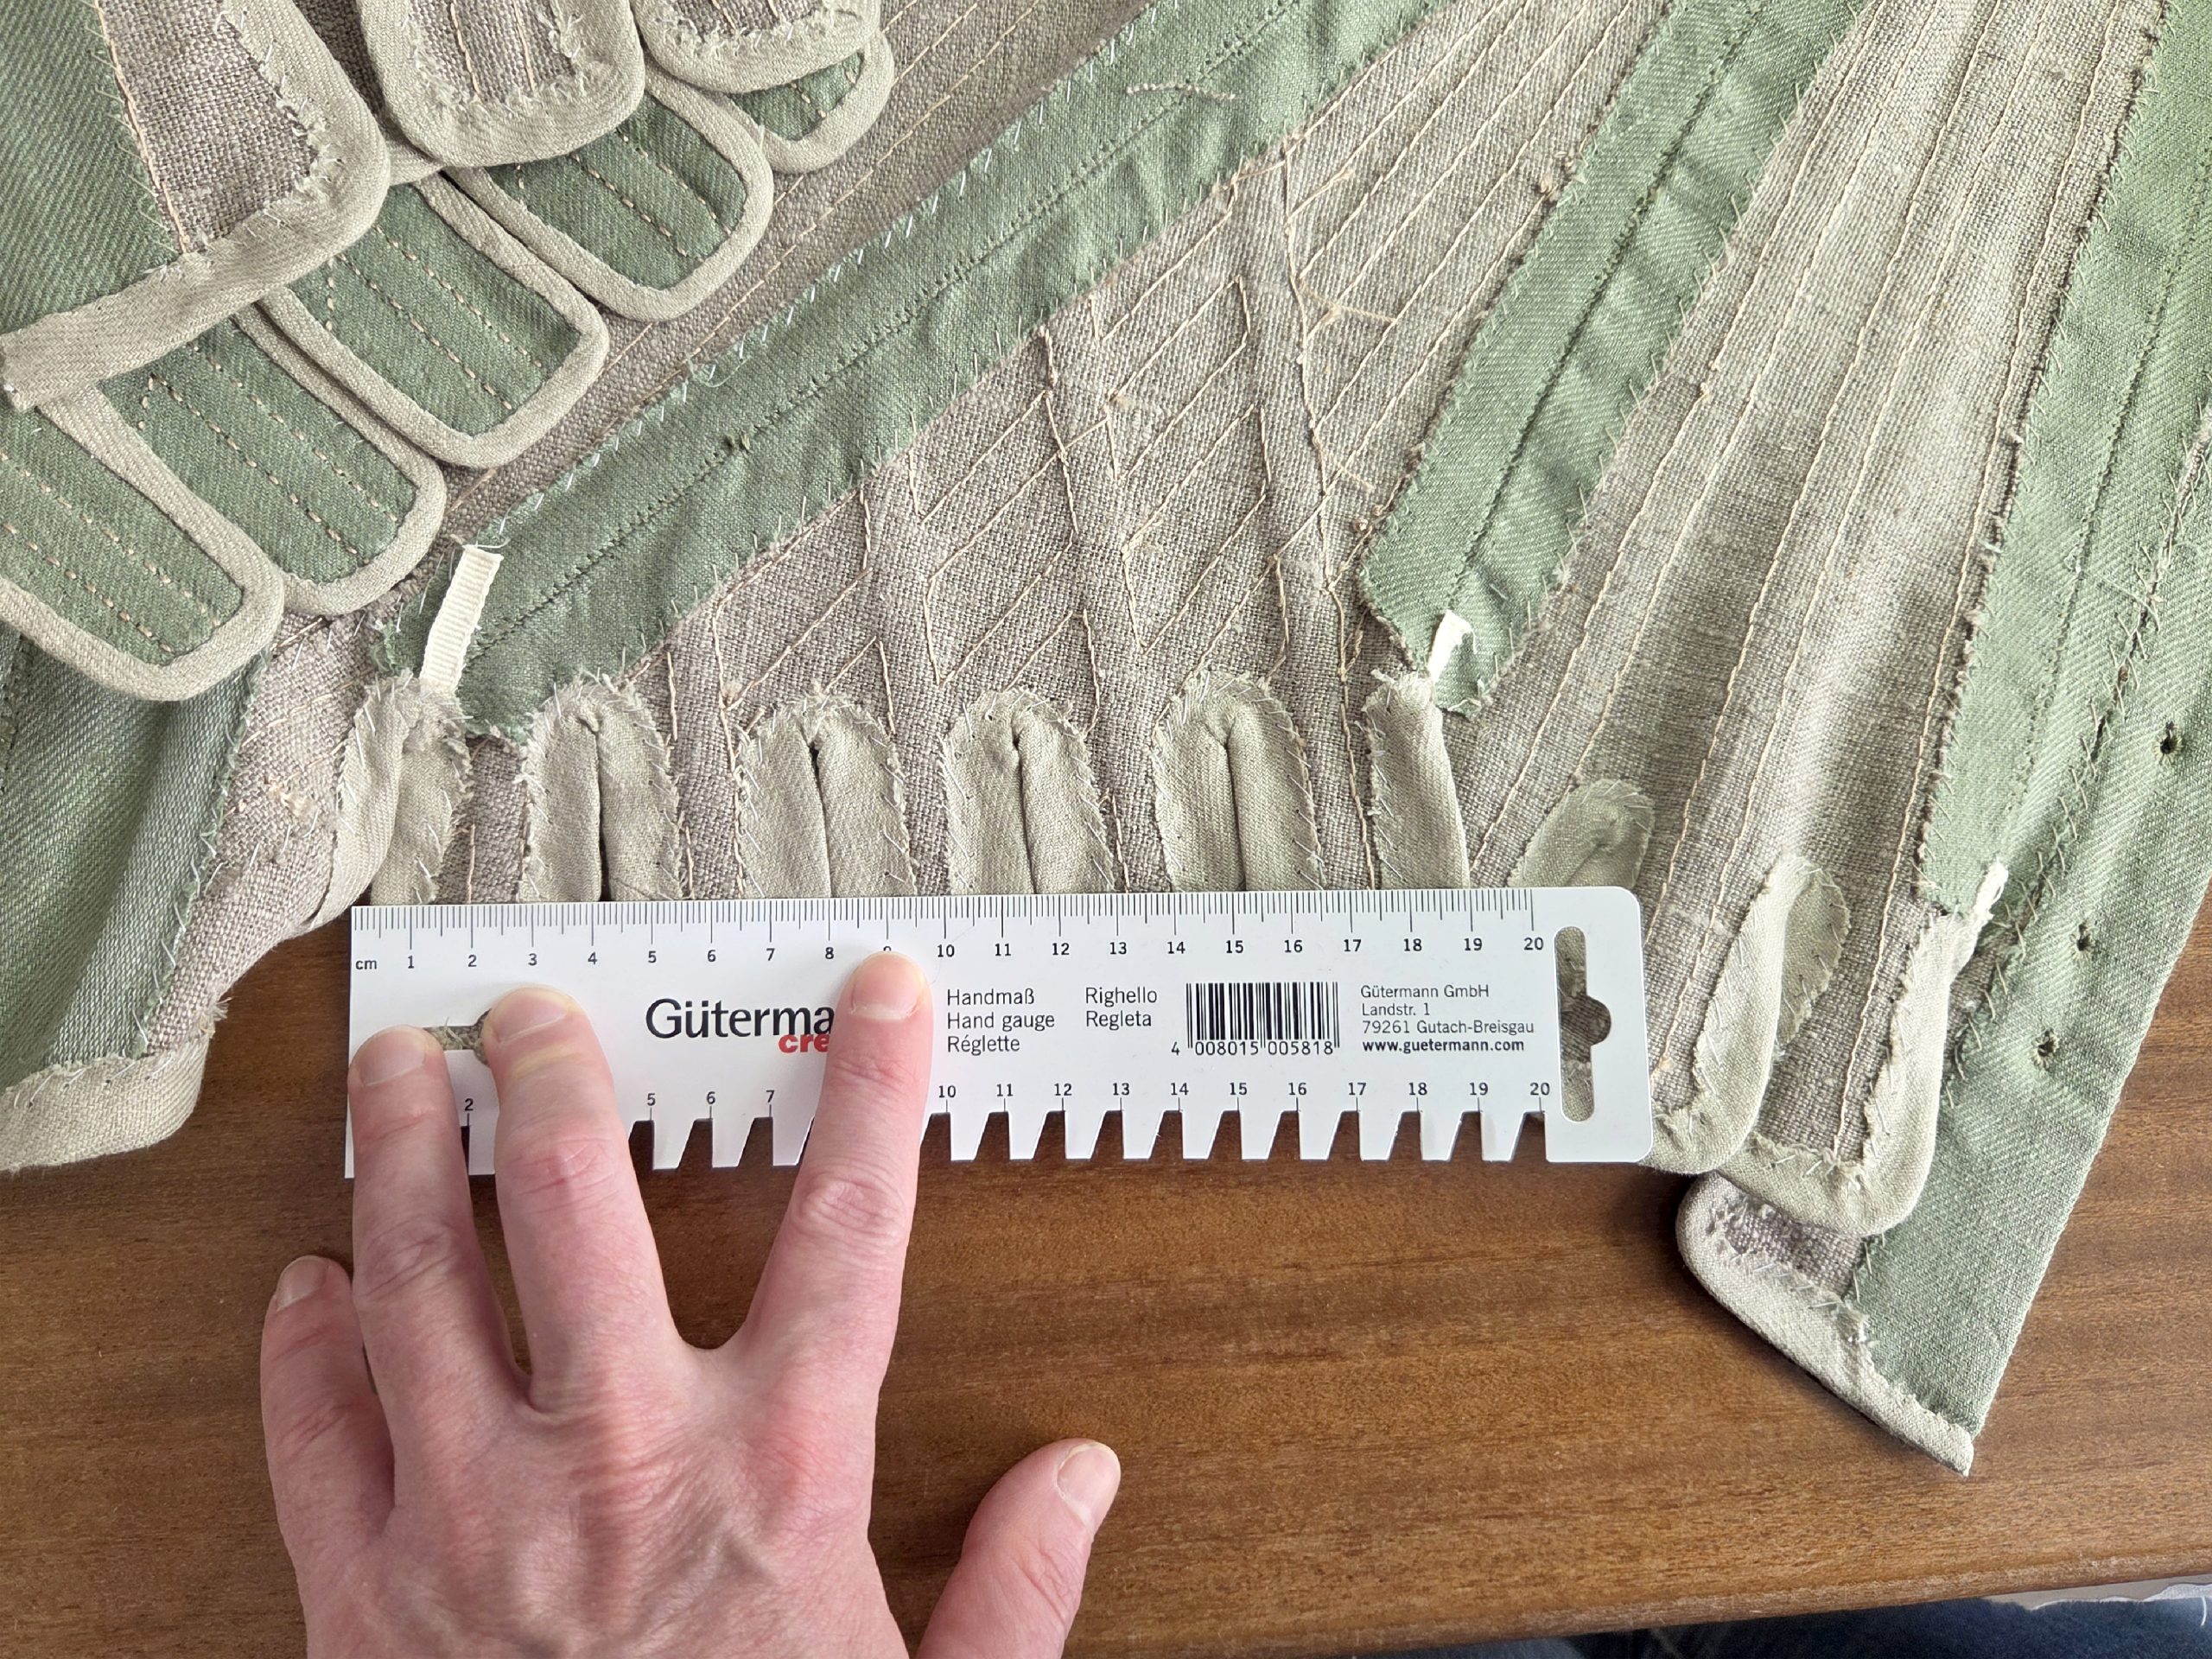
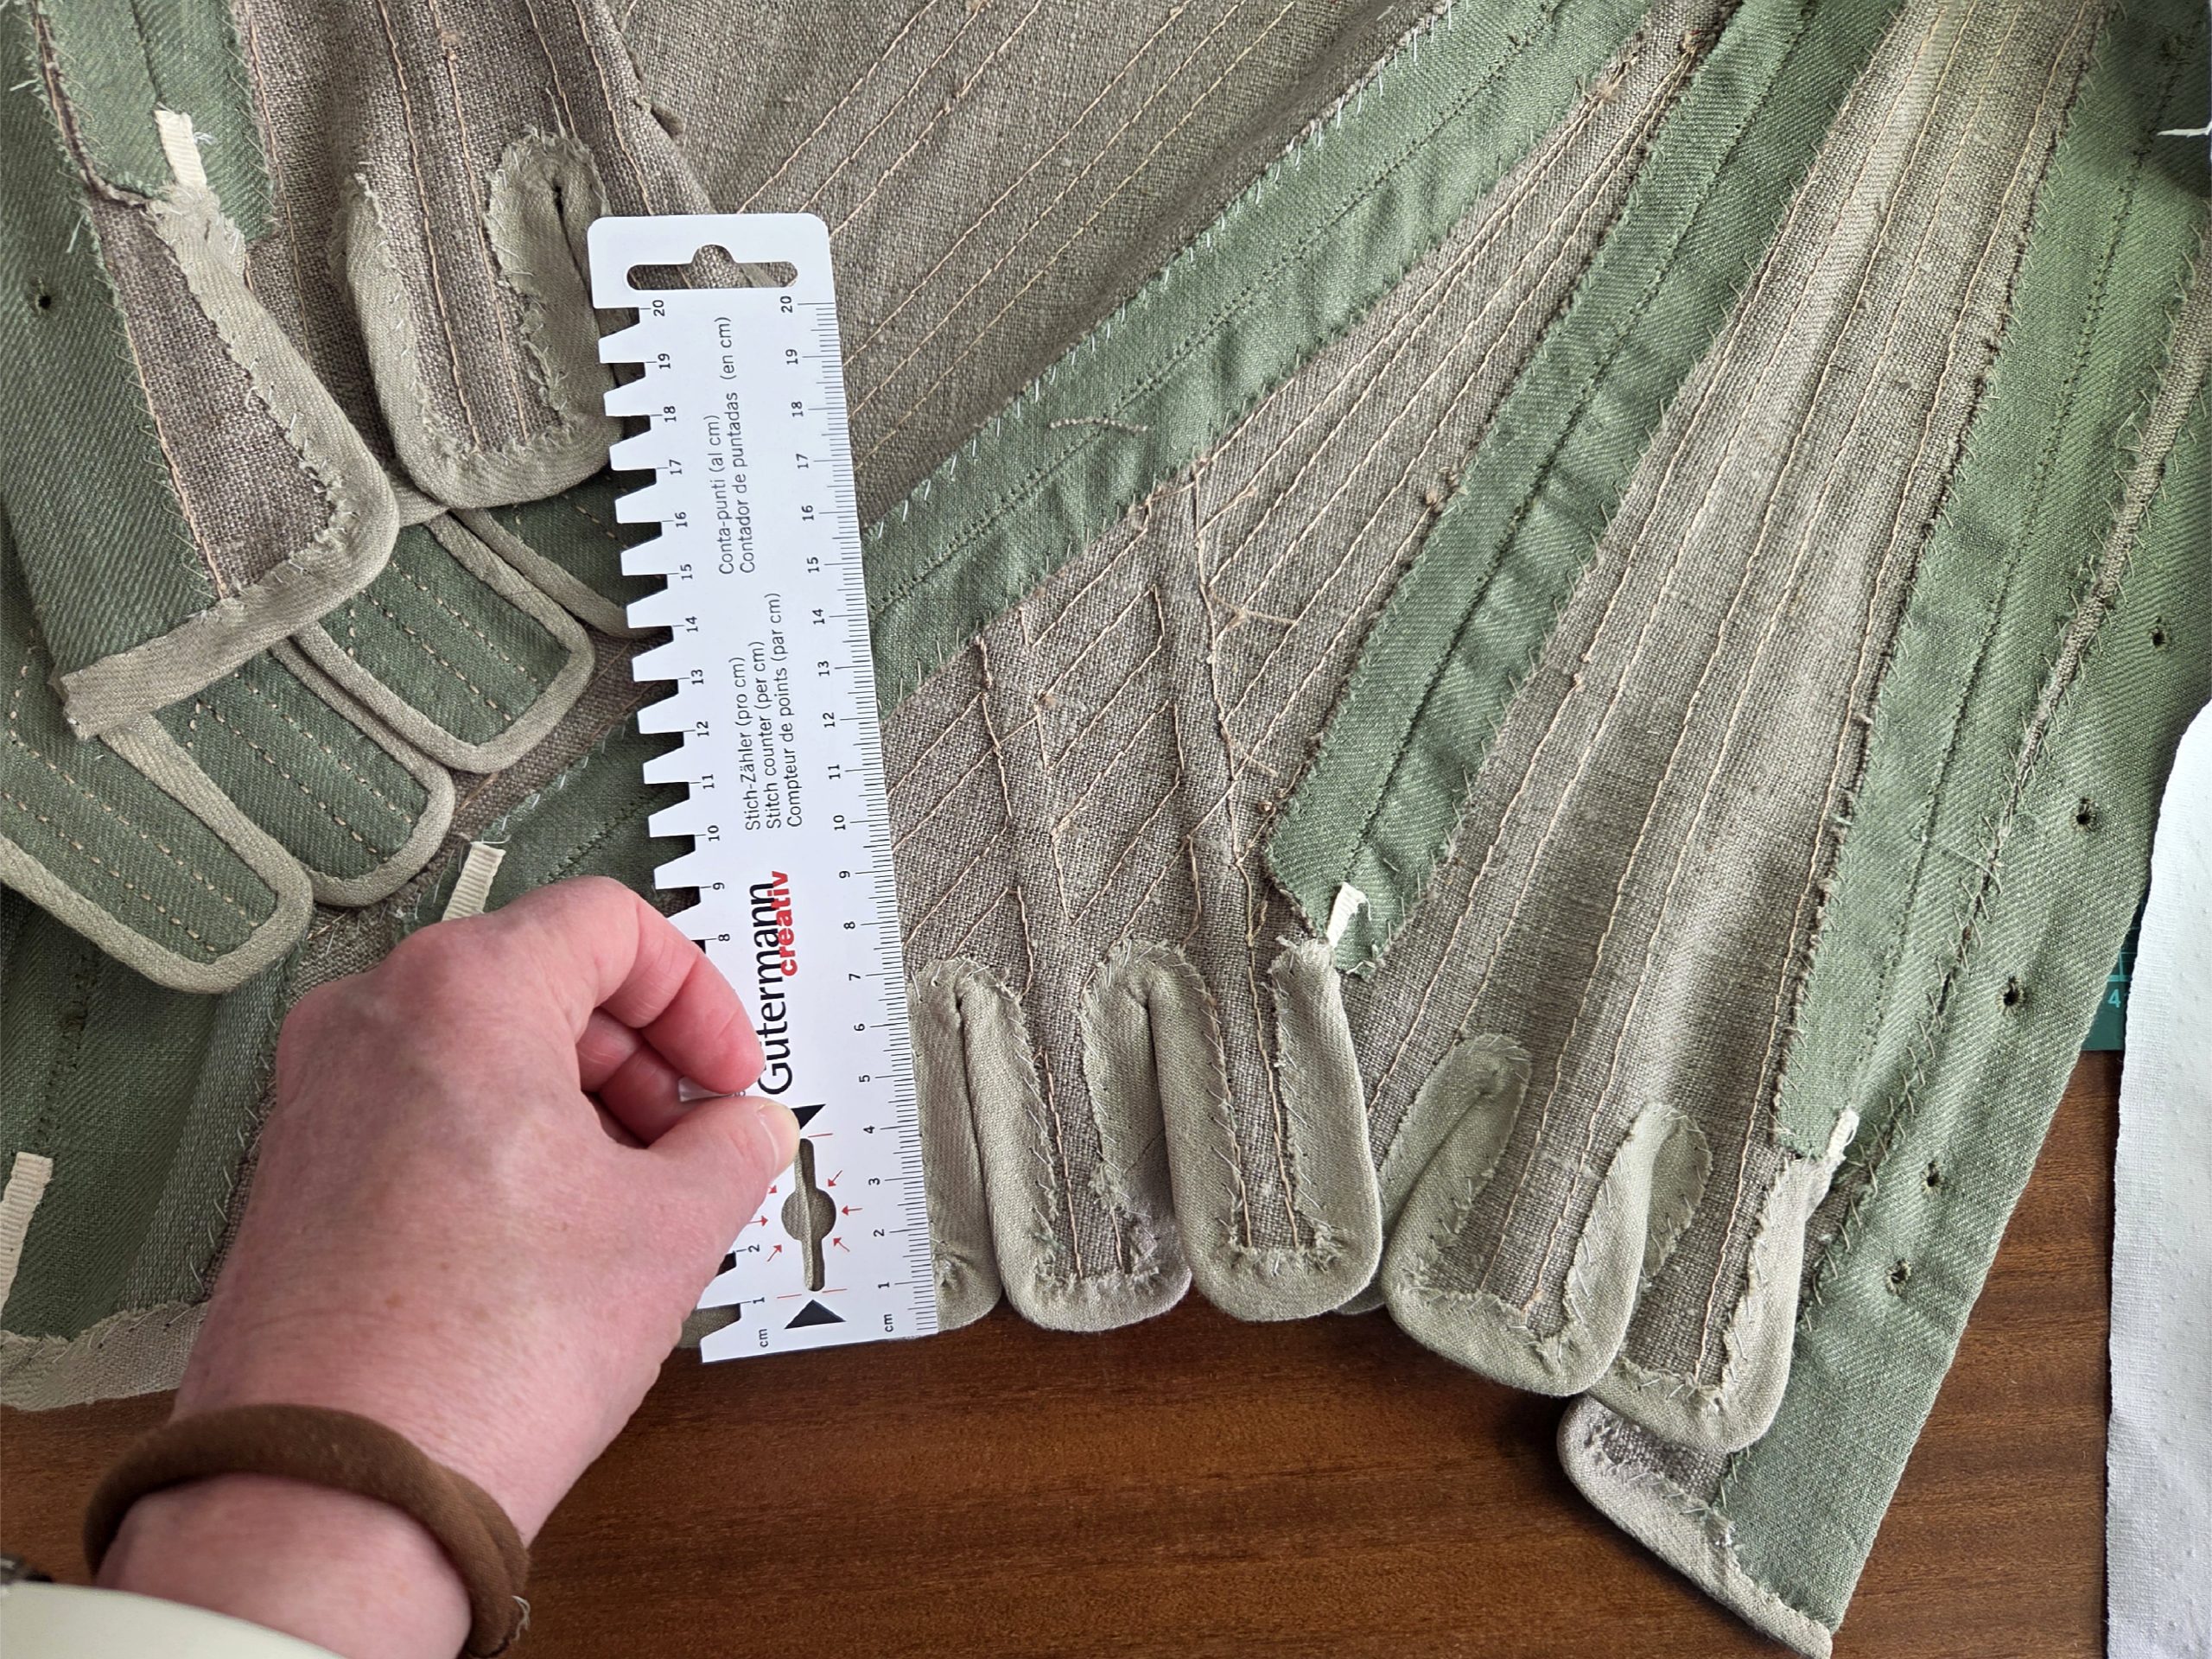
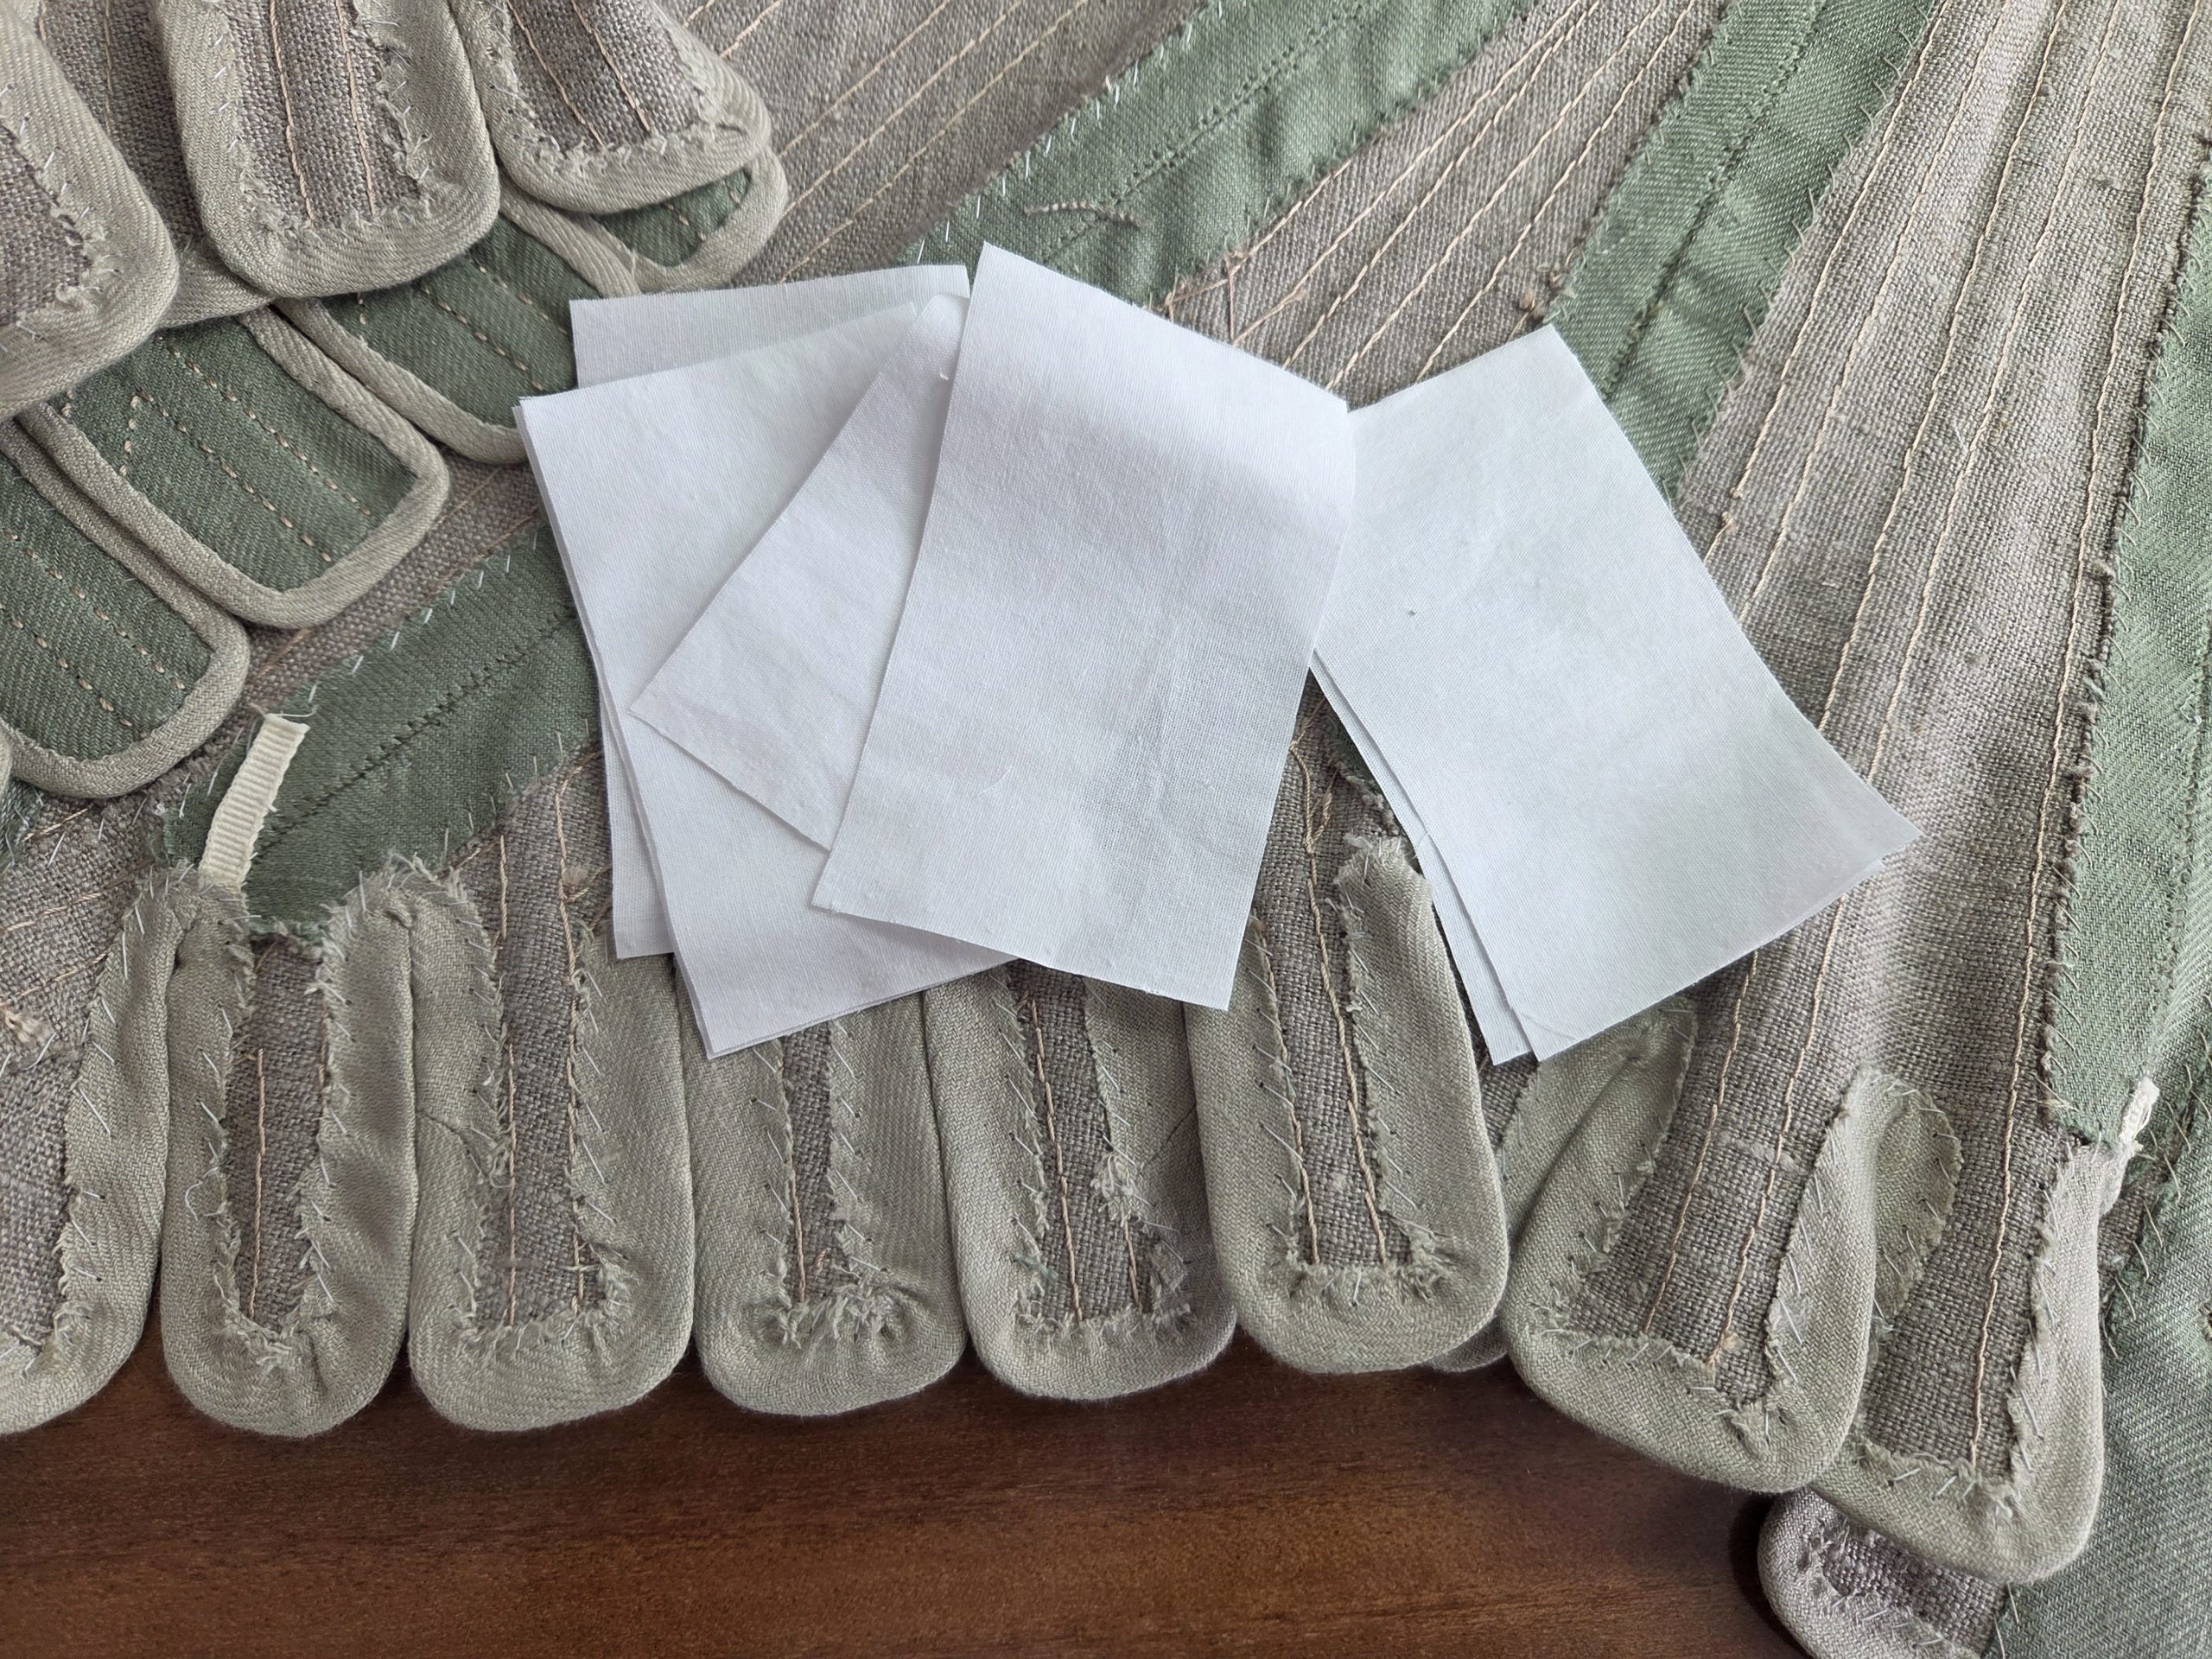
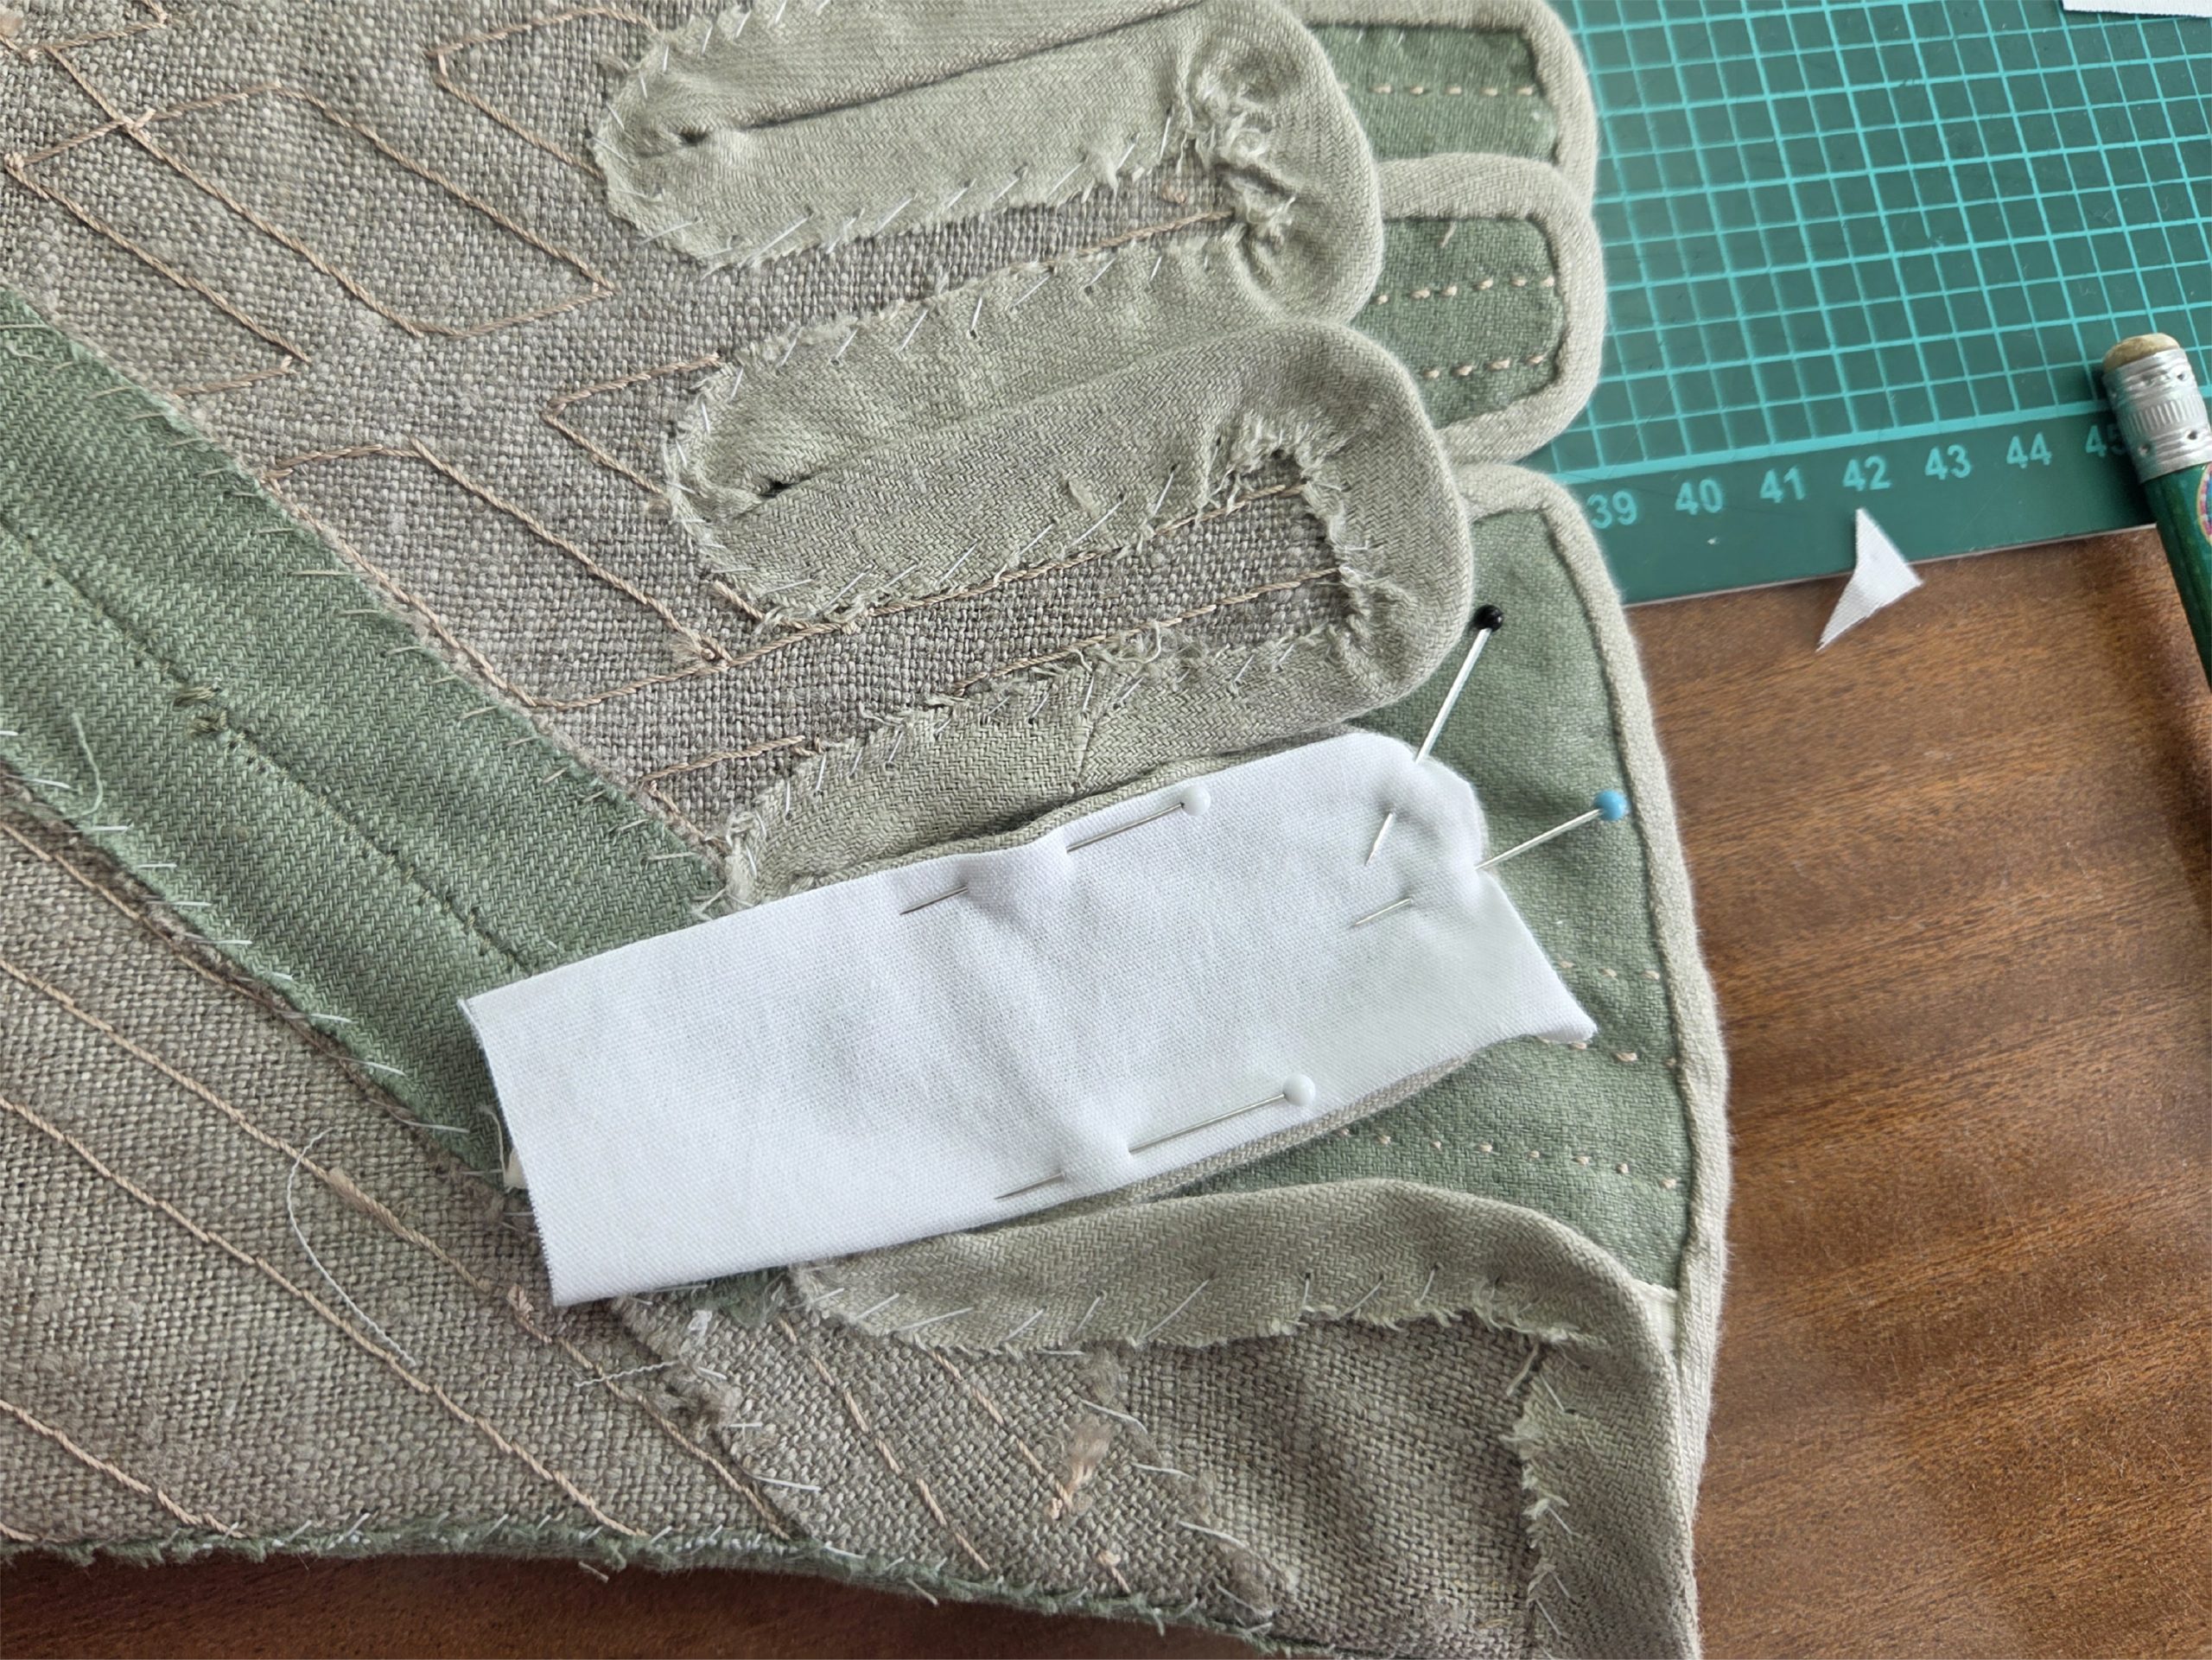
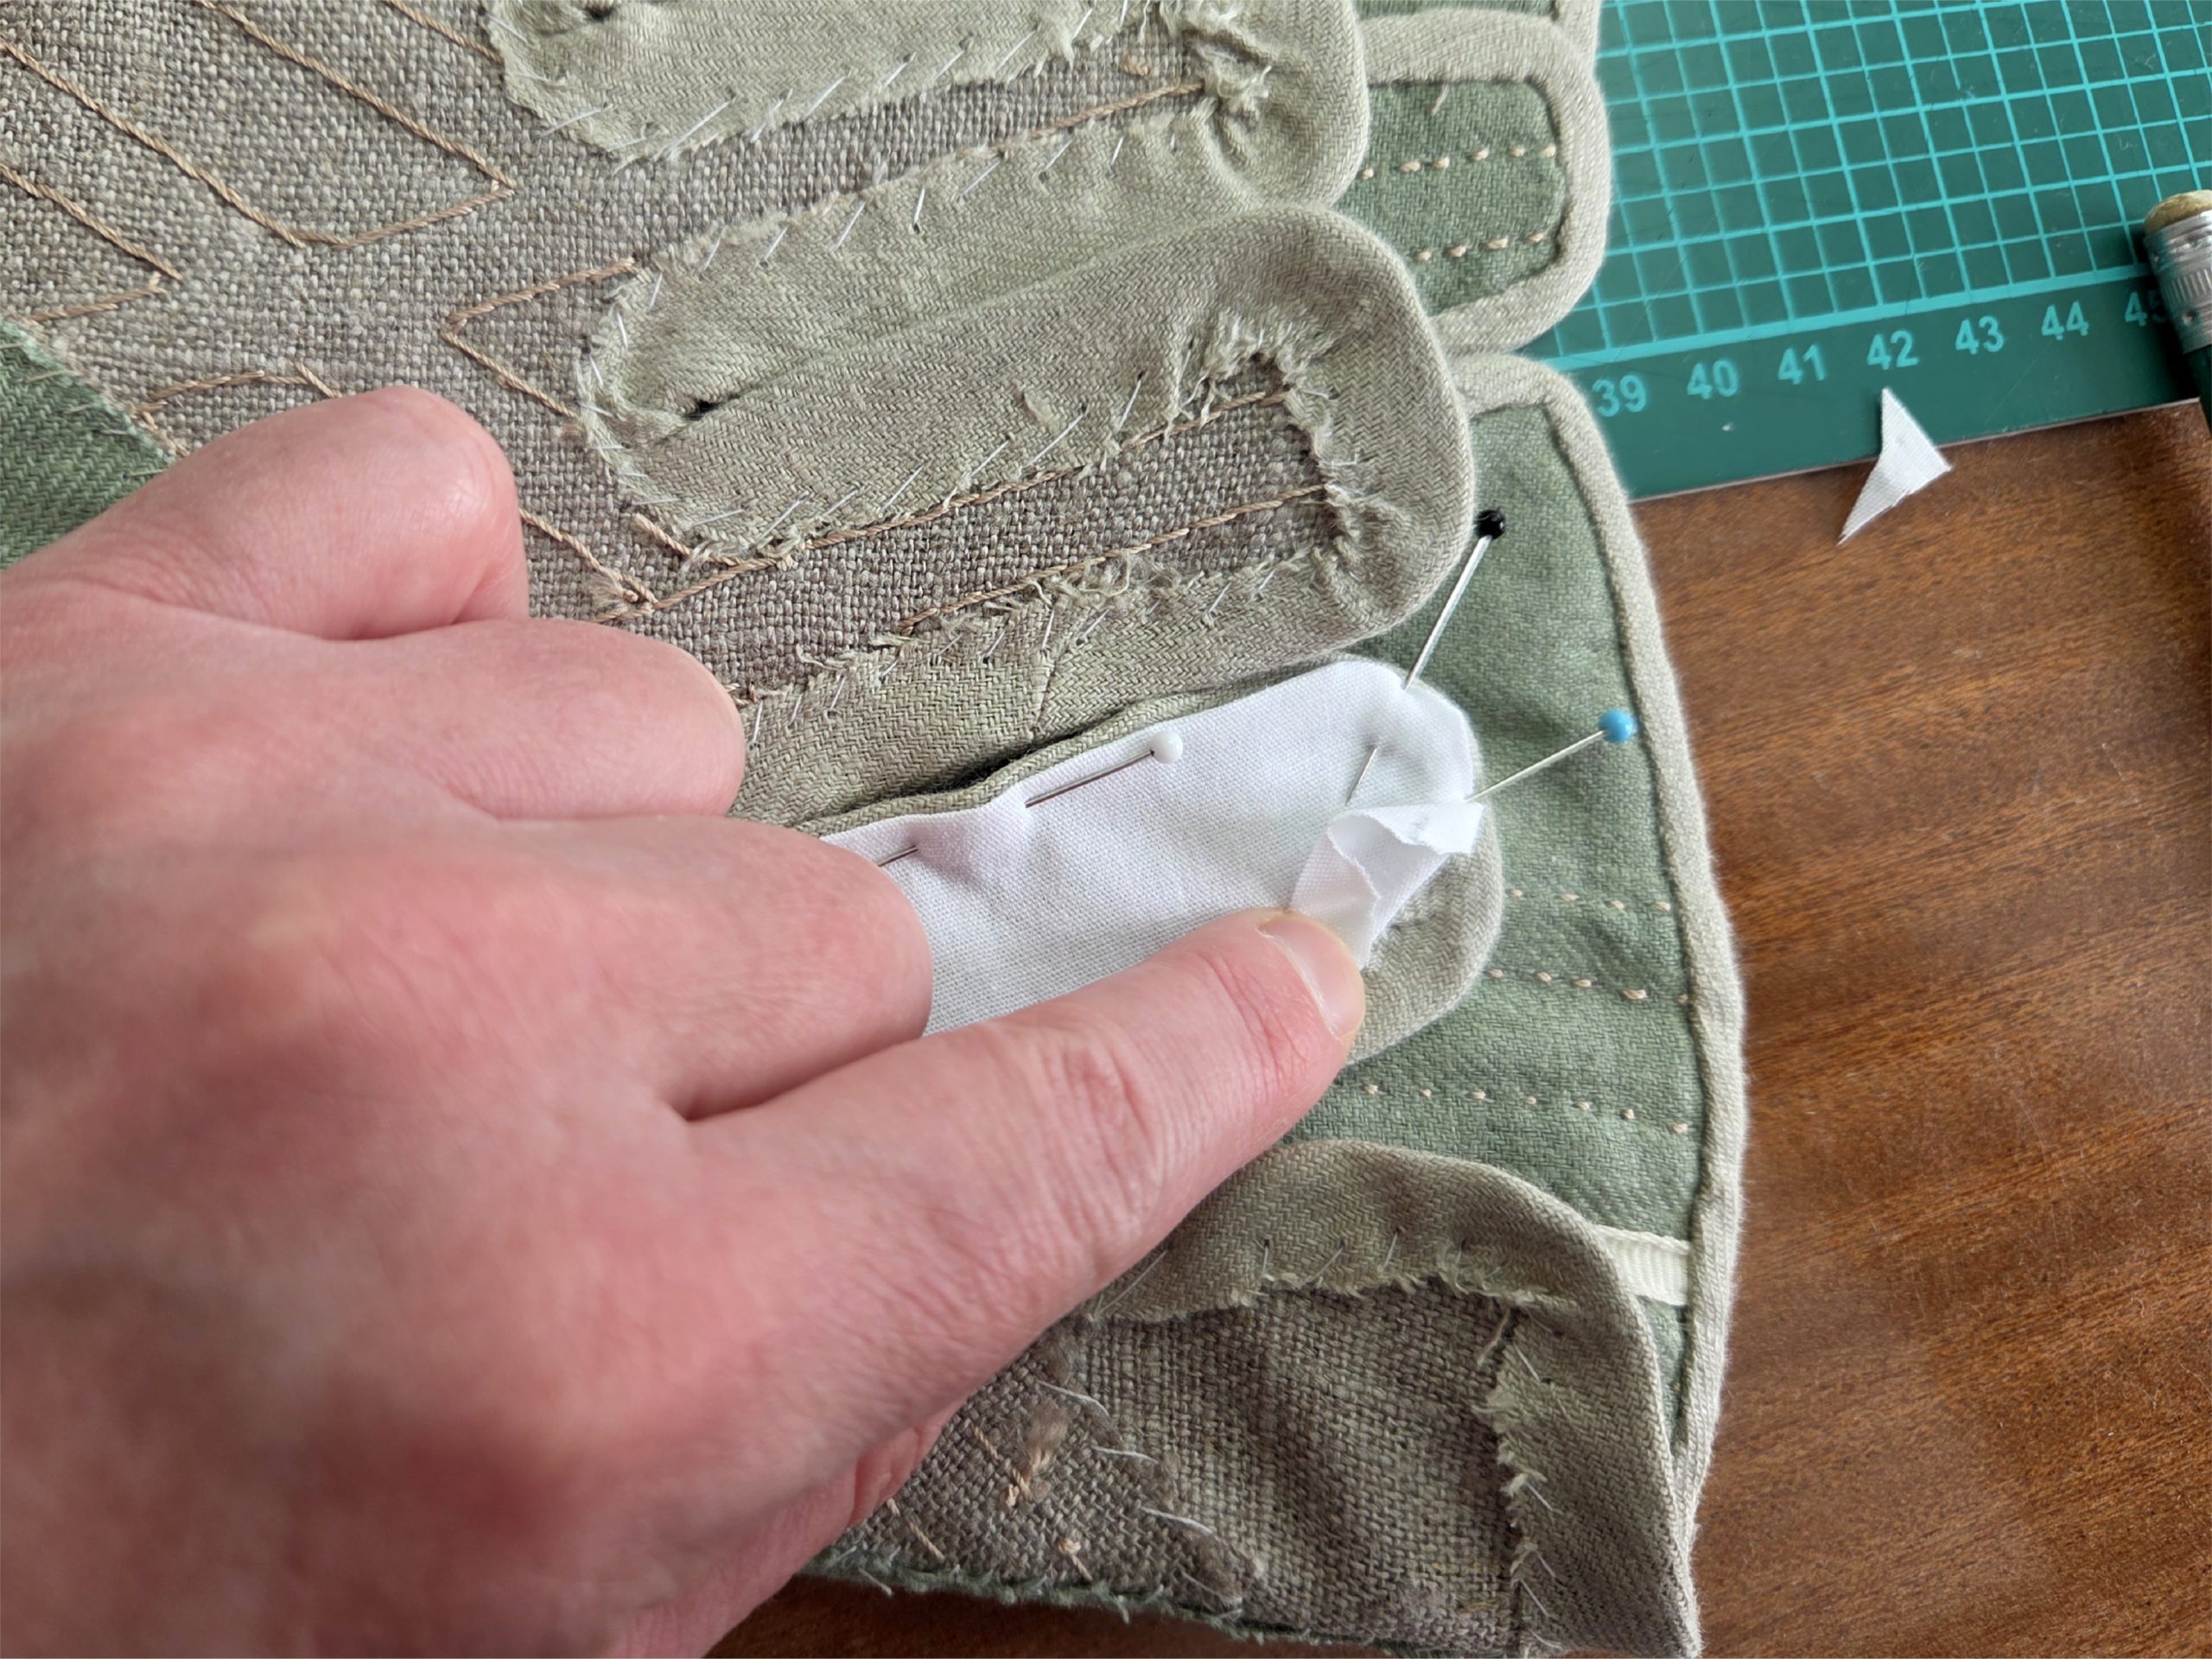
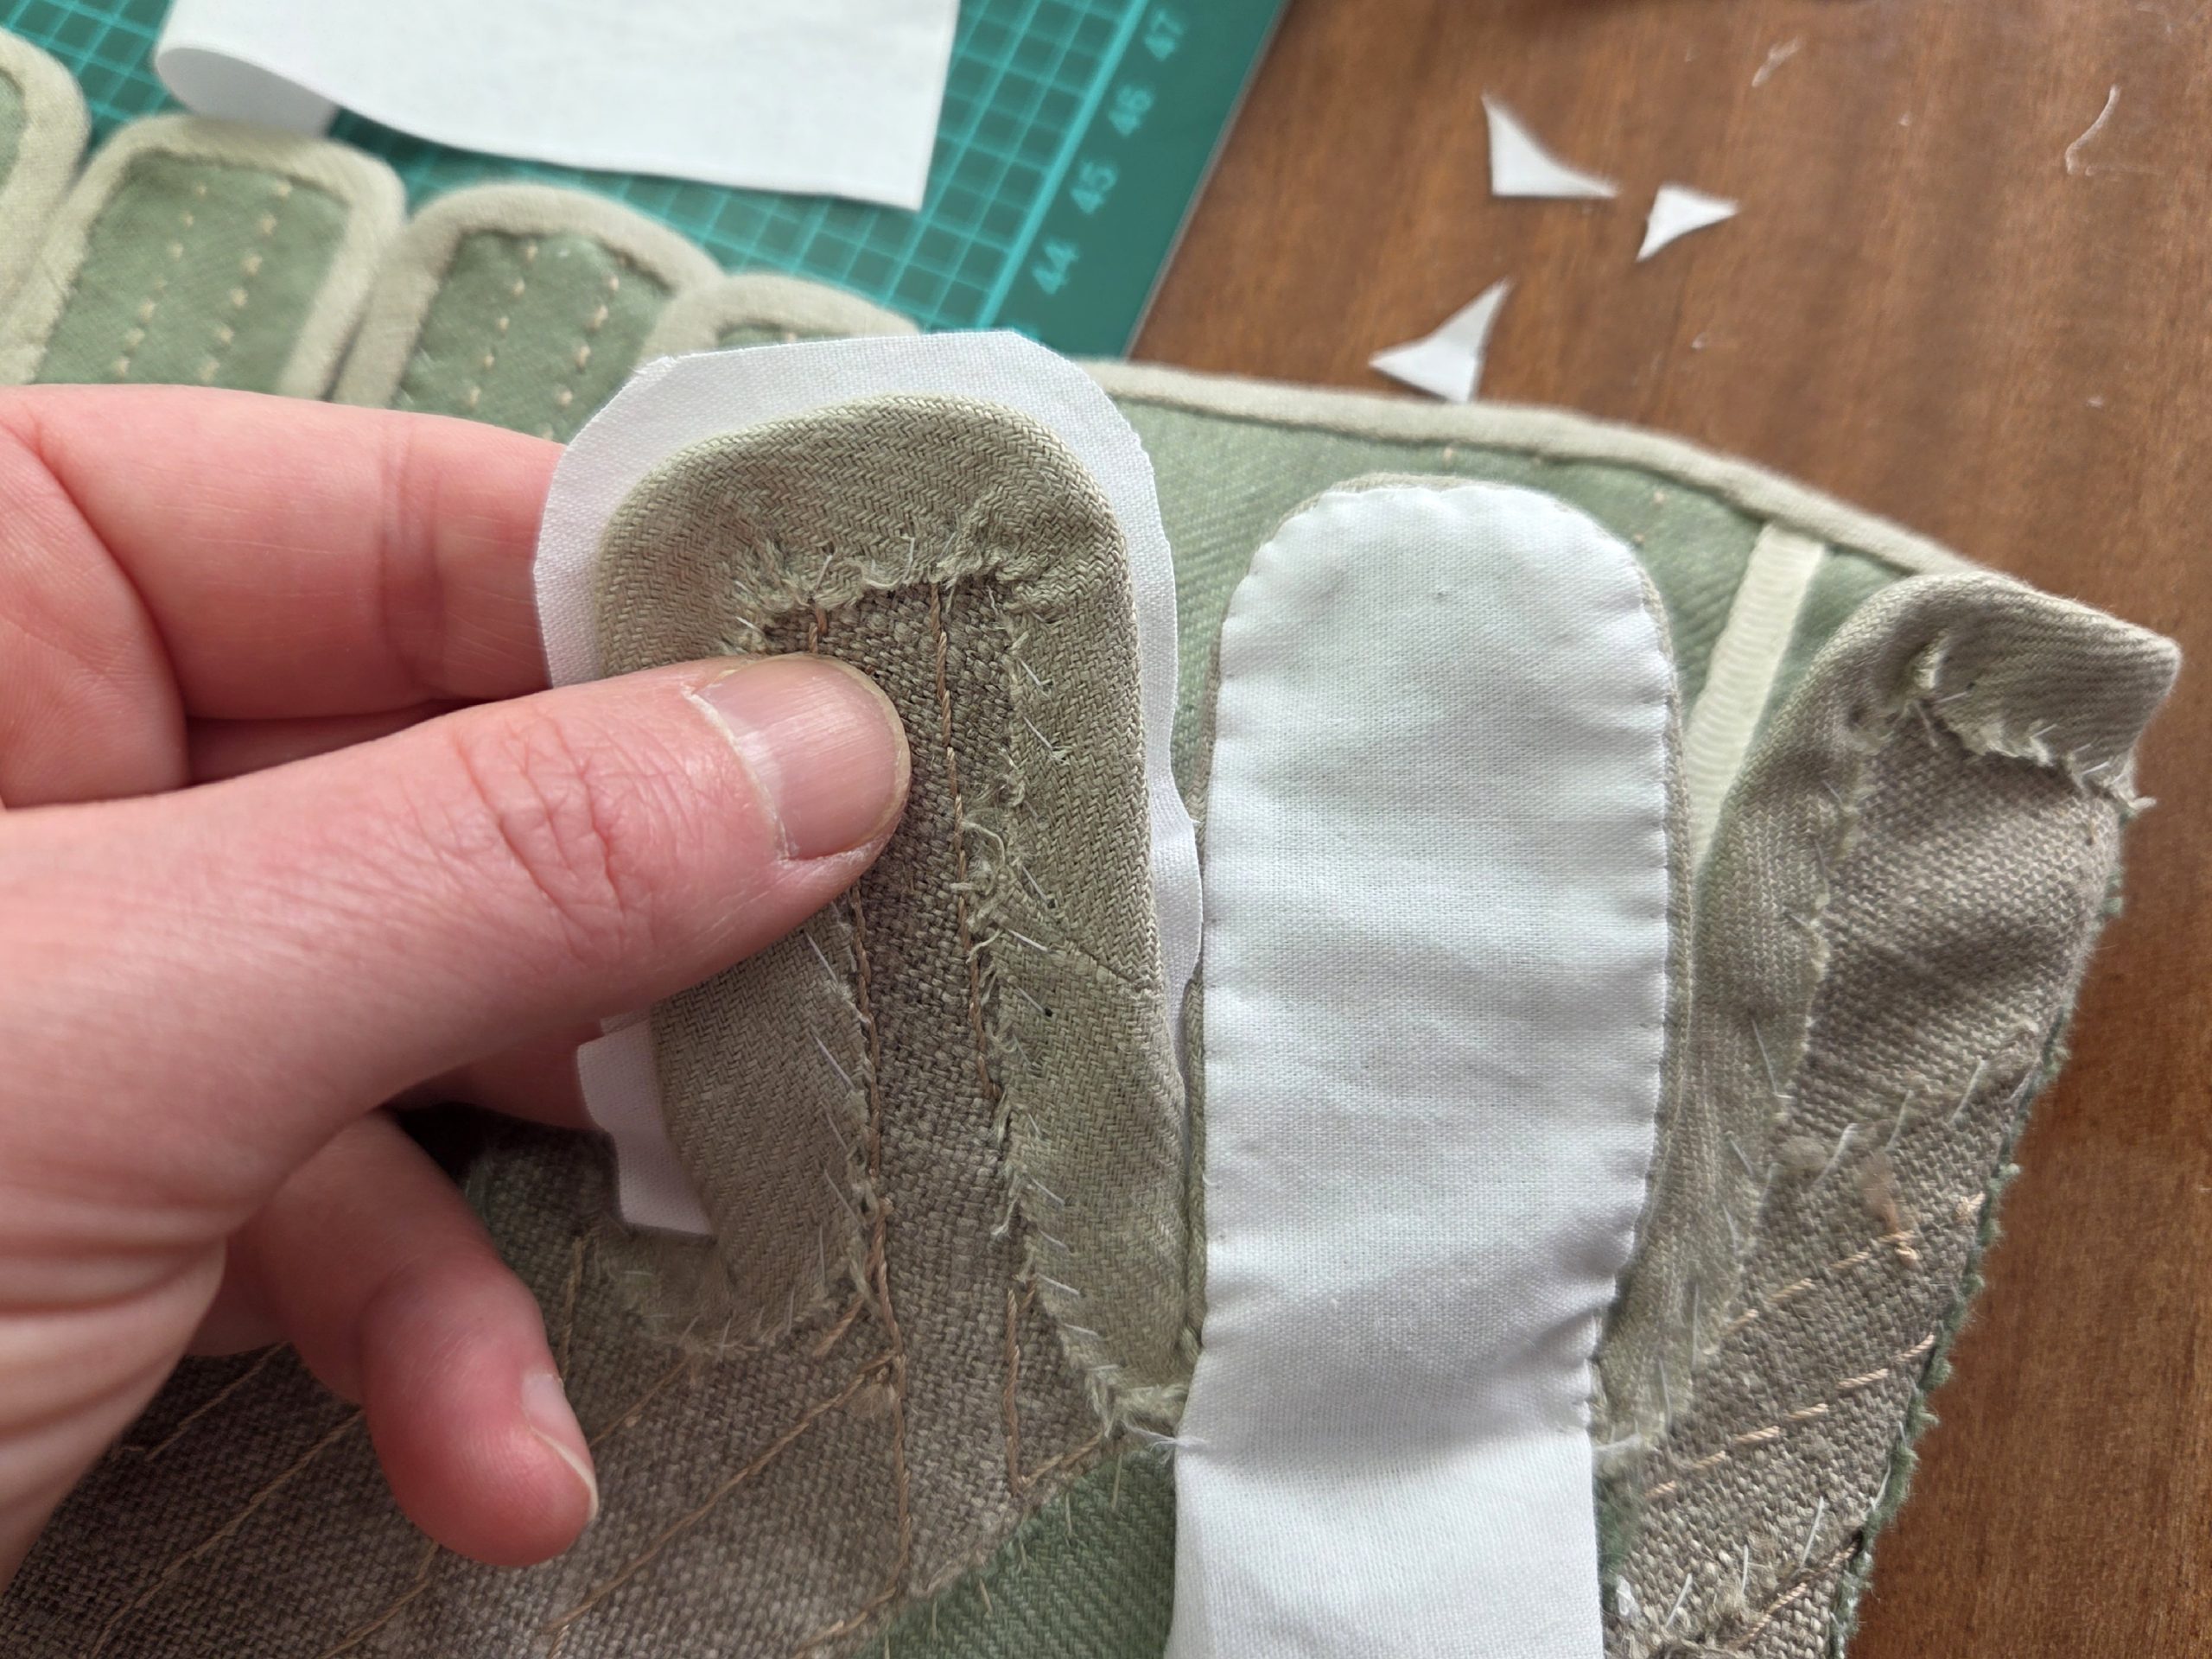
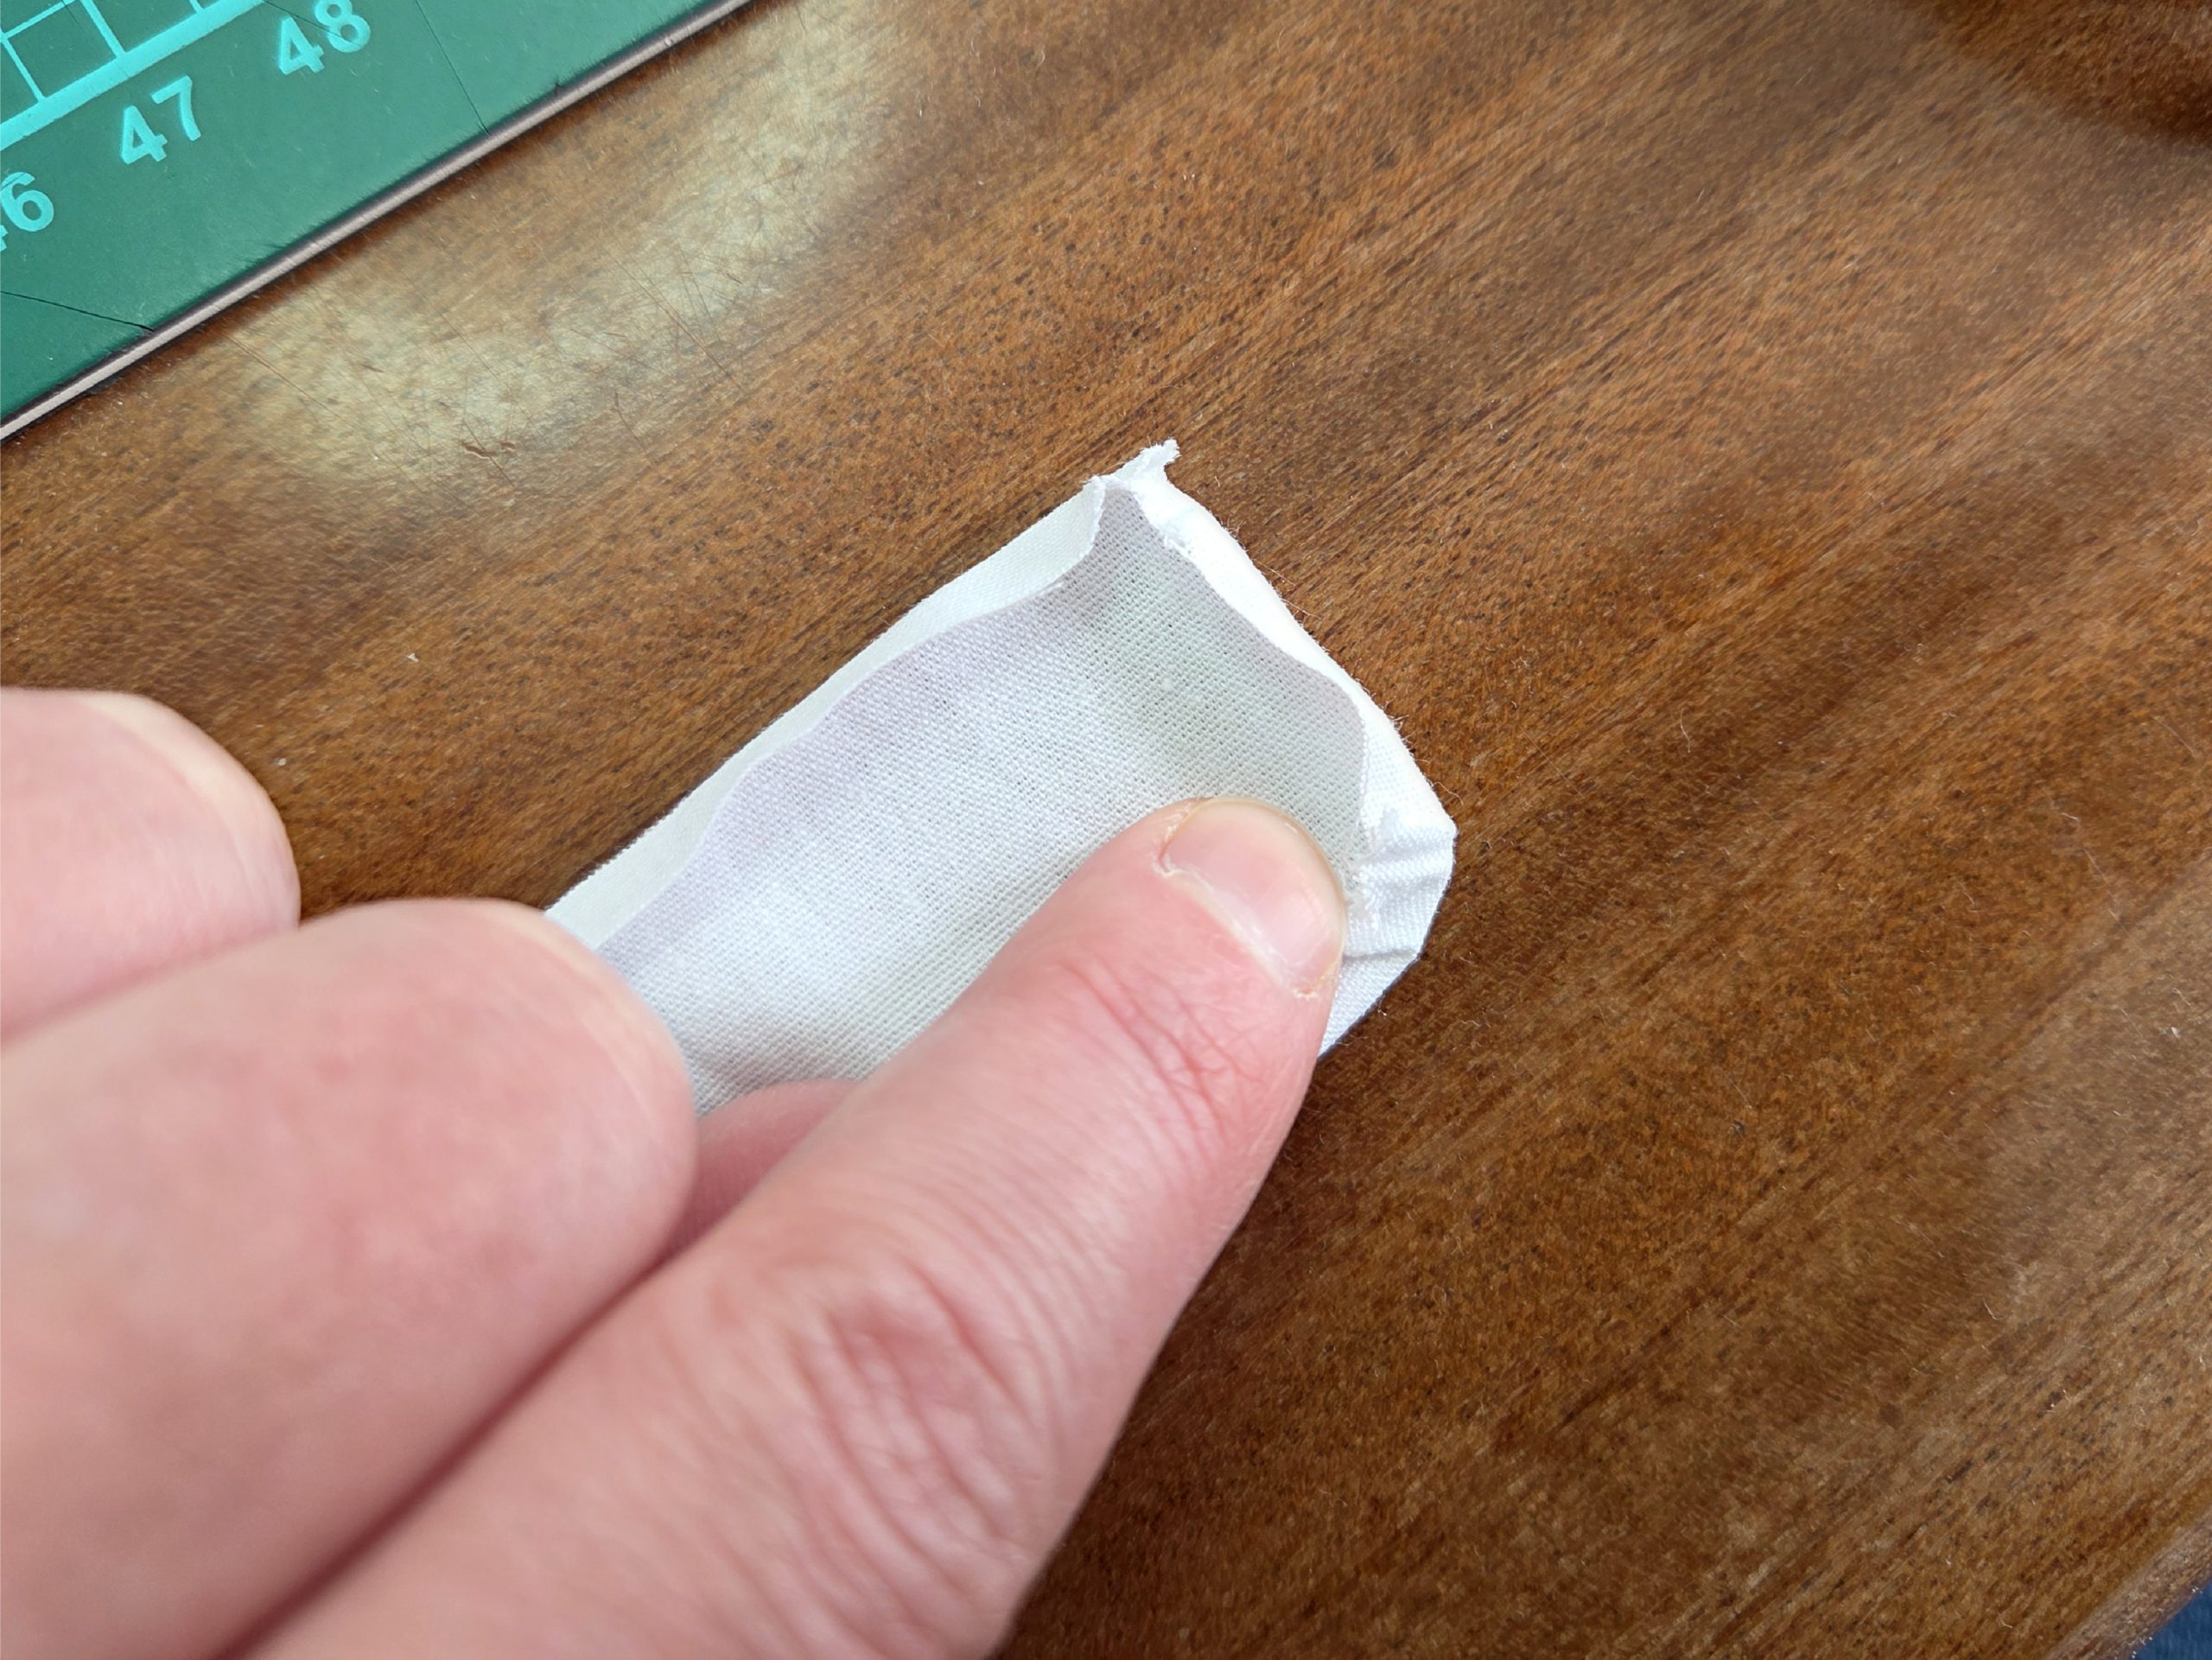
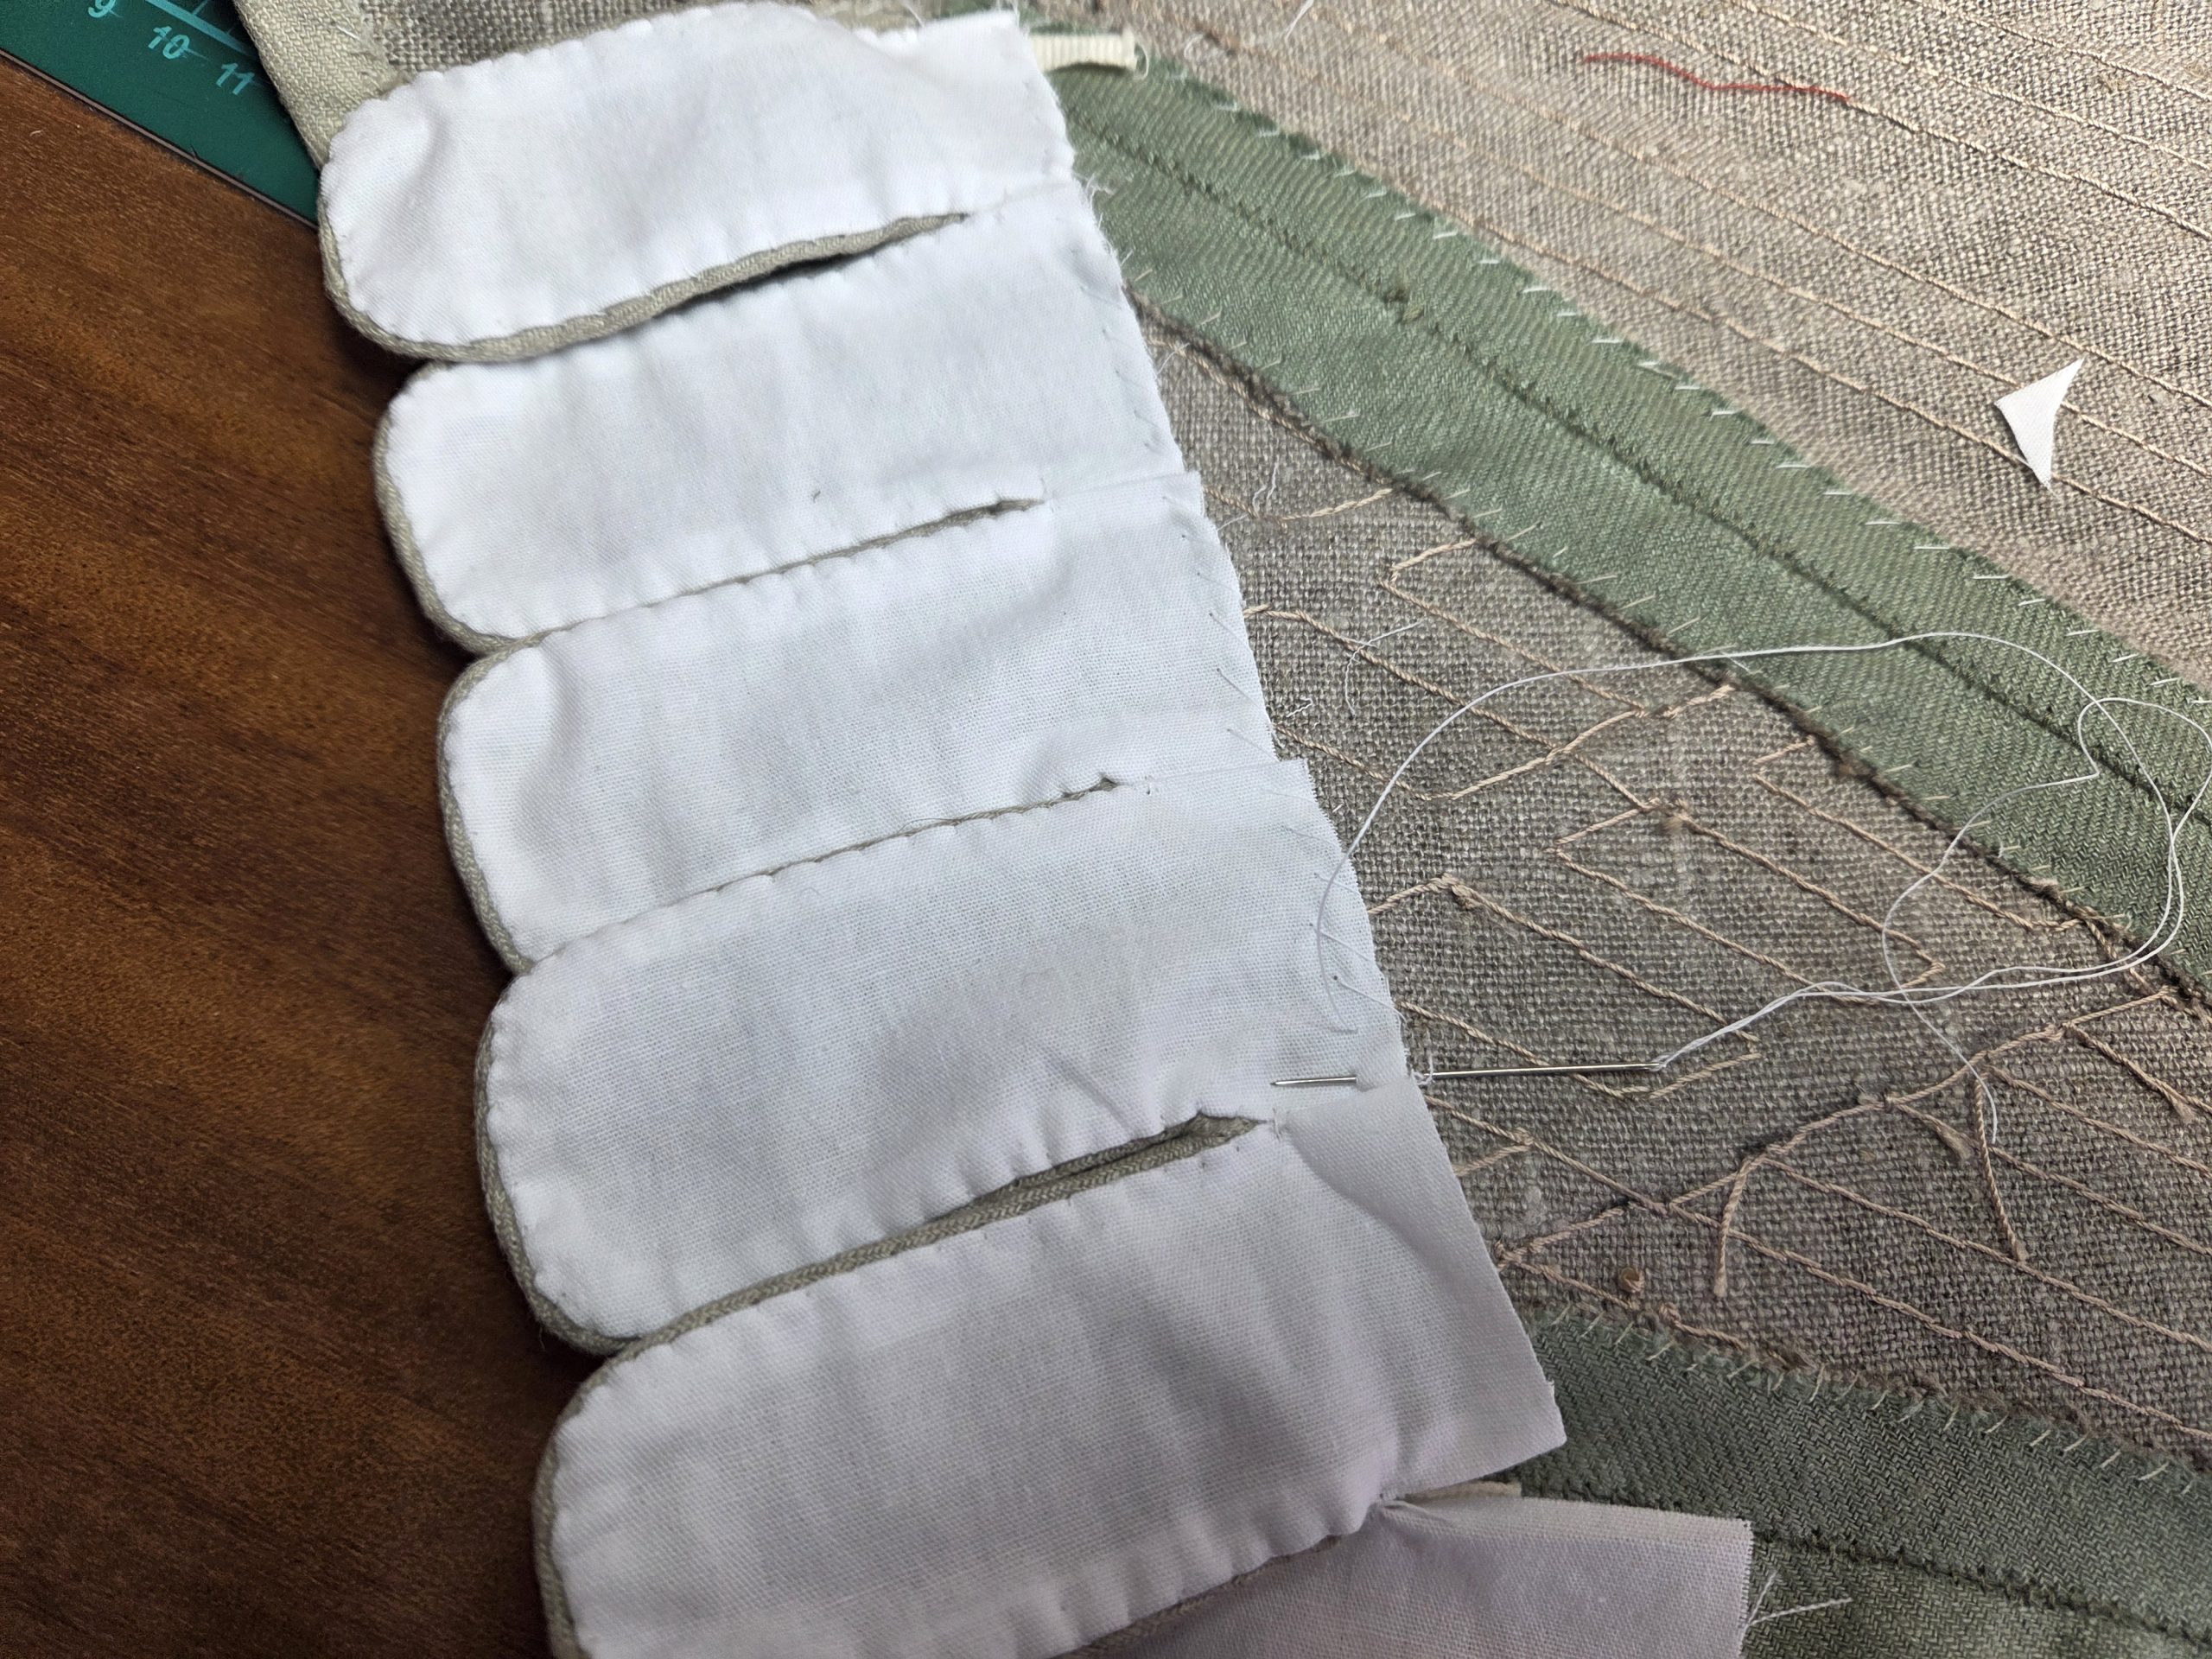
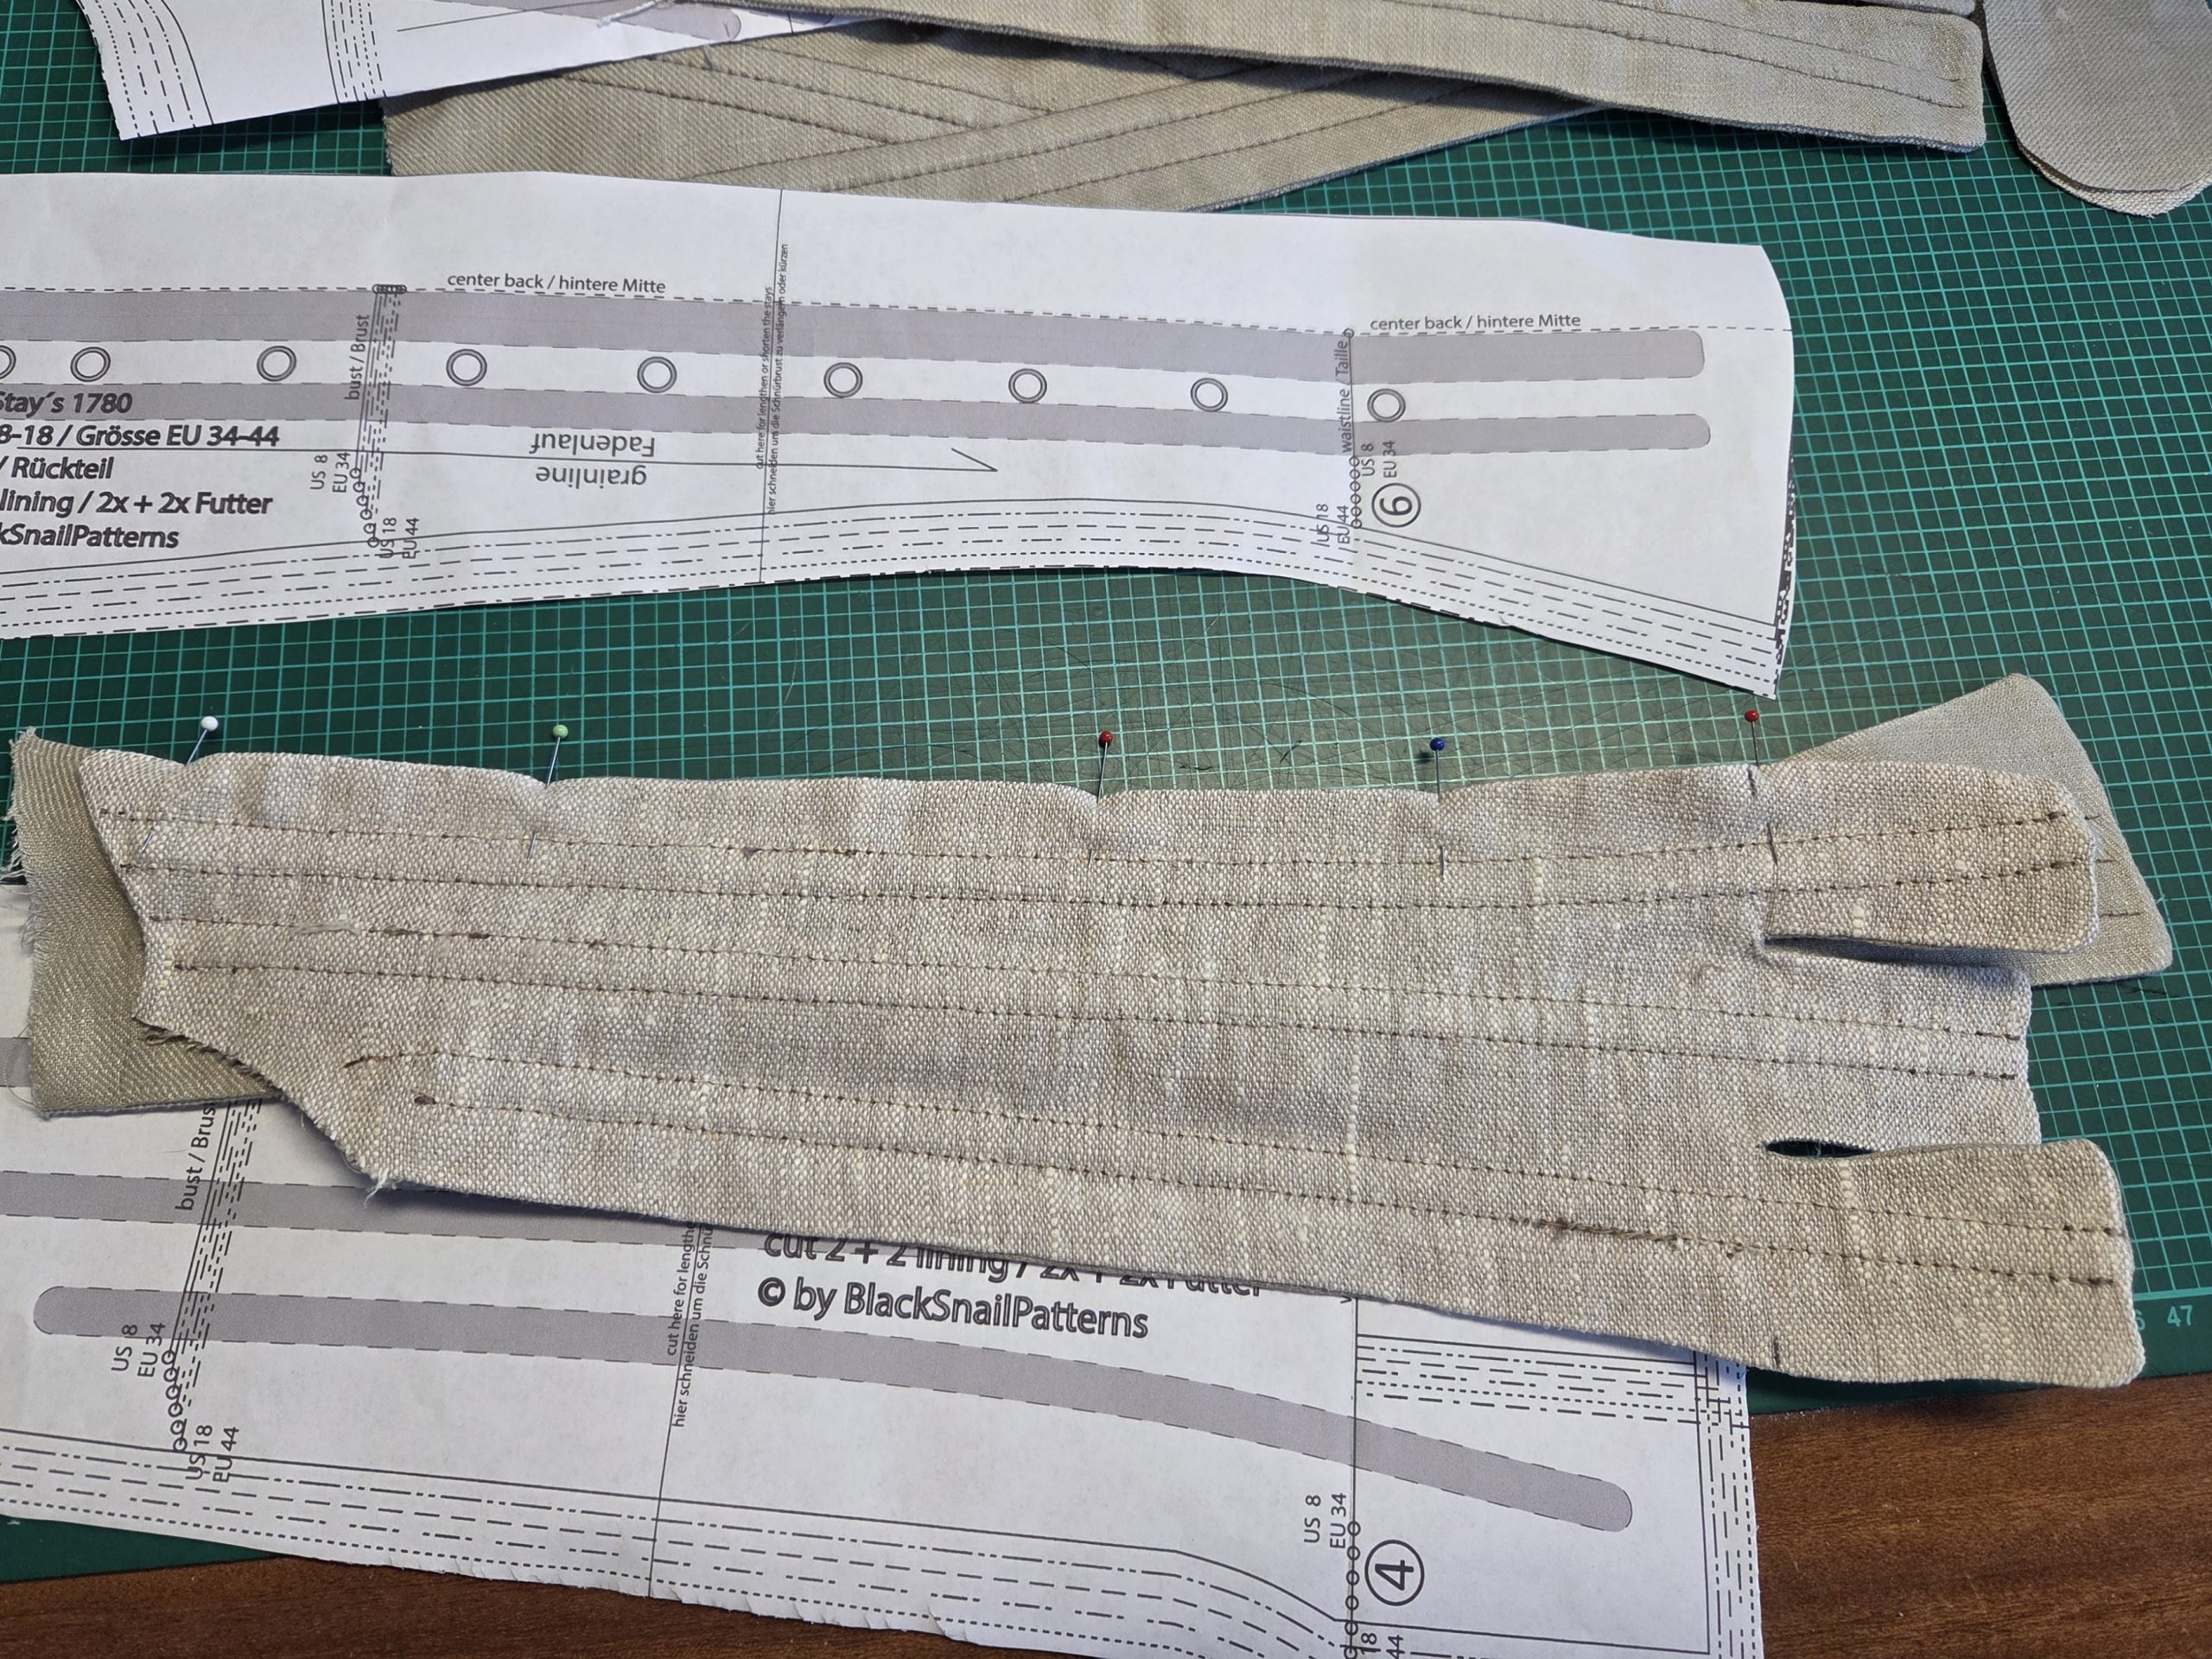
For the rest, take the pattern pieces and trim or fold back the 5/8” (1,5cm) seam allowance along each seam. Do the same with seam allowance along the center front and back, as well as along the waistline of pieces #2 and #3. Tape together the pieces with some ease, resulting from the slightly curved seams. Cut the lining in one piece on the fold; add some extra width at the center front for the gap, and a narrow seam allowance along the waistline of pieces #2 and #3. (My fault, as I forgot to remove the seam allowance at the center front and now have a seam where I could have cut on the fold – the red rectangle in the picture.)
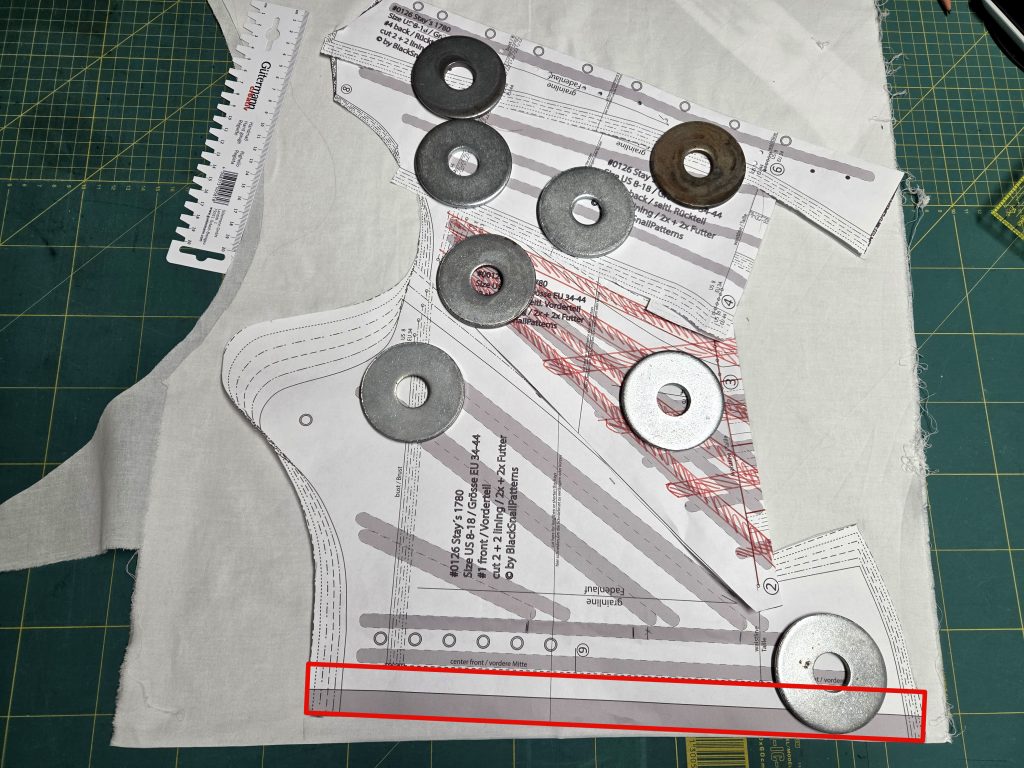
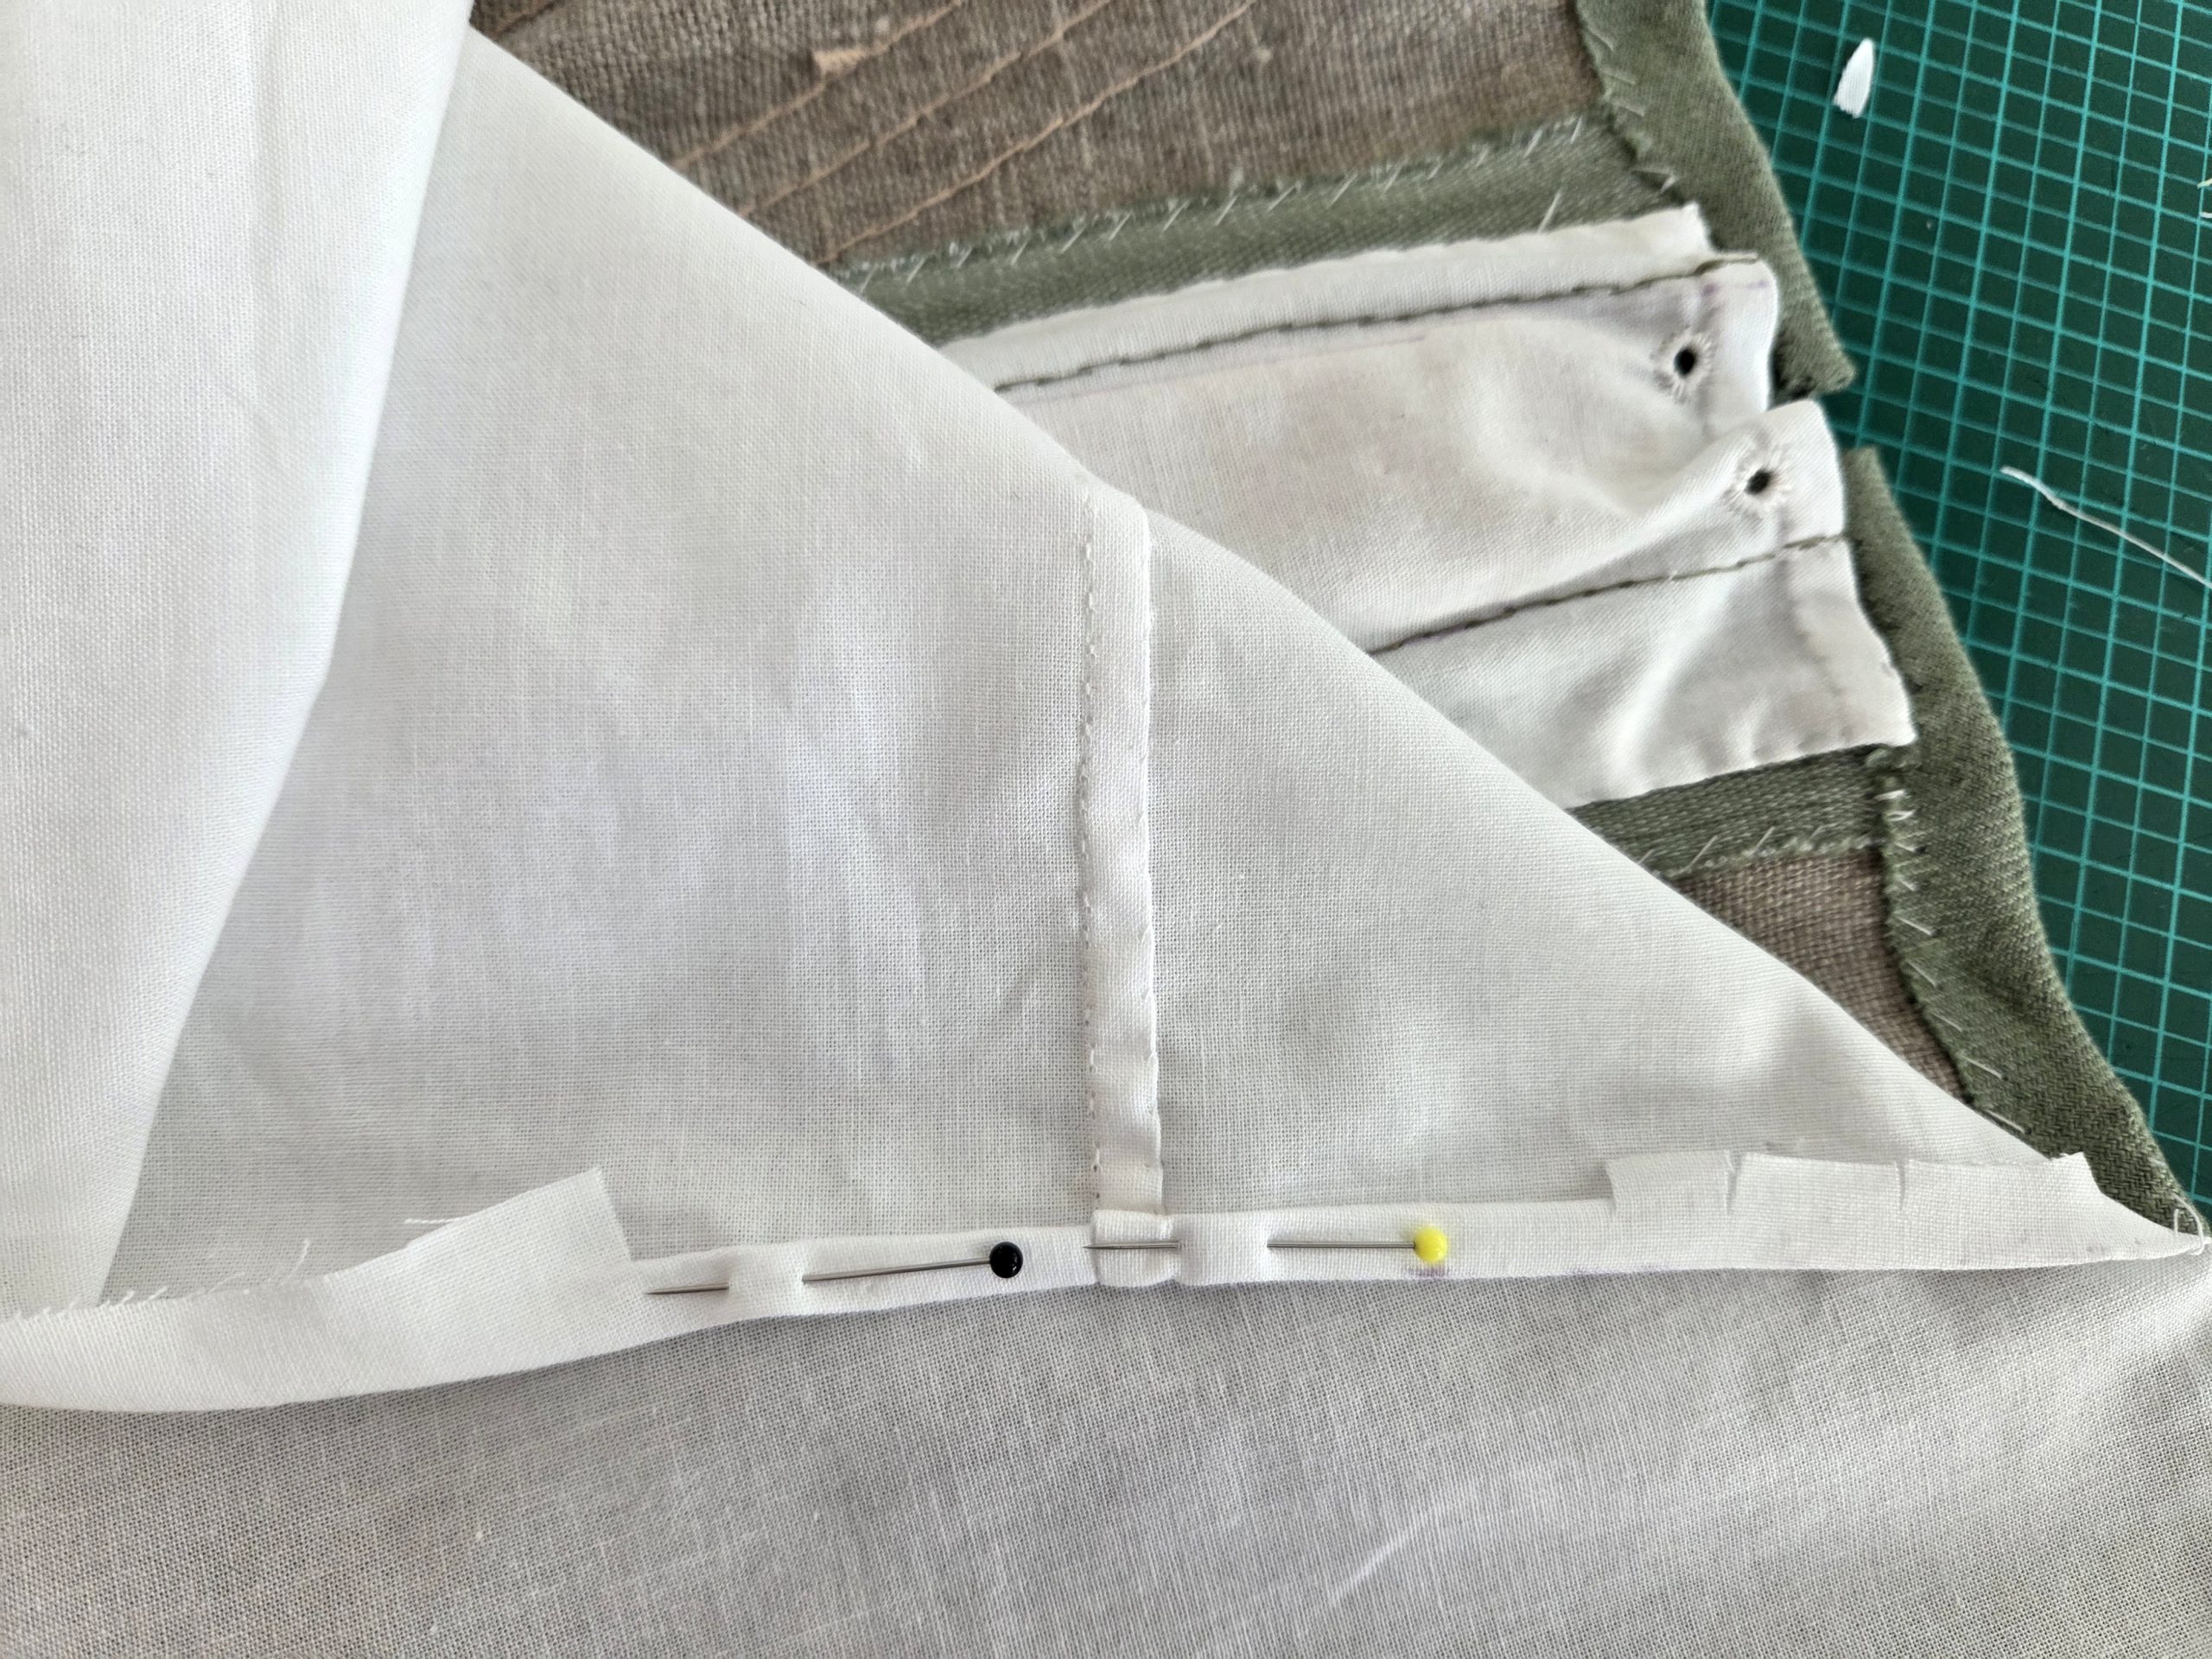
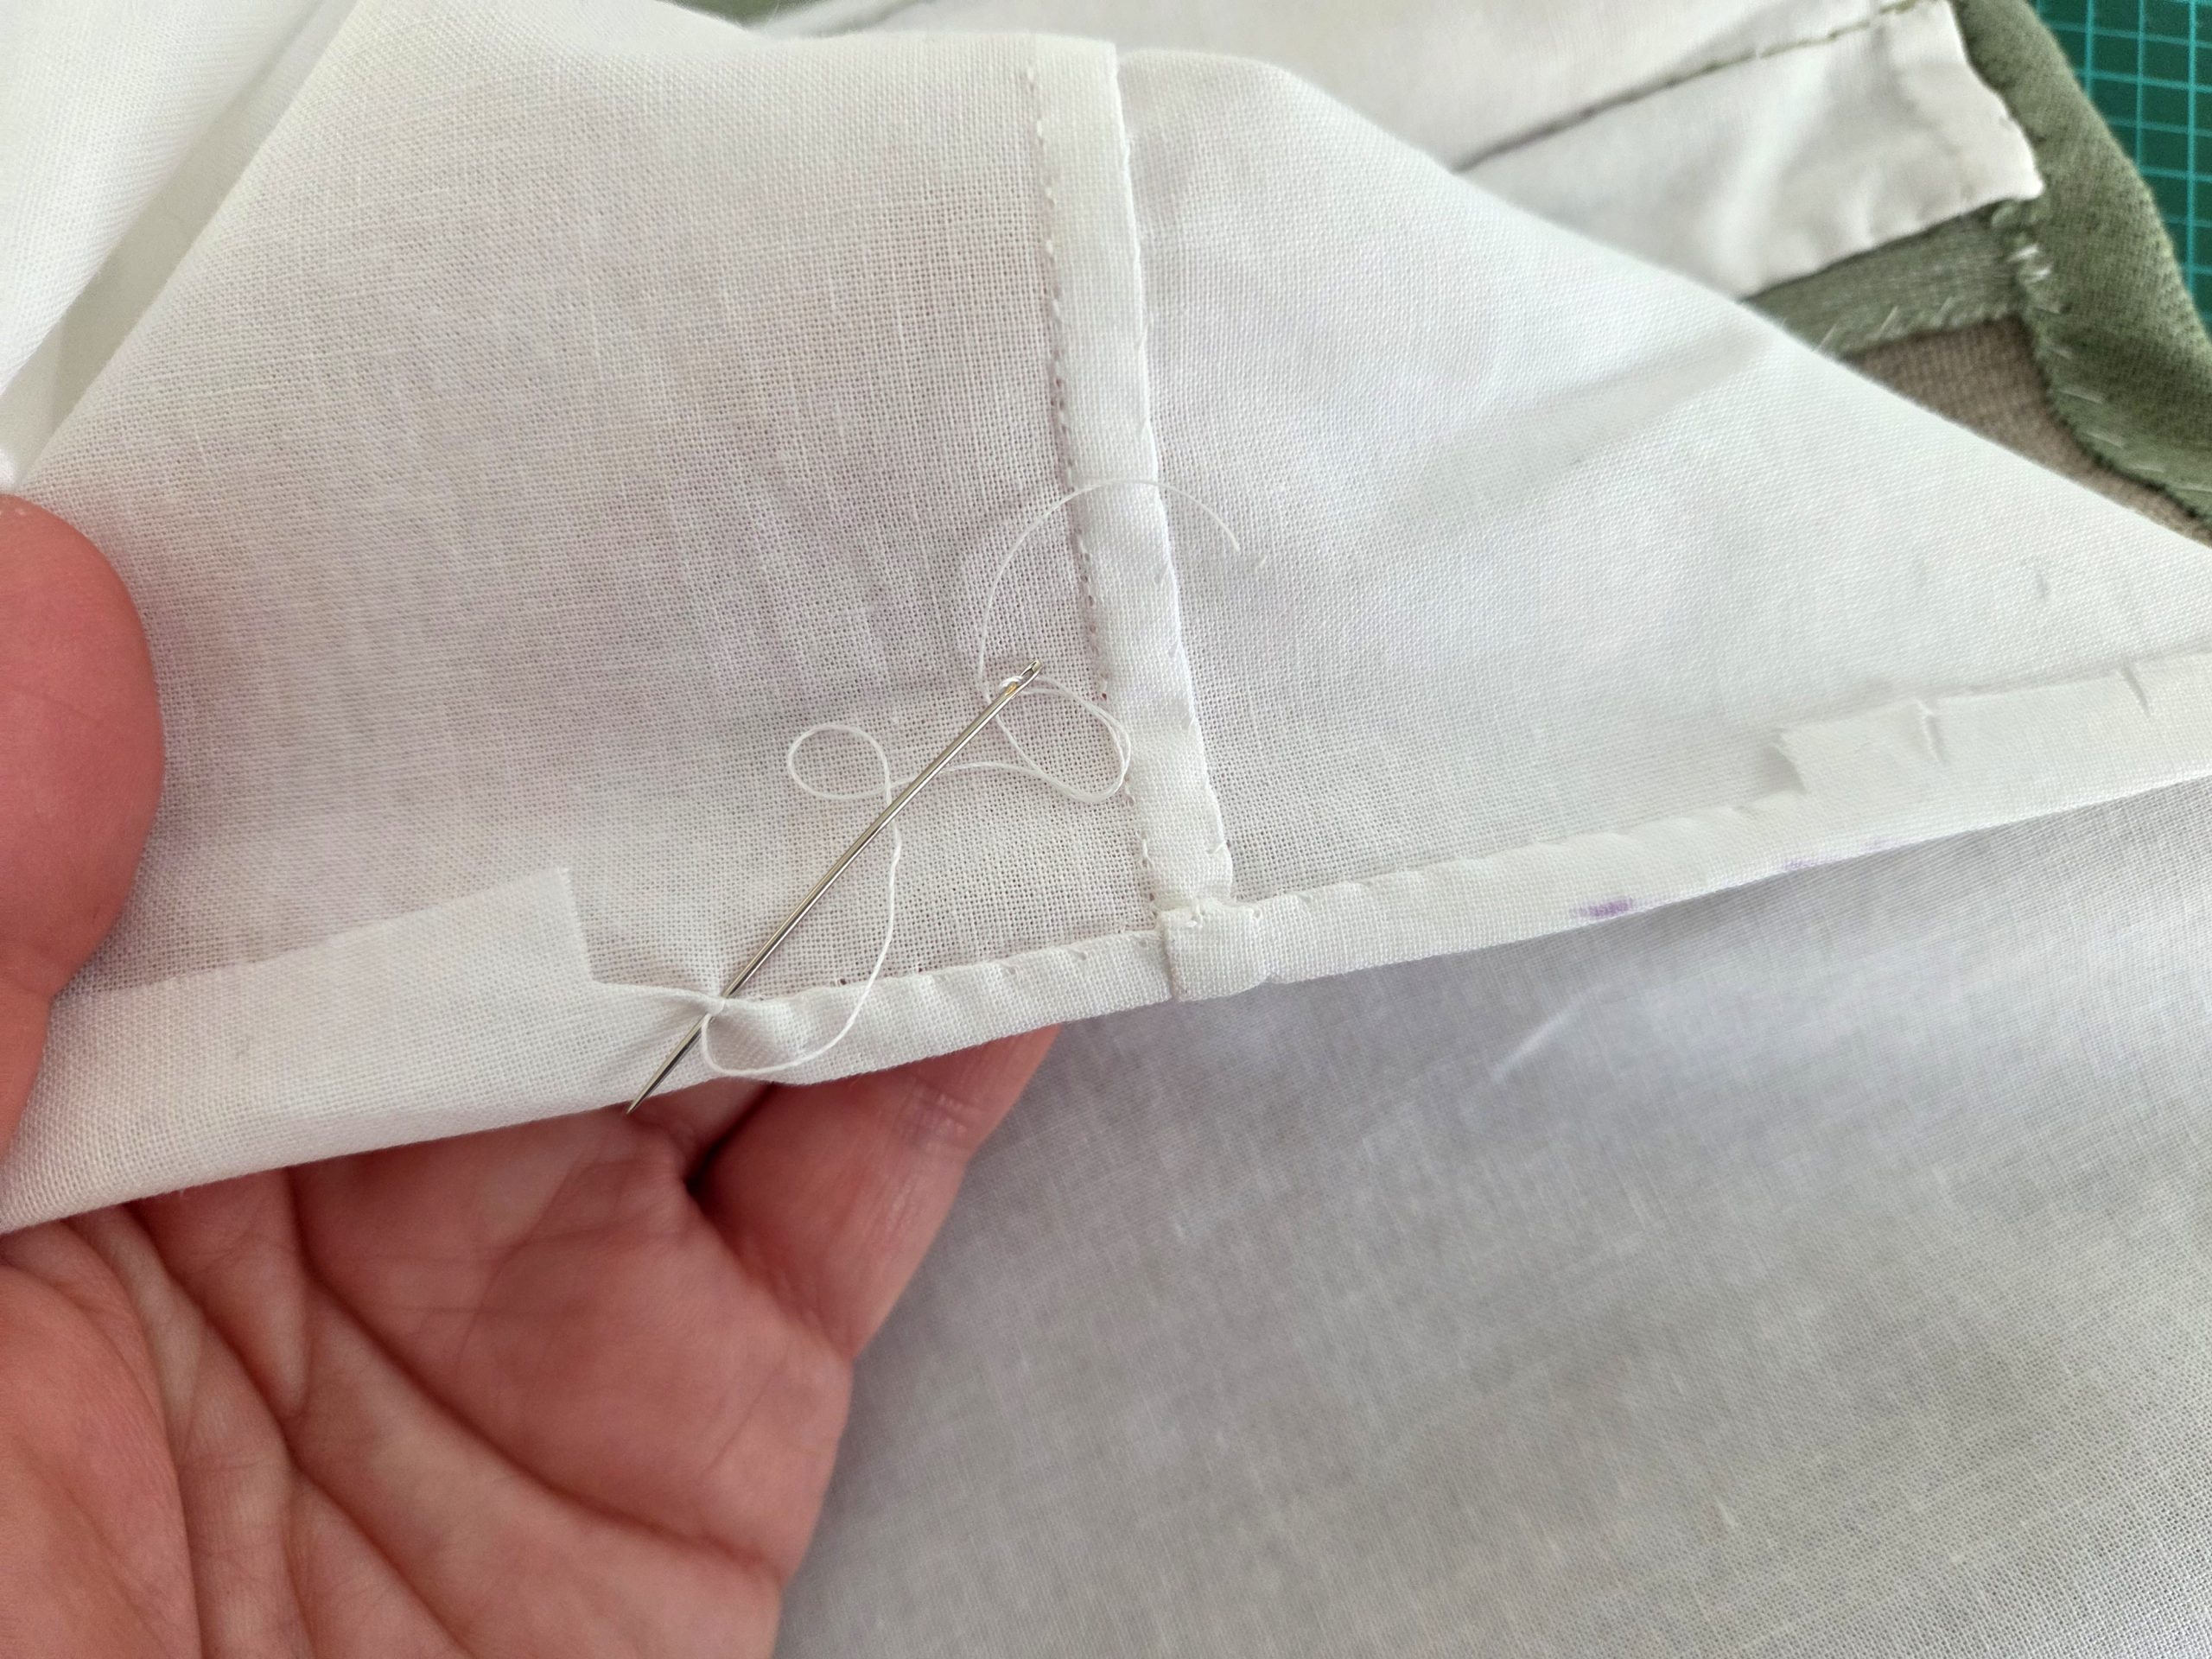
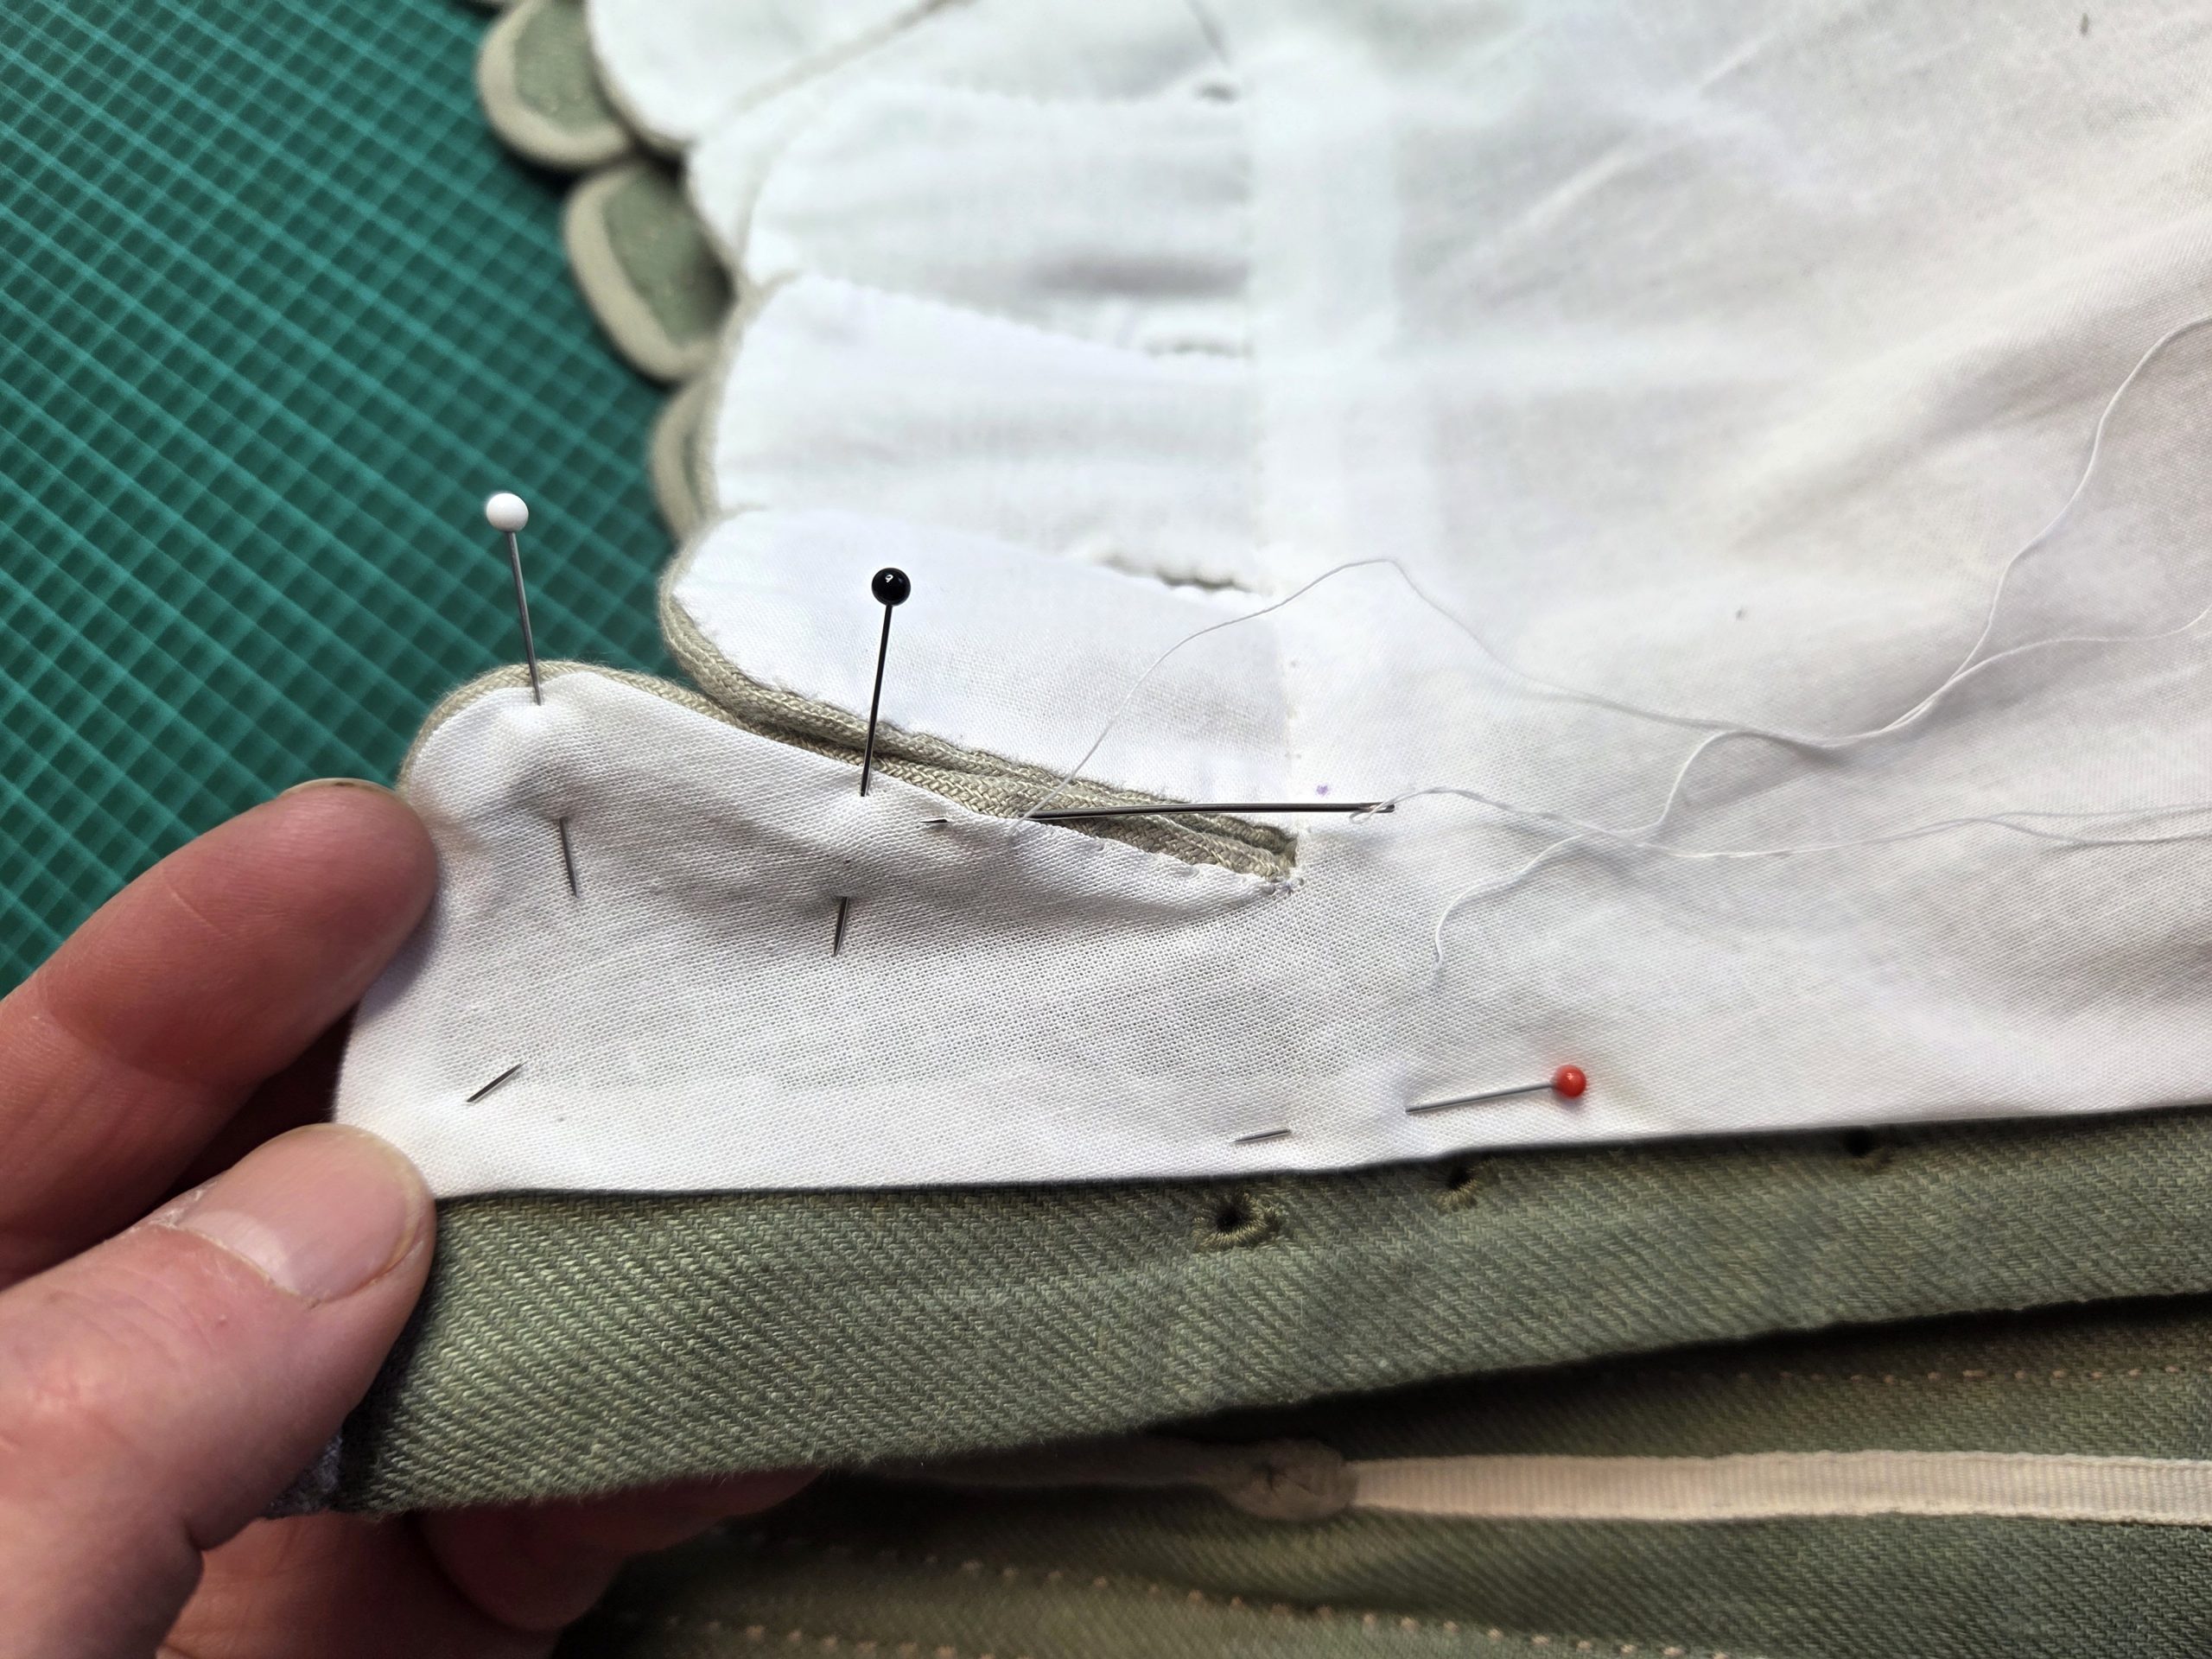
Line up with the stays, wrong sides together. Trim back and notch the seam allowances of the lining as needed. Turn in the seam allowances, lining up the edges and fell stitch in place. At the center back, leave the eyelets uncovered. On the top edge, in the range of the front gap, notch the seam allowance on both sides of the gap and double turn in a narrow seam allowance. Fell stitch in place.
(12) Last steps to do:
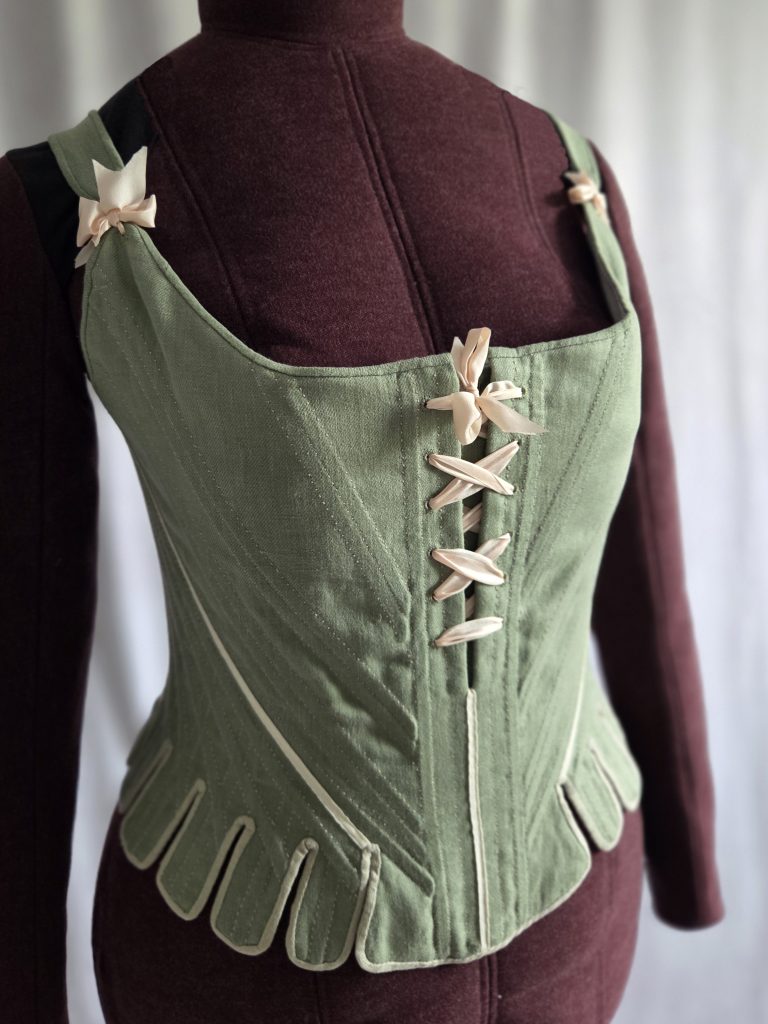
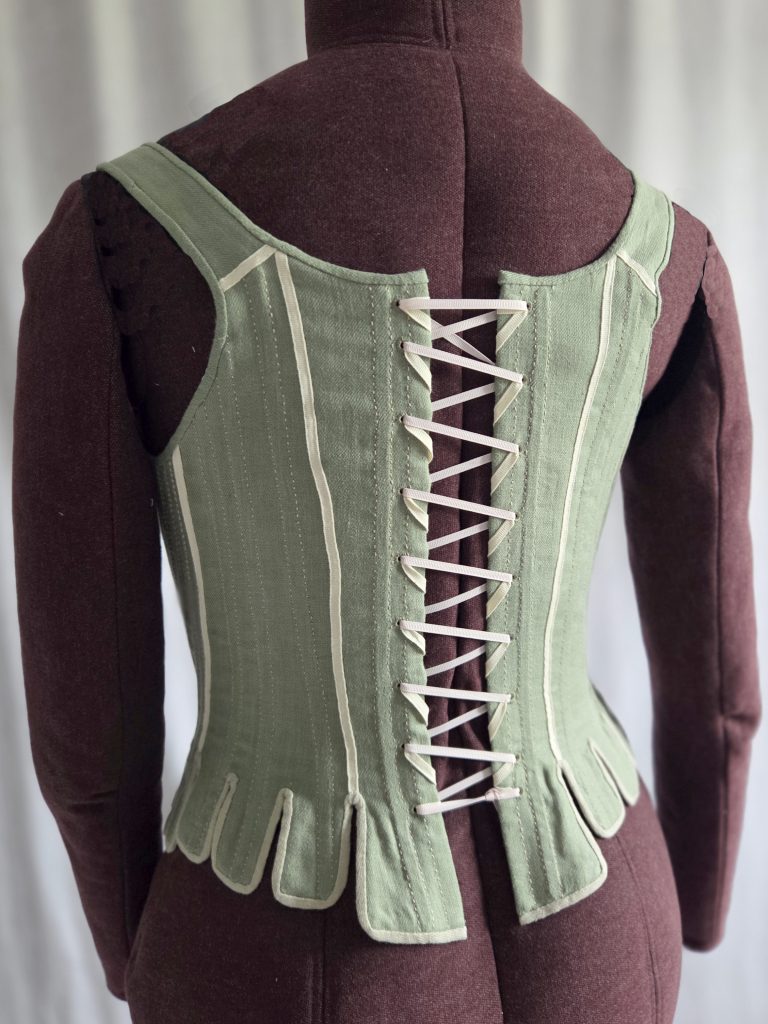
Sew the eyelets for the shoulder straps and thread with a decorative (silk) ribbon. Lace up the front gap with the same (silk) ribbon. Insert the busk into the pocket and prevent it from sliding out by threading the eyelets with a short and narrow cotton tape. Lace the center back with a waxed cotton cord of about 1/16”- 3/32” (1,5mm-2mm). Reinforce the ends with Fray-Check or heat-shrink tubing.
 English
  Deutsch