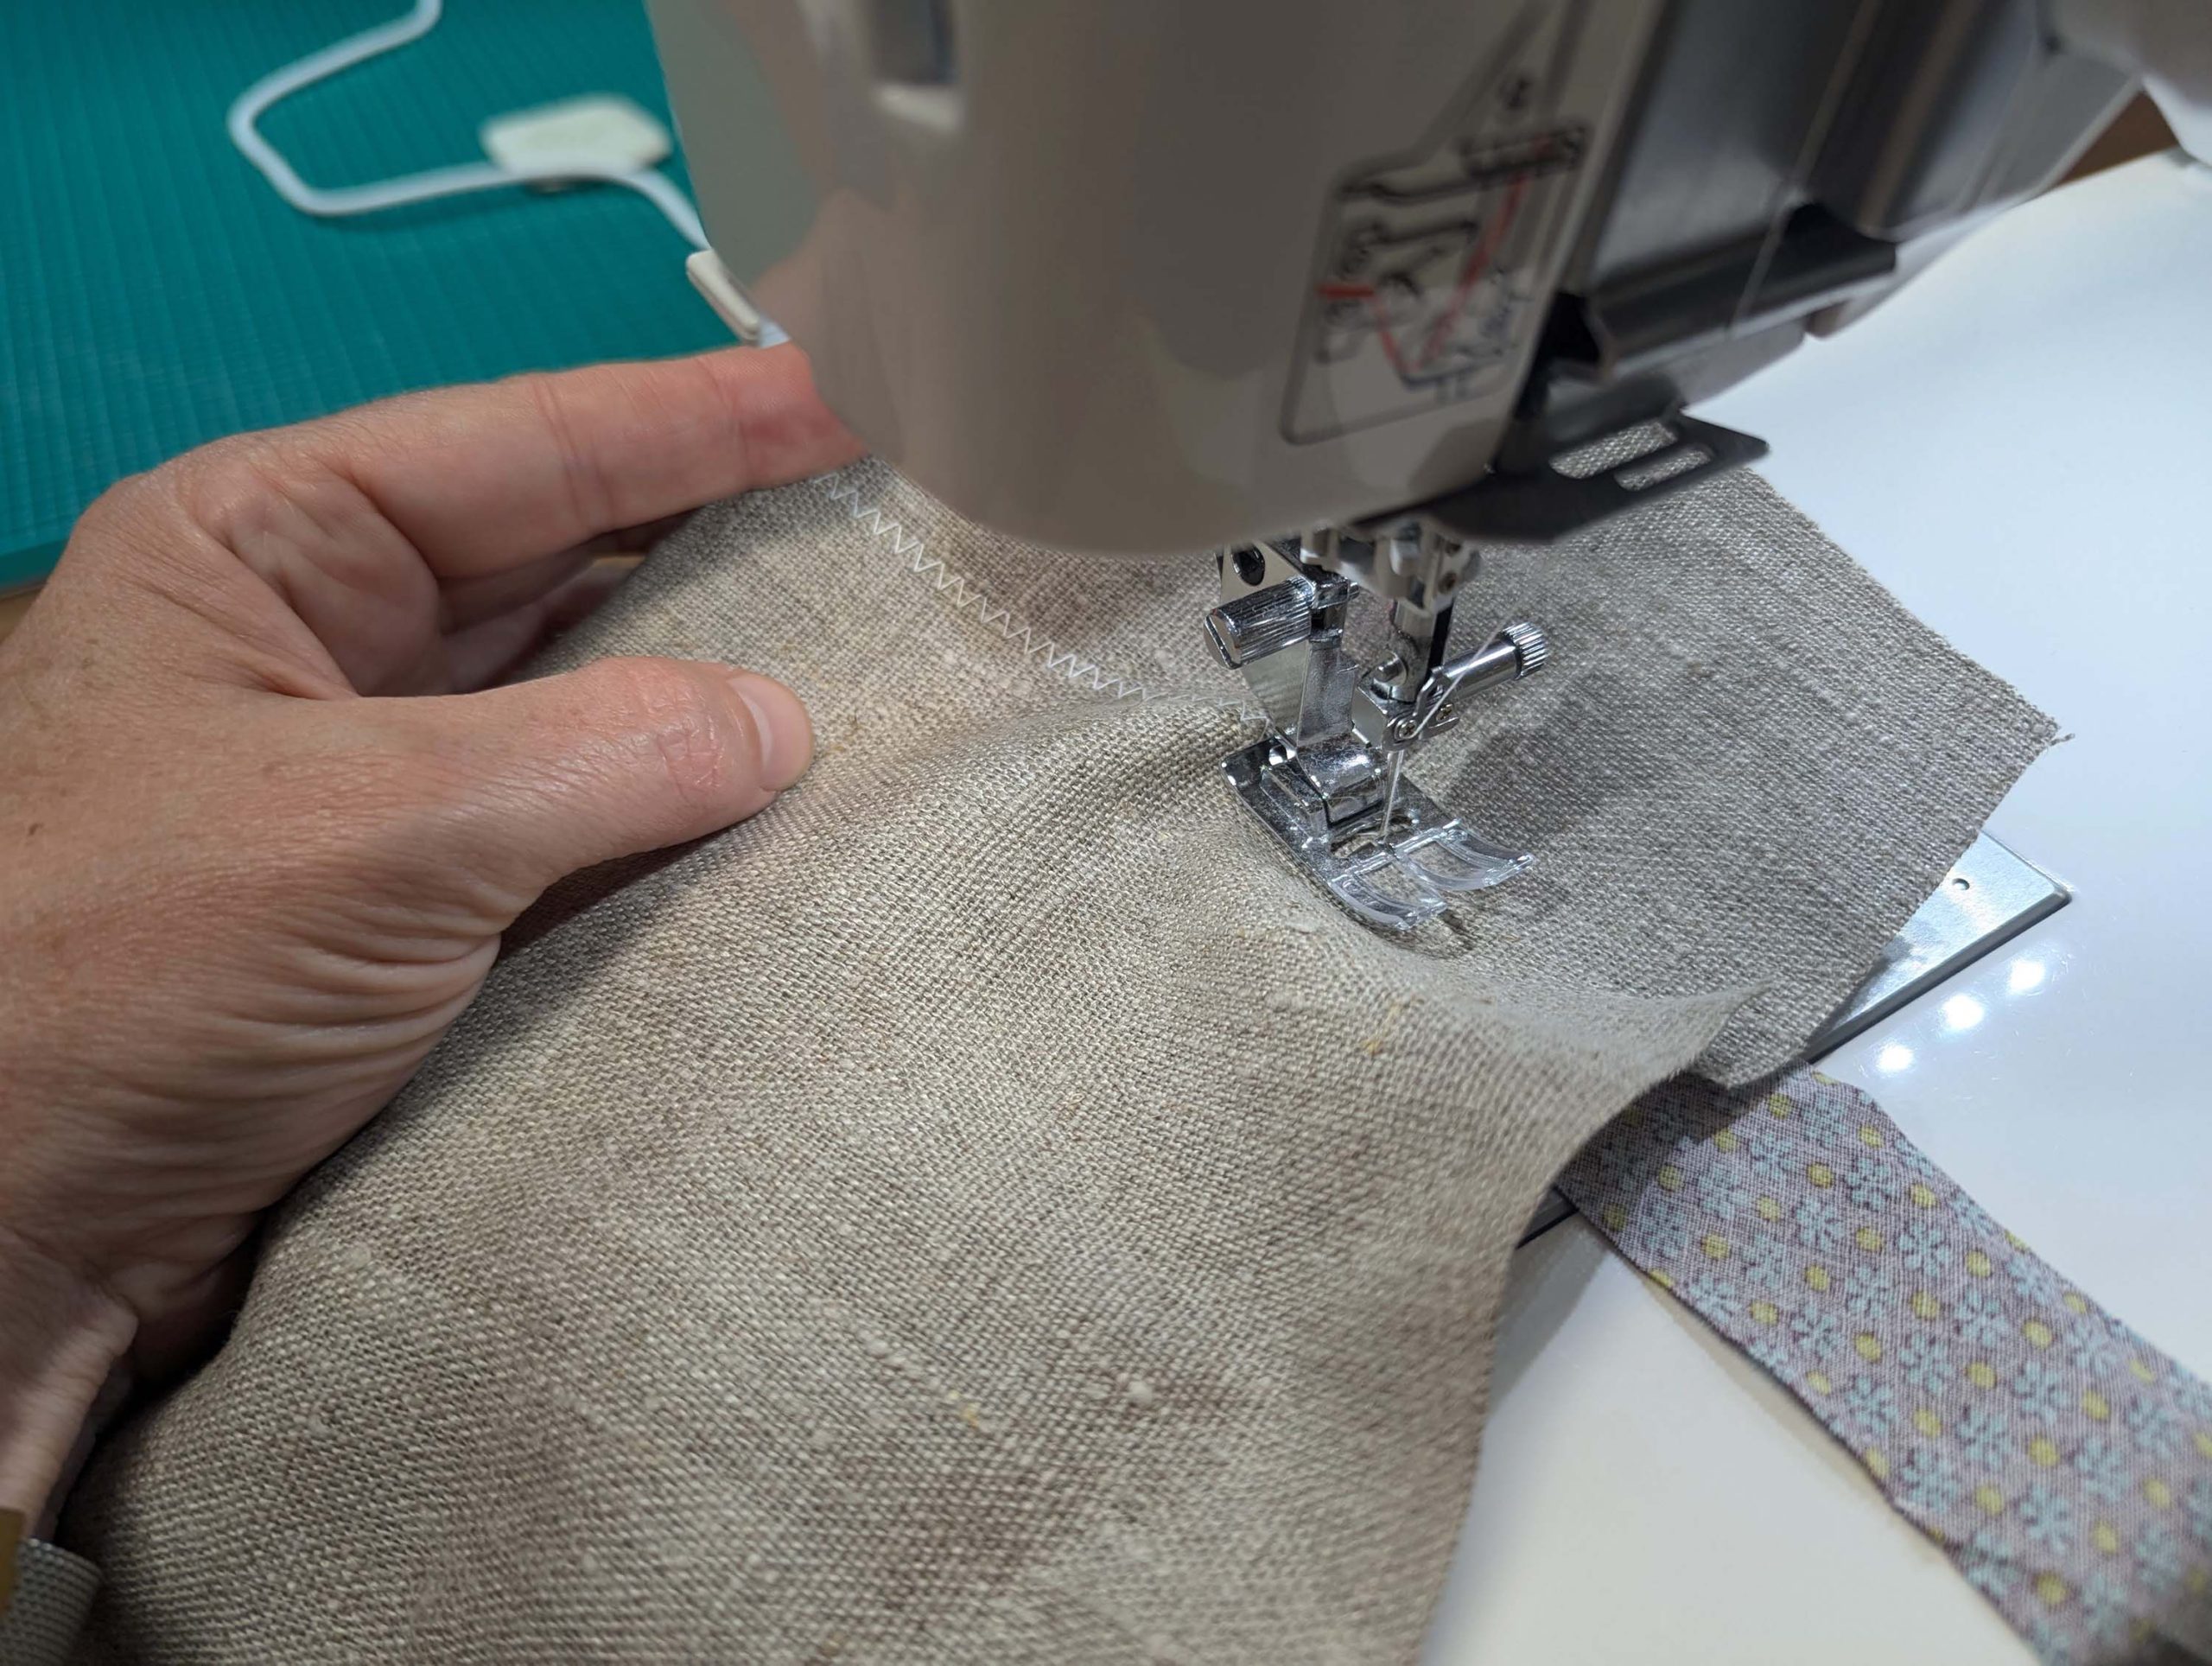
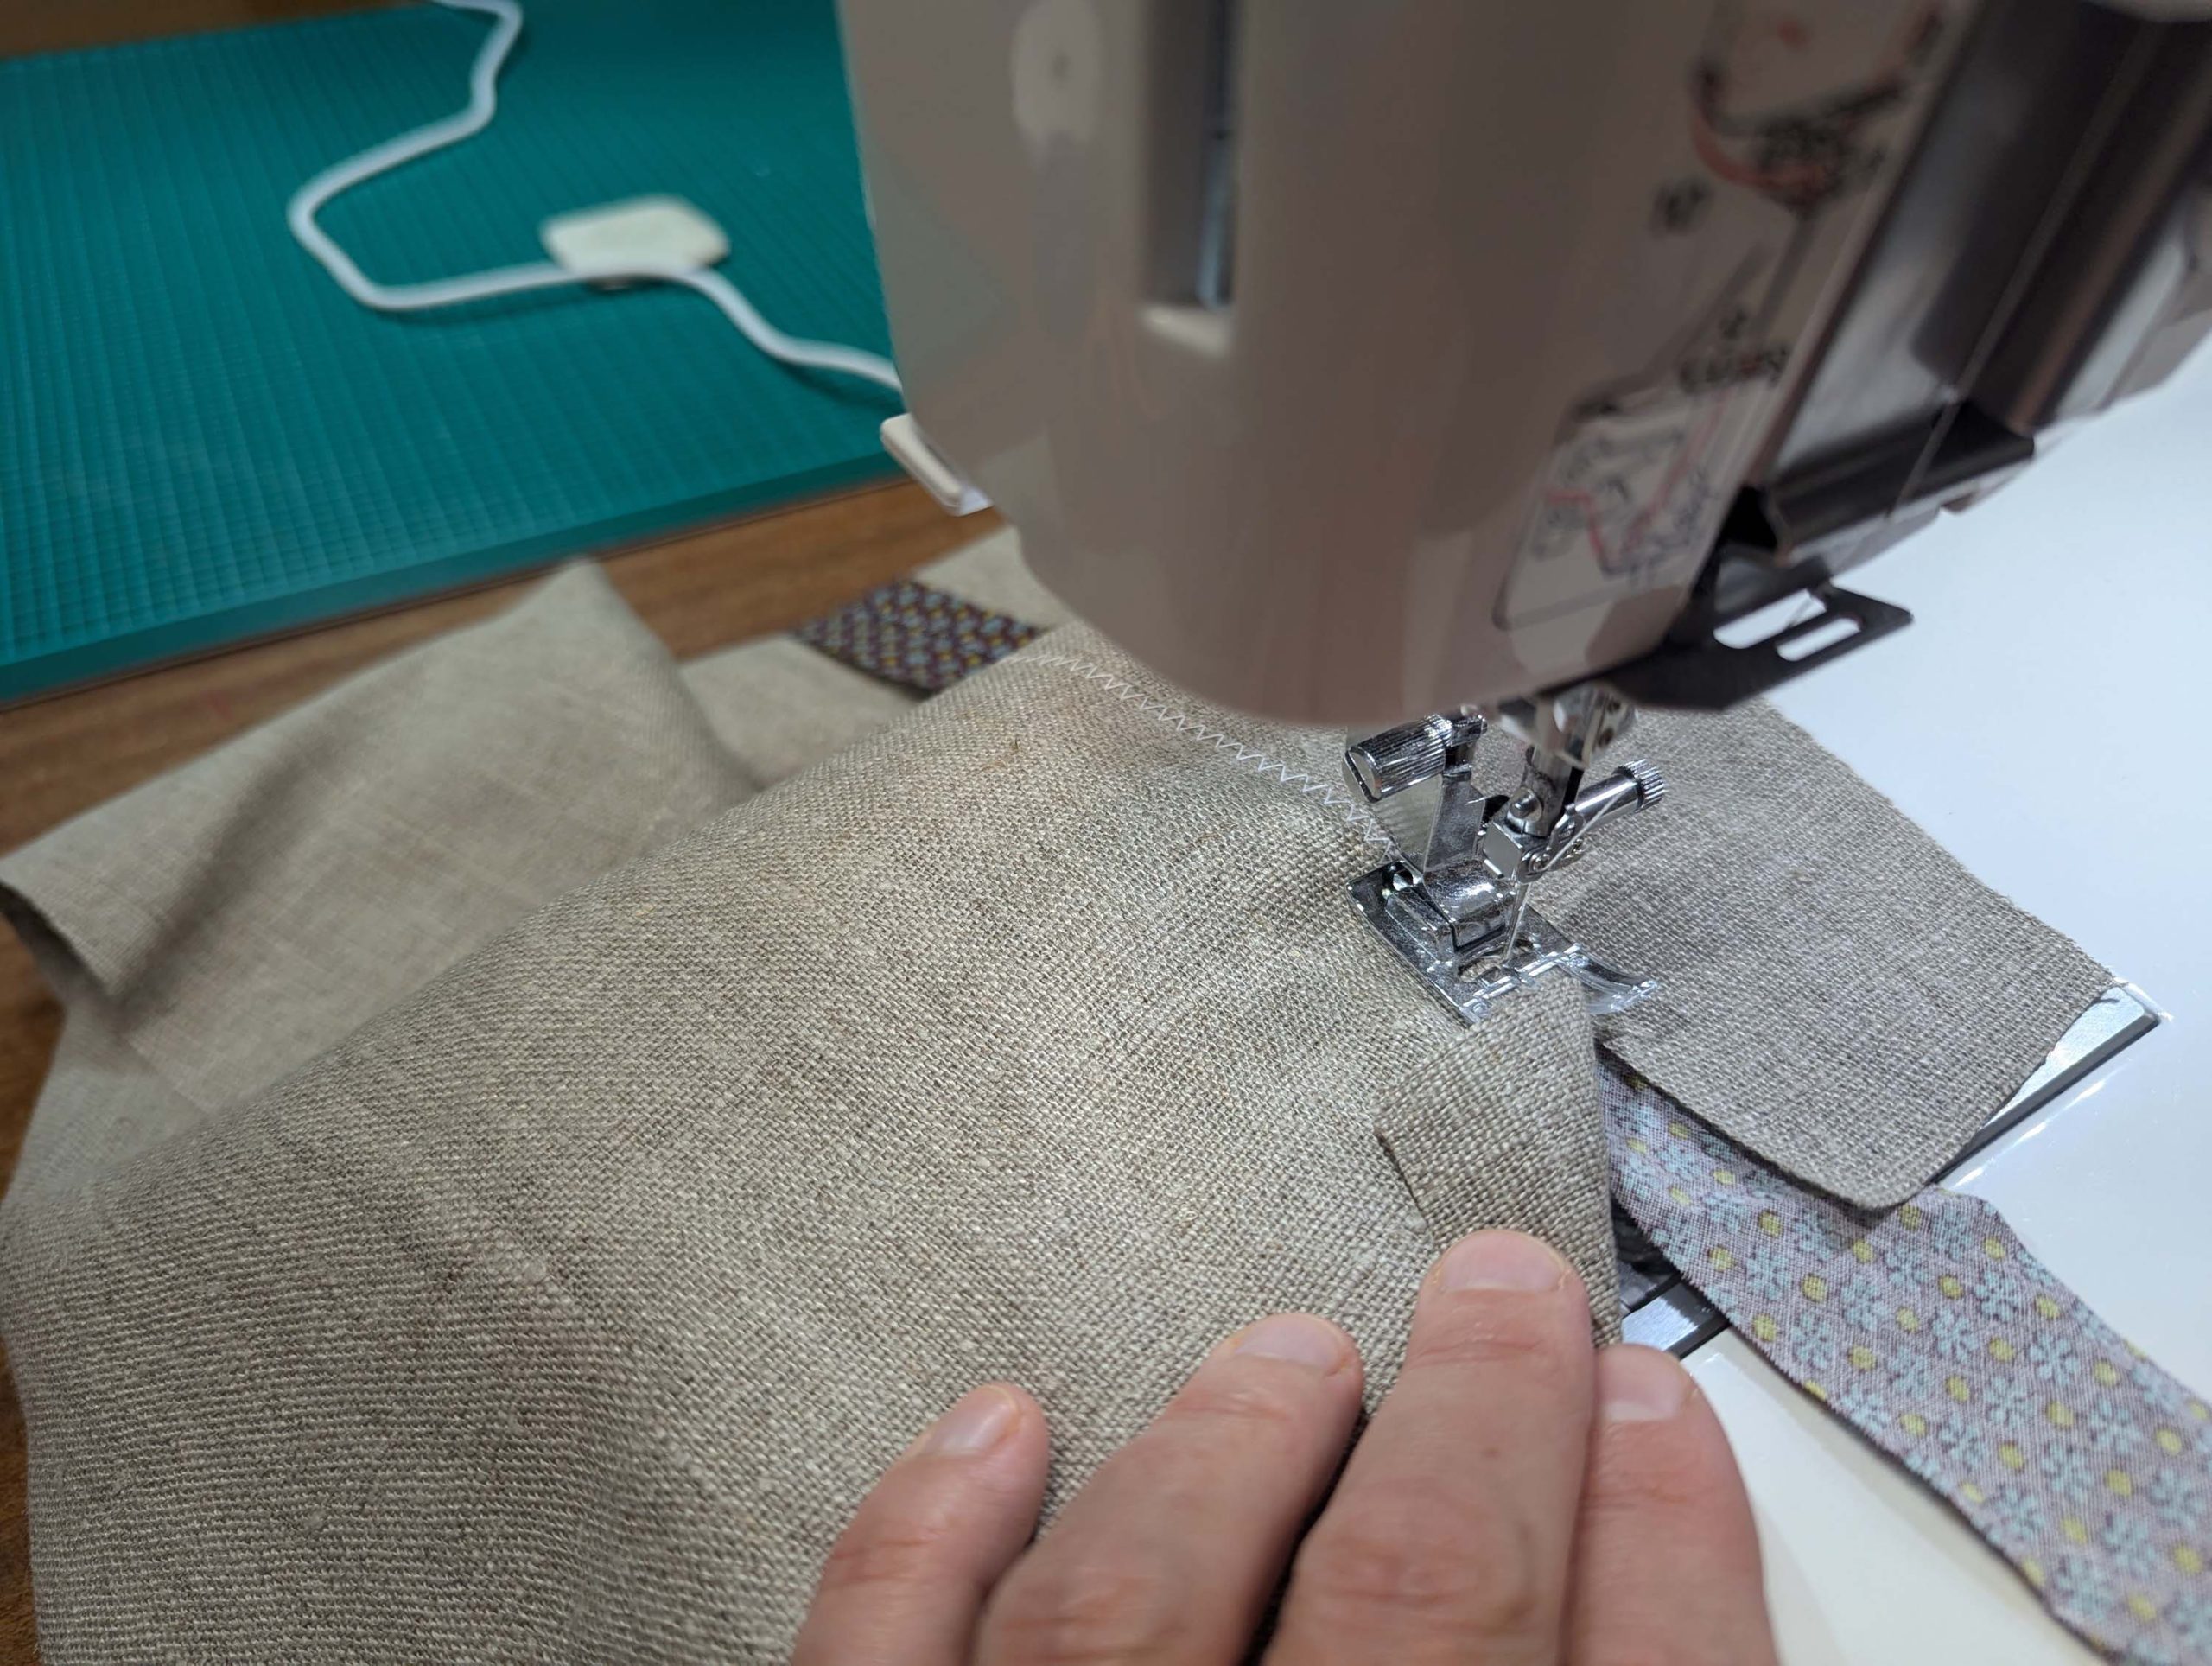
Hi there! Roti from Black Snail Patterns here. I’m thrilled to announce that we’re giving our popular 1830s Frock Coat sewing pattern a major upgrade. This classic garment has long been a favorite among historical costume enthusiasts, and now we’re making it even better.
We’ve listened to your feedback and enhanced the pattern with clearer, more detailed instructions. This is not a beginner sewing pattern. However, we tried to explain tailoring terminology in a way that, with sufficient motivation and enthusiasm, everyone could understand.
Get the completely updated pattern here:
In this post, I’ll walk you through the updates we’re making:
Expanded step-by-step instructions
New troubleshooting tips for common challenges
Additional pictures for complex construction steps and period-accurate piped edges.
These improvements will help you achieve stunning results, whether you’re creating a historically accurate costume or adapting the Frock Coat for a contemporary twist.
Join me as we explore the refined details of this 19th-century classic and uncover the techniques that bring it to life. Let’s make historical sewing not just accessible, but truly enjoyable for everyone. Ready to dive in? Stay tuned as we delve into the fascinating details of this classic garment and the techniques used in its construction.
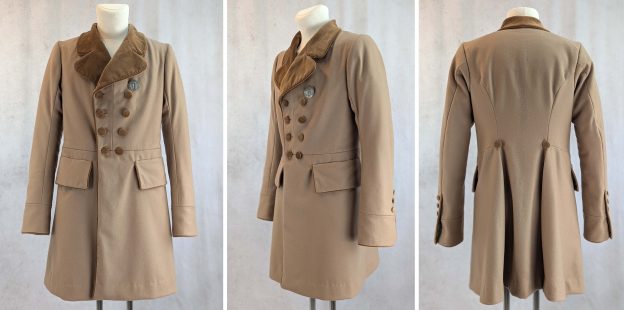
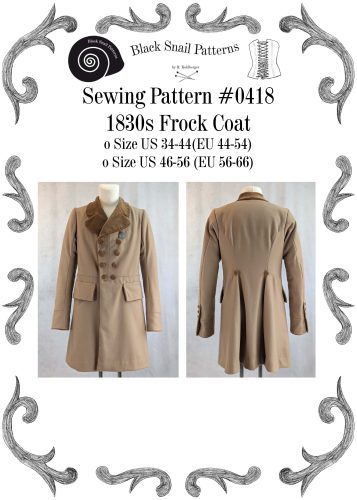
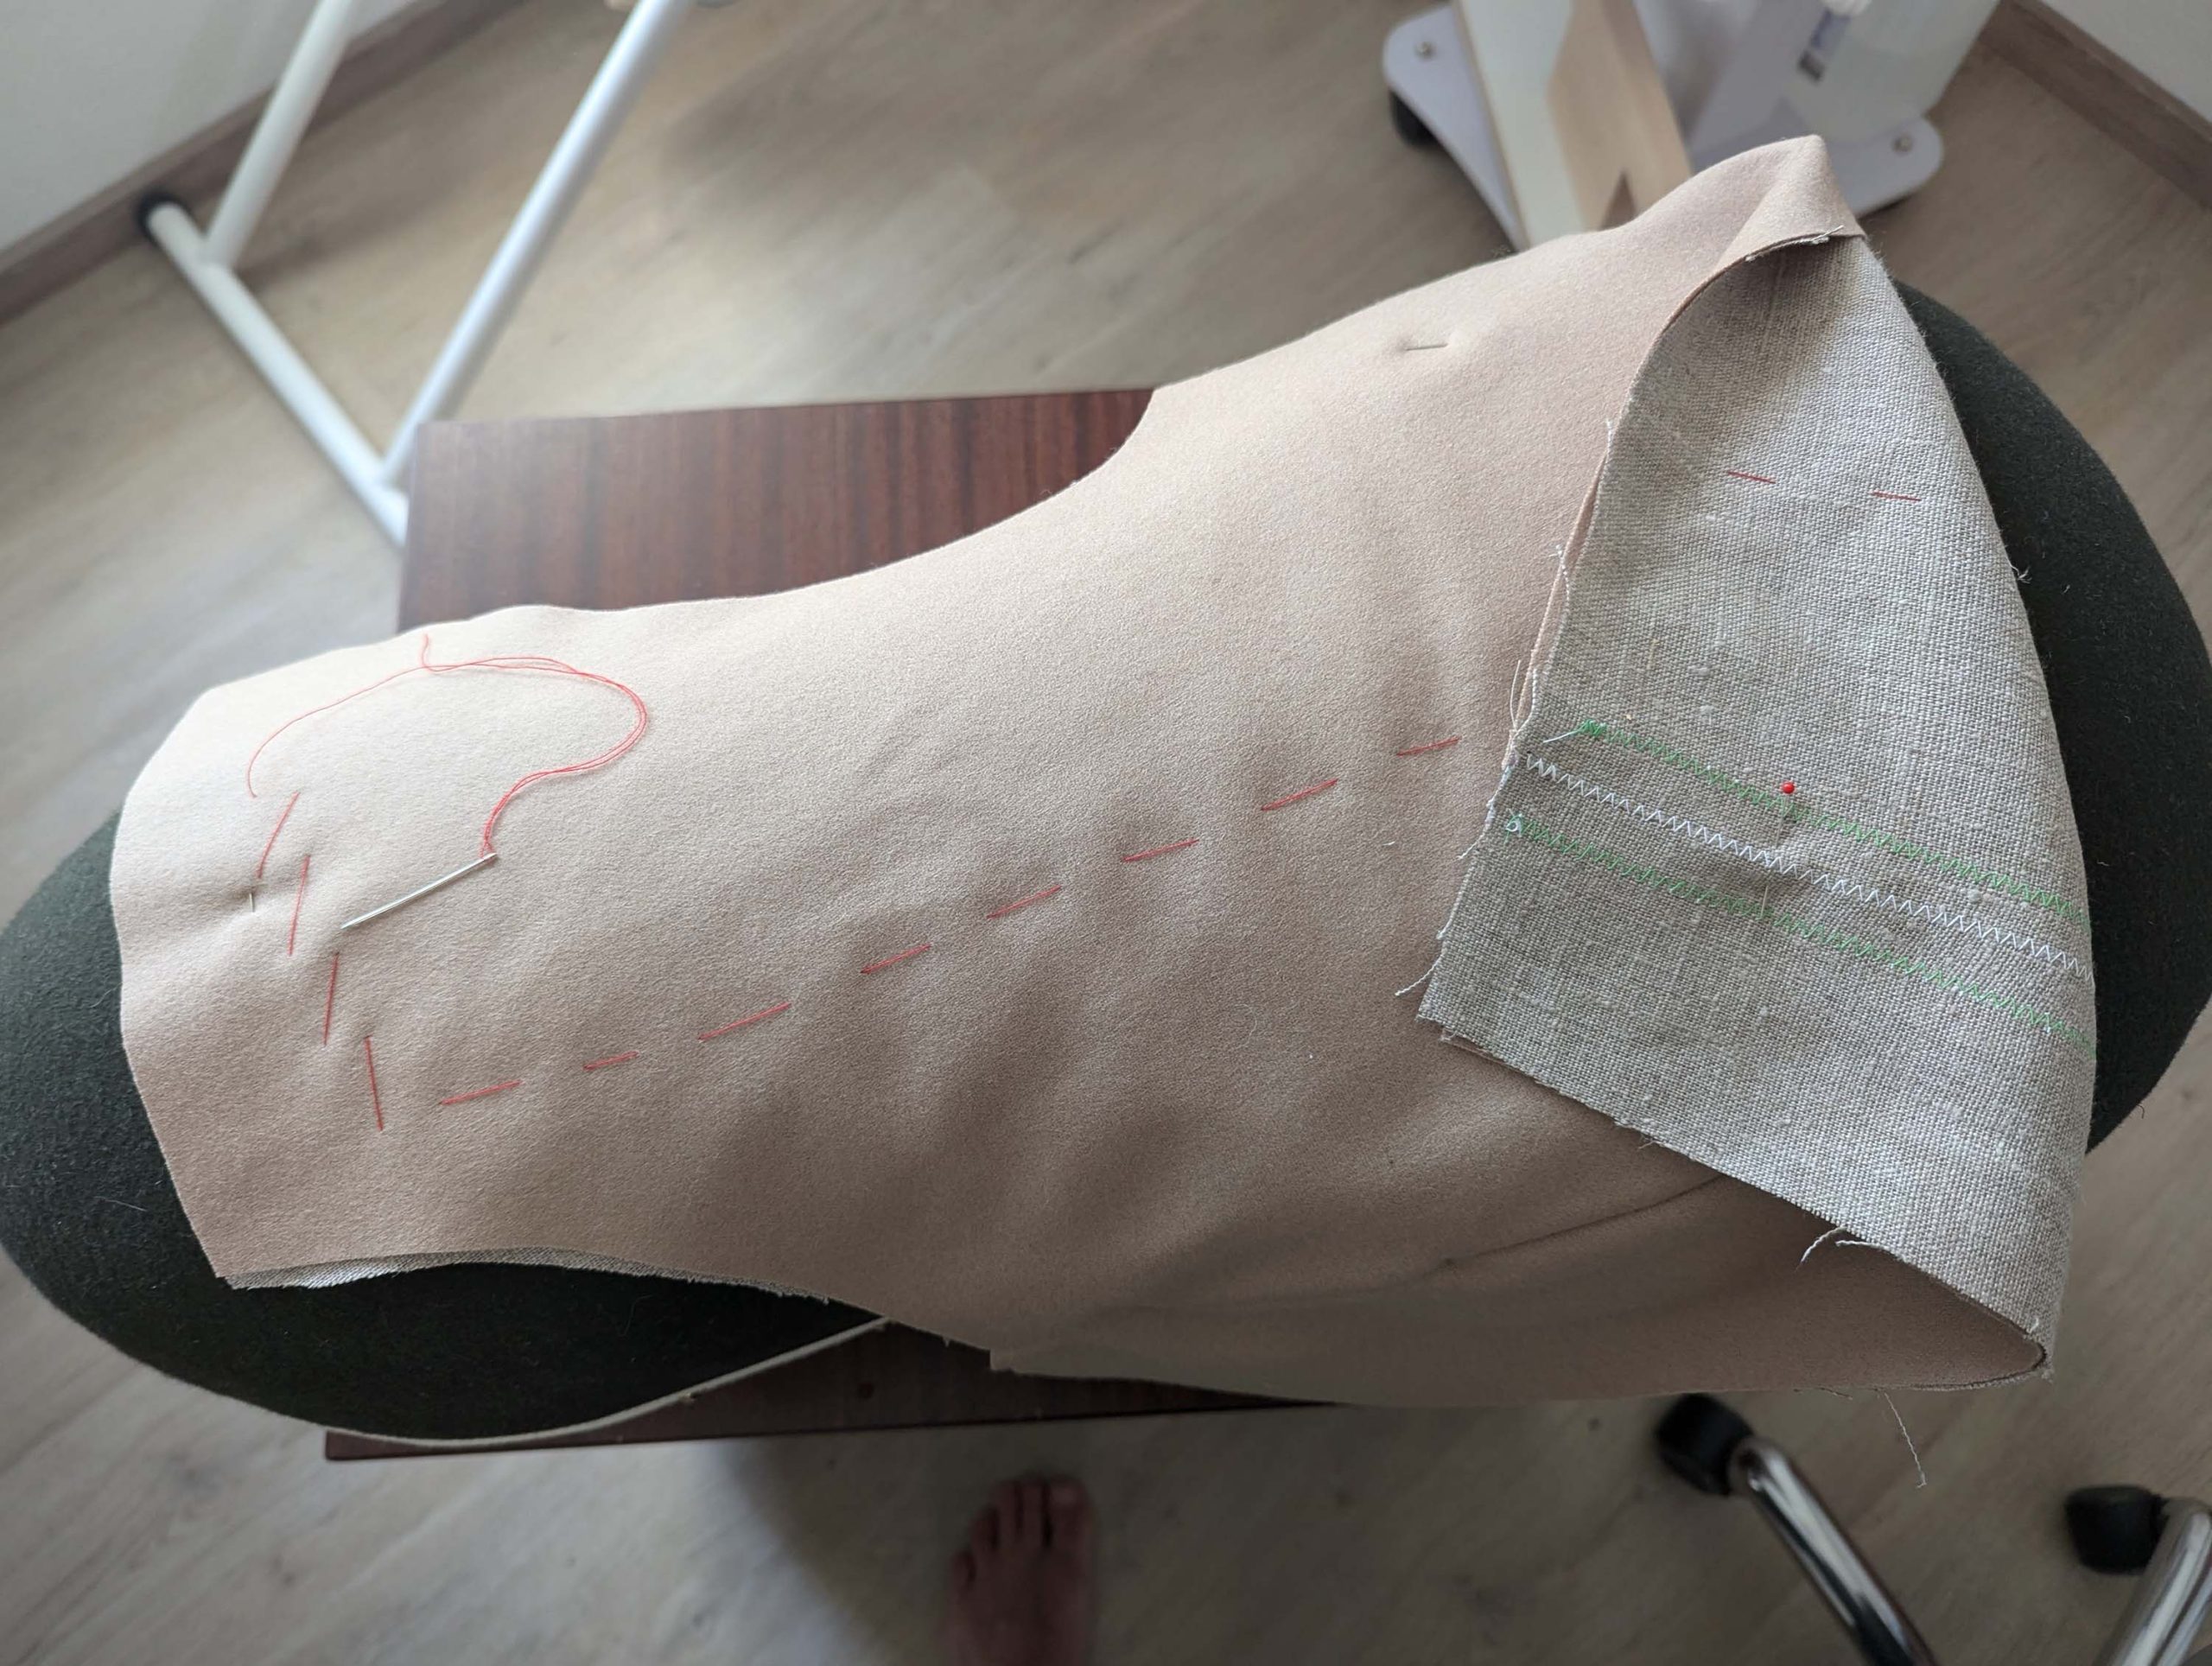
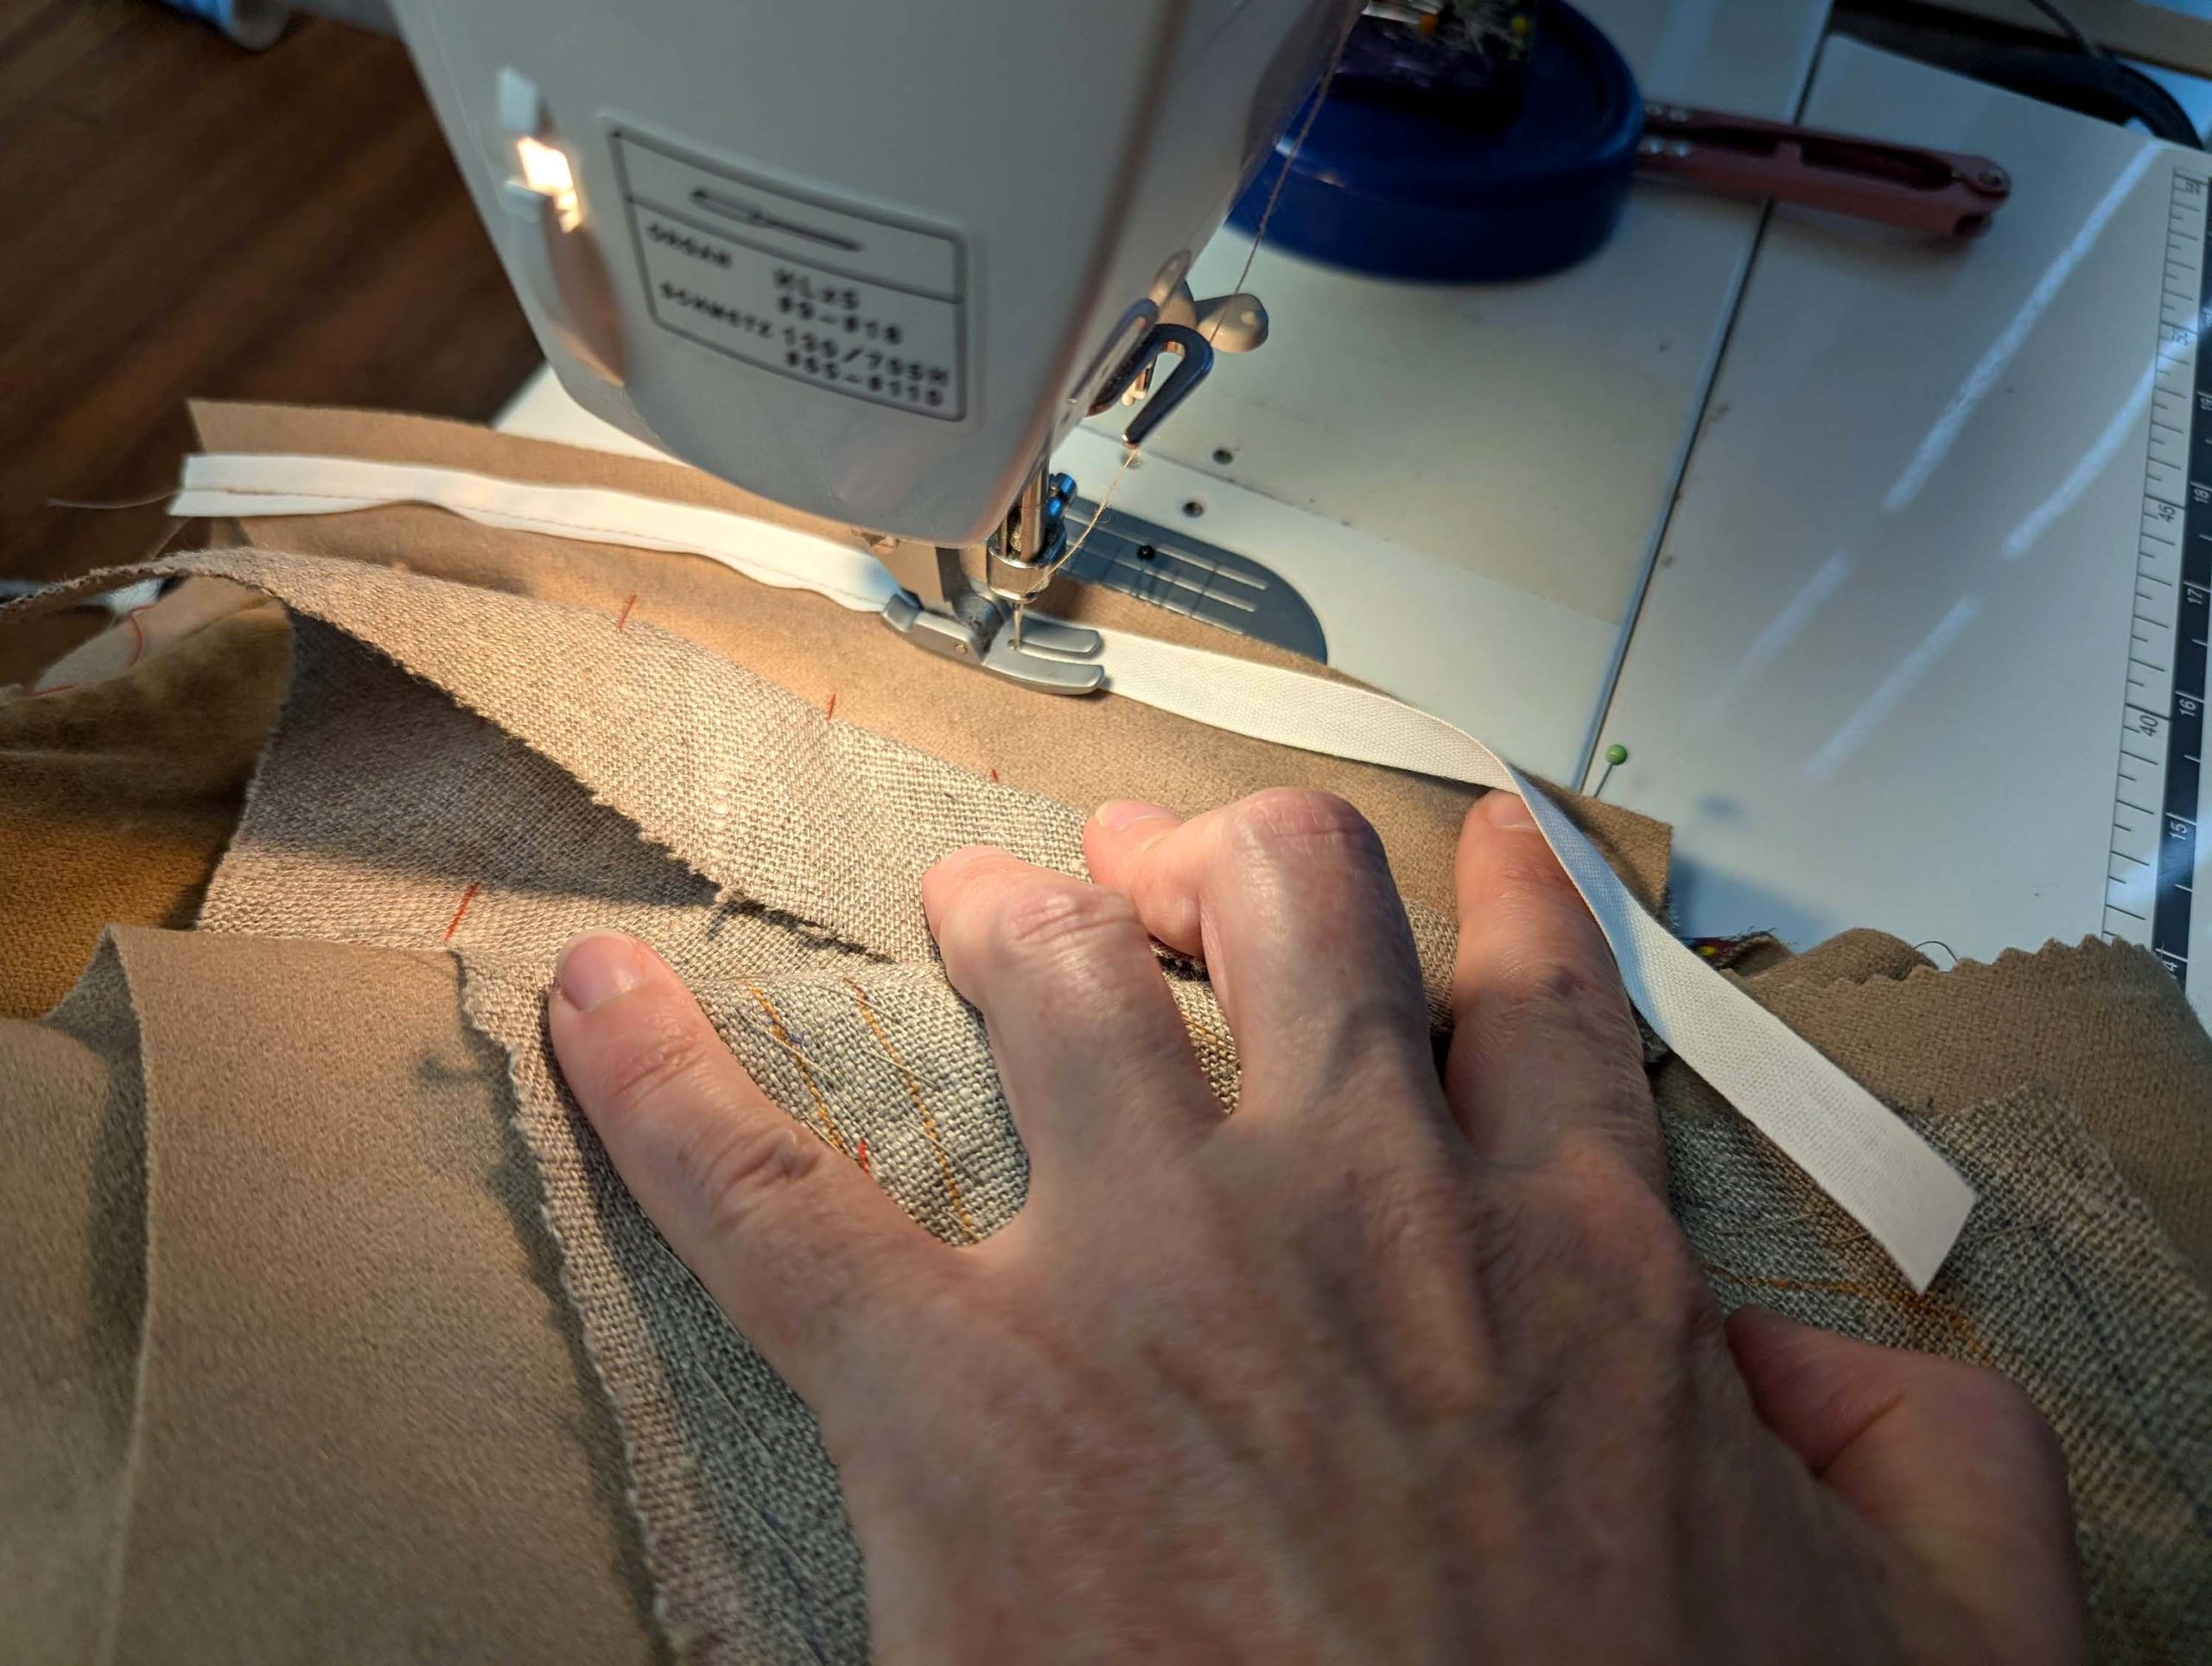
(5) Time to prepare the fronts: Take the canvas of the front and lapel, and trim back the seam allowances along the abutting edges, to sew together the pieces edge to edge, using a zig-zag stitch. Stop sewing exactly at the collar notch (x). Underlay the seam with a strip of bias tape (cotton). This method reinforces the joint and helps distribute stress across the garment.
Take the fronts from the fashion fabric and stretch the shoulder. Sew the lapel to the front, right sides together, and stop sewing exactly at the collar notch (x). Press open the seam allowances, and trim back the seam allowances at the collar notch.
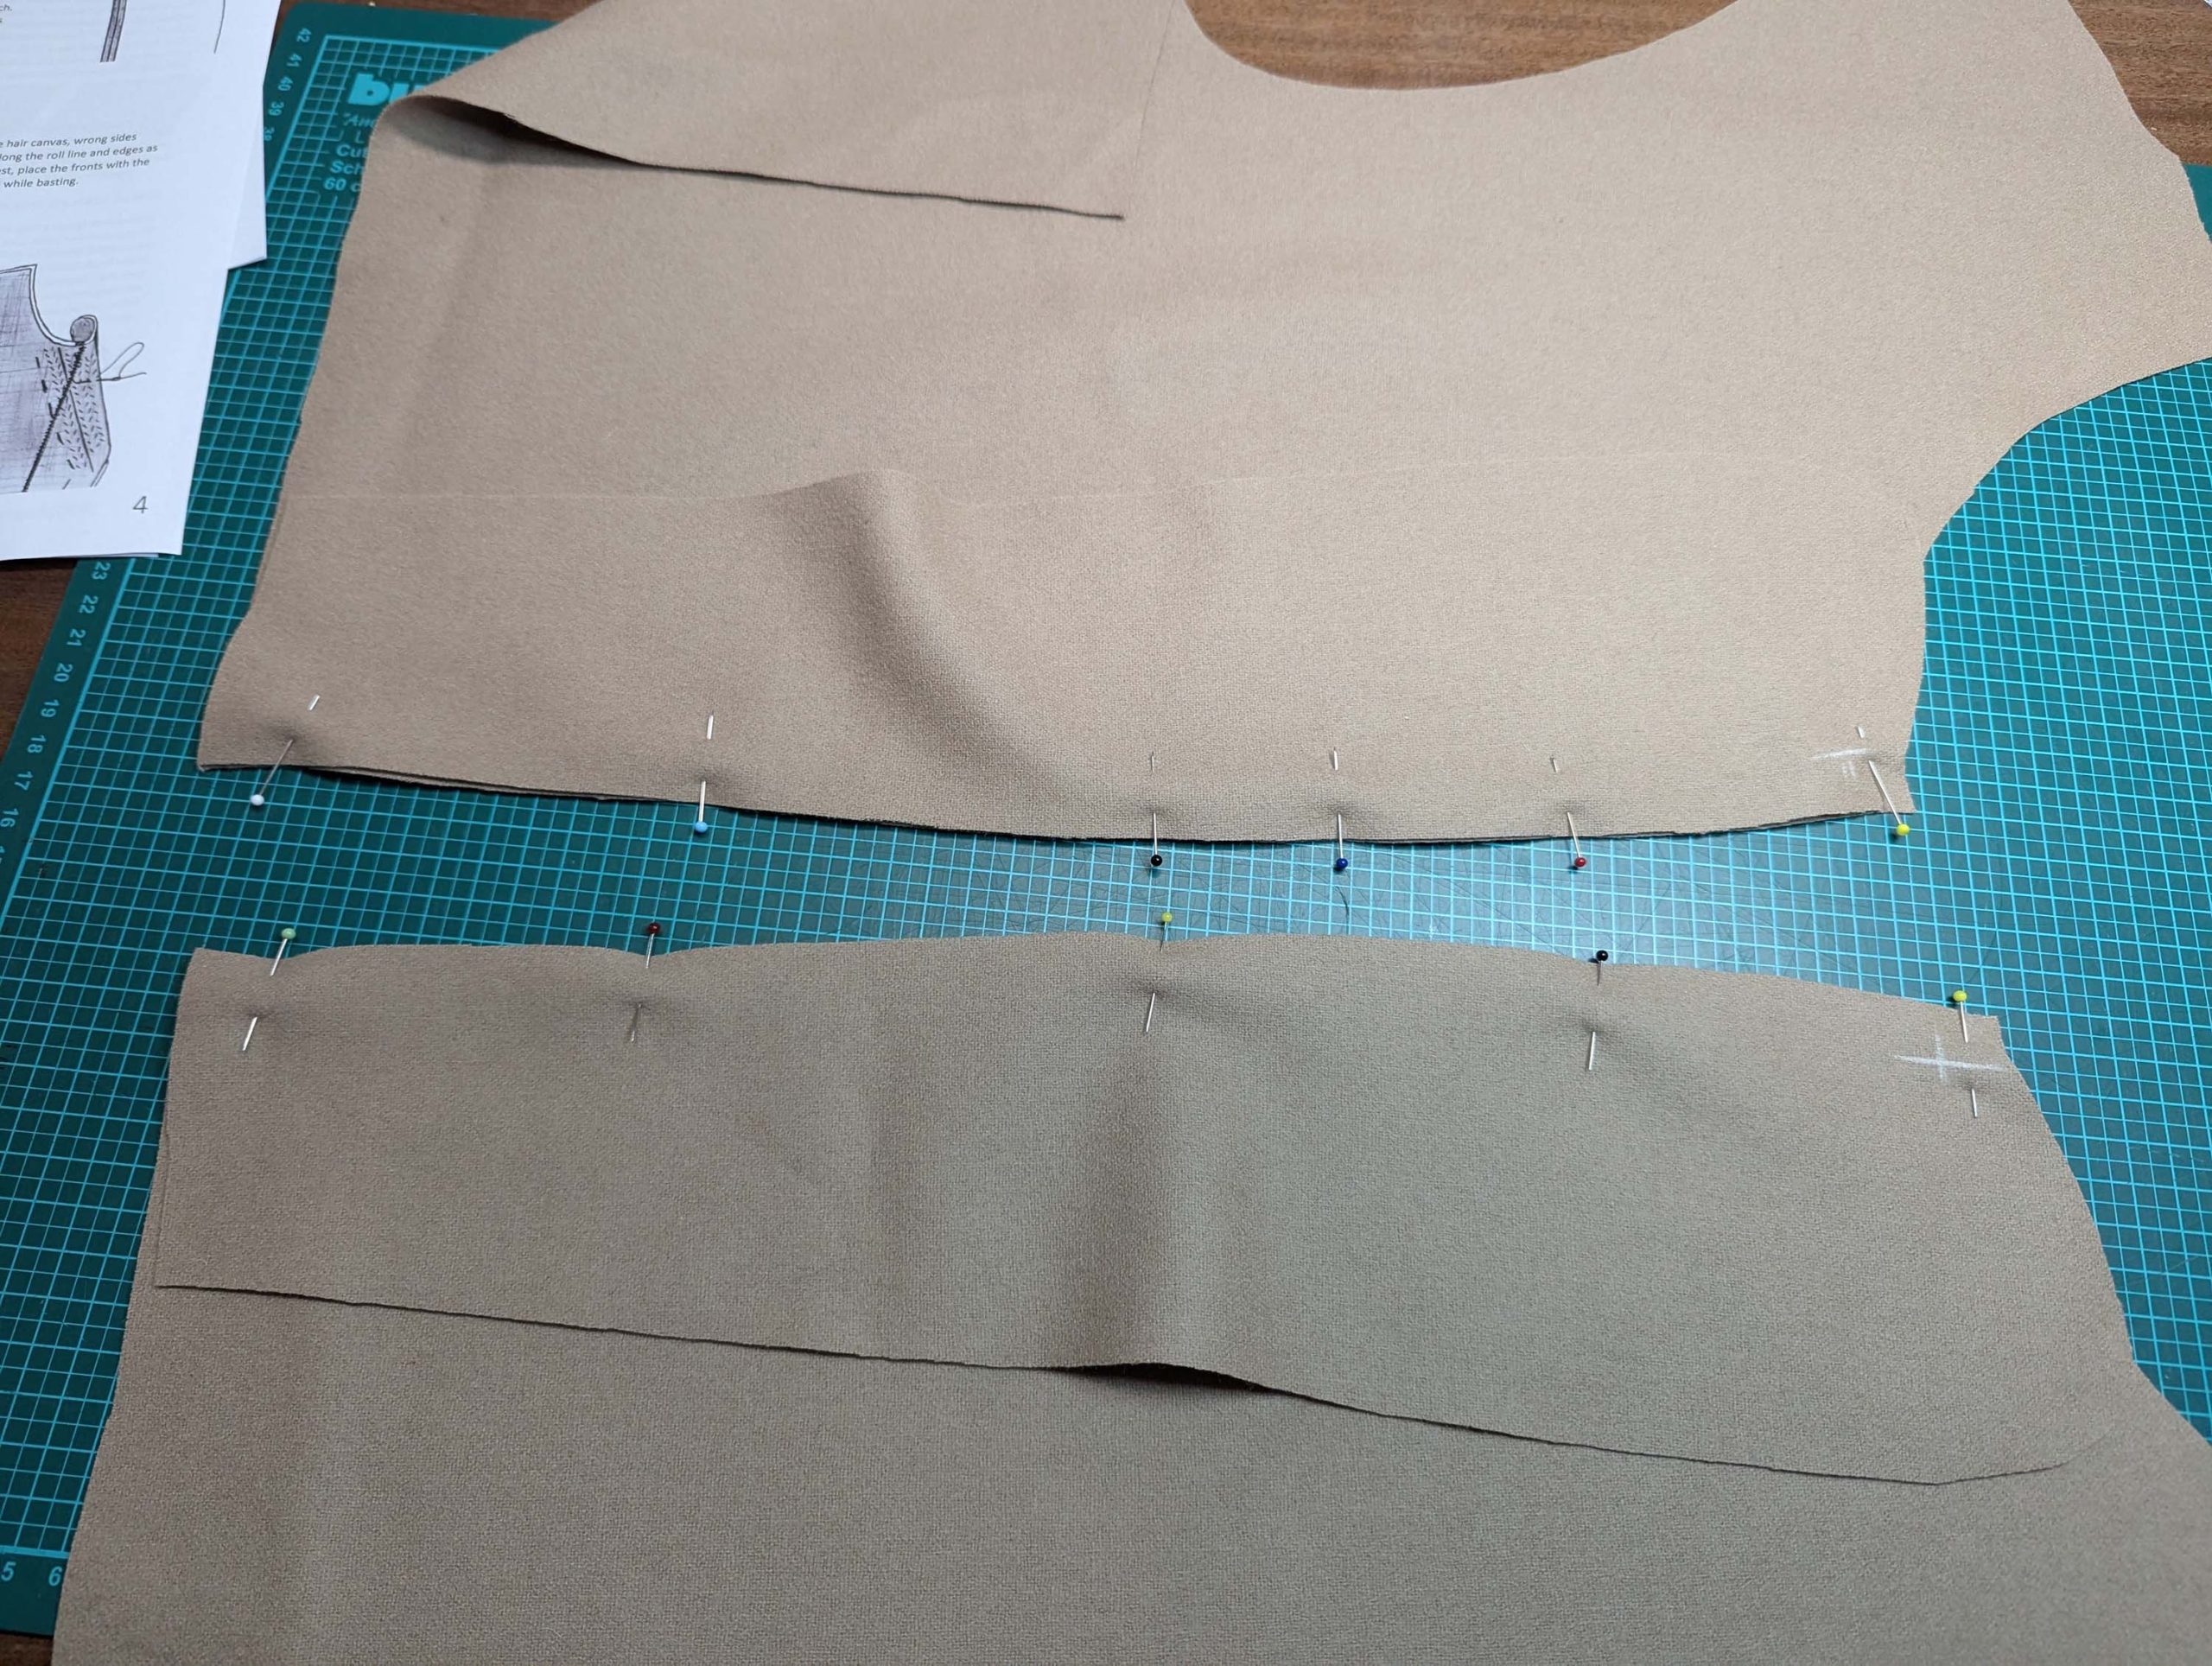
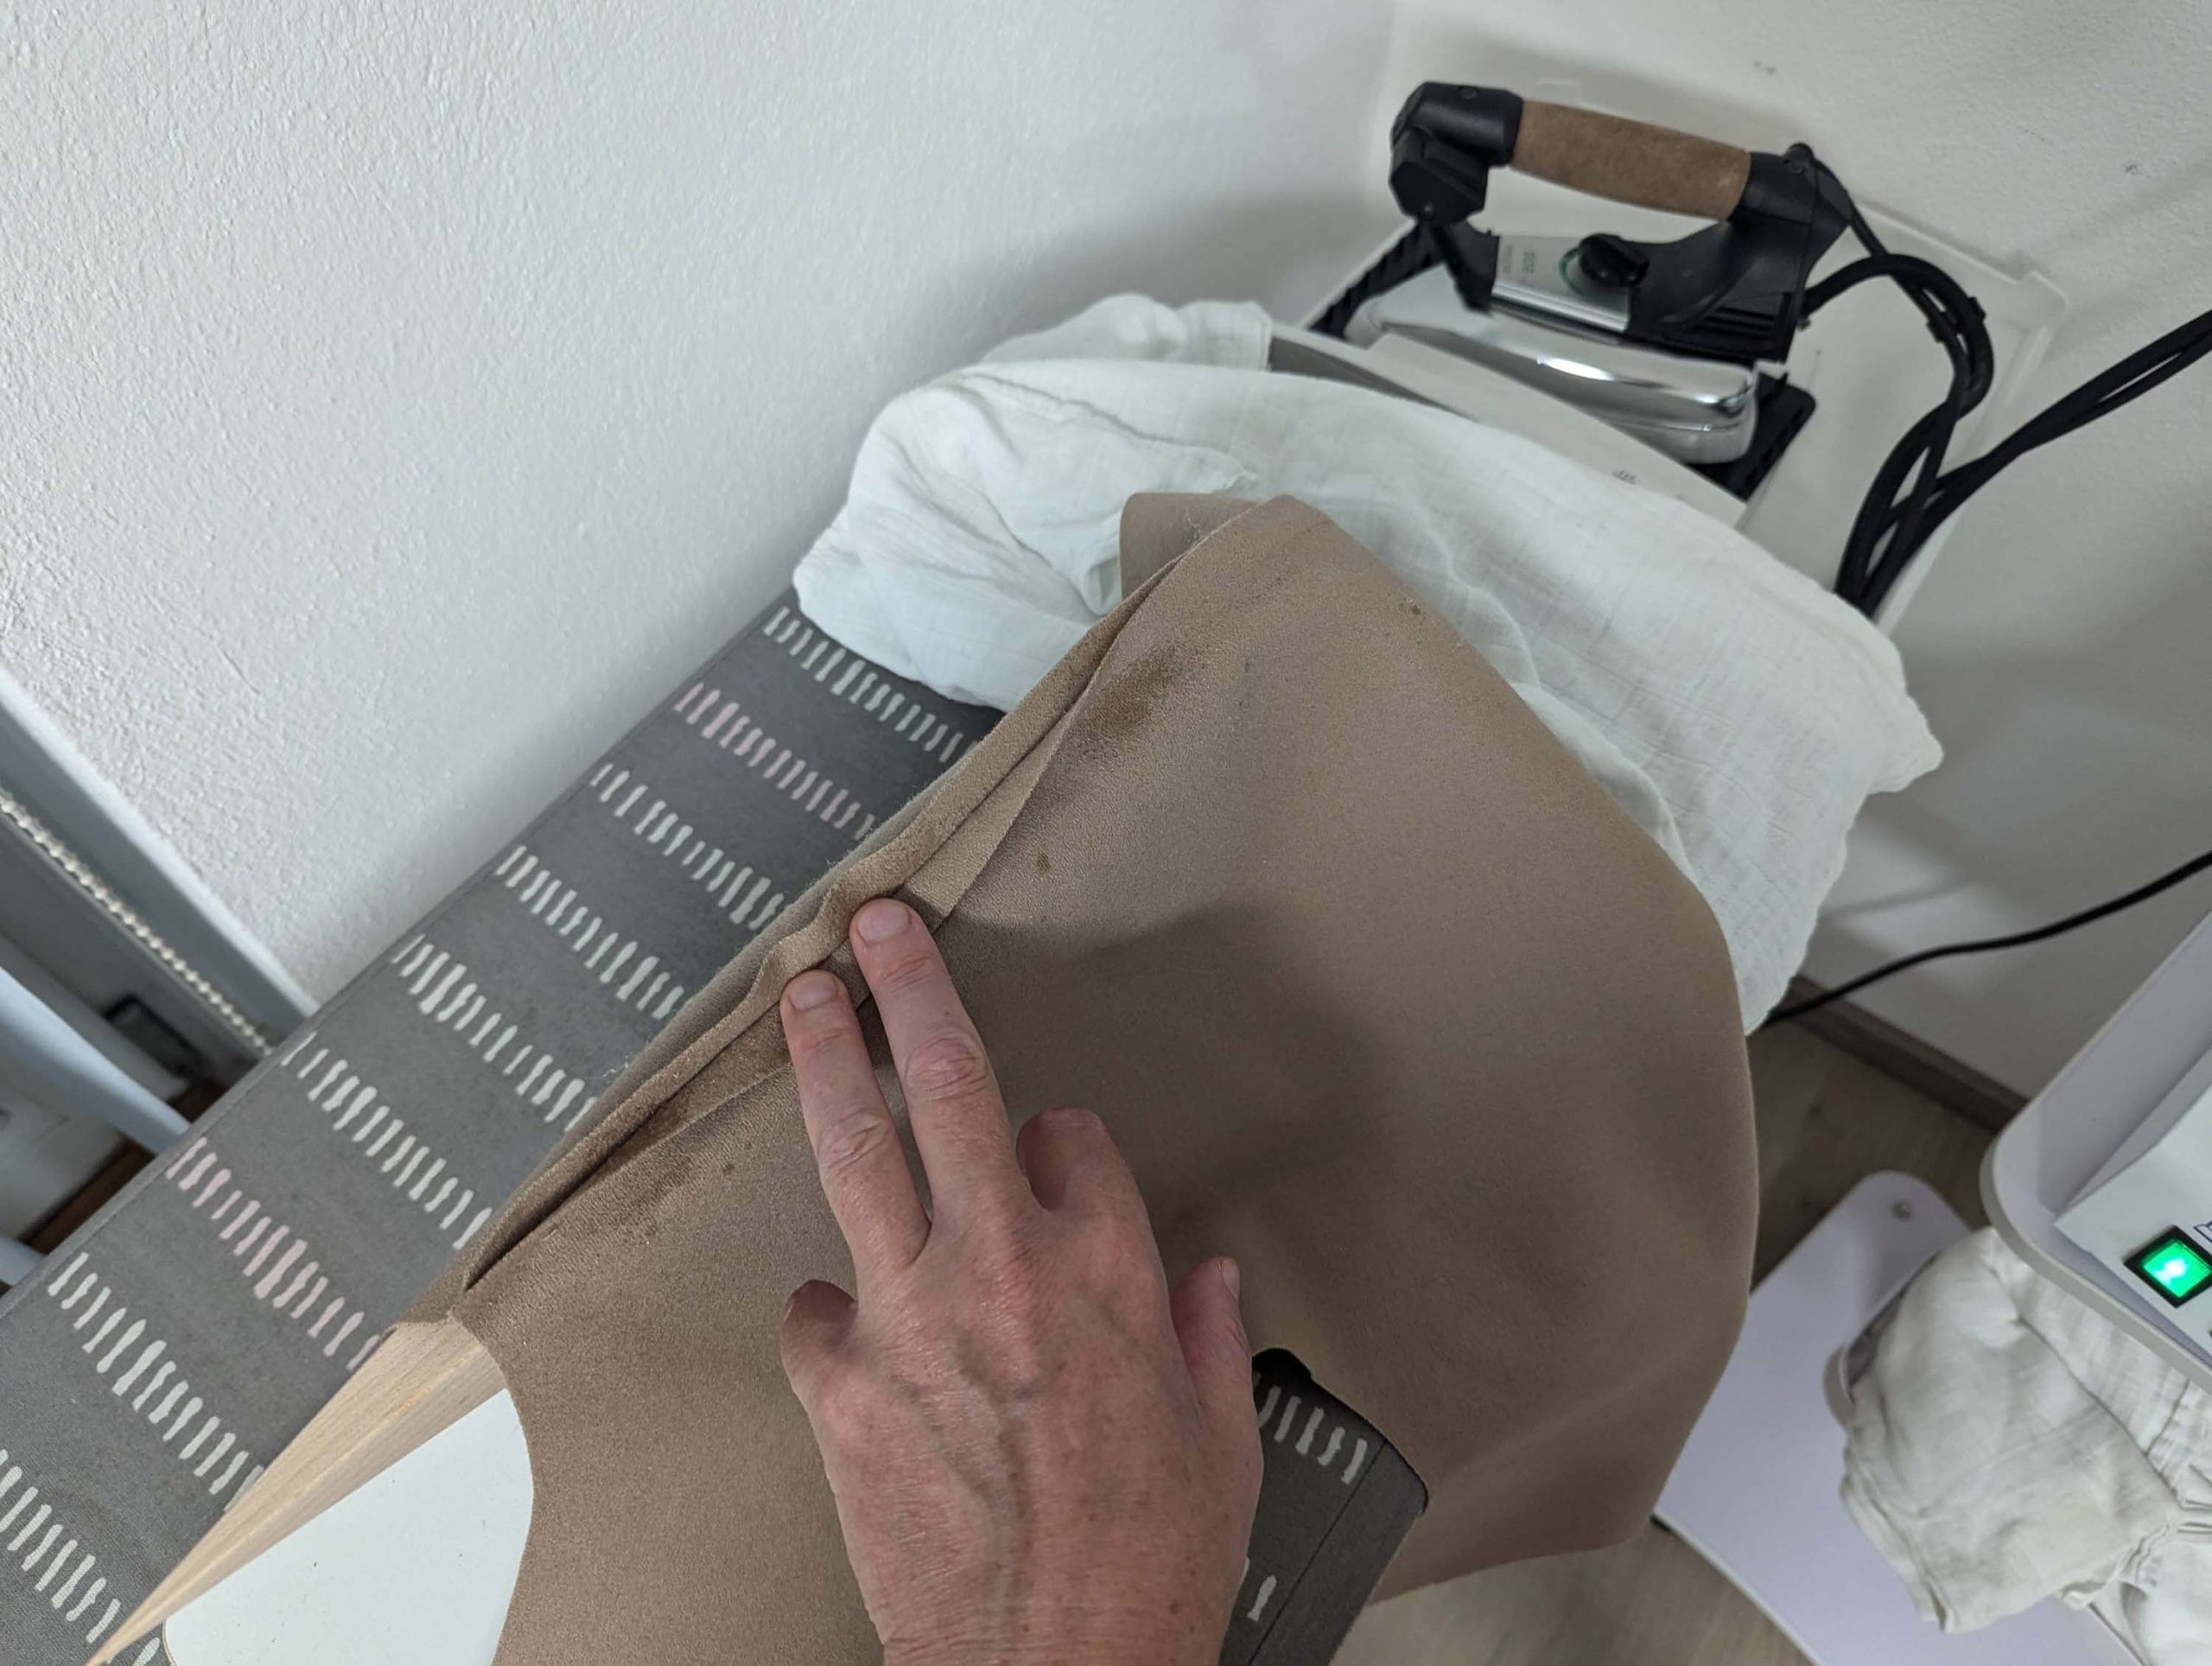
Baste the front canvas to the wrong side of the front, lining up the edges. Start stitching centered down the front and continue along the front edge, following the roll line until reaching the shoulder. Give the front some ease while basting by stretching the chest slightly and simulating the body with a tailor’s ham or a pillow. Lastly, baste along the armhole and the side seam. Baste about 2” (5cm) from all edges.
(10) Sew the shoulder seam, right sides together, easing in the extra width of the back. Fold the front-facing and front canvas to the side while sewing. Press open the seam allowances and place the front canvas on top.
Let´s move over to some other tricky details with velvet and piping!
Mark the stitching line along the neckline, and baste together the layers (canvas and front) inside the seam allowance, right beside the stitching line. Trim back to 3/8” (1cm). Smooth out the front-facing over the shoulder seam towards the center back and mark the center back. Line up the front facings along that line, right sides together, and sew. Trim back the seam allowances and press open. That was the easy part.
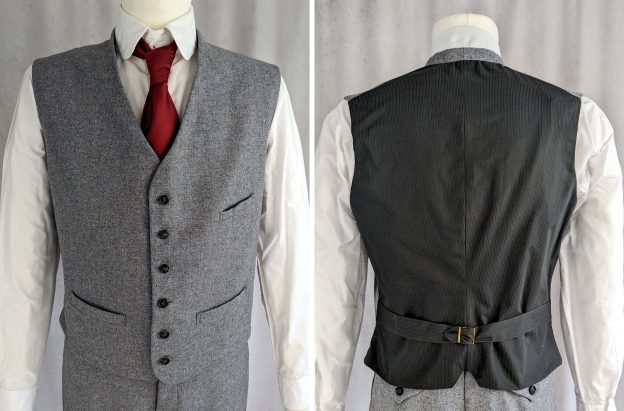
After the Norfolk jacket and the breeches, we’re now focusing on another essential garment in the men’s wardrobe: the waistcoat.
Similar to the patterns mentioned before, this one also originates from my early days as a pattern maker, marking my initial exploration into men’s tailoring in the 19th century. The waistcoat pattern represented my first endeavor in digital illustration, departing from my usual hand-sketching method. Despite the learning curve, it marked a significant milestone in my journey of pattern-making.
However, despite its age, a detailed blog post and sewing guide for the waistcoat was missing. That’s where this upcoming blog post comes in, especially focusing on the pockets. Join me as I delve into the nuances of constructing the waistcoat, offering practical insights and step-by-step instructions to help you bring this timeless garment to life.
Choosing the materials: A waistcoat, typically worn with trousers and a coat or jacket, evolved in material and style throughout the 19th century. At the start of the century, waistcoats were often crafted from contrasting materials. By the century’s end, they matched the trousers and jacket for informal occasions, forming a three-piece suit as we recognize today.
Similarly to modern practices, the back of the waistcoat was typically made from lighter materials. Polished cotton or fine twill/satin was commonly used for the back, straps, and lining.
Let´s dive into sewing, step by step as usual!
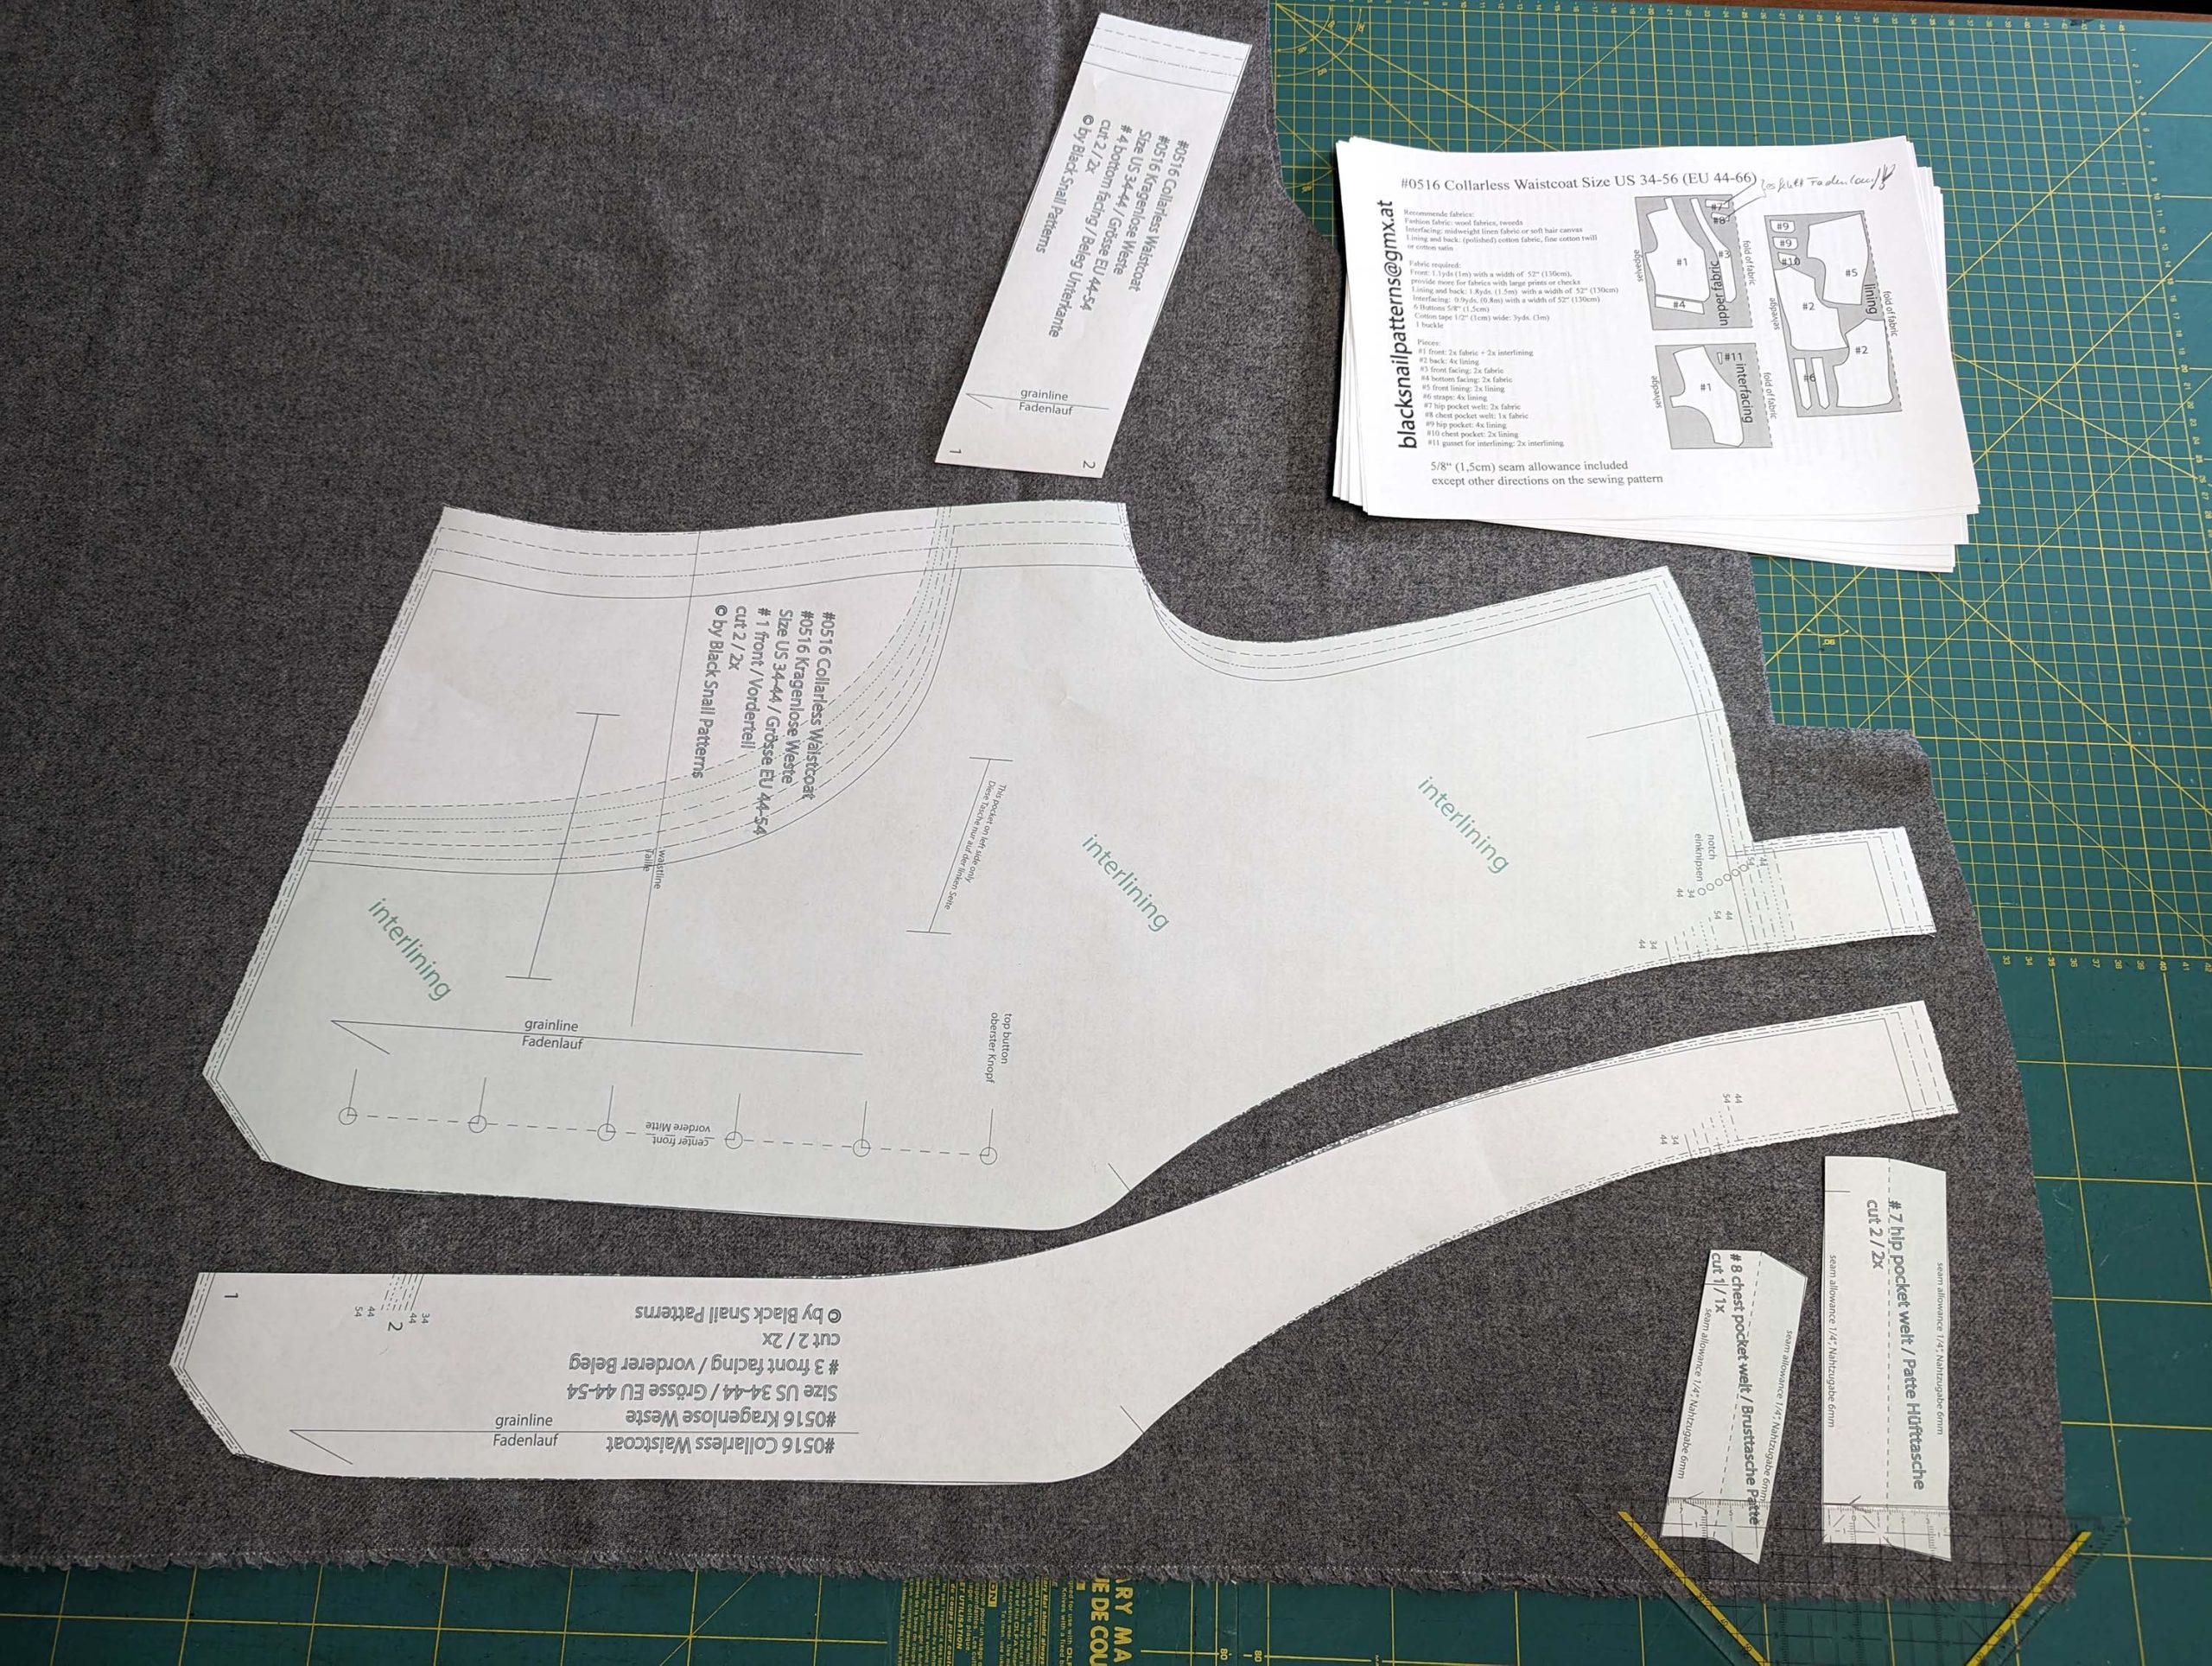
(1) As usual, start with cutting all the pieces from fashion fabric, interfacing, and lining, and carefully transfer all marks and notches, especially the little corner marks on the collar. The waistcoat is called collarless, but that´s not quite true, it´s kind of a shawl collar, just with a collar stand.
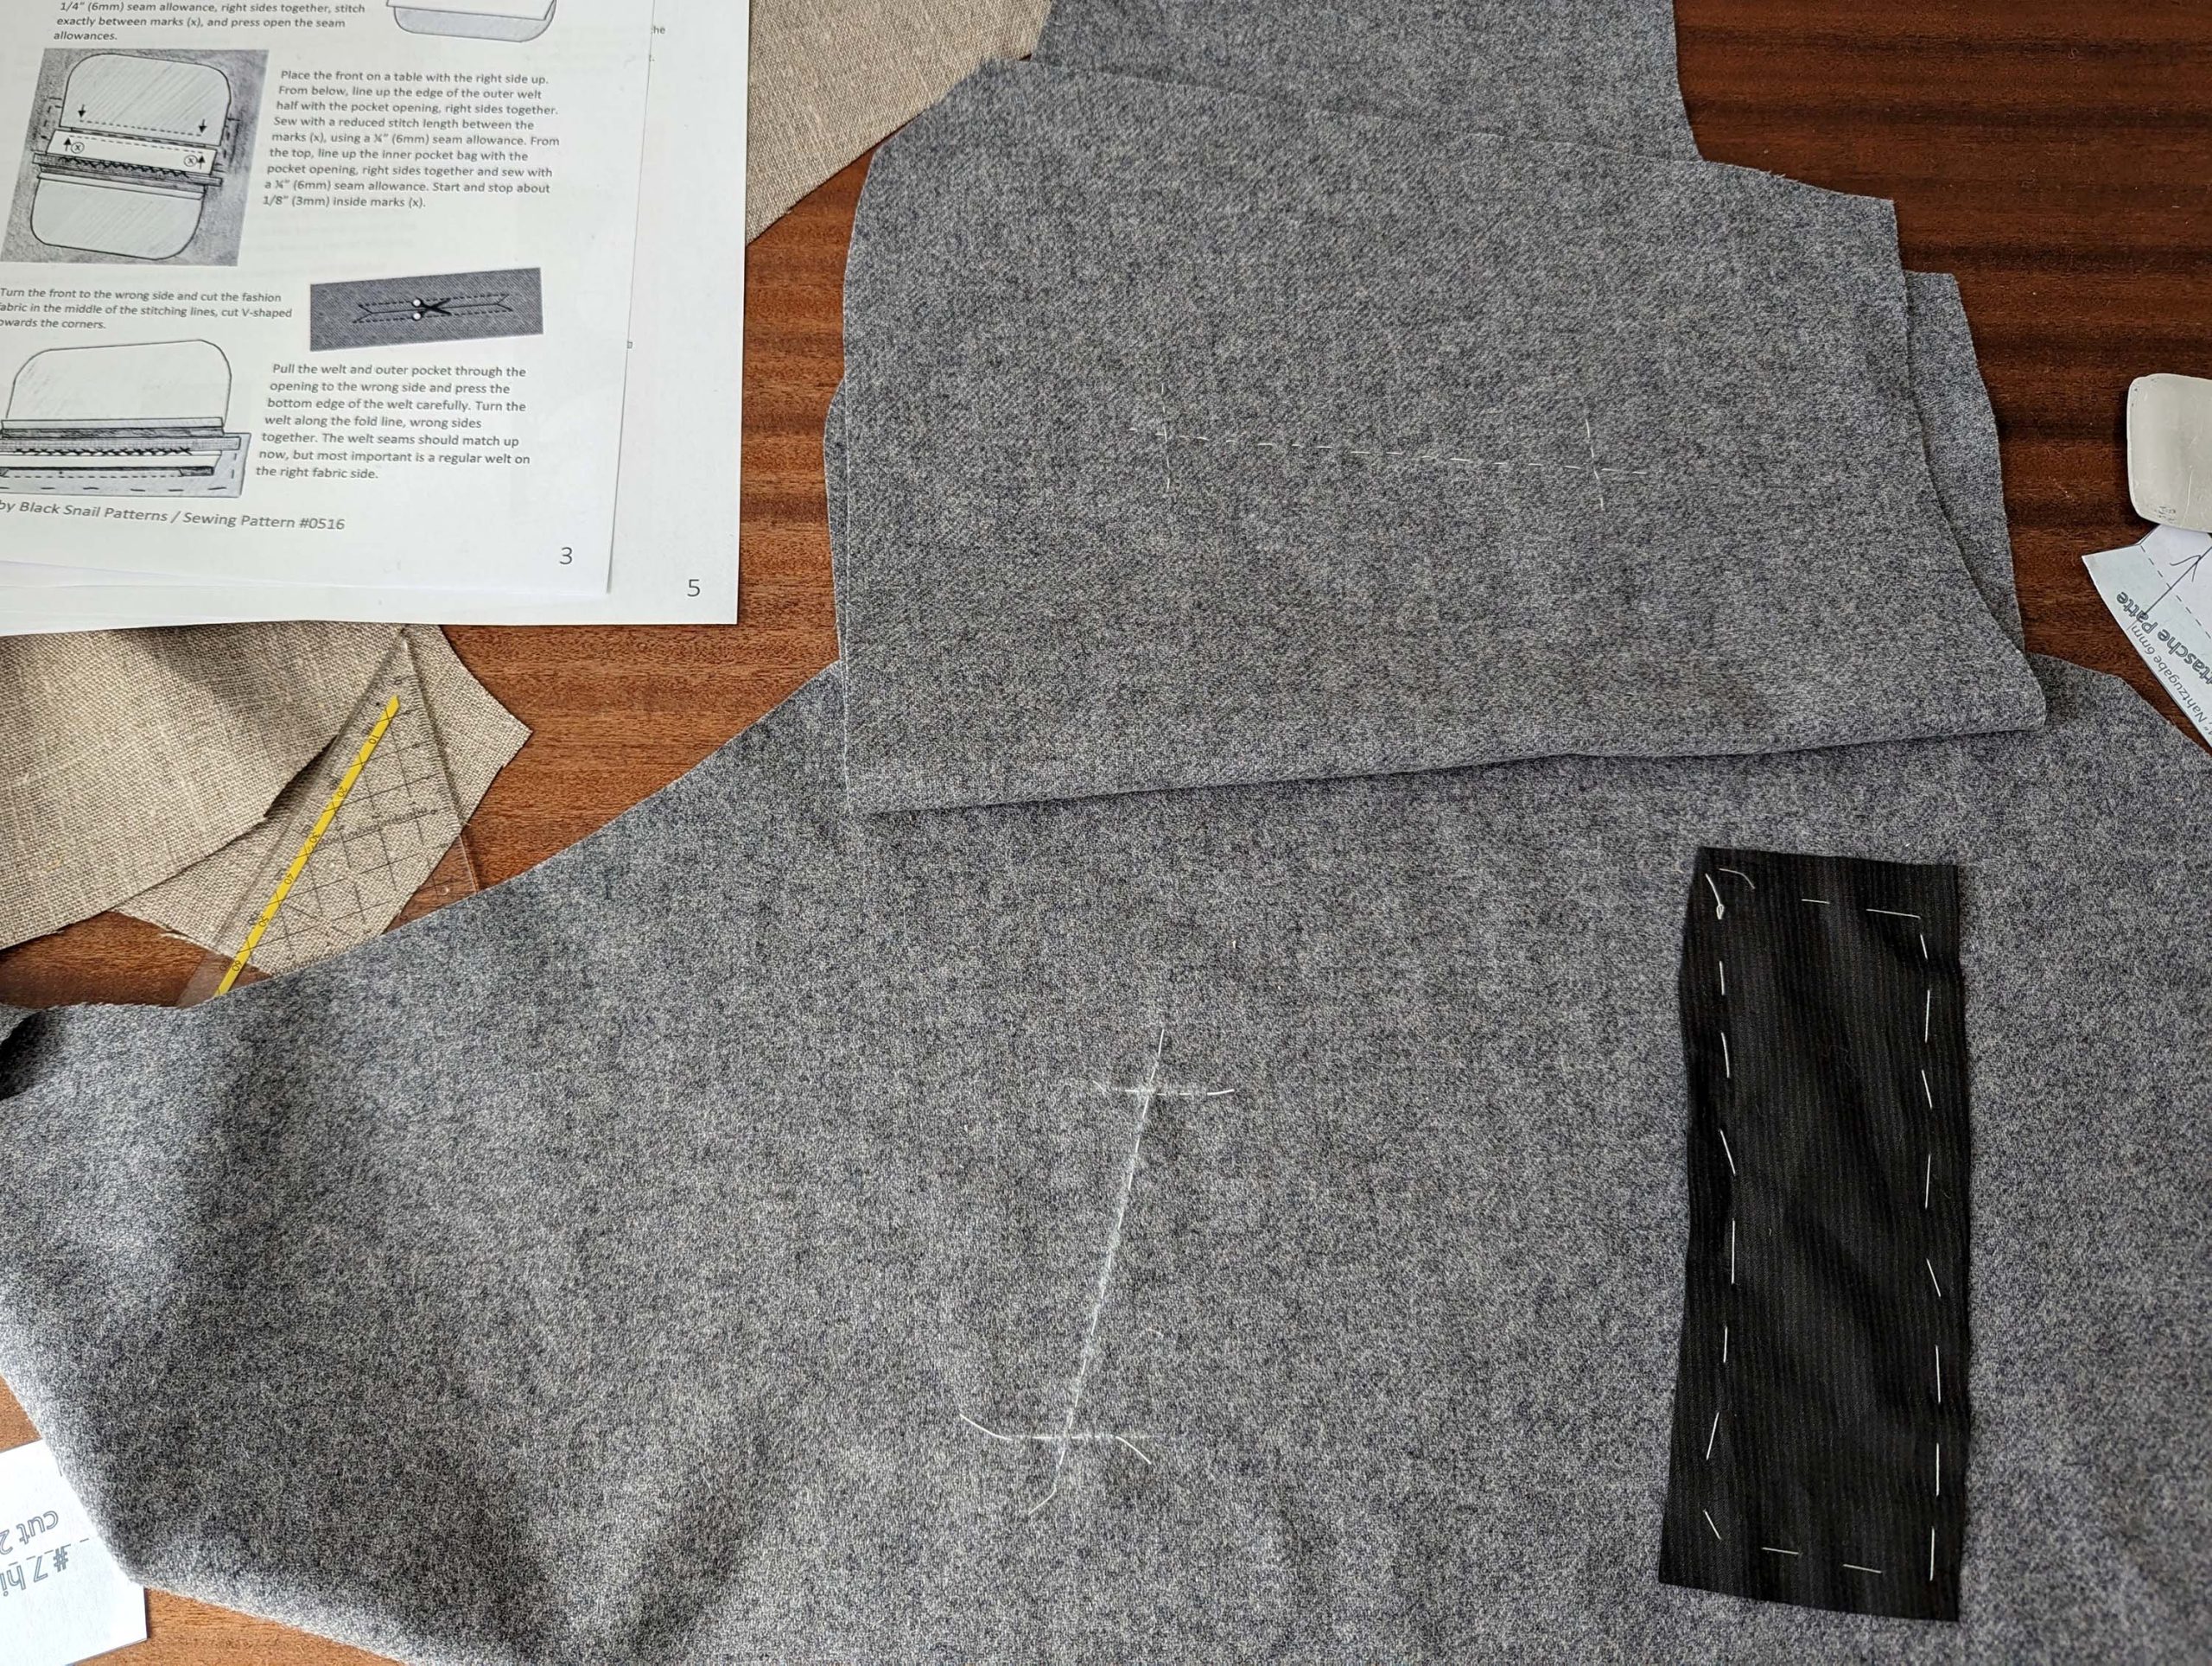
Now, let’s proceed straight to the intricacies of pocketsewing. I encountered some challenges with the 19th-century method, especially when working with thick wool fabric. The more angled breast pocket posed significant issues with bulk, therefore, I decided to change this pocket in the pattern to a less angled one. Also the pictures are not the waistcoat, to show you improved instructions, without all the mess I made with my first attempt on this wool fabric.
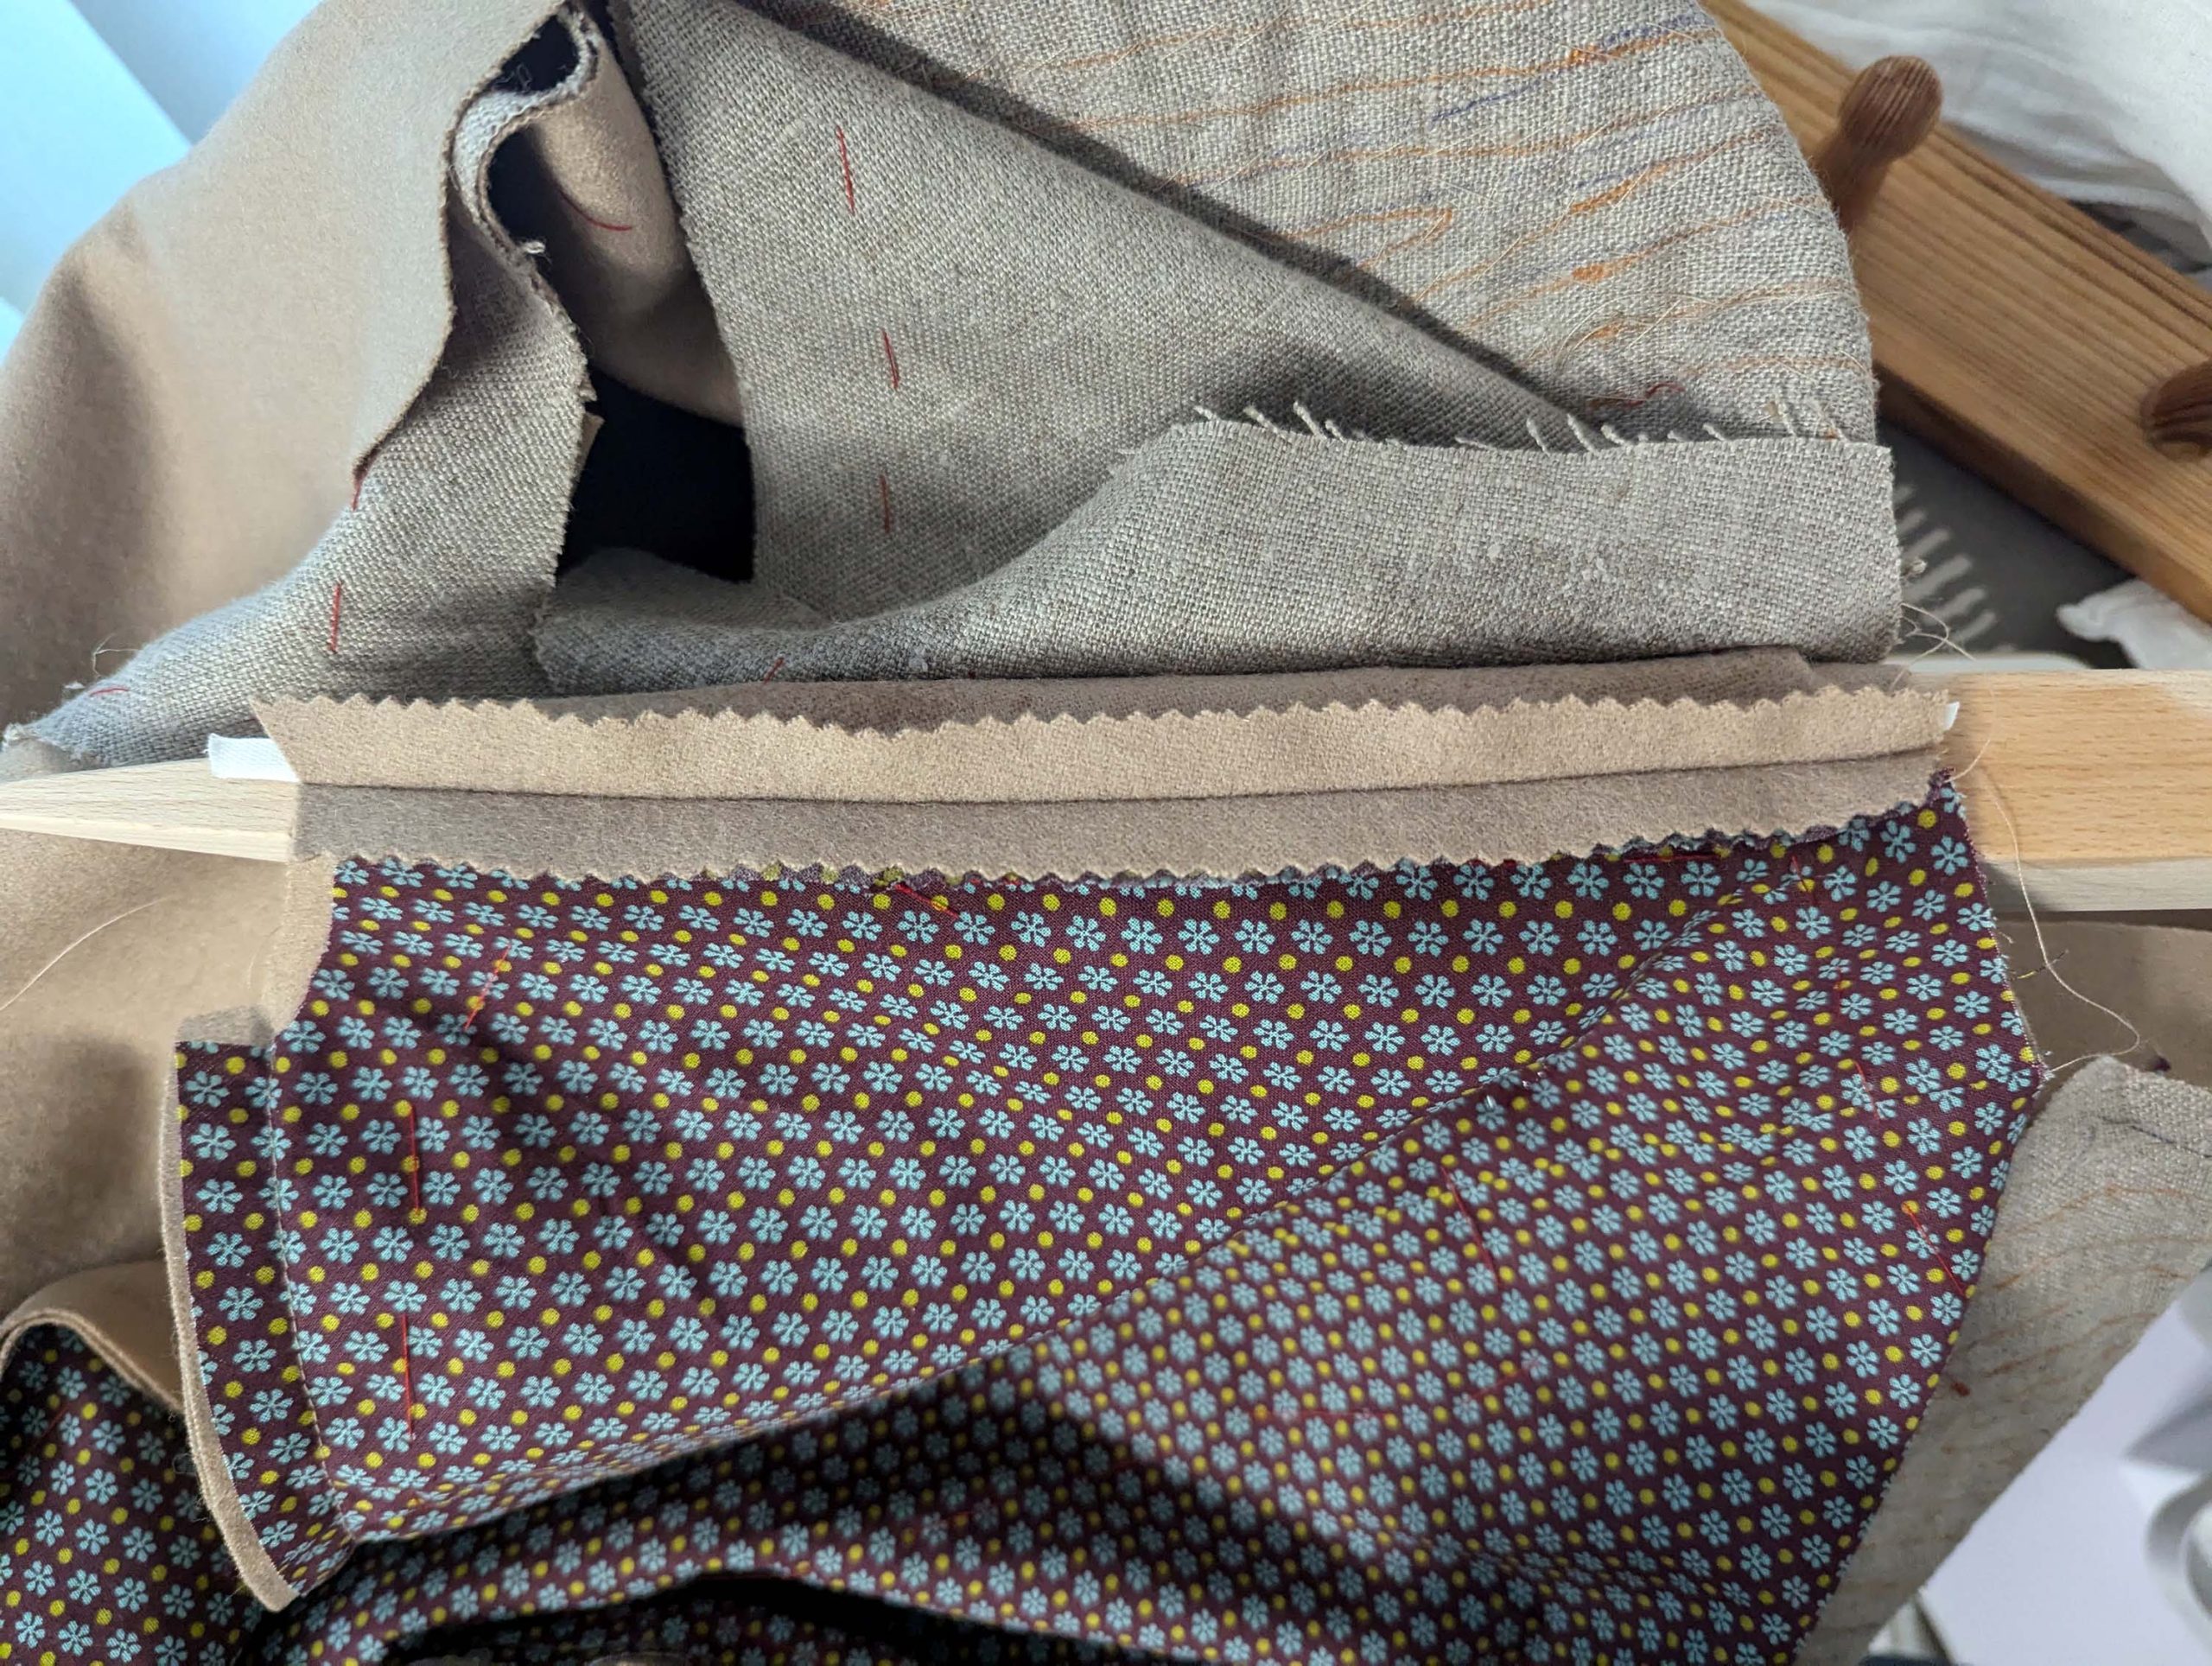
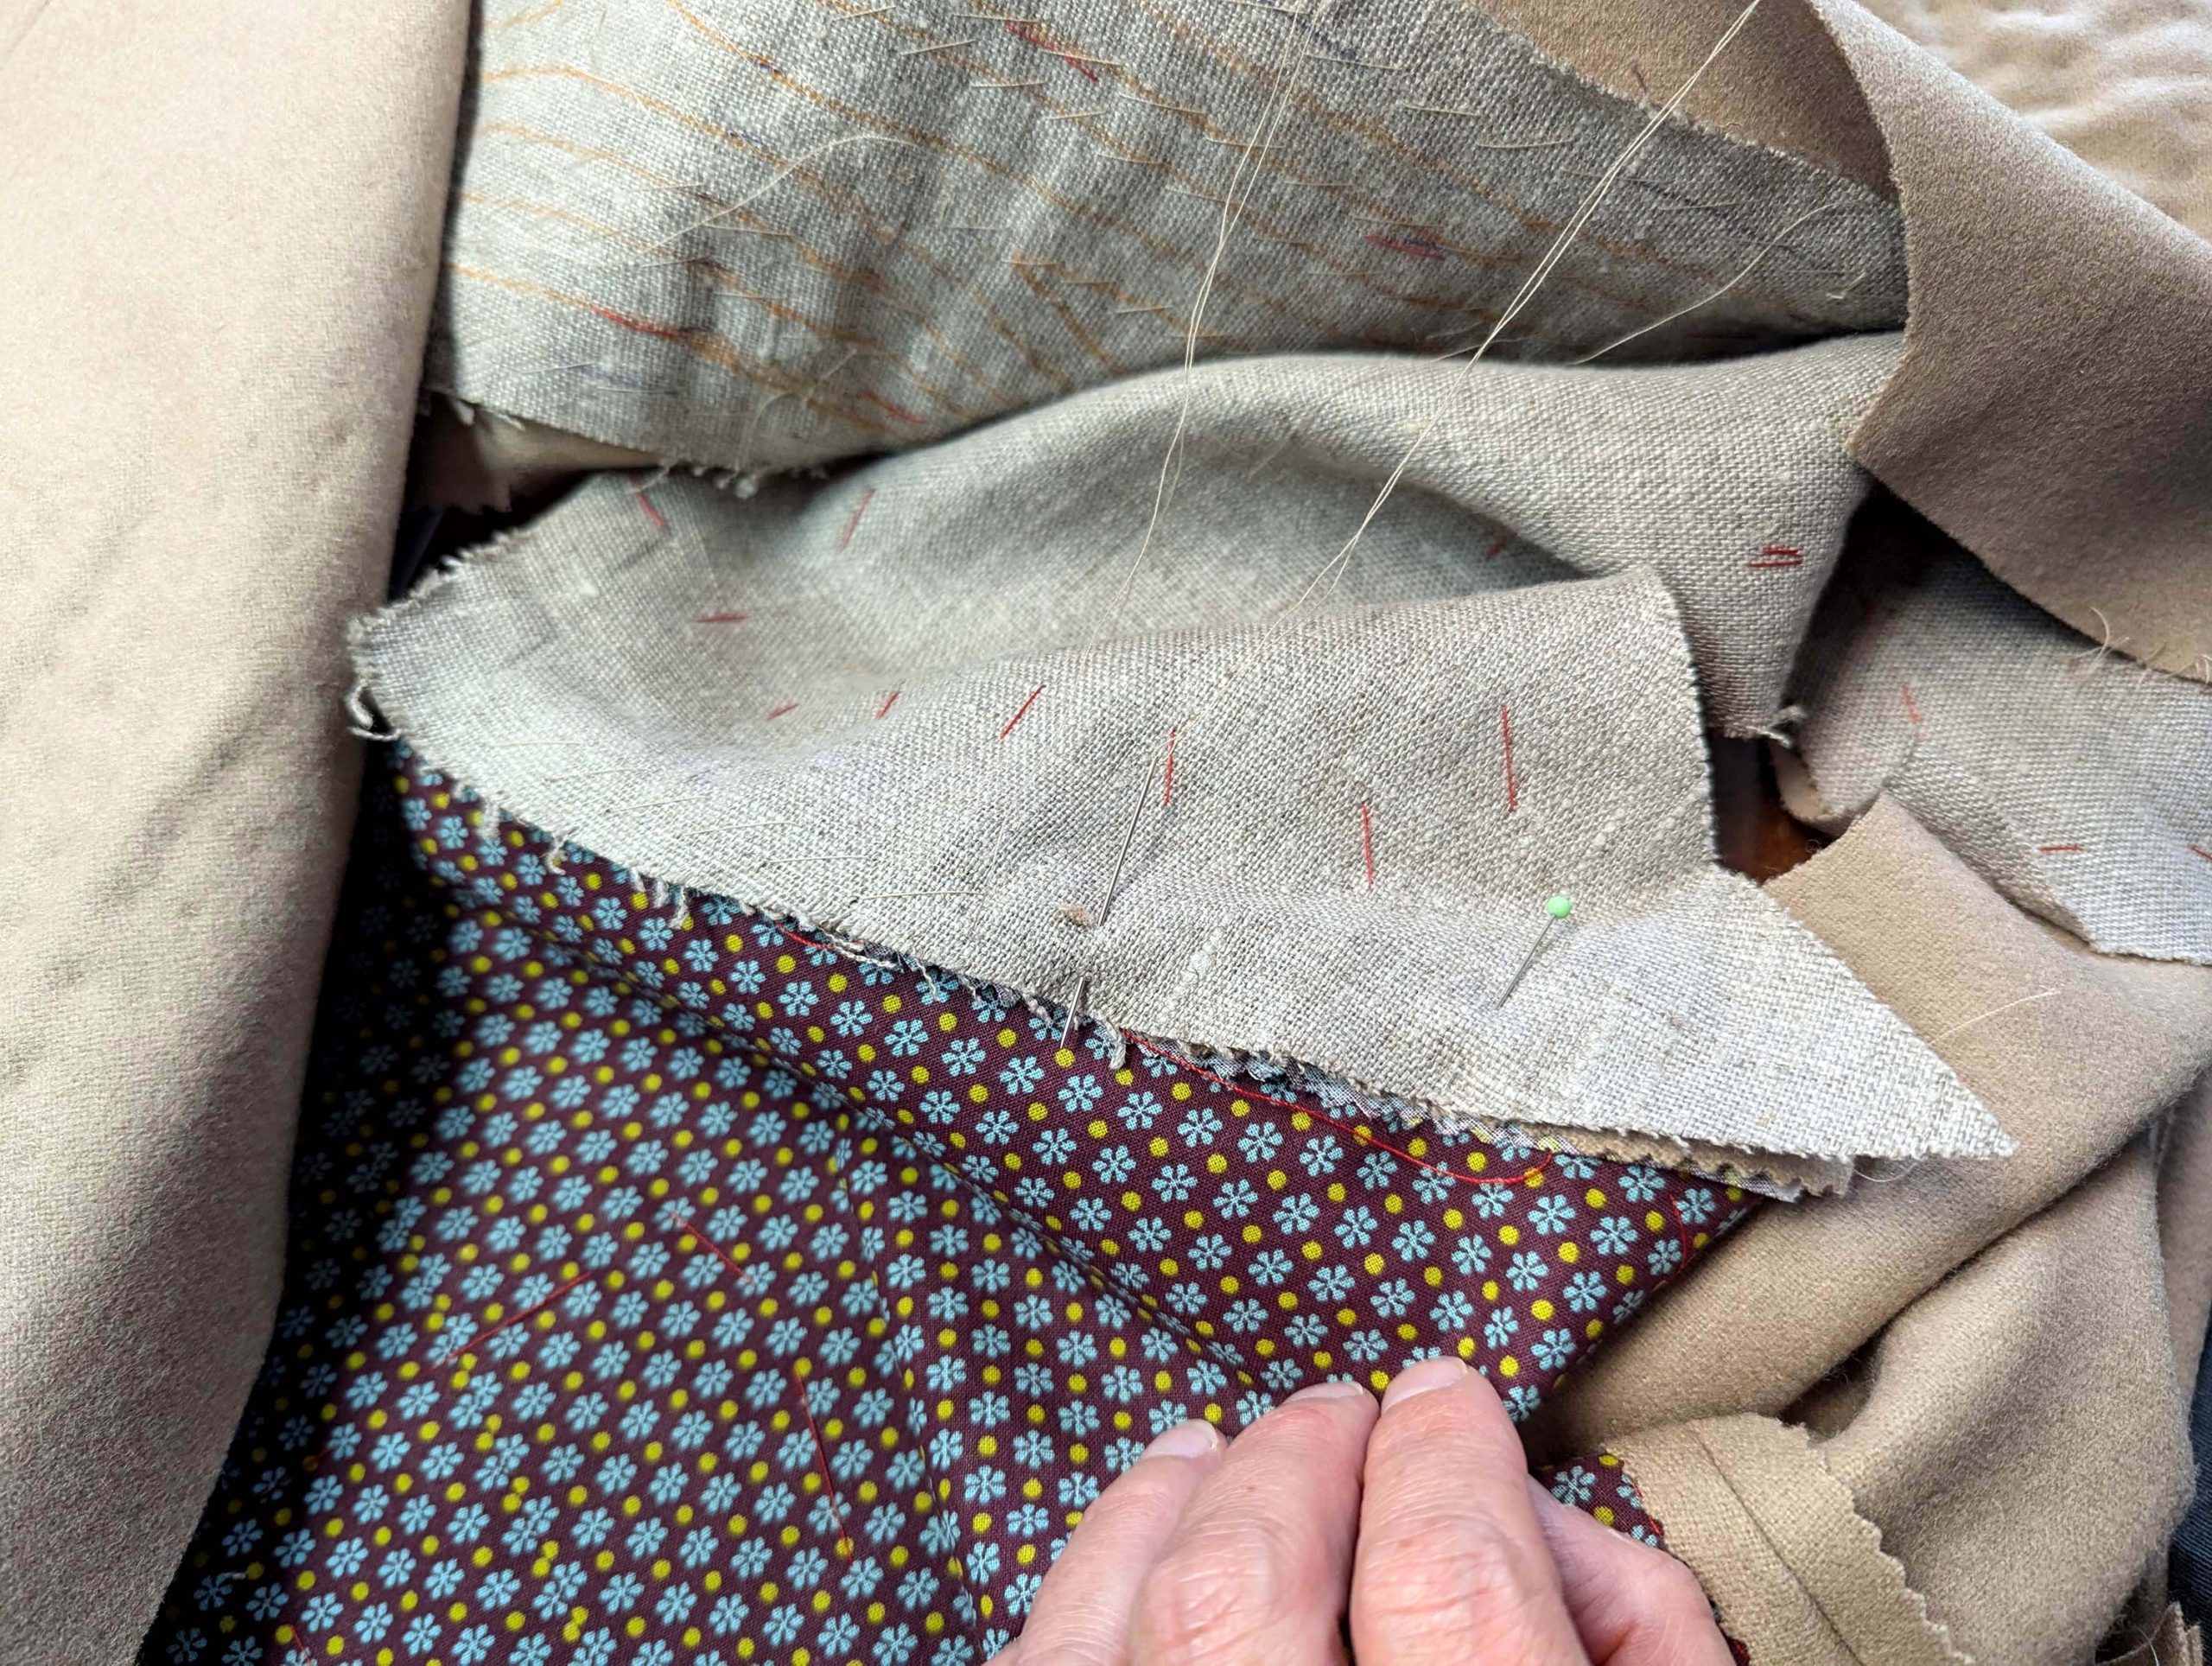
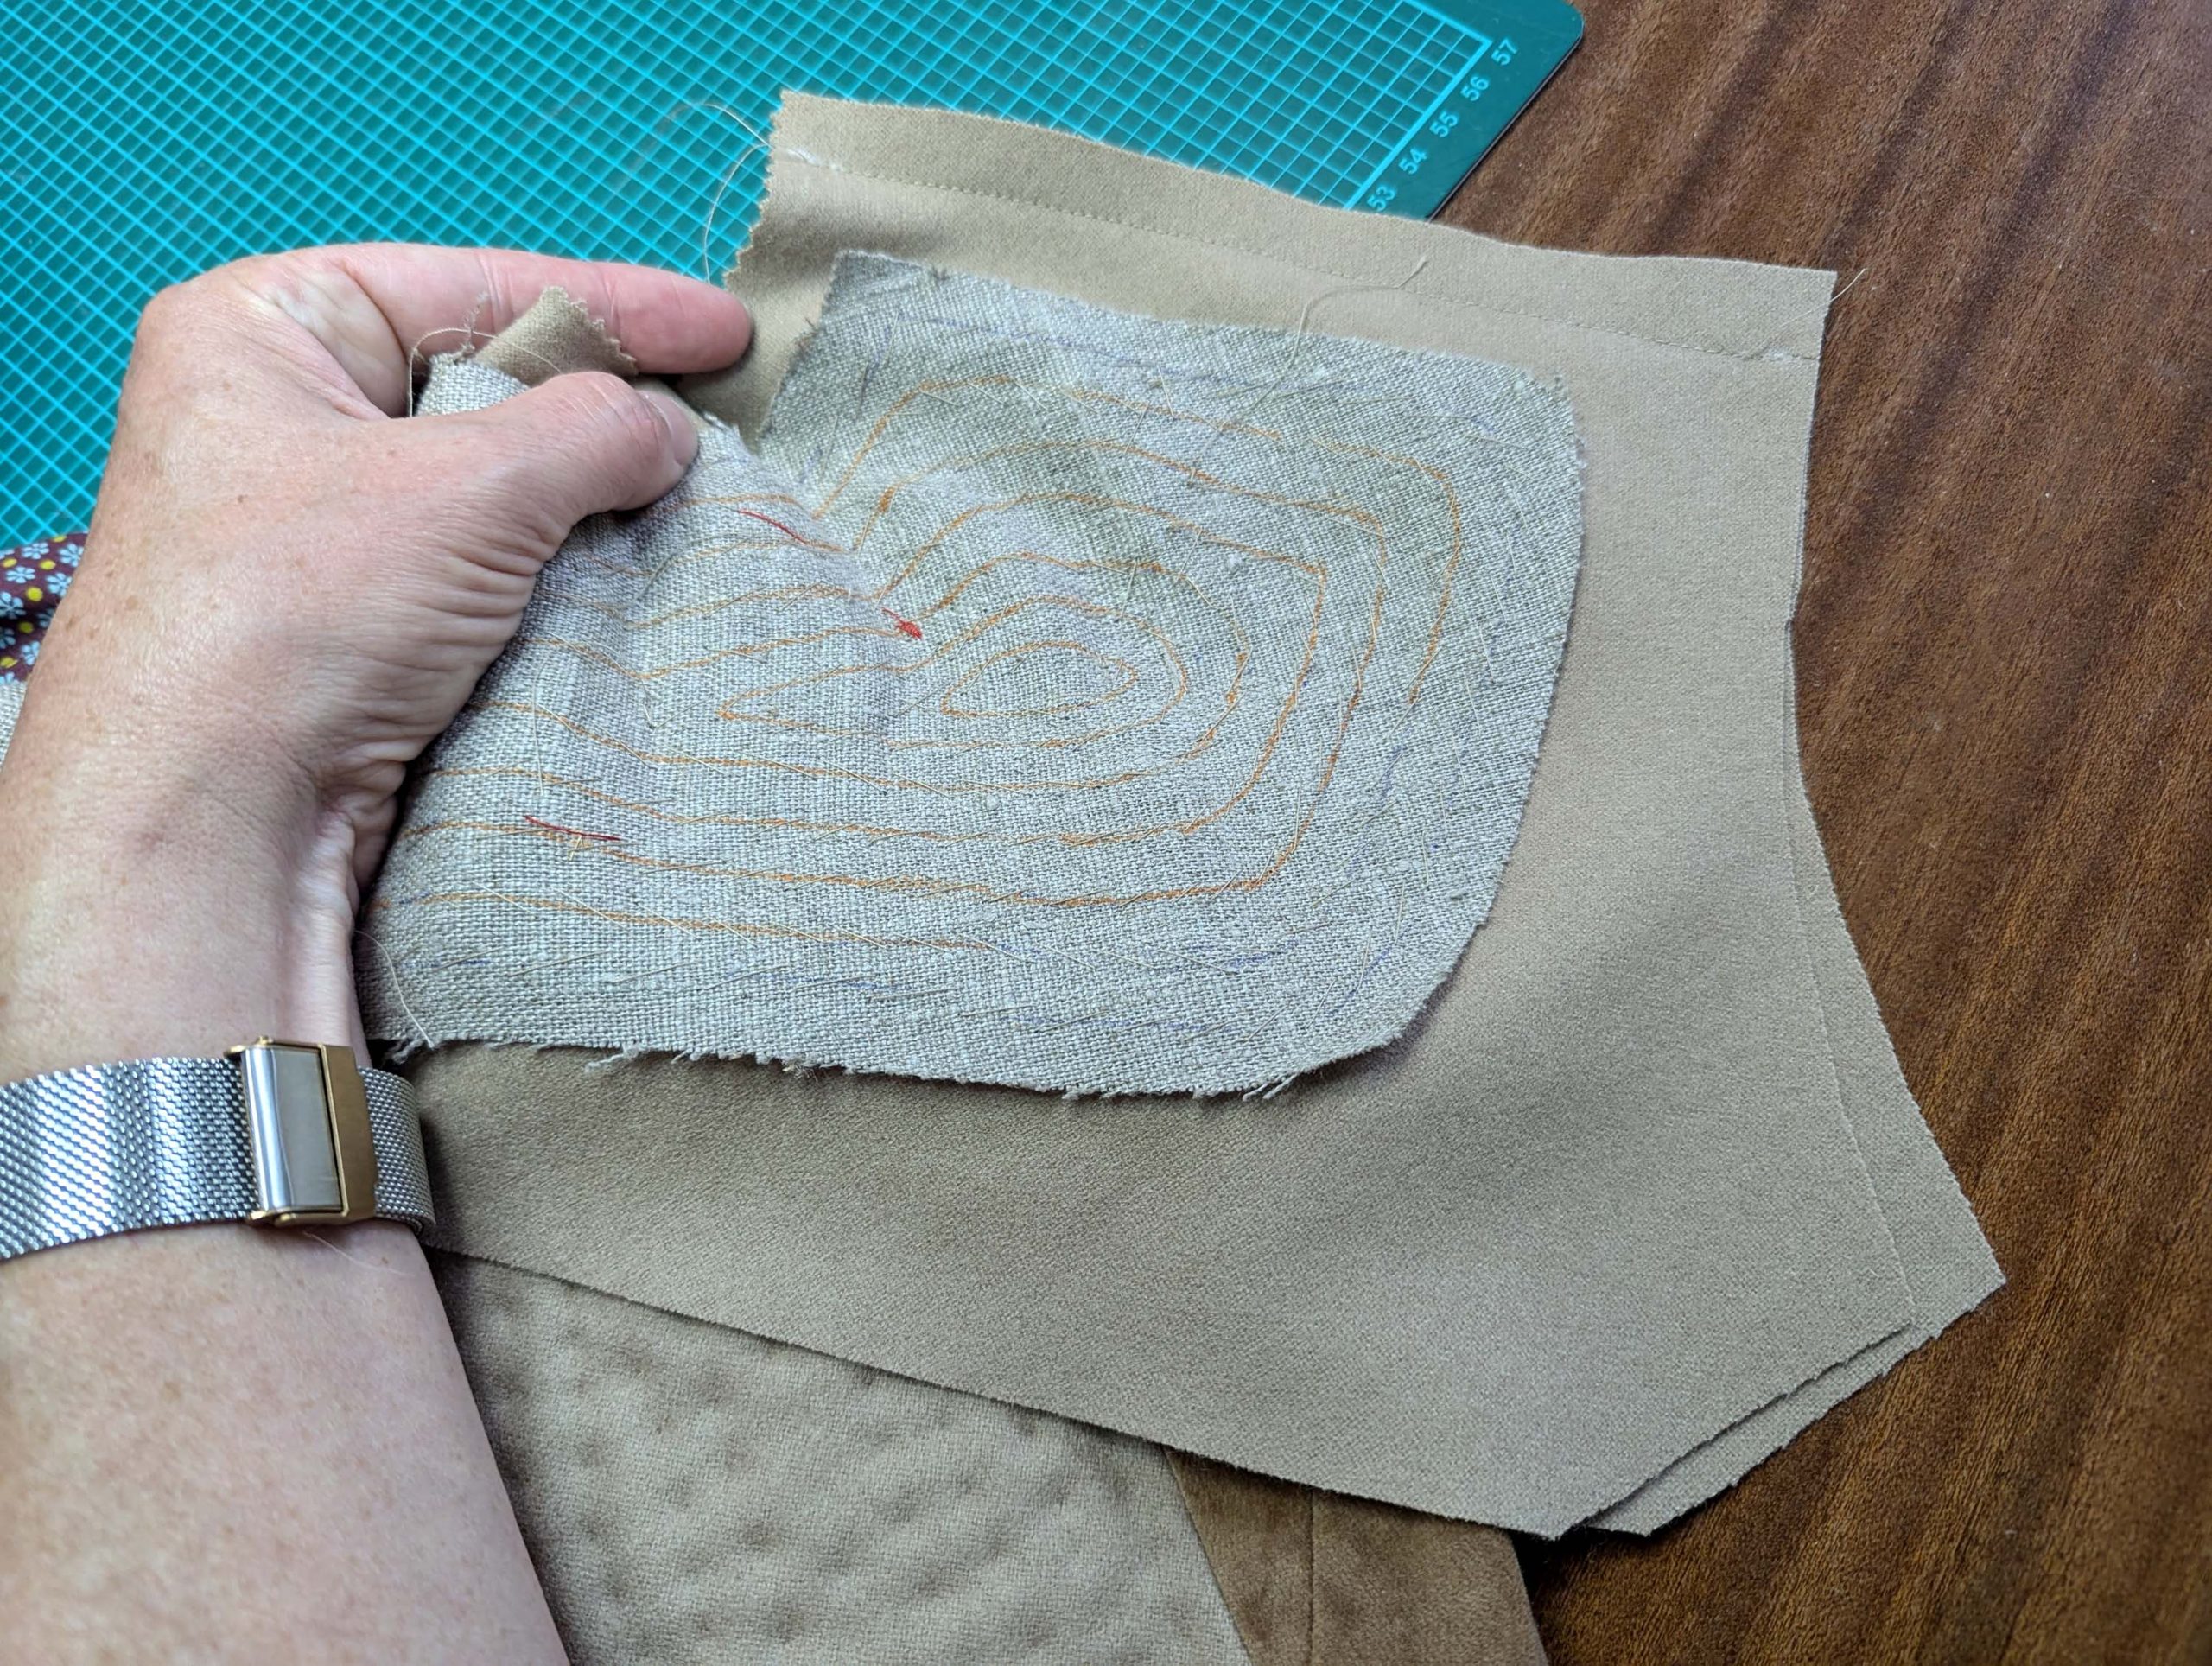
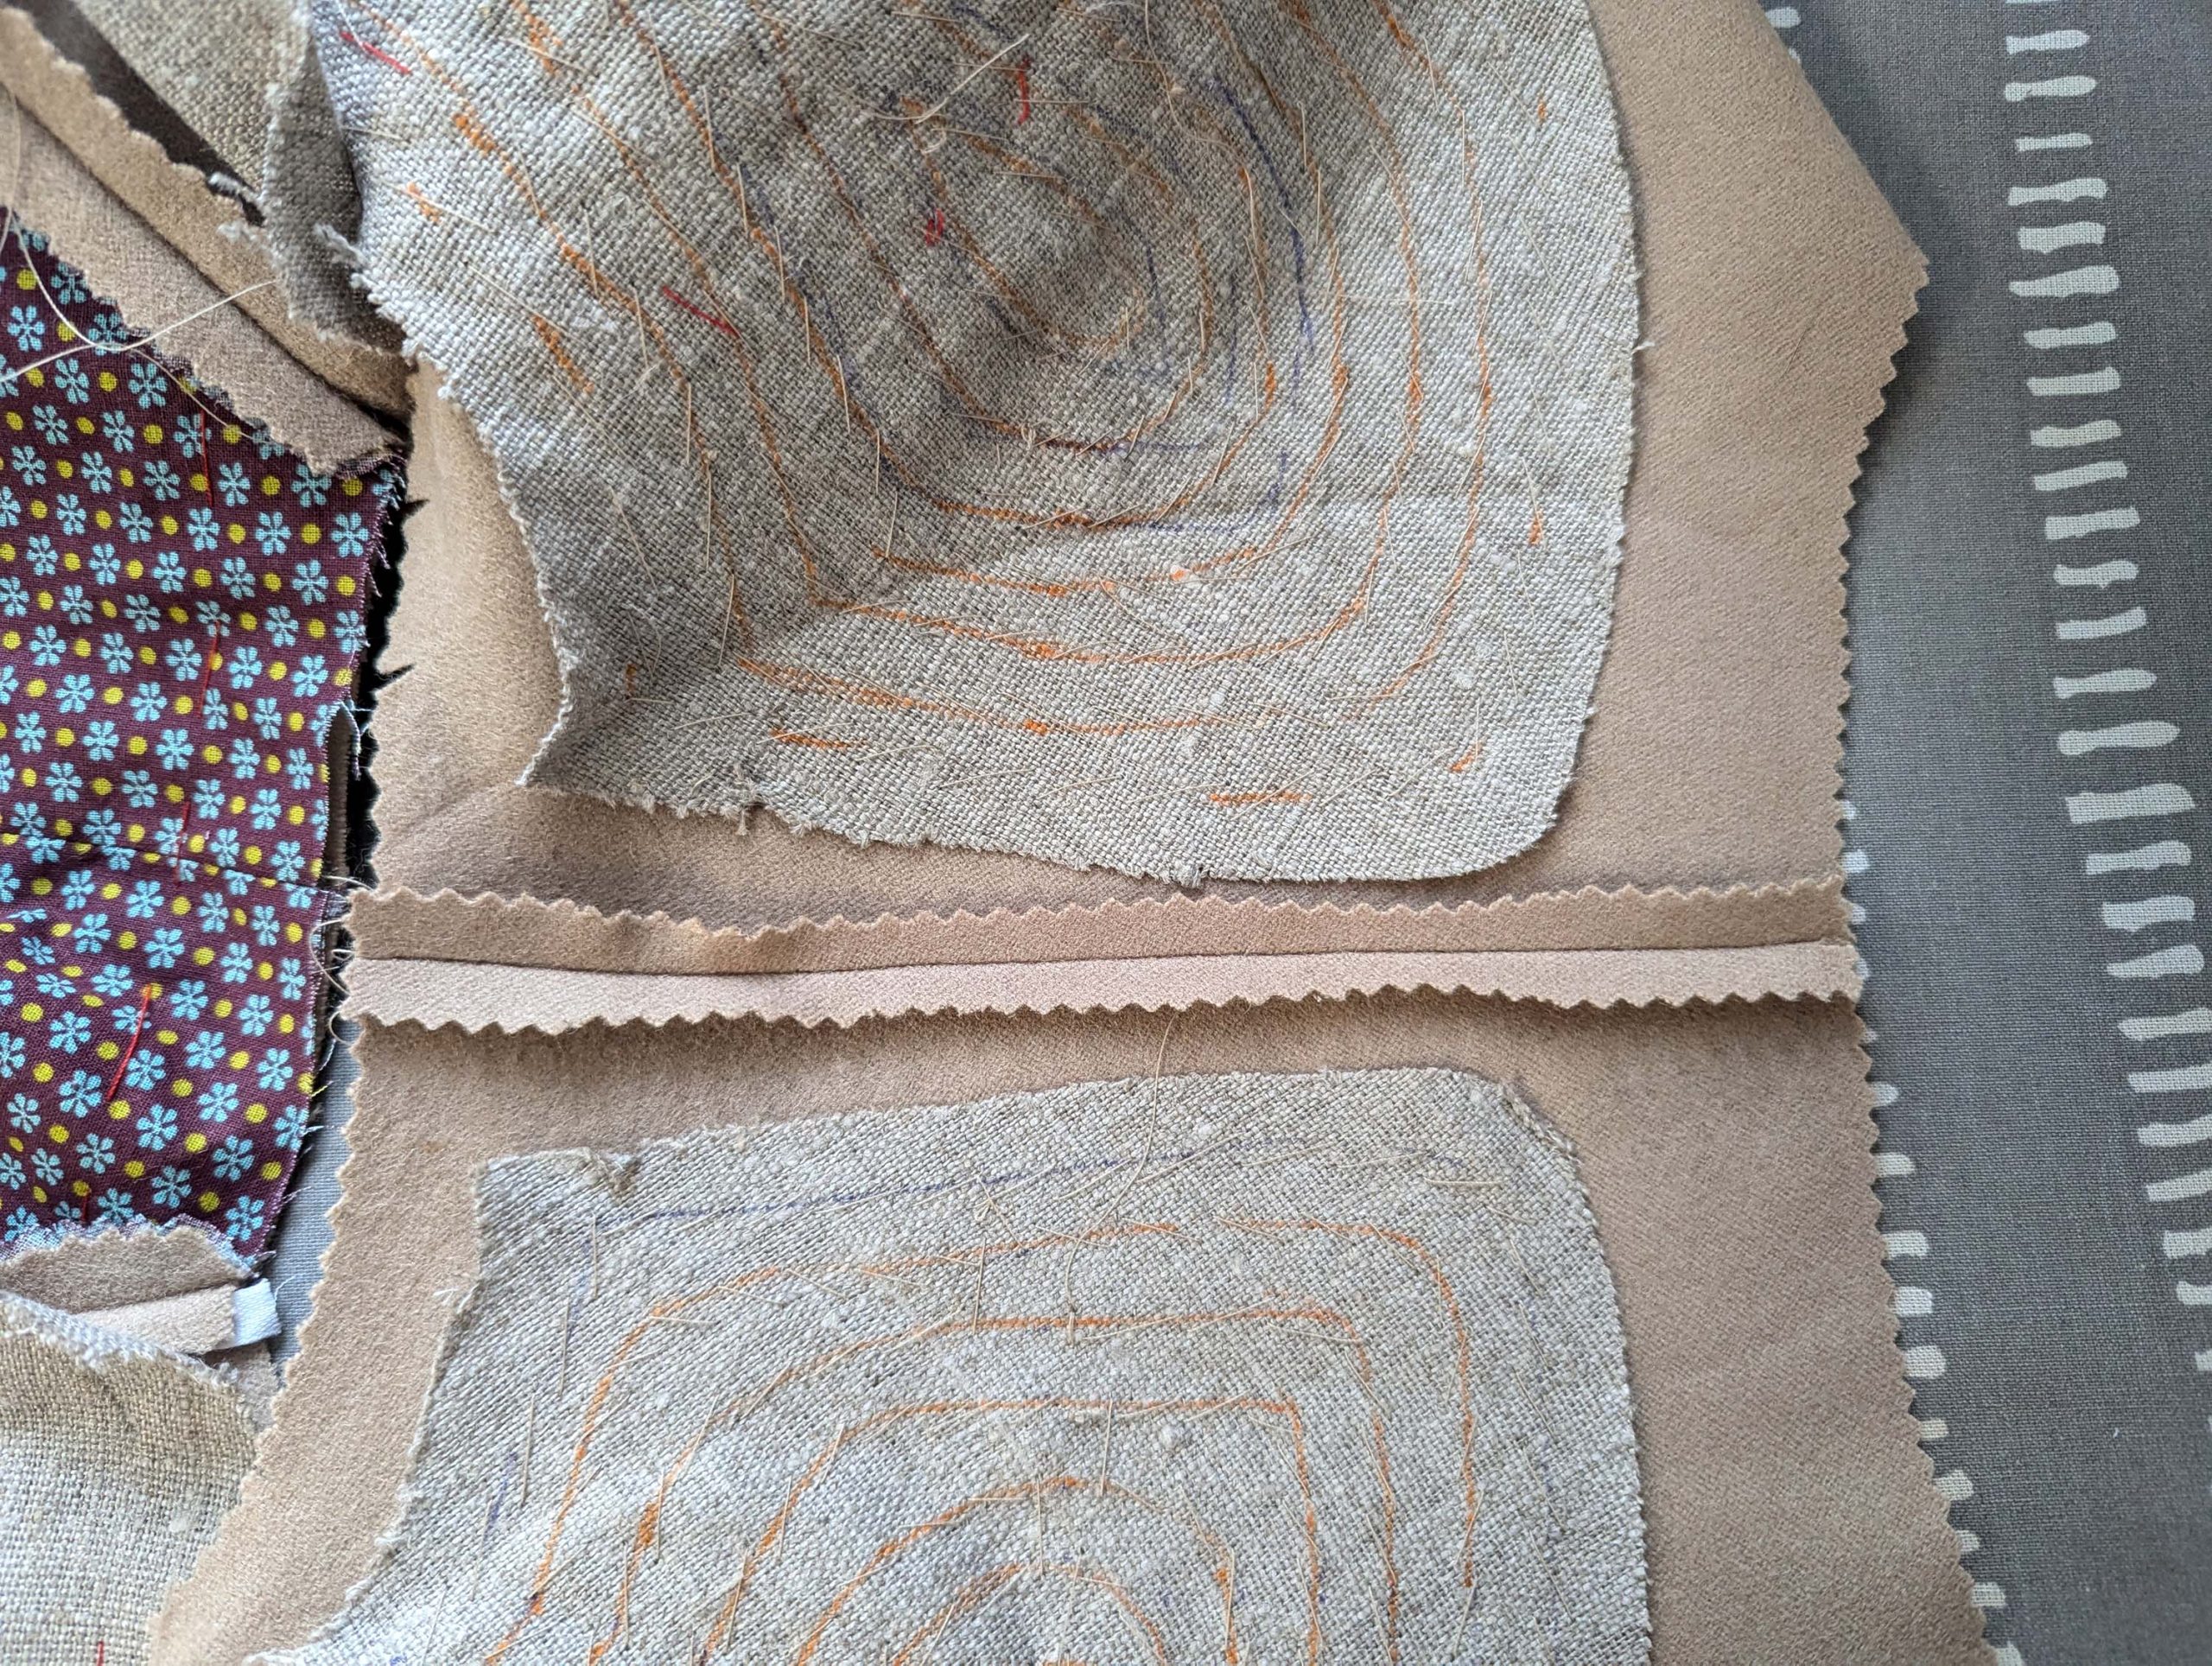
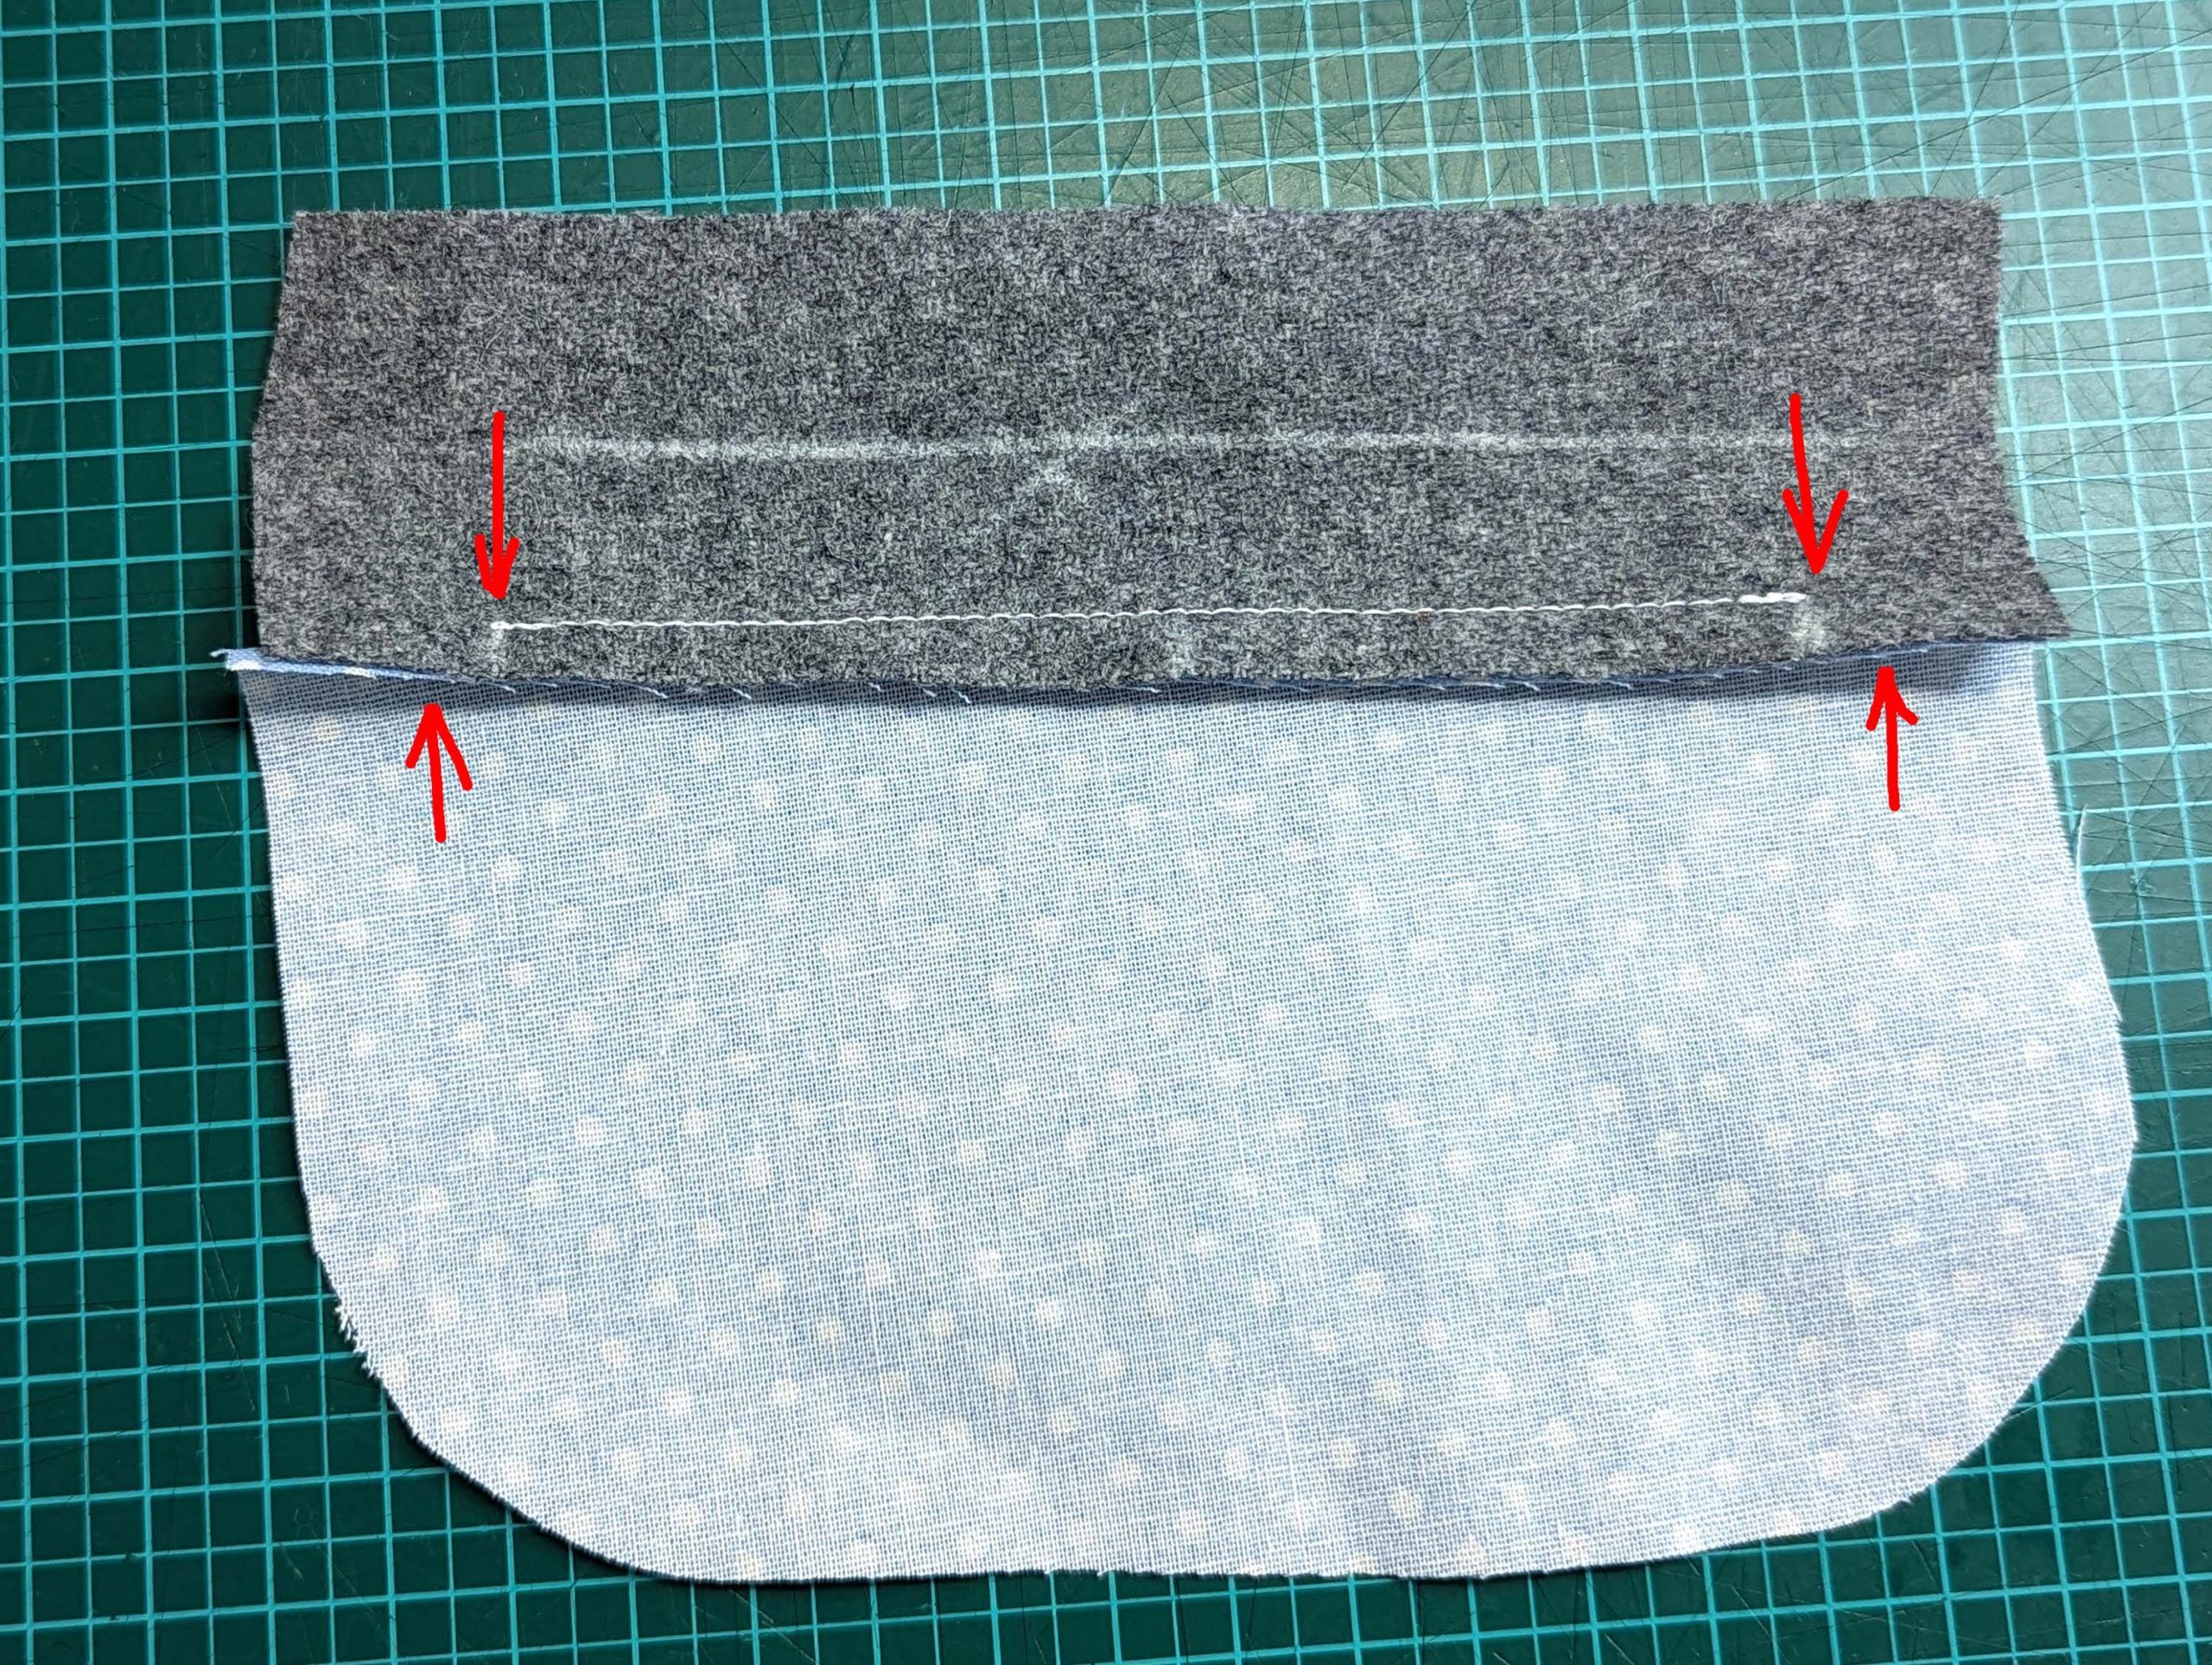
First, baste a piece of linen or cotton to the wrong side of the front, covering the pocket opening. Mark the pocket opening with a basting thread, clearly visible on the right side of the fabric.
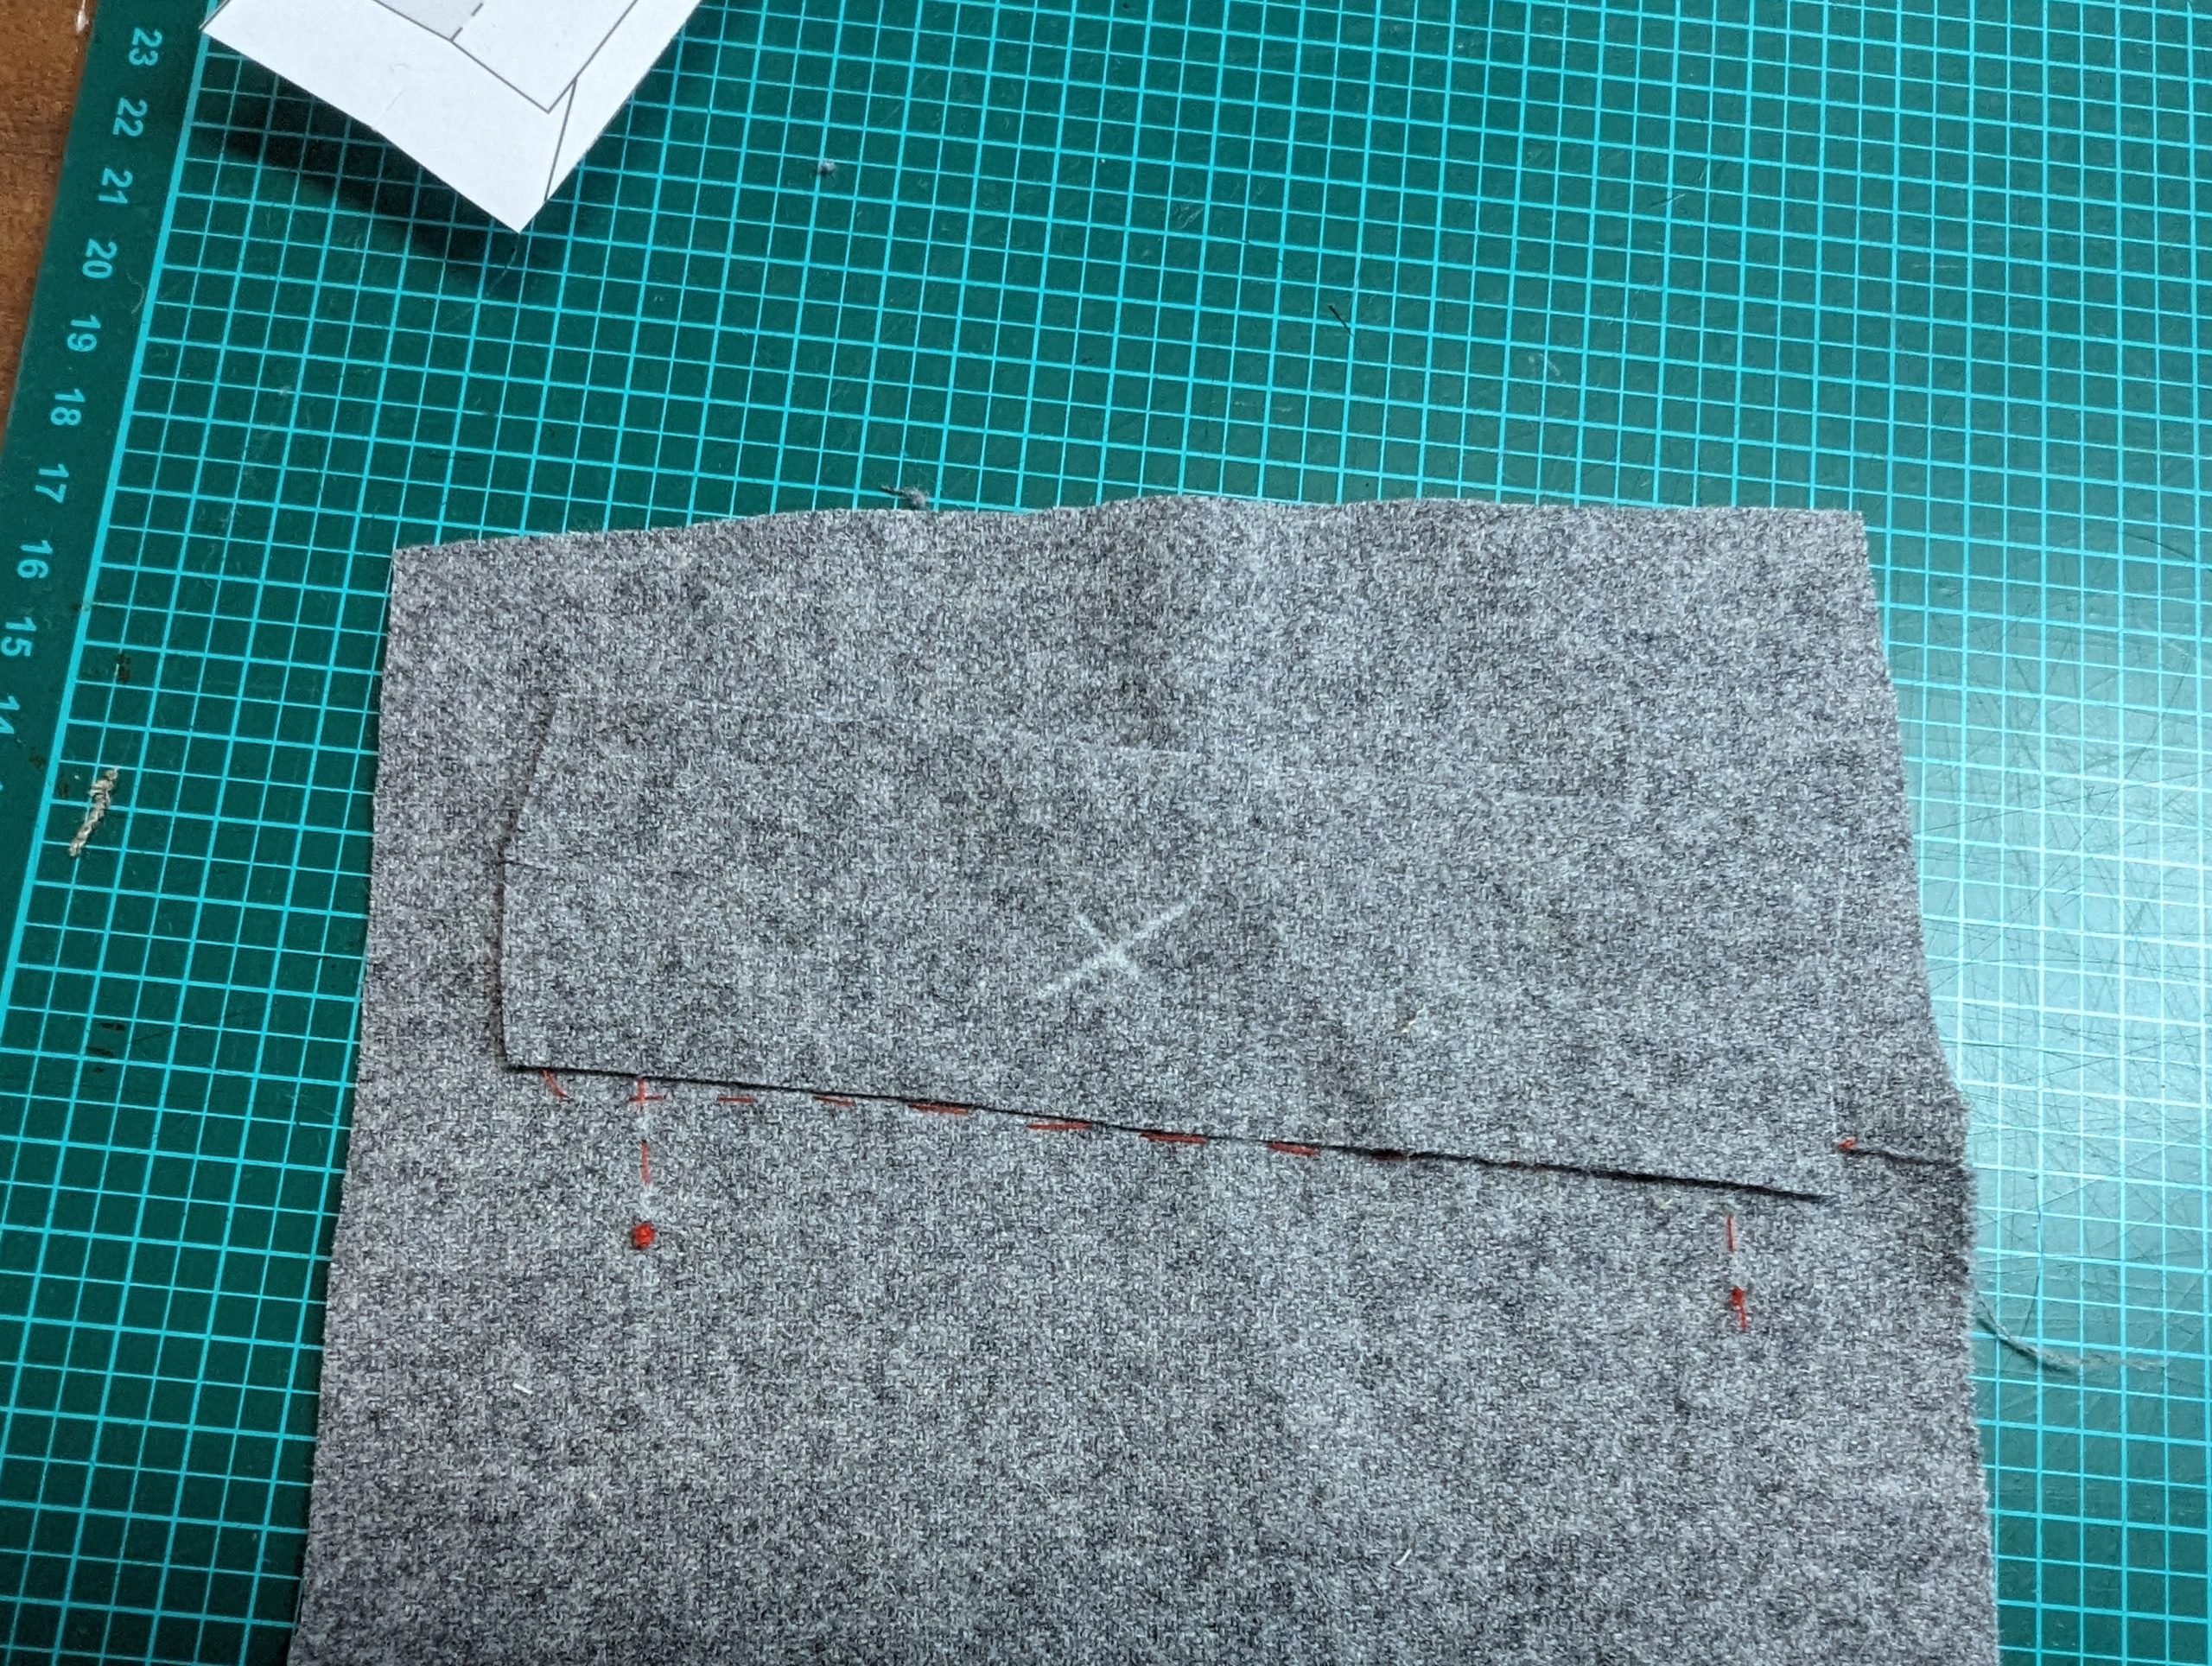
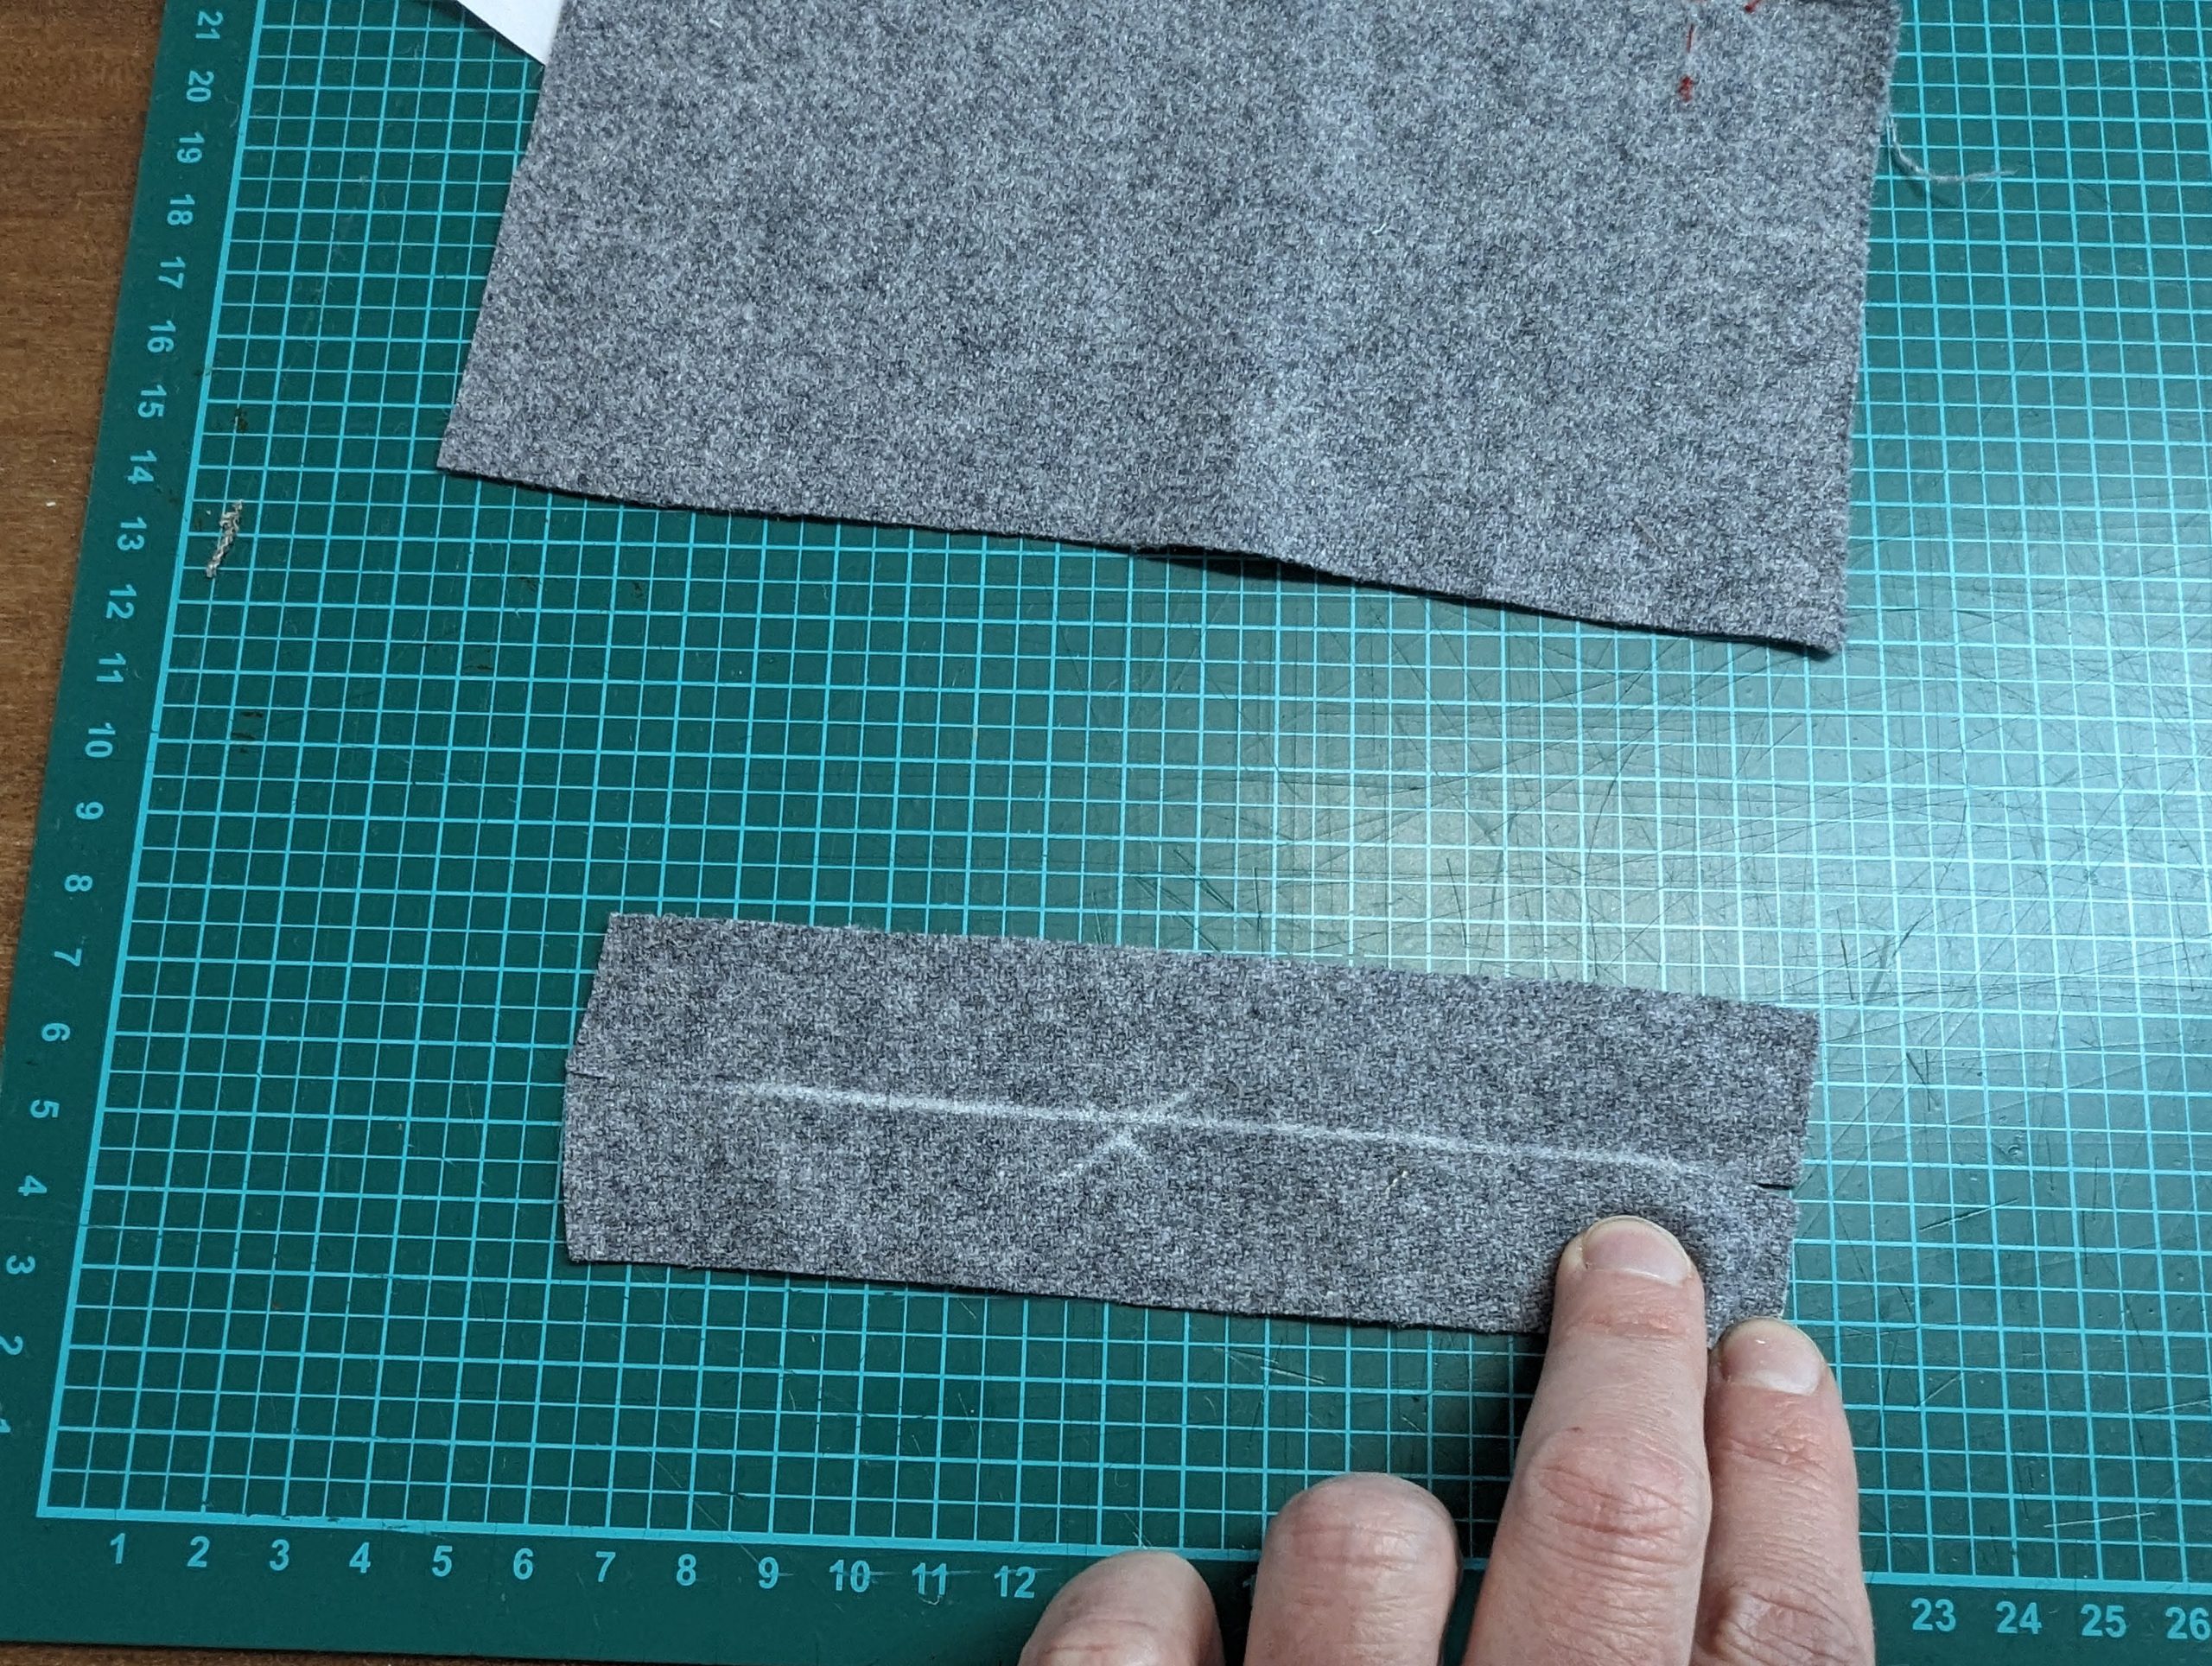
Fold the welt in half lengthwise, wrong sides together, and press. Reopen and mark the inside, as well as the half line. Sew the outer pocket bag to the inner half of the welt using a 1/4” (7mm) seam allowance, right sides together. Re-check before sewing, and stitch exactly between marks (x). Trim back the seam allowances as shown and press towards the pocket.
After all that hand-sewing of the first part, let´s do some machine sewing on all the long seams. Remember, the sewing machine had already been invented by then, so there’s no need to feel guilty about using it!
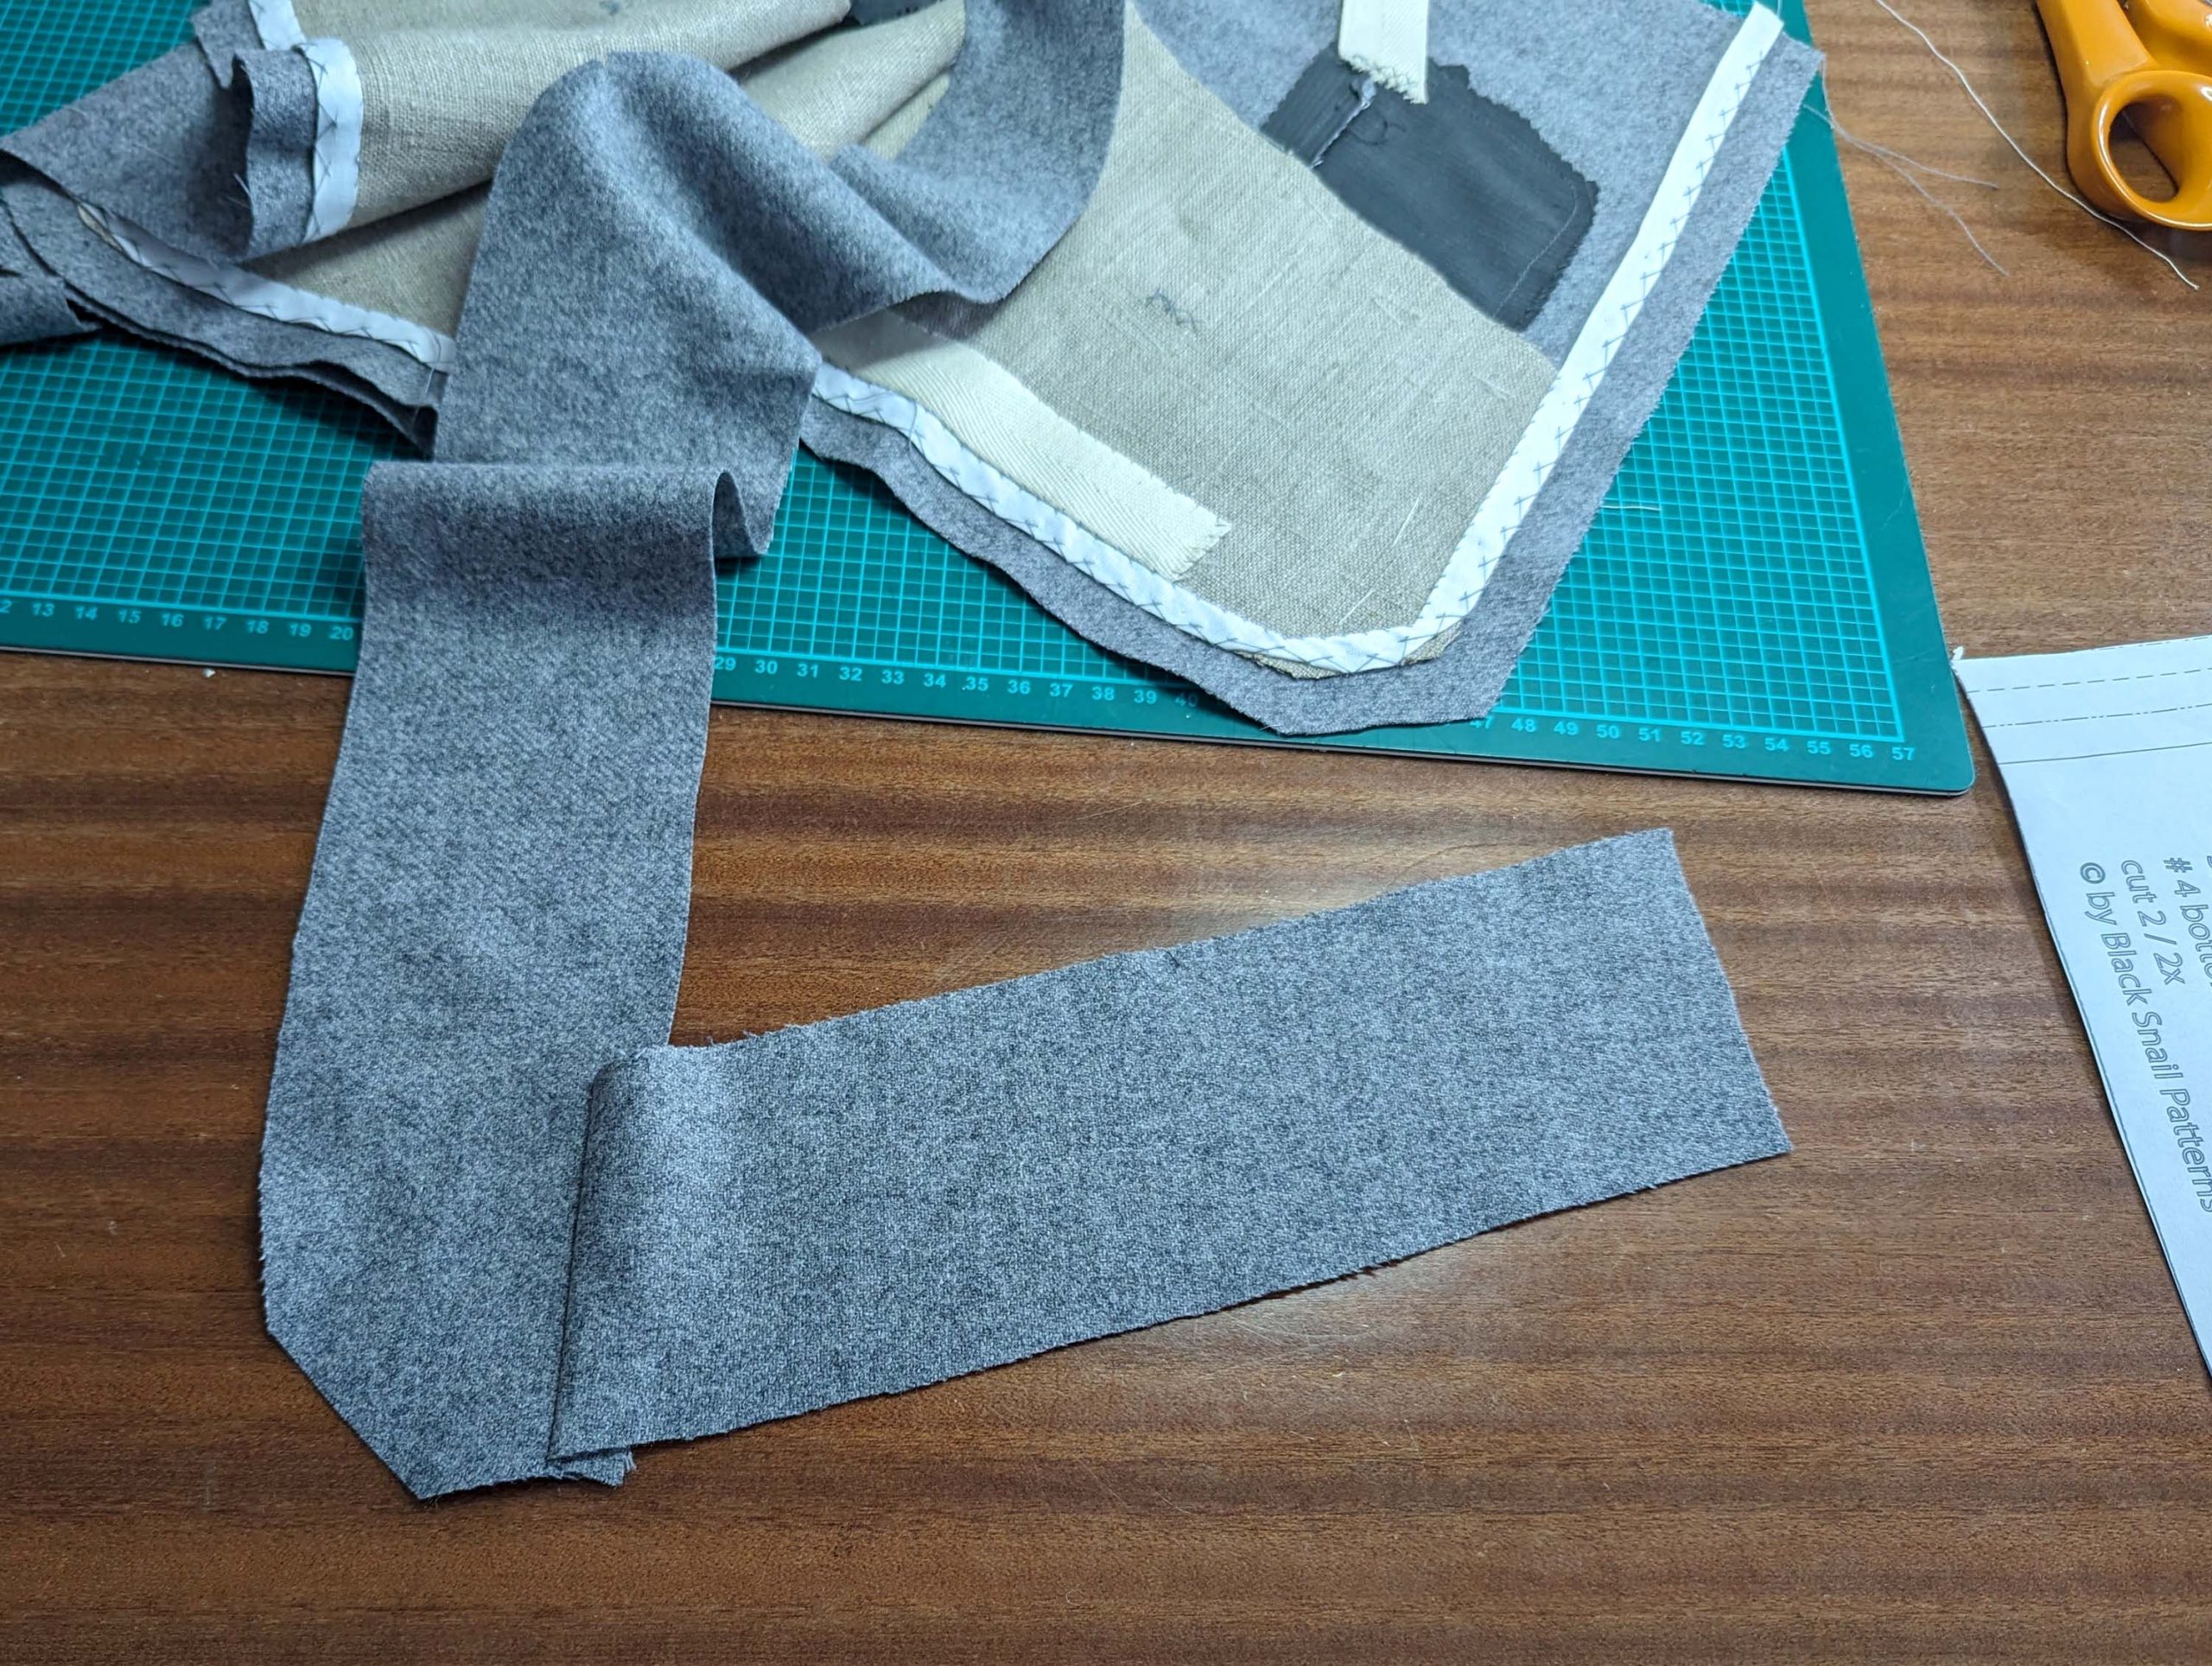
(3) Sew the bottom facing to the front-facing, right sides together, matching all marks. Trim back the seam allowance and press towards the bottom facing. Understitch if desired.
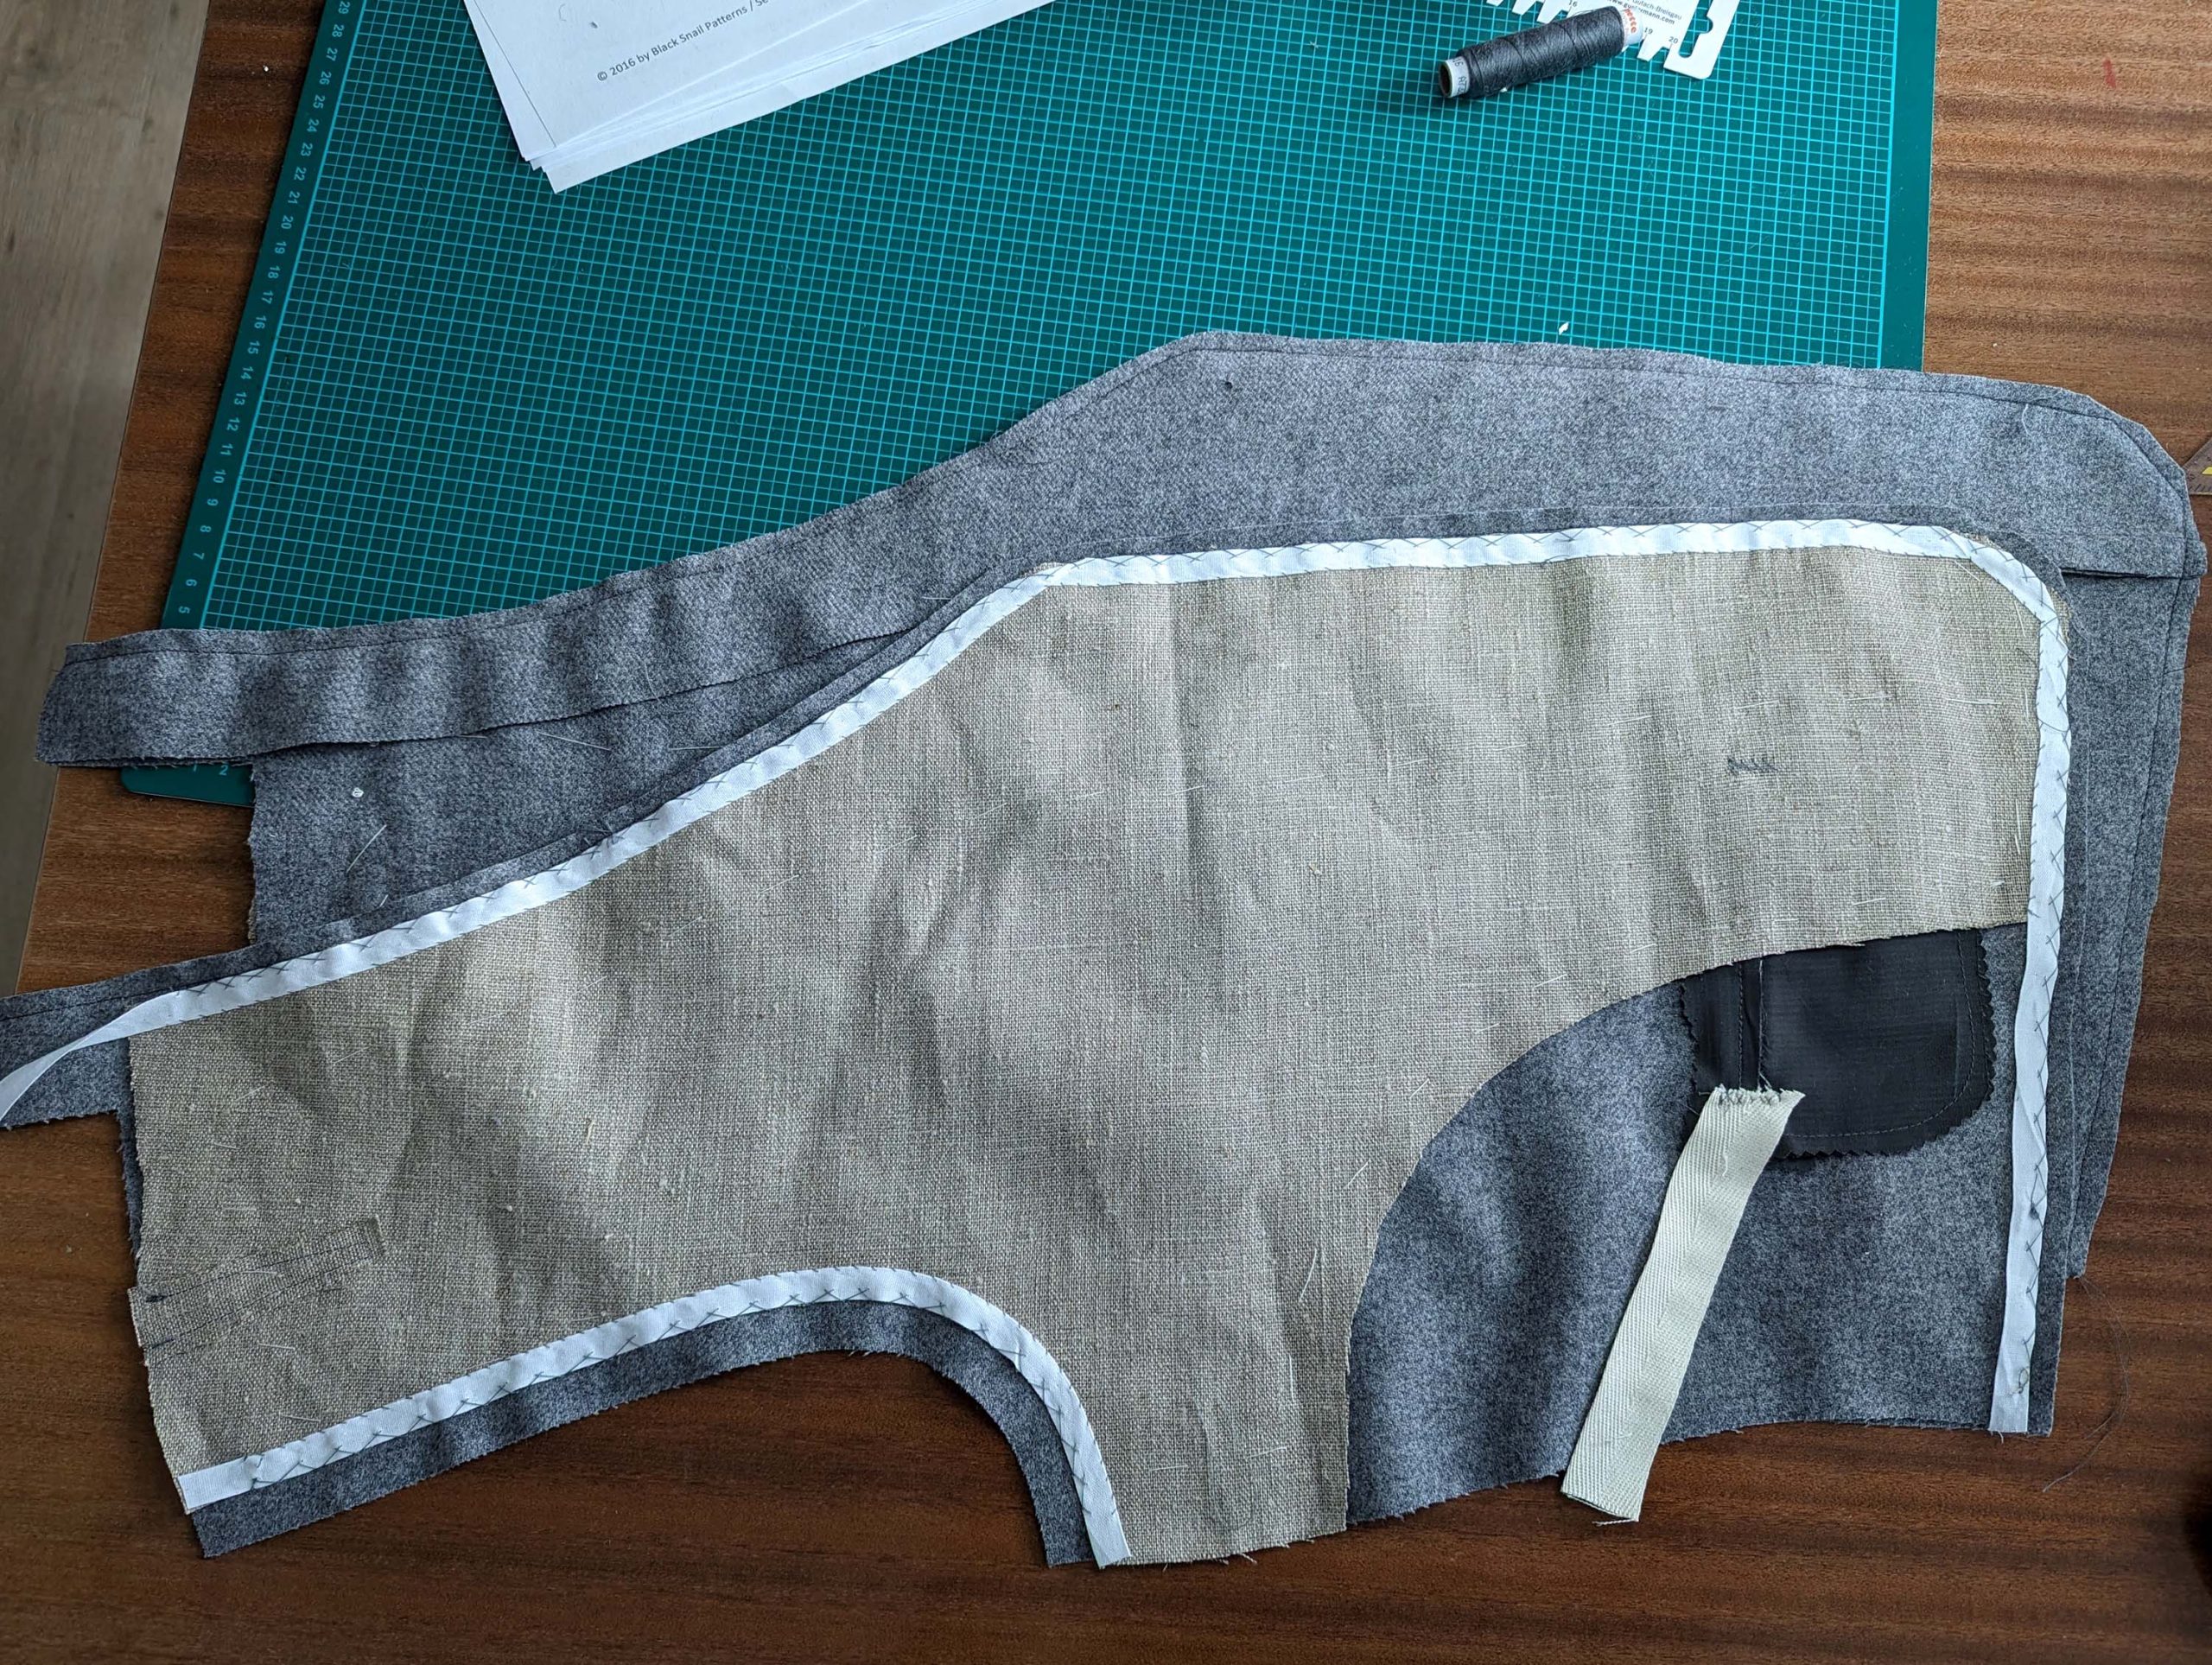
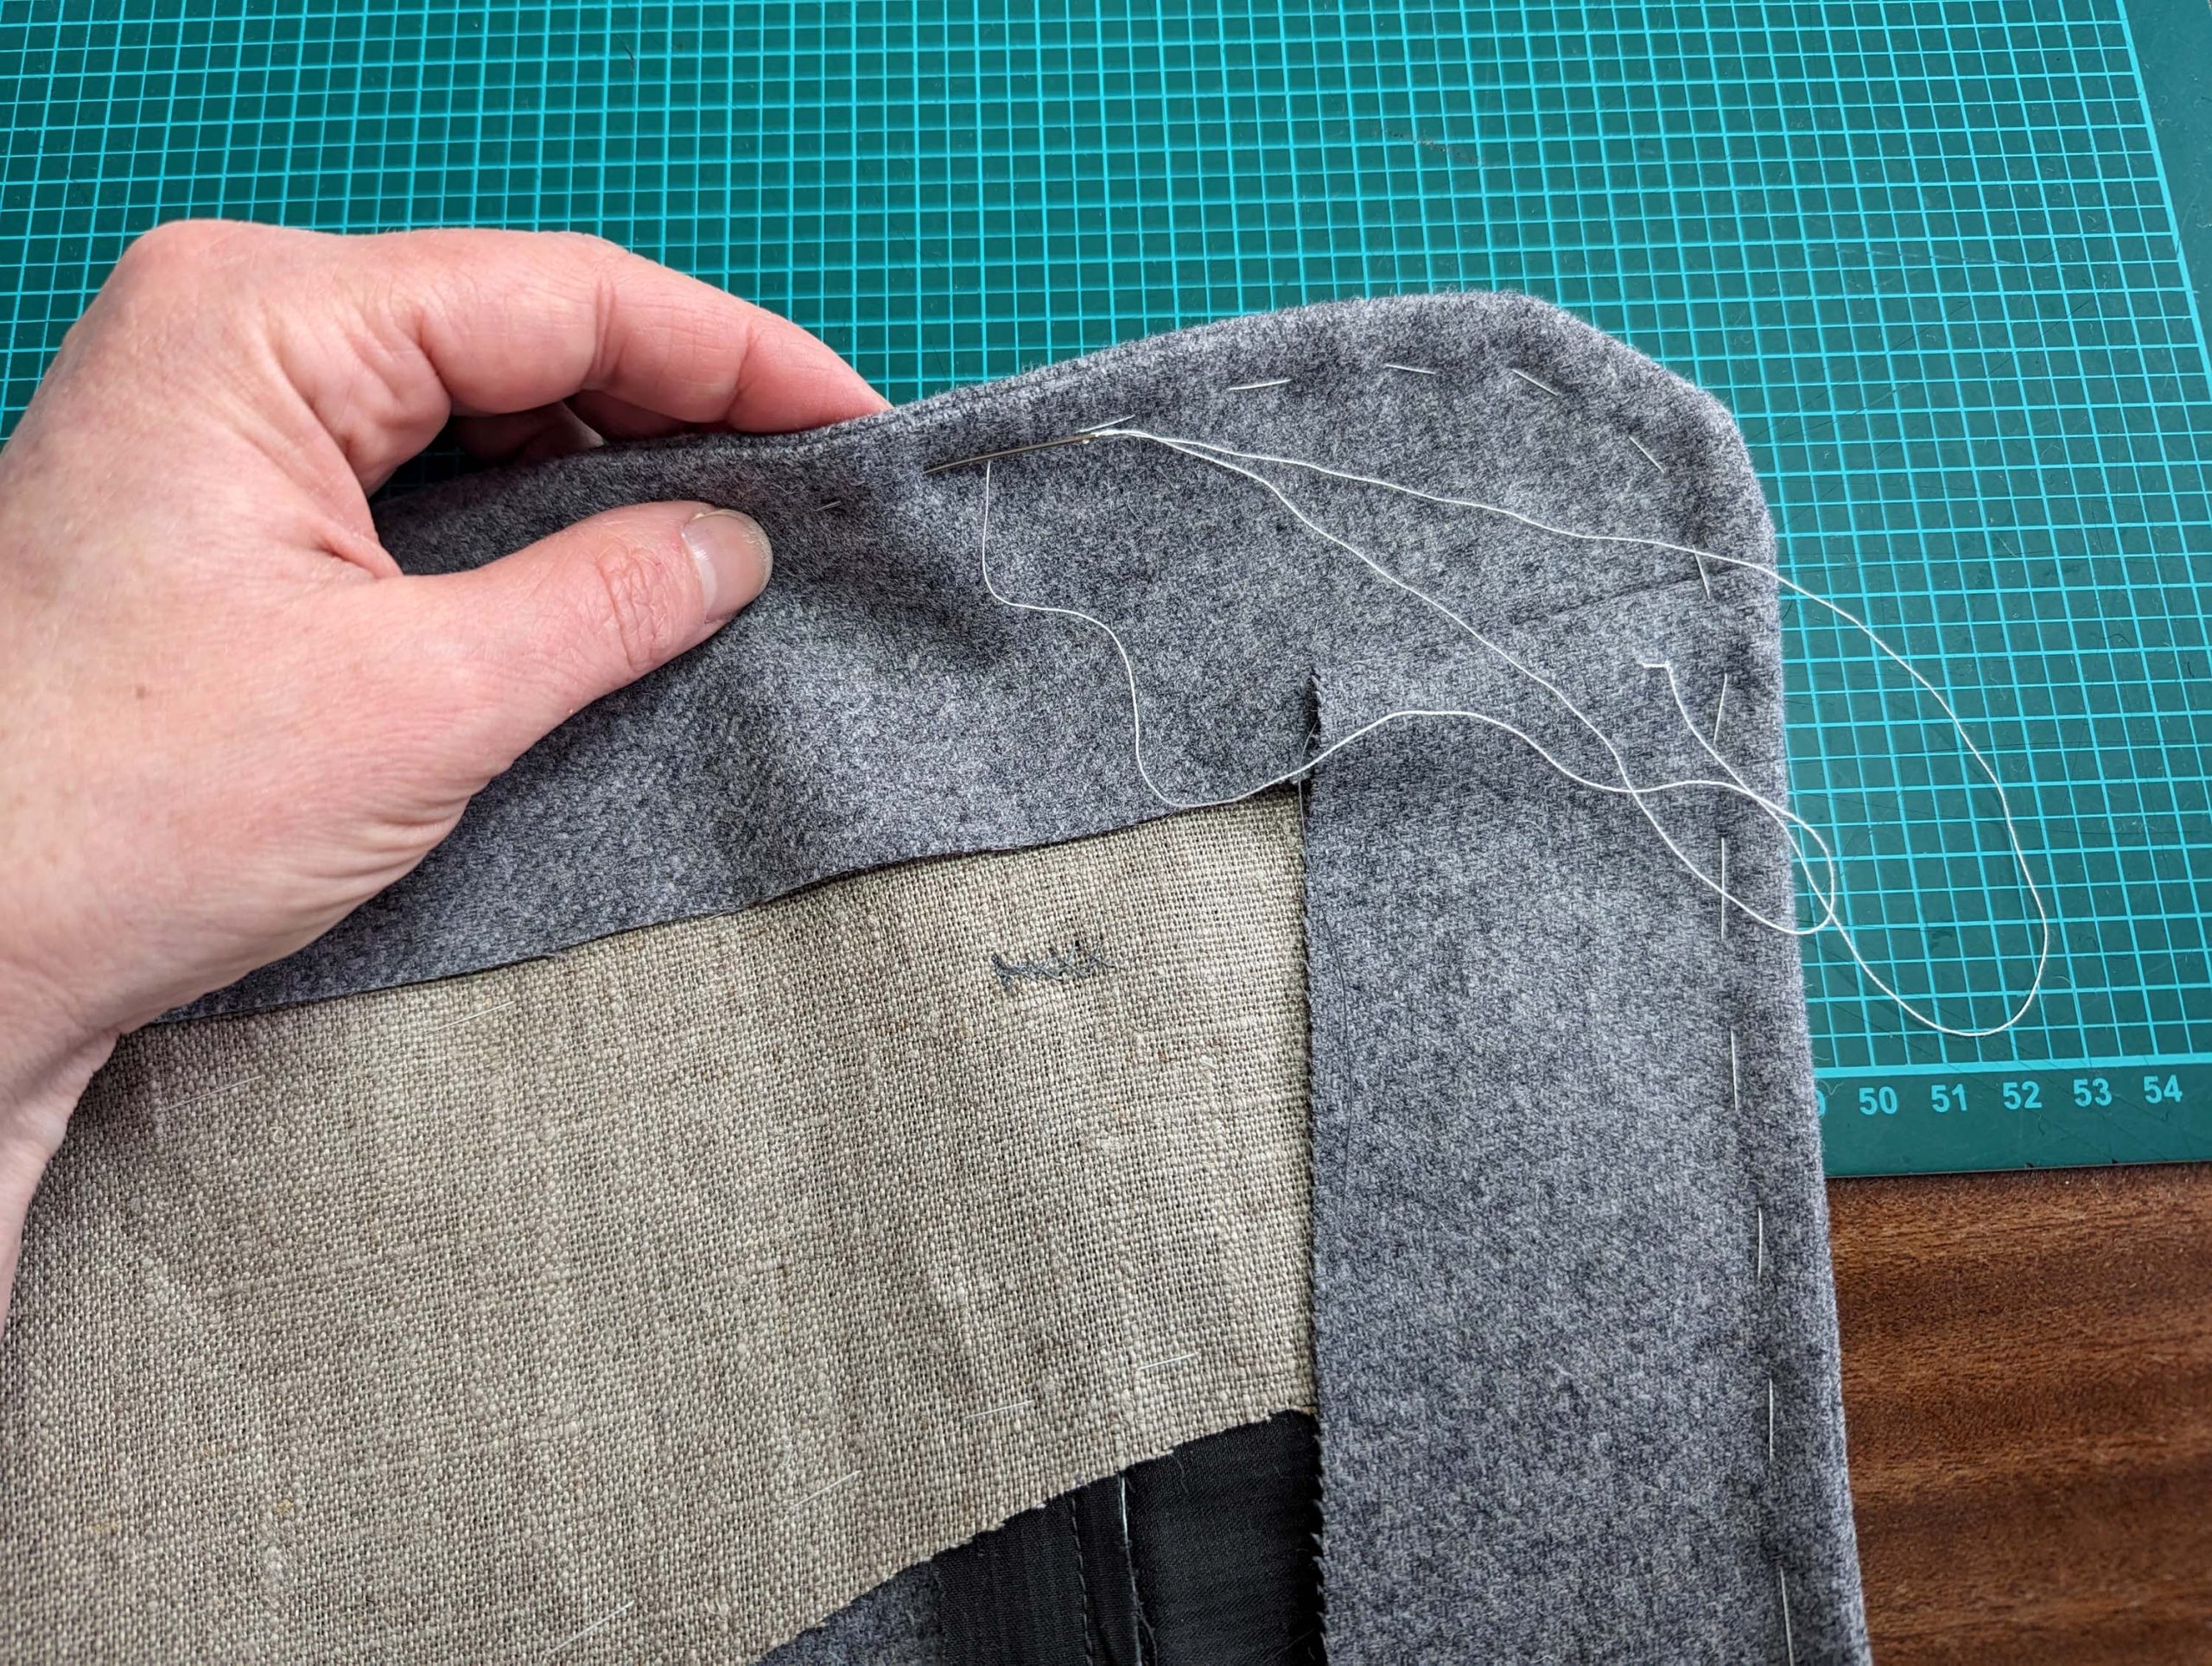
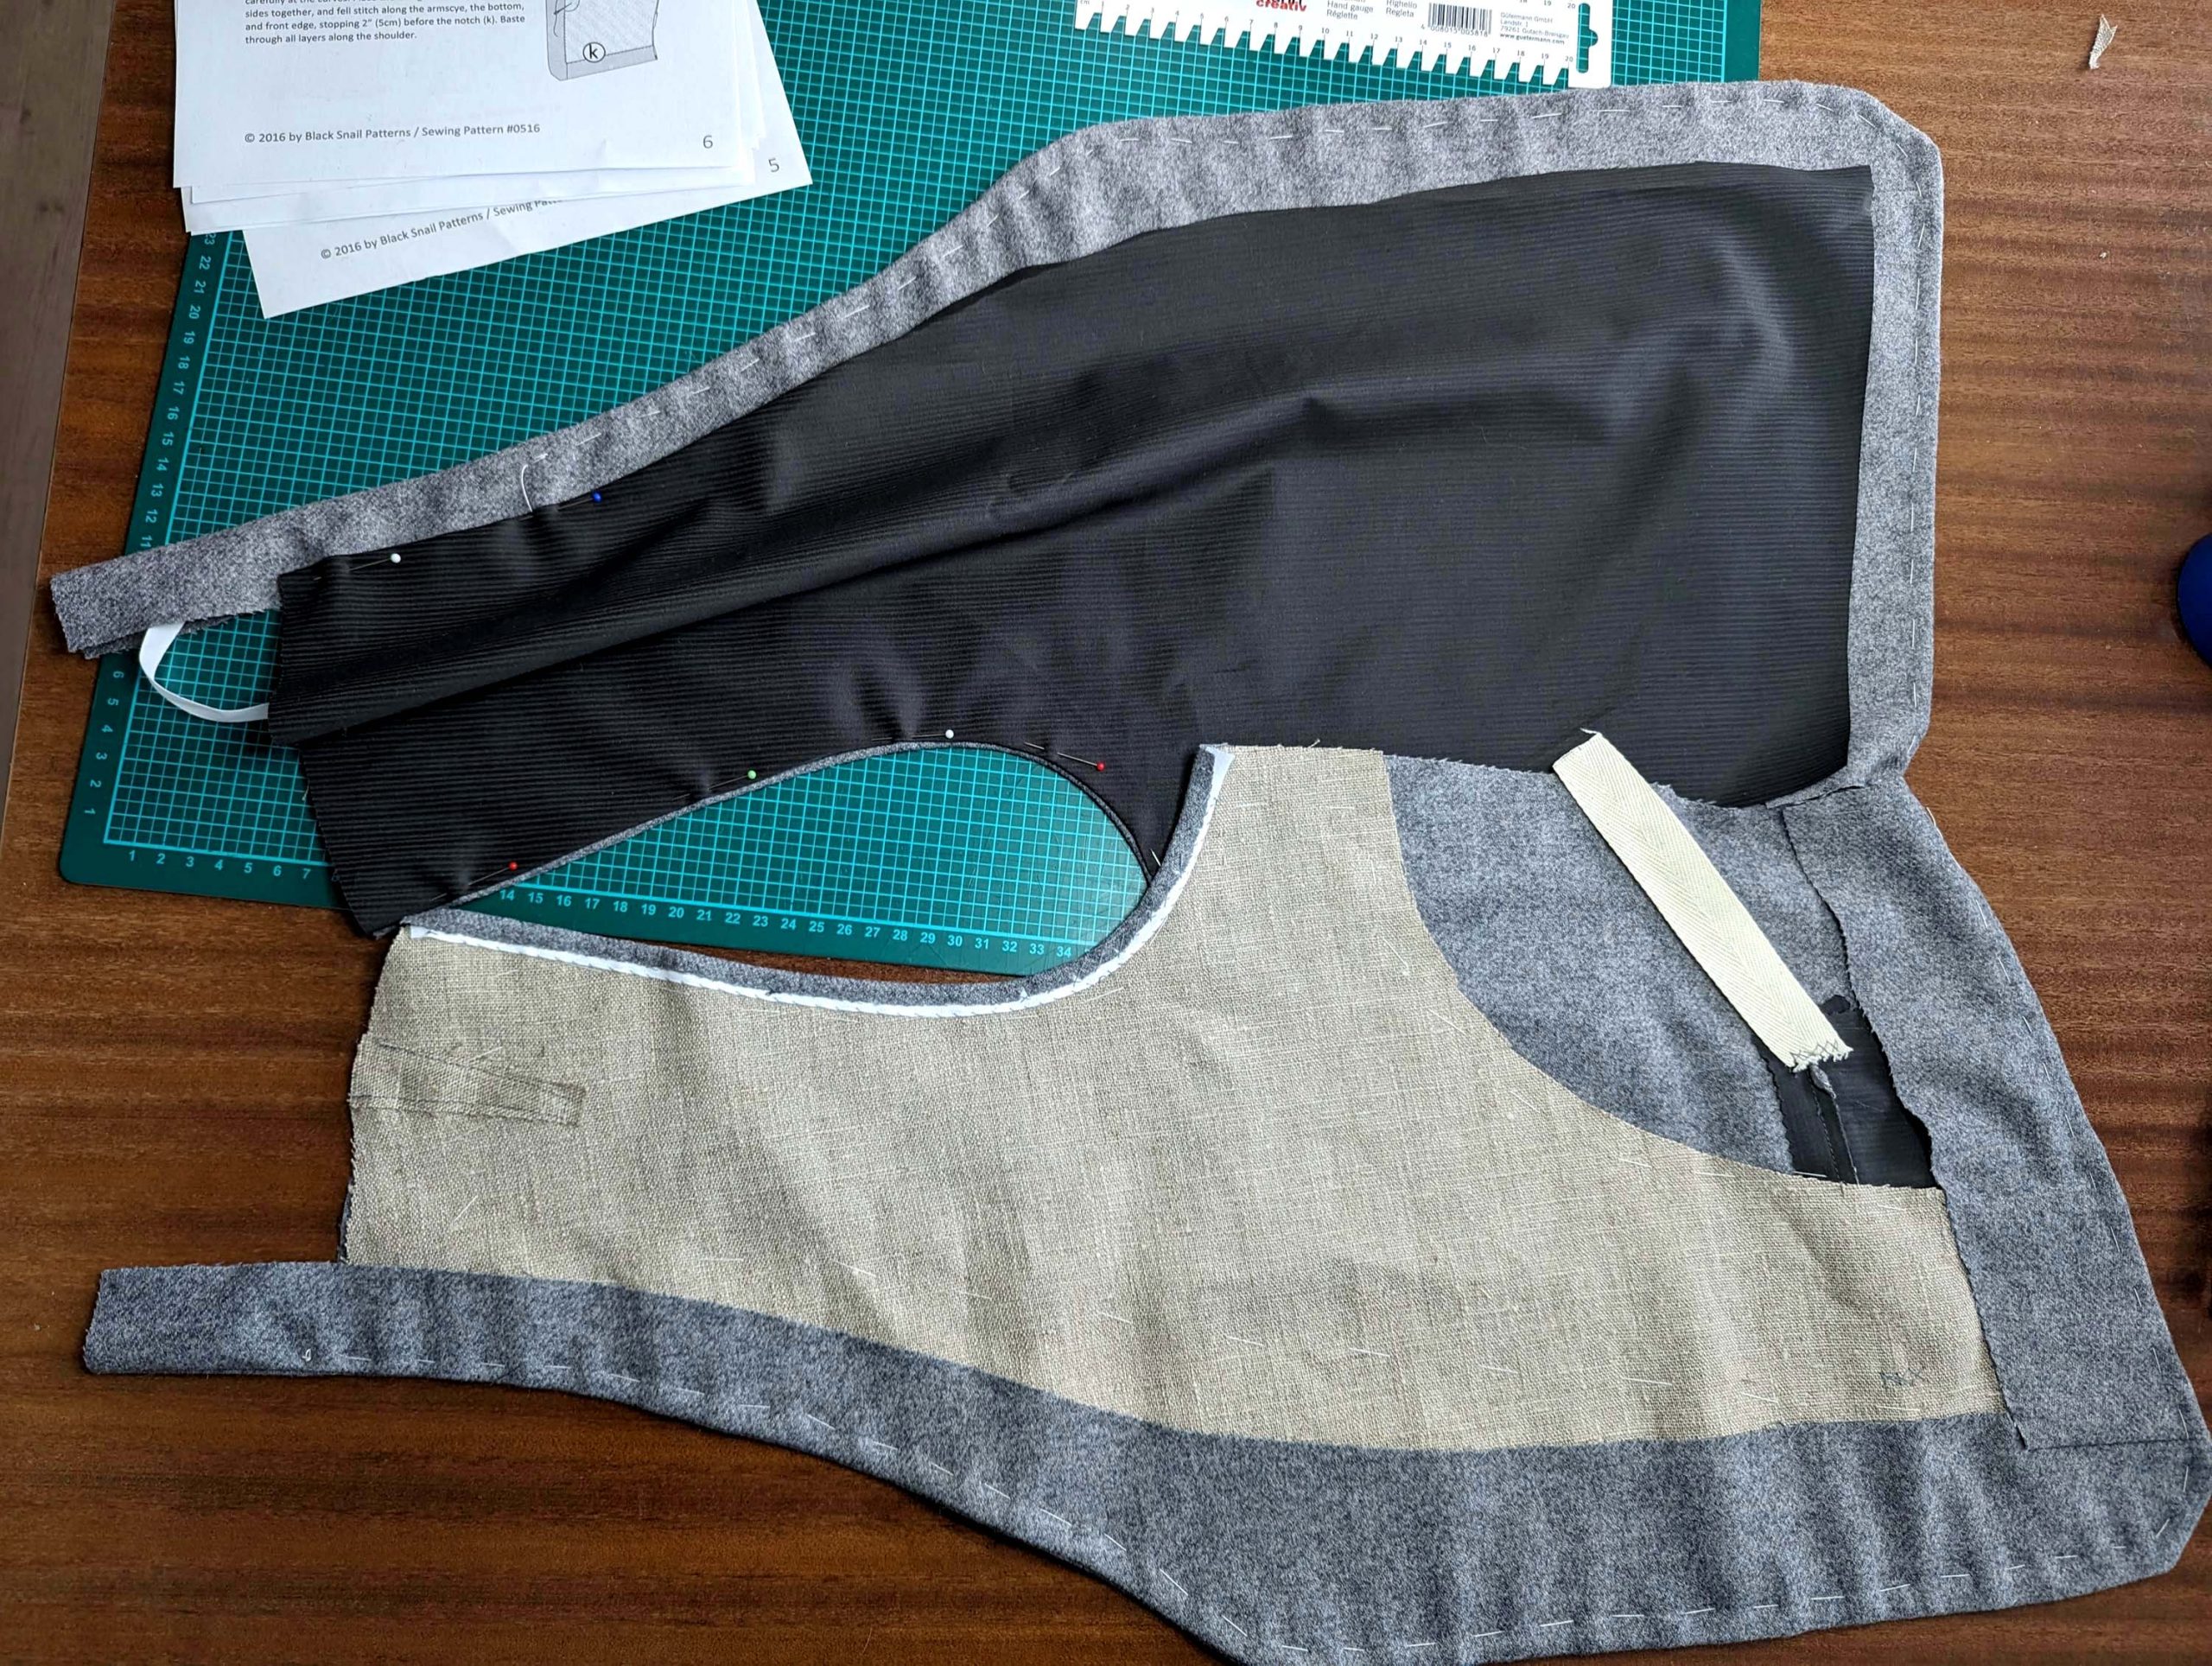
Line up the facing with the front, right sides together, and stitch right beside the bridle tape. Trim back the seam allowances and turn the right sides out. Press the edges, rolling the seam slightly out of sight towards the garment’s wrong side. Baste along the edges to hold the pressed seam in place. At the armscye trim back the seam allowance to 3/8” (1cm) and fold around the bridle tape. First, baste, then fell stitch the seam allowance to the interfacing/bridle tape. Fell stitch the loose edges of the facing to the interfacing, stop 2” (5cm) before the collar notch.