How to sew a T-Shirt
The pattern contains just one piece for front and back. To safe time I use the following method:
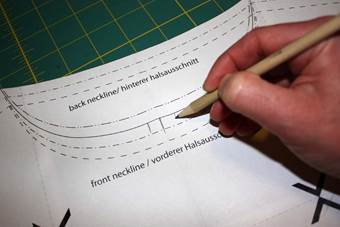
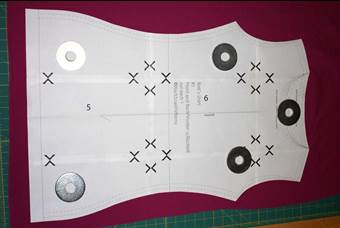
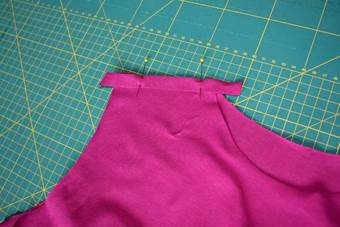
Cut out the pattern at the outer line (back neckline). At the front neck line mark the centre front, further draw a mark 3/8” (1cm) left and right from it.
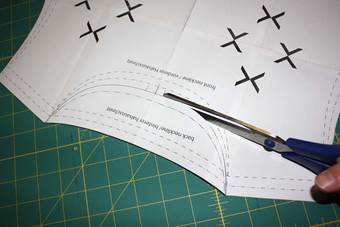
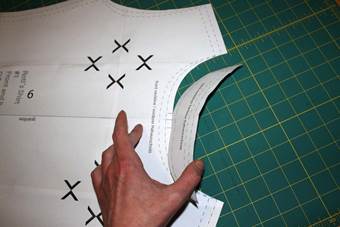
Carve along front neckline, end at markings. So you can fold away the piece for the back neckline to cut out front piece.
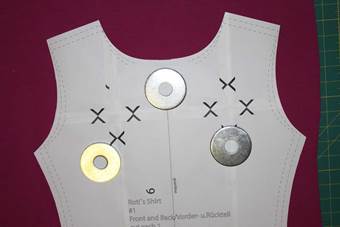
1. Place your pattern on the fabric and weight it down, my weights are big washers from the next DIY Store.
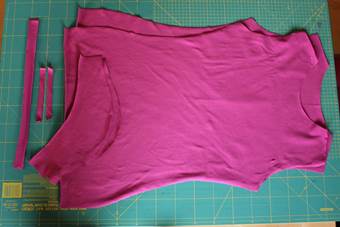
Cut out all pieces, the front piece like explained before.
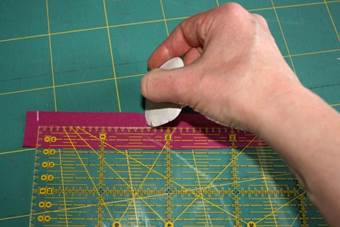
Cutting jersey fabric I prefer to use a roller cutter.
Here you see all pieces needed to sew a T-Shirt: front, back, sleeves 2x, neckband and two small straps for strengthening the shoulder seams.
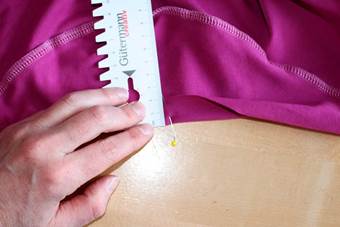
2. At the neckband mark shoulder seams, centre front and back.
Close neckband with a small straight stitch, open seam allowance and iron. Fold strap lengthwise, left sides together and iron again.
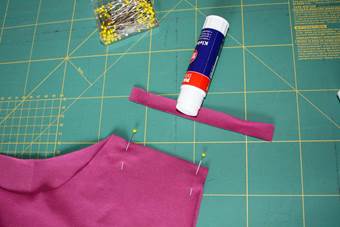
3. Shoulder seams: Pin front part to back part, left sides together. On top of the front shoulder put one of the small stripes. While sewing that stripe never stays in place, fix it with a water soluble glue stick. Then sew shoulder seam with an overlock stitch. Cut back excess fabric of stripe.
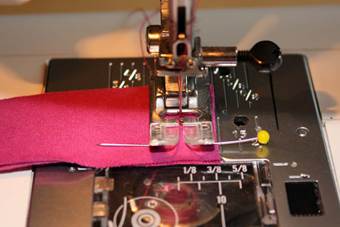
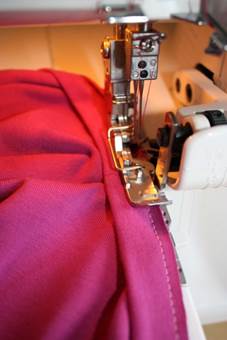
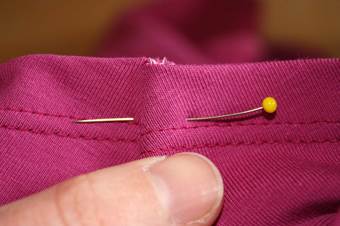
4. At the neckline mark centre front and back and pin neckband matching marks. This T-shirt has a quite narrow neckline. First baste the neckband with a long straight stitch to neckline, stretch neckline while sewing.
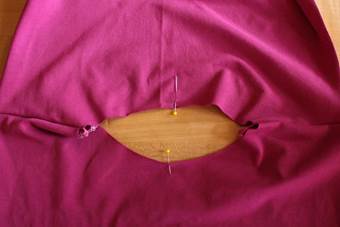

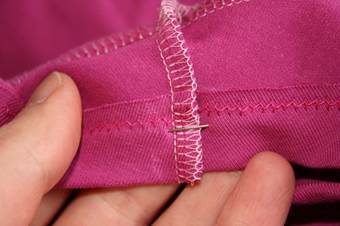
Then sew again with an overlock stitch or your Overlock machine.
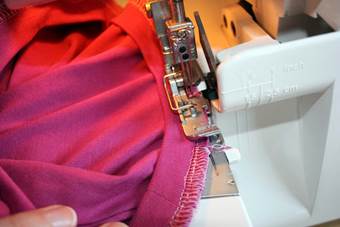
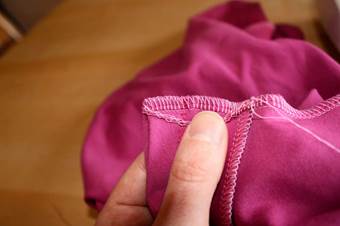
With the Overlock machine place edge exactly under lifted presser foot and stick the needle through the fabric using your hand wheel like using a “normal” sewing machine. Then lower presser foot and sew along the neckline. End about 1“ before you reach the beginning of the seam. Lift the knife and sew the rest without knife. Cut off threads.
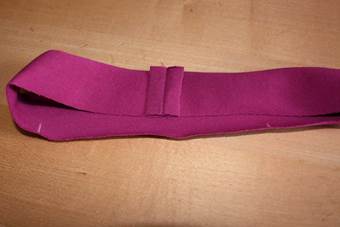
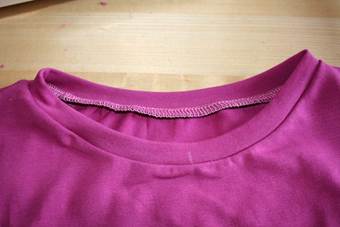
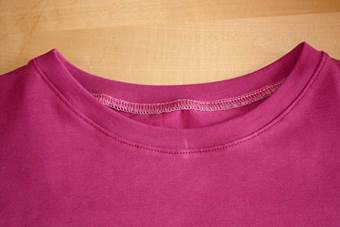
This is how it should look like now.
5. Pin sleeves right sides together to armhole and sew. Side seam is still open.
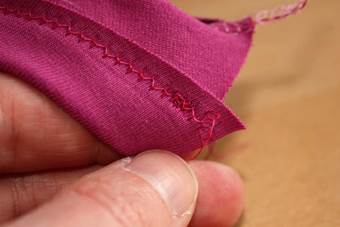
Sleeve hem: fold in ¾” (2cm) and sew from right side with the twin needle. Sewing with the twin needle it is important to lower the tension of the bobbin thread and increase the tension of the upper thread. (Please read the manual of your sewing machine first, with some machines it is not possible to alter the tension of the bobbin thread). Test it on a small piece of fabric first. Stretch fabric a little bit while sewing.
Twin needle seams tend to rip up. Pull threads to left side and knot them.
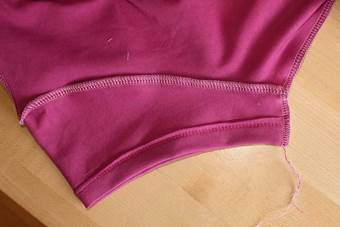
6. Close side seams.
7. Turn in 1” ( 2,5cm) seam allowance at the hem and sew with the twin needle. Pull ends of threads to left side and knot.
8. At the sleeve turn down seam allowance, place threads beneath and fix the seam allowance with a some stitches from the right side.

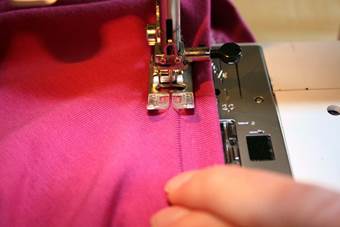
9. At the neckline topstich with a straight stitch. Lower tension of the upper thread and use a large stitch, stretch neckline while sewing or use an elastic stitch.
Tips and tricks sewing jersey fabric:
- Cut out pieces on single layer because jersey tends to pucker.
- Use special jersey needles or ballpoint needles.
- Use a large stitch
- Before using a twin needle read the manual of your sewing machine.
- Sewing jersey fabric needs some practice.