
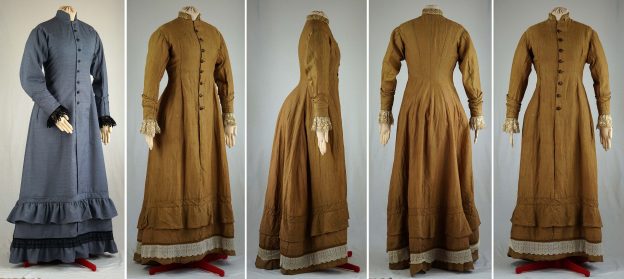
It´s time to prepare the collar! The collar is piped along the outside edges, the width of the piping is about 3mm. To achieve a regular piping, take a bias strip, about 3cm wide, and fold in half all the way along, wrong sides together, and press. Baste all the way along the folded edge with an even spacing of 3mm to mark your sewing line.
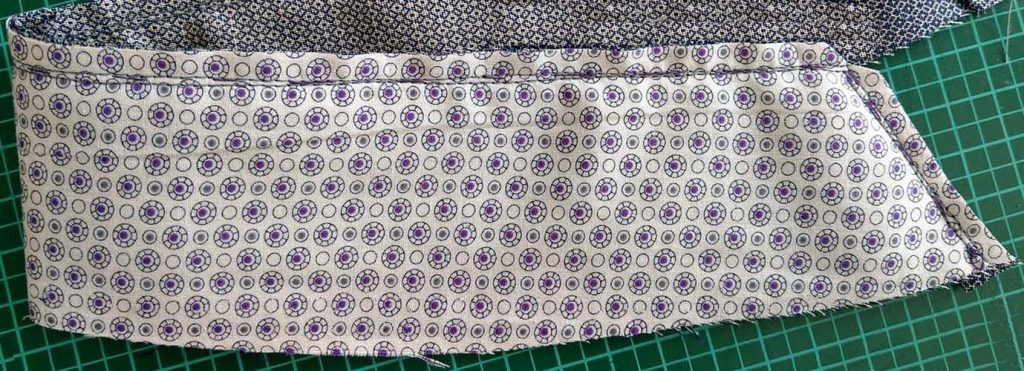
Mark the stitching line on the right side of the outer collar. As you can see, it was a bit of try and error to mark the correct line.
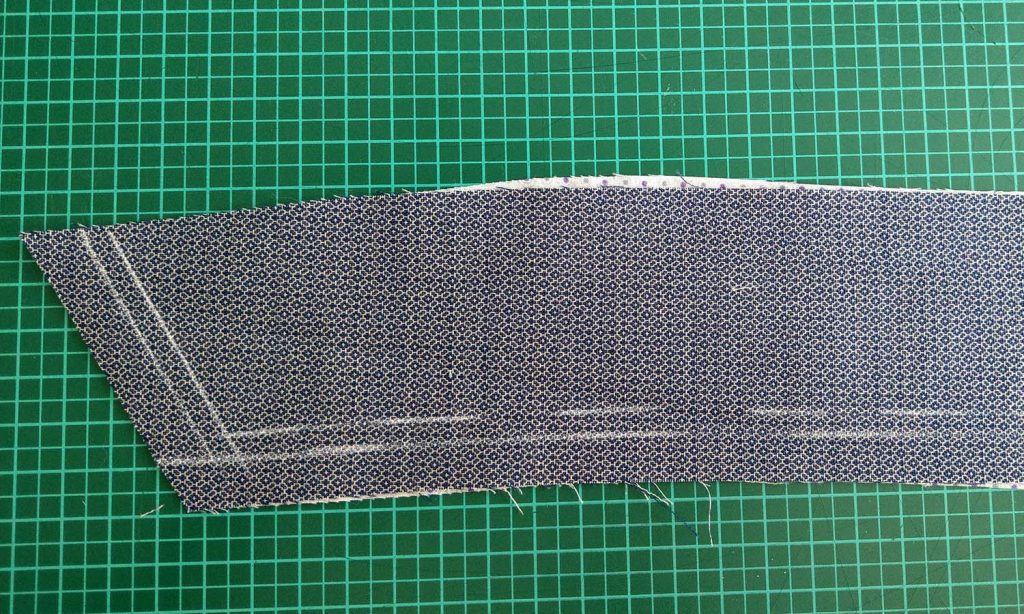
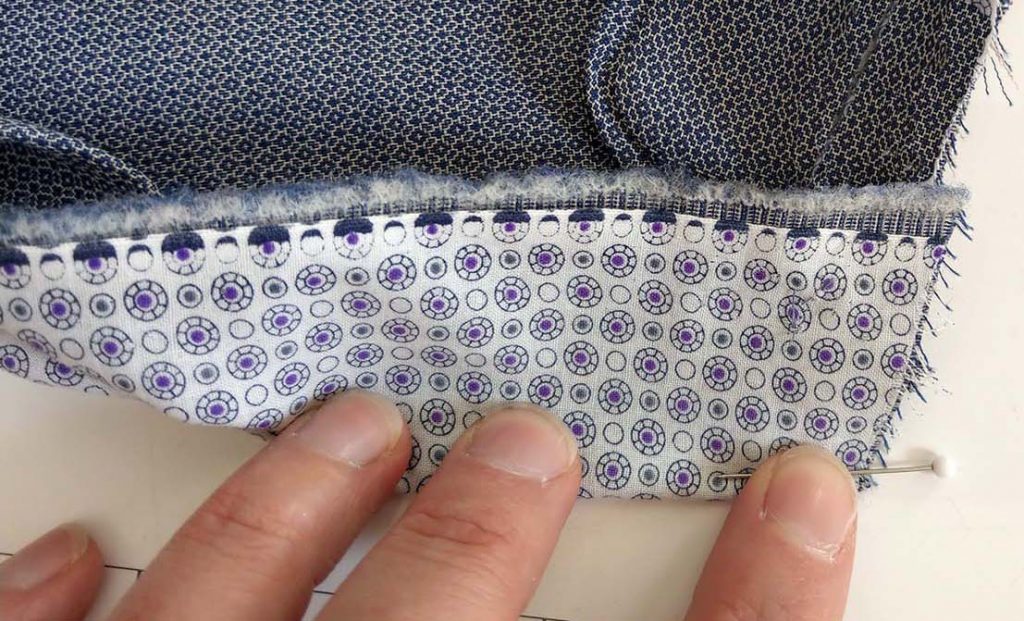
Place the collar piping on top, with the folded edge towards the collar, lining up the stitching lines. Clip the piping at the corners to give some extra width and baste along the stitching line through all layers. The basting stitches seen on the wrong side of the collar indicates the stitching line.
Line up inner and outer collar, right sides together, and sew just next to the basting threads, indicating your stitching line, with the outer collar up.
Pass the corners with a reduced stitch length and trim back the seam allowances.
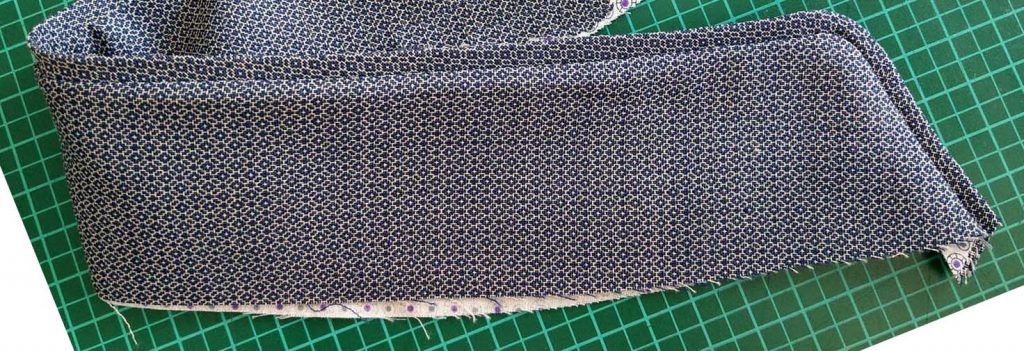
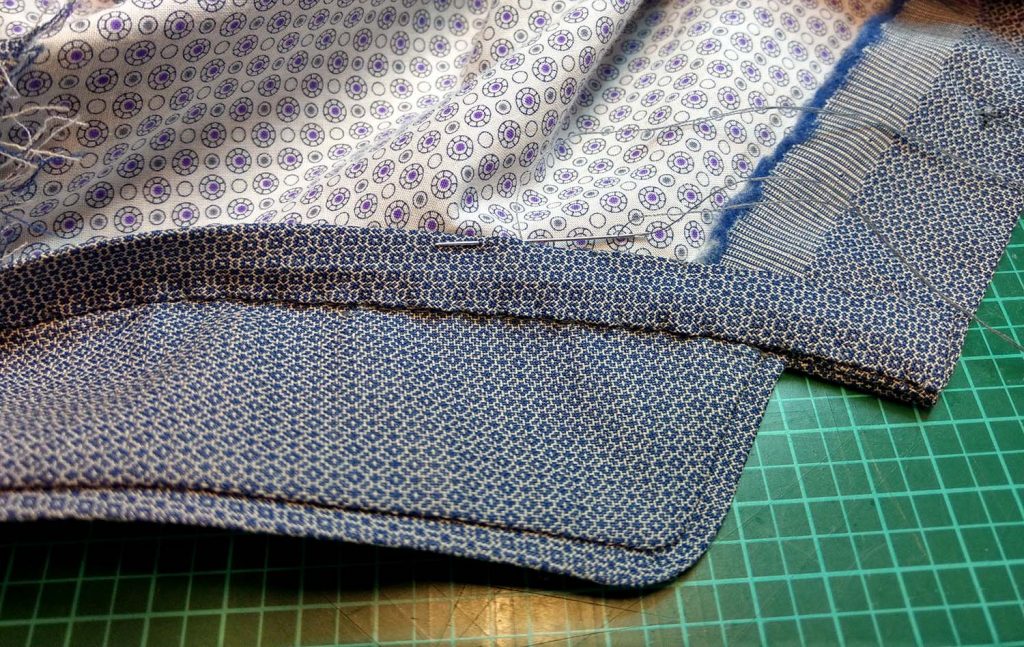
Turn the collar to the right side and press.
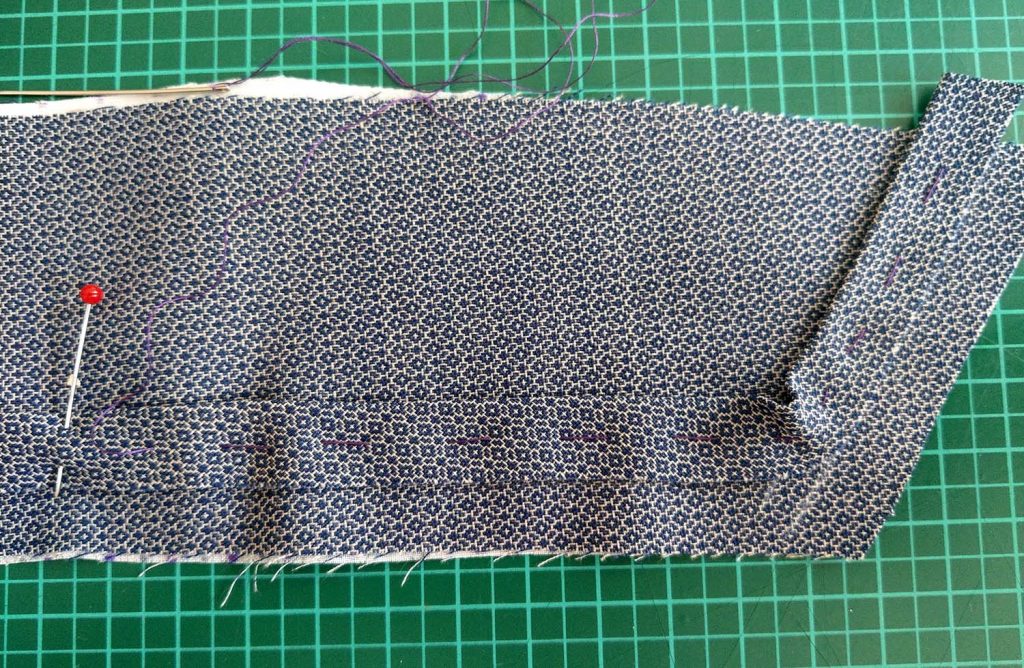
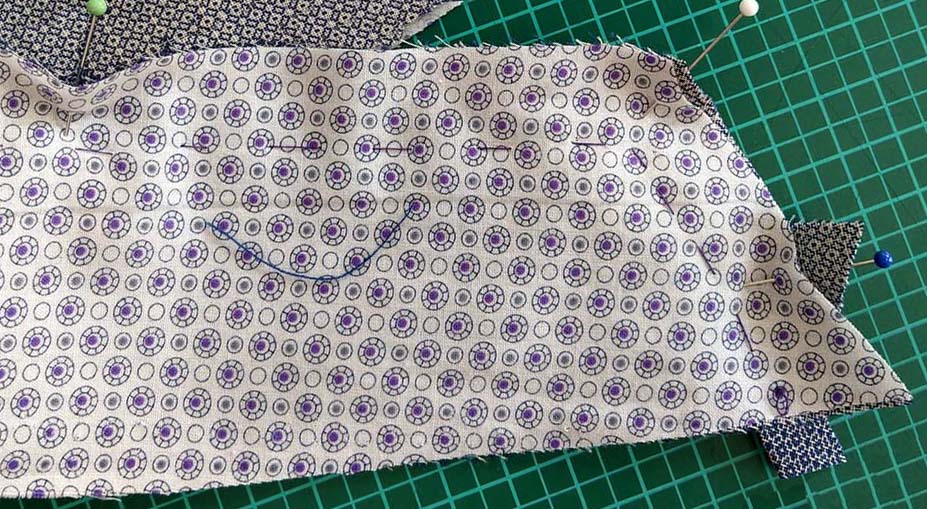
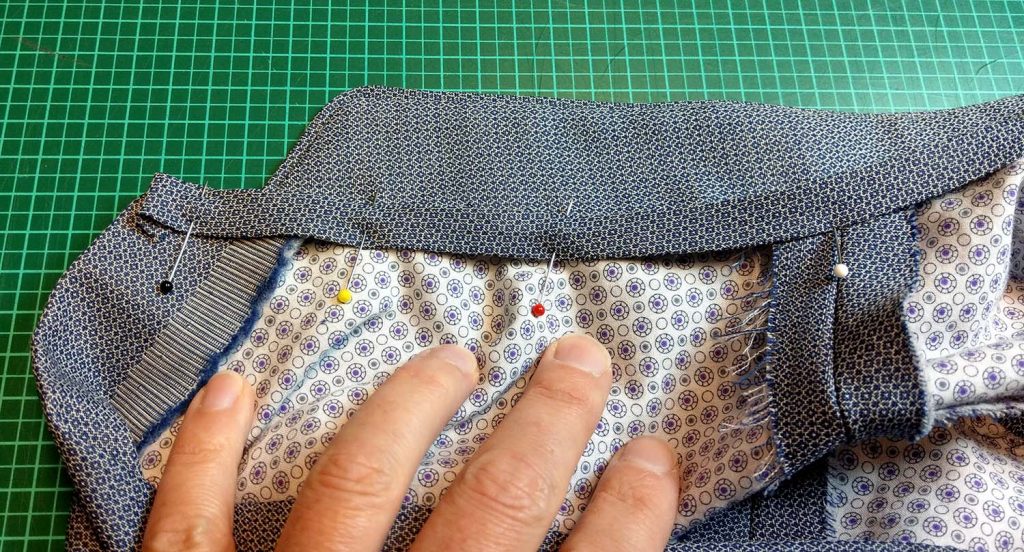
Pin the collar along the neckline, right sides together, fold the front facing with the right sides together along the front edge and stitch along the neckline. Trim back and clip the seam allowance along the neckline and turn the facing to the right side again, press the seam allowance towards the bodice.
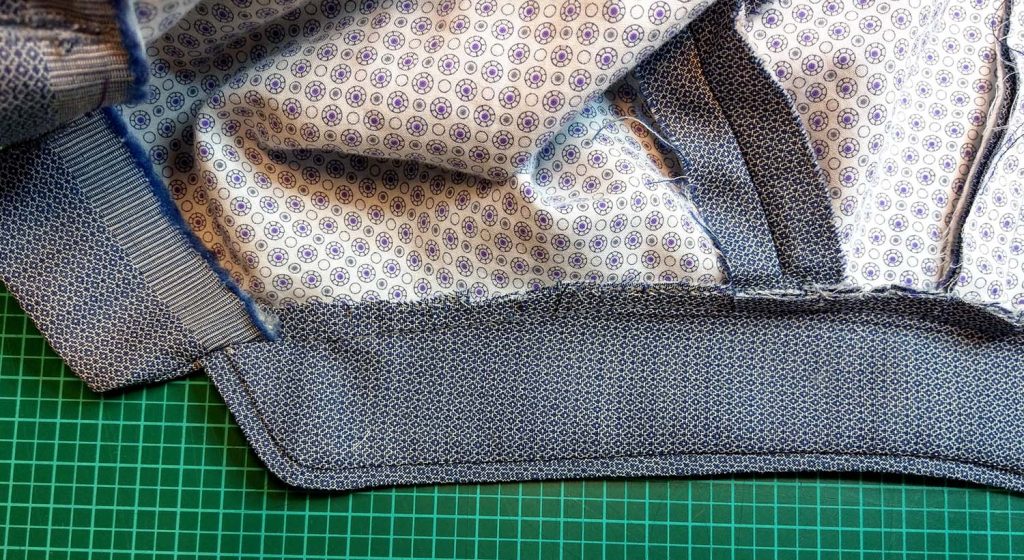
Cover the raw seam allowances with a soft bias tape, finished width of the tape should be about 1cm. Fell stitch the top edge of the tape along the stitching line of the collar, fell stitch the bottom edge to the bodice lining only.

To be continued…