
The sleeve cuff shown here is different to the cuff described in the sewing instructions, but similar.
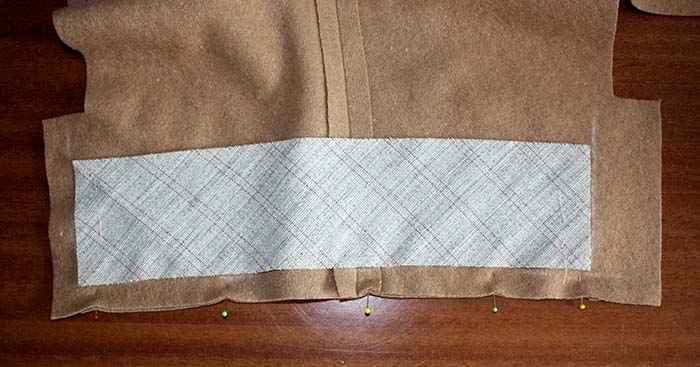
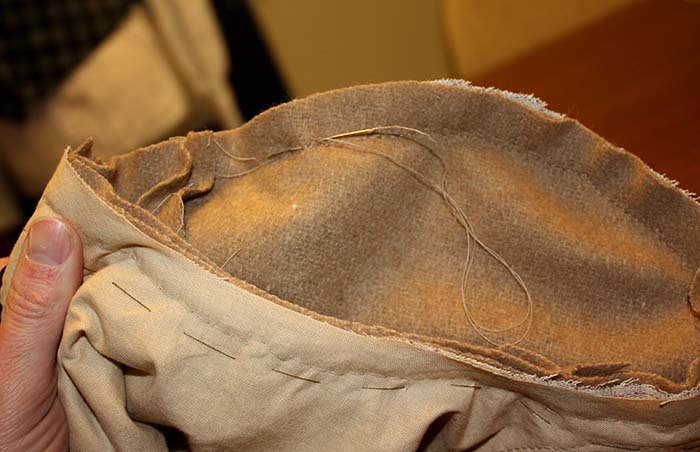
Sew together top and under sleeve along the front sleeve seam and attach the interlining with basting treads. In the sewing instruction, the interfacing reaches the bottom edge. Underneath you can see the cuff pined along the bottom edge, right sides together. I decided to use the fashion fabric for the cuff with raw edges to avoid bulk with that heavy fabric.
For that reason I used a cotton fabric for lining the cuff. The cuff lining is cut with seam allowances, these are turned in and pressed. The two layers are joined narrow by the edge with small stitches. Better than shown on the pics would have been to stitch down the vent facing (left side) and seam allowance (right side) first.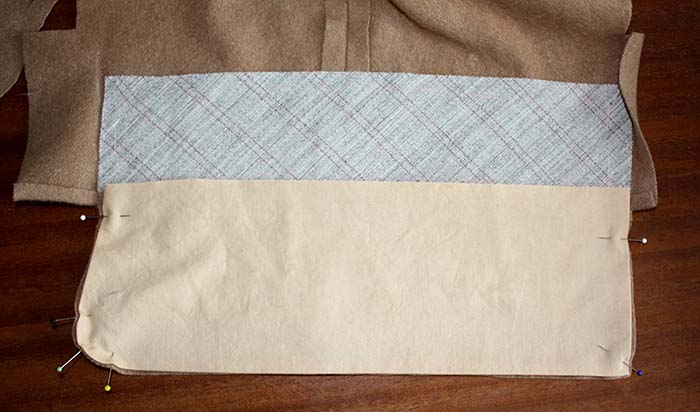
The sleeve itself always should be inserted by hand, the interfacing would always be in the way sewing with the sewing machine.
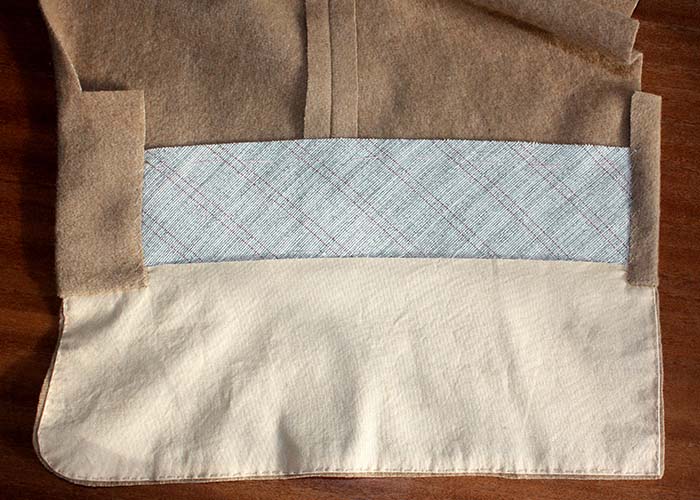
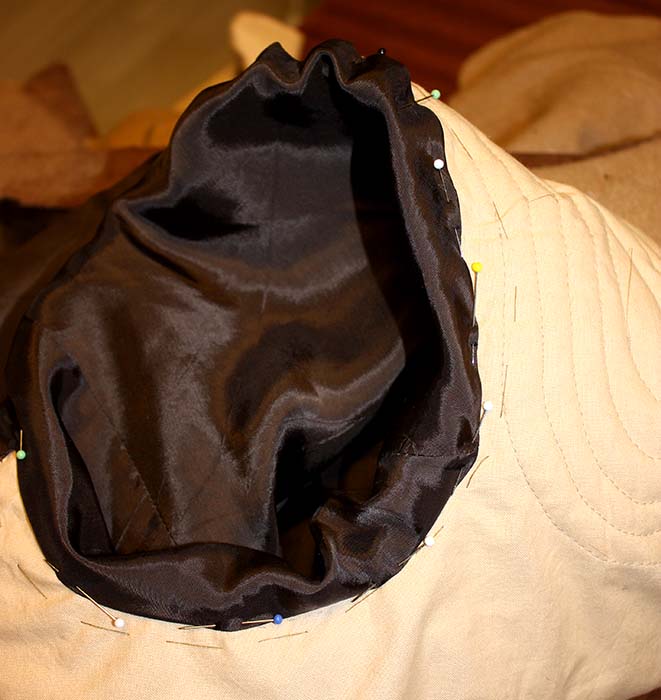
The sleeve lining is joined the same way as the sleeve and fell stitched to the top edge of the cuff lining with turned in seam allowances. Pull the sleeve lining through the armhole, wrong sides together, turn in the seam allowance and fell stitch to the armhole, covering all the raw edges.
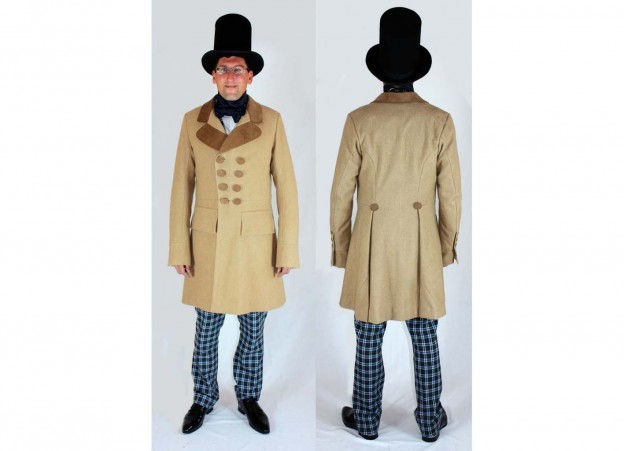
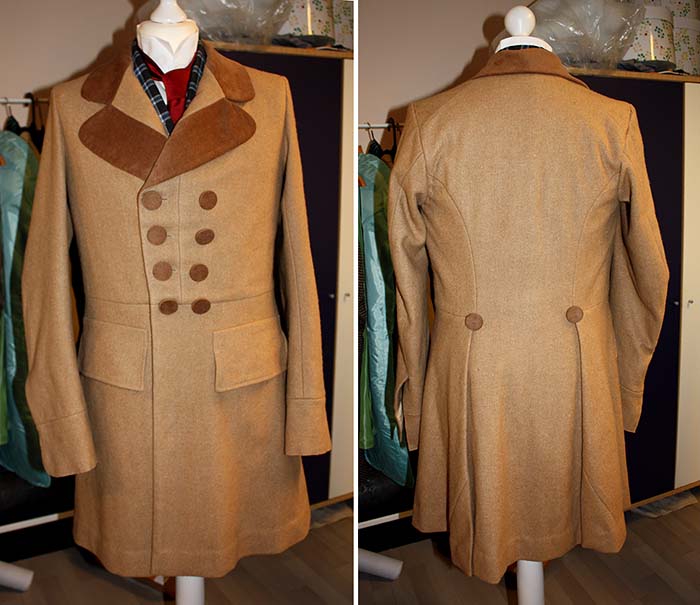
The result with fabric covered buttons. I used plain wood discs. Still missing are smaller buttons at the sleeves.
Sorry, but I don’t have any pics of sewing the skirt lining.