 At the same time launching my new sewing pattern, I want to show you many pictures from cunstructing the chemise and sleeve puffs.
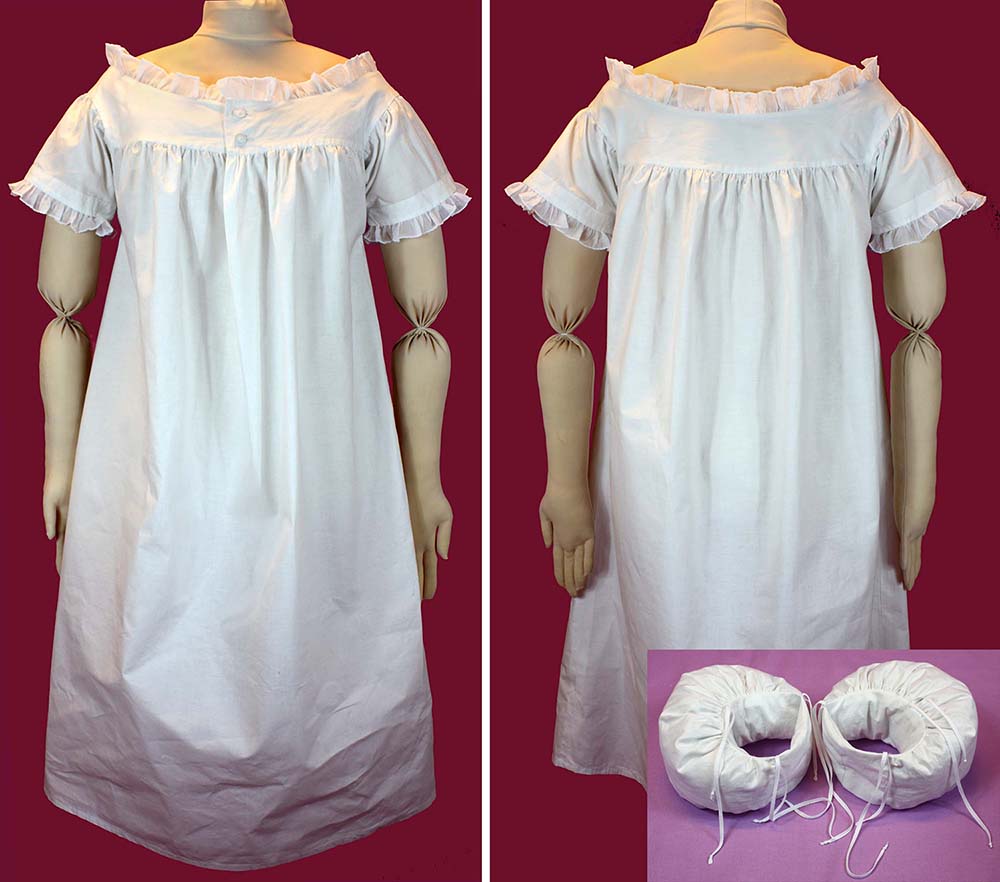
These two pieces of clothing often keep unattended, but they complete the right look of an 1830´s Dress.
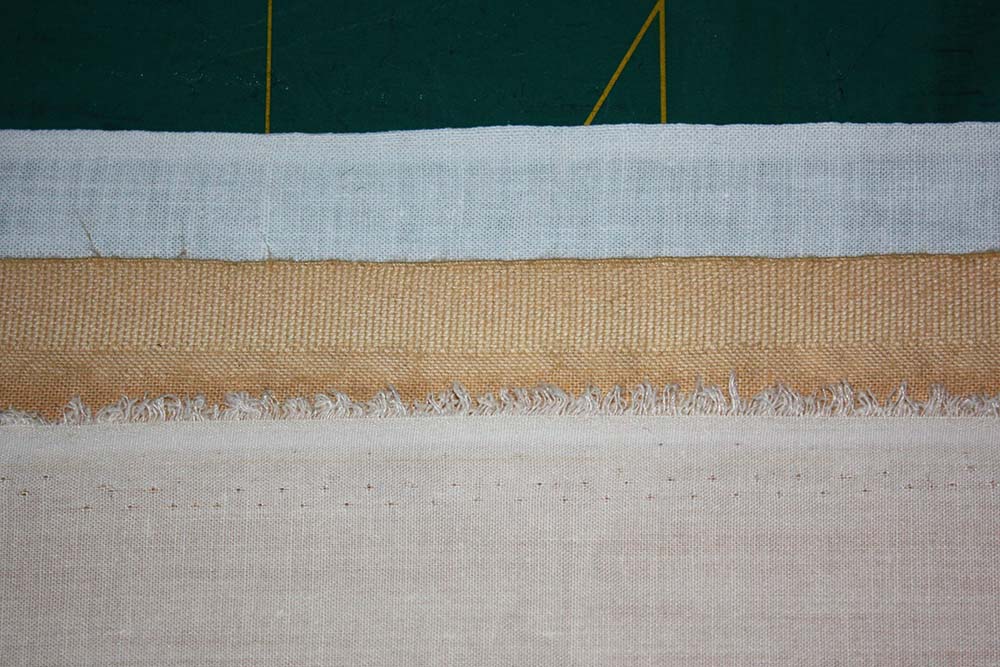
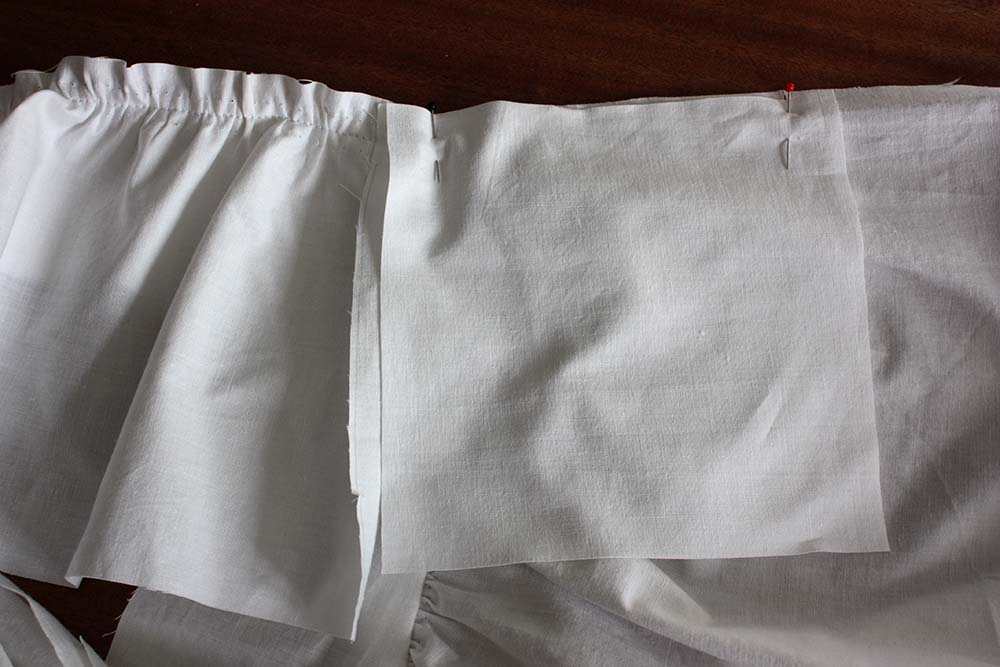
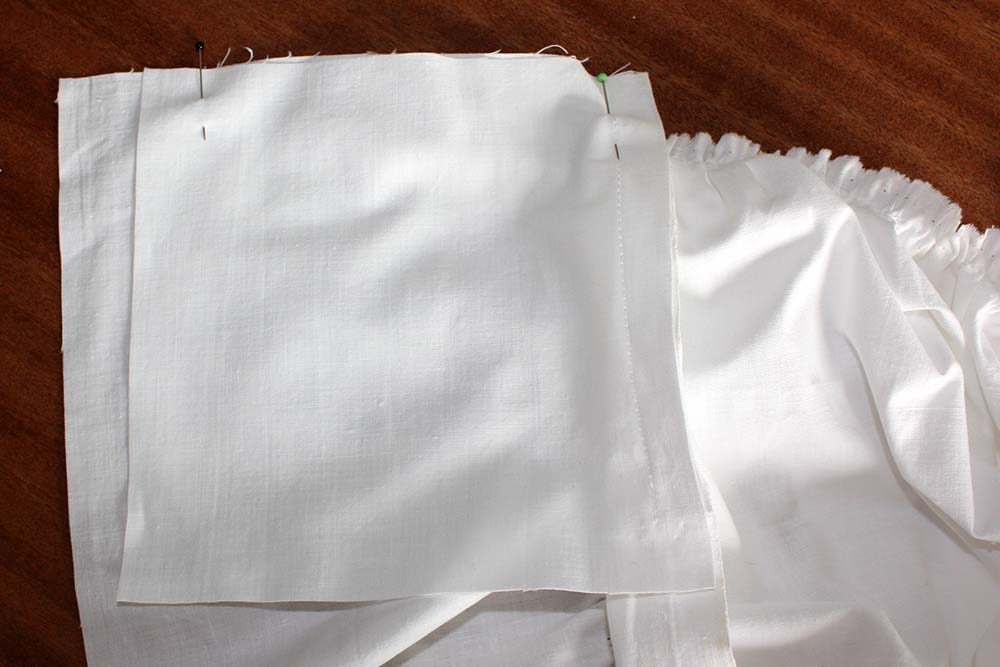
An 1830´s chemise is commonly made from cotton. It still has sleeve gussets for moving space, the top edge of front and back part is gathered to reach the required width. With the standard width of fabric panels at that time, the whole width was used for fronts and backs, including the selvedge to avoid fraying at the side seam. Modern fabrics have to be cut to the desired width. Even modern selvedges can´t be compared with ancient ones. The uppermost is a cotton fabric woven about 1900 with a very fine and strong selvedge, the lower ones show modern fabrics with their selvedges. So depending on the selvedge it is better to cut it off and neaten the raw edges with flat felled seams.
Ruffles at the neckline and sleeves can be omitted for faster and easier sewing, also the vent at the center front, but with the vent, the chemise can be adjusted easily for ball gowns with a wide neckline.
Lets start sewing!
Cut vent along the center front about 6” deep. Attach a strap, along the raw edge. Fold the strap around, turn in seam allowance and fell stitch. On the left side turn in the strap and baste along the top edge.

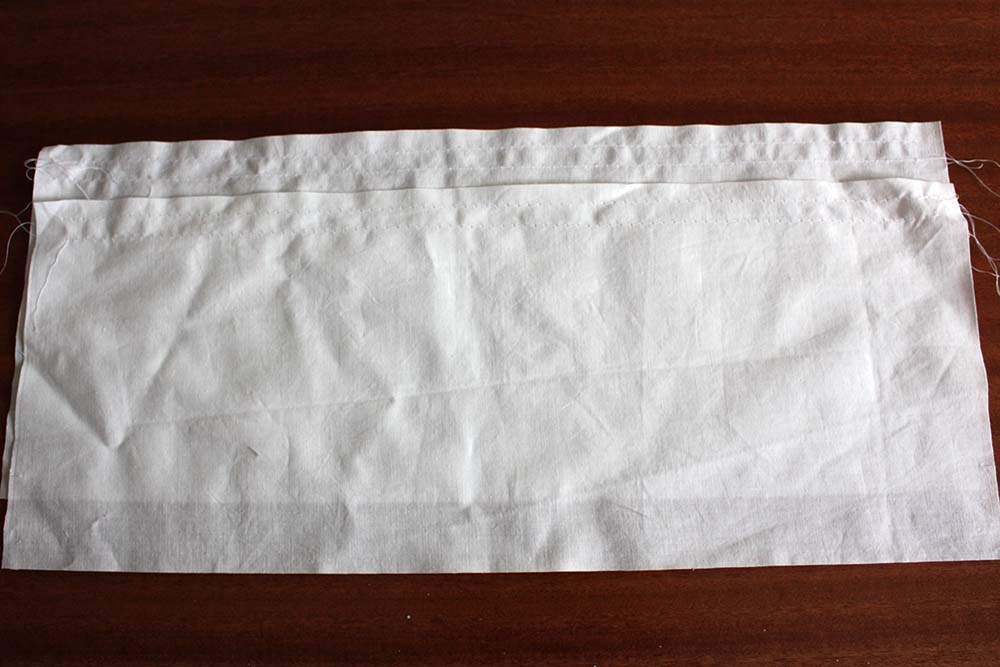
Close shoulder seams of the outside and inside yoke, trim back seam allowances and press open.

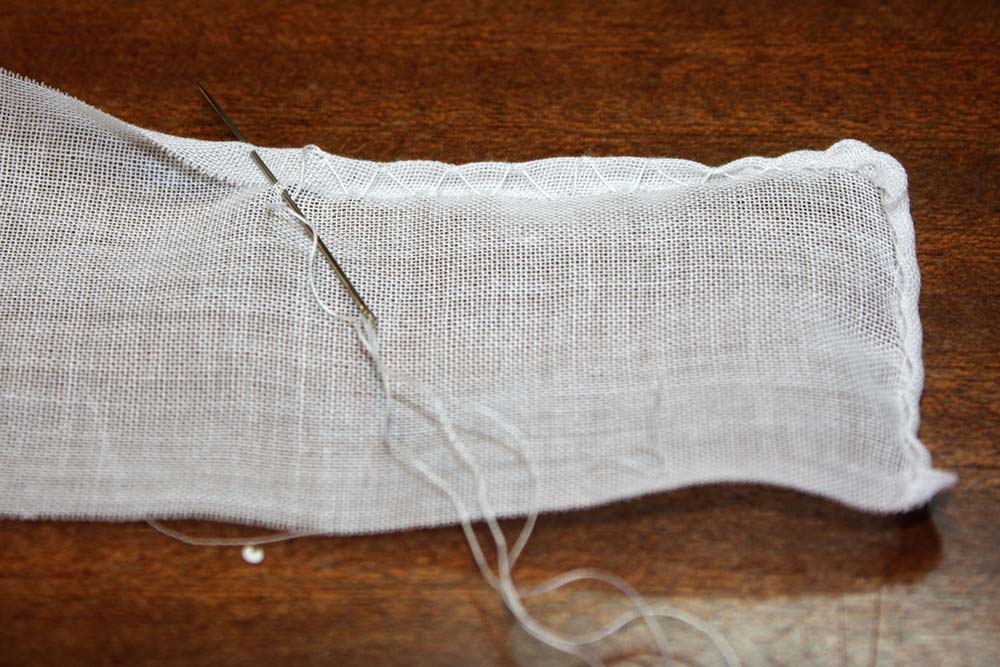
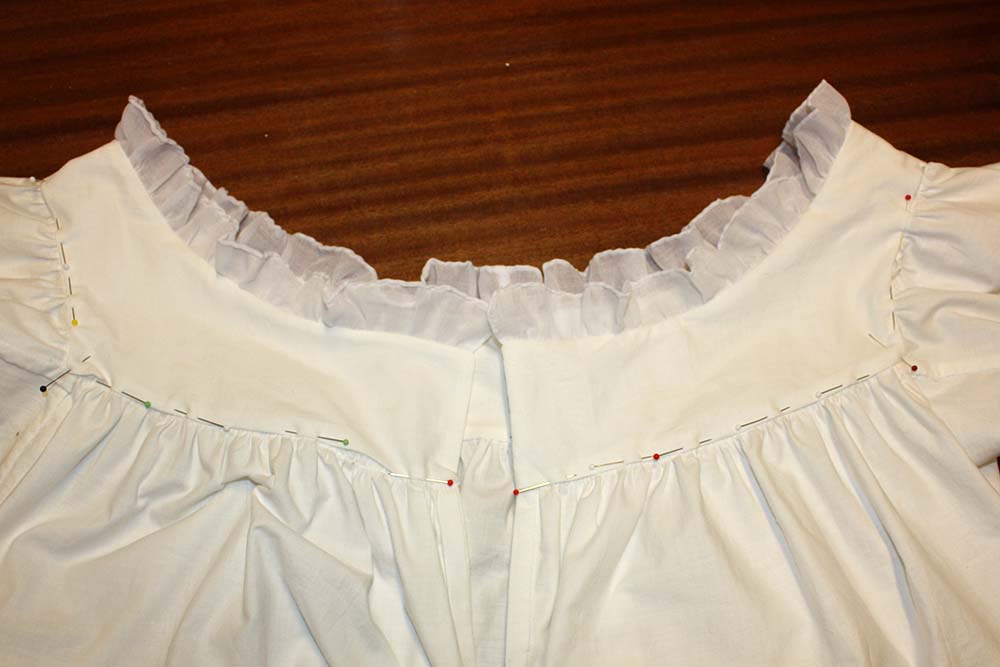
Prepare a narrow strap of fabric (lawn) twice the length of the neckline for the ruffle. Neaten one edge with a rolled hem, gather along the opposite edge with long stitches.
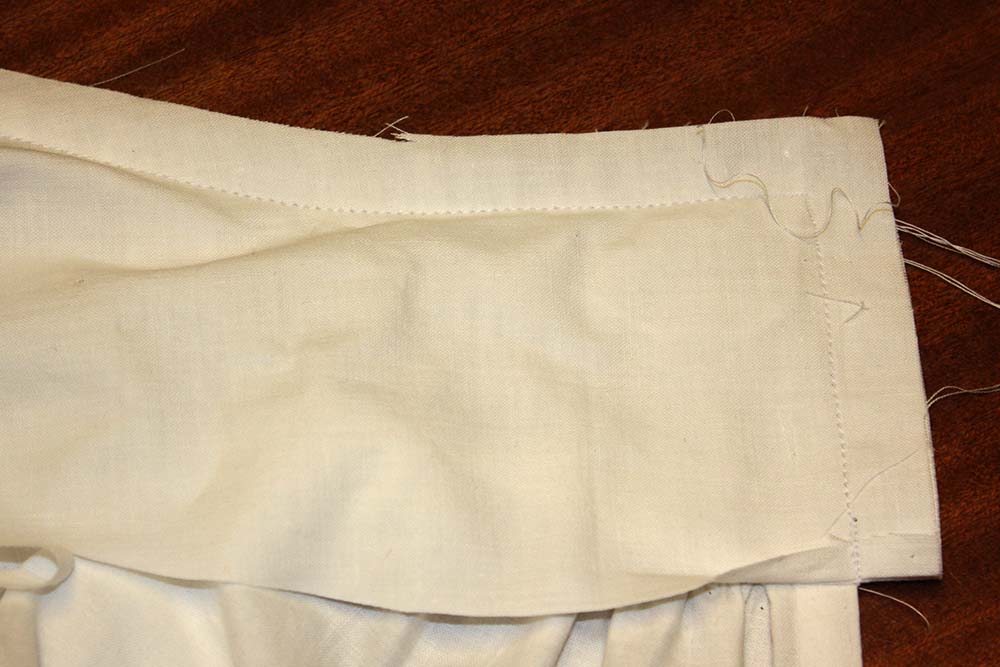
Pin ruffle along the neckline of the outside yoke, right sides together, the ruffle stops at the notch (pin), spread width and baste. Line up the inside yoke with the outside yoke and sew along neckline and the front edges. Turn inside out and press.
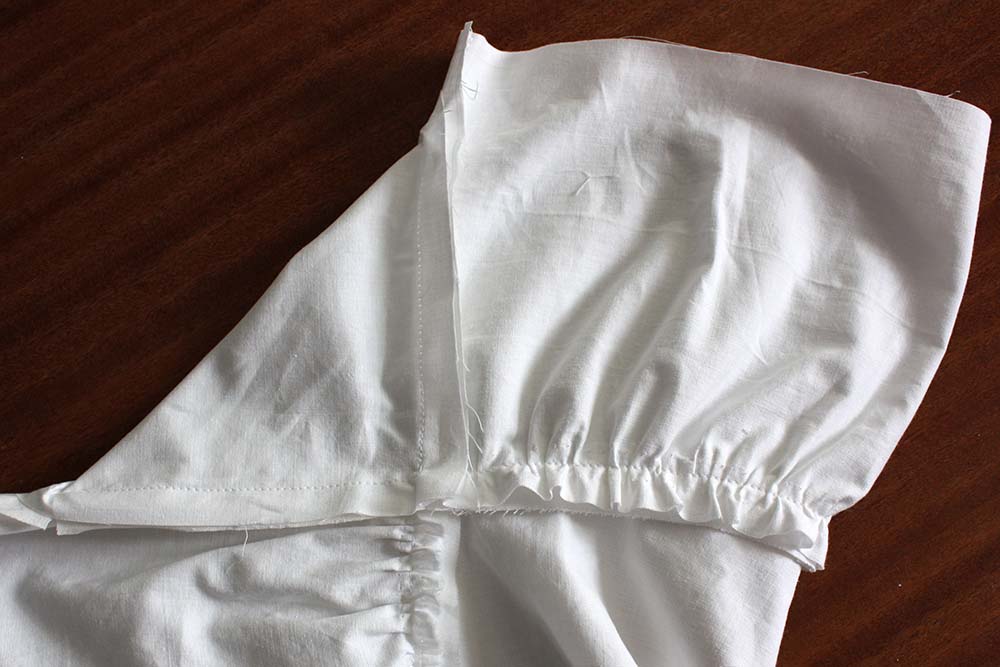
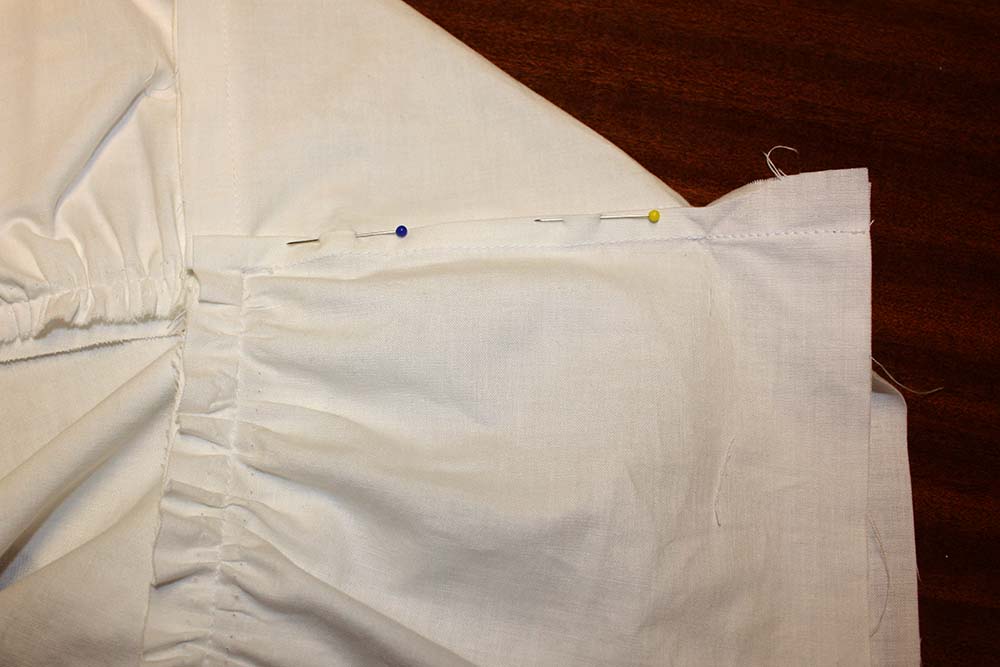
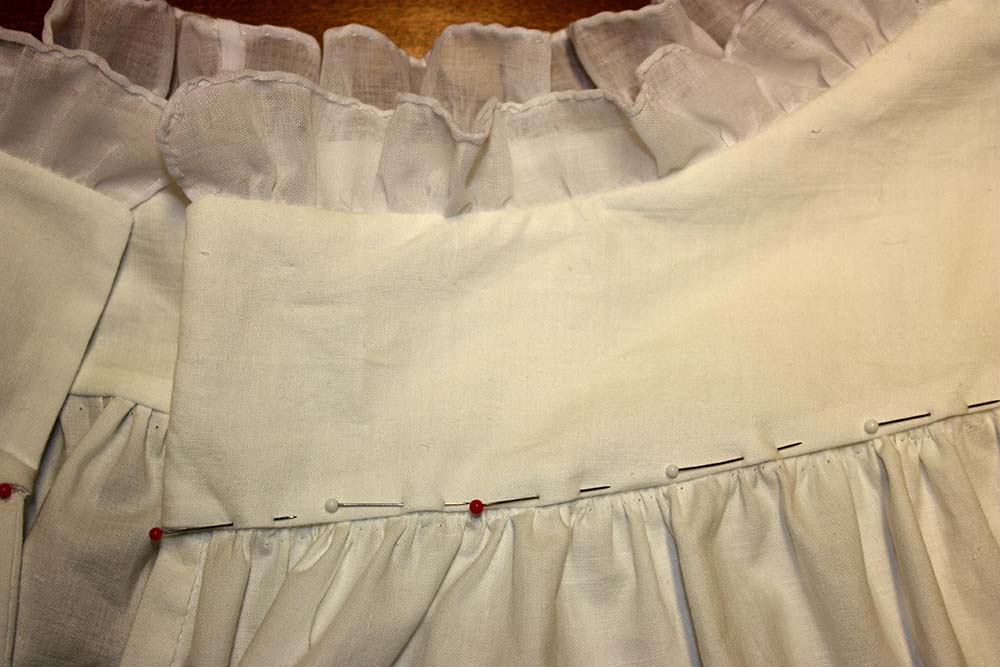
Gather top edges of sleeves, front and back part with long Stiches. Pin front and back to bottom edge of outer yoke, right sides together, spread width evenly and sew. I prefer to make two rows of gathering stiches for a smoother finish.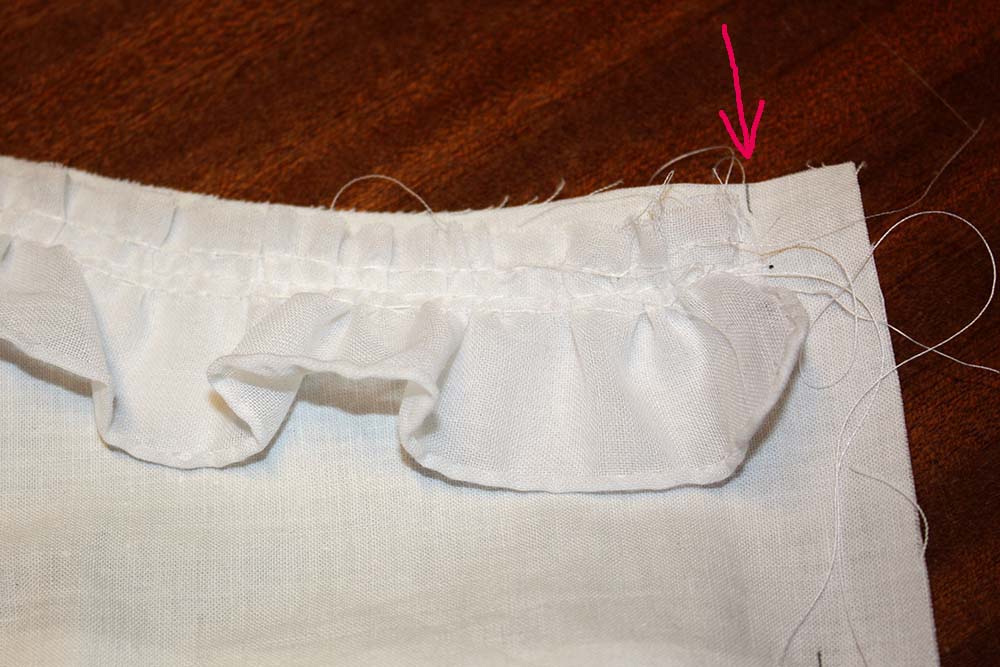
Pin sleeves to the armhole of the outer yoke, right sides together, spread width evenly; notch meets the seam between yoke and front/back part. Sew, start and stop exactly at the seam, don´t catch any seam allowance.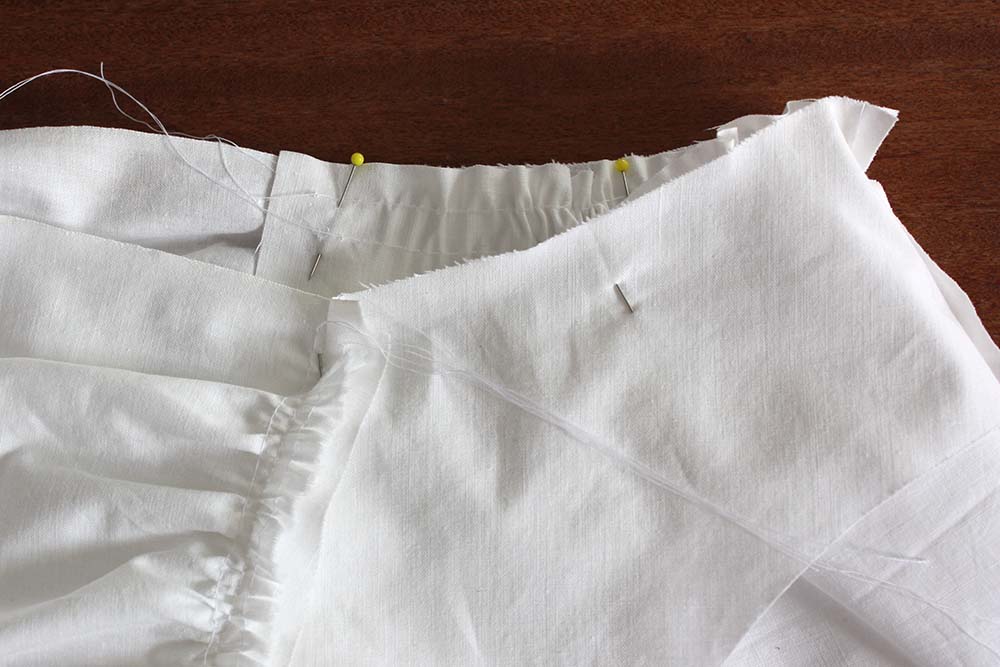
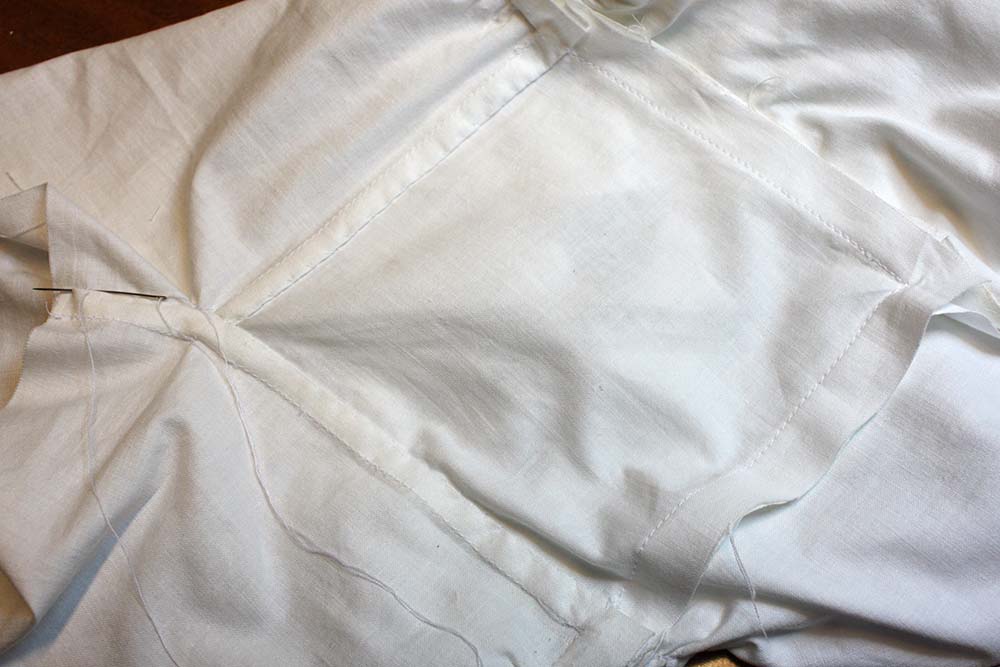
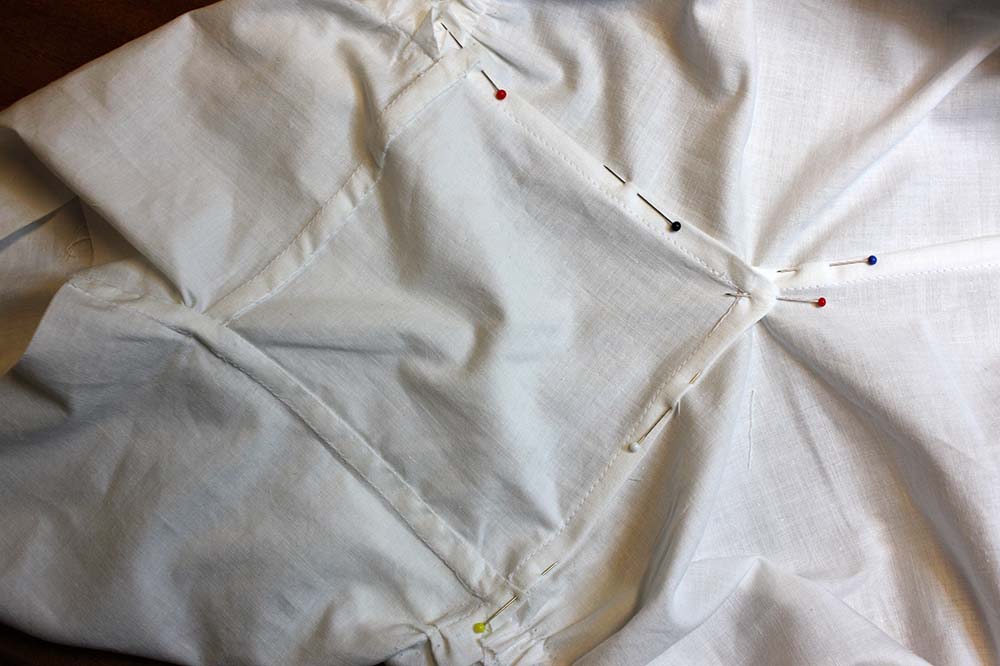
Now it´s time to insert the gusset!
Sew gusset to the back side , start sewing exatly at the meeting point of sleeve, yoke and back part, stop at notch (Pins)
Then sew the gusset to the sleeve, start exact at the meeting point like you did before.
Repeat the steps on the front, with remaining edges of the gusset. Close remaining sleeve seam and side seam.
Now it´s getting a little bit complicated. Around the gusset, you have to neaten all raw edges with flat felled seams.
Trim back seam allowance on the gusset´s sleeve edge, fold the wider seam allowance of the sleeve around the narrow trimmed and sew
Treat the seam allowance of the sleeve seam together with the gussets seam allowance, notch seam allowance when needed.
Cast the seam allowance of the side seam with a flat felled seam , notch seam allowance towards the meeting point of side seam and gusset. Trim seam allowance of the front and back part within the range of the gusset, fold the wide seam allowance of the gusset around and sew.
Turn in the seam allowance on the inner yoke and pin the edge along the seams, fell stitch. Now all raw edges are casted.
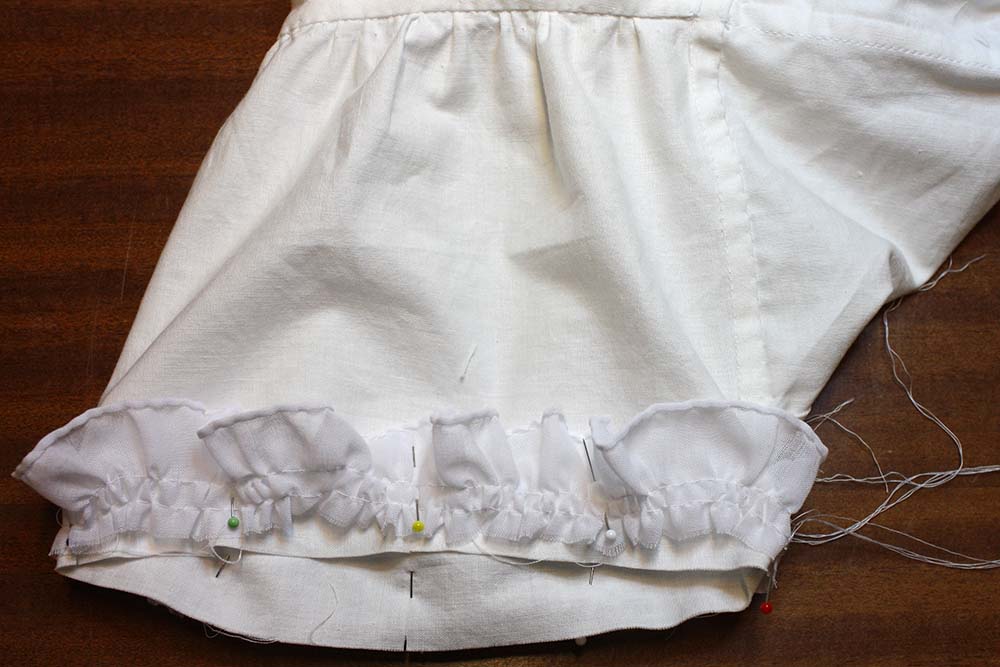
For the sleeve ruffle take a strap of fabric (lawn), twice the range of the sleeve, close to a ring with a French seam, make a rolled hem and gather the other edge. Pin to the sleeve, right sides together, spread width. Close facing to a ring and sew to the sleeve hem, right sides together. Fold the facing towards the sleeve inside. Turn in seam allowance on the top edge of the facing and topstitch to the sleeve.
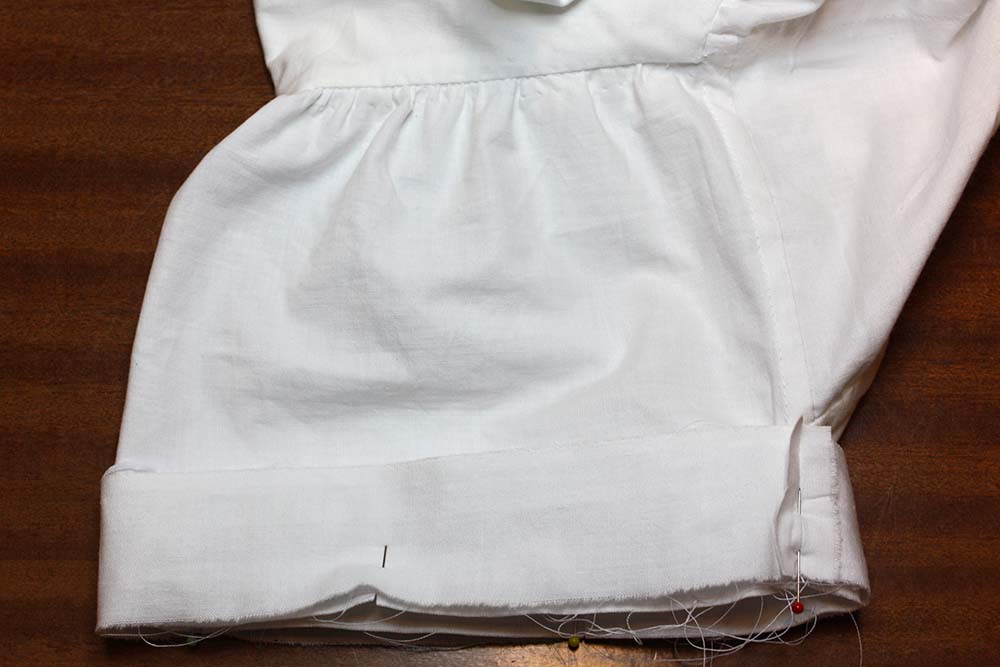
Turn in hem twice and sew. Sew button holes at the yoke, attach buttons. Done!
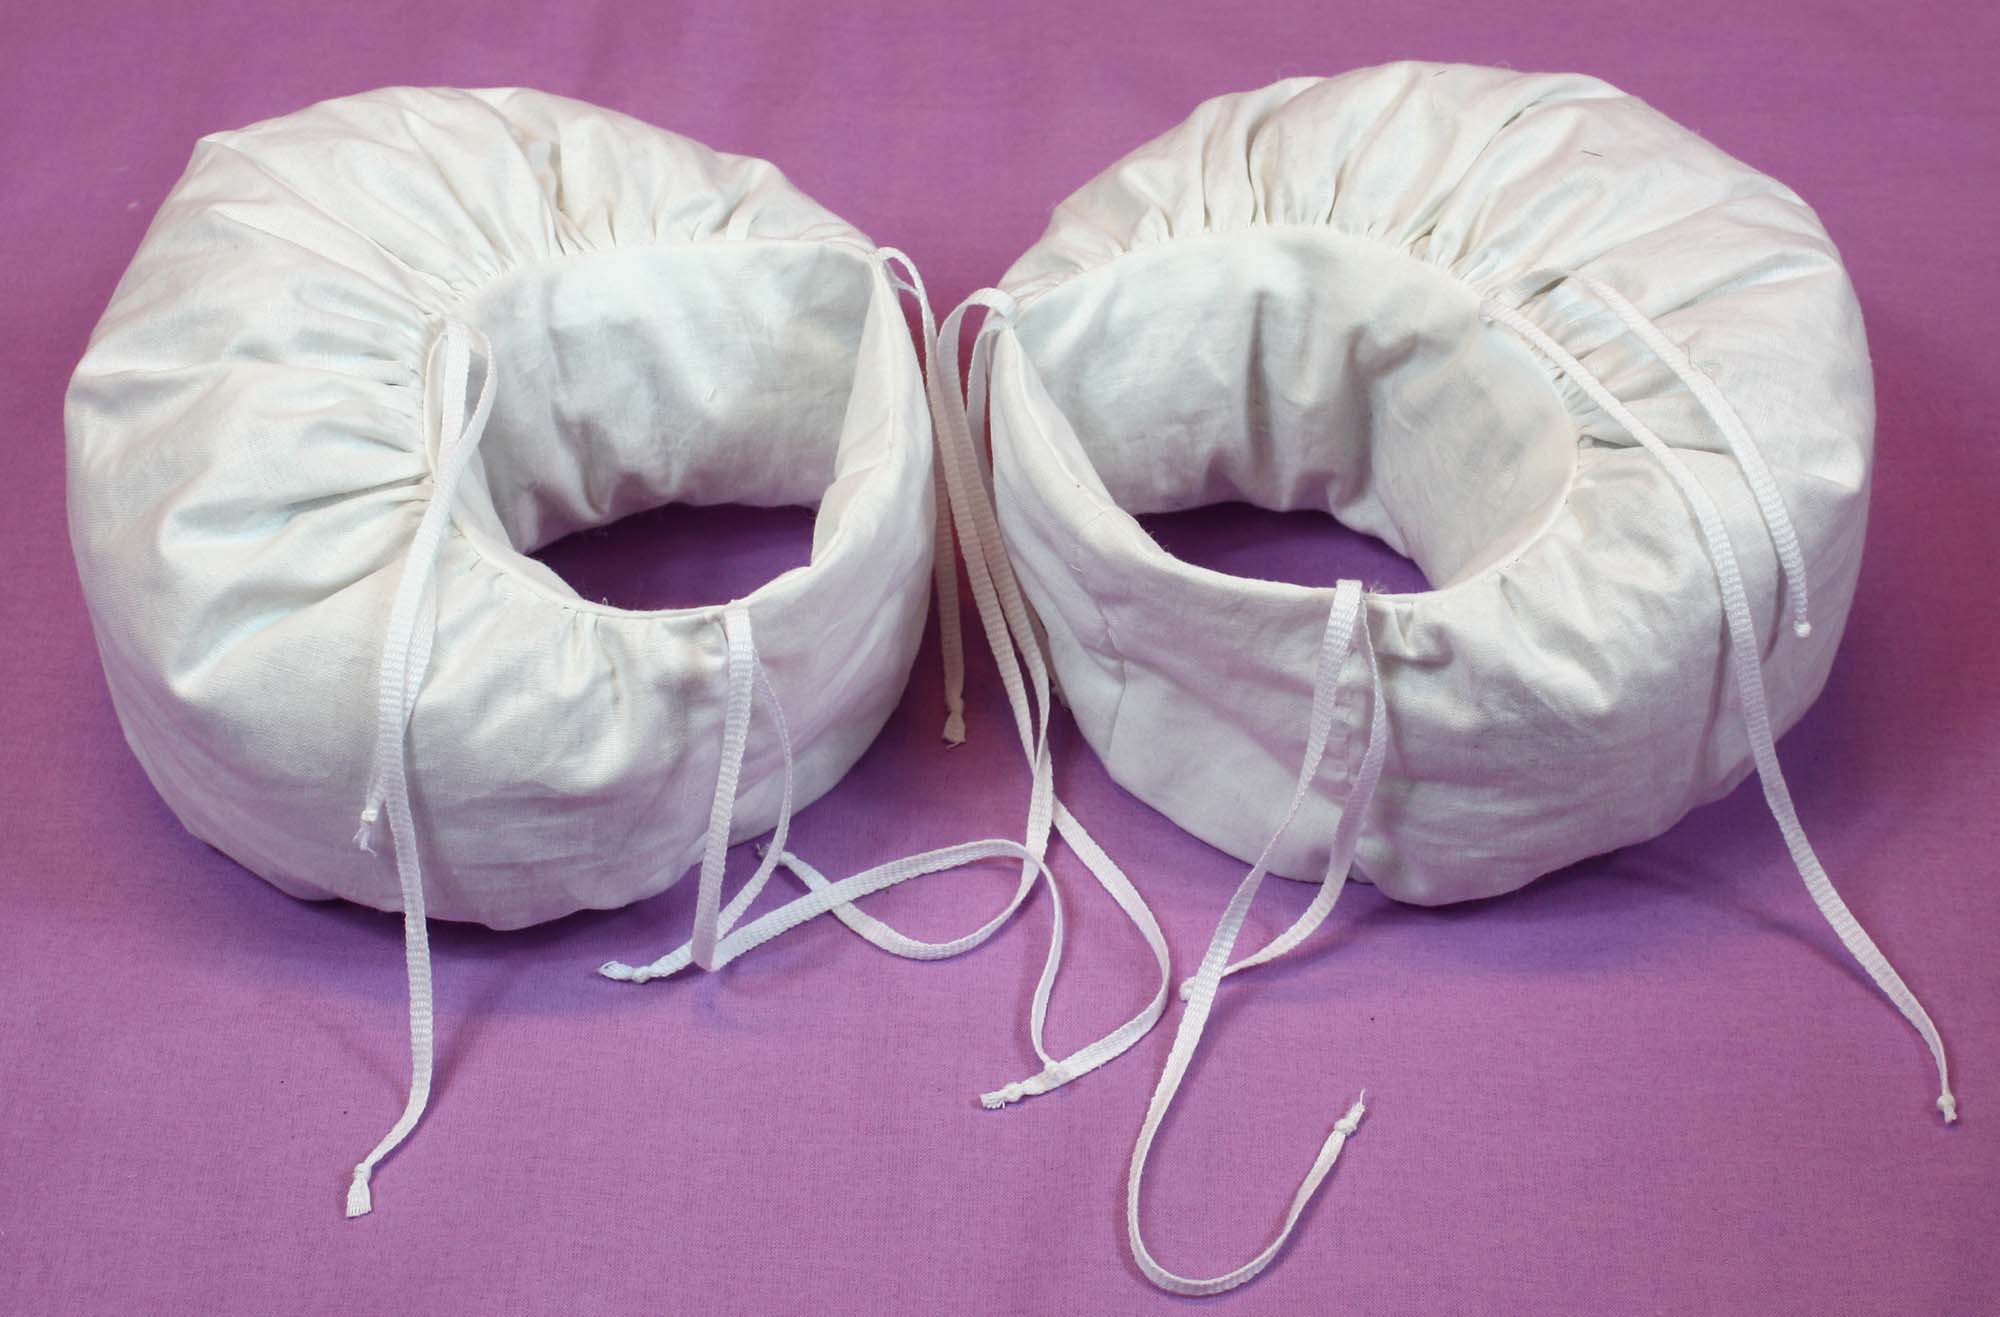
Sleeve puffs
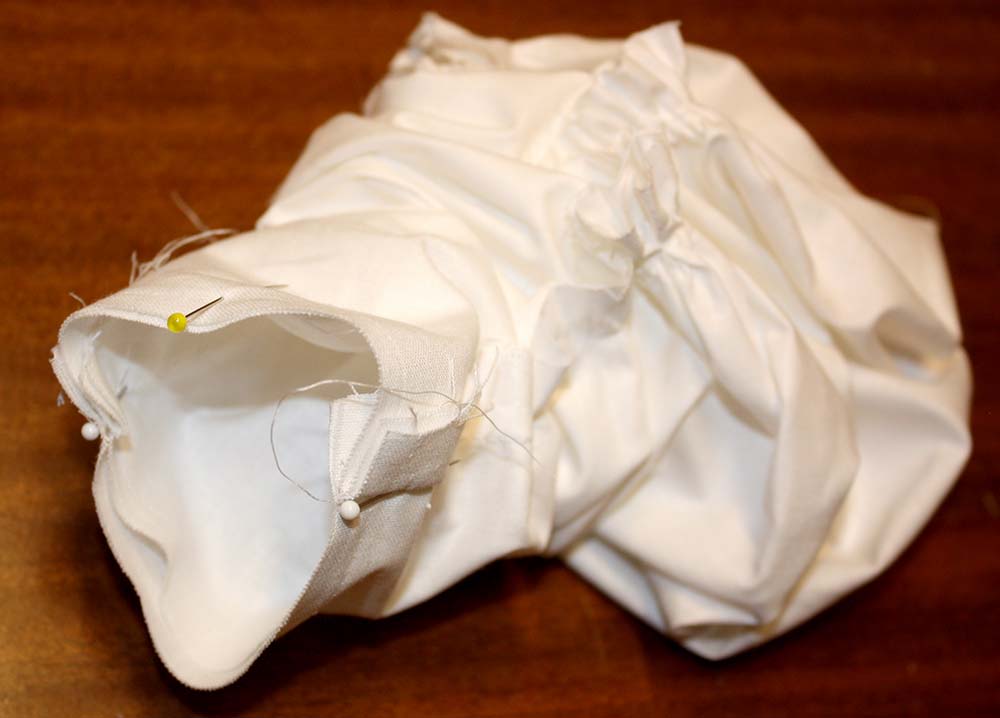
Gather along both edges of the outer, rounded part. Pin to the inner part respecting marks, spread width between the notches evenly. Sew along both edges.
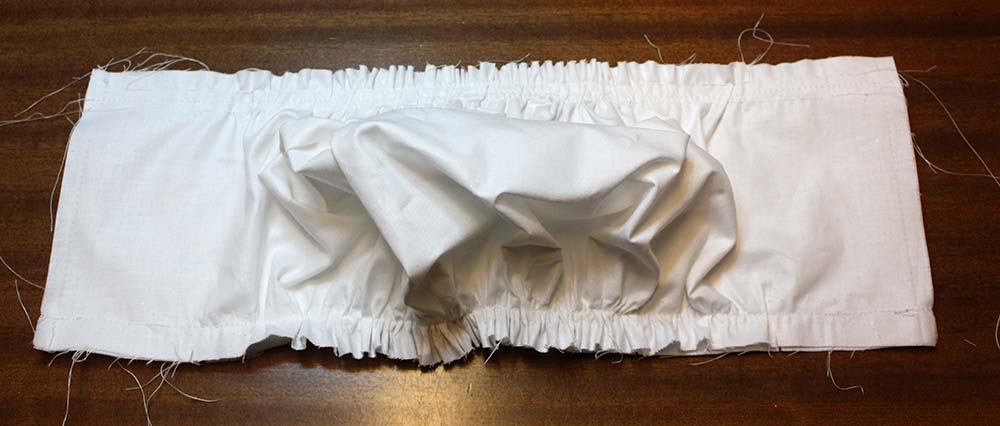
Pull one end of the tube through the other. Join the tube ends, right sides together; leave an opening on the inner piece, turn inside out.
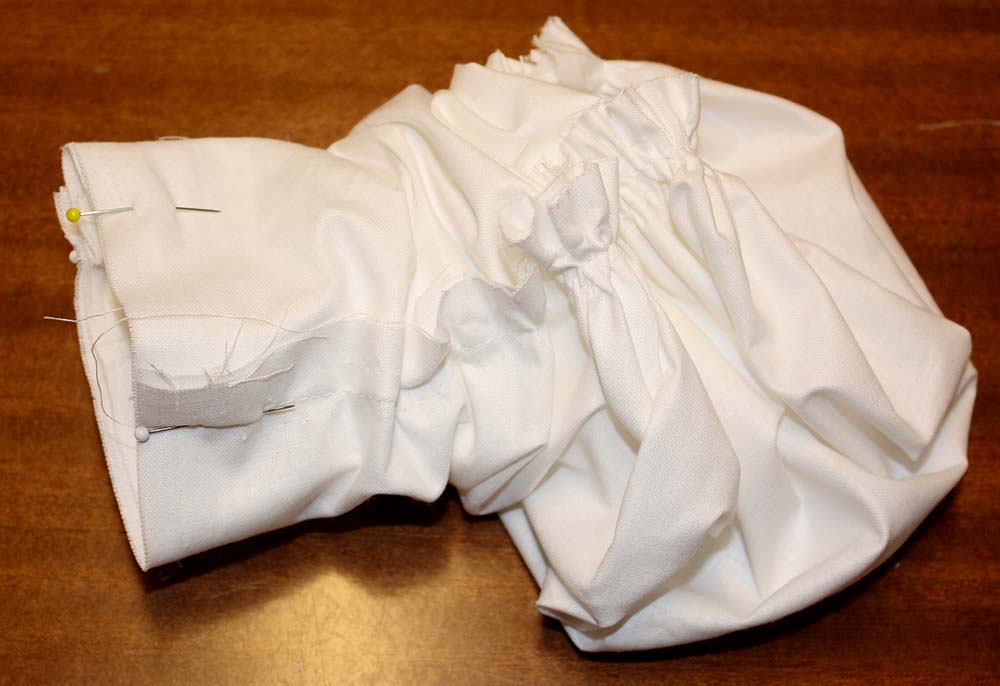
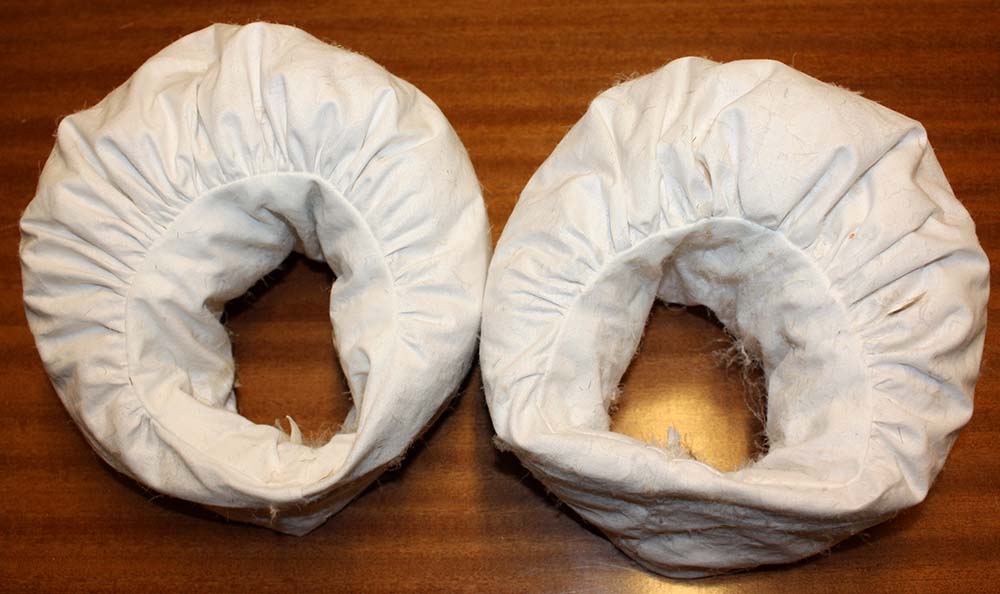
Fill the puffs with batting/down feathers as desired. At the armpit should not be any batting, so push it towards wide section and topstitch along the marked line- see sewing pattern. I took downs from an old duvet. As you can see it was a good mess! Close the opening carefully!
Attach narrow tapes to join the sleeve puffs to the corsets shoulder straps.