
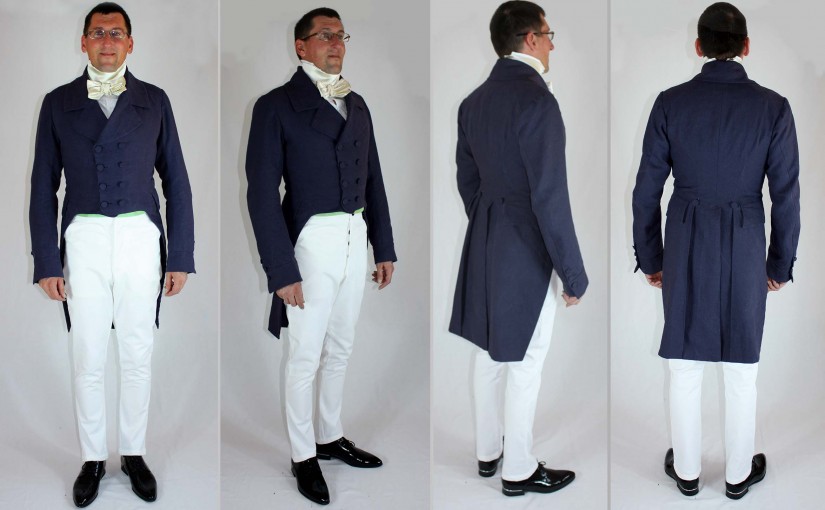
Collar and Sleeves
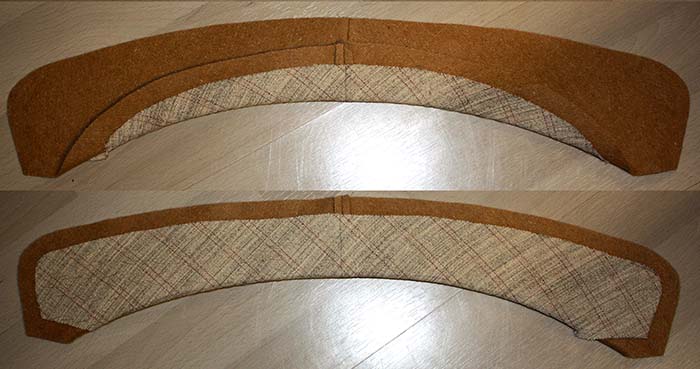
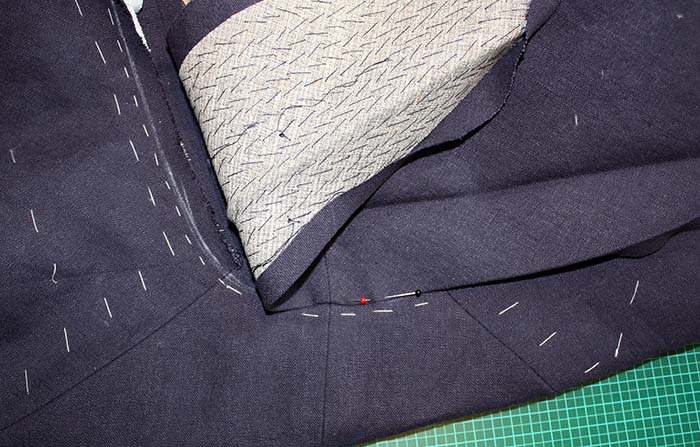
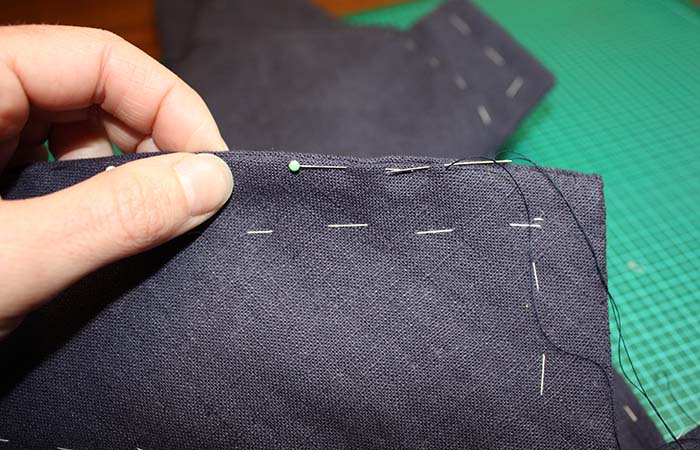
I basted together all layers along neckline; that means the basic layer is the top itself, then along the front neckline the interlining and along the back neckline the cotton lining. The seam allowances of the facings are already turned in and the edge basted to the stitching line. I prepared the collar with canvas pad stitched to the fashion fabric. With the hot iron, I stretched the top and bottom edges and pressed in the roll line.
Next was to turn in the seam allowance along the bottom edge and slip stitch it to the stitching line of the Tailcoats neckline.

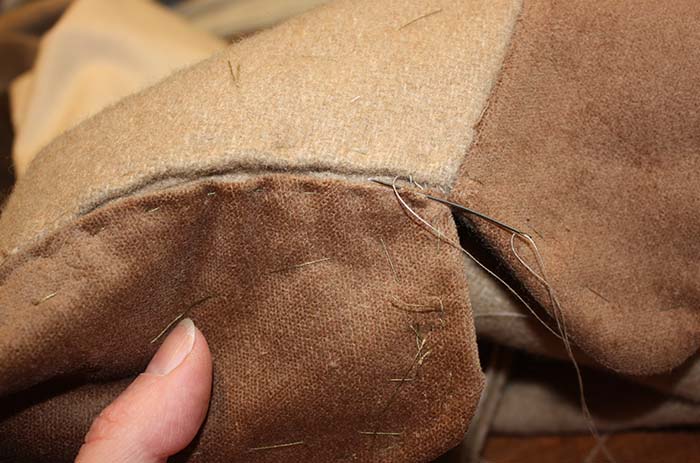
On the inside I catch stitched the seam allowance of the neckline to the collar canvas. I trimmed and turned in the seam allowances all around the collar and catch stitched to the collar canvas.
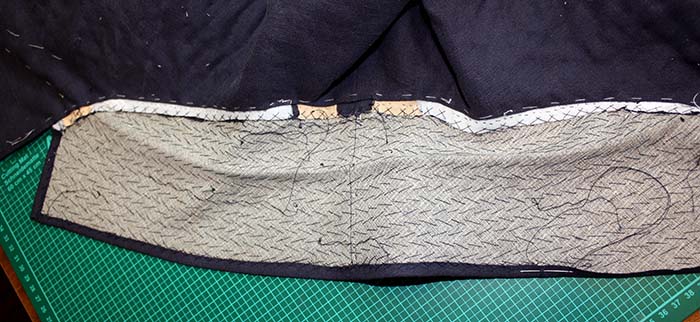
For the top collar I cut out a larger piece of fabric on the straight grain and basted it on top of the under collar respecting additional width for the roll line. I trimmed all seam allowances to 1cm, turned them under and joined the upper collar to the under collar with a slipstitch. The edge of the top collar just stands a little bit out so you wouldn´t see the slipstitches. Along the neckline, I used an invisible ladder stitch to join collar and facings.
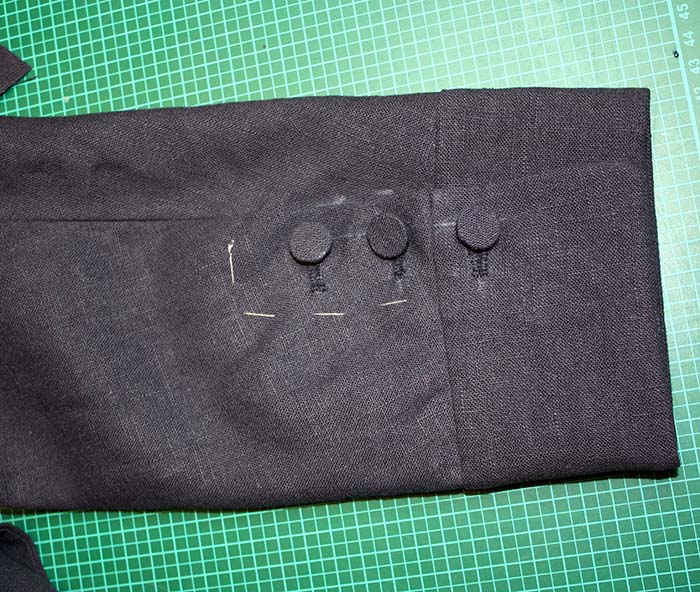
I prepared sleeves and sleeve lining. My fabric was stiff enough to omit any interlining. Normally I would use some interlining at the vents. With the wrong sides together I fell stitched the lining to the sleeves around the vents and basted the two layers at bottom edge together. I added the cuff, sewed buttonholes and attached small fabric-covered buttons.

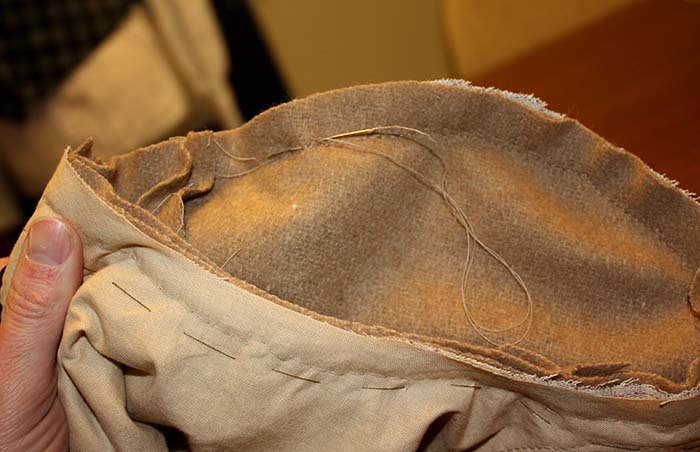
I sewed together sleeves and top just catching the fashion fabric while sewing. I decided to do this by hand and not with the sewing machine. Then I pulled the sleeve lining through the sleeves, turned in the seam allowance and sewed the sleeve lining with a felling stitch around the armhole covering all raw edges of the armhole.

Last step was to cover some wooden slices with fabric and making the buttonholes along the fronts. Do not forget to add buttons at the top of the folds on the back.
READY!
