Monthly Archives: February 2018

Construction of a 1830-60 men´s shirt Part 4: buttonholes

Part 1  General Information 
Part 2  Fronts 
Part 3  Sleeves and collar 

The sewing pattern is available via Etsy.

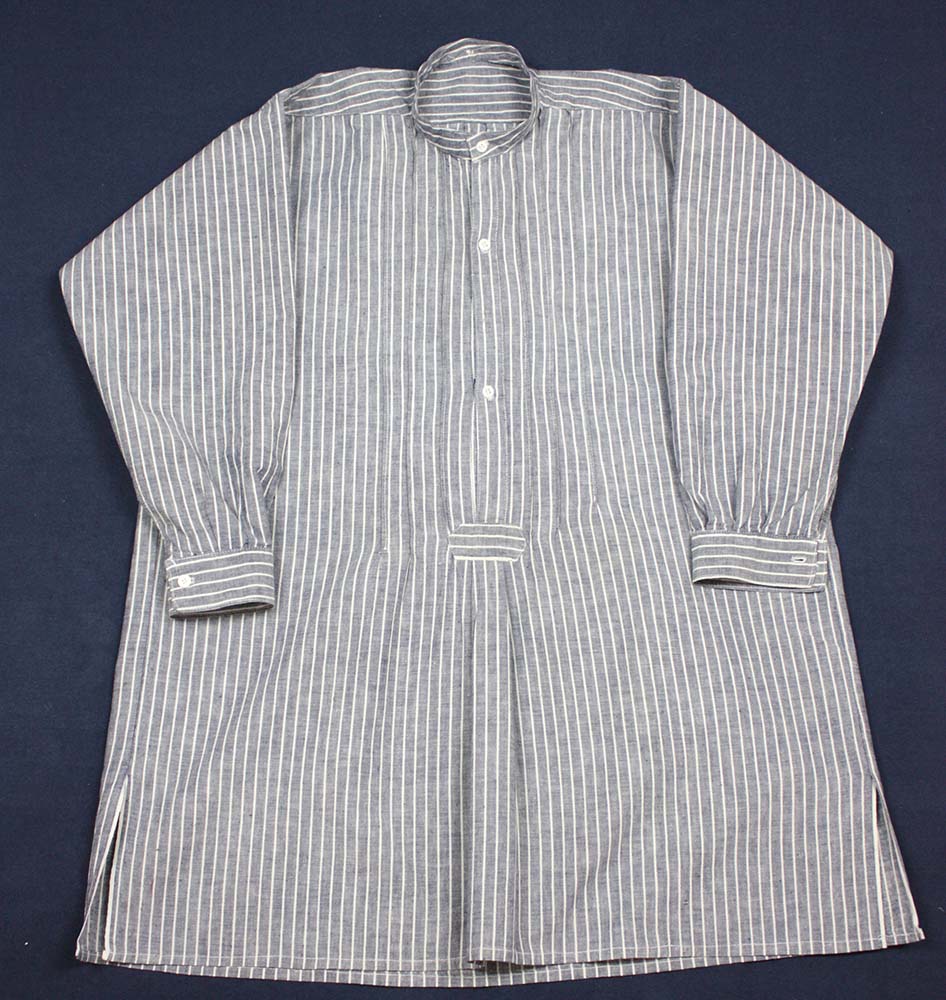
Now the shirt is already finished, just the buttonholes and buttons are missing. An 1830-60 shirt has three vertical buttonholes at the button tab and one vertical buttonhole at the collar. If you prefer e detachable collar instead of a stock collar you have to make small vertical buttonholes on both collar sides and one vertical buttonhole at the center back of the collar. The collar will be attached with collar studs.

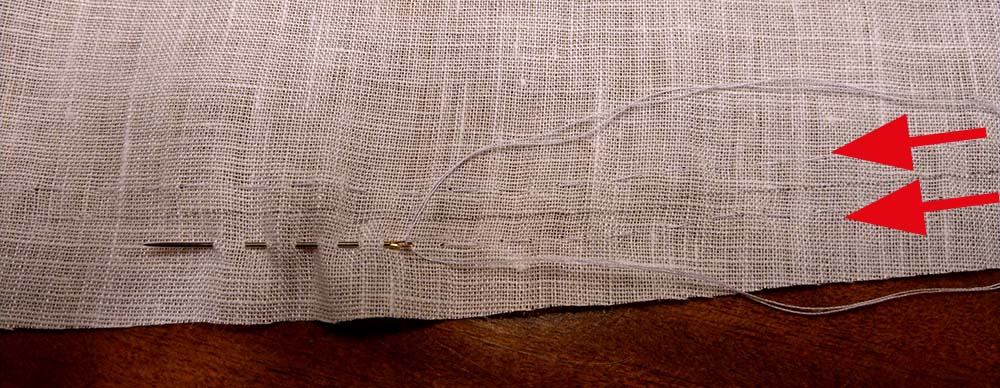
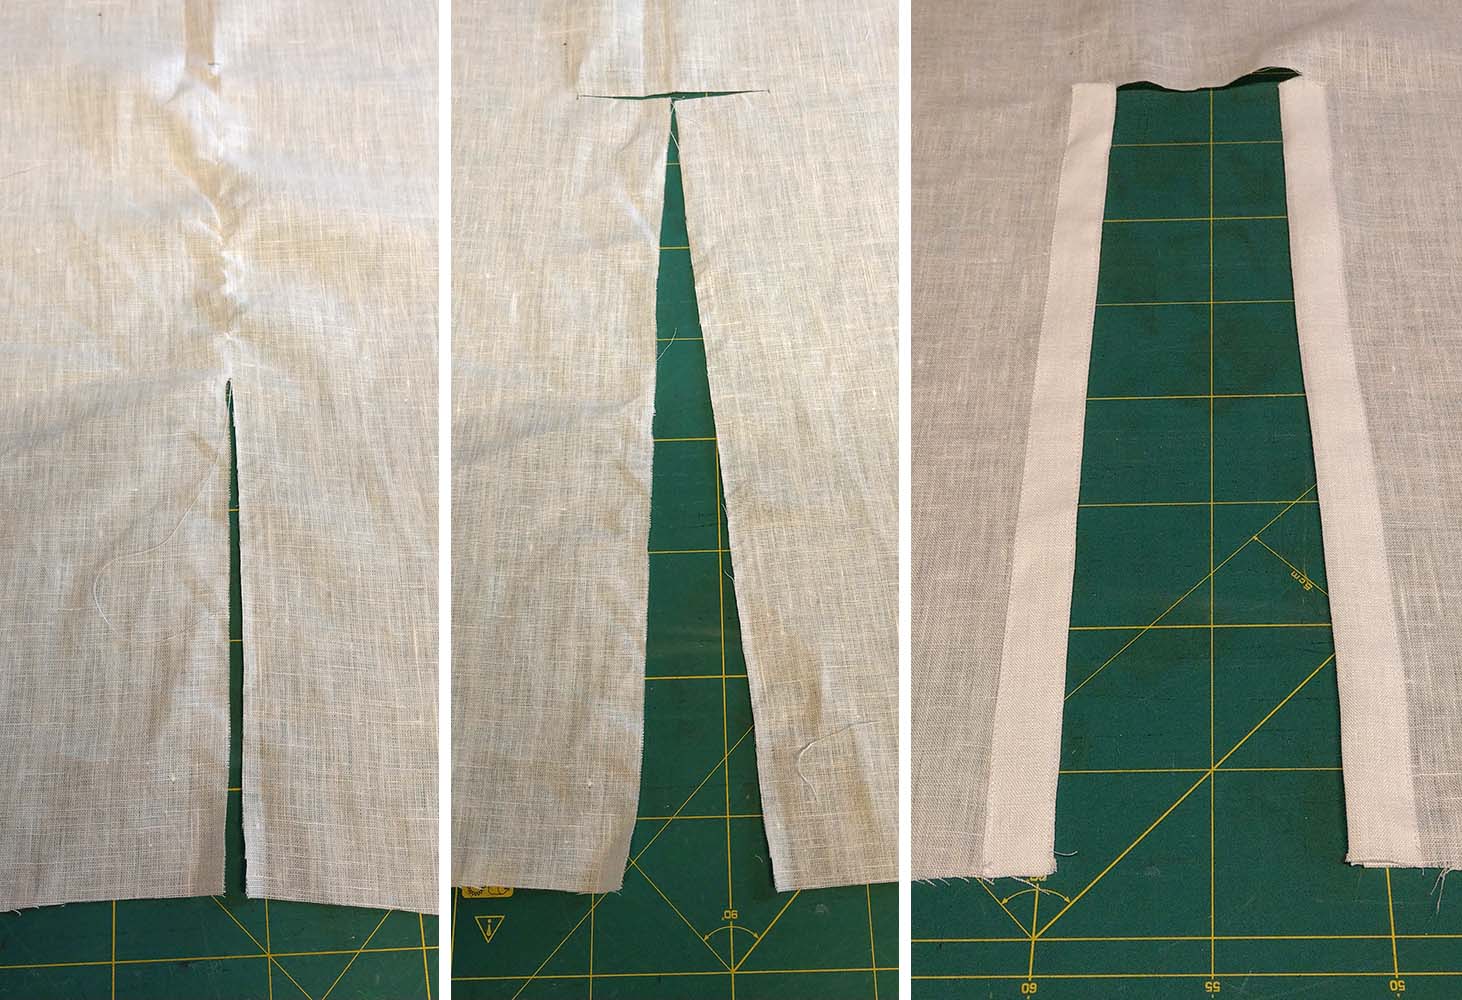
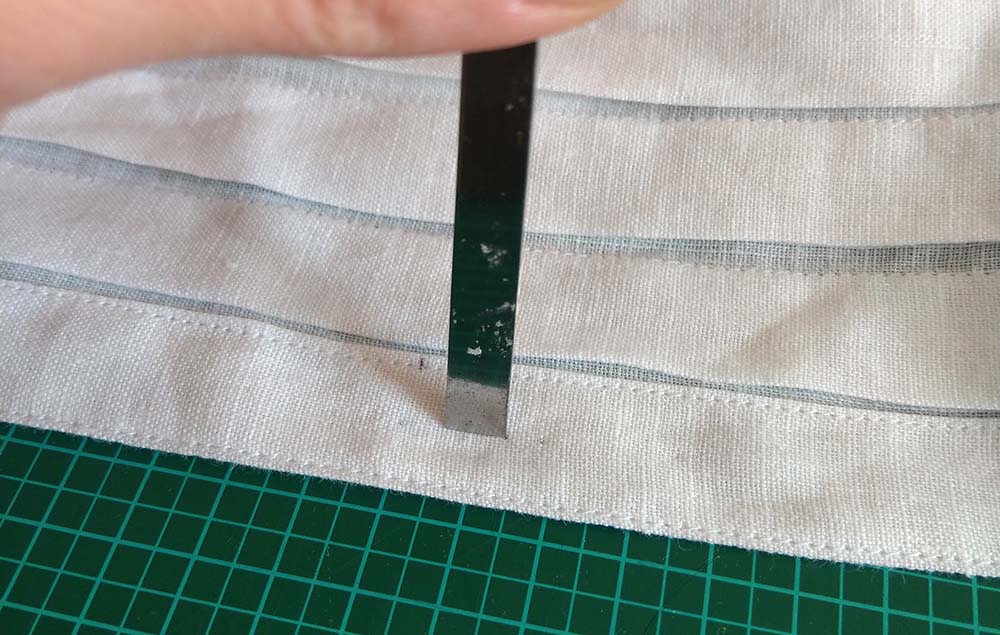
However, how to sew a buttonhole by hand? First mark the position of your buttonholes, they should be about 1/16” -1/8” (2-3mm) longer than the diameter of your button. I know, it isn´t historically accurate, but I prefer to add some Fray Check along the marked cutting line. First it prevents the fabric from fraying, second is stabilizes the edges for easier sewing. Let´s start! Cut open the buttonhole with scissors, better with a punching tool.

IMAG0789
Continue reading

Construction of a 1830-60 men´s shirt Part 3: sleeves and collar

Part 1 General Information 
Part 2  Fronts 

The sewing pattern is available via Etsy.

Gather the sleeve head with two rows of a running stitch. Pin into the armhole, right sides together, spread the width evenly between the marks and sew.

IMAG0719IMAG0720

Prepare the yokes. The sewing pattern shows the yoke as one piece without seams; here I made it from two pieces, because the yoke often was made from pieced rests. Turn in all seam allowances, except at the side seam. Notch were needed, at corners and curves.

IMAG0723 Continue reading

Construction of a 1830-60 men´s shirt Part 2: The front

Part 1

The sewing pattern is available via Etsy.

I want to start with a simple shirt without a bib front. The picture shows a shirt from my collection. A bar covers the end of the button tab, underneath the bar the shirt front is laid into a box pleat. The bar can be shaped as desired, rectangular, or as shown on the picture.

IMG_5714

Cut the front of the shirt T-shaped, take care to cut exactly on the straight grain. Fold both edges twice to form the button tabs and topstitch.

IMAG0681

Line up the two tabs along the center front, left side is on top. Lay the excess fabric of the front into a box pleat. Fix the box pleat with some stitches to the end of the button tab. Take a piece of fabric for the bar, turn in the seam allowance and place on top of the button tab end. Attach with a prick stitch or a fell stitch. Cover the end of the button tab on the inside with a piece of fabric too.

IMAG0695
Continue reading

Construction of a 1830-60 men´s shirt Part 1

Before I´ll show you how to sew an early Victorian men´s shirt, I want tell you a bit about the little but obvious differences between Victorian and Georgian men´s shirts.

During Georgian and Regency era, a shirt always was a quite simple piece of clothing, made from rectangular pieces. Gussets provided sufficient movement at the shoulders and underarms. Excess width was gathered along the neckline and sleeves. Nearly nothing of a shirt was visible underneath a high-necked waistcoat, except from the jabot, made from fine fabric.

Men´s Shirt with Jabot and high stand-up collar about 1800 / Continue reading