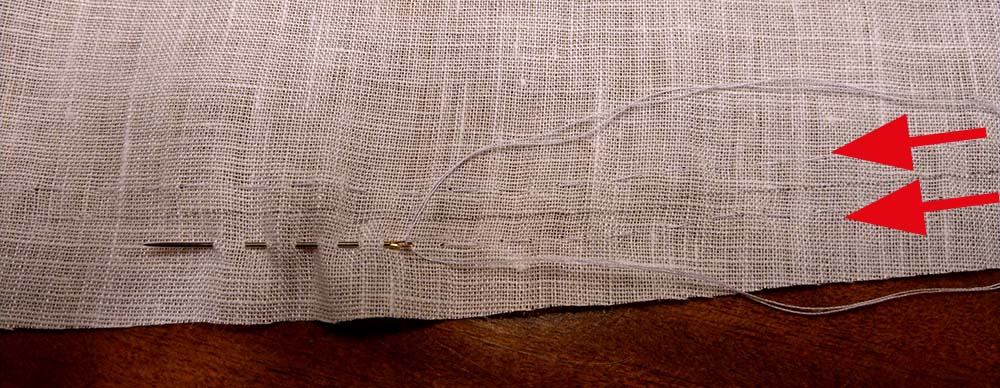
(5) The sleeves are gathered between the marks (3) and lined up with the shirt, right sides together, matching all marks (3) and (4). On the picture you can see my back stitch, made from the sleeve side. In the end, it would have been better to sew from the shirt side, to hide the longer and uneven stitches on the back with the flat felled seam later. On the second sleeve I made my back stitch from the right side, but unfortunately I didn’t take a picture.
(6) Time to sew the side and sleeve seam. To get a nice result when making all seams flat felled seams later, I stitched all seams from the front side (front bodice + front sleeve), starting and stopping at marks for the vents and underarm gusset. After sewing, I used a ruler to check that my opening for the gusset was the right size.
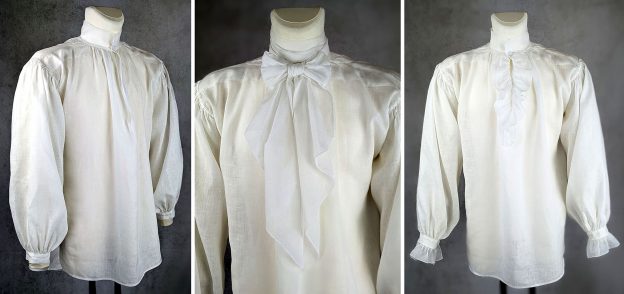
I´m back in the 1790´s! No special occasion is coming up, just that I planned to finish the 1790´s men´s pattern series with a shirt which I have so far neglected.
Men´s shirts are quite simple garment´s, made from rectangular pieces of fabric and have changed less than other garments during the last centuries. Therefore, the shirt in this pattern can be used for costumes over several decades, from about 1750 to 1830.
Gussets at the underarm and shoulder slope gave the shape needed. The shoulders were reinforced with additional patches, attached to the inside of the shirt with a fell or slip stitch. There are several ways to insert gussets, attach shoulder patches or cast all the raw edges, especially at the armhole. My templates are three extant men´s shirts displayed at the “Germanisches Nationalmuseum” in Nürmberg, Germany.
Let´s start sewing, following the pattern instructions step by step.
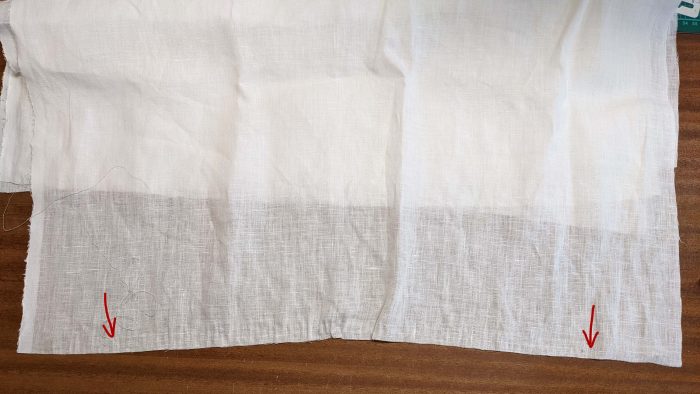
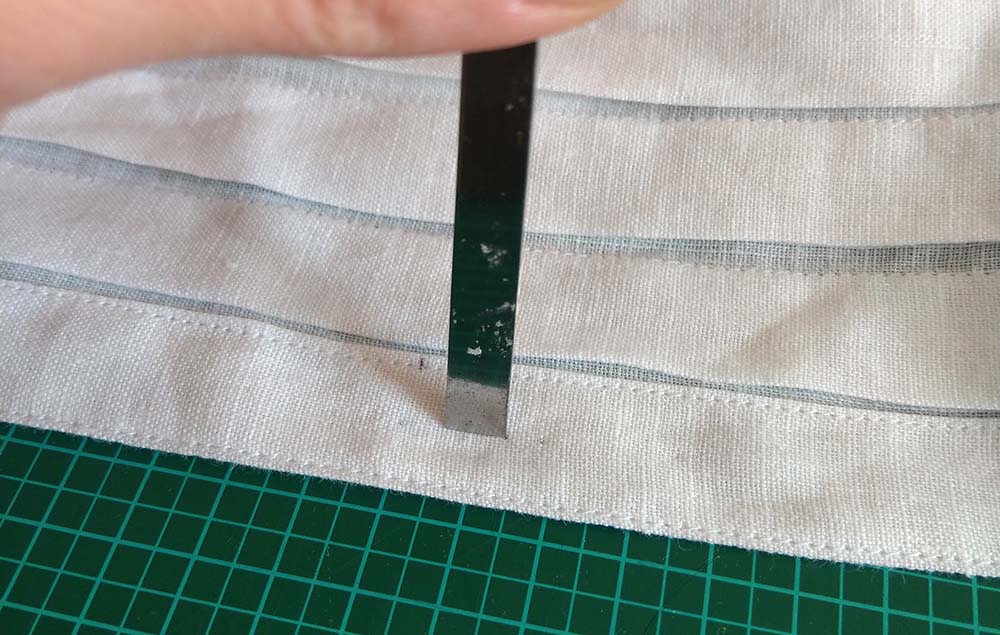
(1) Of course, my step #1always is to cut and prepare the pieces from fabric, marking all the notches. I made the shirt from a fine linen. When sewing with linen, it´s important to pre-wash the fabric at least with the same temperature as you´re going to wash the shirt later. Cutting linen in the straight grain can be tricky as well, I prefer to pull out single threads. This can be boring and time consuming, but in the end it´s worth it.
(2) This is the shirt bodice, slashed horizontally for the neck opening, and slashed down the center front at the chest. Along slash at the center front, a narrow seam allowance is double-turned in and fell stitched in place. To hold the edge of the fabric straight when sewing, I used a plastic clamp from the hardware store (my third hand).
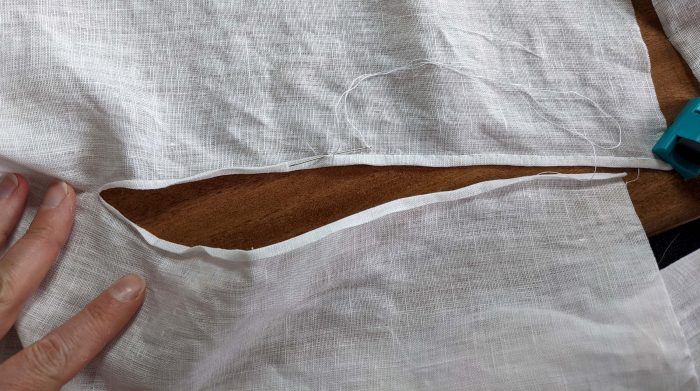
(3) When I first started sewing a 18th century men’s shirt, the most difficult thing I found was the shoulder patches and gussets. Because of this, I’m going to show it in great detail.
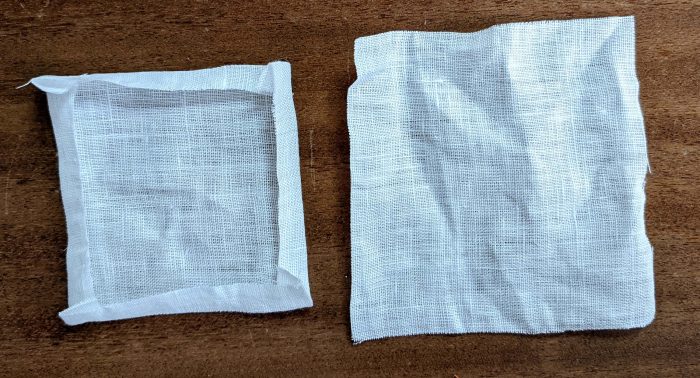
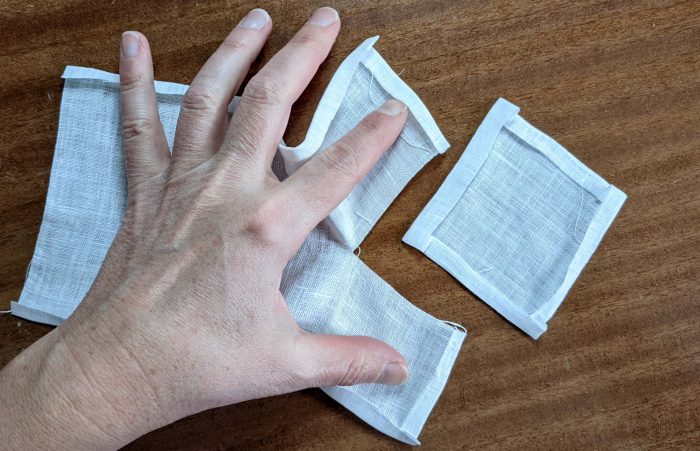
Take the shoulder gussets and turn in the seam allowances along two consecutive edges, or along all edges as shown in the pictures.
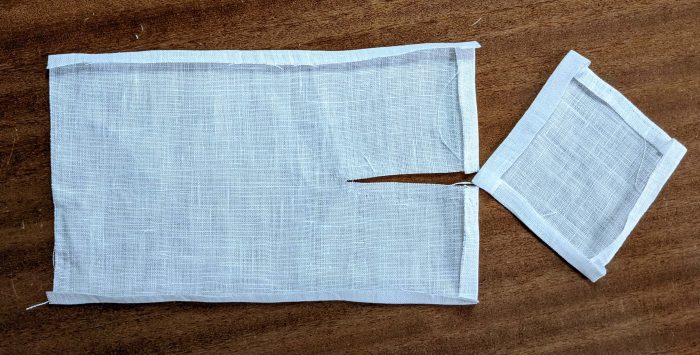
Slash the shoulder patch and turn in the seam allowances (except along the armhole edge) and insert the gusset as shown. It is shown and described a little differently in the instructions, only at the end the result will be the same.
Now the shirt is already finished, just the buttonholes and buttons are missing. An 1830-60 shirt has three vertical buttonholes at the button tab and one vertical buttonhole at the collar. If you prefer e detachable collar instead of a stock collar you have to make small vertical buttonholes on both collar sides and one vertical buttonhole at the center back of the collar. The collar will be attached with collar studs.
However, how to sew a buttonhole by hand? First mark the position of your buttonholes, they should be about 1/16” -1/8” (2-3mm) longer than the diameter of your button. I know, it isn´t historically accurate, but I prefer to add some Fray Check along the marked cutting line. First it prevents the fabric from fraying, second is stabilizes the edges for easier sewing. Let´s start! Cut open the buttonhole with scissors, better with a punching tool. Continue reading →
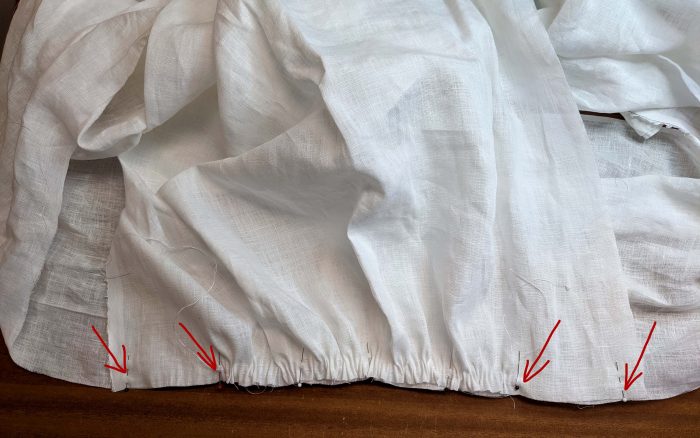
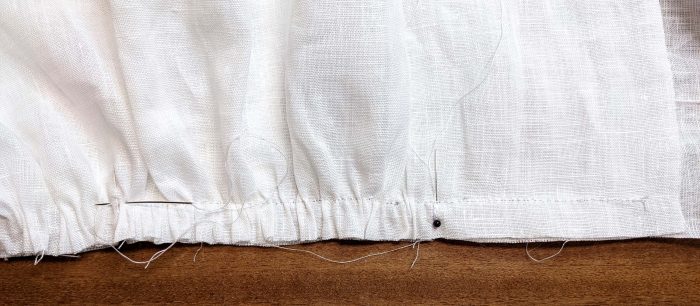
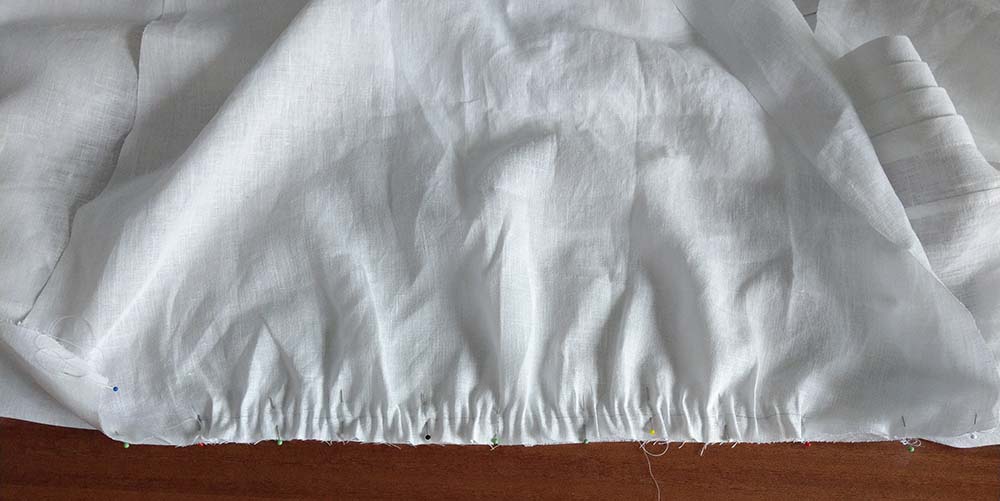
Gather the sleeve head with two rows of a running stitch. Pin into the armhole, right sides together, spread the width evenly between the marks and sew.
Prepare the yokes. The sewing pattern shows the yoke as one piece without seams; here I made it from two pieces, because the yoke often was made from pieced rests. Turn in all seam allowances, except at the side seam. Notch were needed, at corners and curves.
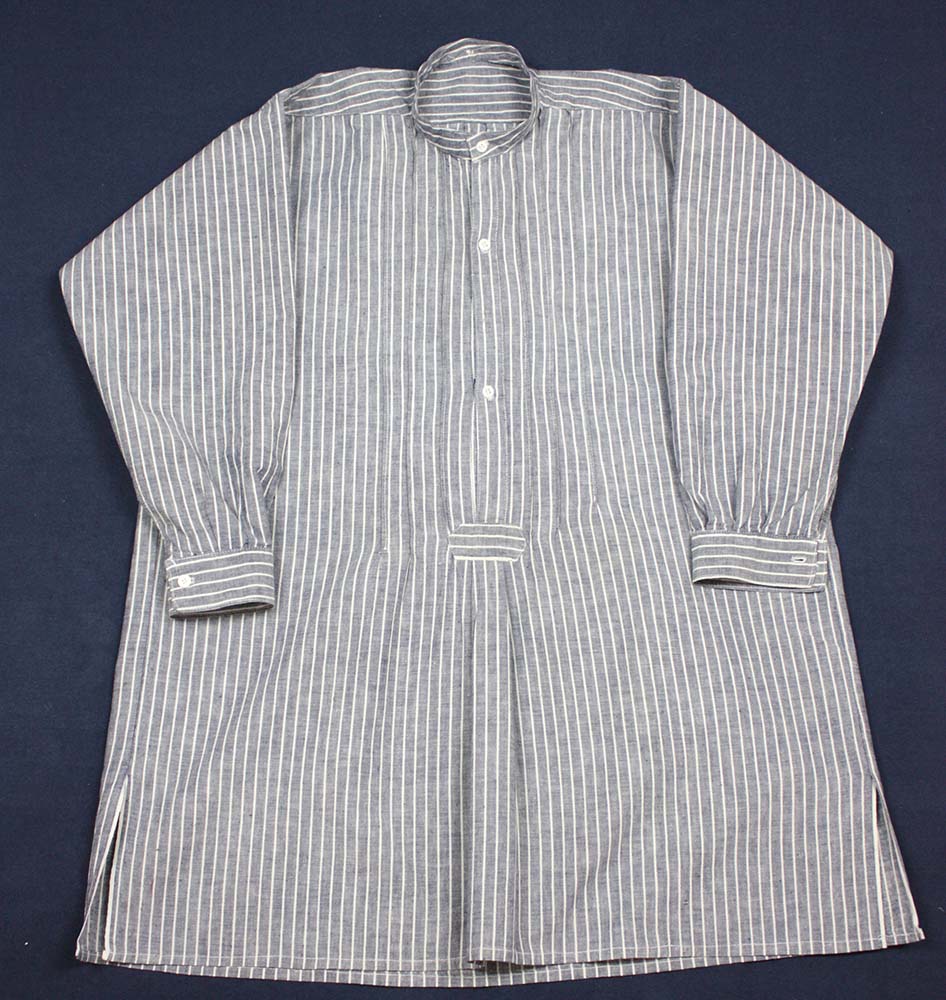
I want to start with a simple shirt without a bib front. The picture shows a shirt from my collection. A bar covers the end of the button tab, underneath the bar the shirt front is laid into a box pleat. The bar can be shaped as desired, rectangular, or as shown on the picture.
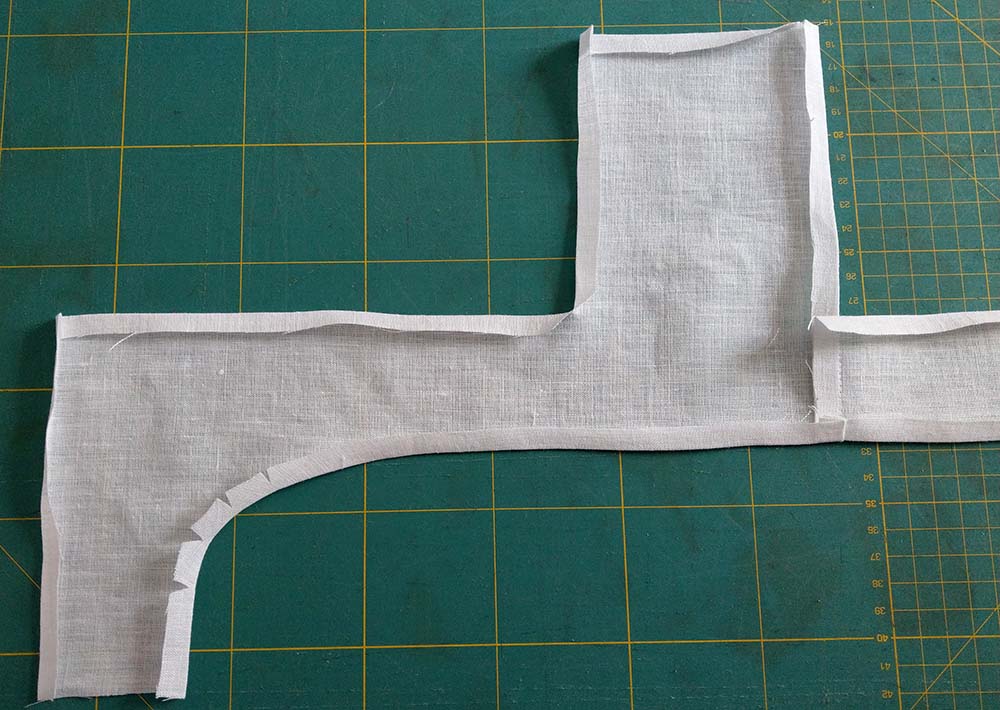
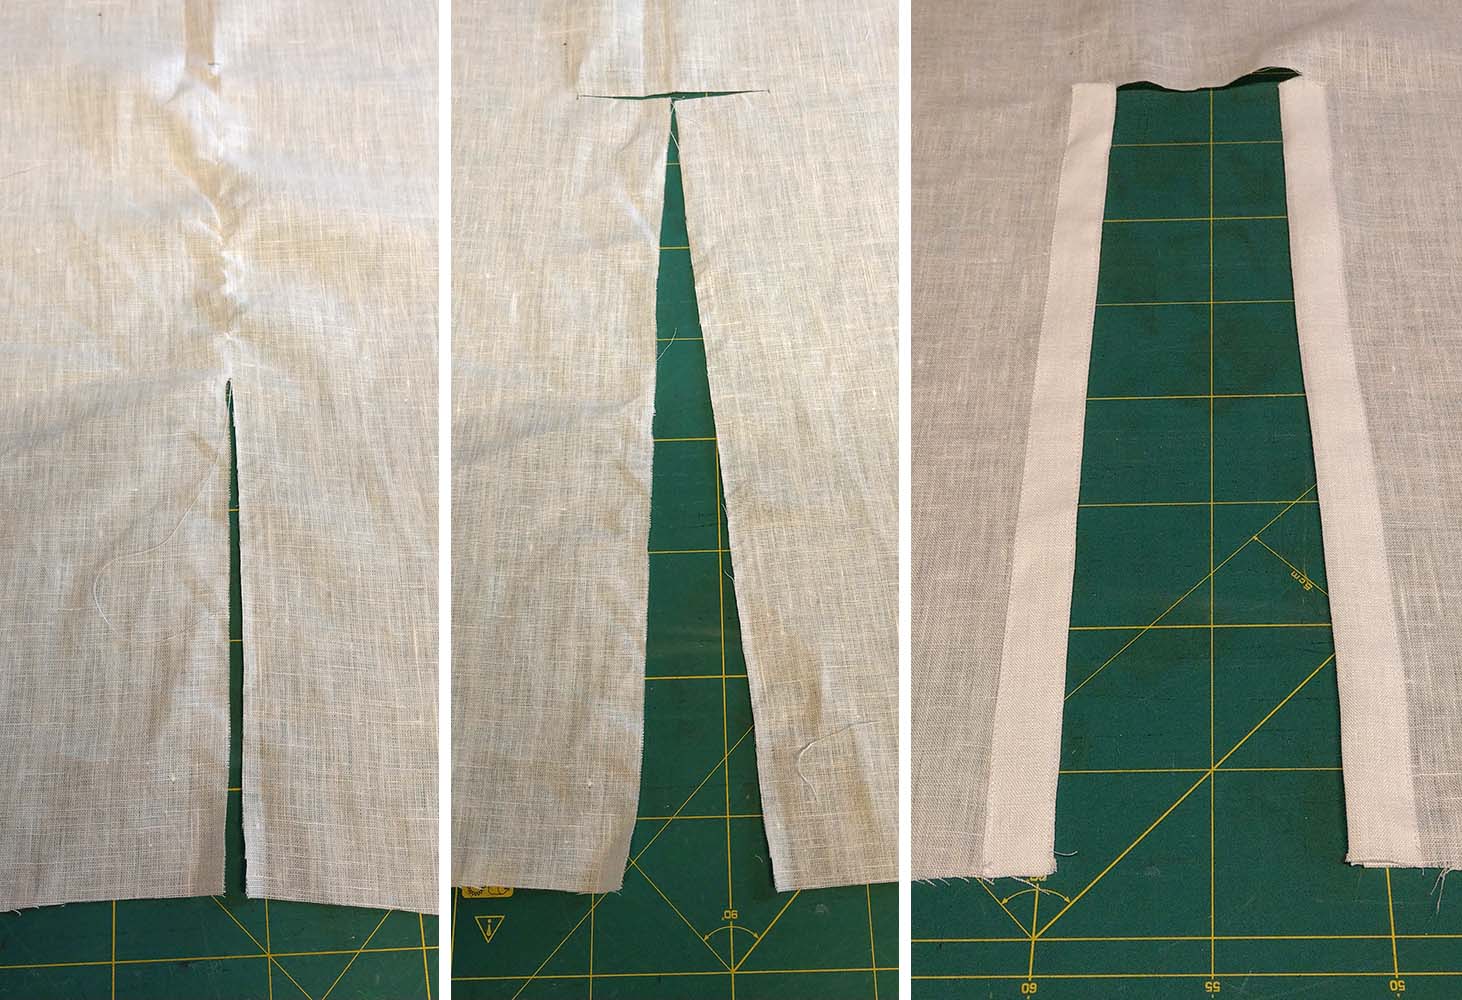
Cut the front of the shirt T-shaped, take care to cut exactly on the straight grain. Fold both edges twice to form the button tabs and topstitch. Line up the two tabs along the center front, left side is on top. Lay the excess fabric of the front into a box pleat. Fix the box pleat with some stitches to the end of the button tab. Take a piece of fabric for the bar, turn in the seam allowance and place on top of the button tab end. Attach with a prick stitch or a fell stitch. Cover the end of the button tab on the inside with a piece of fabric too. Continue reading →