Category Archives: Edwardian

0916 Day Skirt and Petticoat 1890-1910

It´s time to revise another pattern, the Turtleneck Dress. The design contained the skirt and the blouse; I think it gave the impression to be too complicated to be sewn easily. The fact was that few people were interested in that pattern, although it offered a lot. For some years I was thinking of just dividing the pattern into skirt and top, but I wanted to add something extra and new, especially since the skirt seemed too simple. So time flies and at some point, the ideas come by themselves.

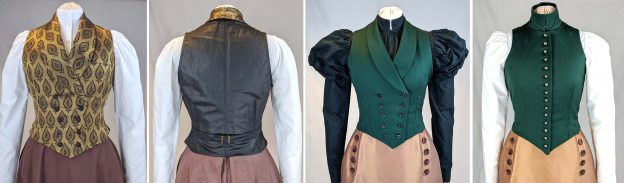
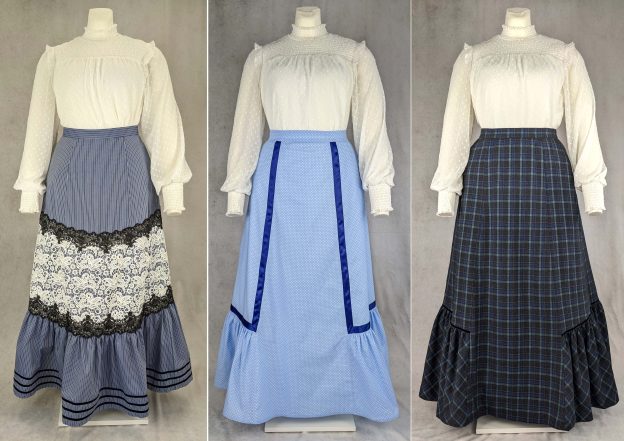
The new pattern #0916 now offers the skirt in two variations, including an underskirt, cut the same way as the skirt (perfectly fitting underneath pattern #0414). The top will come as an extra pattern in a few months.

Let´s start sewing! I´m just showing how to sew View B and C, because most steps are the same, it’s just that View B and C need some extra considerations. Again, the blog post is intended as a supplement to the pattern, trying to show some different techniques and options on how to sew the skirt.

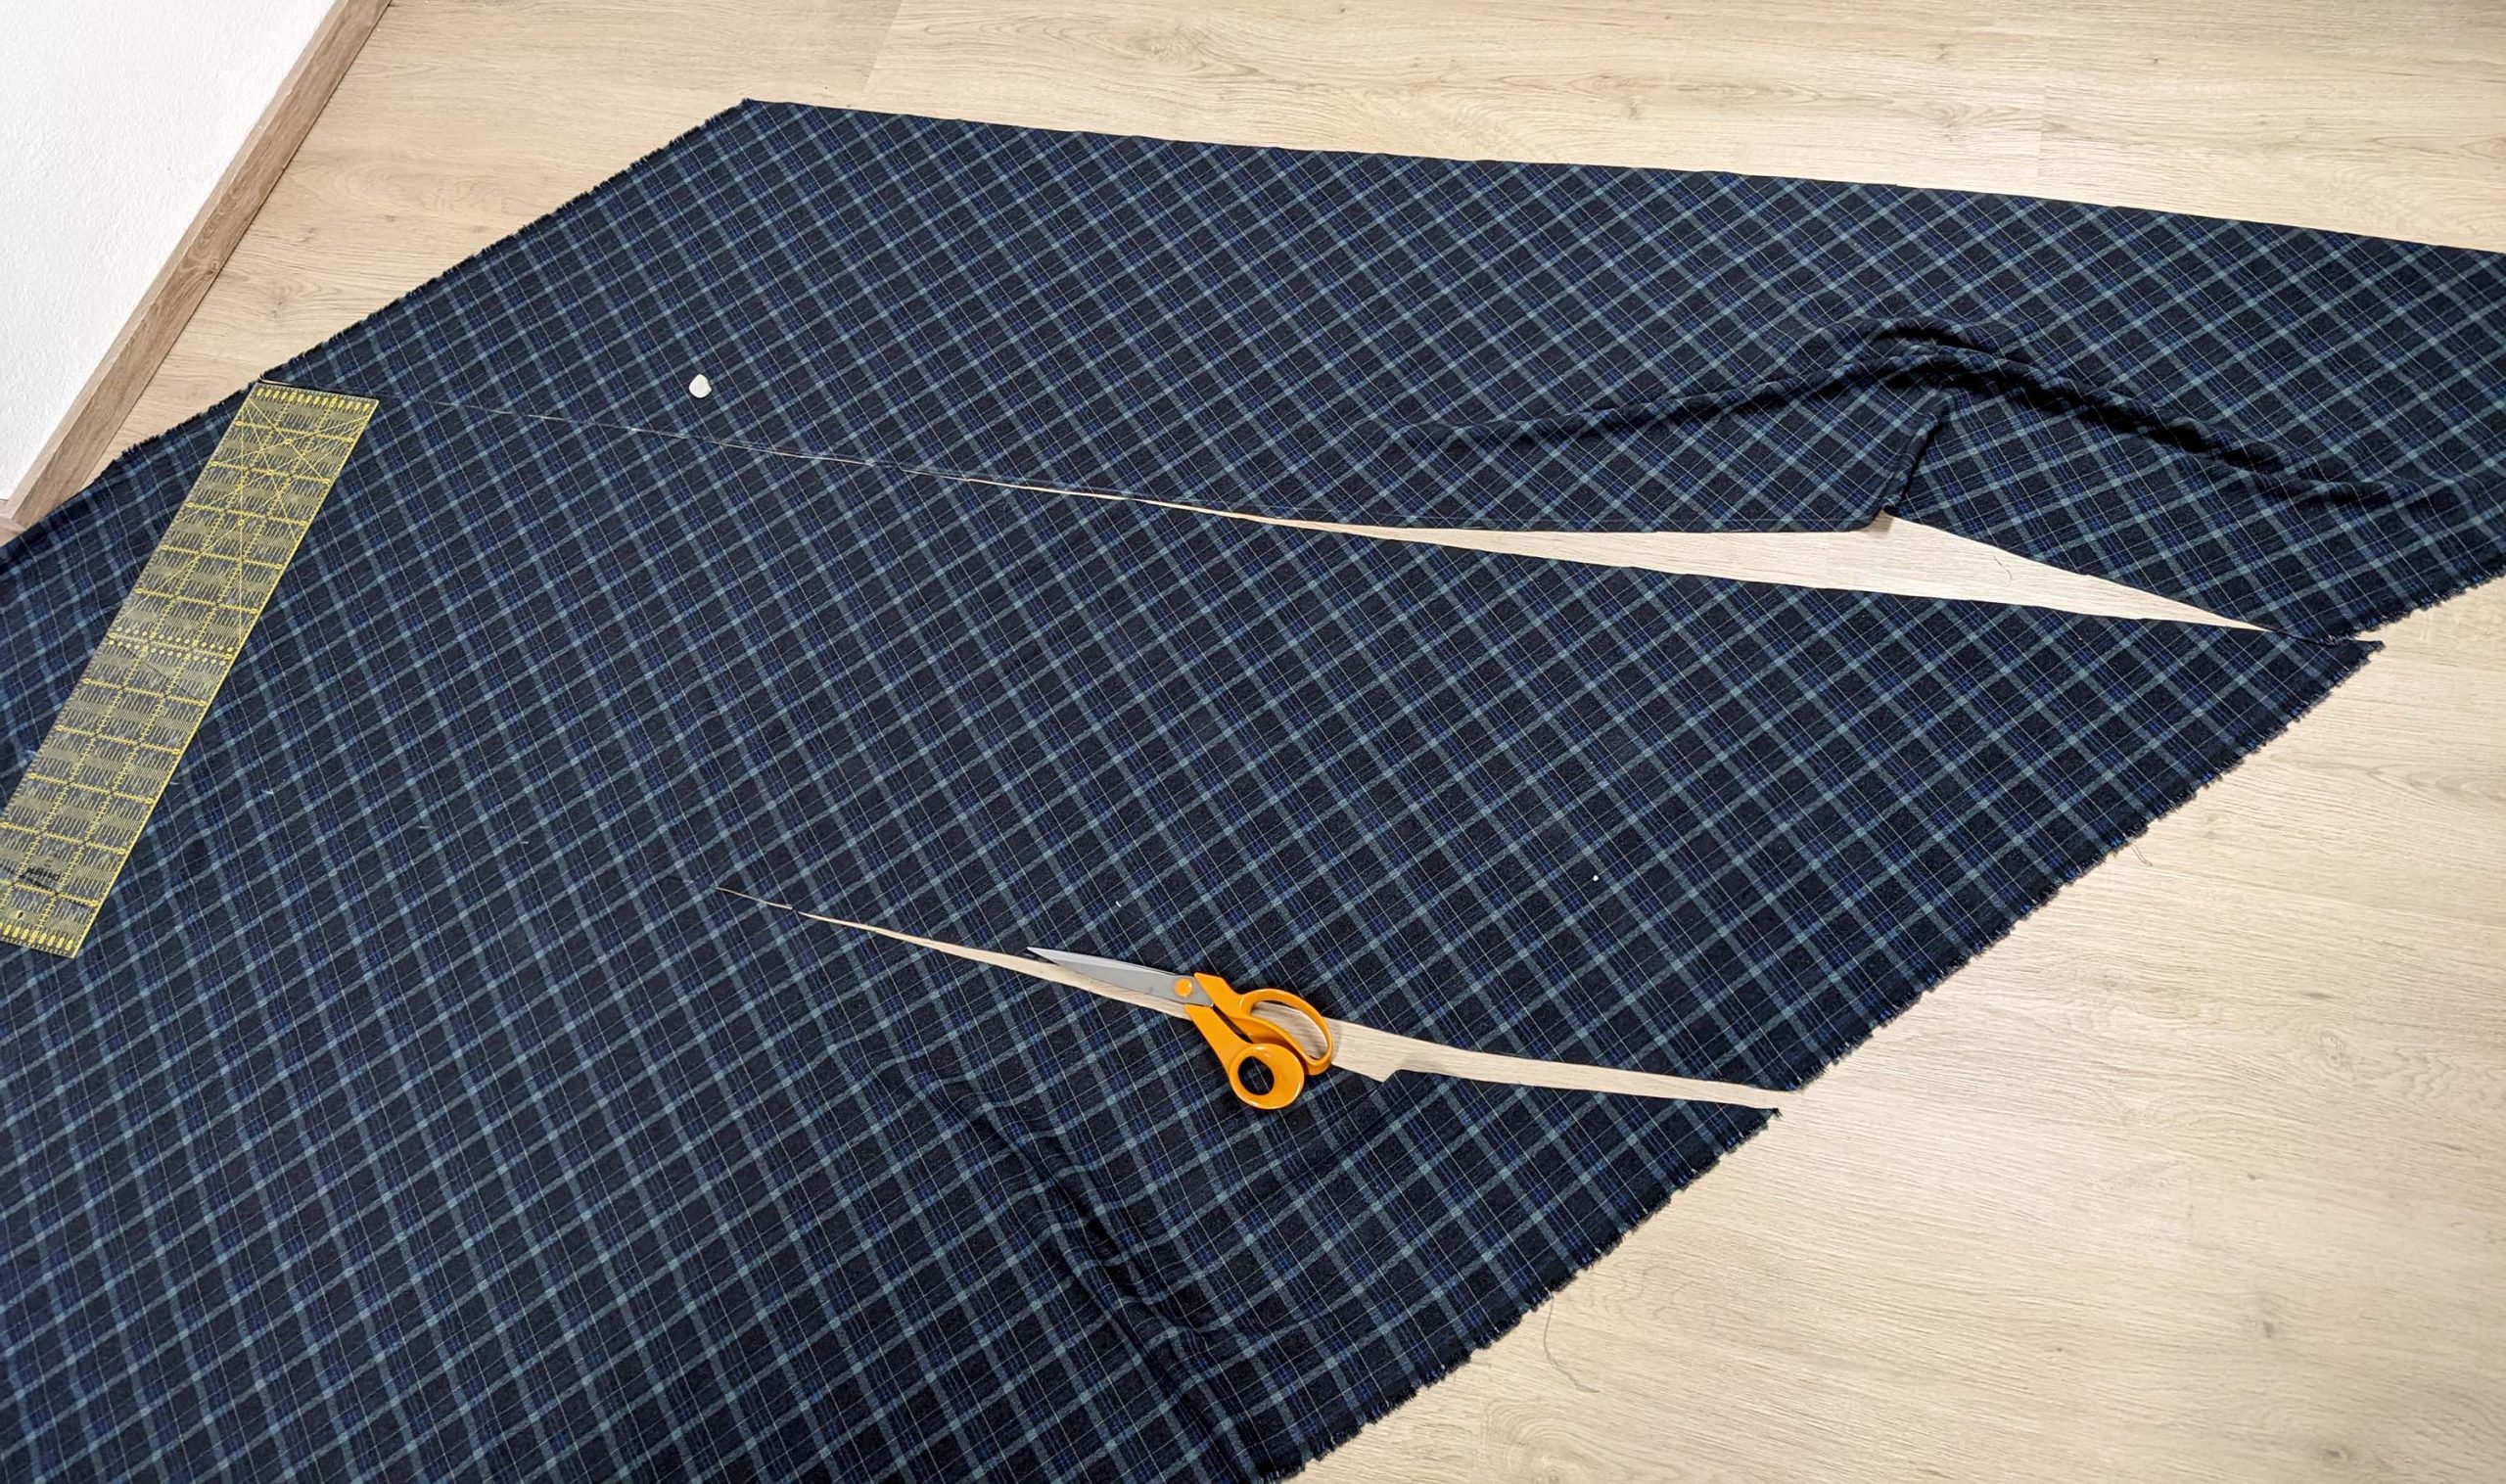
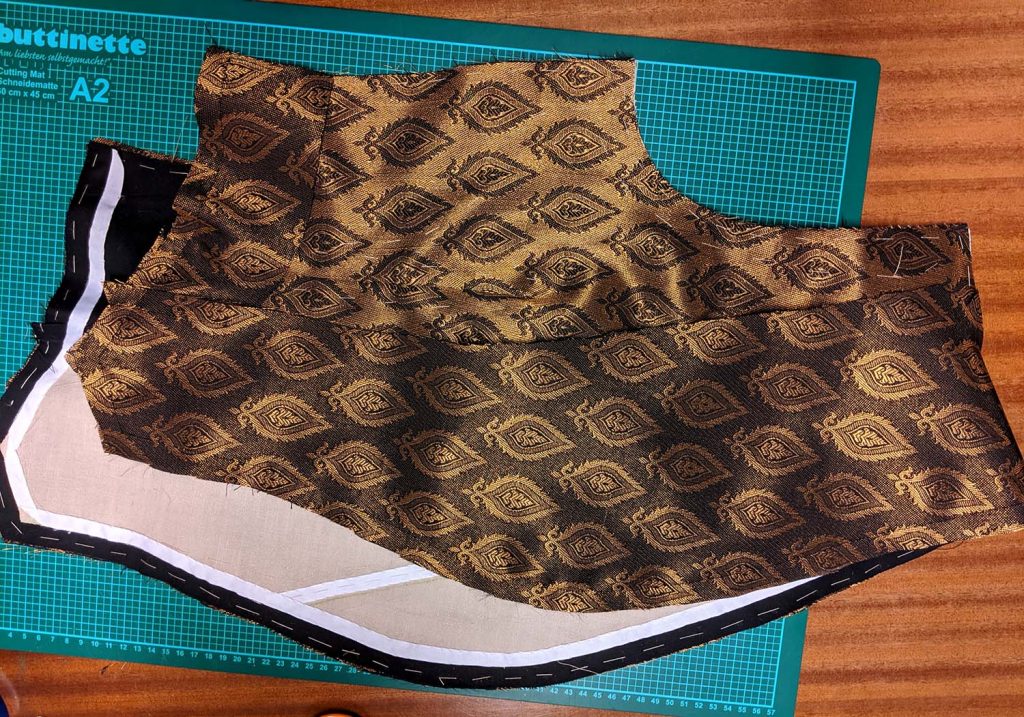
(1) We always start with cutting all pieces from fabric and lining. Take care of the grainline and don´t forget to add 6” (15cm) to the bottom edge of the ruffle pieces.

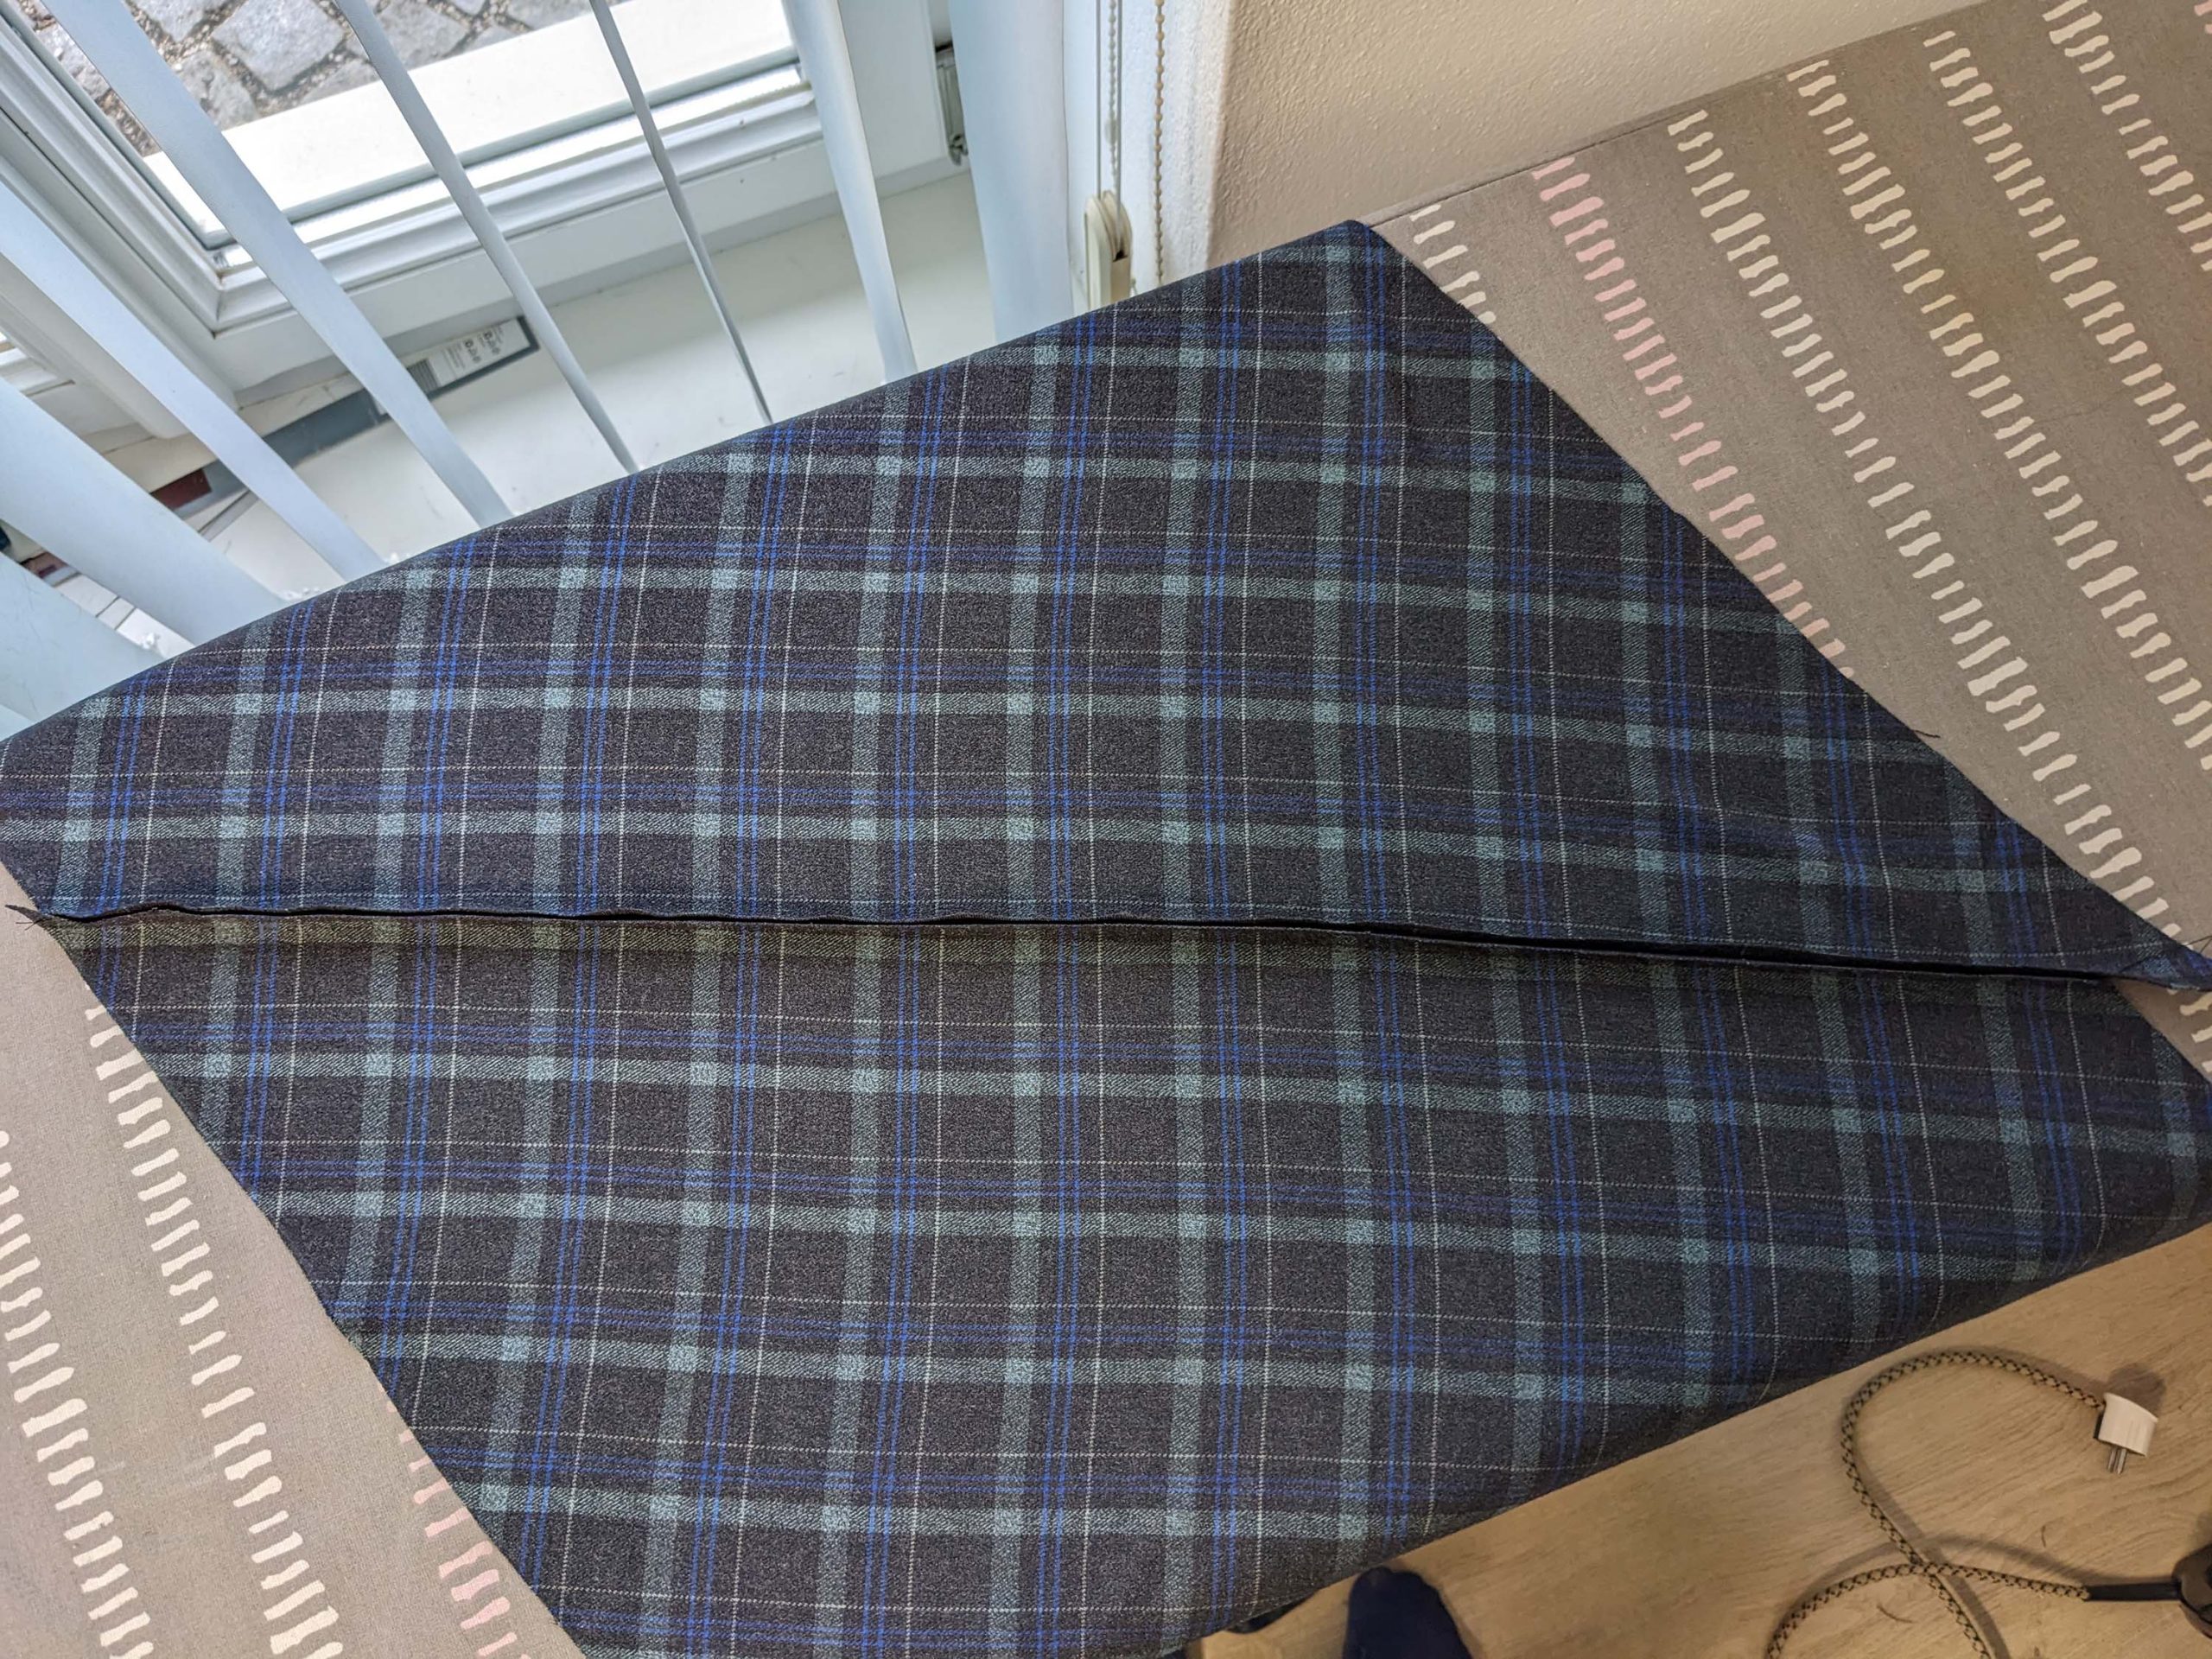
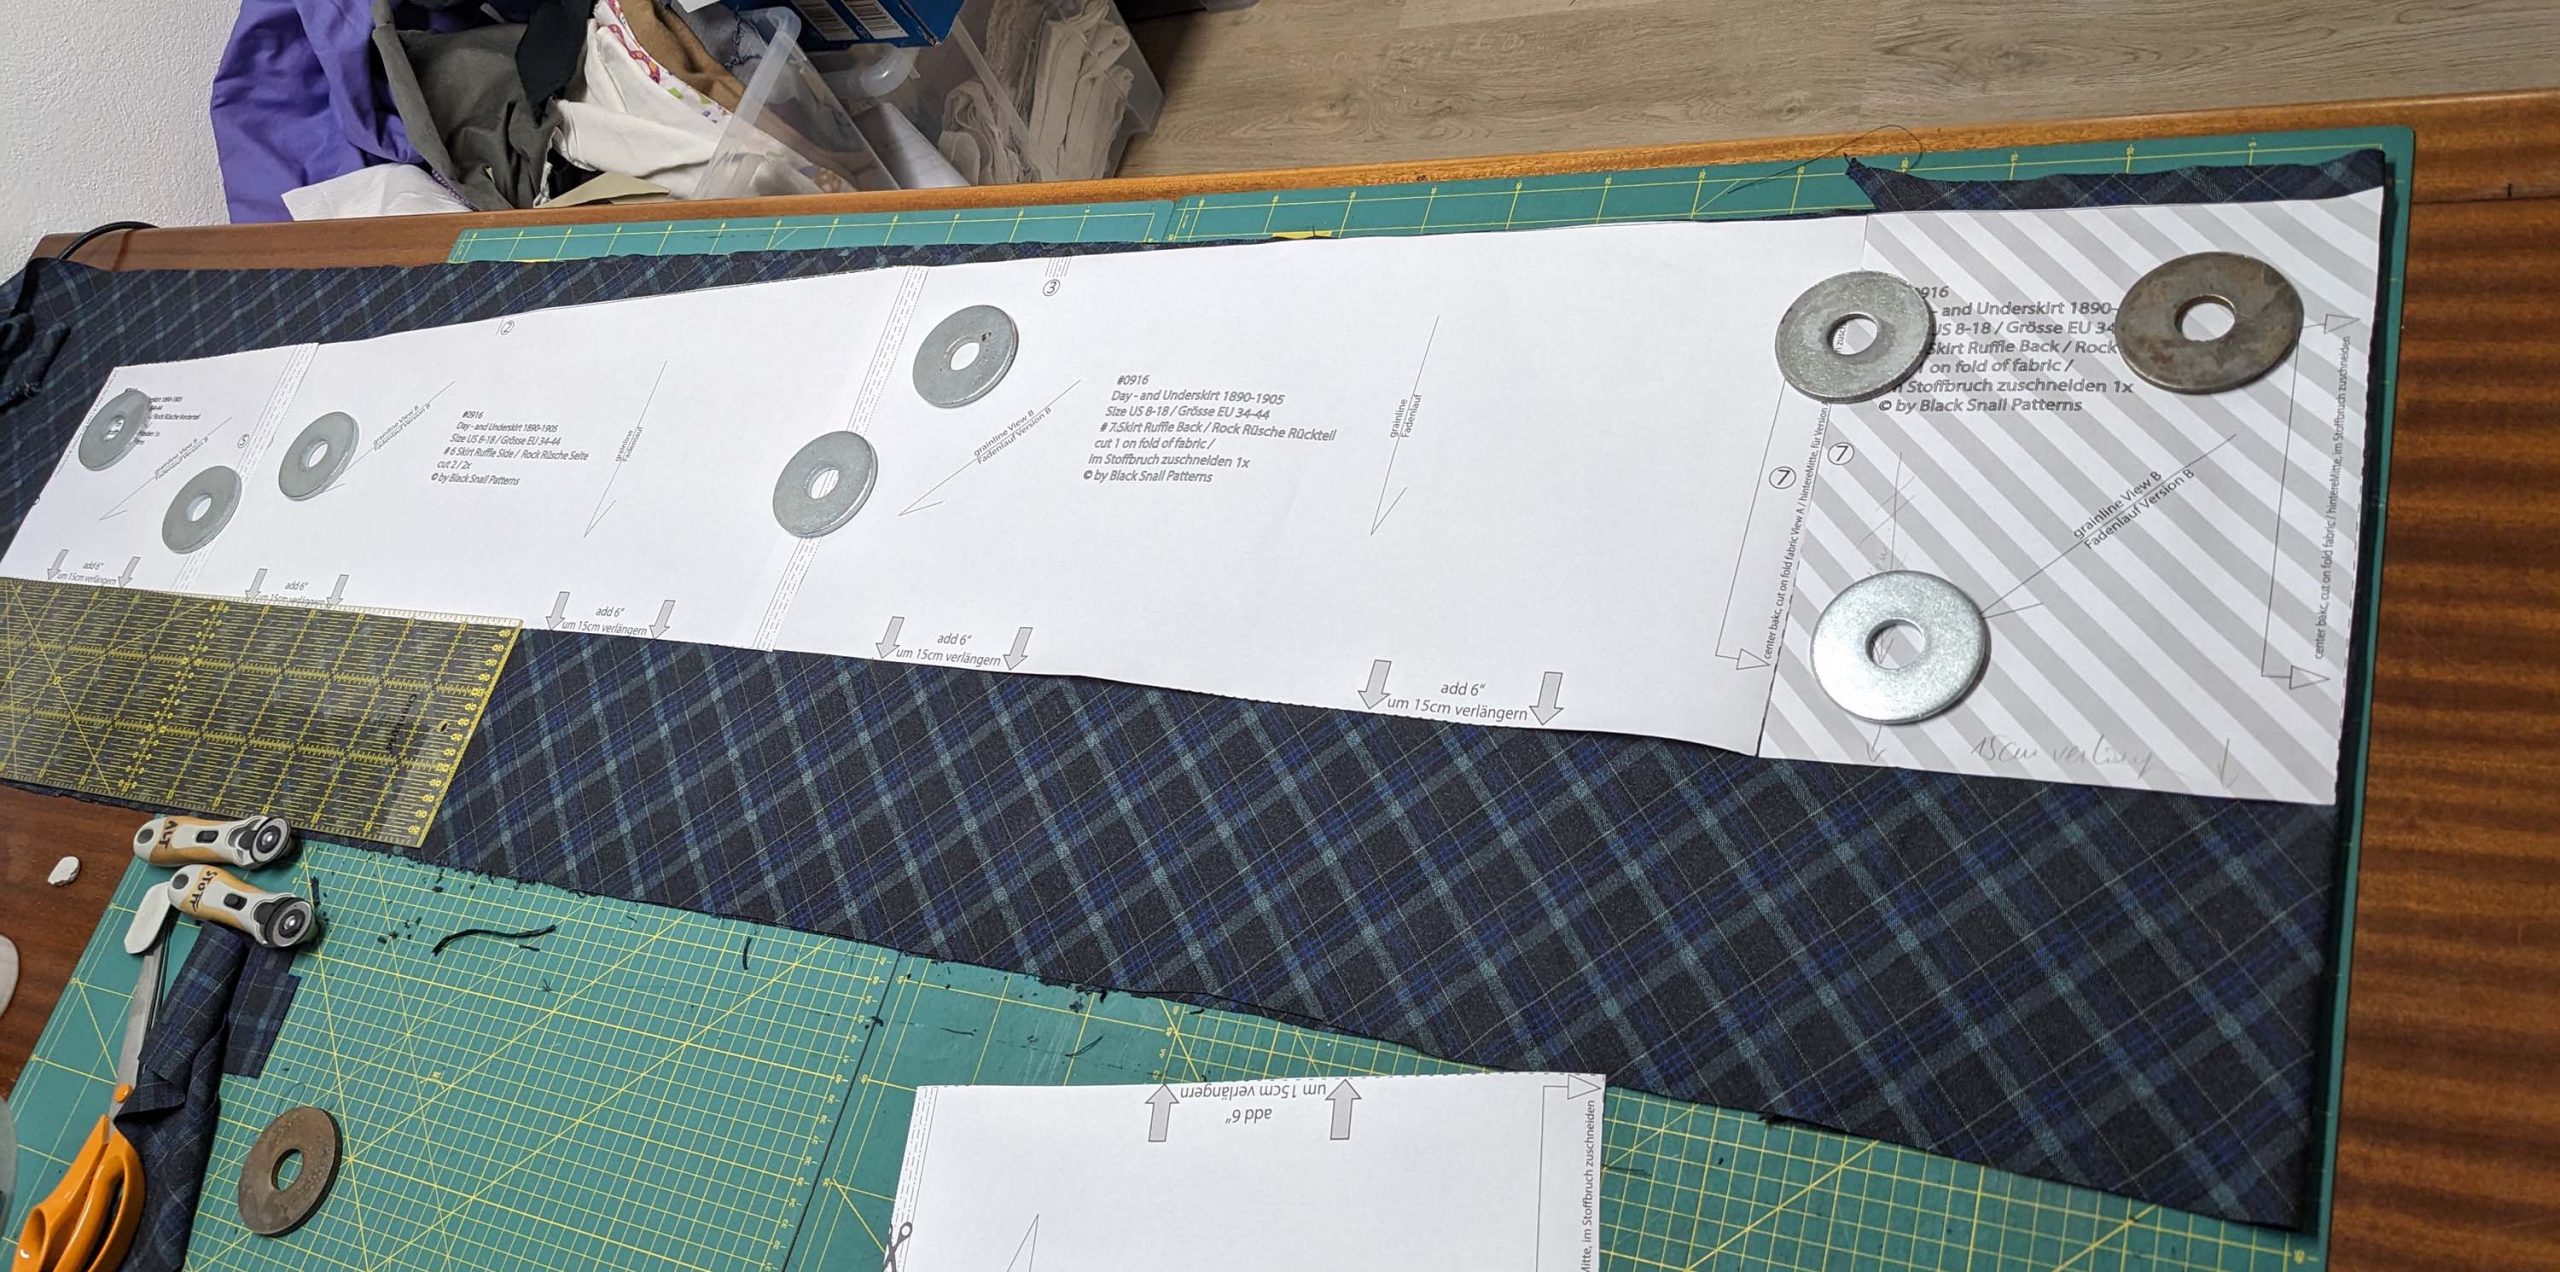
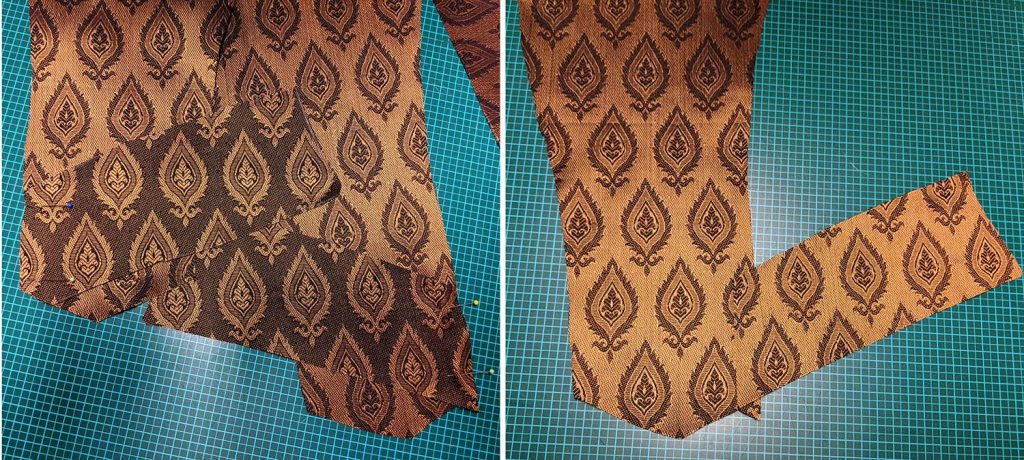
View B will not make difficulties, View C, with the ruffle, cut on the bias is a bit tricky, especially when using an asymmetrical checked fabric as I did. I first cut two 18” (45cm) wide bias strips and sewed them together along the center back, trying to pattern match as well as possible. Then I fold the strip along the later center back and placed my pattern pieces on top to cut to the shape needed. Don´t forget to transfer all the marks.

Continue reading

1890´s Ladies Vest Tutorial Part 3 – sewing together and finishing details

Part 1 – preparing the back

Part 2 – preparing the front

Now it´s time to sew together all parts of the vest.

Sew the front facing to the bottom facing, matching all marks, right sides together and press the seam allowance towards the bottom facing. Close the center back seam – the collar, right sides together, trim back the seam allowance and press open.

Line up the facing with the fronts, right sides together and sew along the front, bottom edge as well as the collar, reduce stitch length at corners. Trim back the seam allowance, sloped at the corners, notch the seam allowance where the collar starts to turn.

Continue reading

1890´s Ladies Vest Tutorial Part 2 – preparing the fronts

Part 1 – preparing the back

Now it´s time to sew up the fronts! Take great care with pattern matching when sewing with patterned, checked or striped fabrics. Never cut both sides on fold fabric,

Sewing with this delicade silk brocade I decided to flatline the entire fronts, which would not be necessary when sewing with e.g. a wool satin. I prefer to stitch in the flatlining by hand to unpick some stitches easily if necessary during the sewing process.

Continue reading

1890´s Ladies Vest Tutorial Part 1 – preparing the back

This is another tutorial to support my customers when sewing with my patterns. This time I´ll show you many details sewing the View B of my 1890´s Ladies Vest pattern (comming up soon). In general ladies vests from around 1890 were made in the same way as gents´ with an interfacing supporting the front, so this tutorial is full of classic tailoring techniques, like flatlining, sewing in interfacing and how to attach bridle tape.

When browsing the internet for research about vest fabrics, I fell in love with this silk brocade fabric. Brocade fabrics are not easy to sew, for non-experienced sewers I recommend sewing with plain fabrics like satins from cotton or wool.

Originally a twill cotton fabric (Silesia) was used for the back and lining, but feel free to use any light to midweight cotton fabric.

Let´s start sewing!


The back is made up the same way for View A and B of the vest. Join the back parts along the center back, right sides together and finish as a flat felled seam: Press the seam allowances to one side and trim back the lower one to ¼” (7mm). Fold over the wider seam allowance and press before edgestitching from the wrong fabric side.

Continue reading

19th century welt pockets

19th century welt pockets where made different from modern welt pockets. In this tutorial I´ll show you the period correct method.

Baste a piece of linen or cotton to the wrong side of the left front, covering the pocket opening. Mark the pocket opening with a basting thread, clearly visible on the right side of the fabric. Cut your welt from fabric, matching the pattern of your fabric, with a 1/4” (6mm) seam allowance added to top and bottom and a 5/8″ (1,5cm) seam allowance added to the sides.

Fold the welt in half lengthwise, wrong sides together, press the edge and reopen. Attach a cotton tape along the fold to the inner half of the welt with a catch stitch. Sew the outer pocket bag to the inner half of the welt using, right sides together, stitch exactly between the marks of the pocket opening and press open the seam allowances.

Continue reading