I muff is an accessory which you never should omit wearing an historical fall/winter costume. The advantages are obvious. You´ll never get cold hands and you can hide all that things a modern women needs, like your car keys and of course your cell phone! With a cord or a loop attached to secure the muff around your neck or wrist you get your hands free.
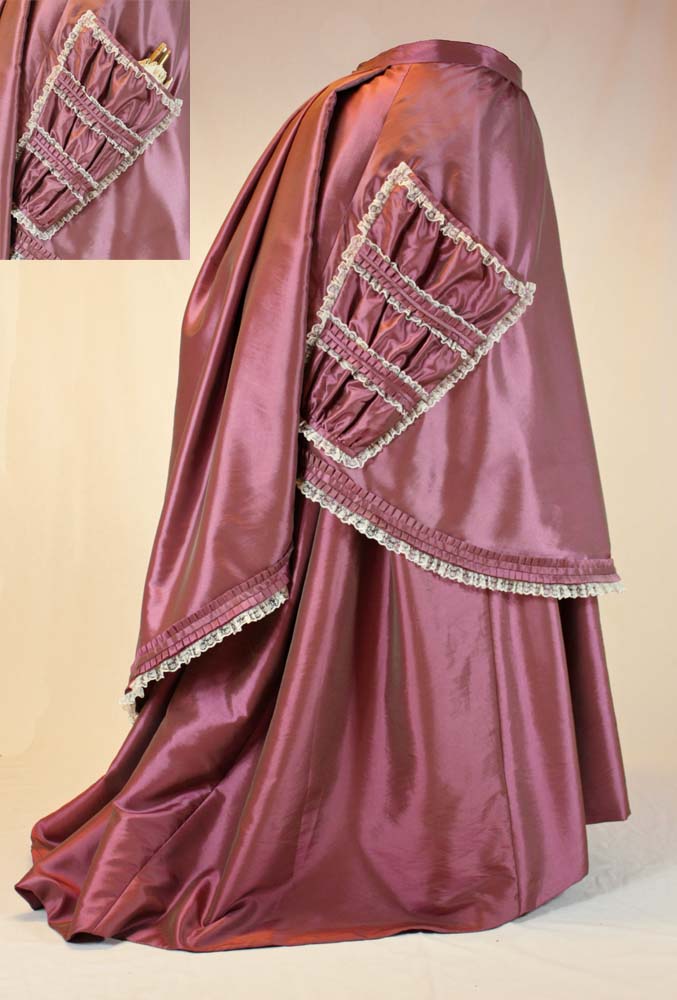
In this tutorial, I want to show you, how to sew a patch pocket for a Victorian bustle dress. You can see these pockets on several extant dresses, house dresses, as well as walking dresses, and of course on fashion plates. But what were these pockets for? Years ago, when I started my sewing pattern business I thought to hold a parasol. But that seems to be wrong. They maybe were meant to hold a handkerchief, a fan or just for decoration, as there are now visible signs of wear inside and outside the pockets on extant dresses. Visit this great article for more details. https://brokecostumer.blogspot.com/2016/02/that-mysterious-pocket.html?fbclid=IwAR1jeTo3wuViCpFIlyFCTMpjn-ph8oKwpQ2yoI_BS6Pv1xu1iKfA3_HBPdA
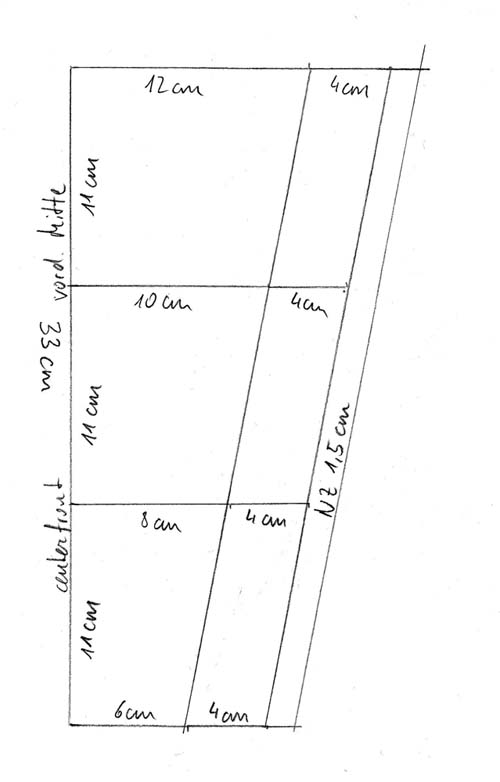
Draft the pattern on a piece of paper, ad seam allowance just at the sides.
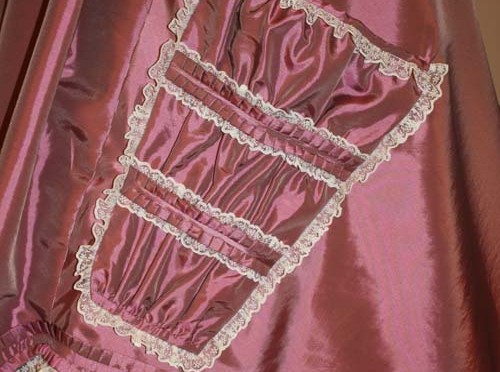
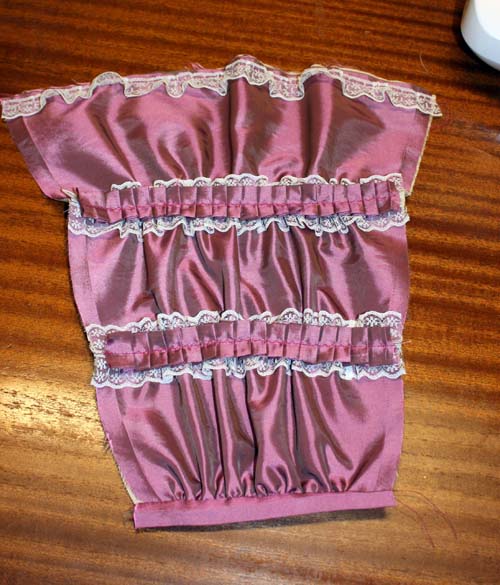
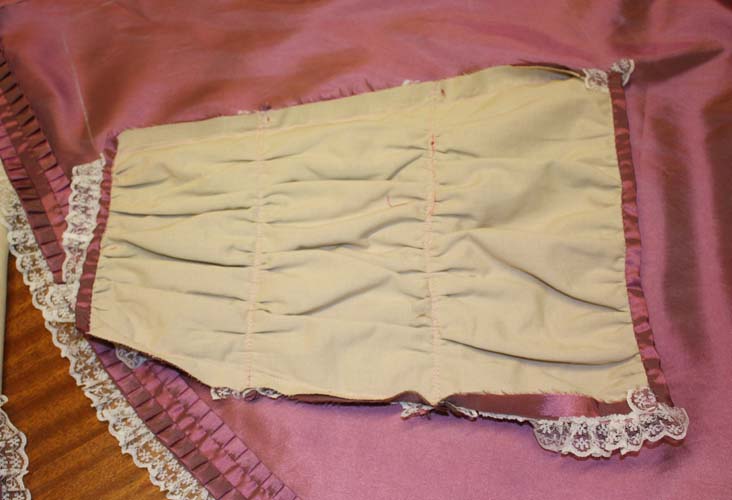
Cut from upper fabric and lining. The two layers will be treated as one. Lower the tension of your upper thread and sew with a long running stitch along the horizontal lines and along the top and bottom edges. Shirr fabric, at the bottom from 20cm to 12cm, at the top from 32cm to 24cm, and along the horizontal stitching too. I decided to add a lace trim before shirring the fabric.
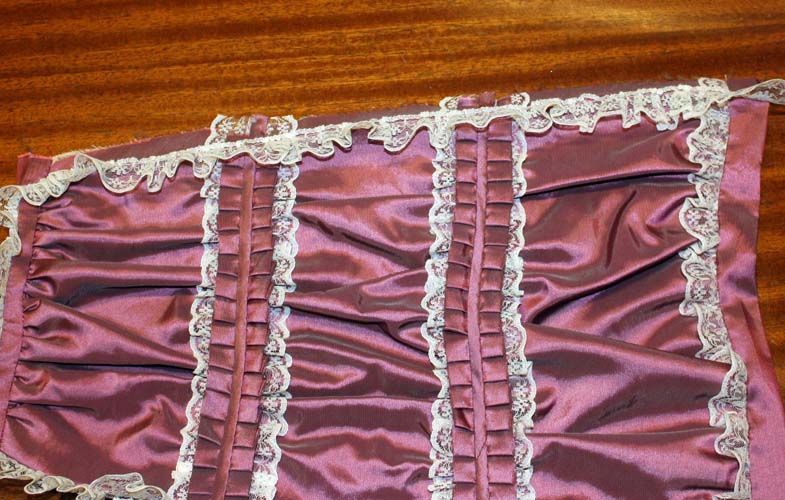
Cut a strip of fabric on the straight grain, fold like you would fold a bias tape, and cut to parts with a length of 15cm, 19cm, 23cm and 27cm. I added more trimmings first. Open your folded strips of fabric and pin them in place. Sew along the fold line. Fold your strip again and sew the open edge with invisible stitches to the pocket. At the top and bottom fold the strip over the edge and sew to the back side.
If desired trim with lace all around the edges.
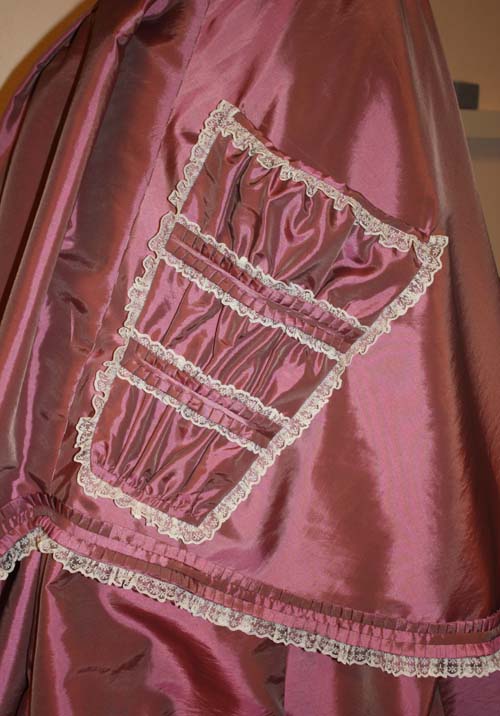
Sew pocket to your overskirt. The first edge you can do with your sewing machine, the bottom, and the second side sew by hand.
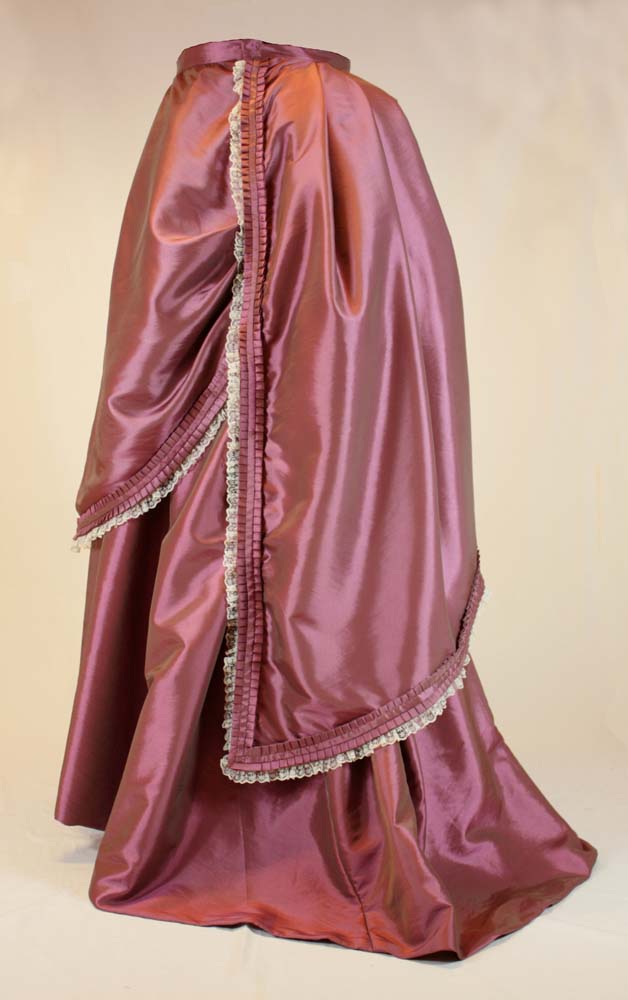
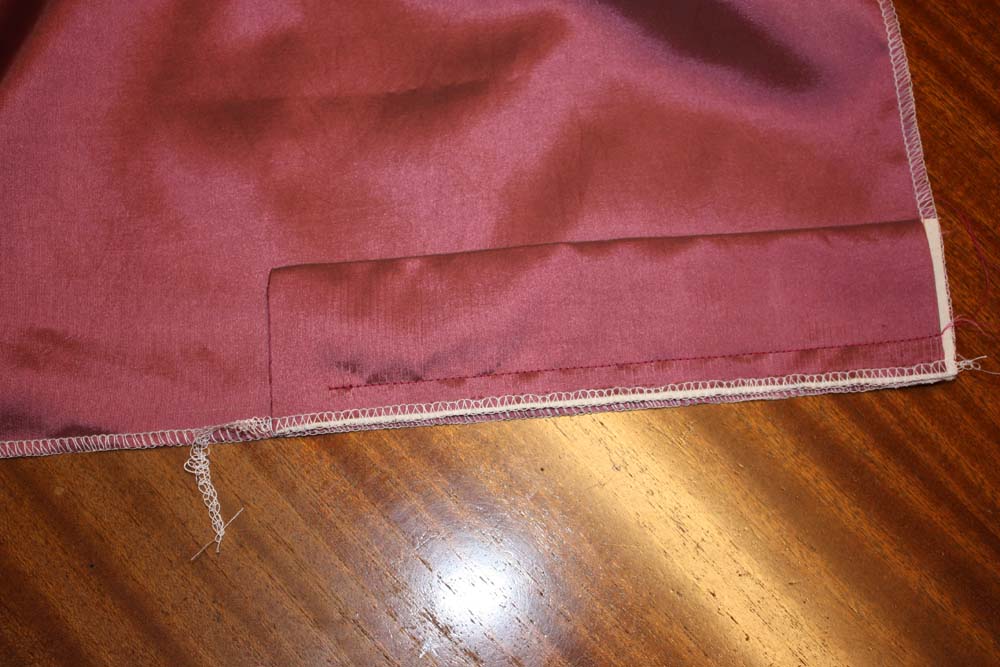
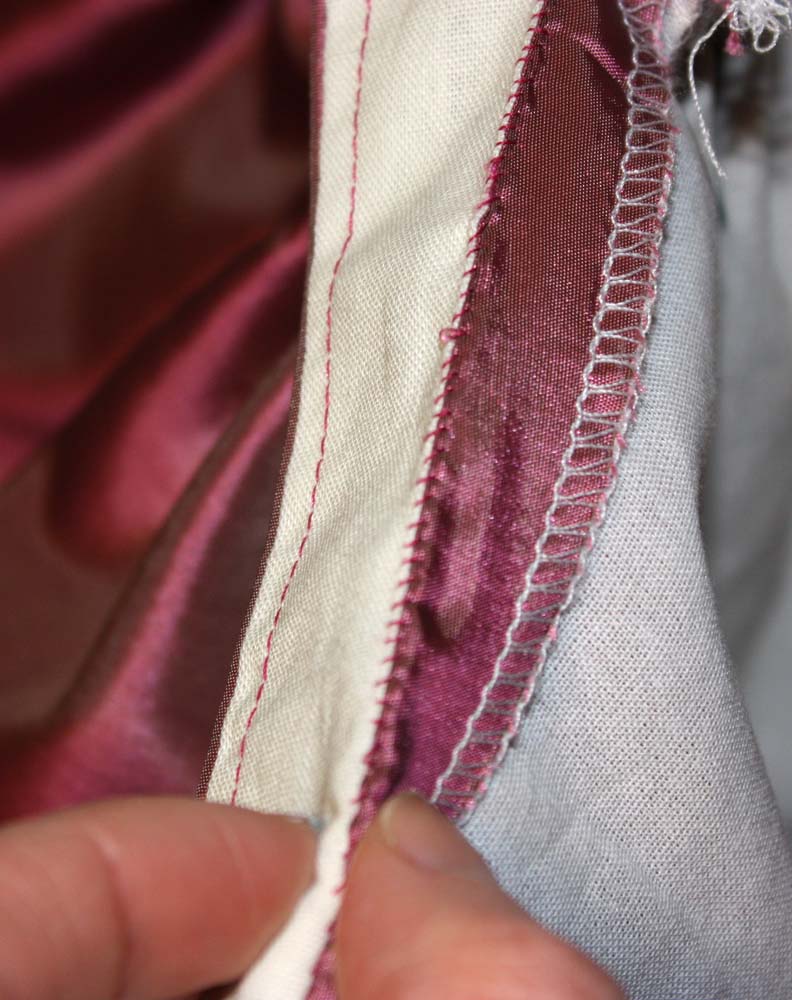
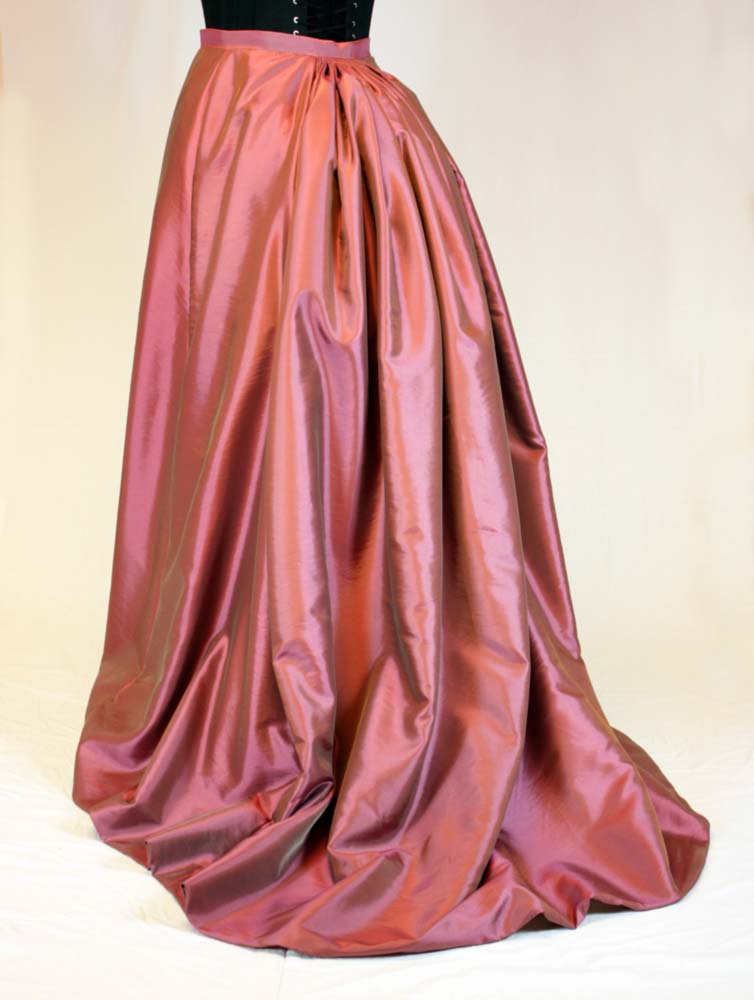
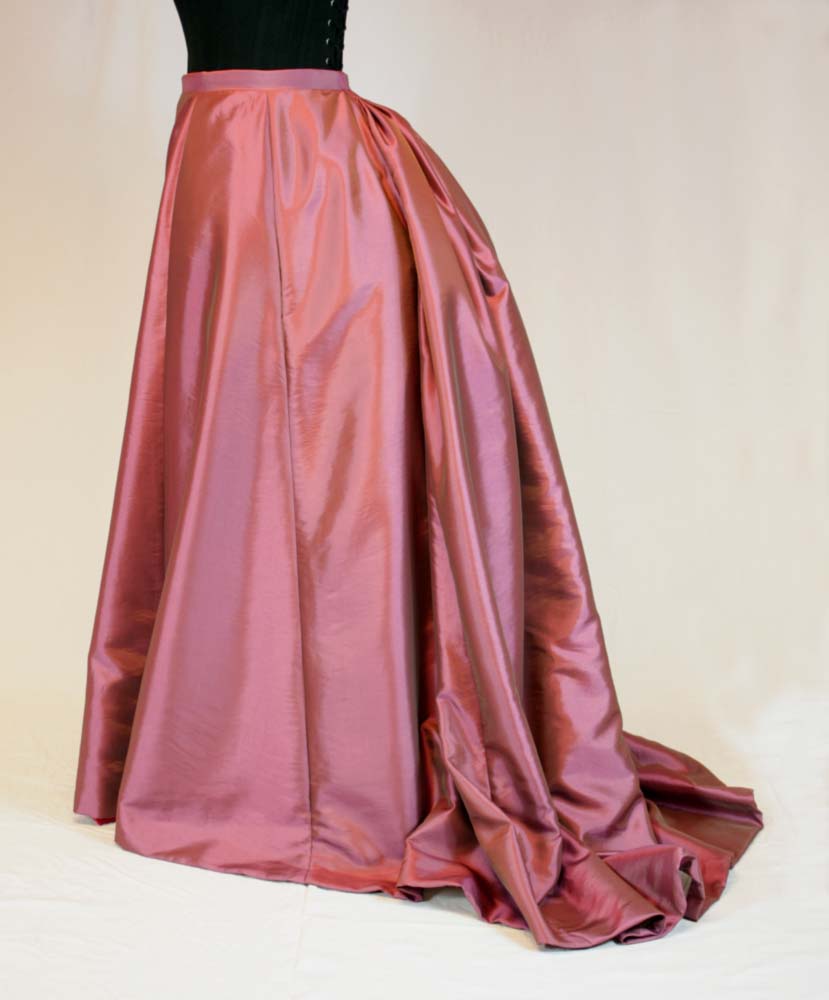
I found a lovely fabric in a marvelous color. But what would it look best? I decided to make an early bustle dress. First I started with a basic skirt. The upper fabric will be lined with cotton fabric and worked as one layer. Historically not correct I neatened the edges with my serger. The skirt has a front and back part and two gores on each side. On the left side, I made a pocket between the two gores, on the right side the closure with a placket.
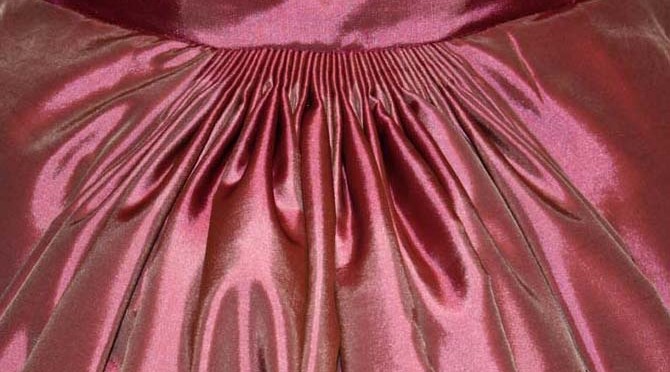
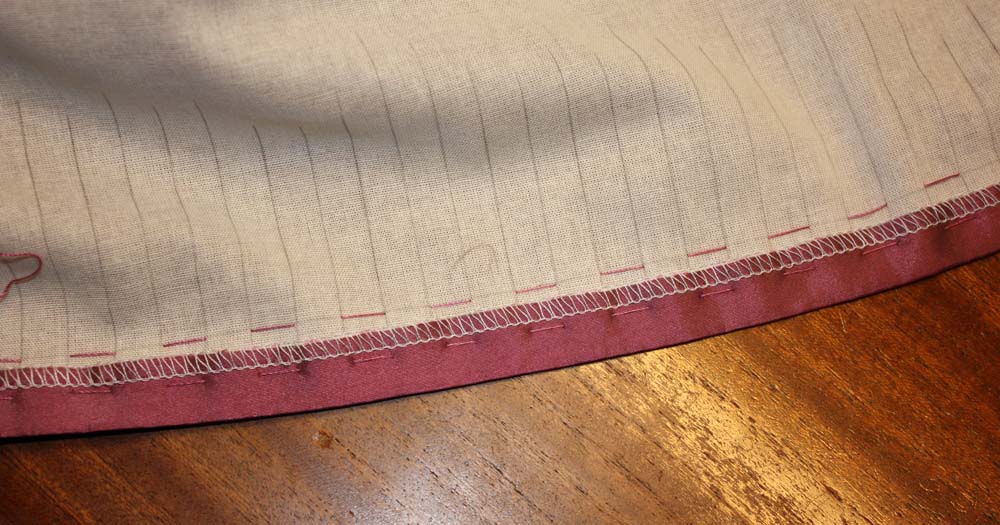
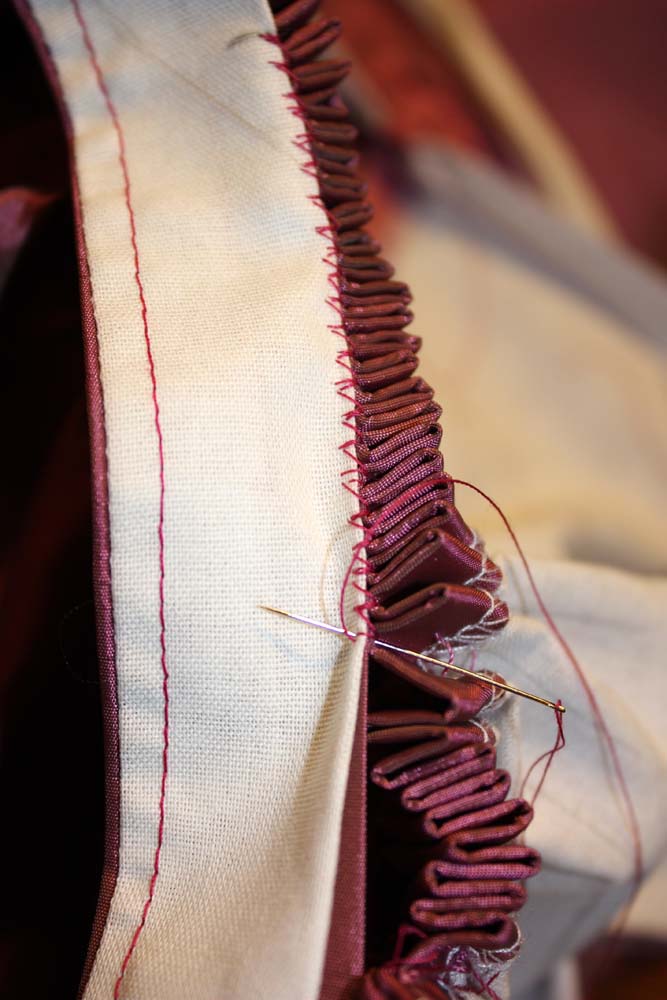
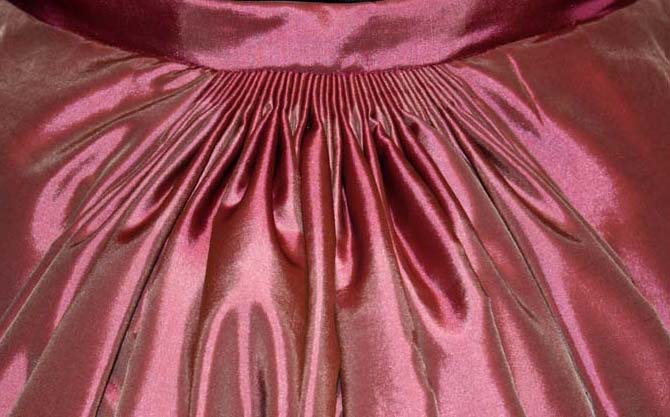
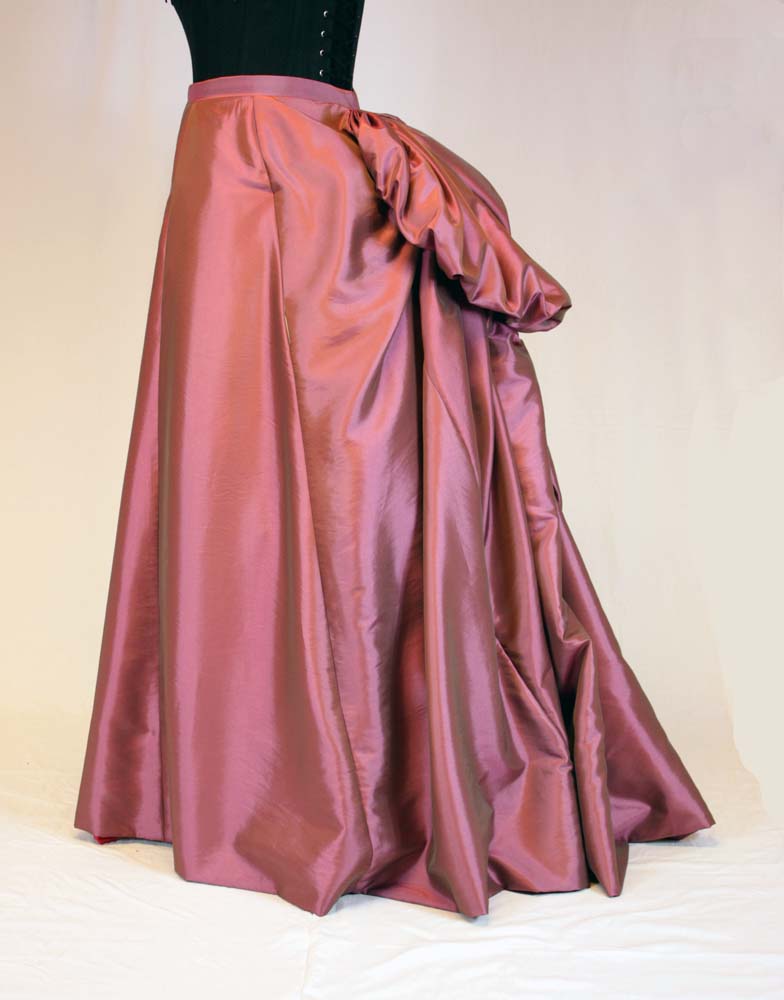
The front part and side gores are joined smoothly to the waistband, the back part is shirred to cartridge pleats and sewn close to the waistband. For the cartridge pleats fold the seam allowance of the back part to the inside and iron. Mark the depth of folds and sew with a strong thread. Two rows with a distance of 1cm (3/8”) are enough. First I chose 1cm for the depth of my pleats but later on, I decided to make the pleats 1,5cm (5/8”) deep for fitting the waistband.
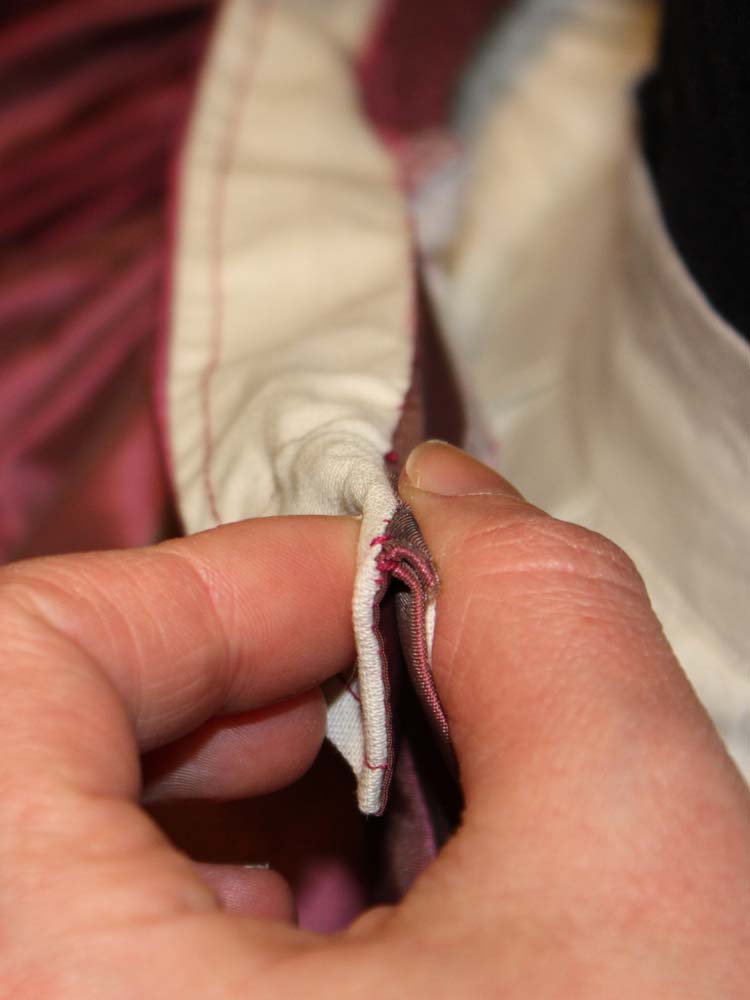
At the waistband do not use any interlining. Sew together the upper fabric and lining right sides together and turn inside out. The seam allowance of the lower edge would be folded to the inside of the waistband. Historically correct fold the seam allowance of the upper edge of the skirt to the inside and iron. Lay on the waistband to the upper edge, right sides together and sew the waistband with small stitches to the skirt.
At the back part shirr fabric by pulling the threads firmly. Sew fold by fold to the waistband very closely together.